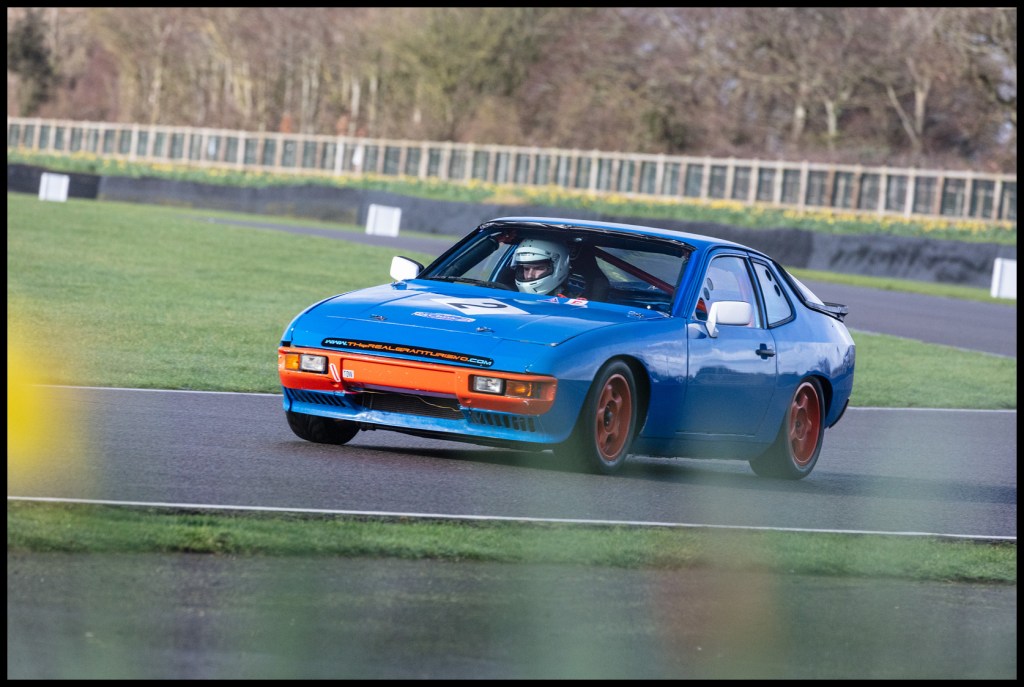
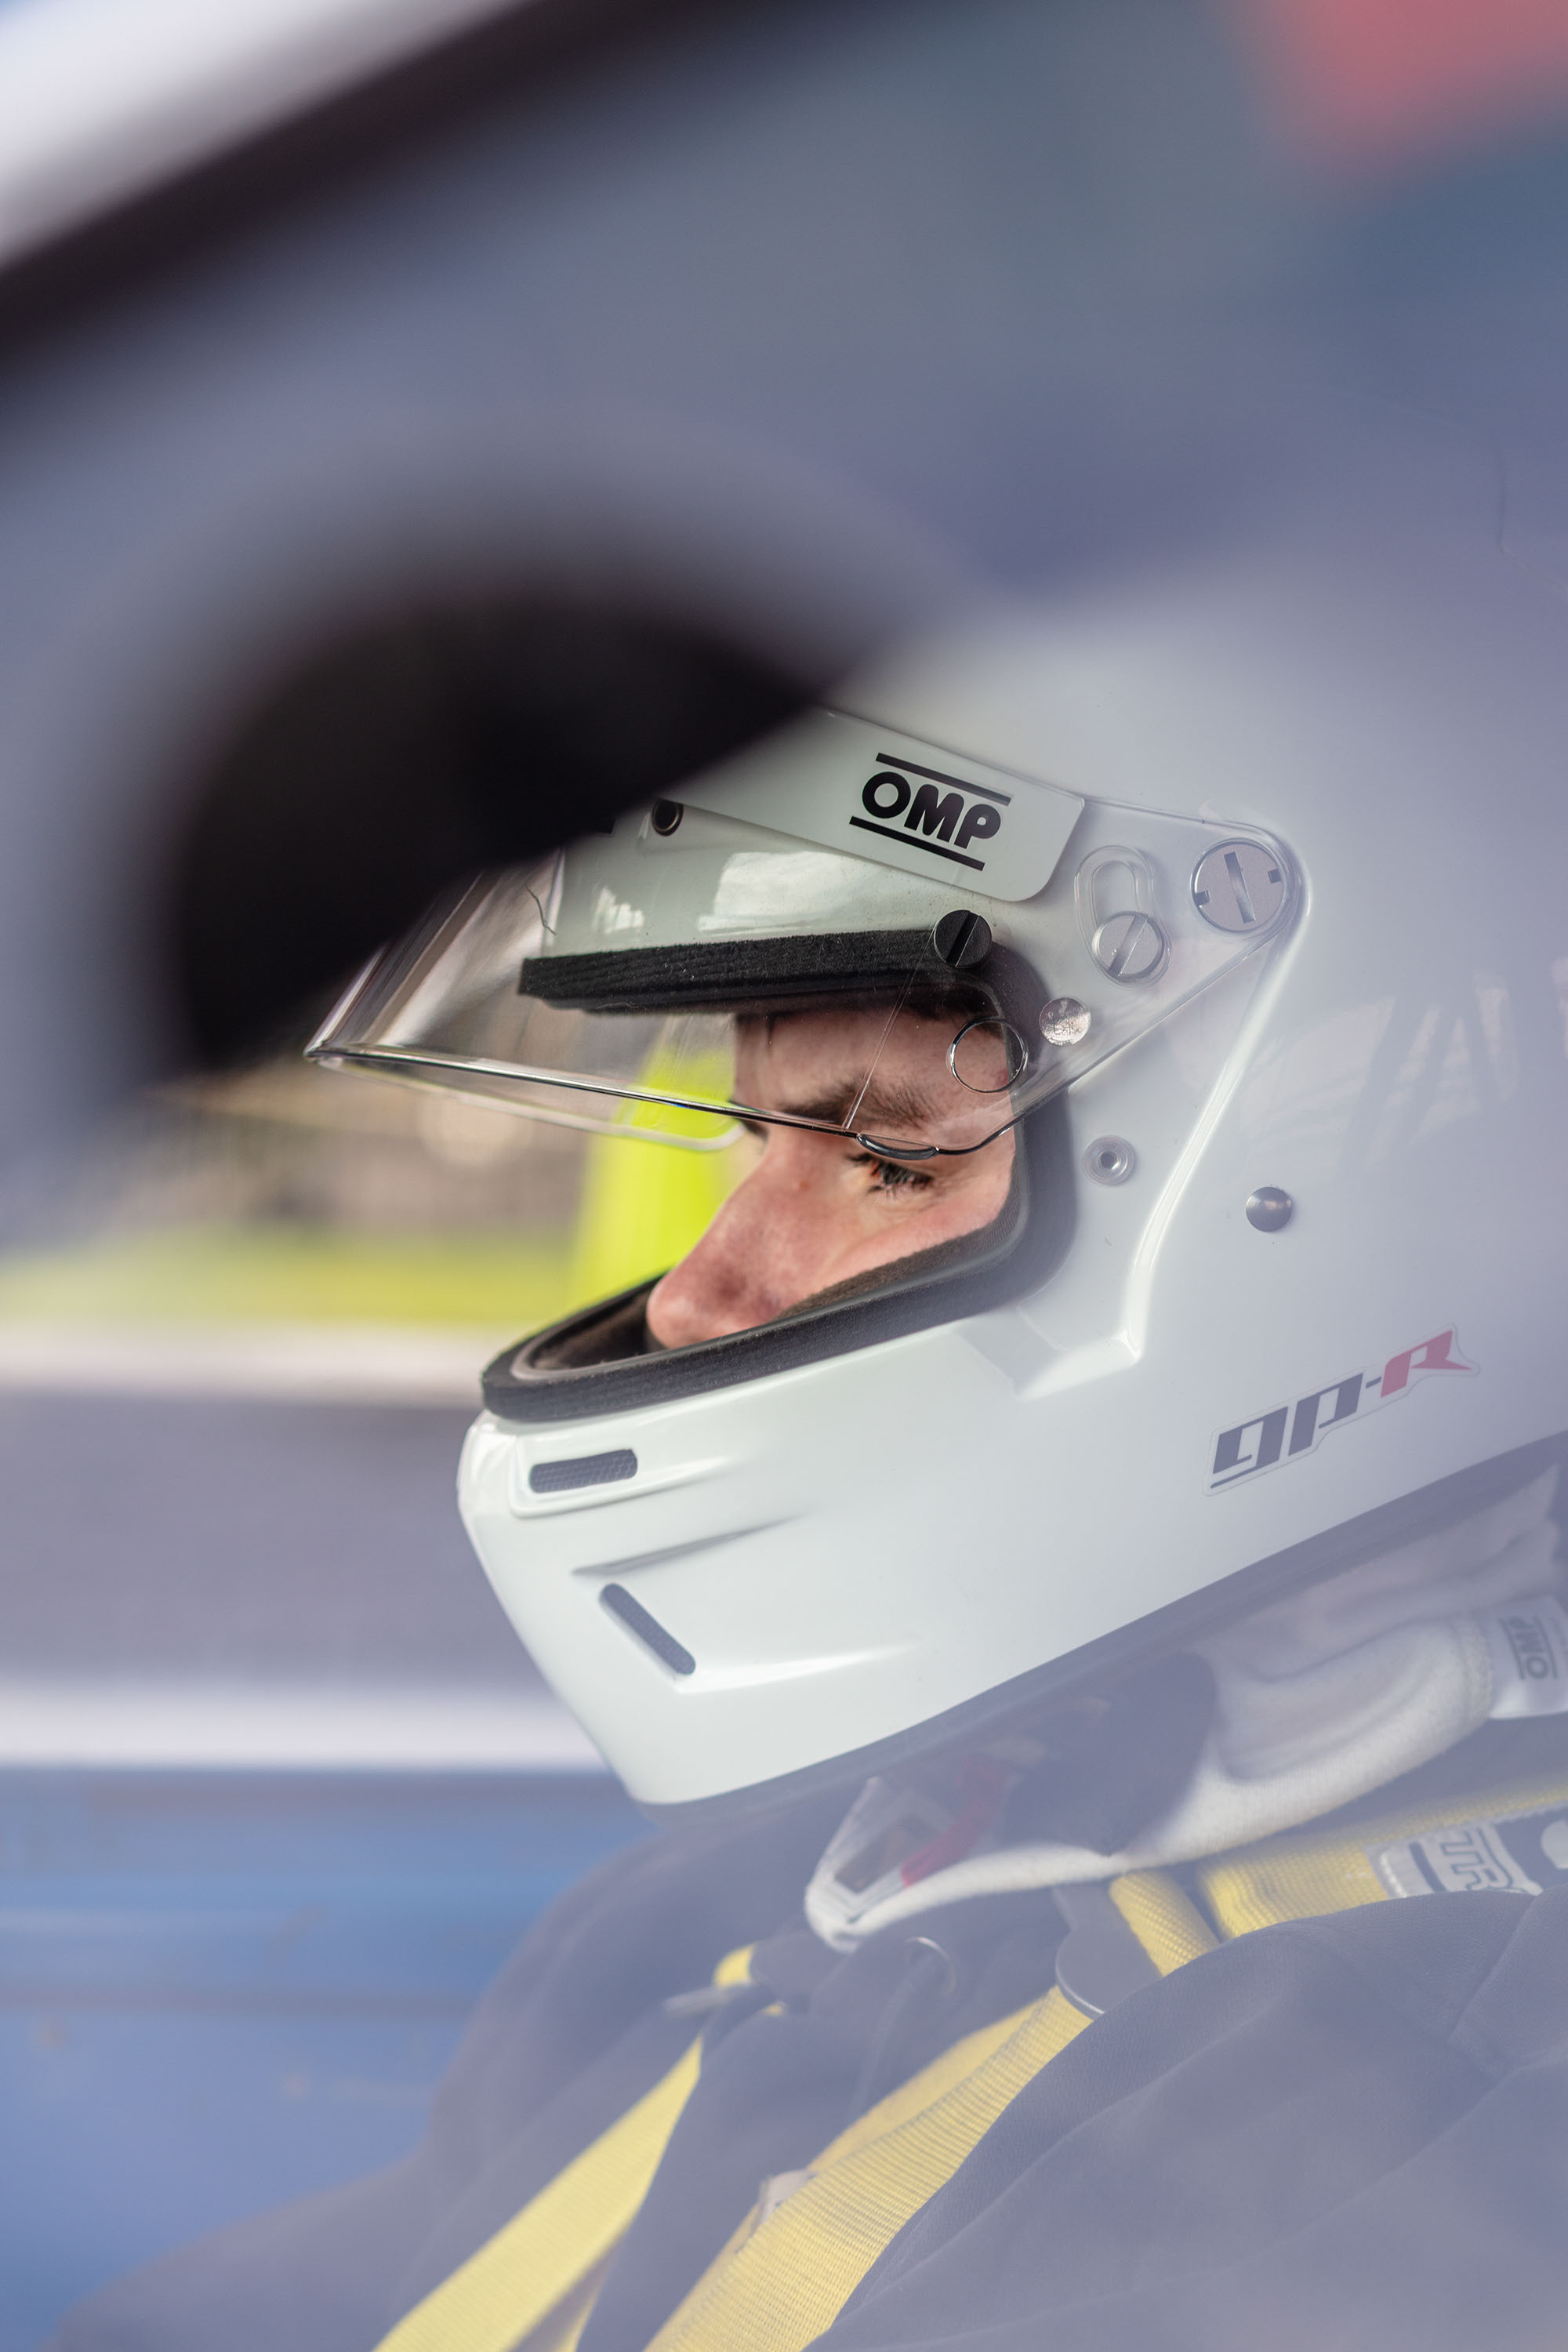
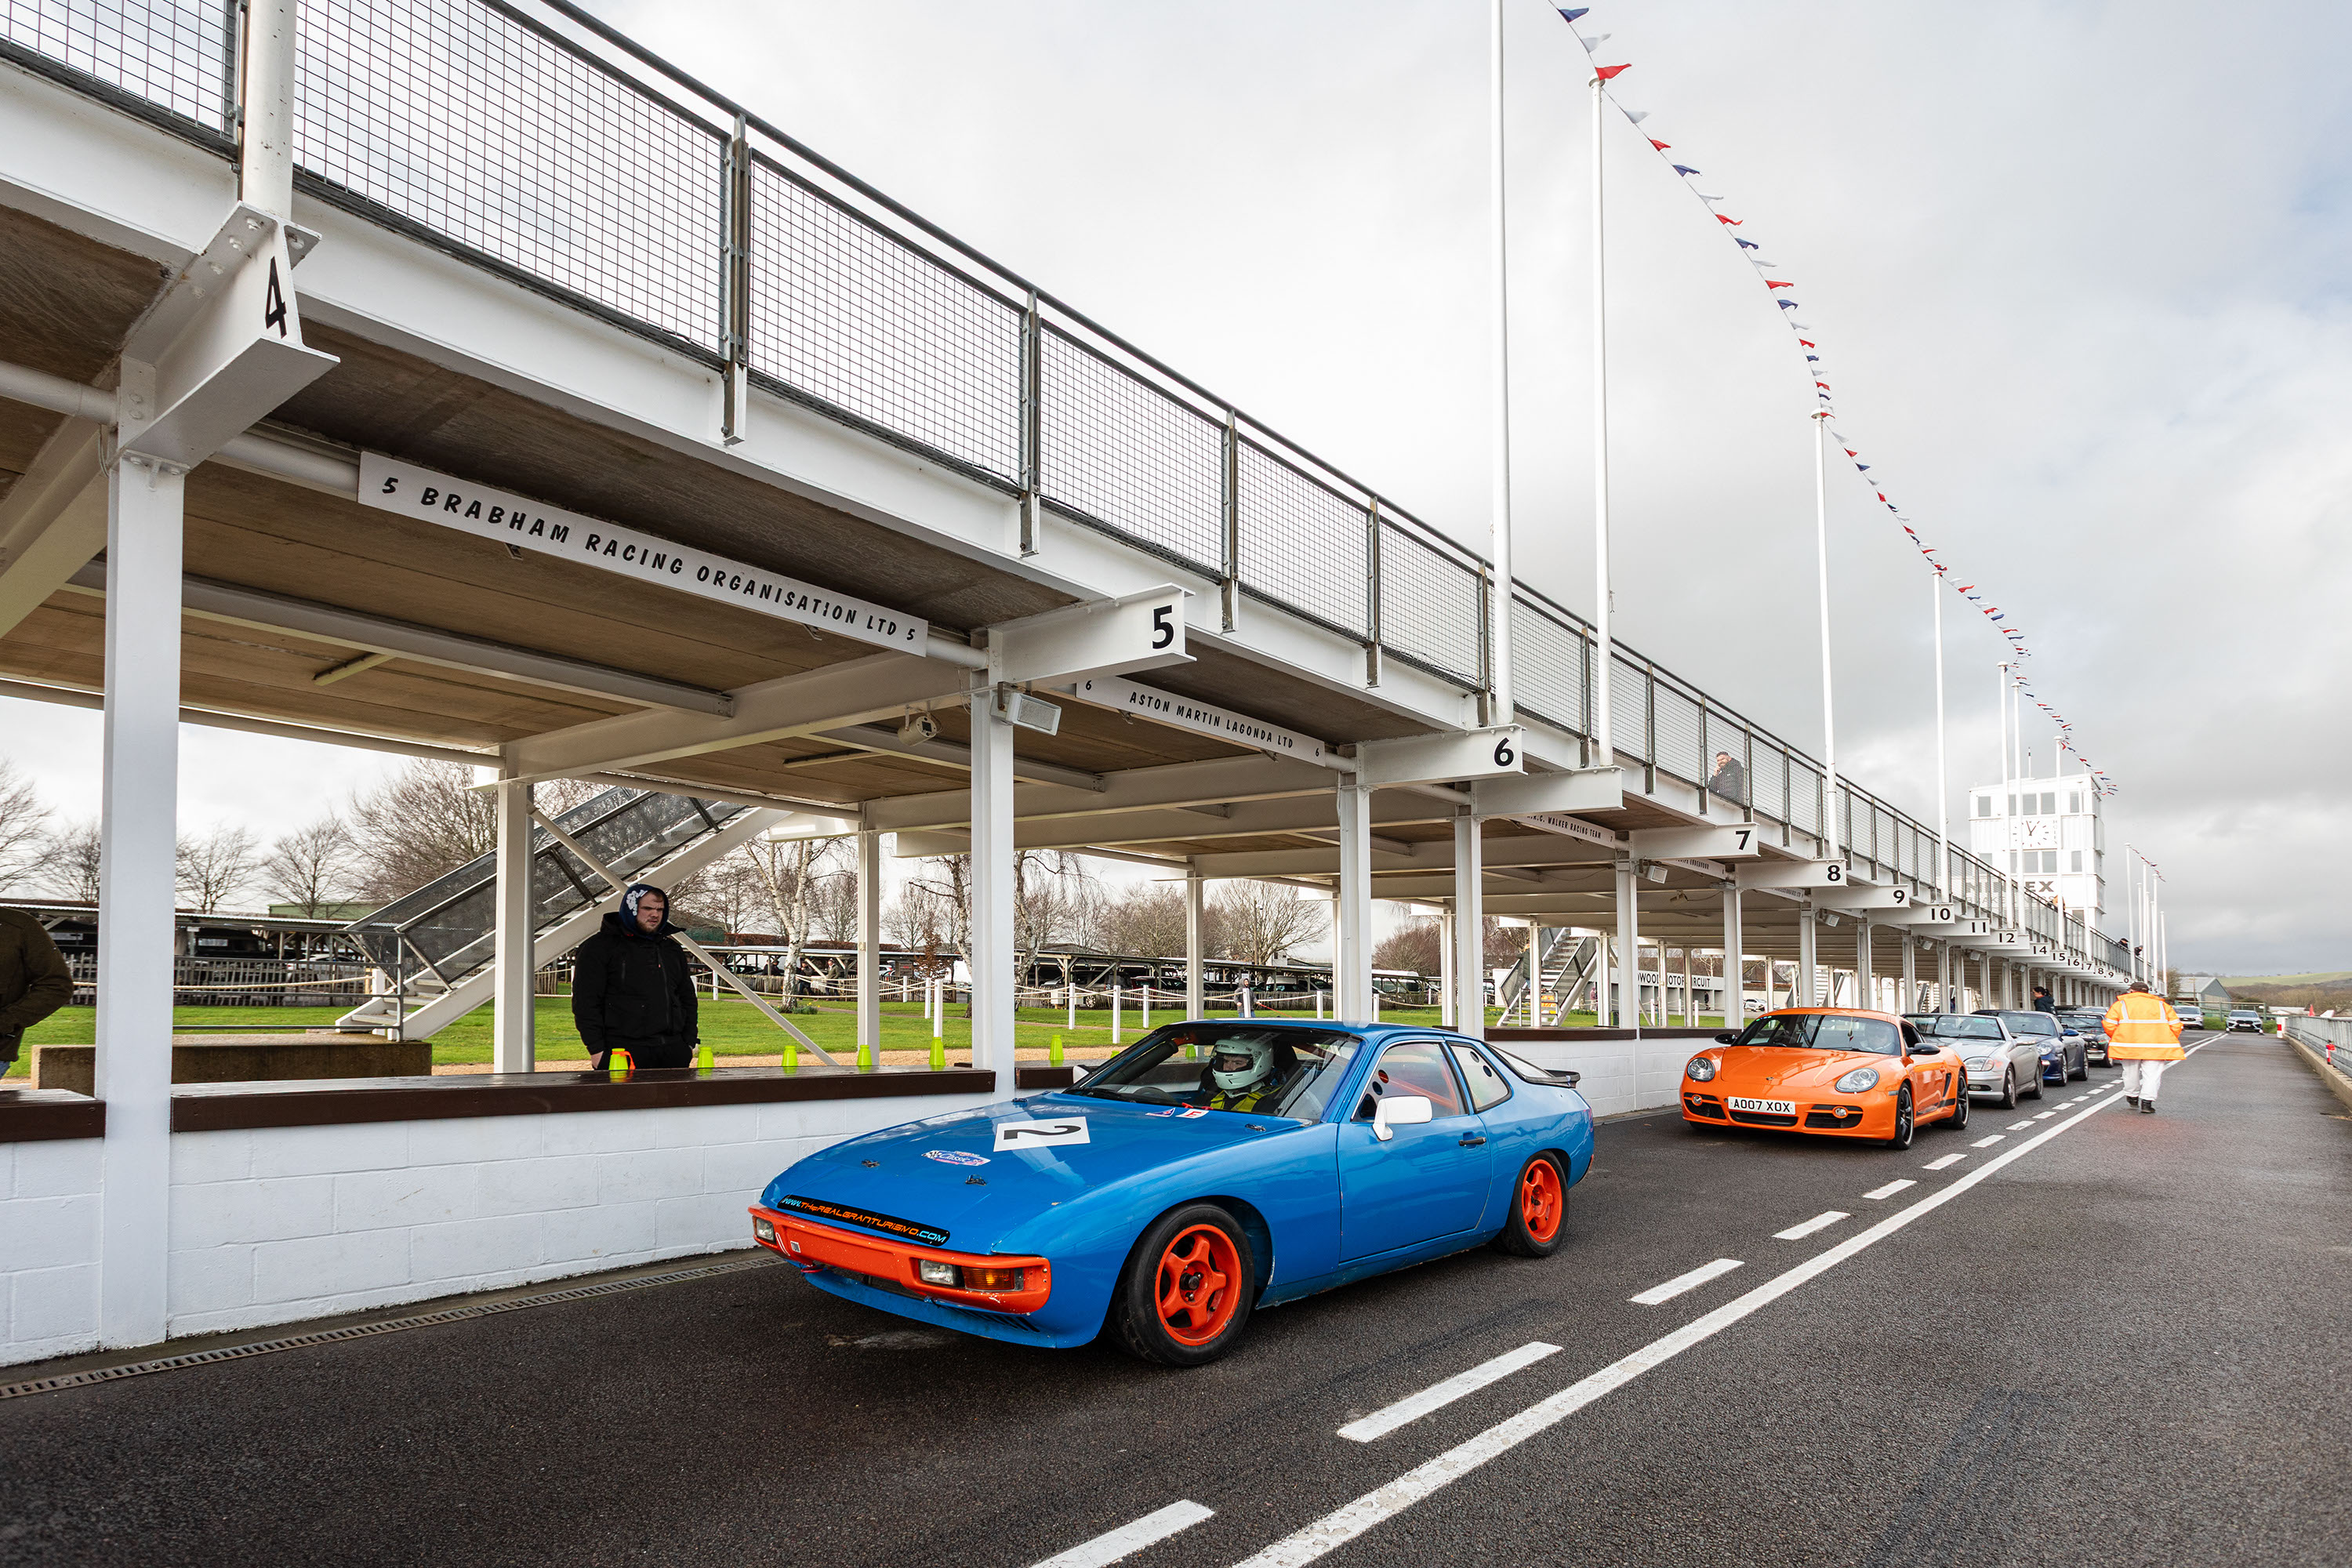
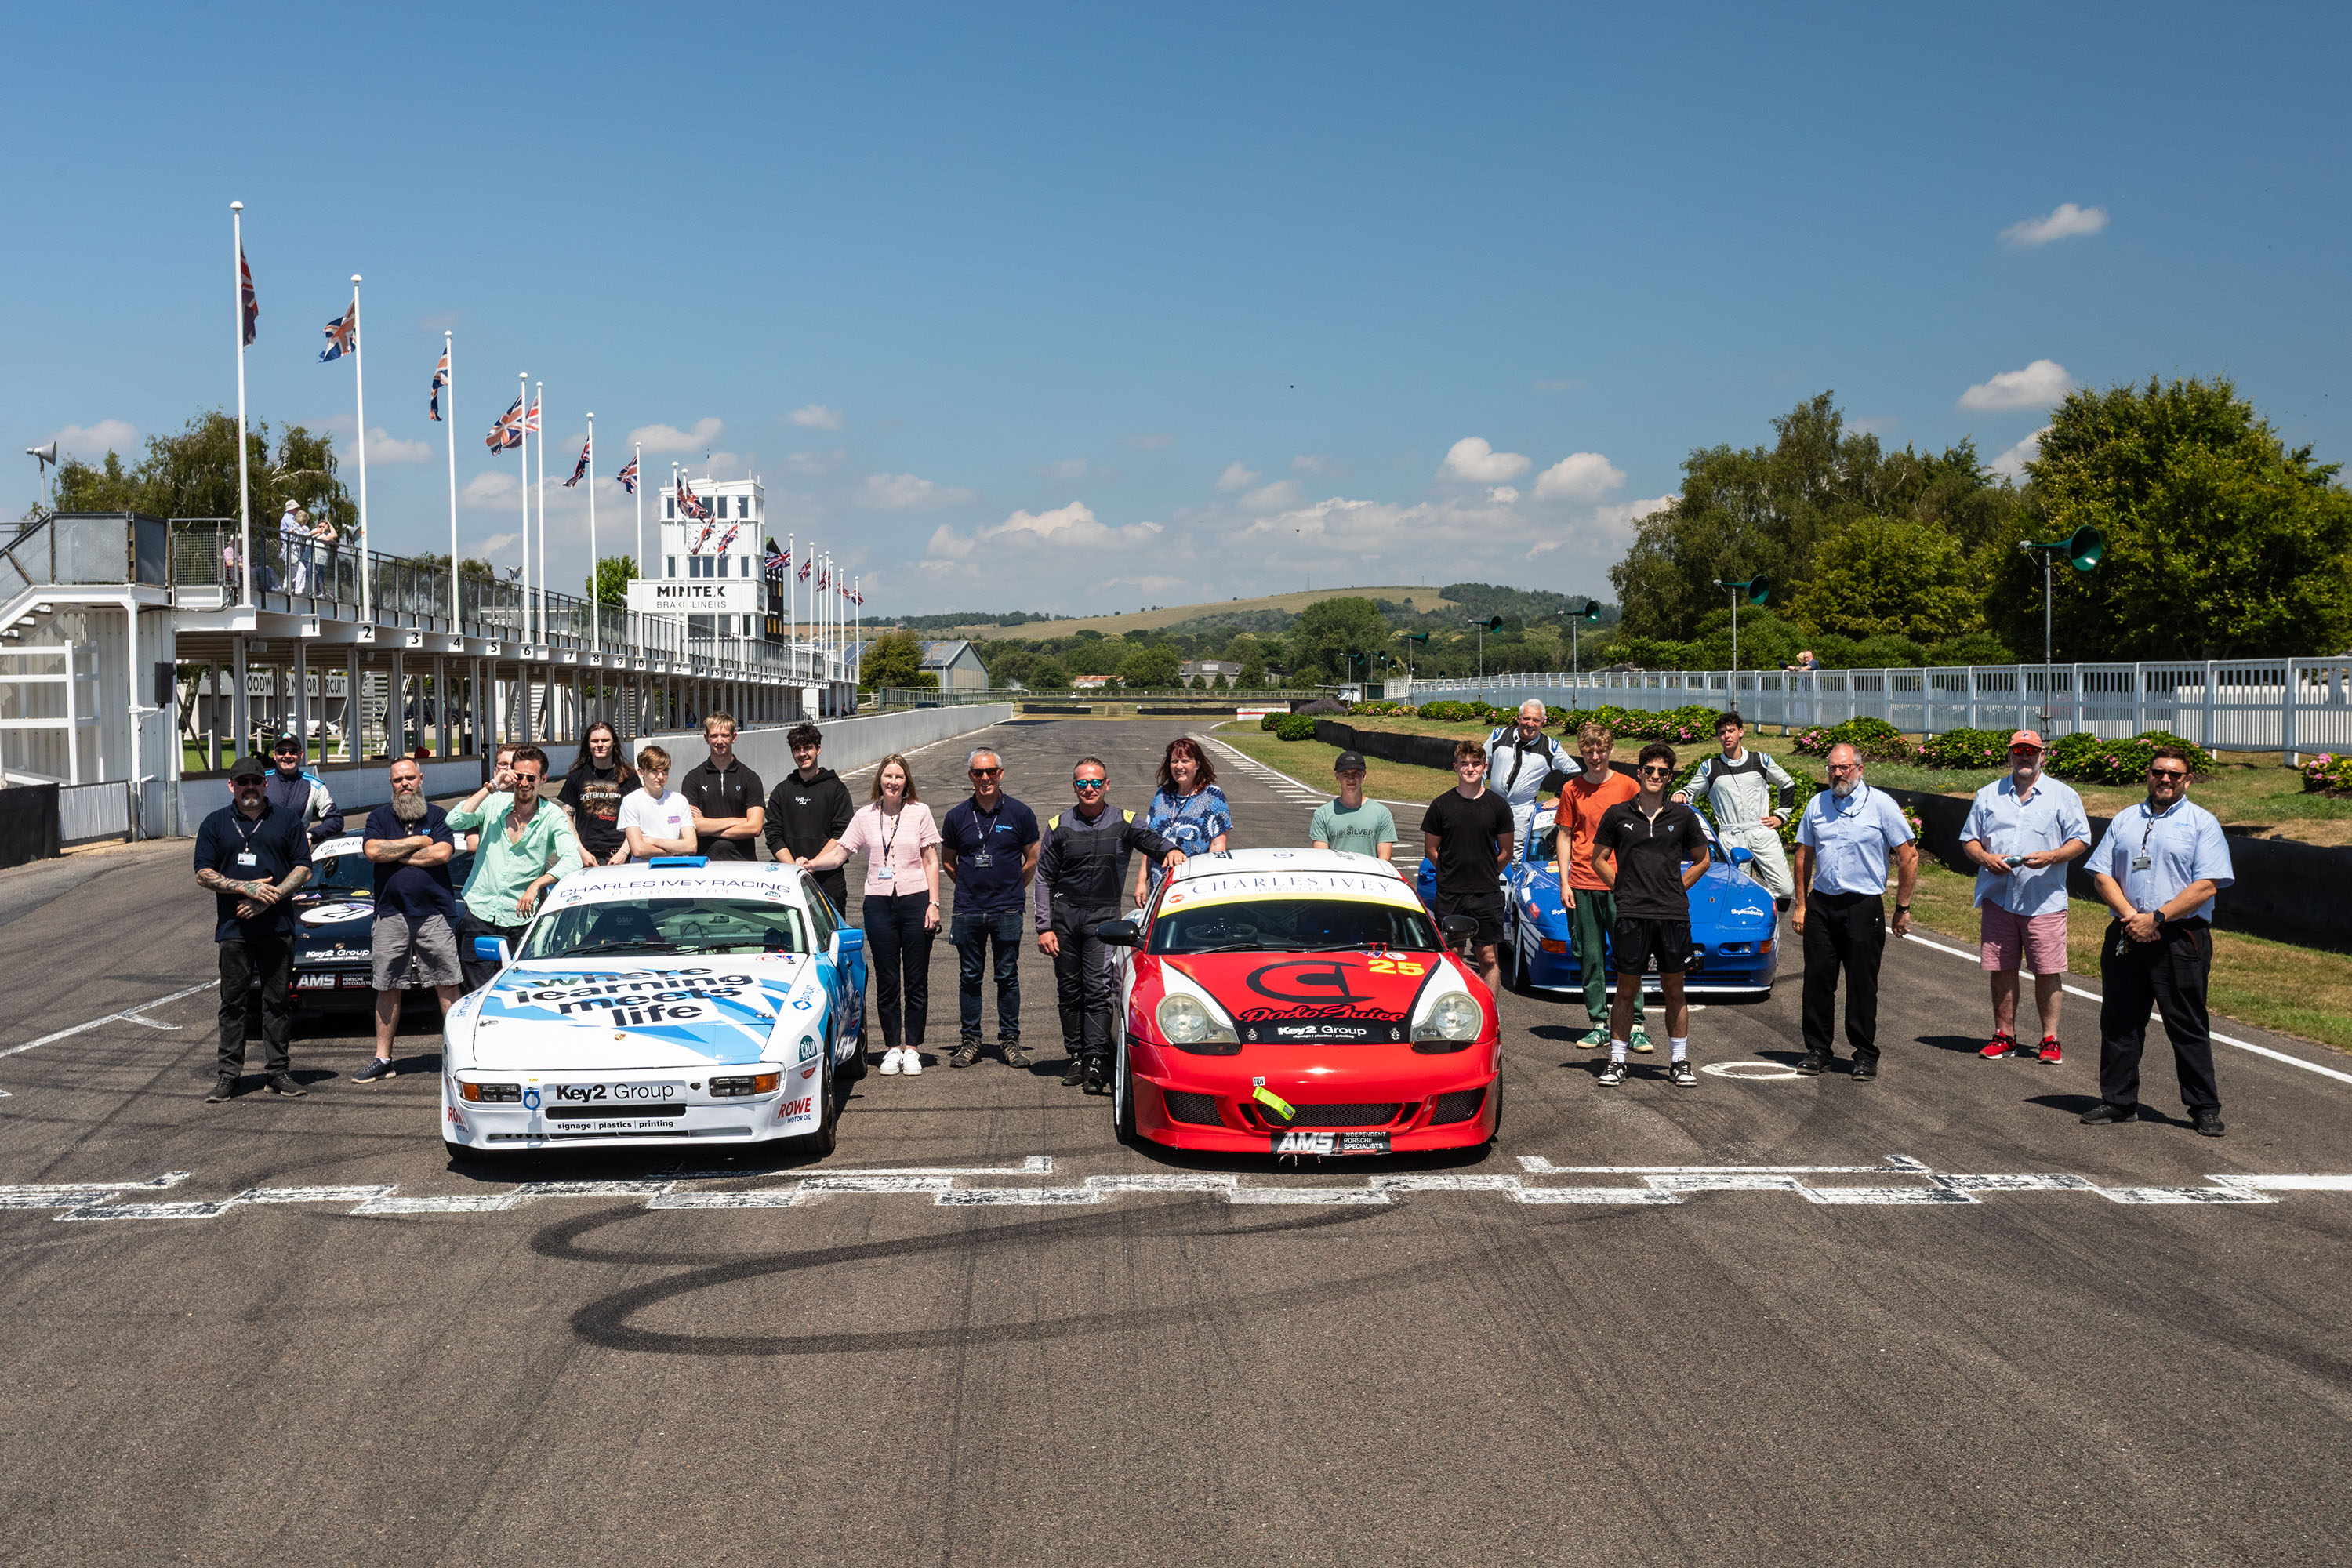
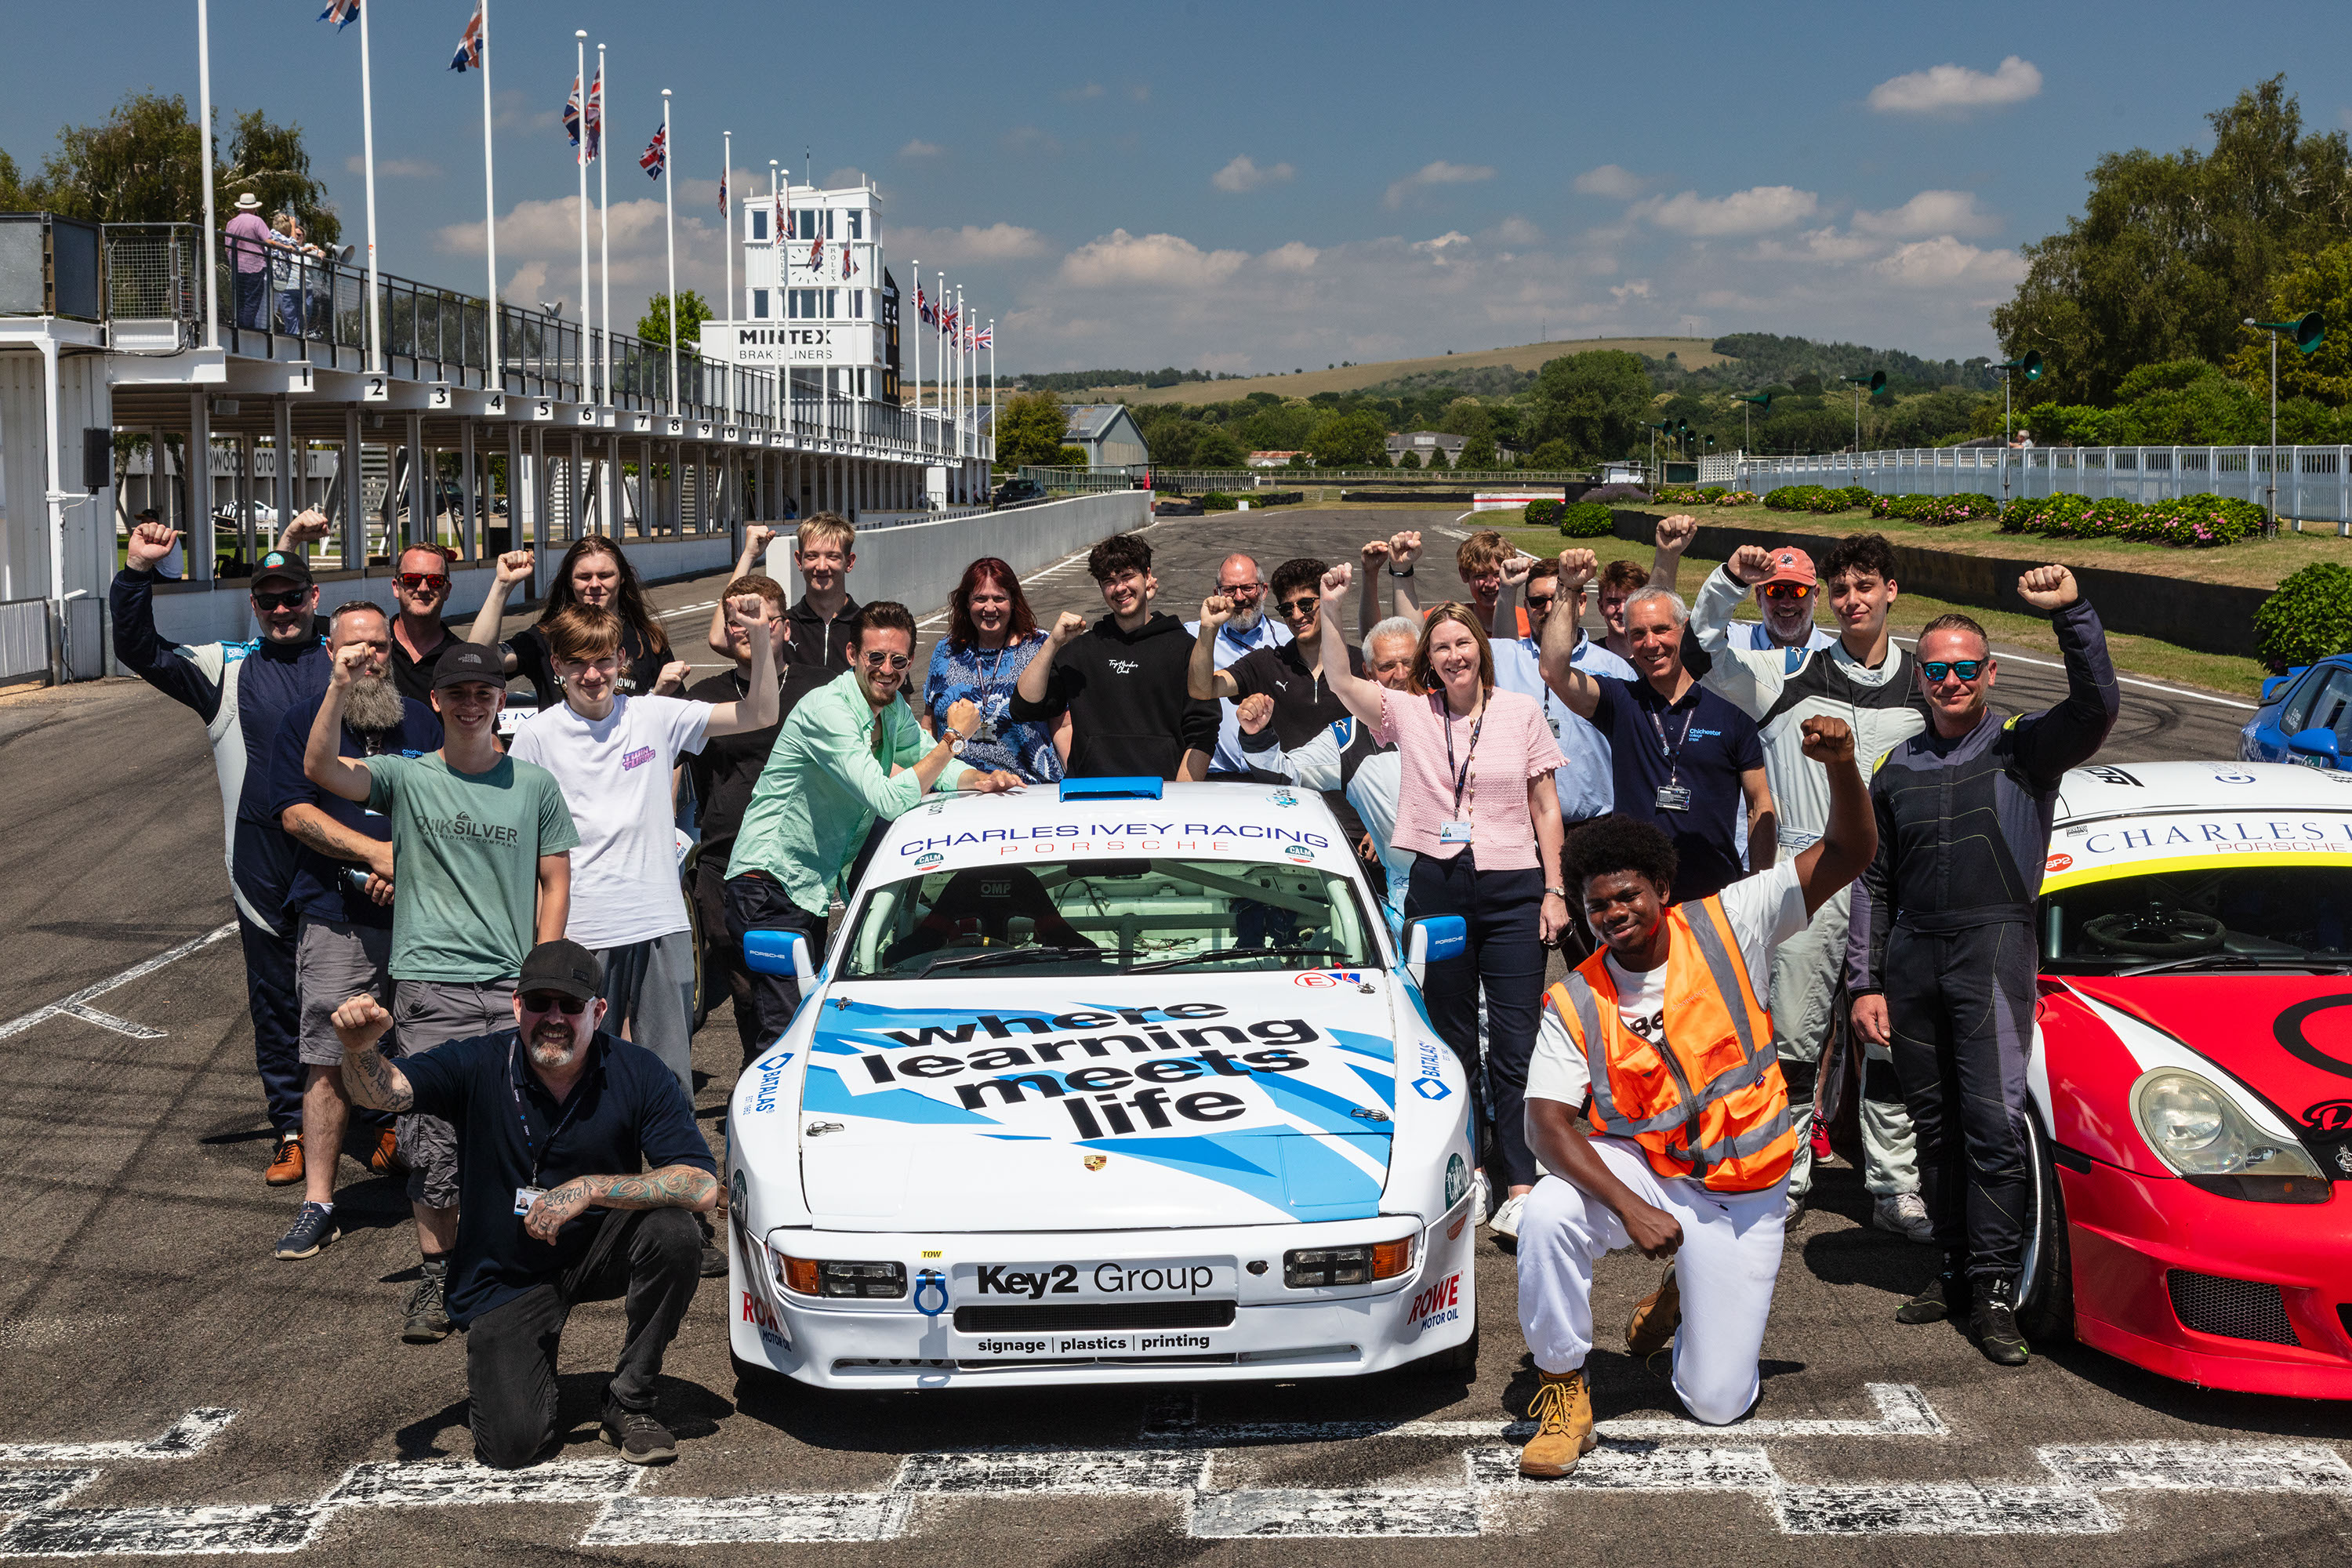
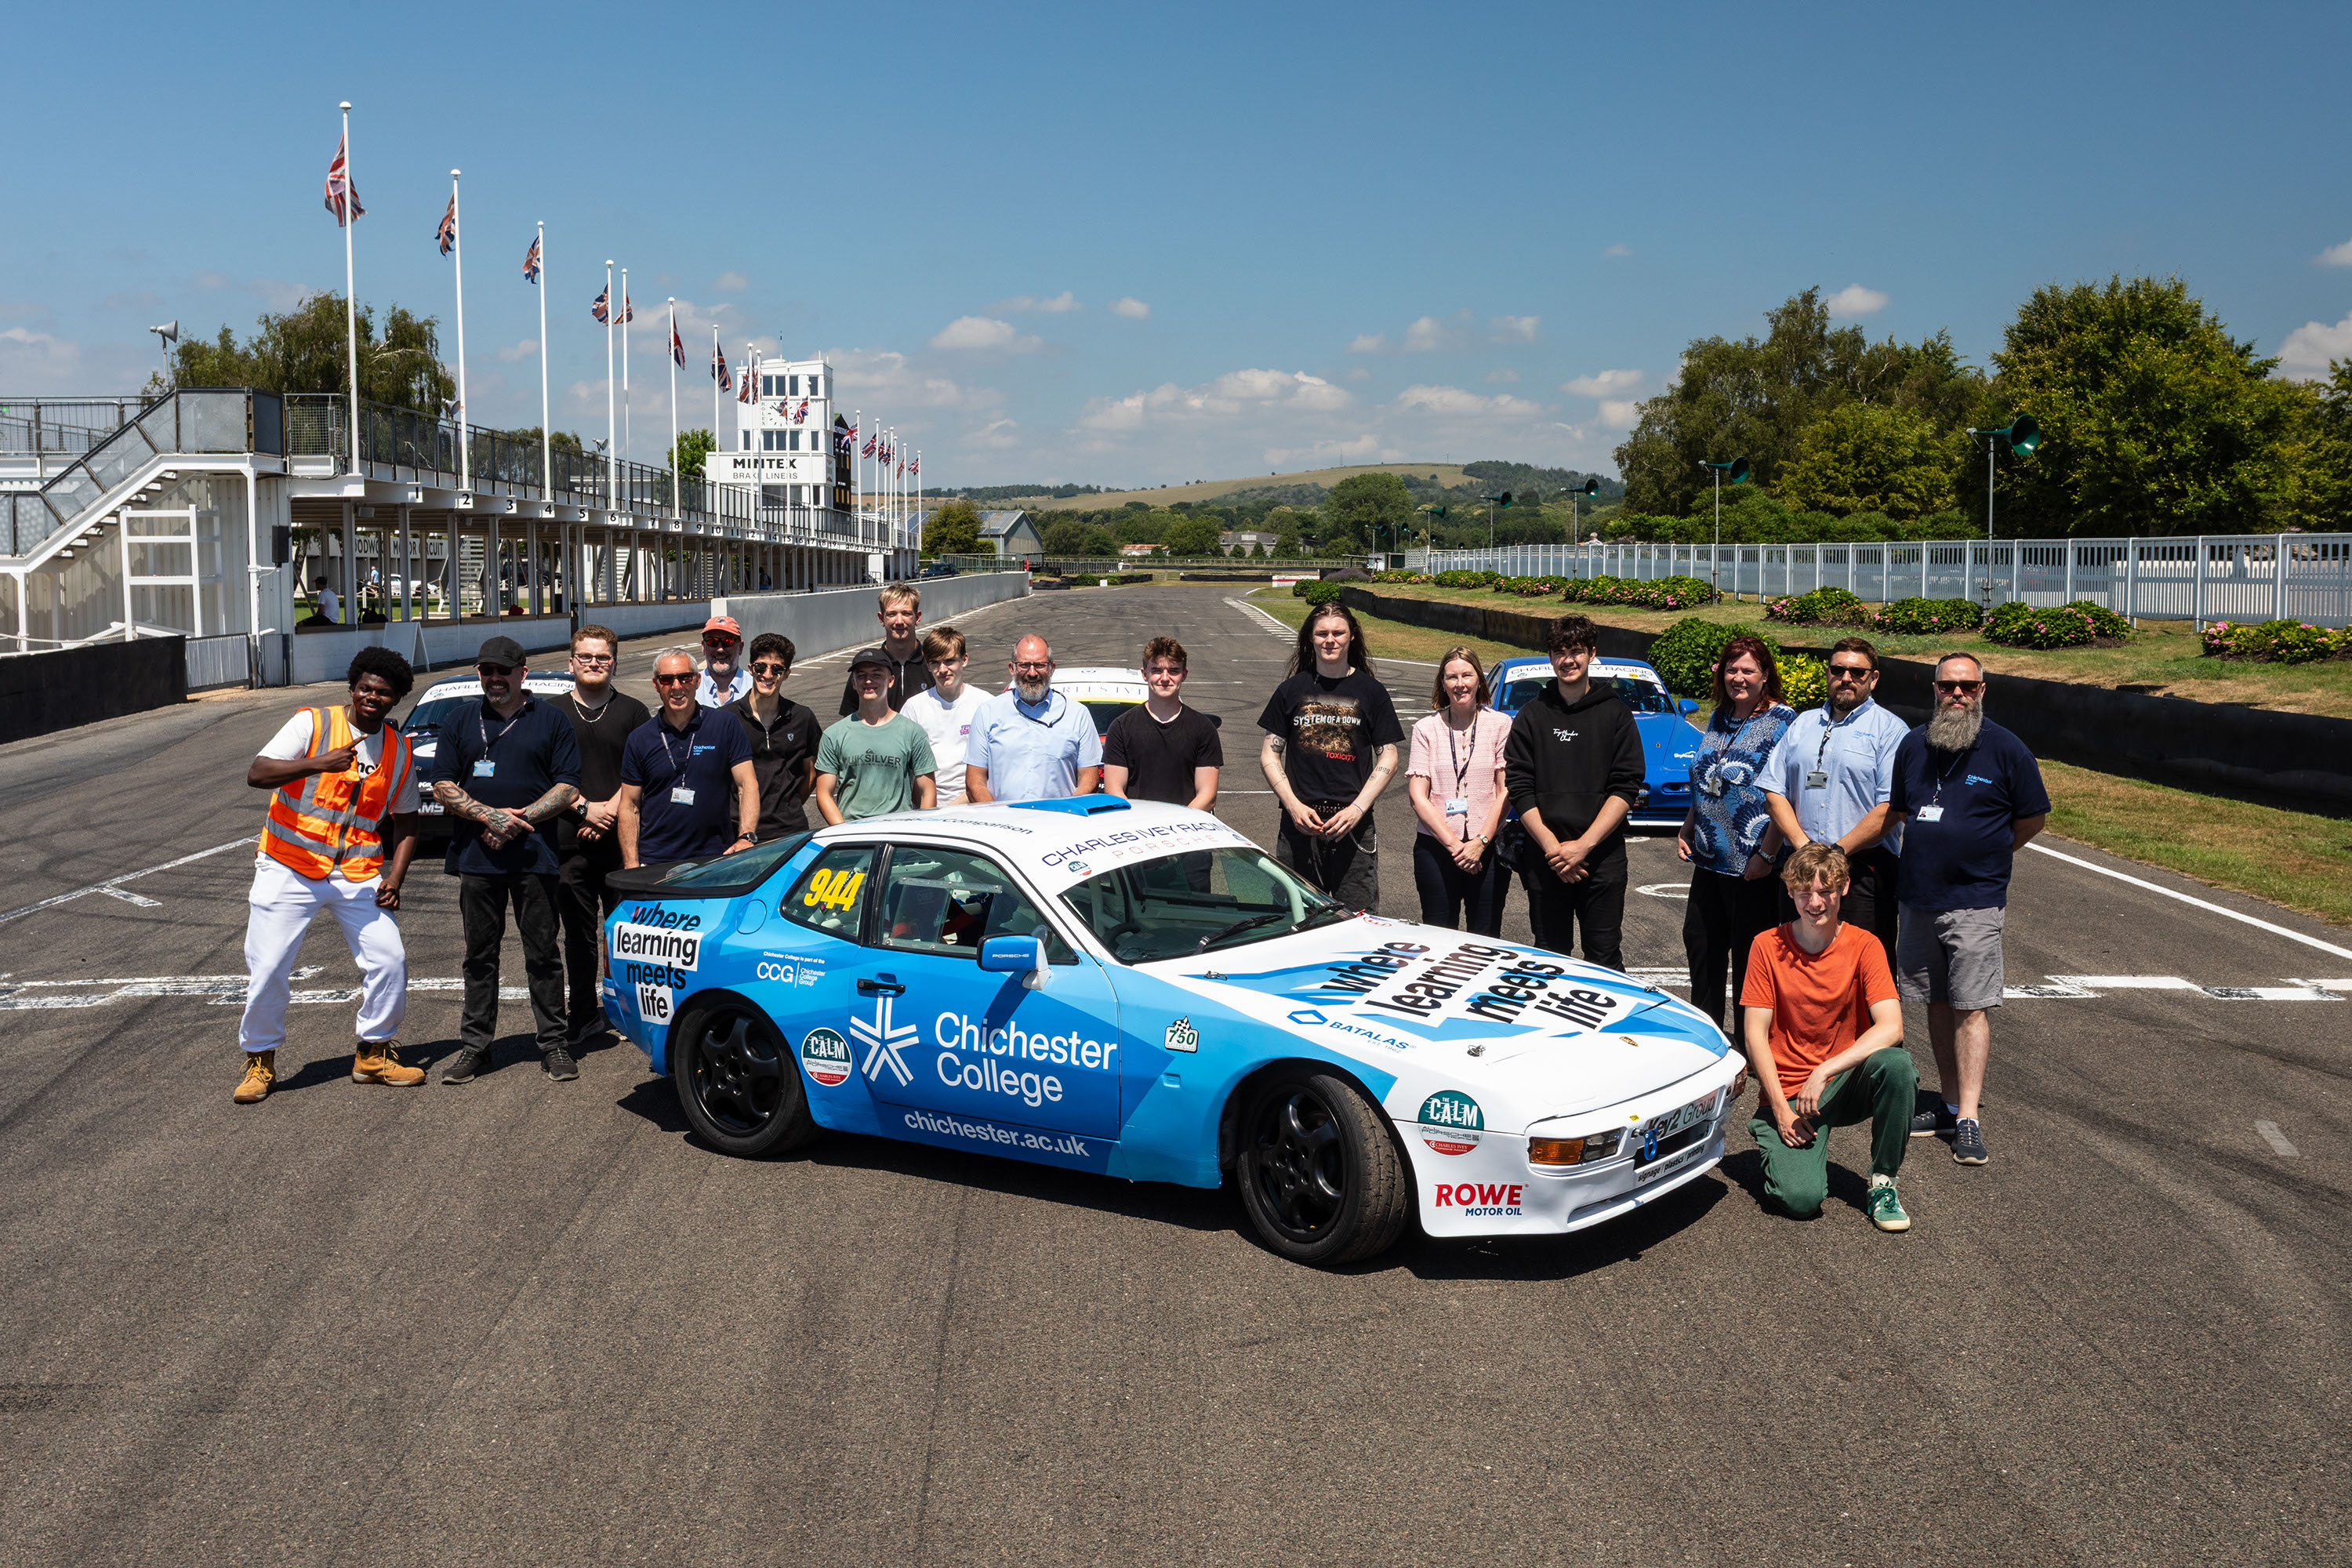
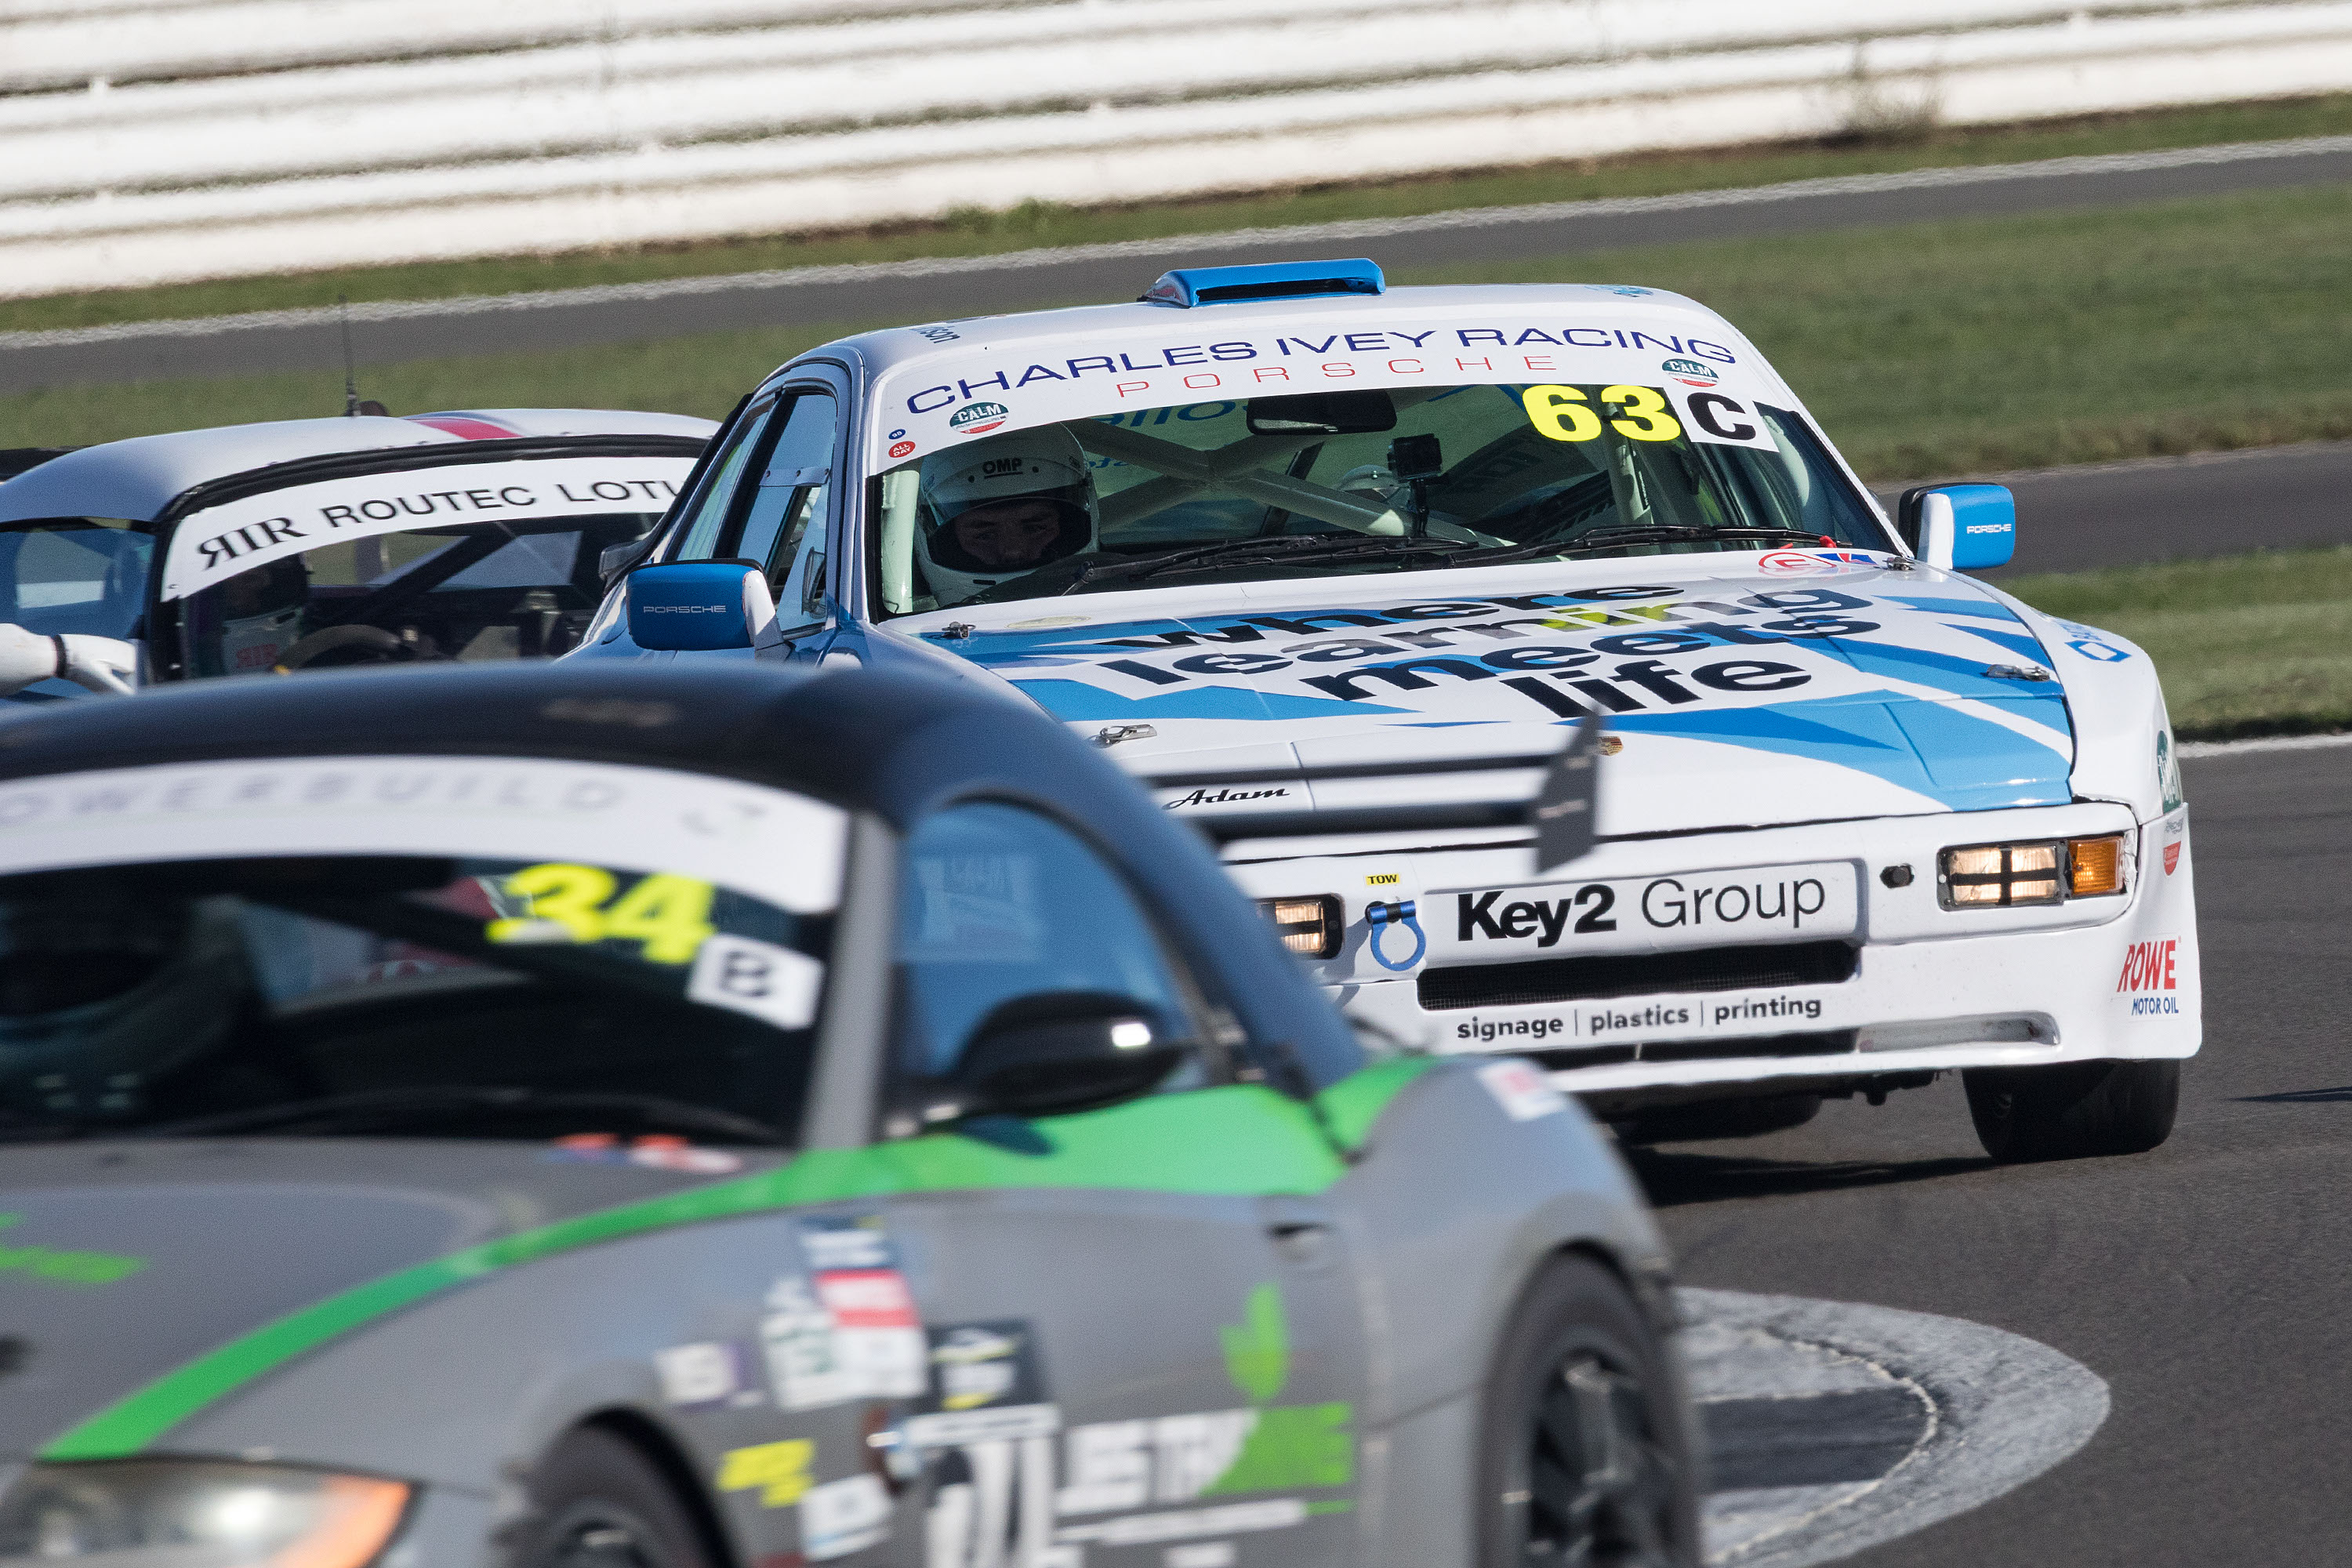
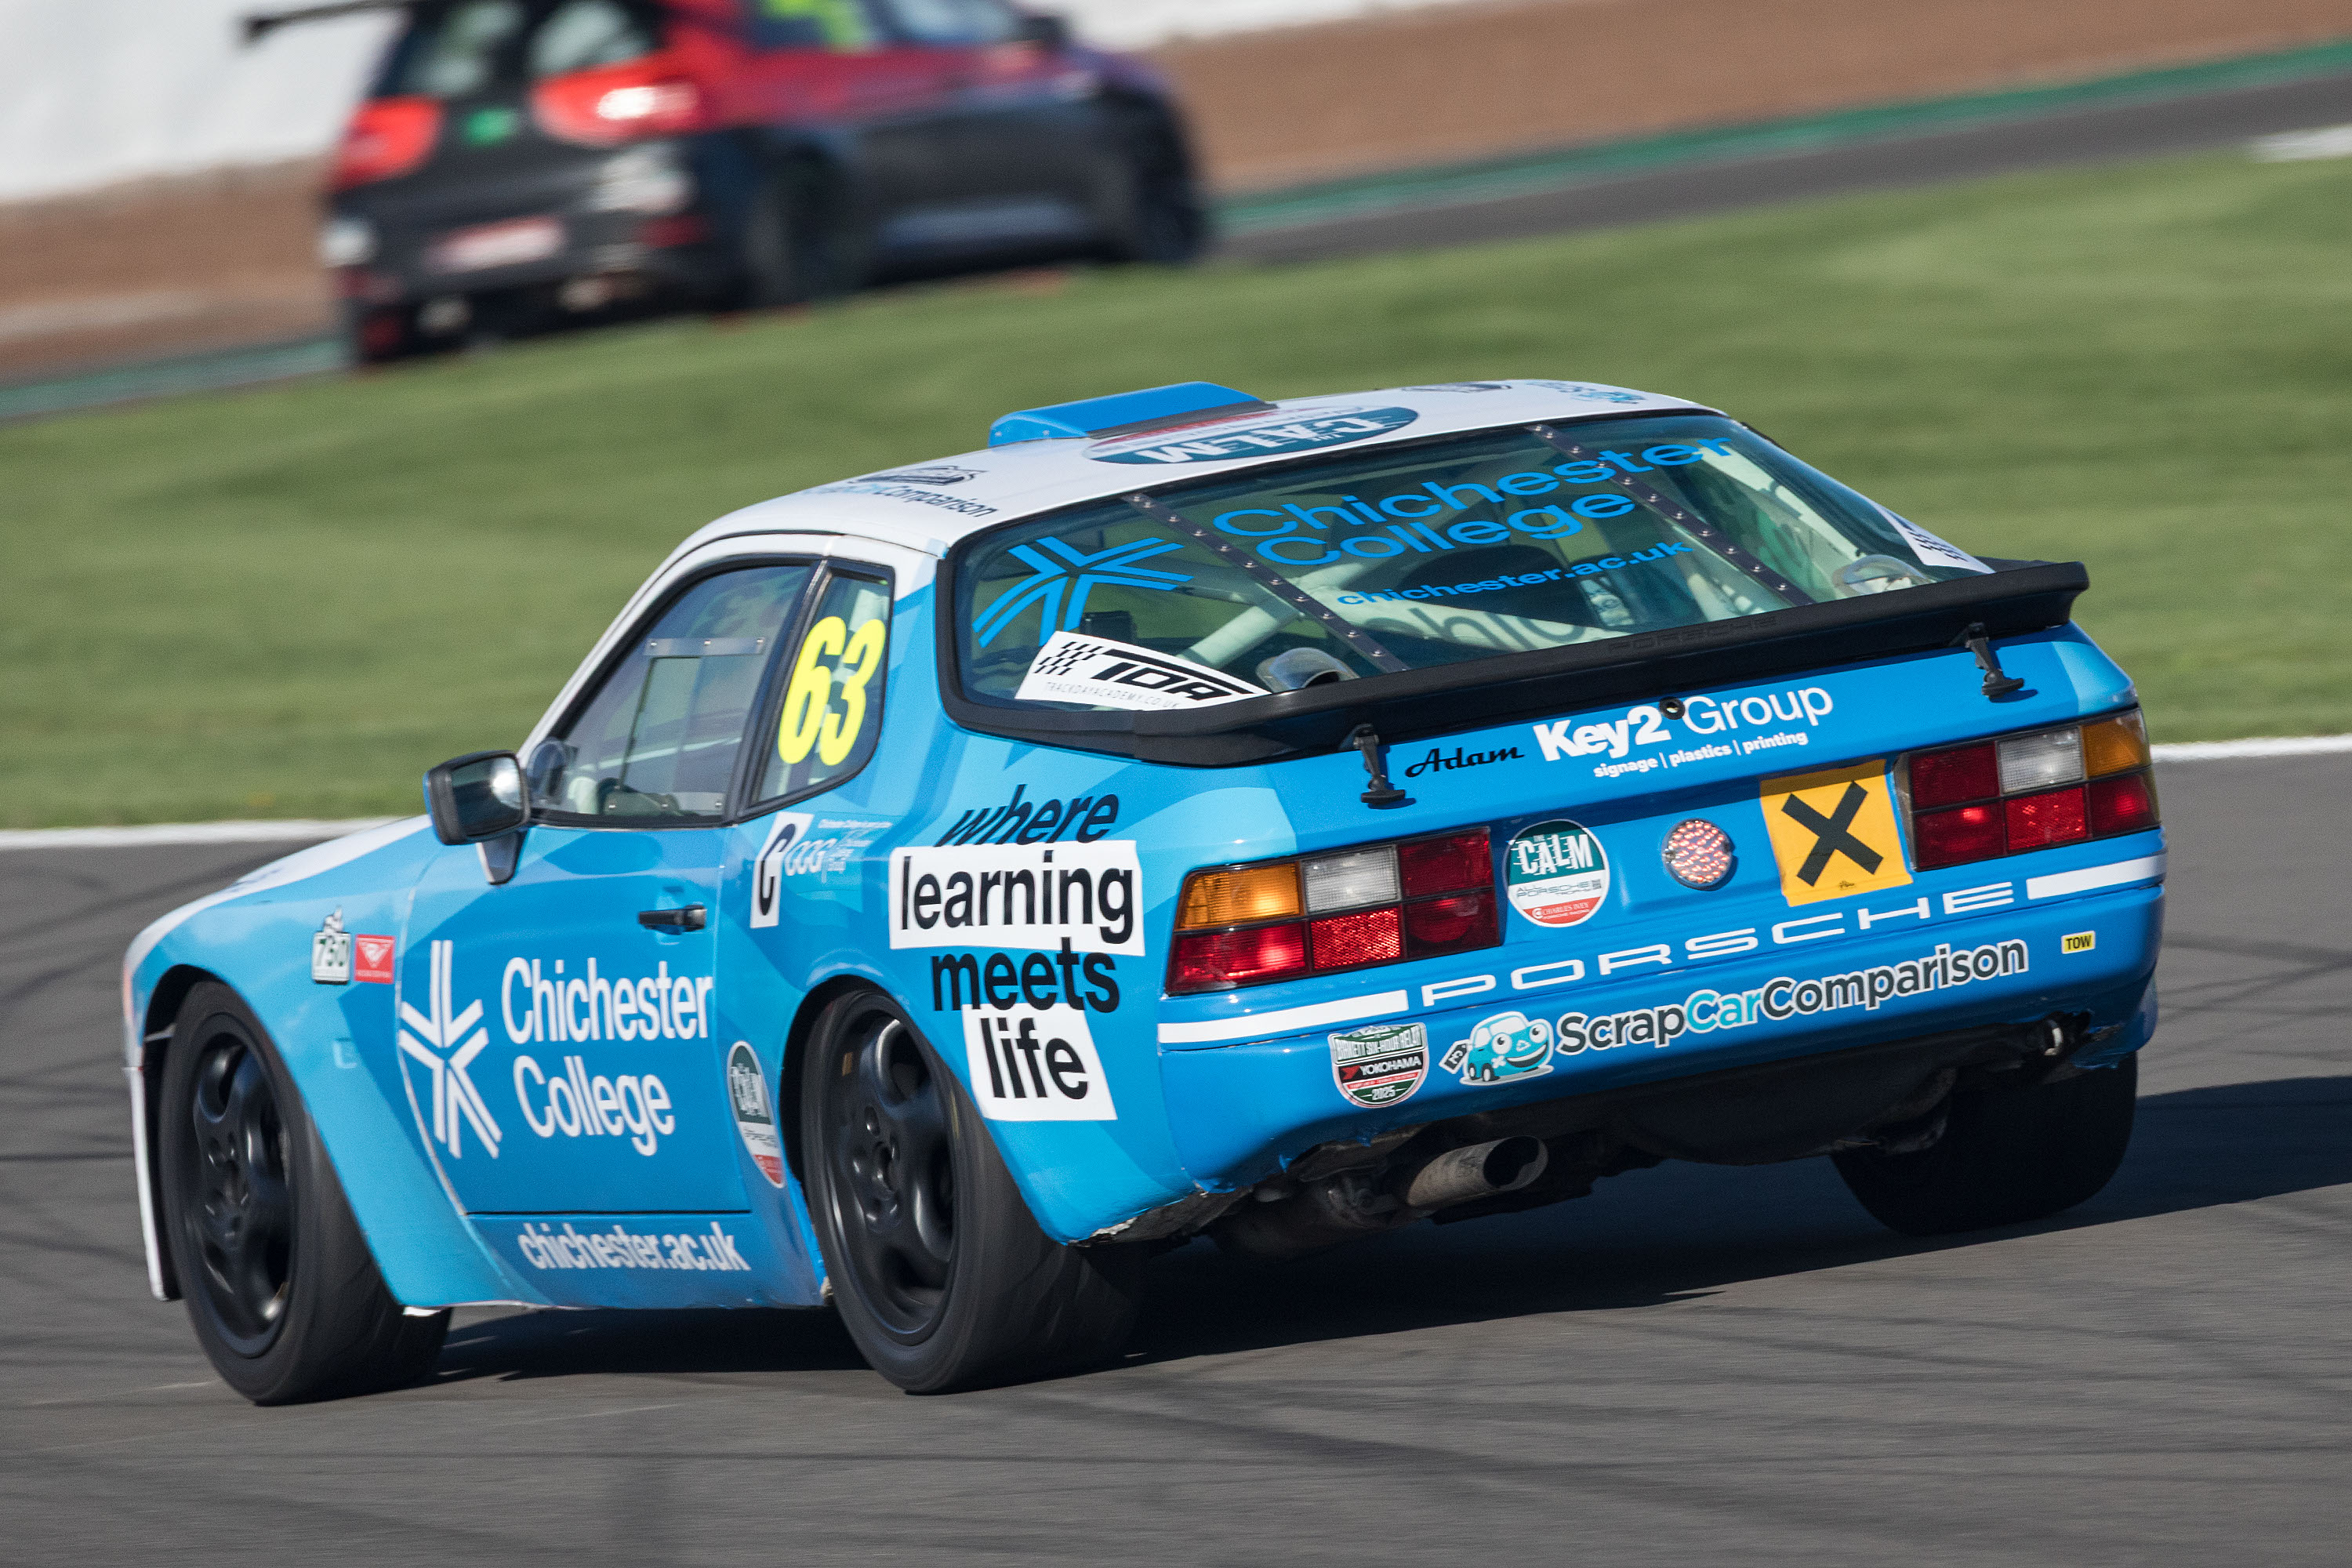
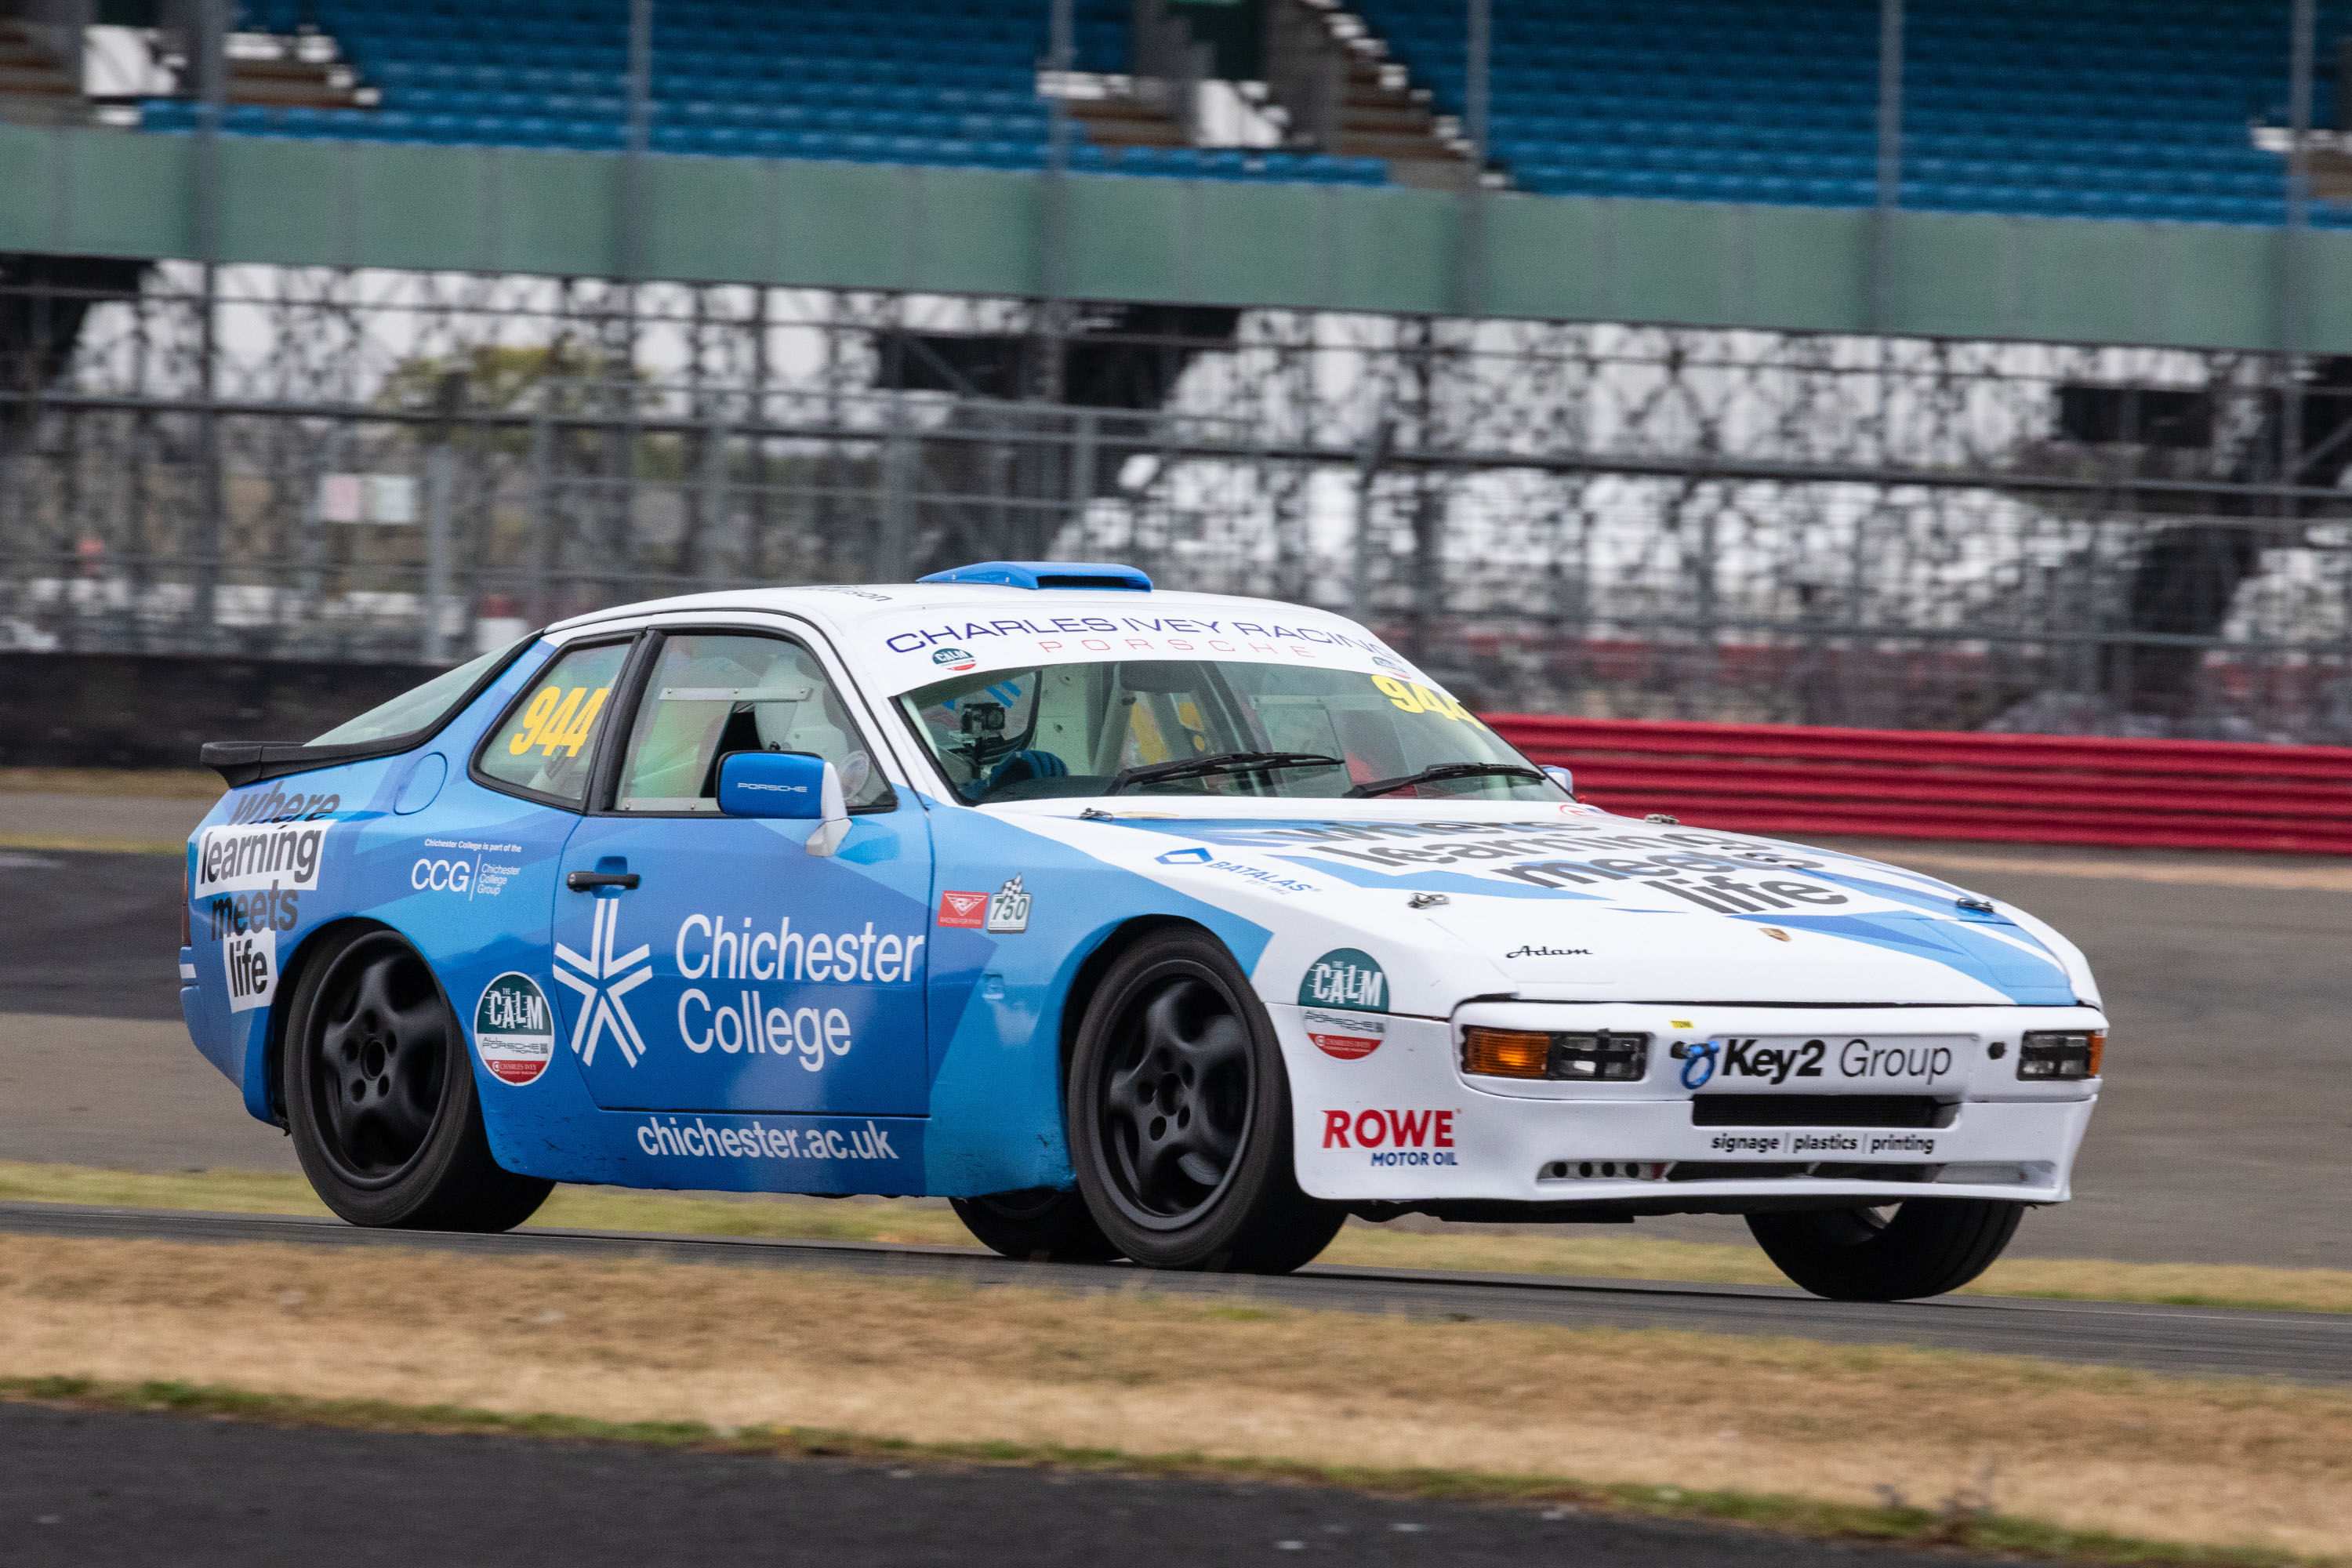
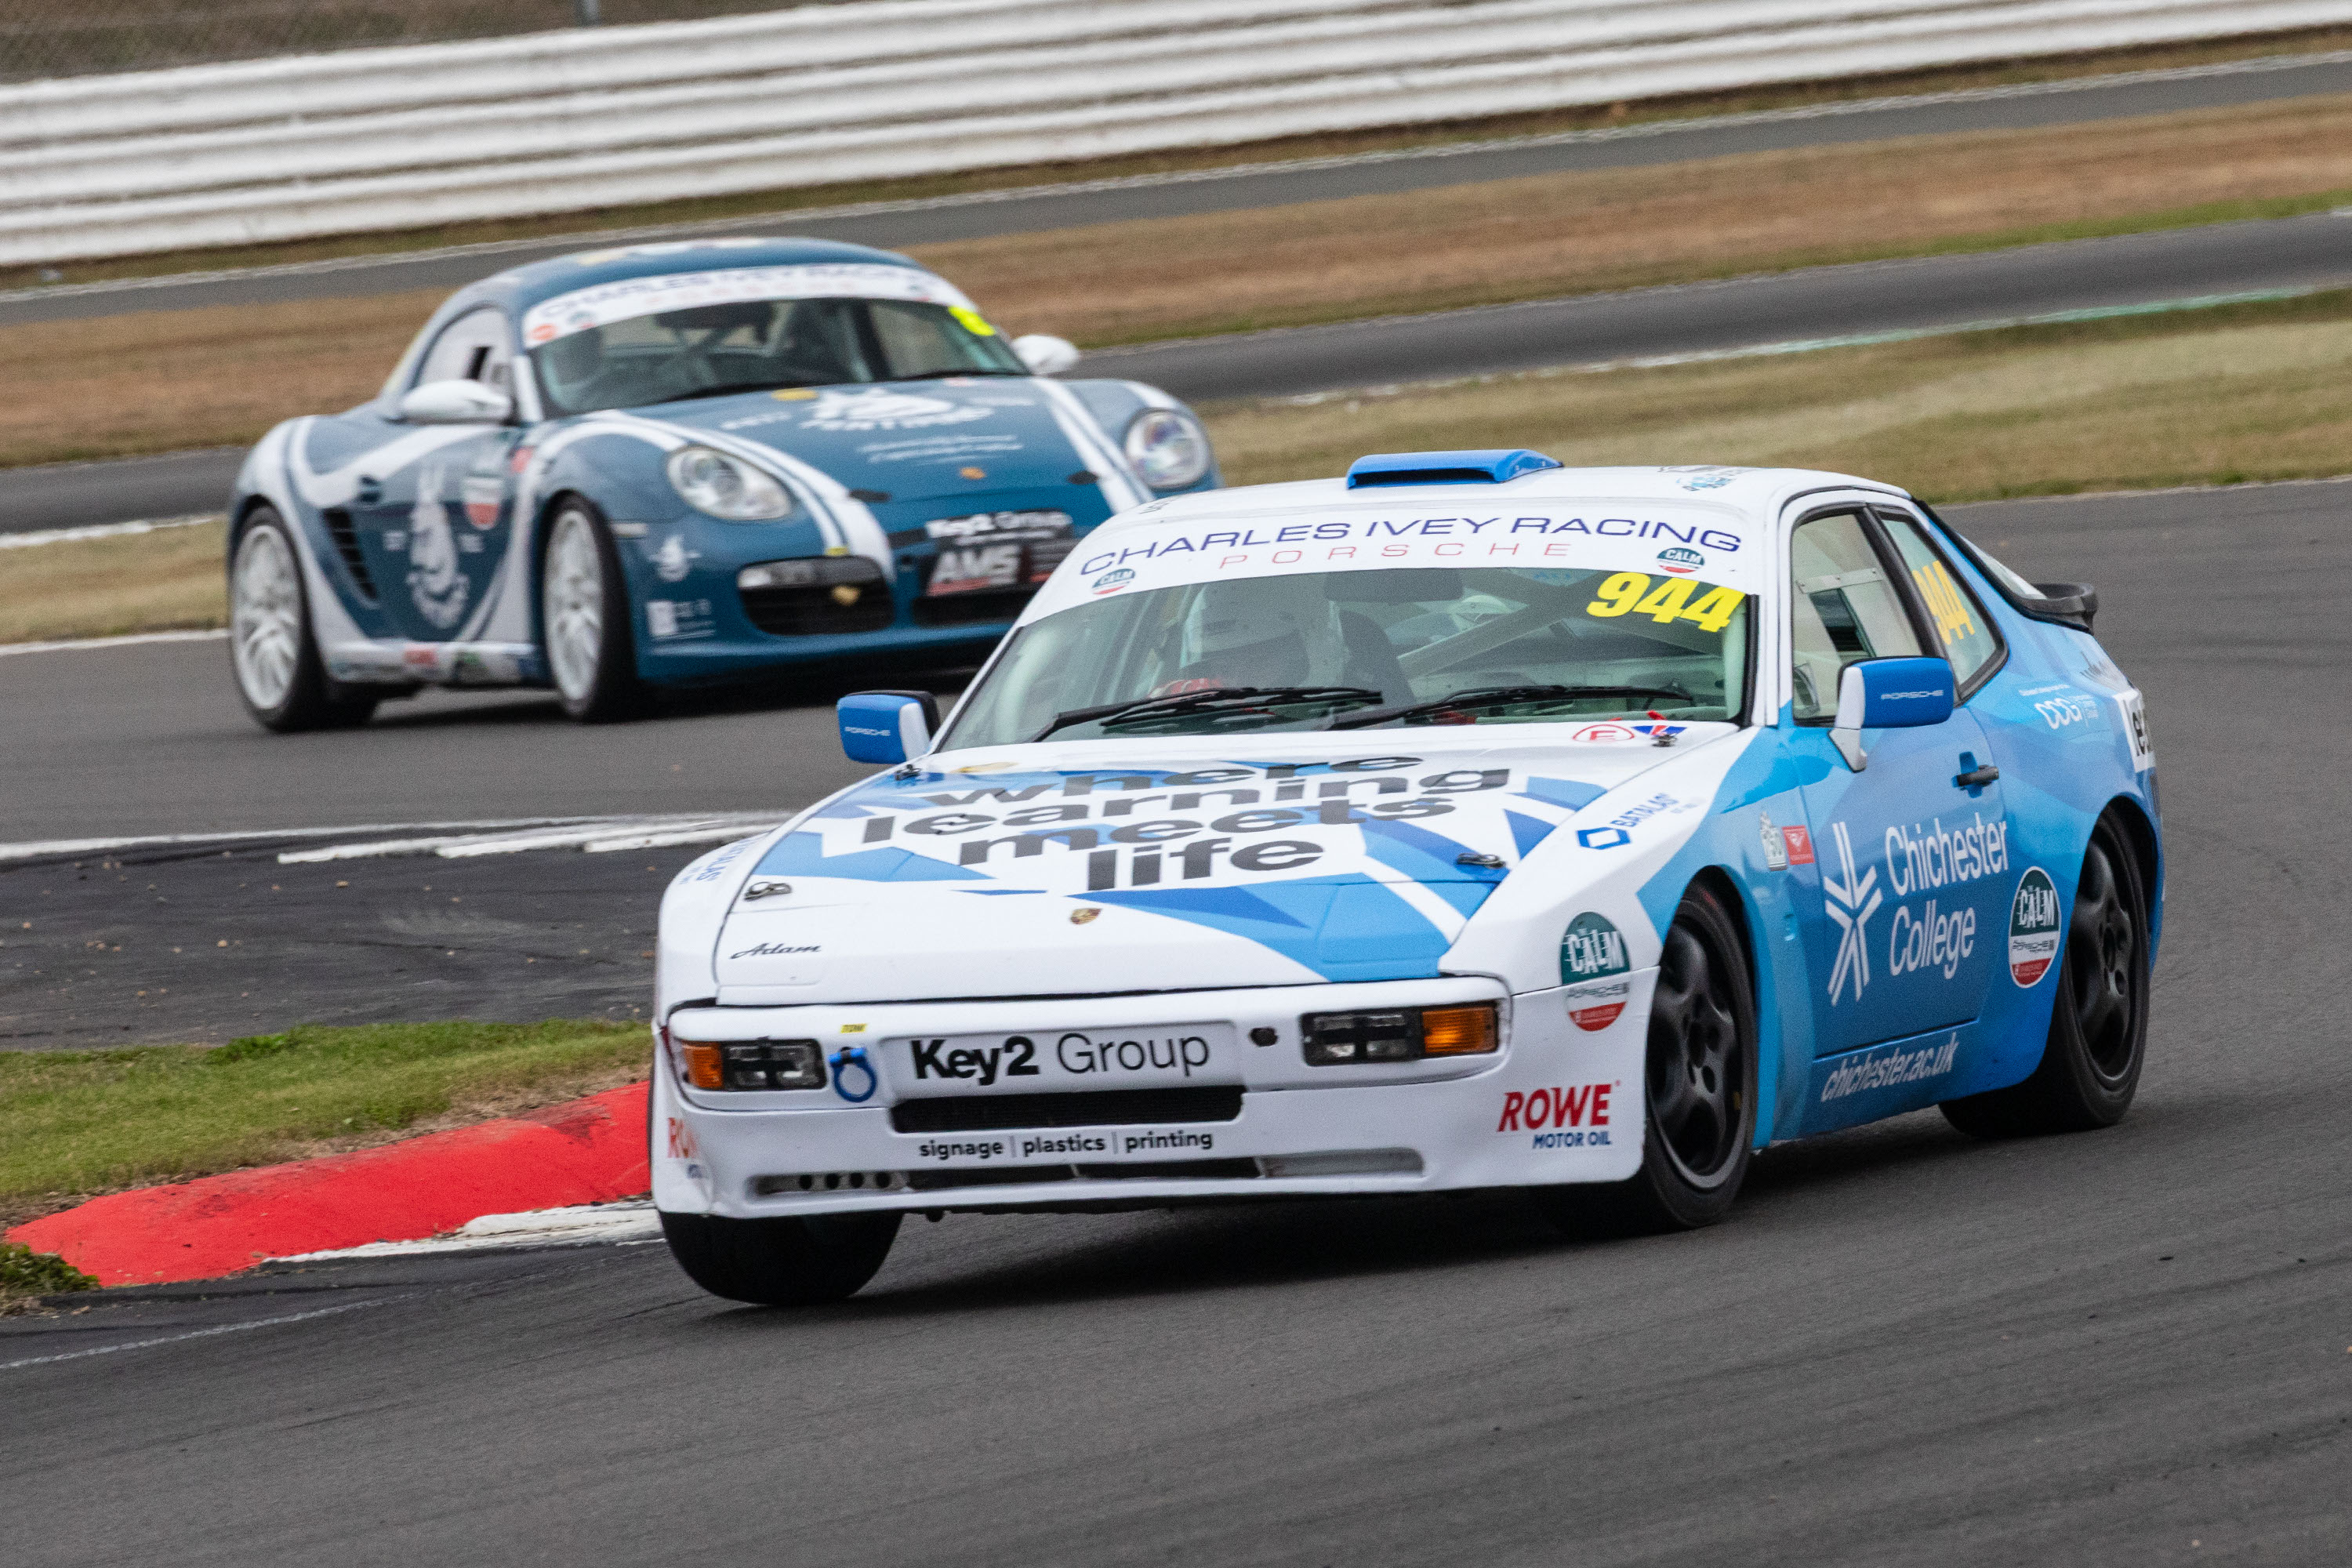
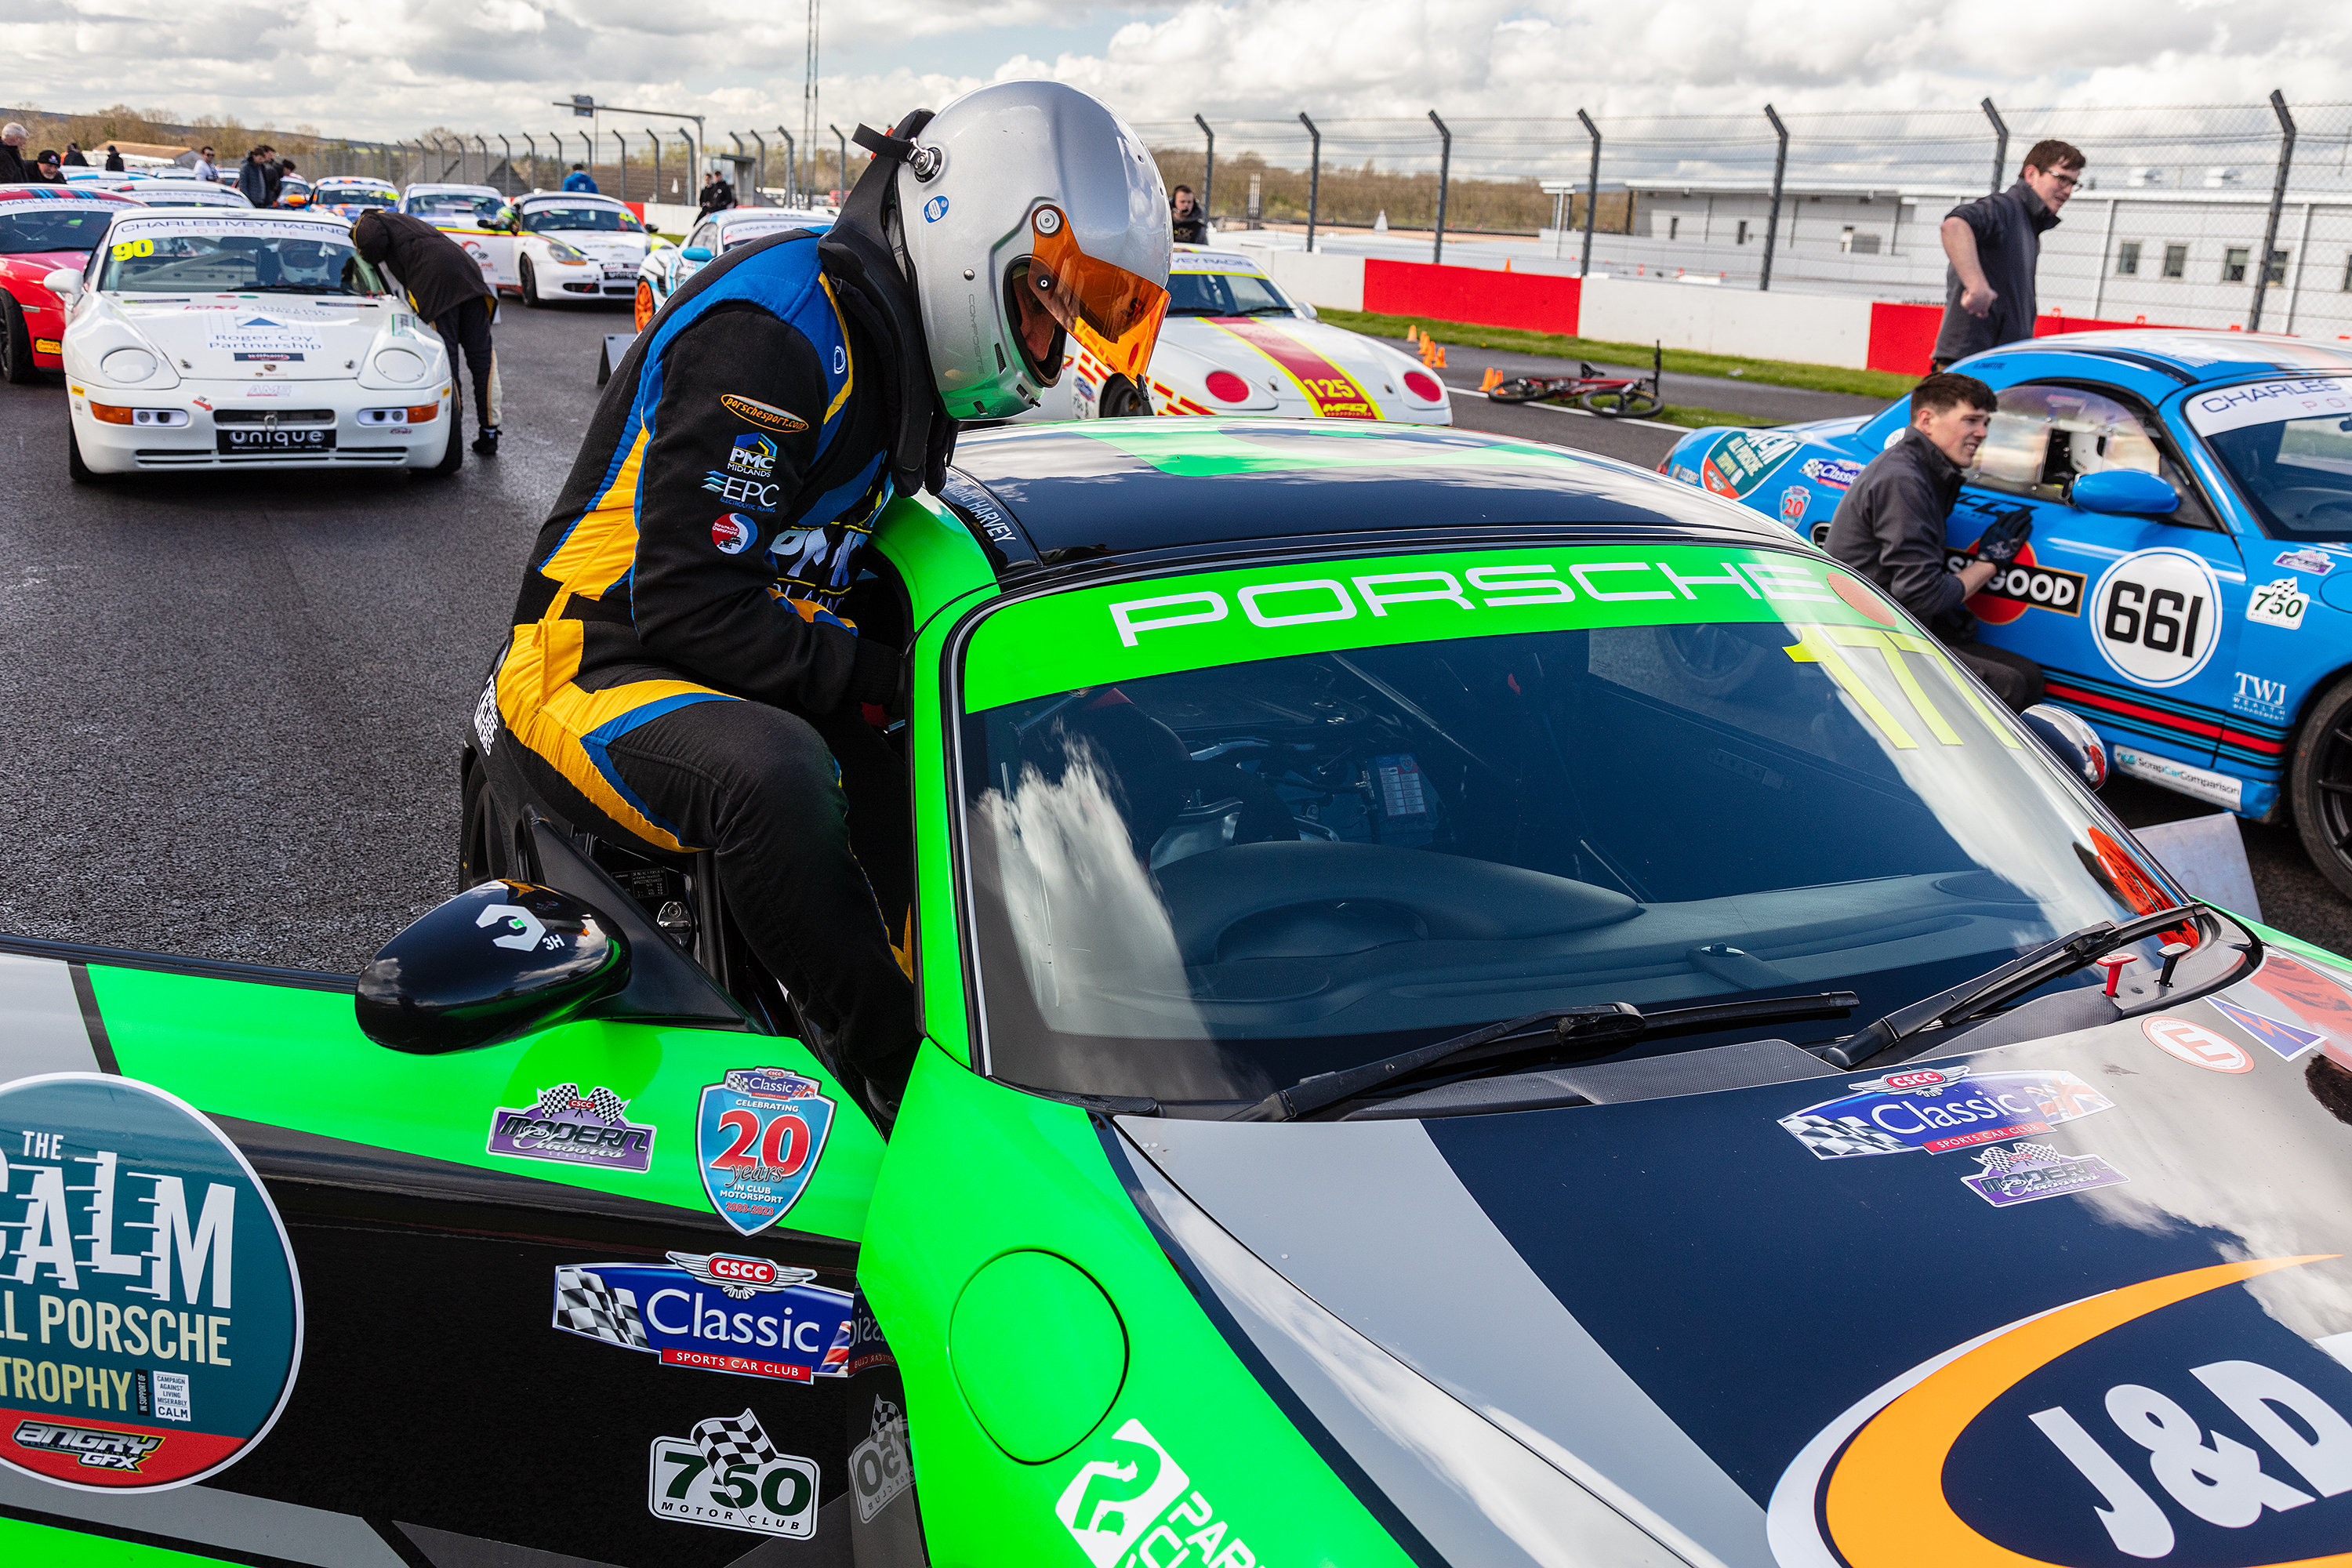
Ive been back to Goodwood at the end of January at the Behest of Philip Waters of the CALM All Porsche Trophy to help grab some images for Chichester College for the upcoming season
We had been at Goodwood back in the summer too
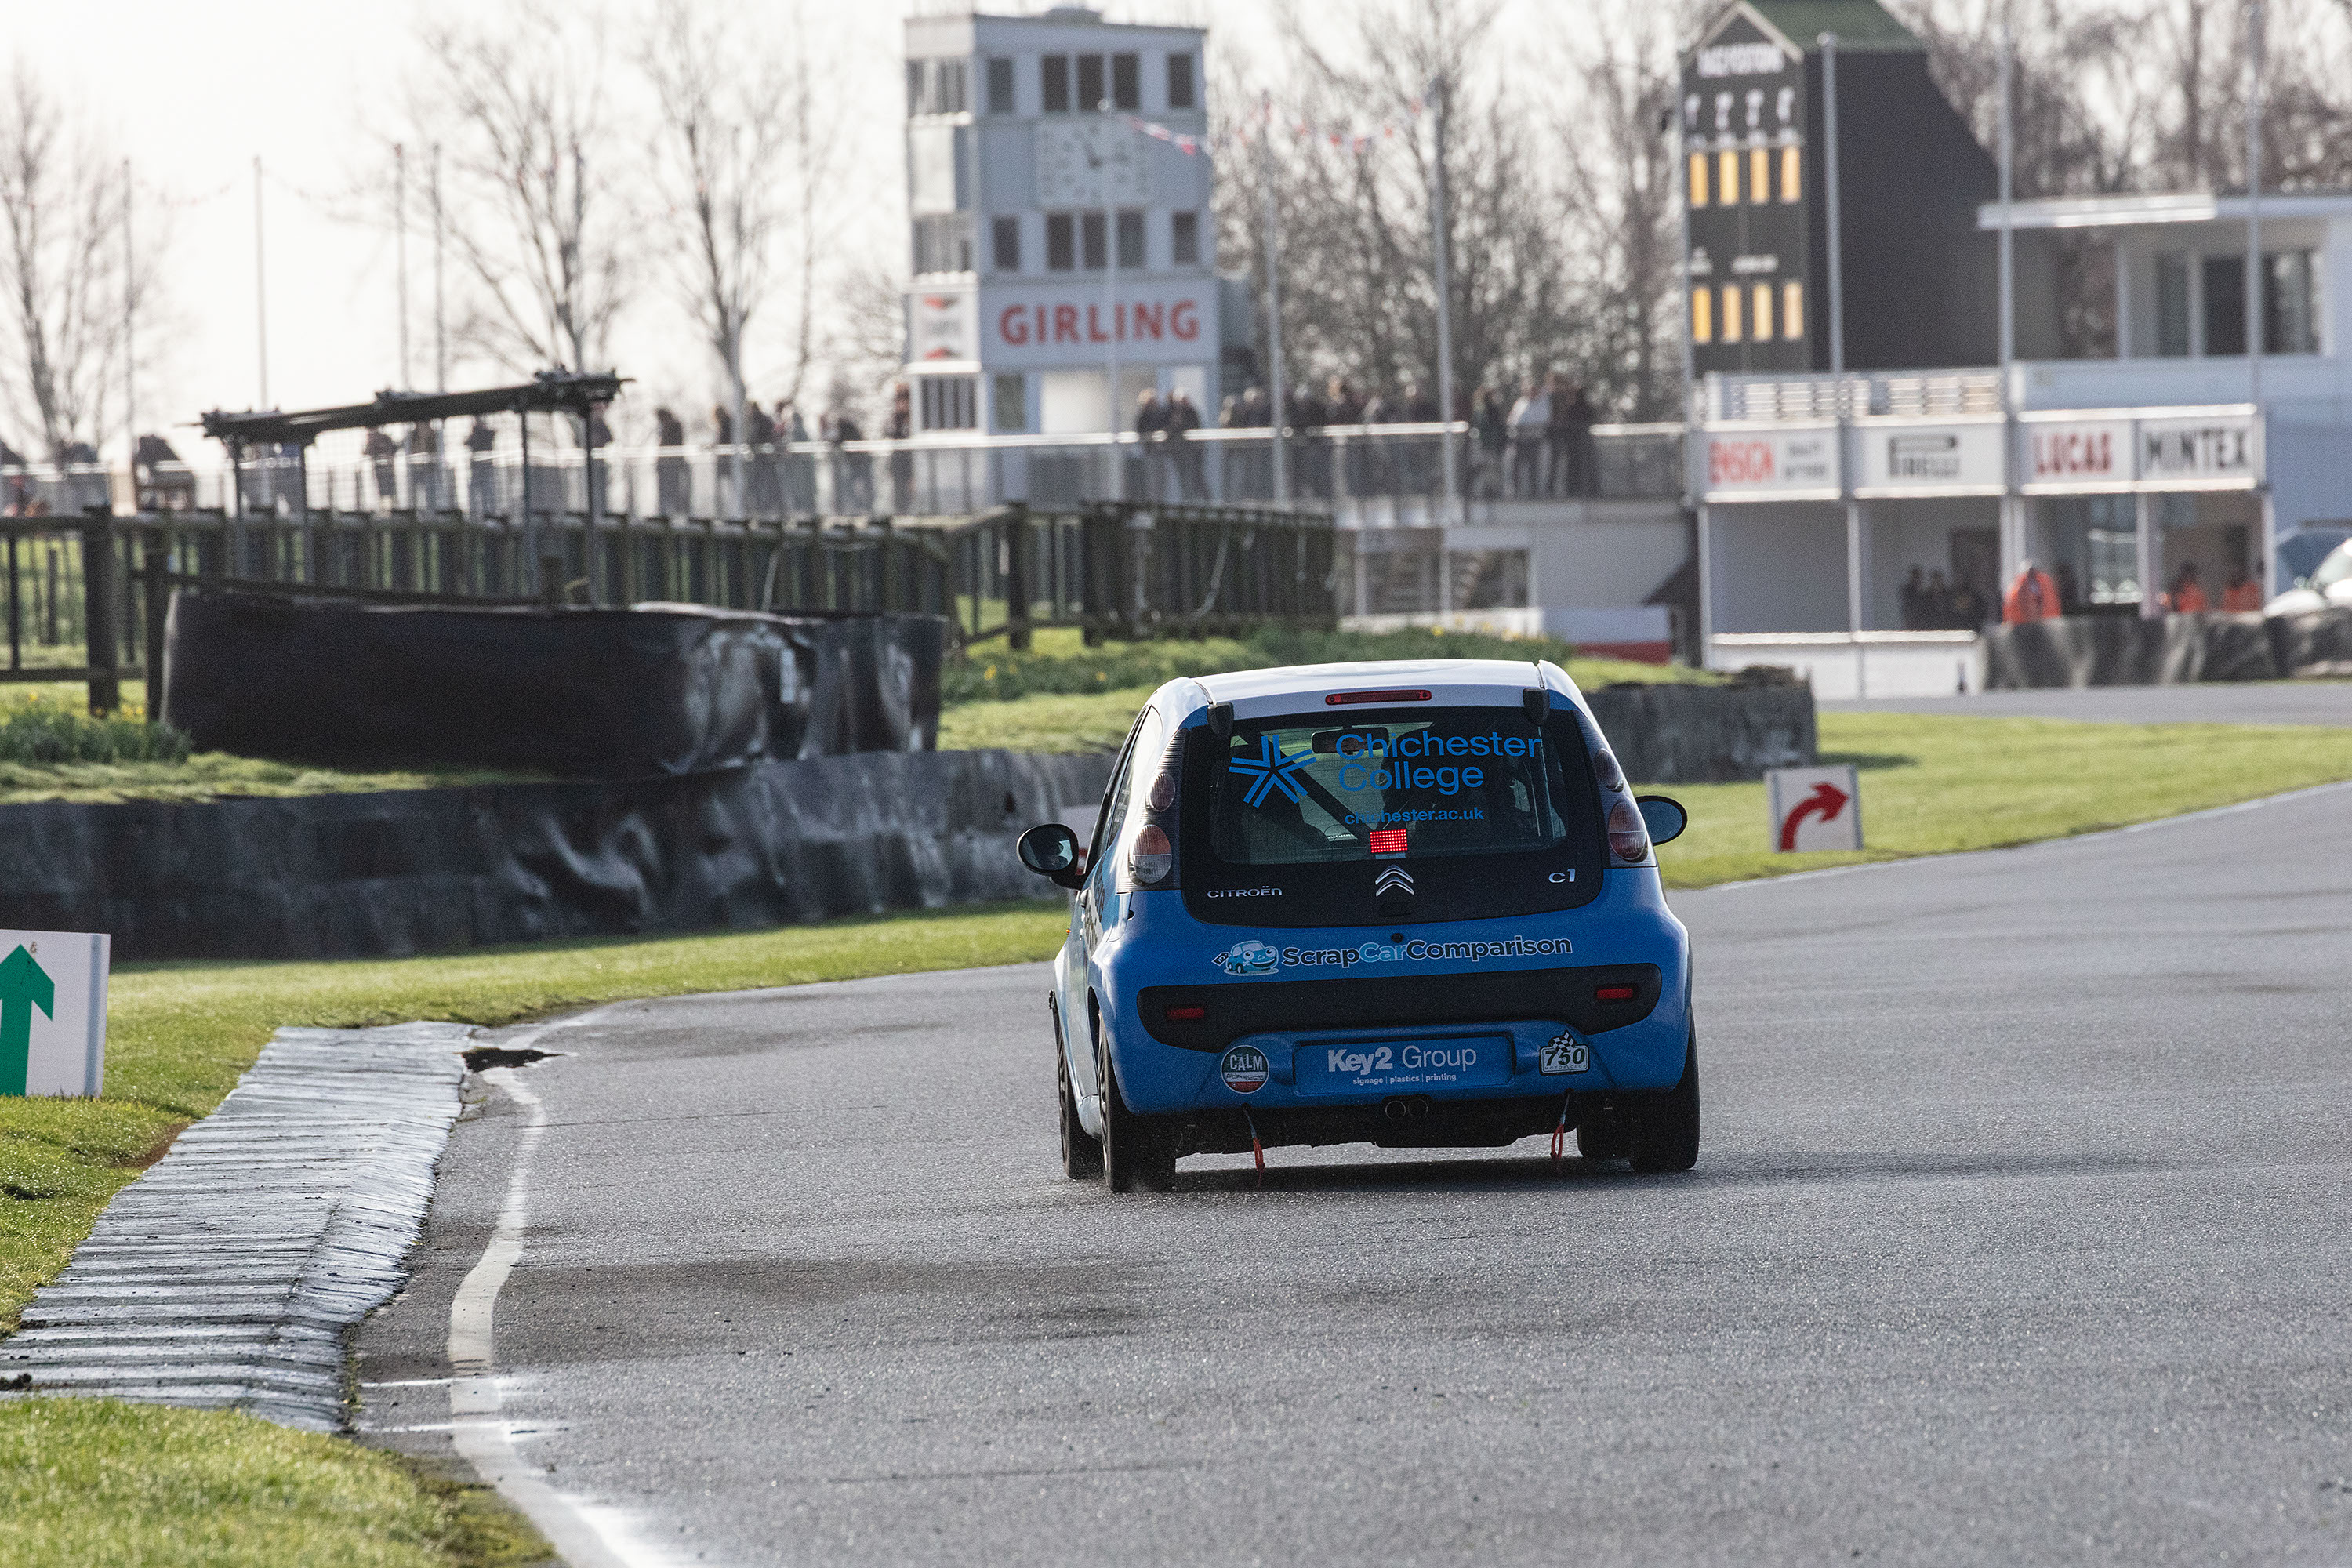
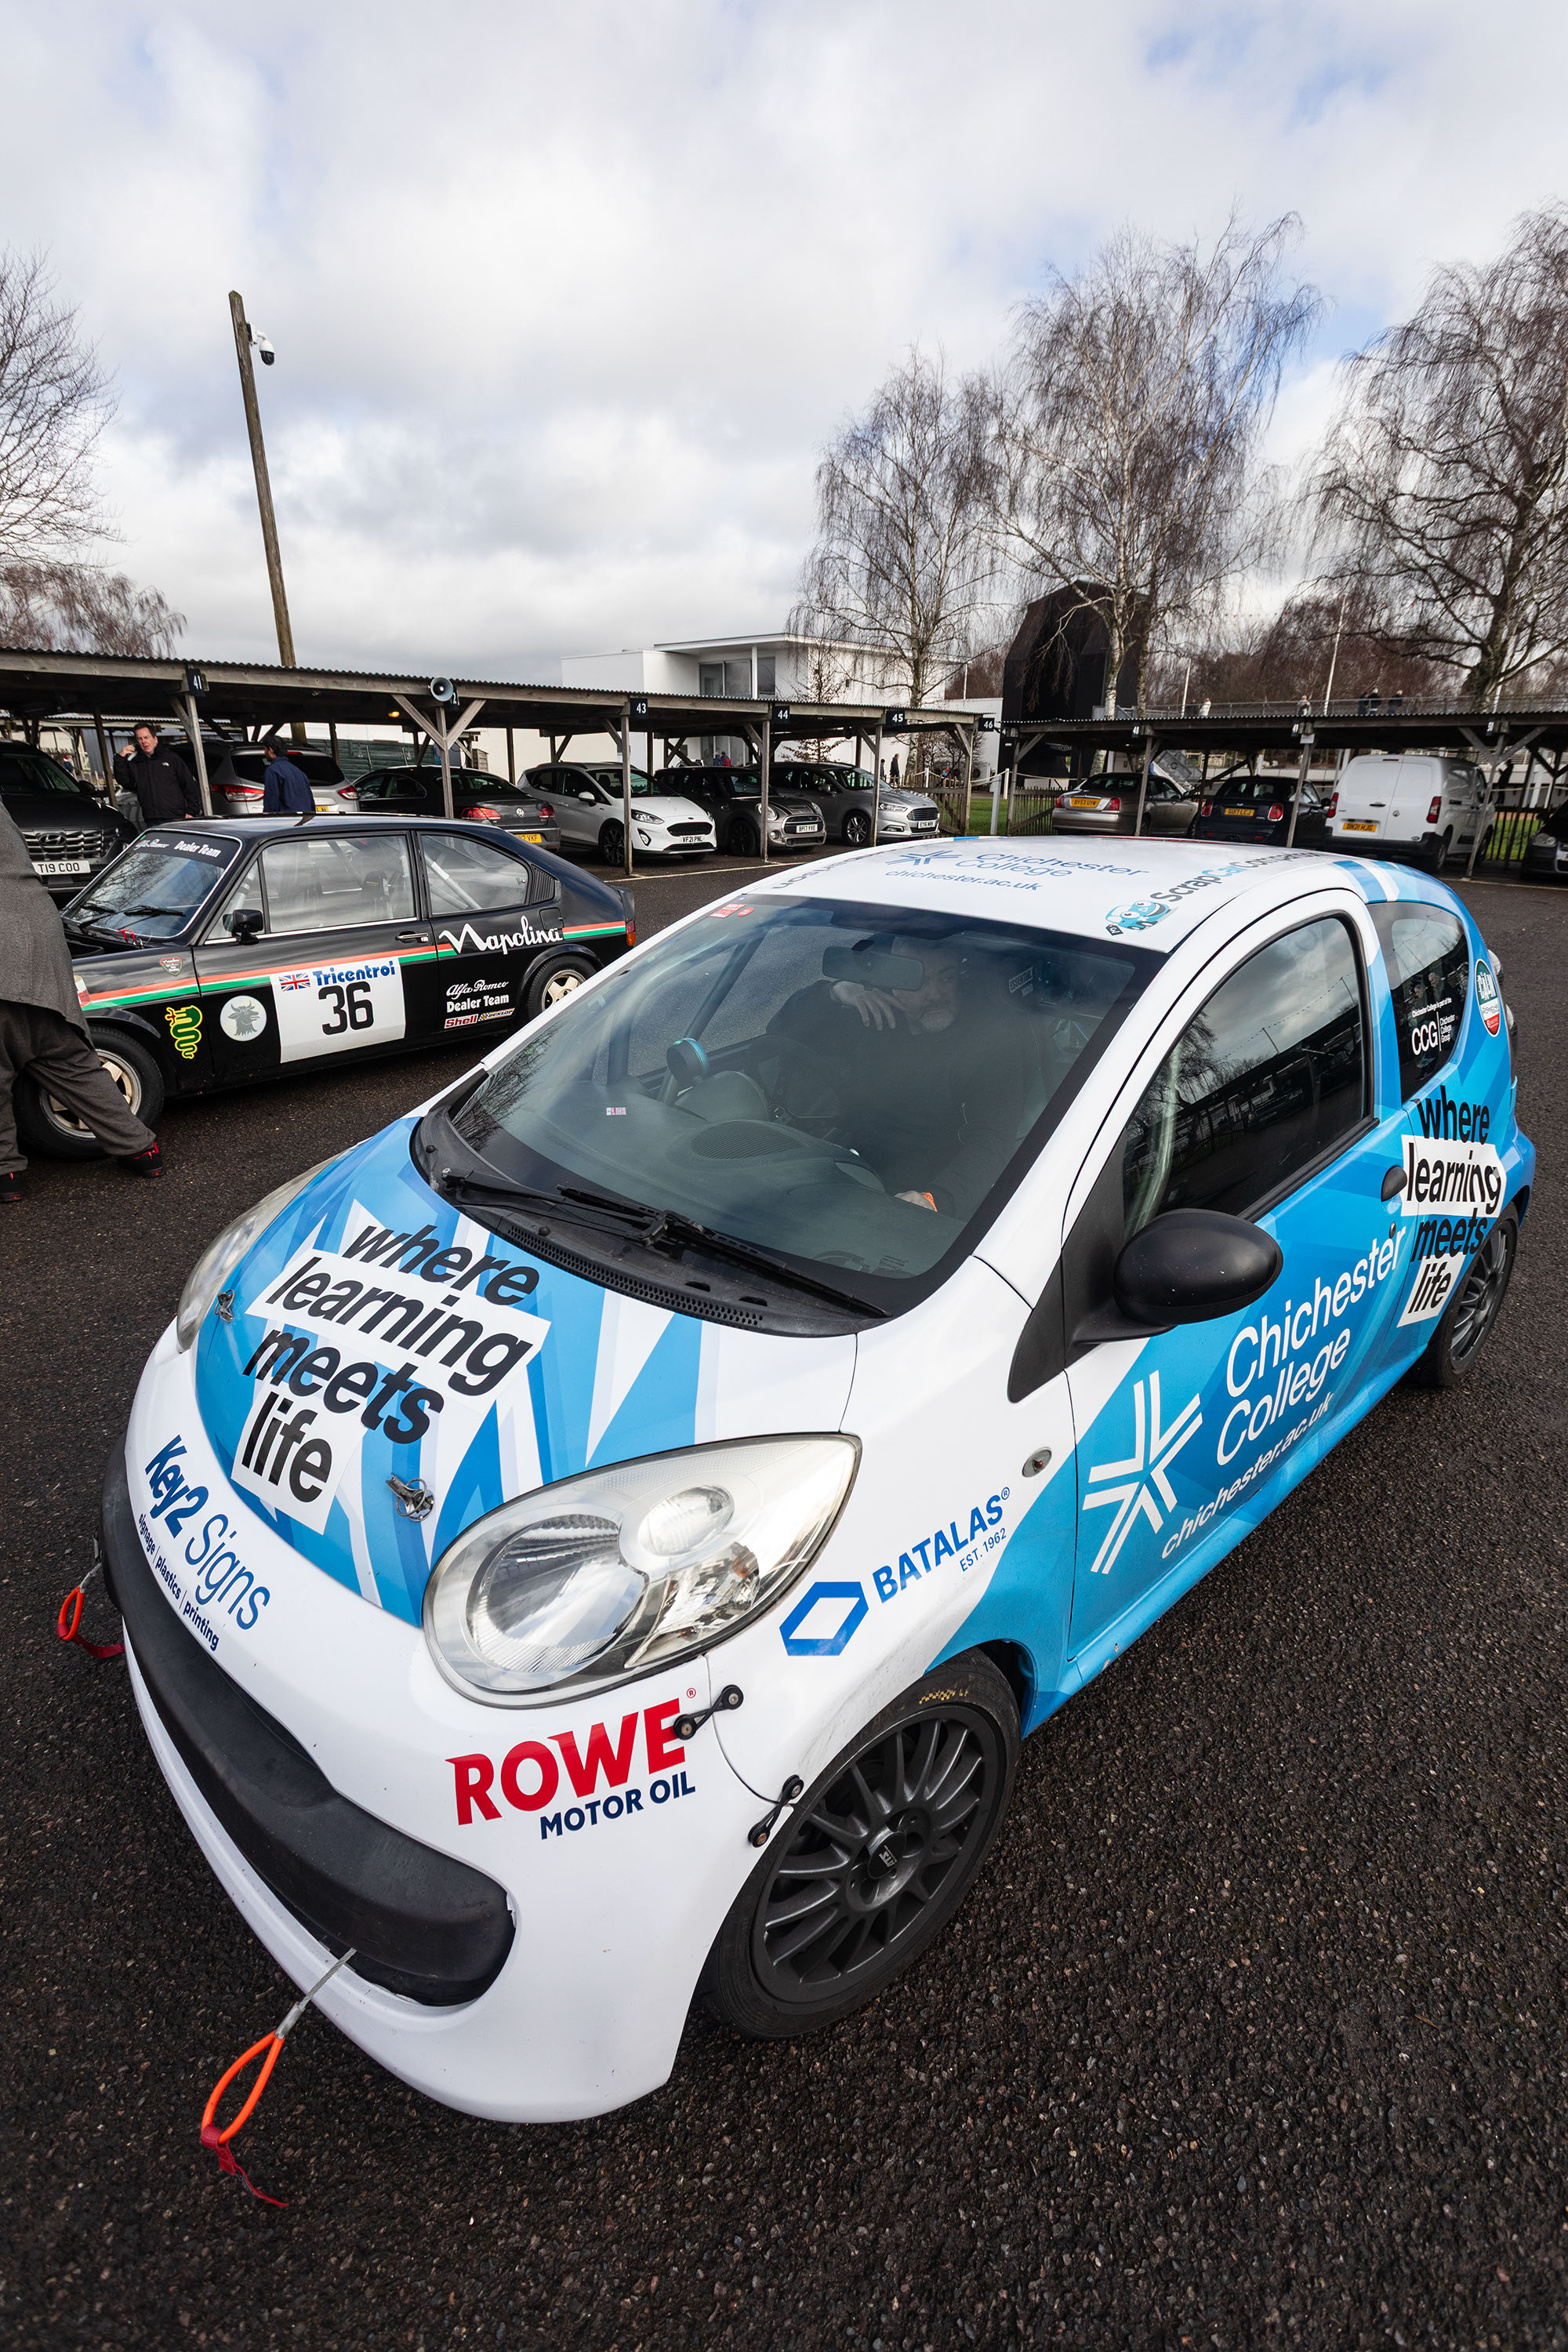
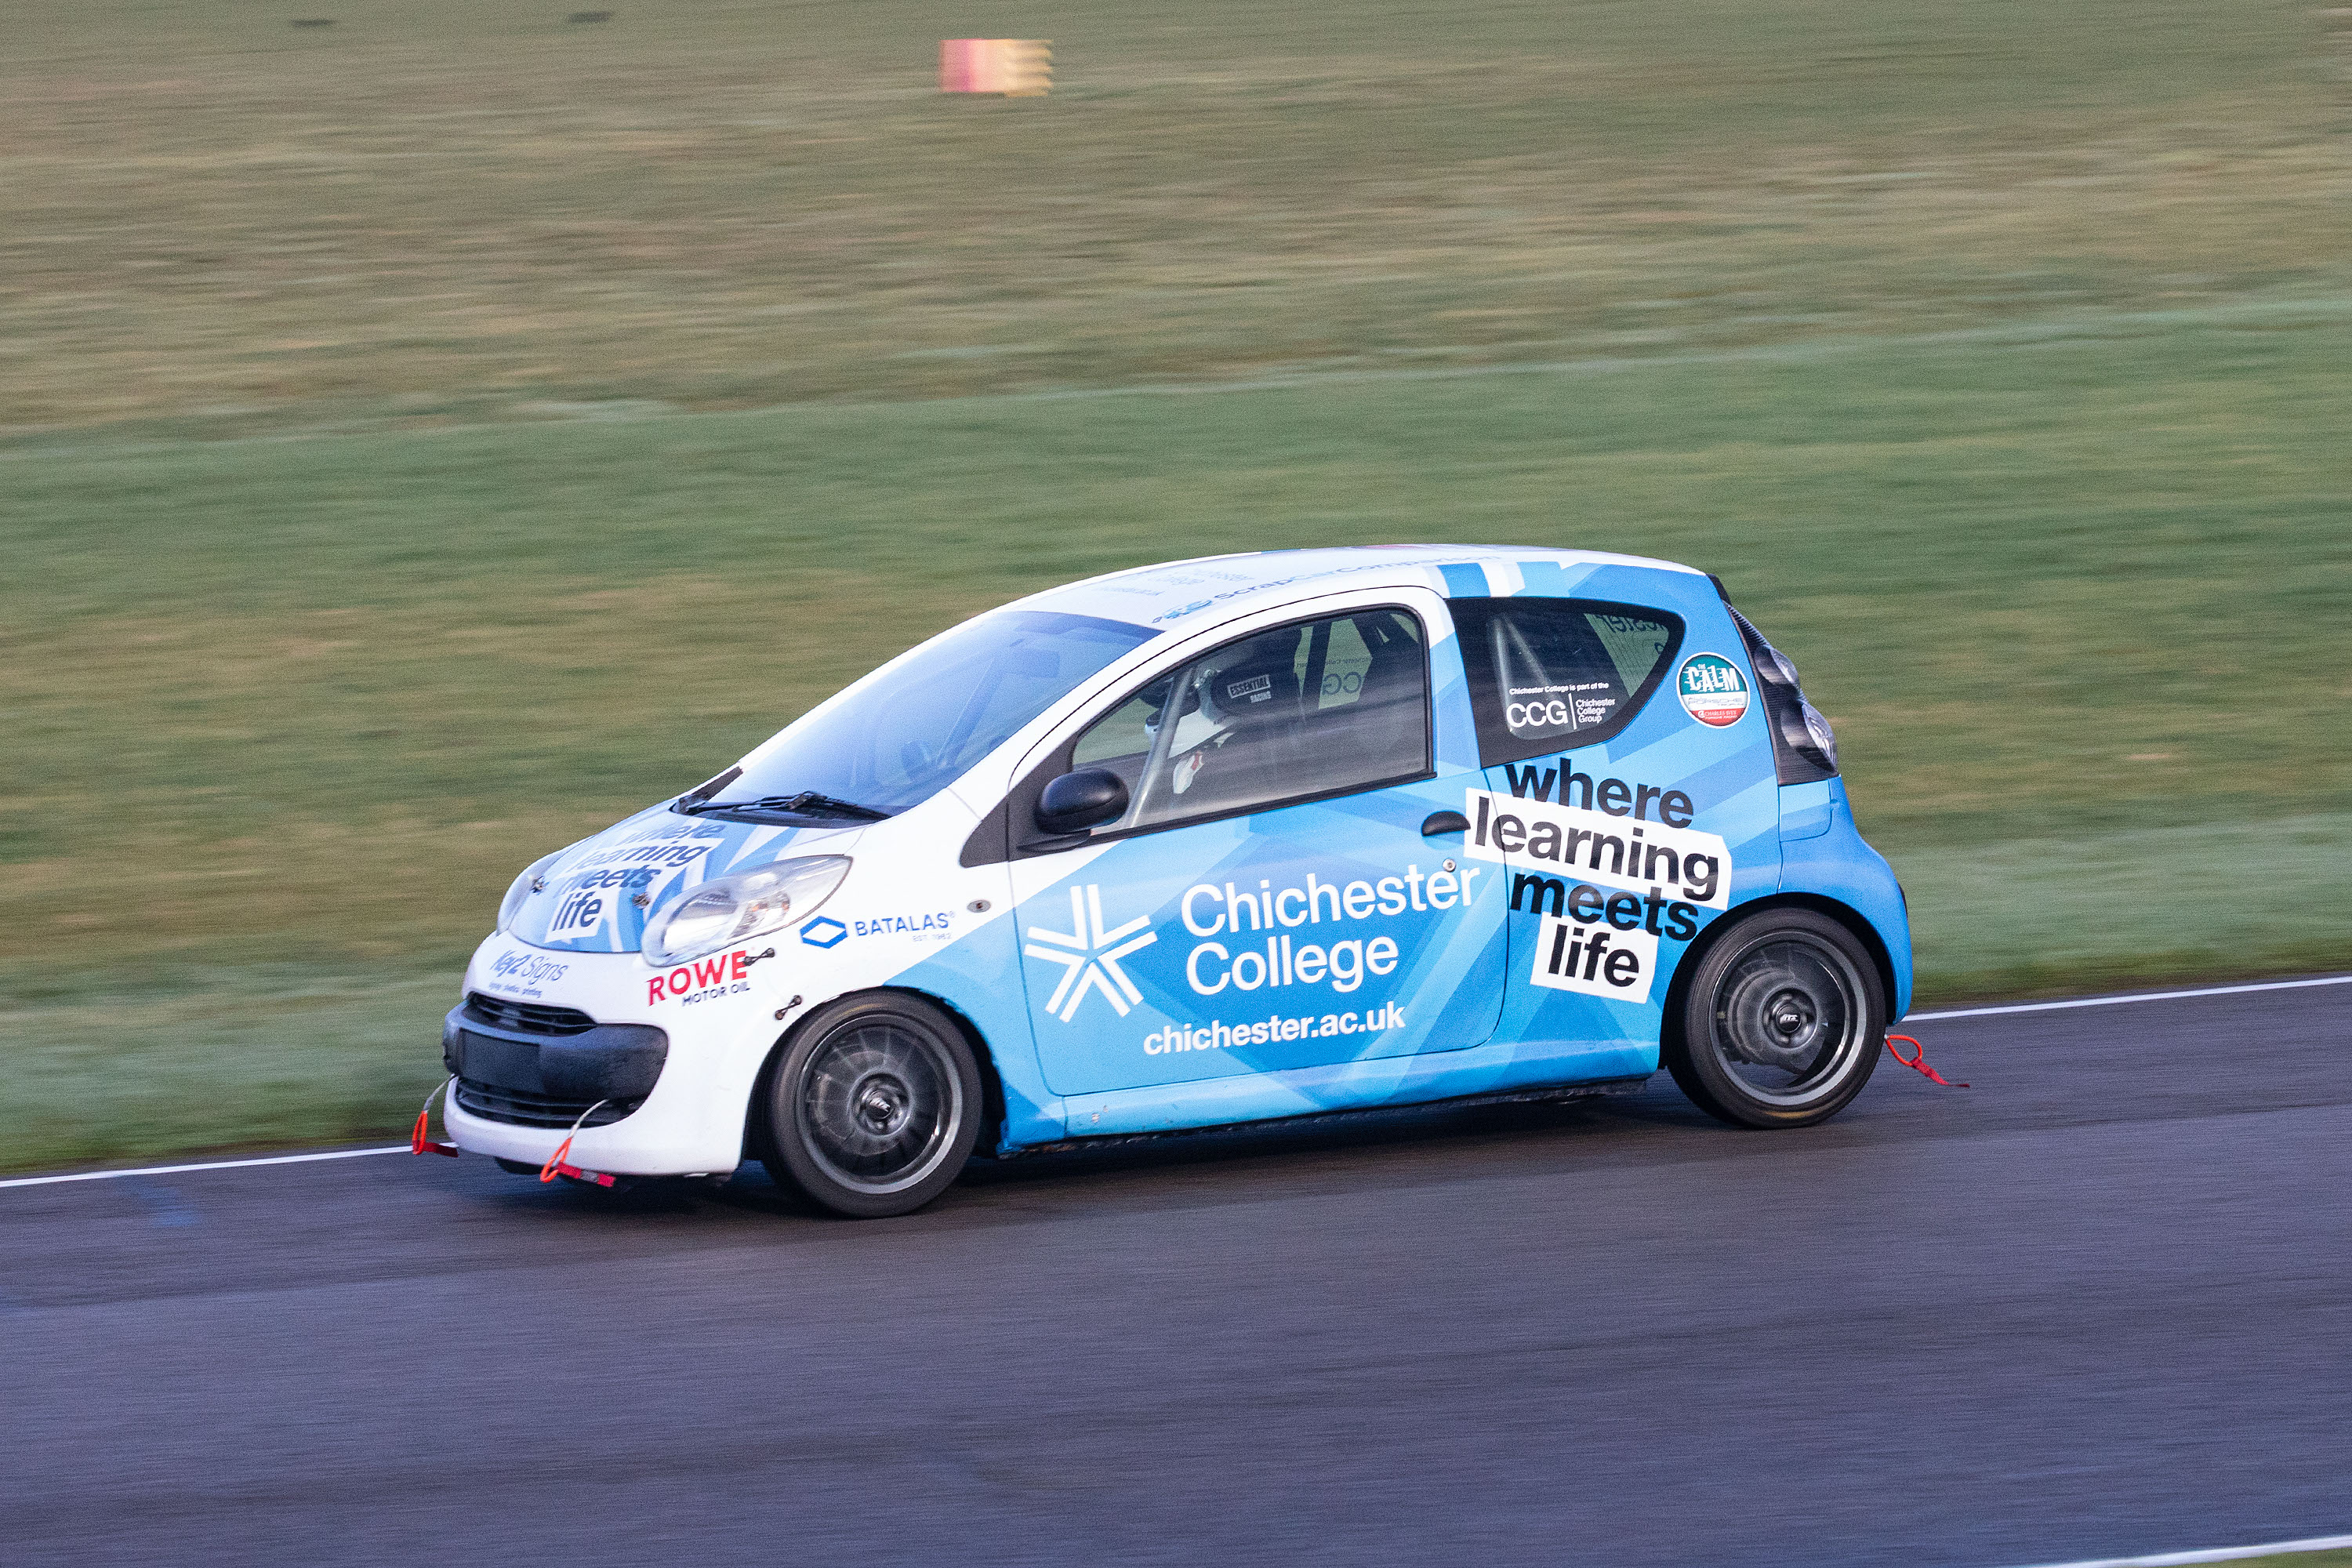
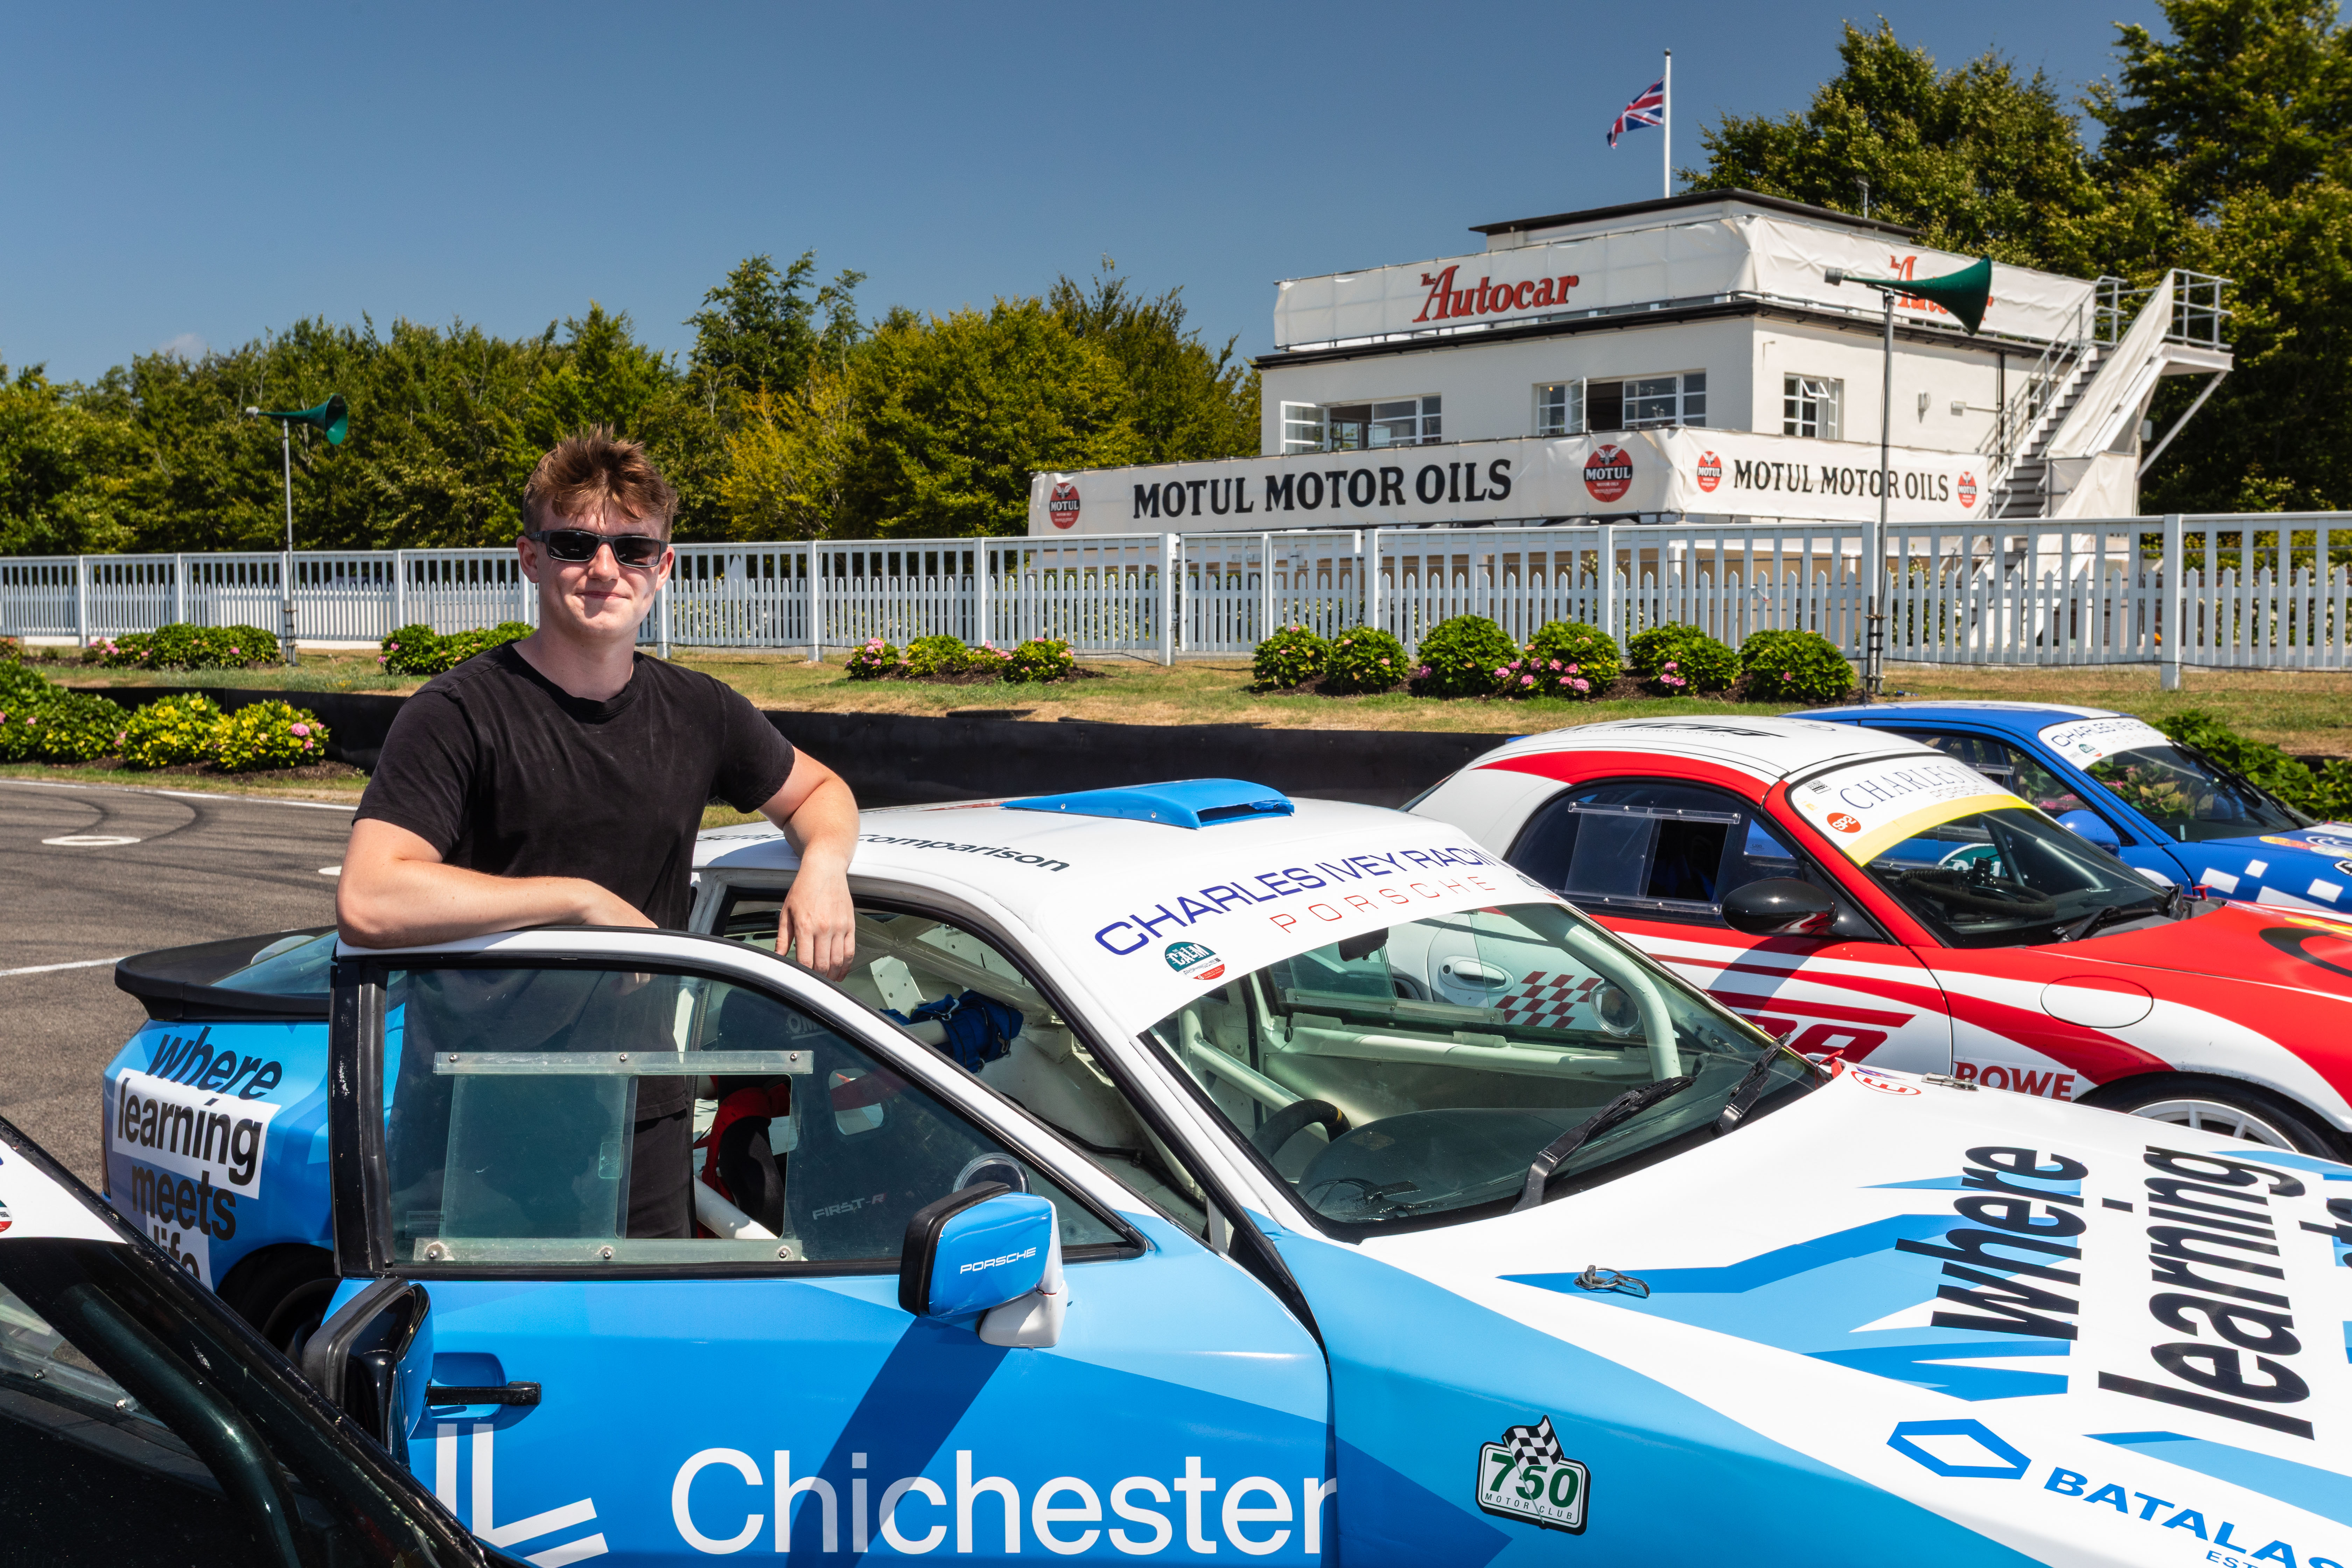
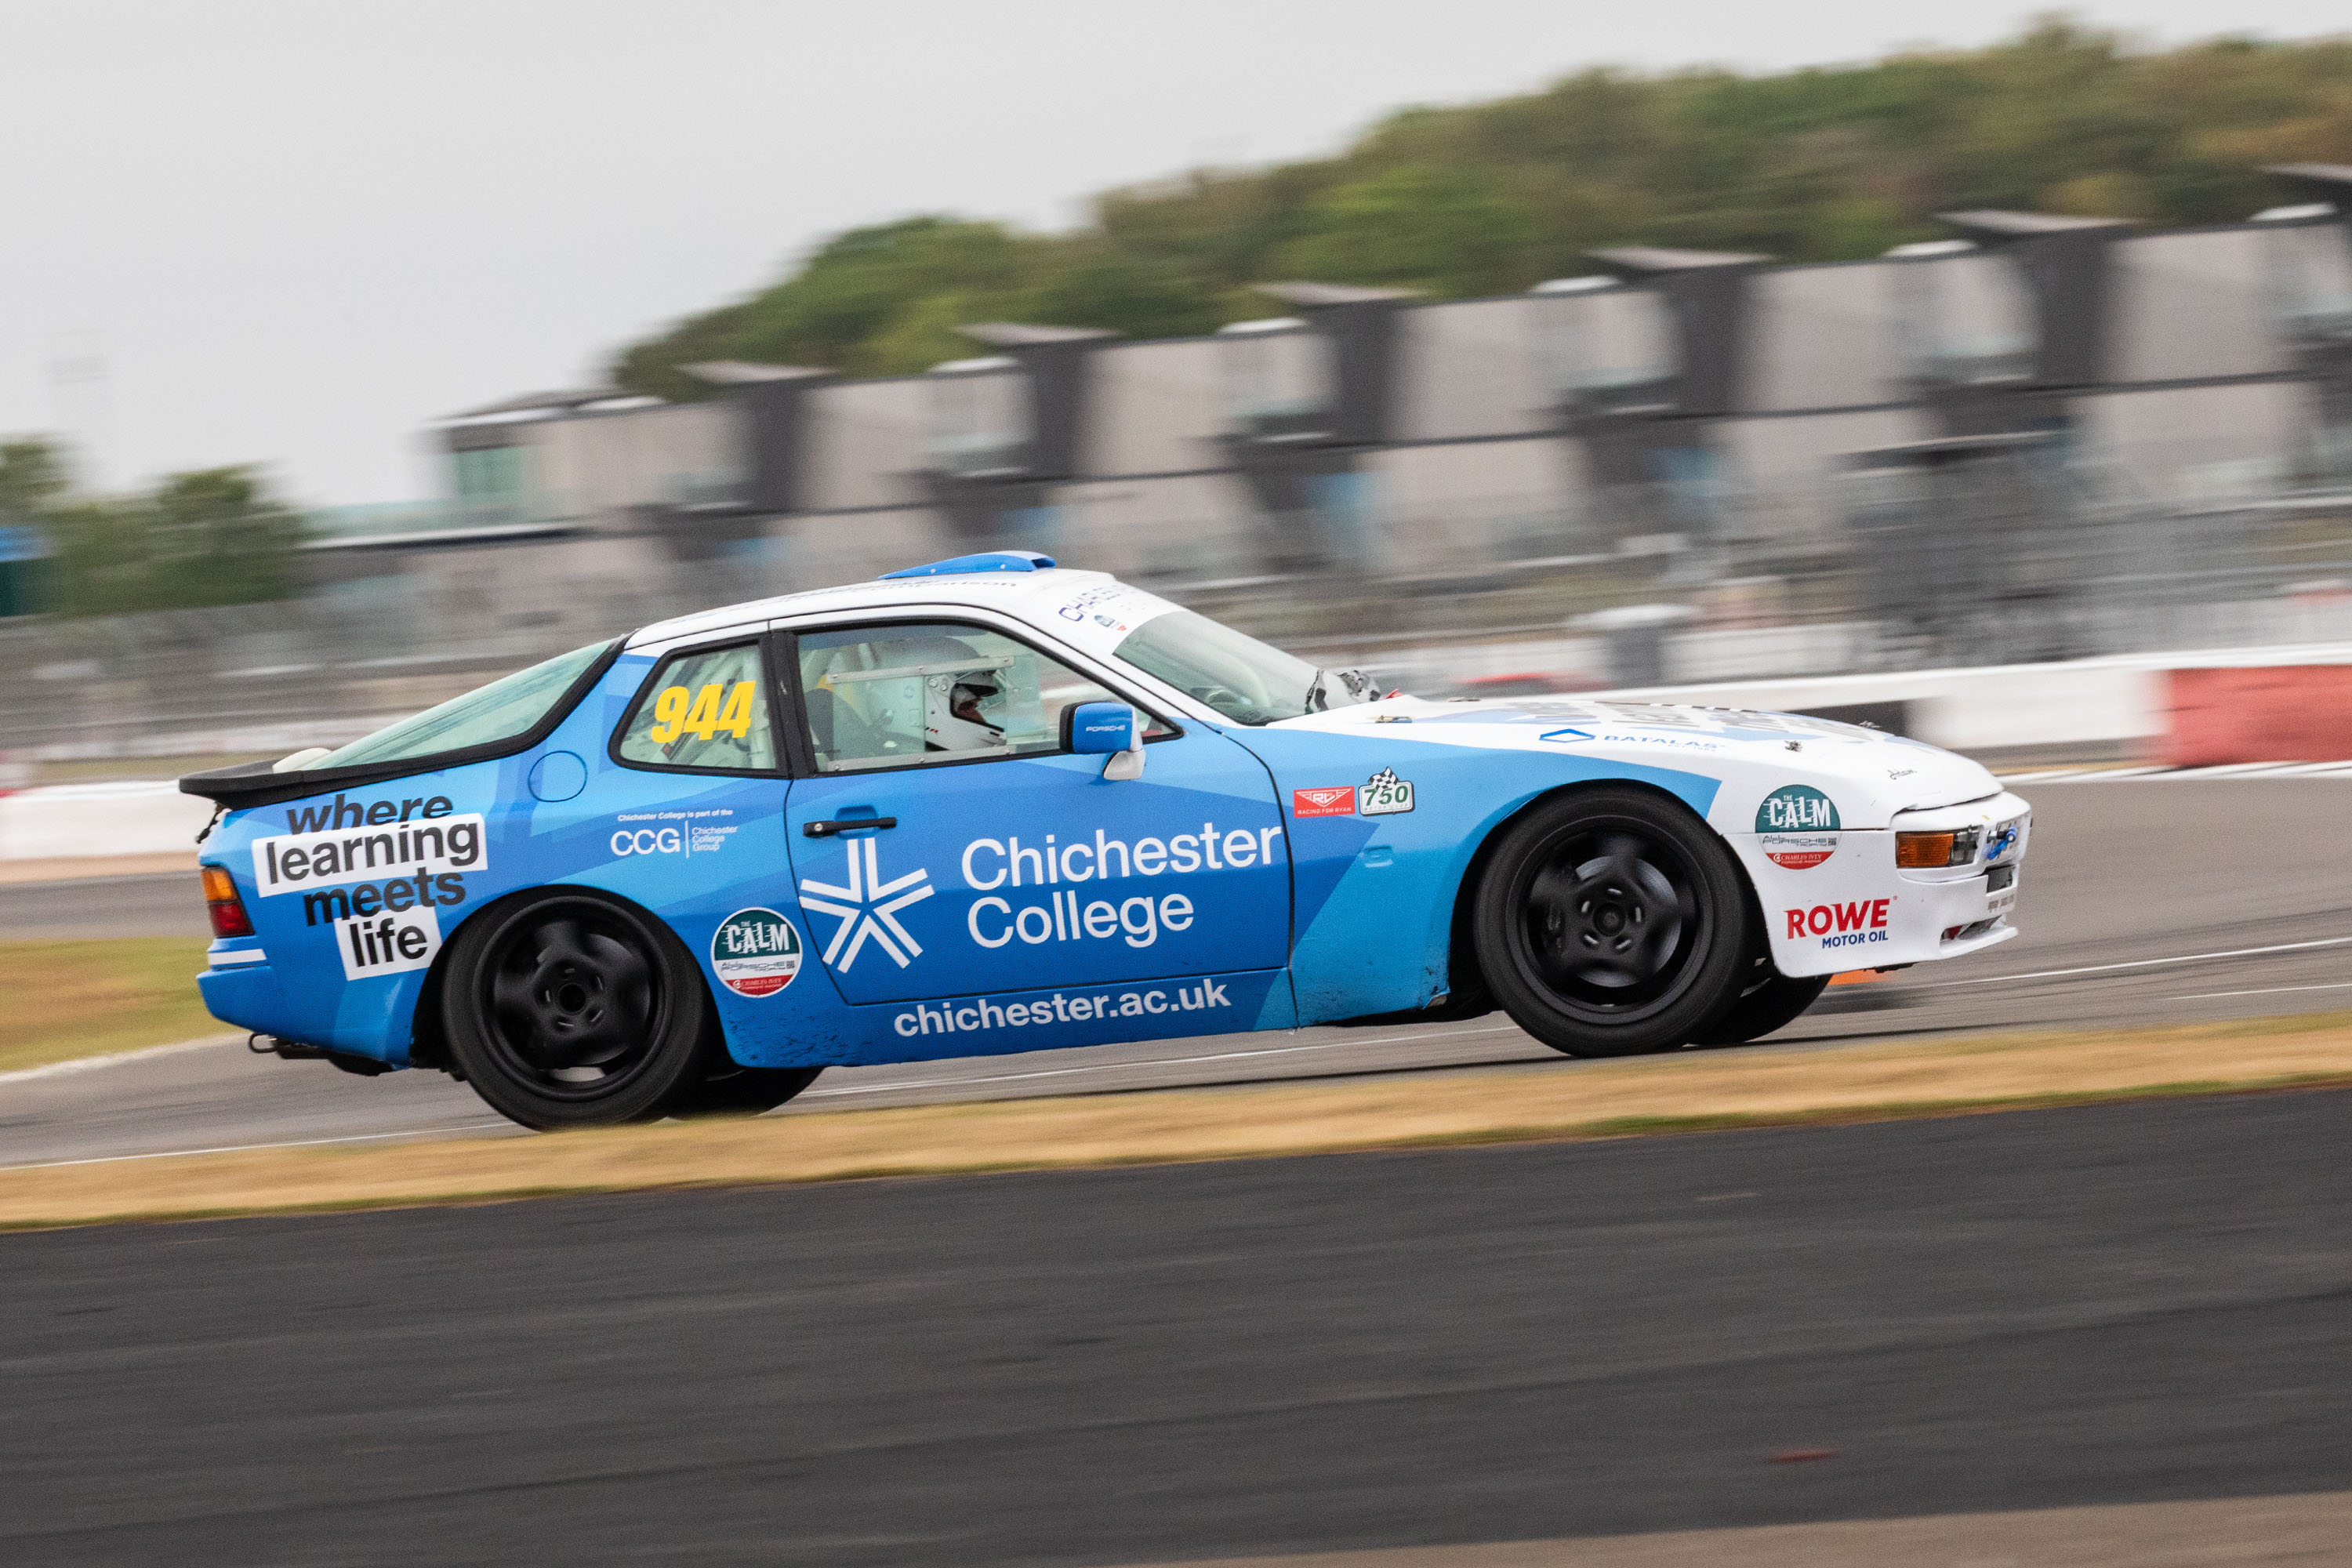
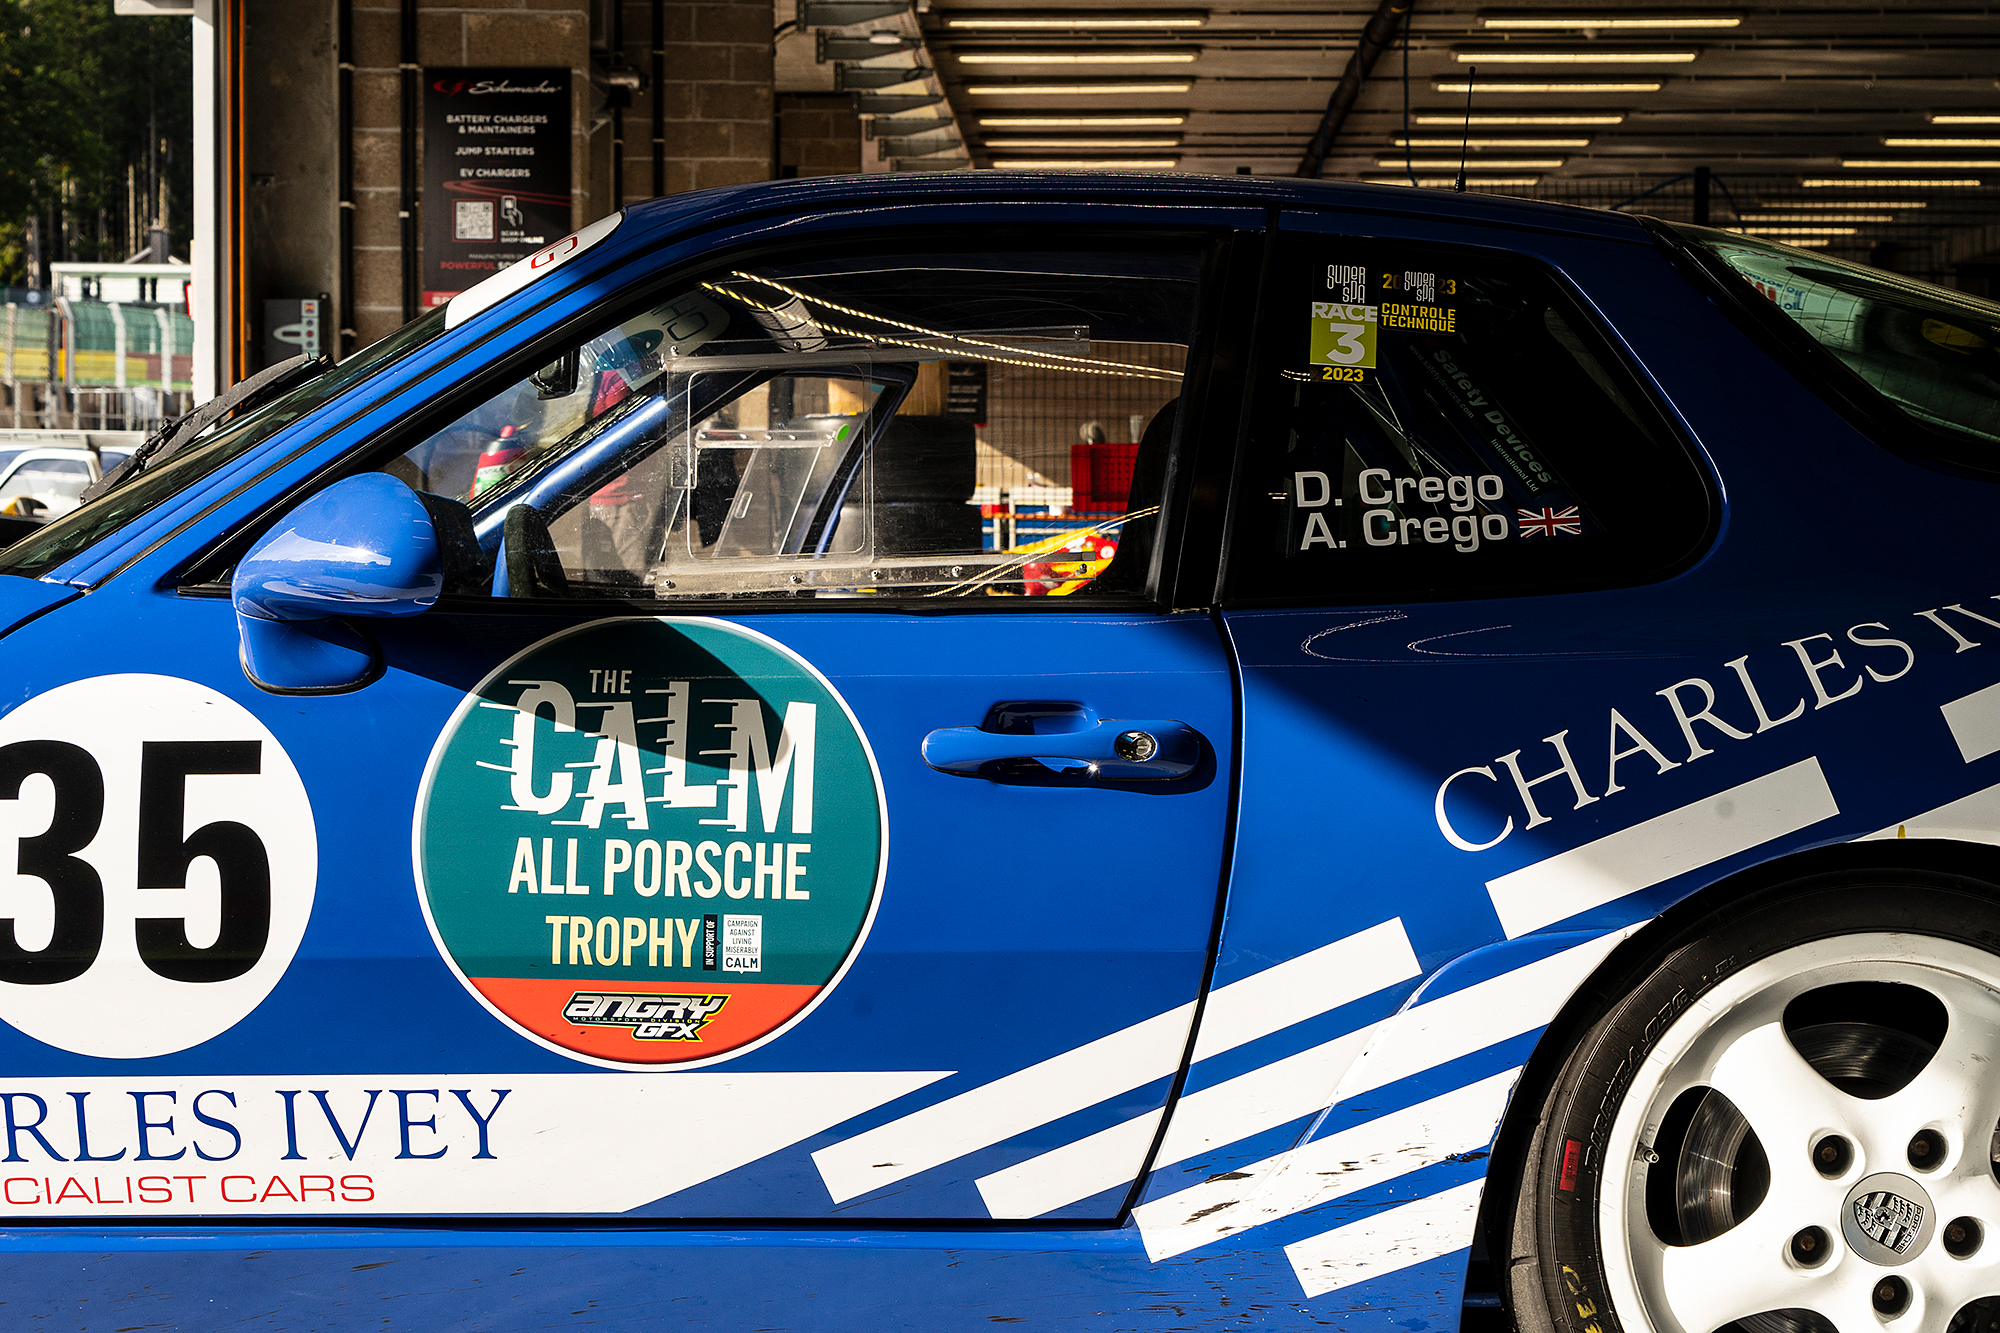
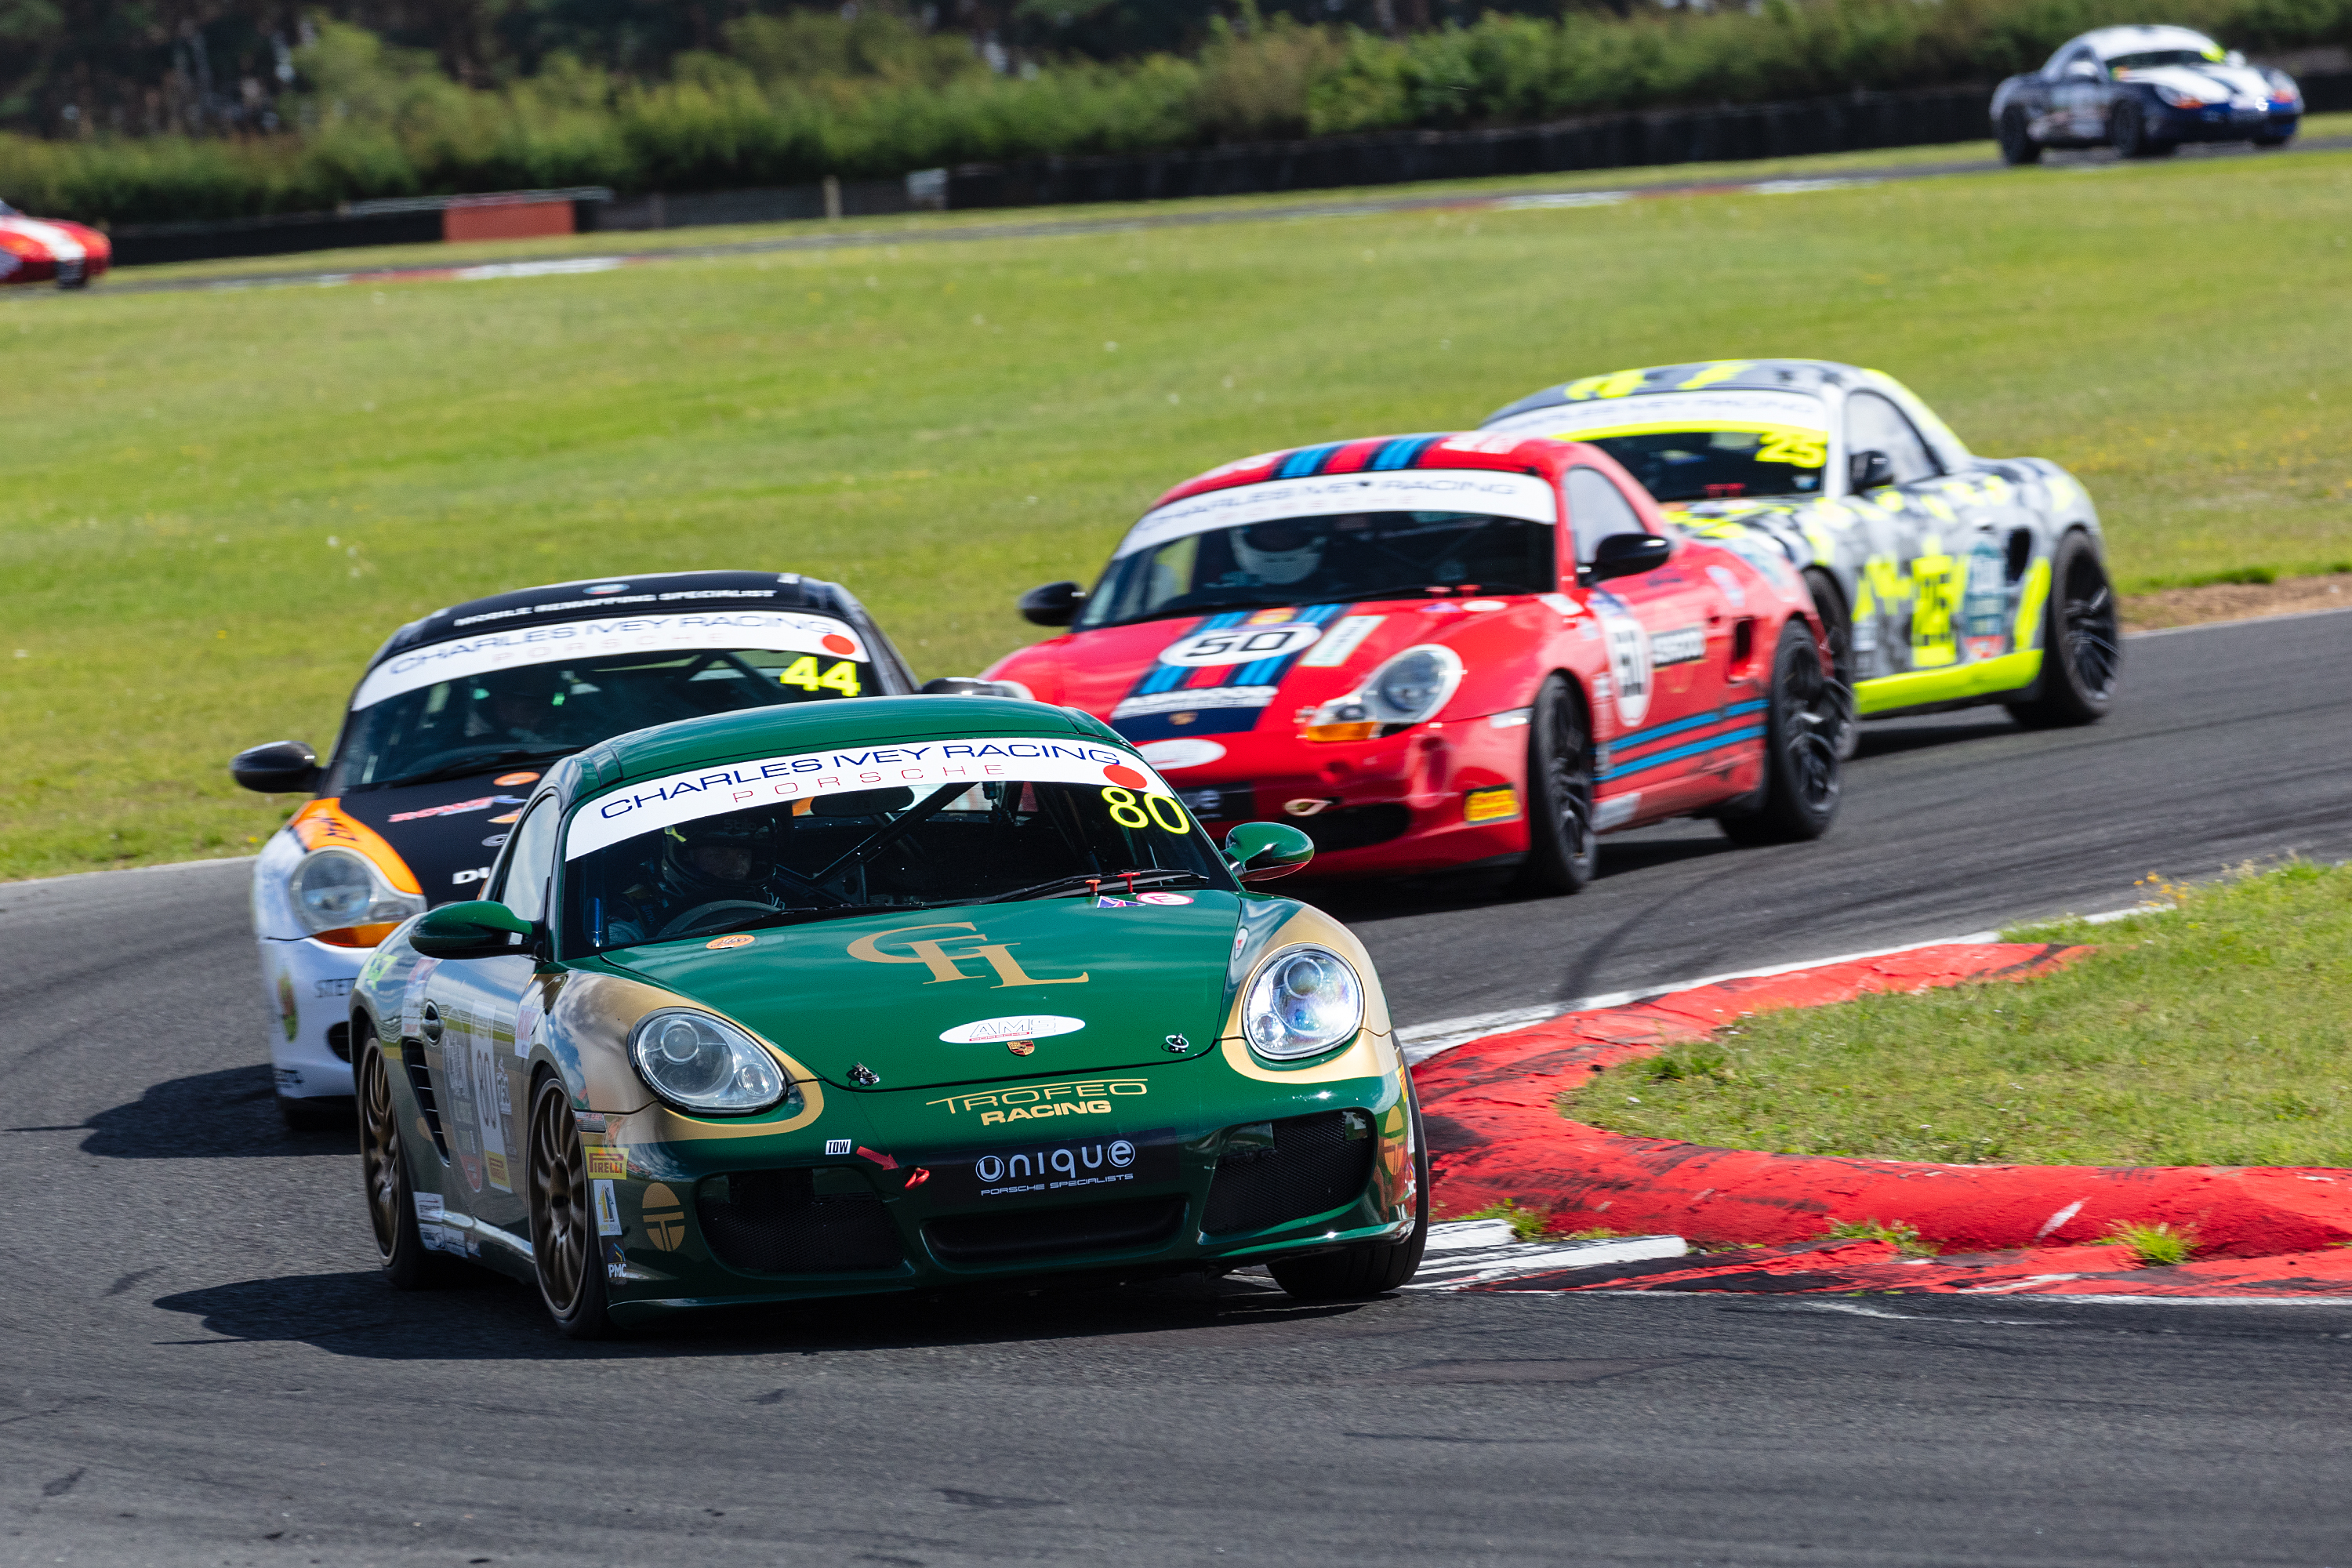
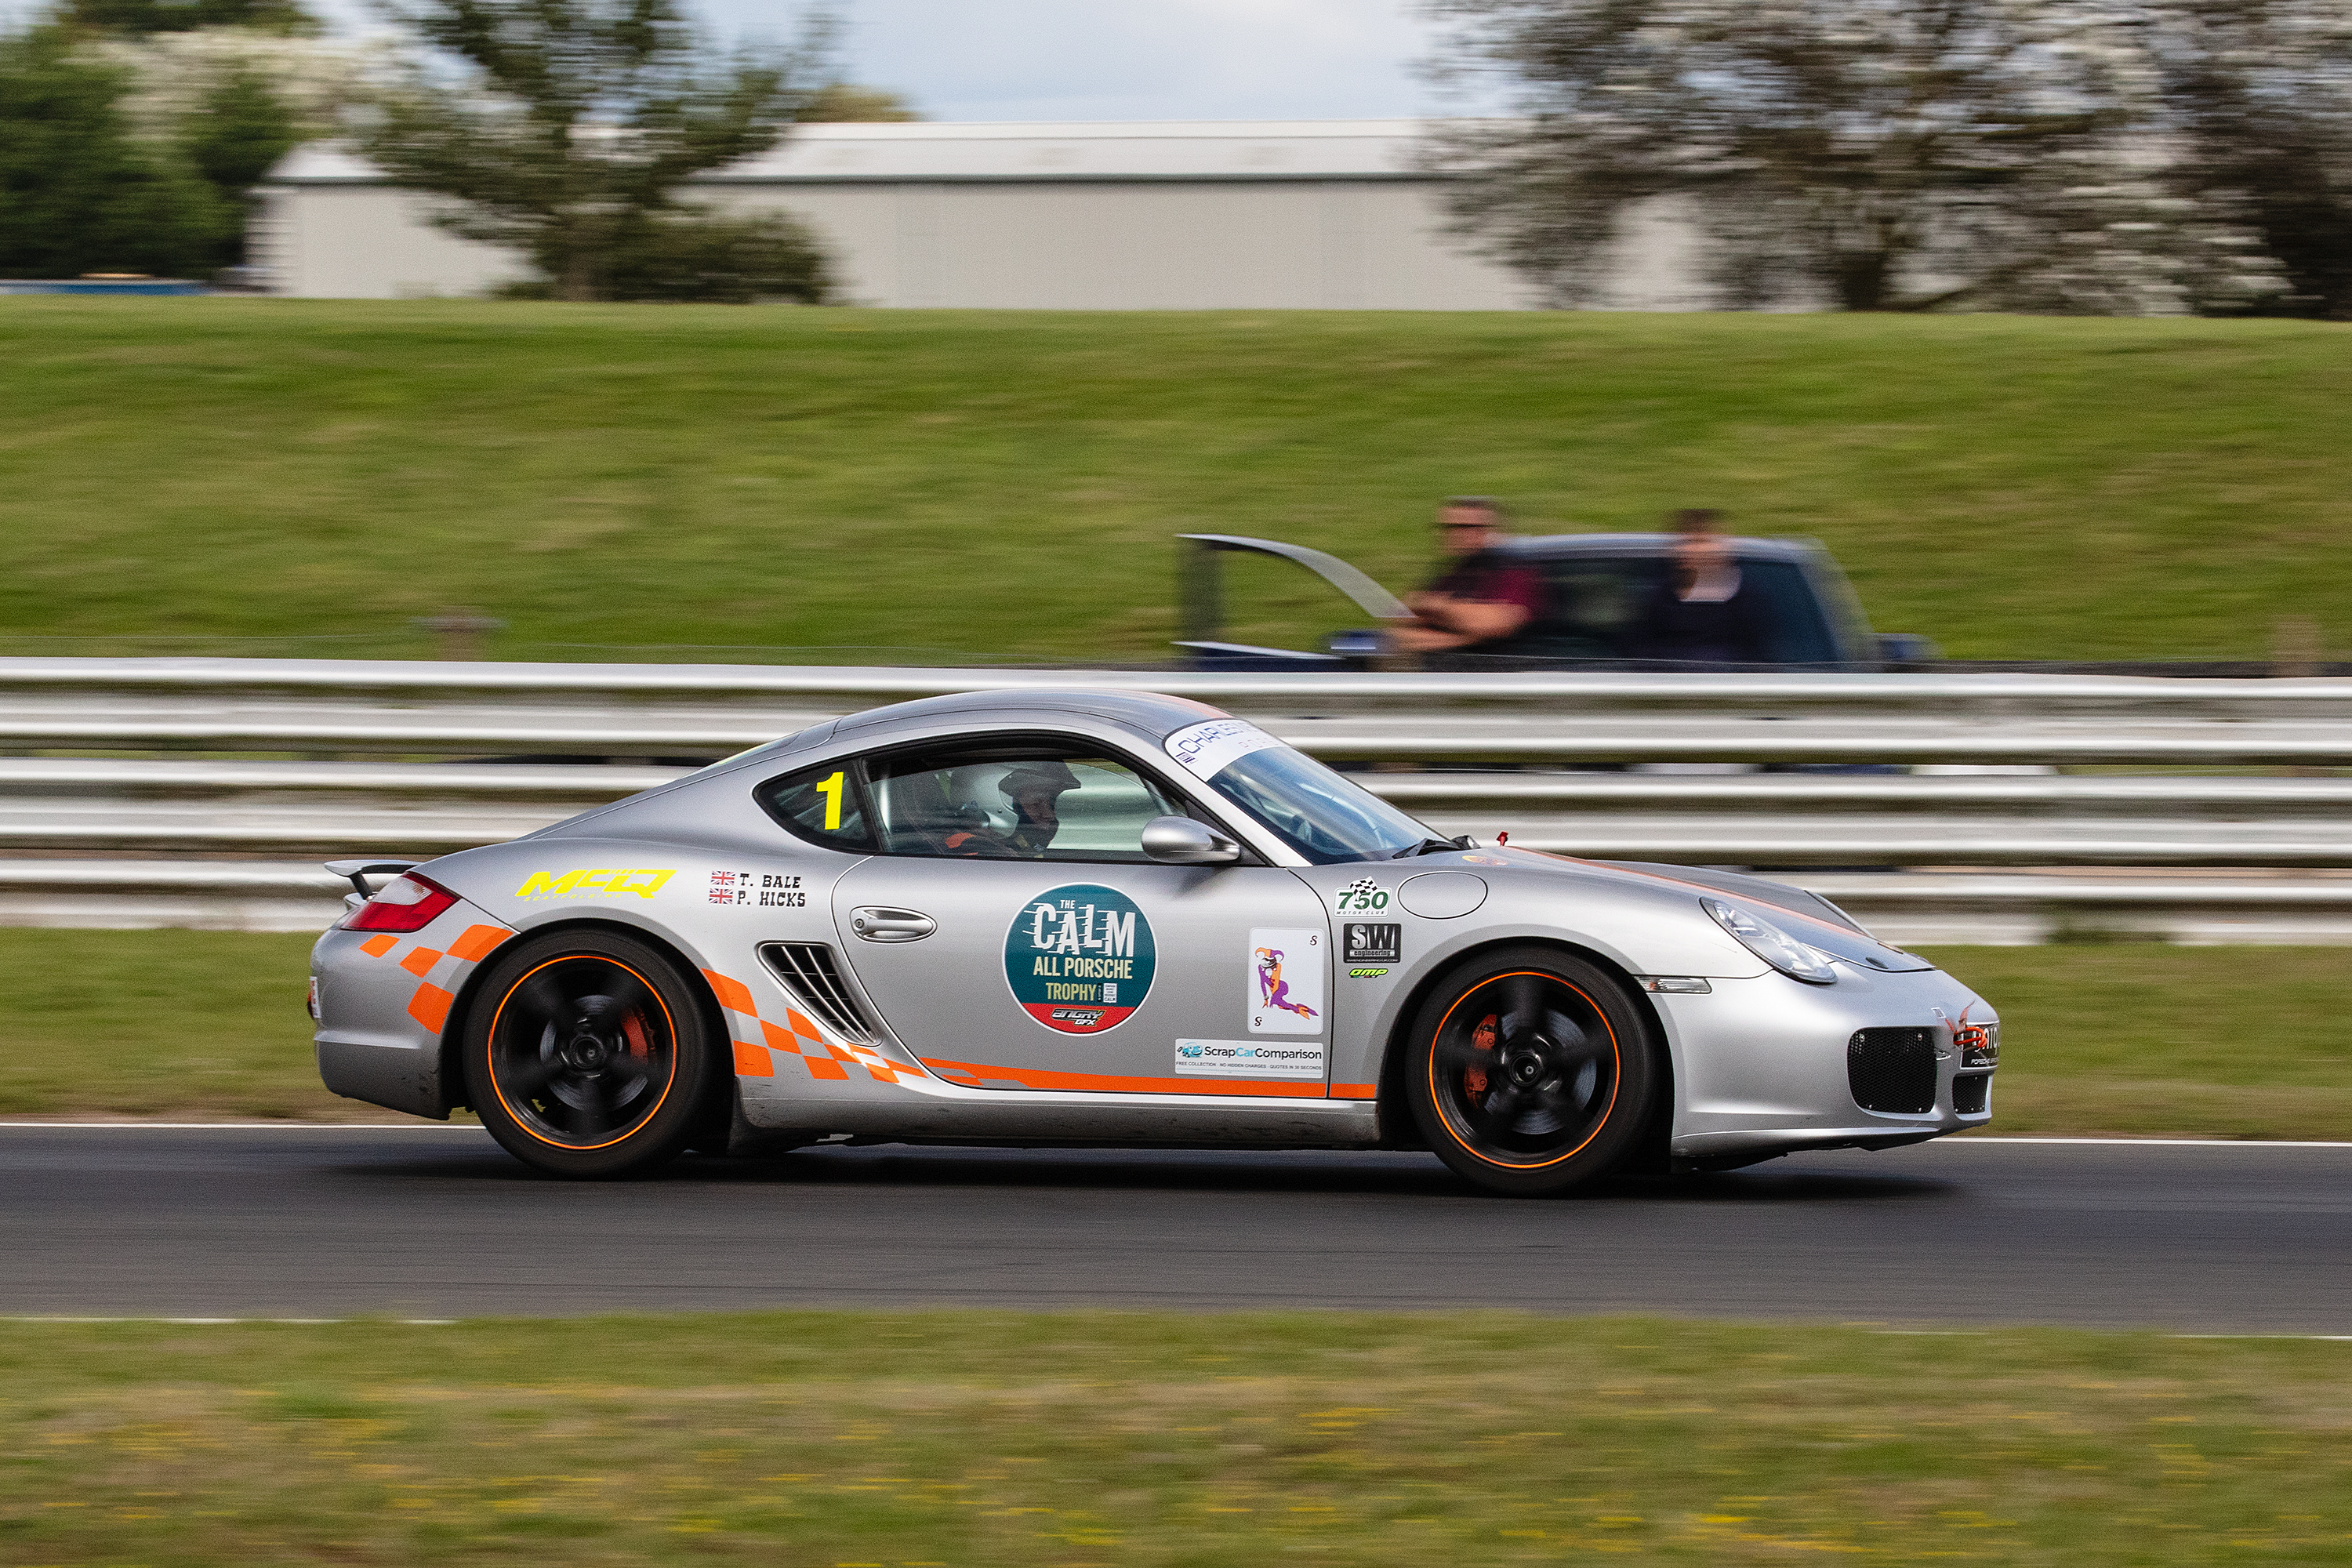
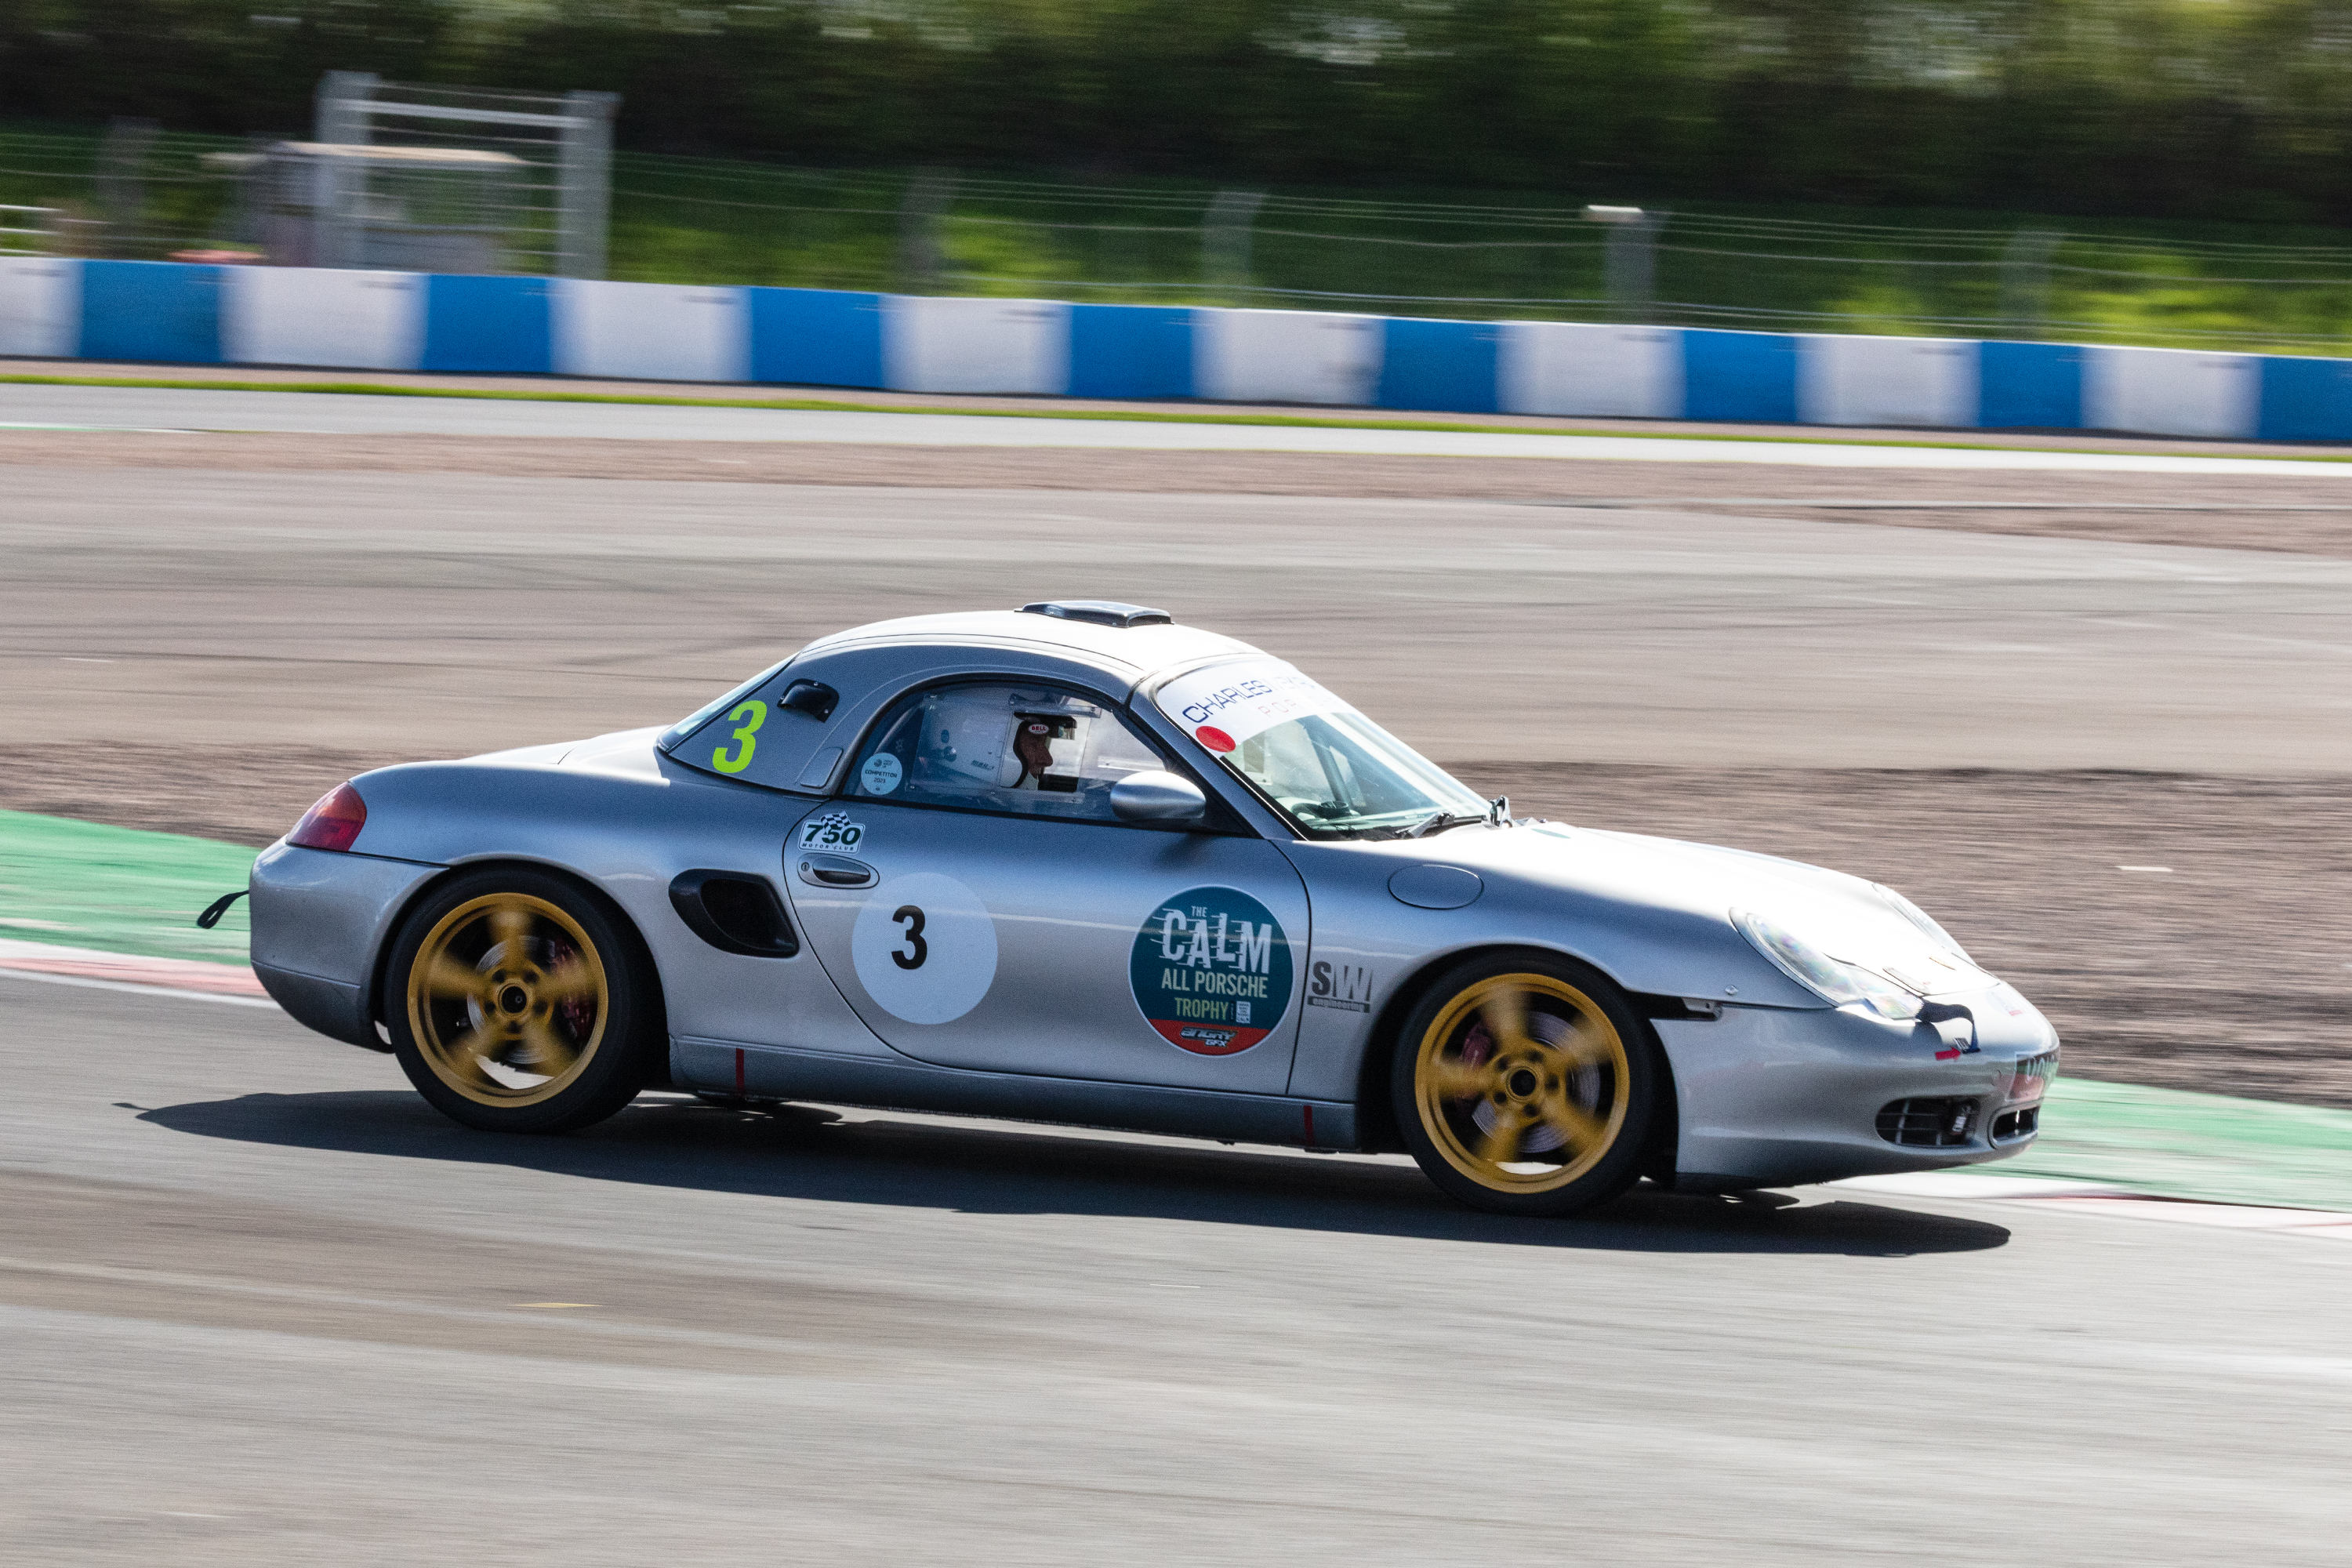
Chichester College has a successful motorsports engineering course which includes entering cars into the CALM All Porsche Trophy as seen below
The first CALM All Porsche Trophy for this year will be on April the 11th at Croft, N.Yorkshire
It’s nearly the summer, and I have been pretty bad at keeping this up to date
Those of you who know me well won’t be at all surprised!
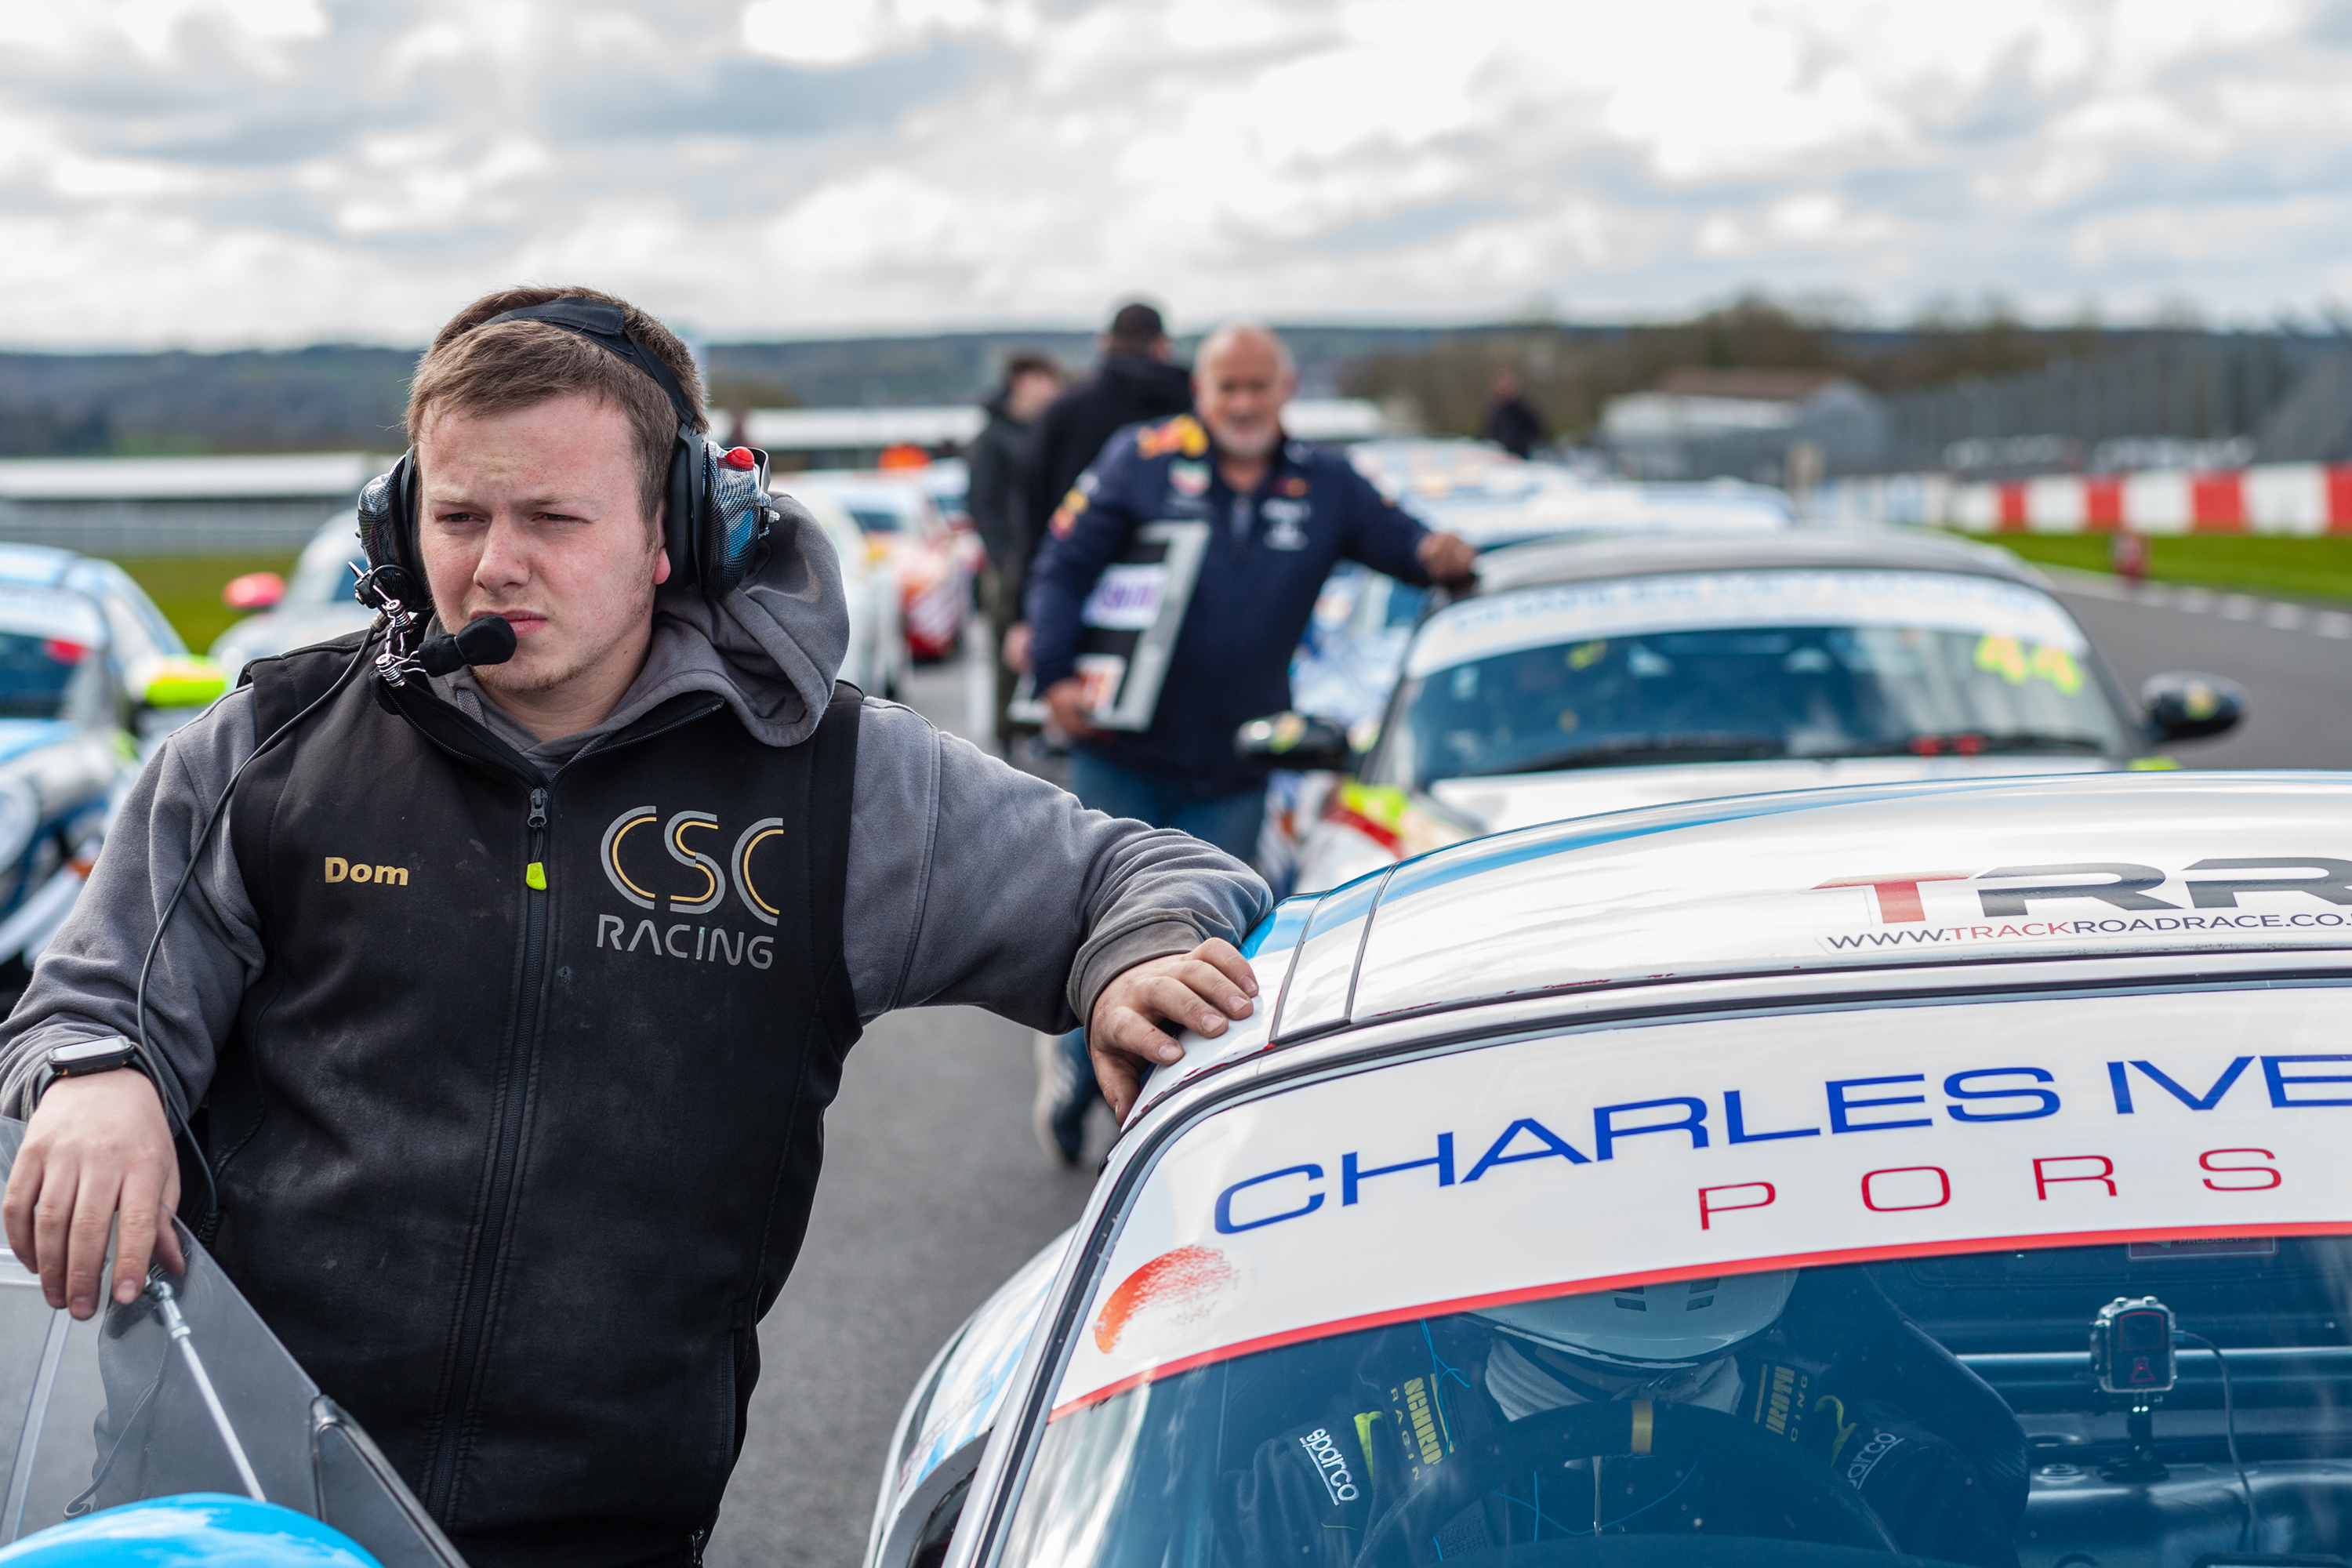
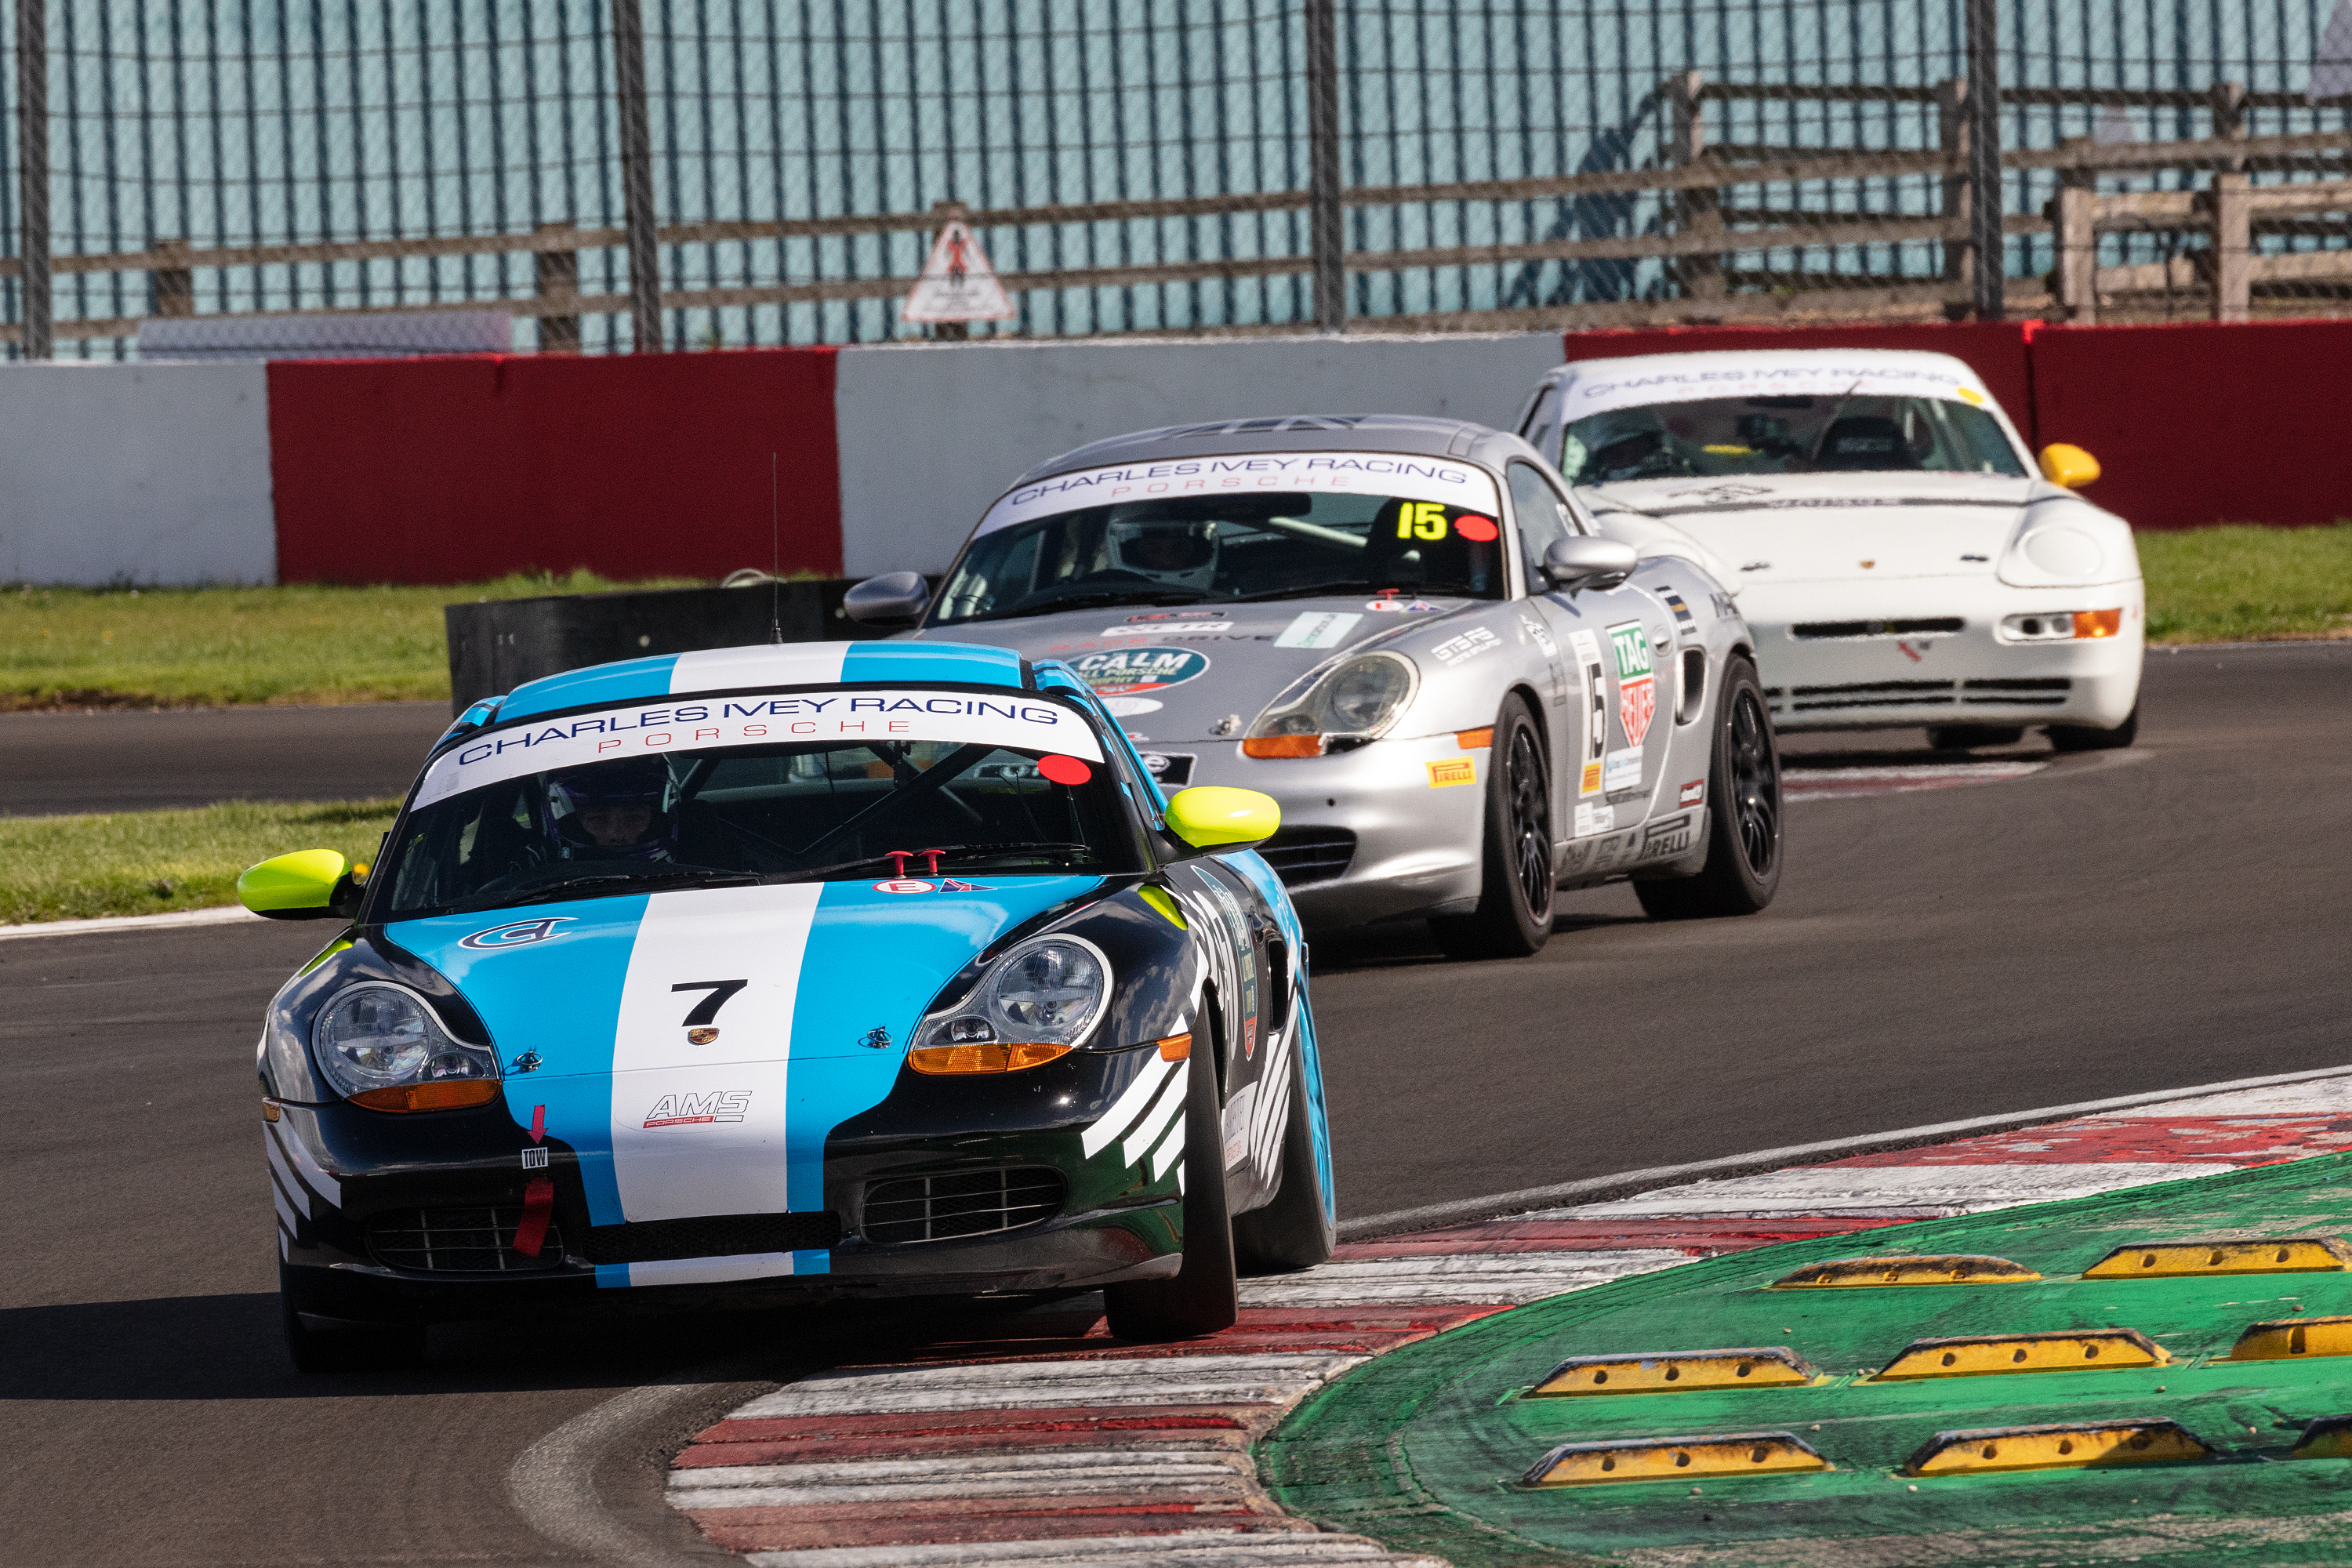
Since my last post, I’ve been pretty busy, Mondays have been at the London Metropolitan University as an Associate Lecturer in MA Fashion Photography , Tuesdays at Metro Imaging, Wednesdays at the University of Suffolk as a MA Photography lecturer, Thursdays and Fridays at Metro, and some selected weekends, working as the series photographer for the CALM All Porsche Trophy
I’m now just coming to the end of my teaching for the summer break now, but there will be plenty of motorsport to cover
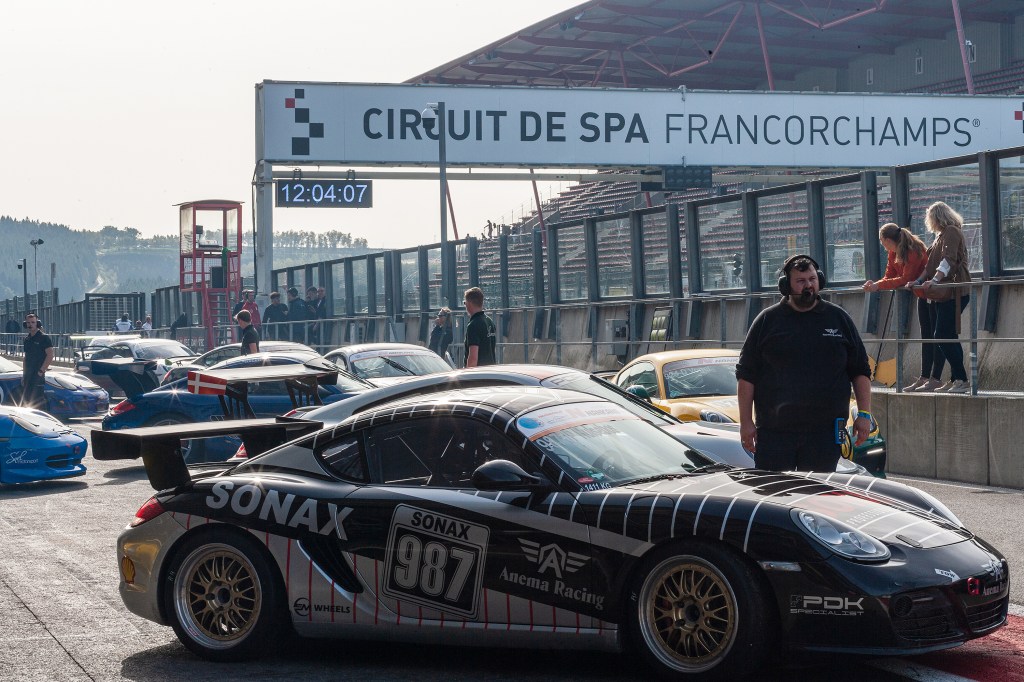
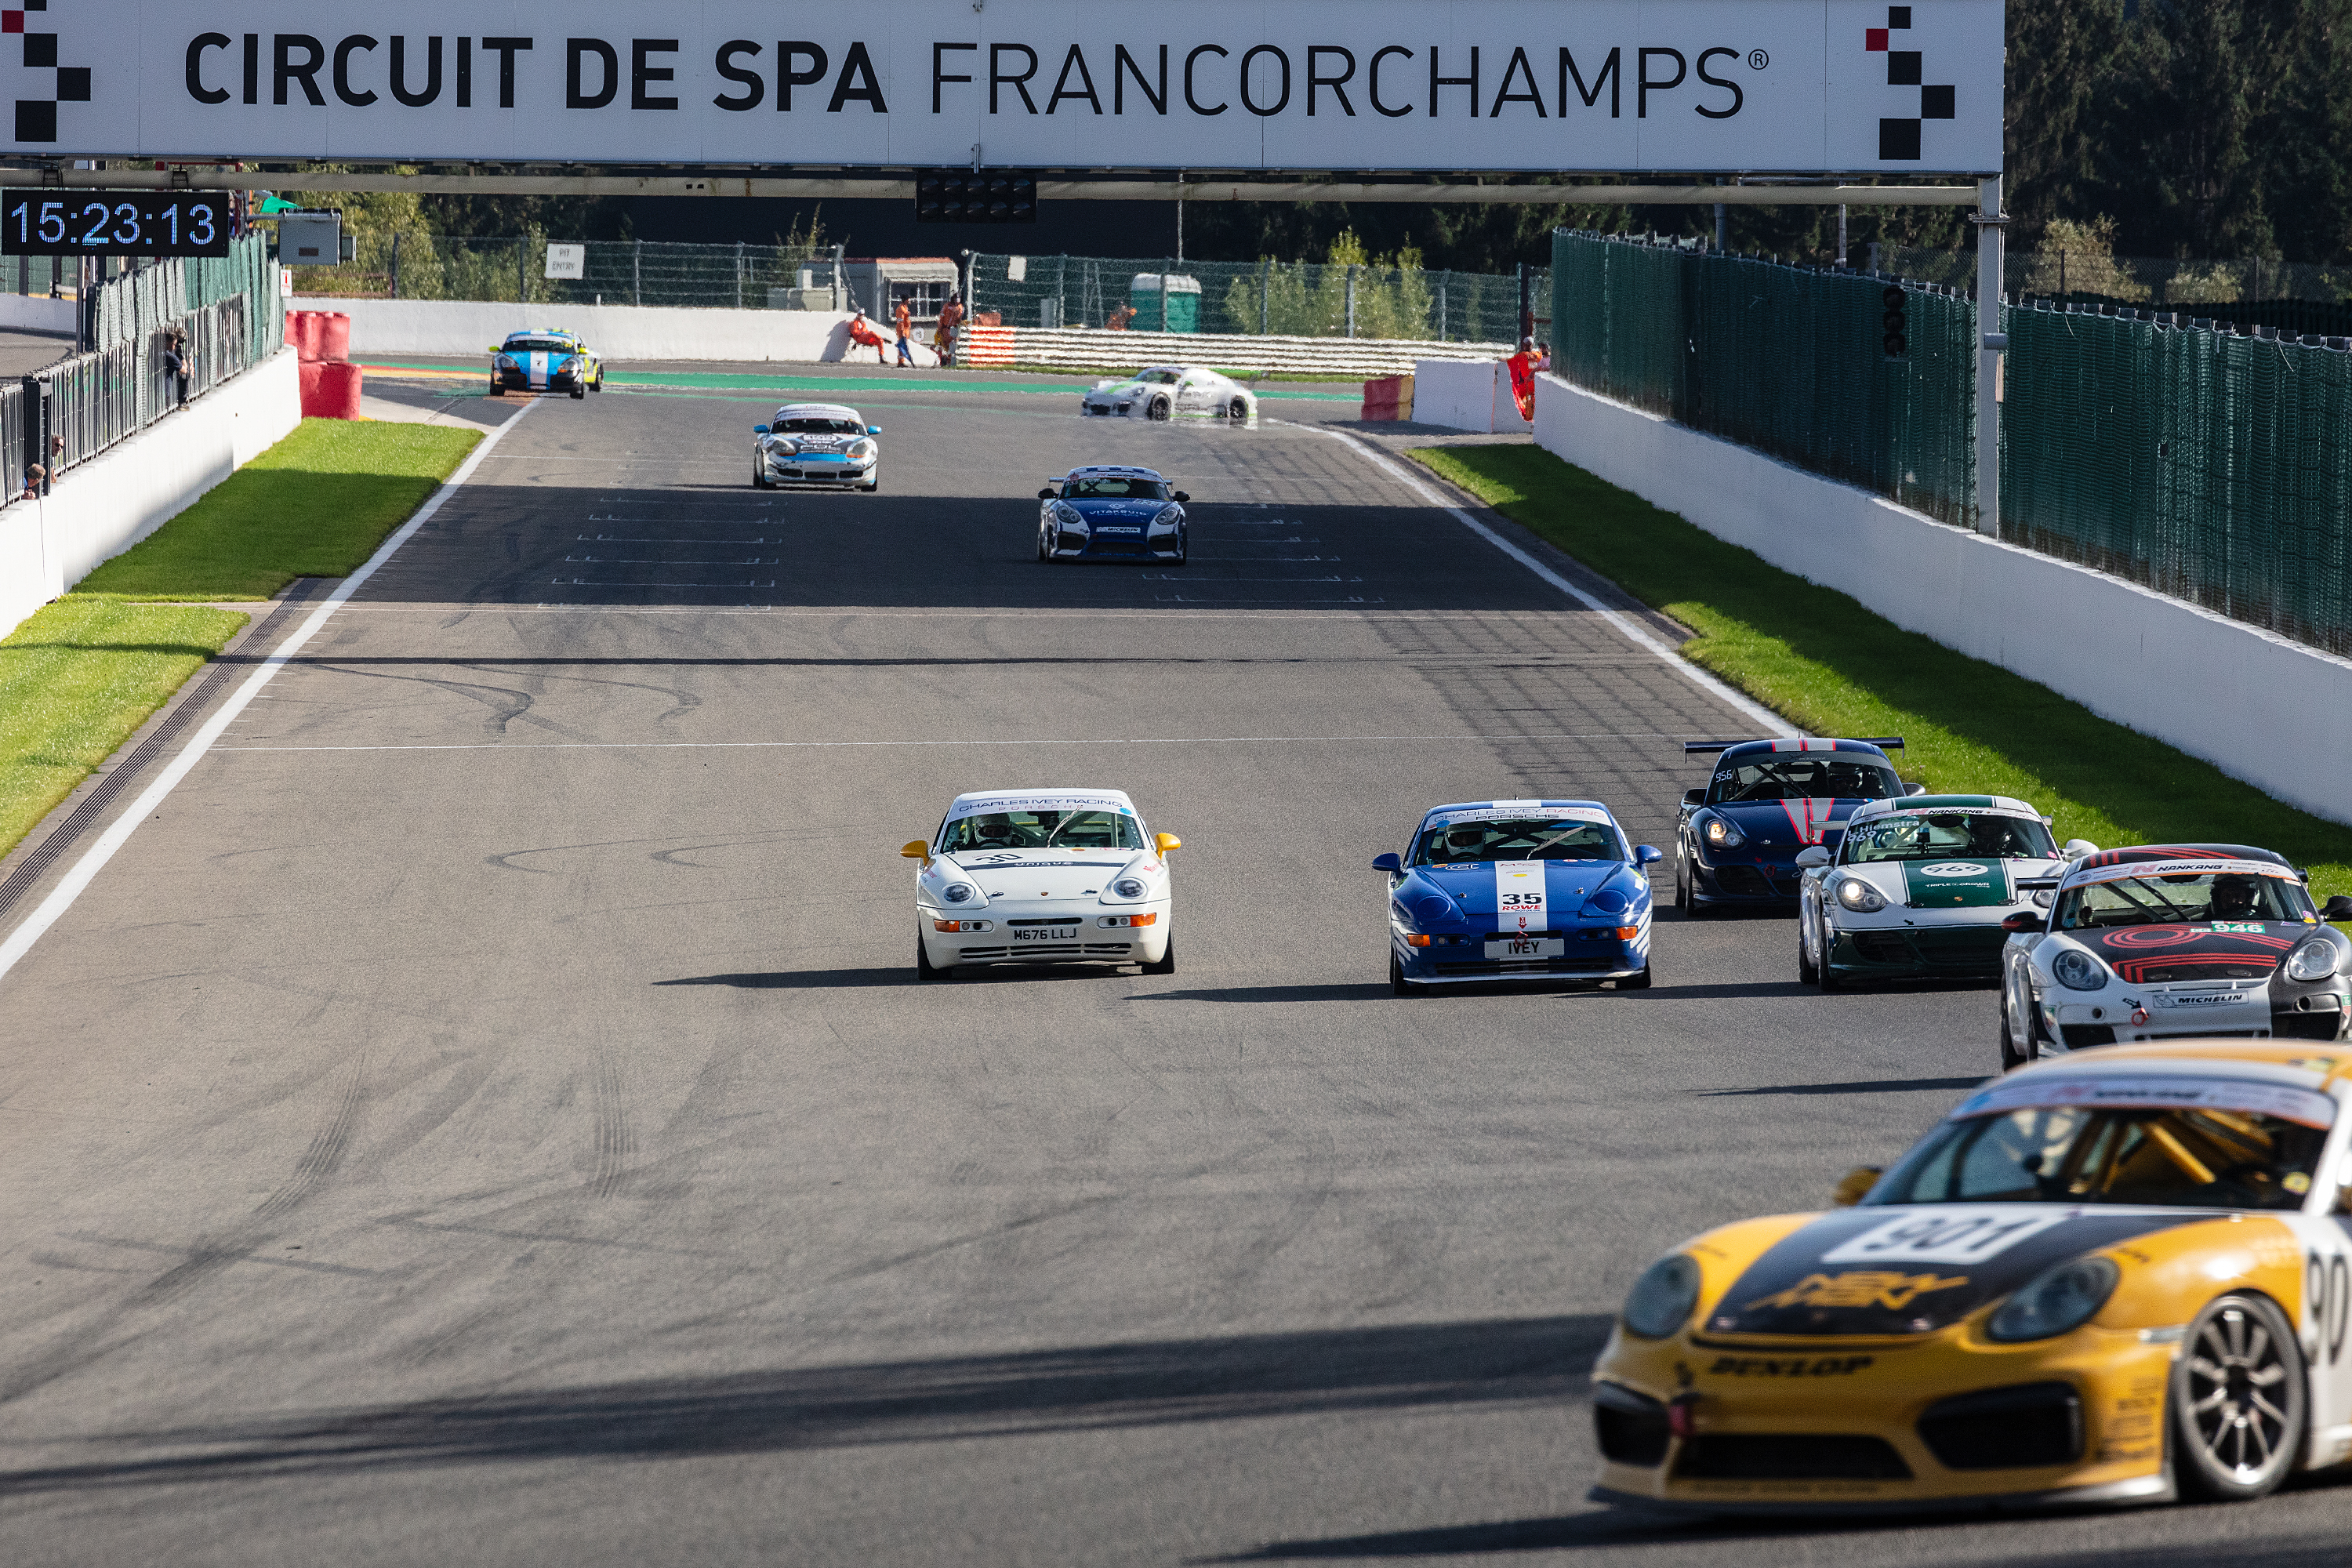
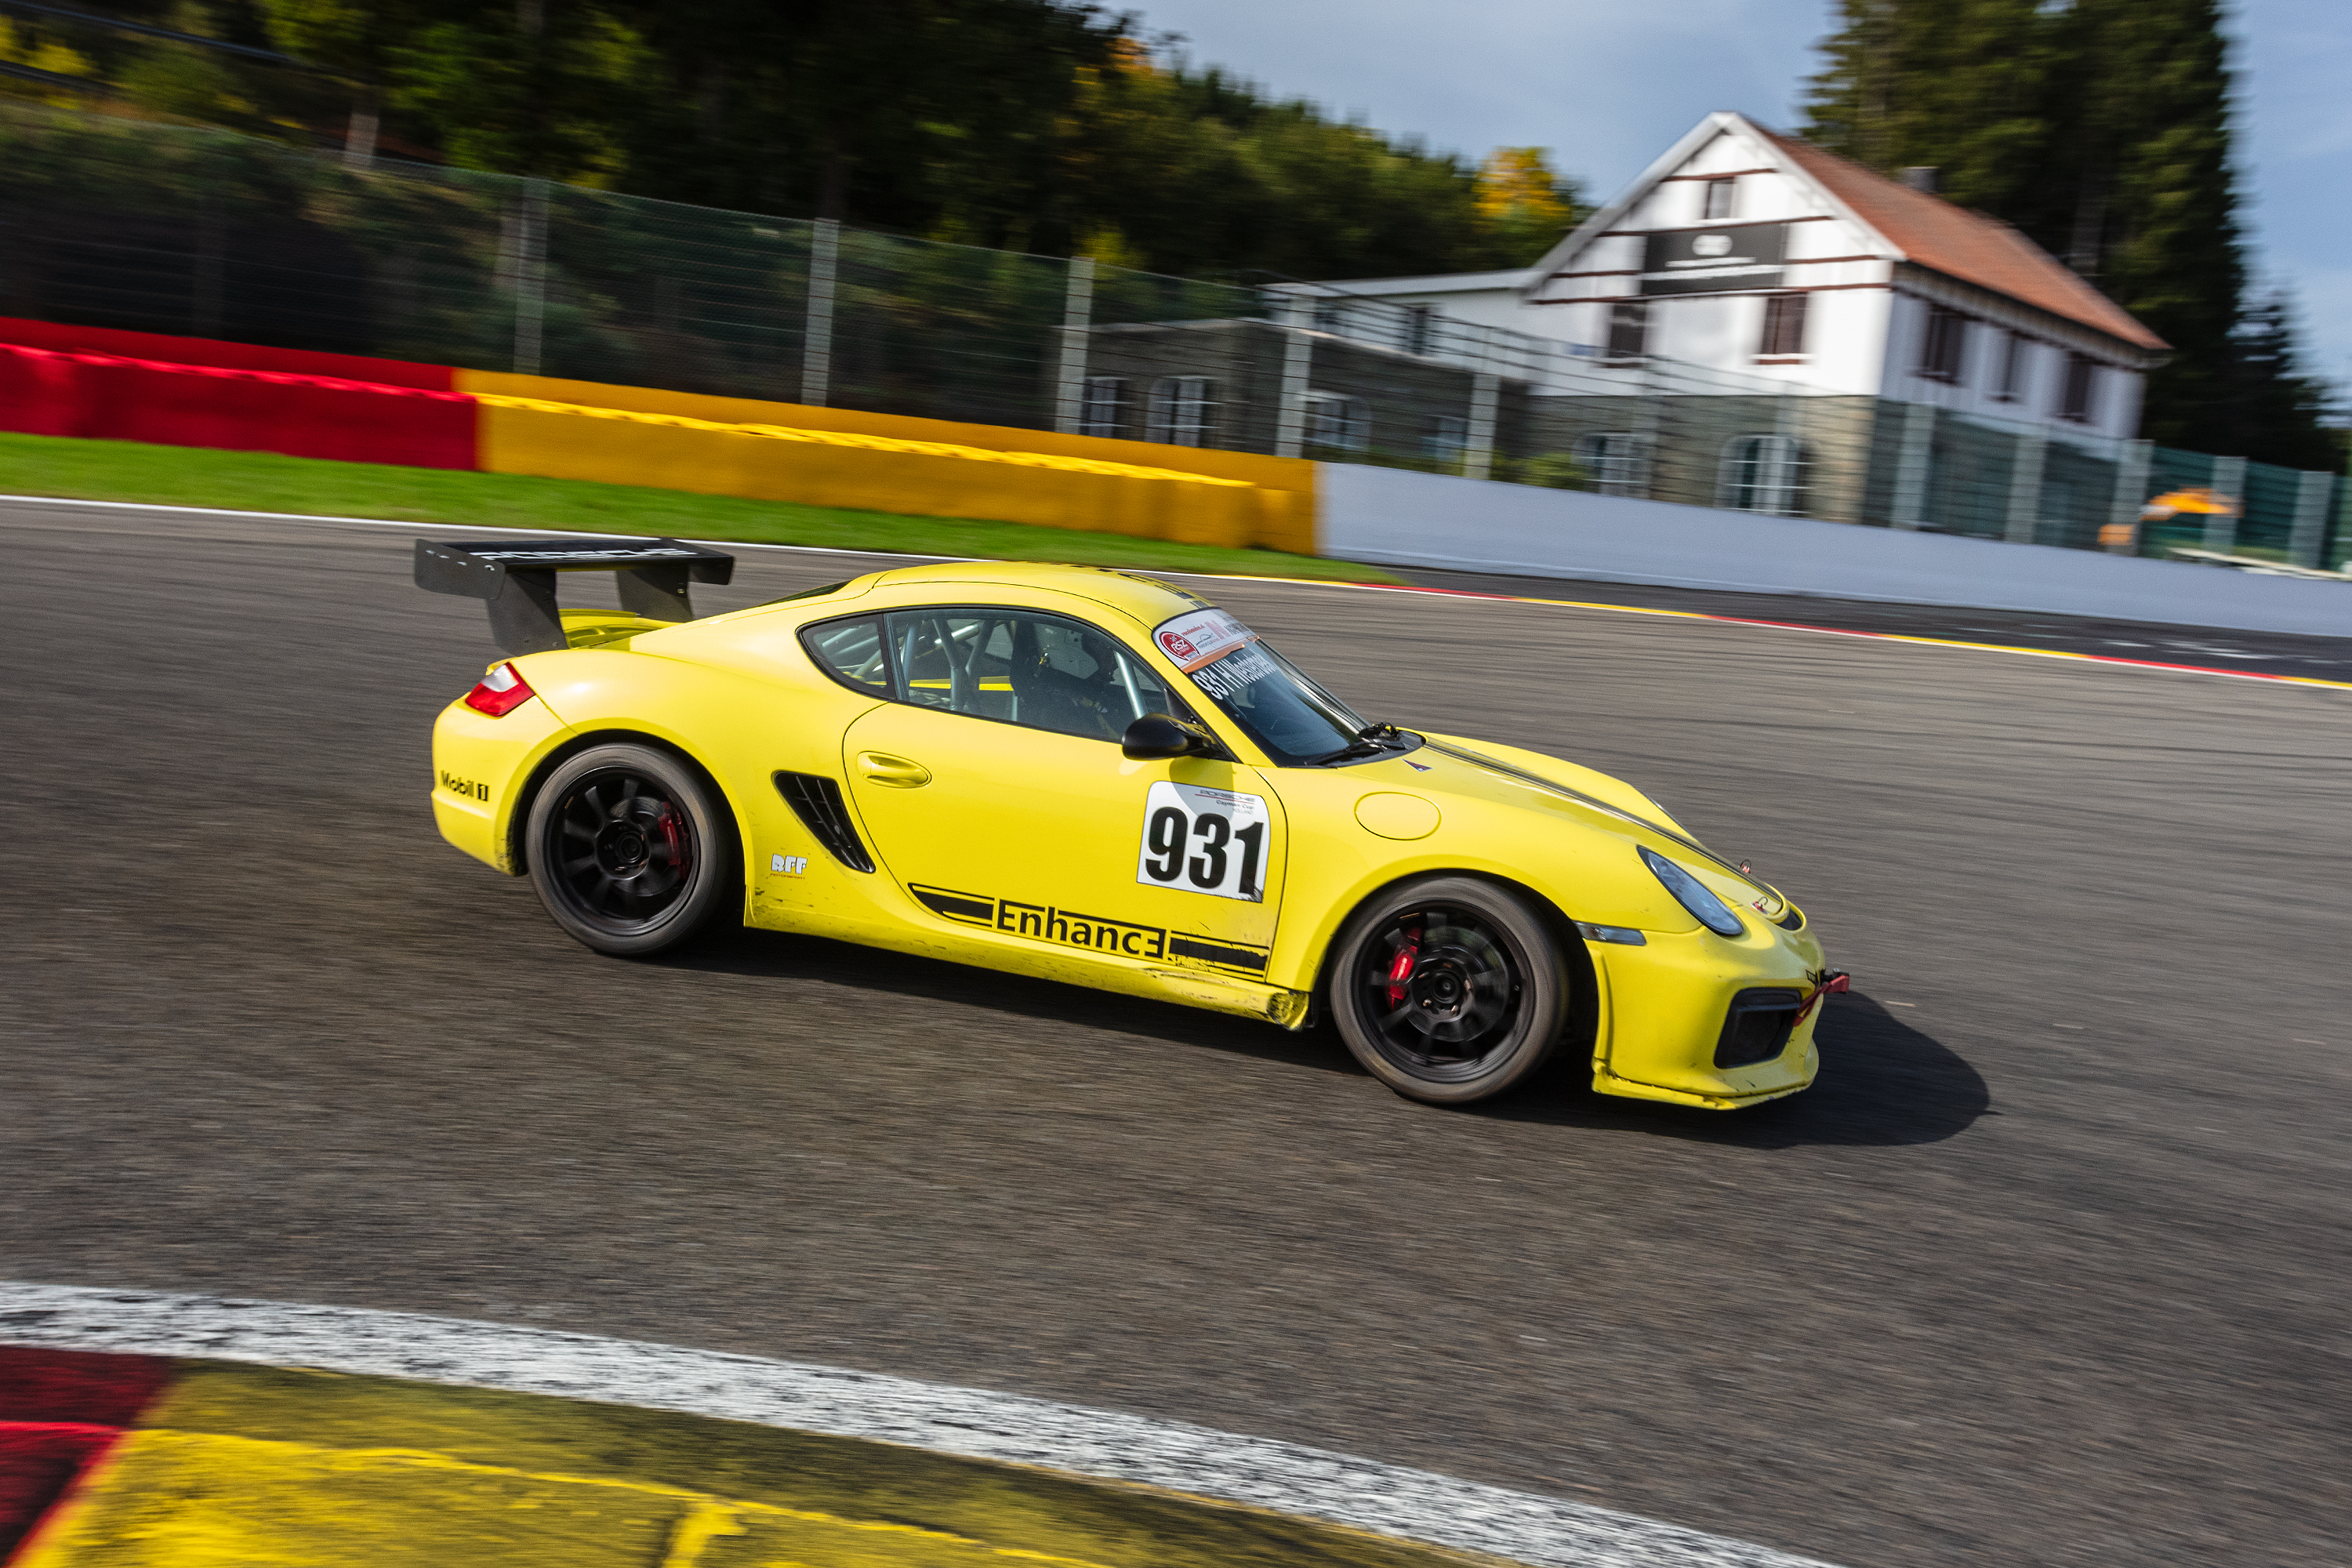
Super Spa Weekend, at the Circuit de Spa-Francorchamps, the 8th of October 2023
Last season we got to visit Belgium, the Circuit de Spa-Francorchamps with the Dutch Porsche club, for the Super Spa weekend, and we all had a really good time
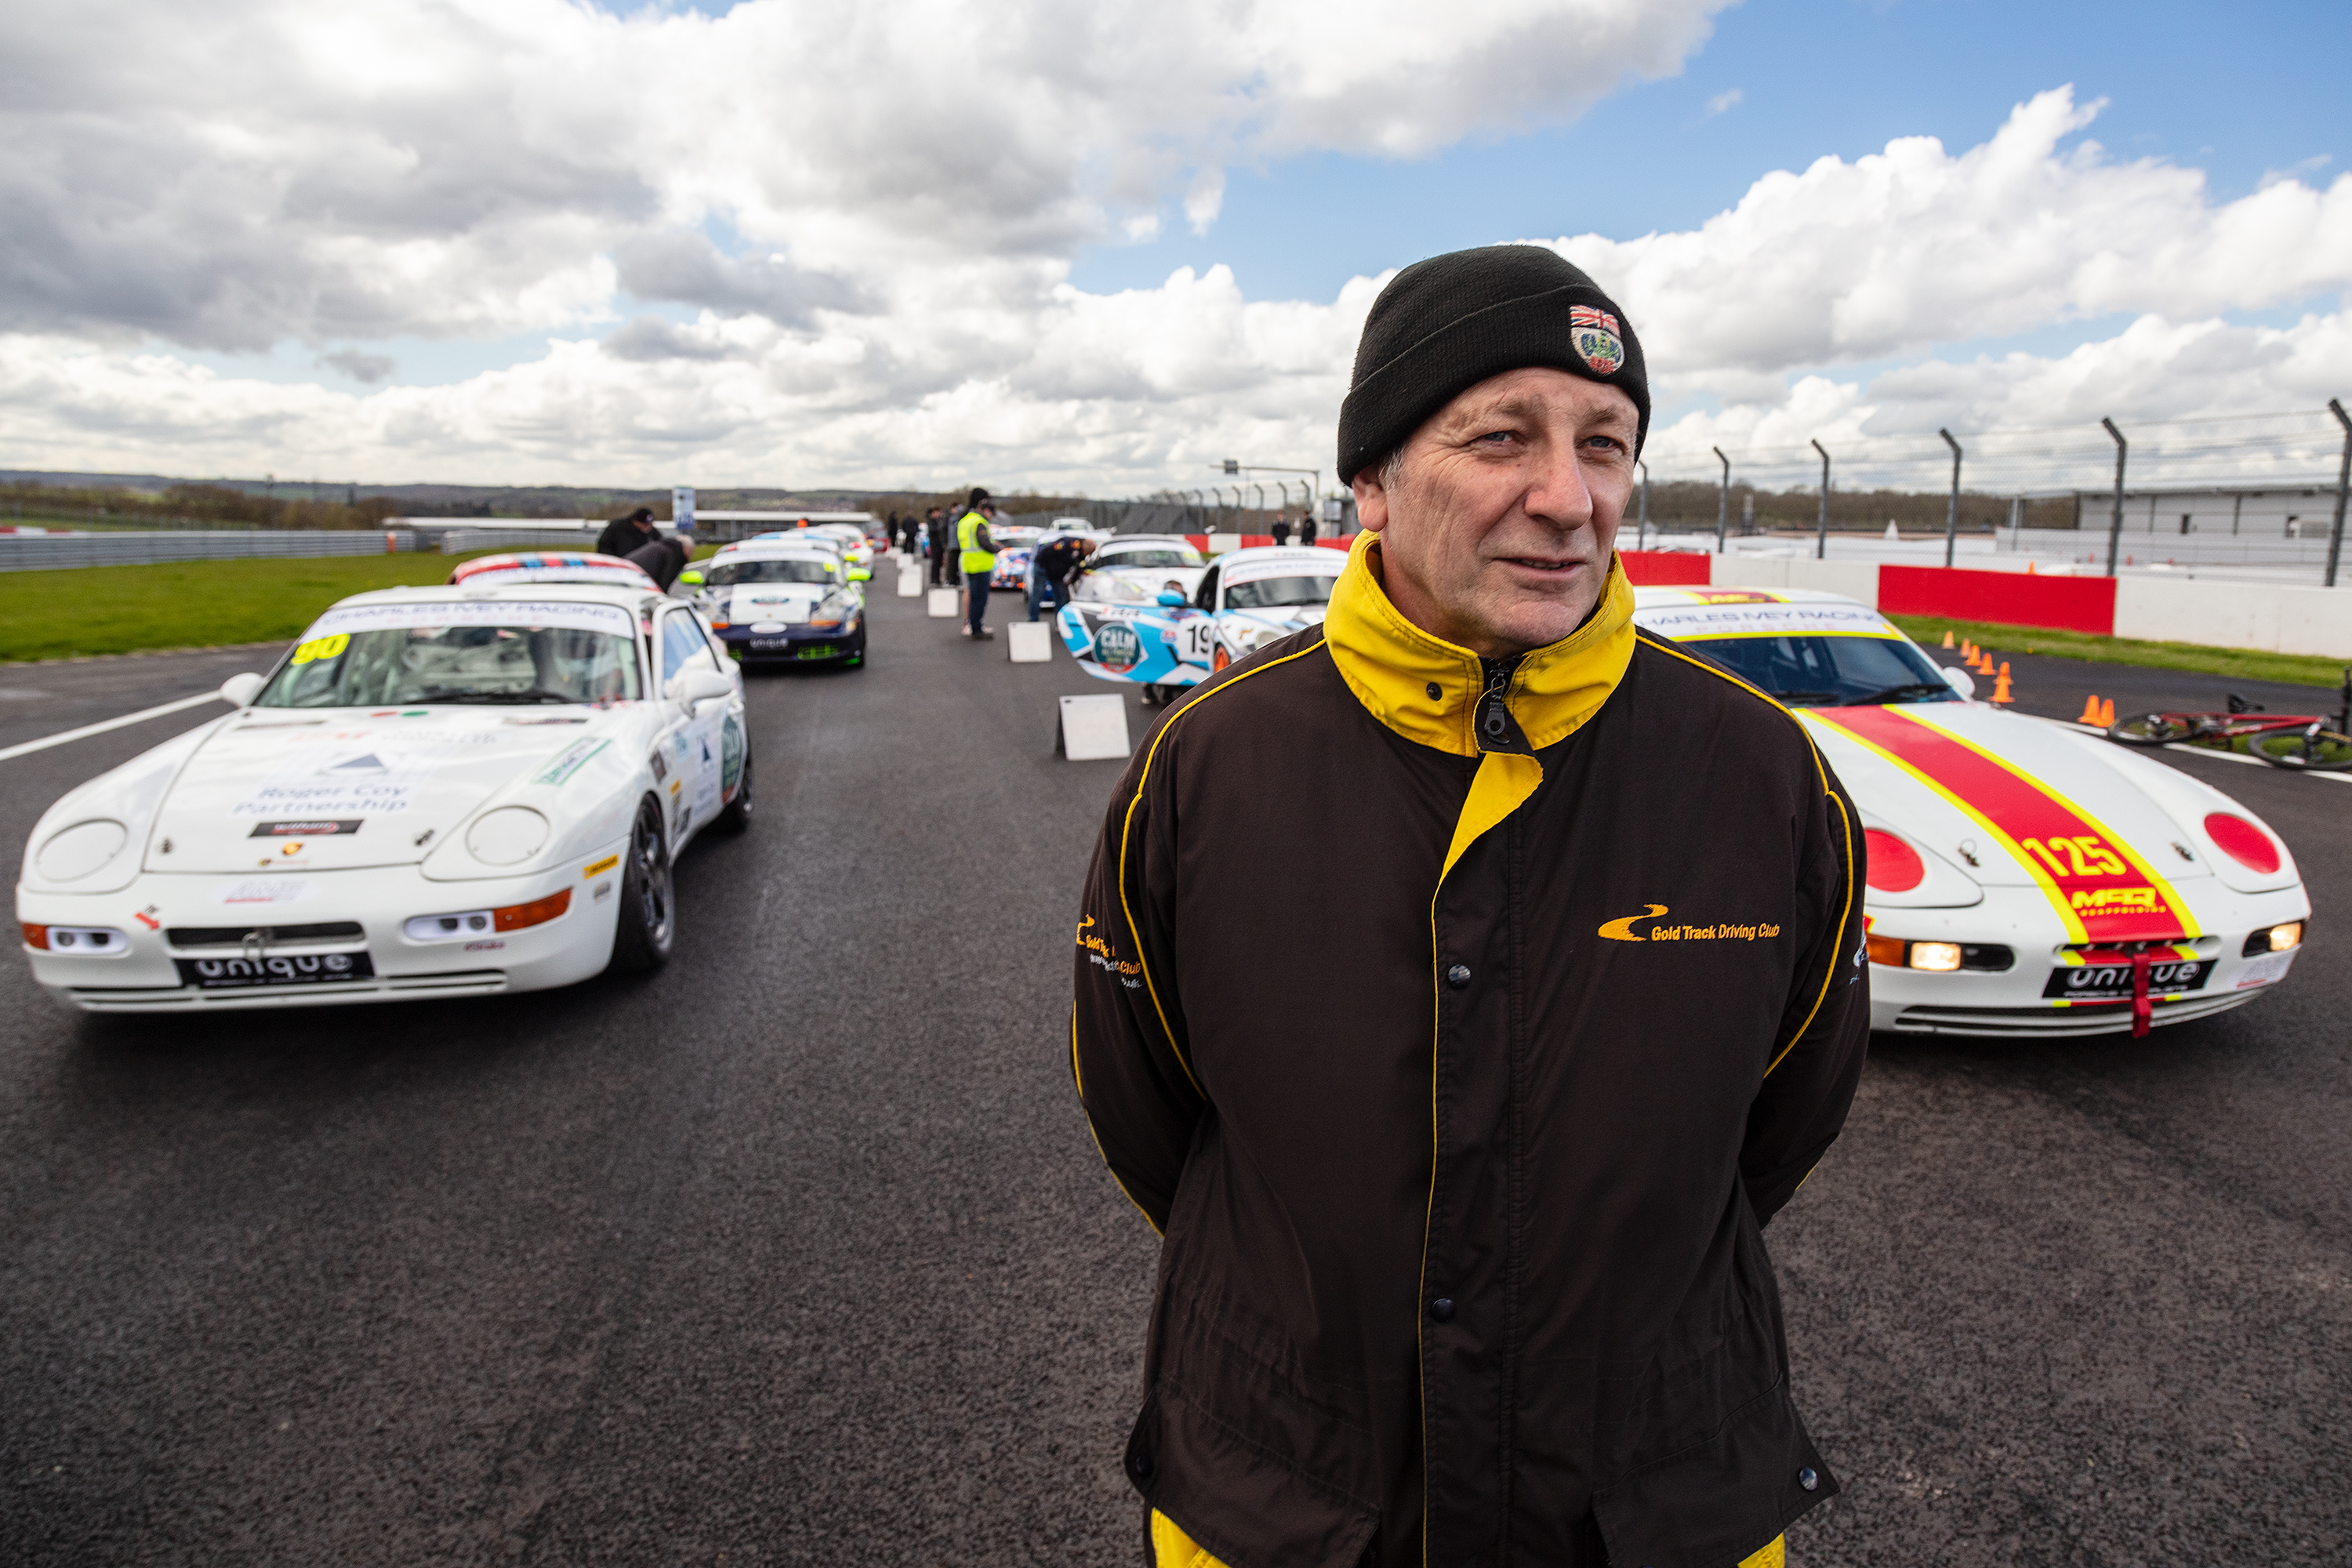
This year, with the CALM All Porsche Trophy, I will be going to Croft in the North of England for the first time, which of course, I am looking forward to
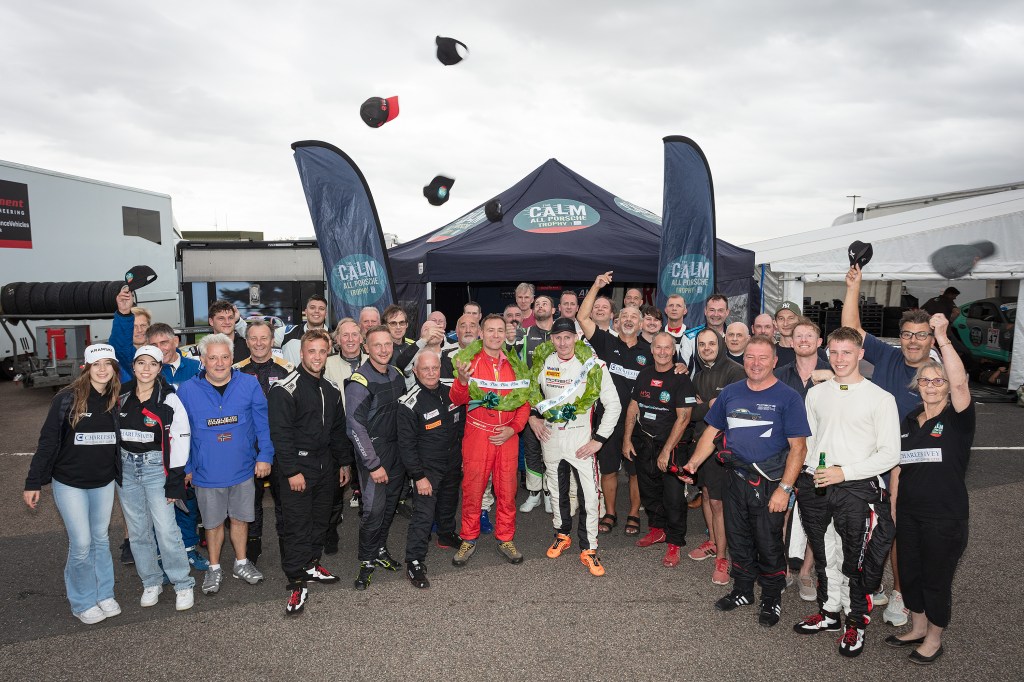
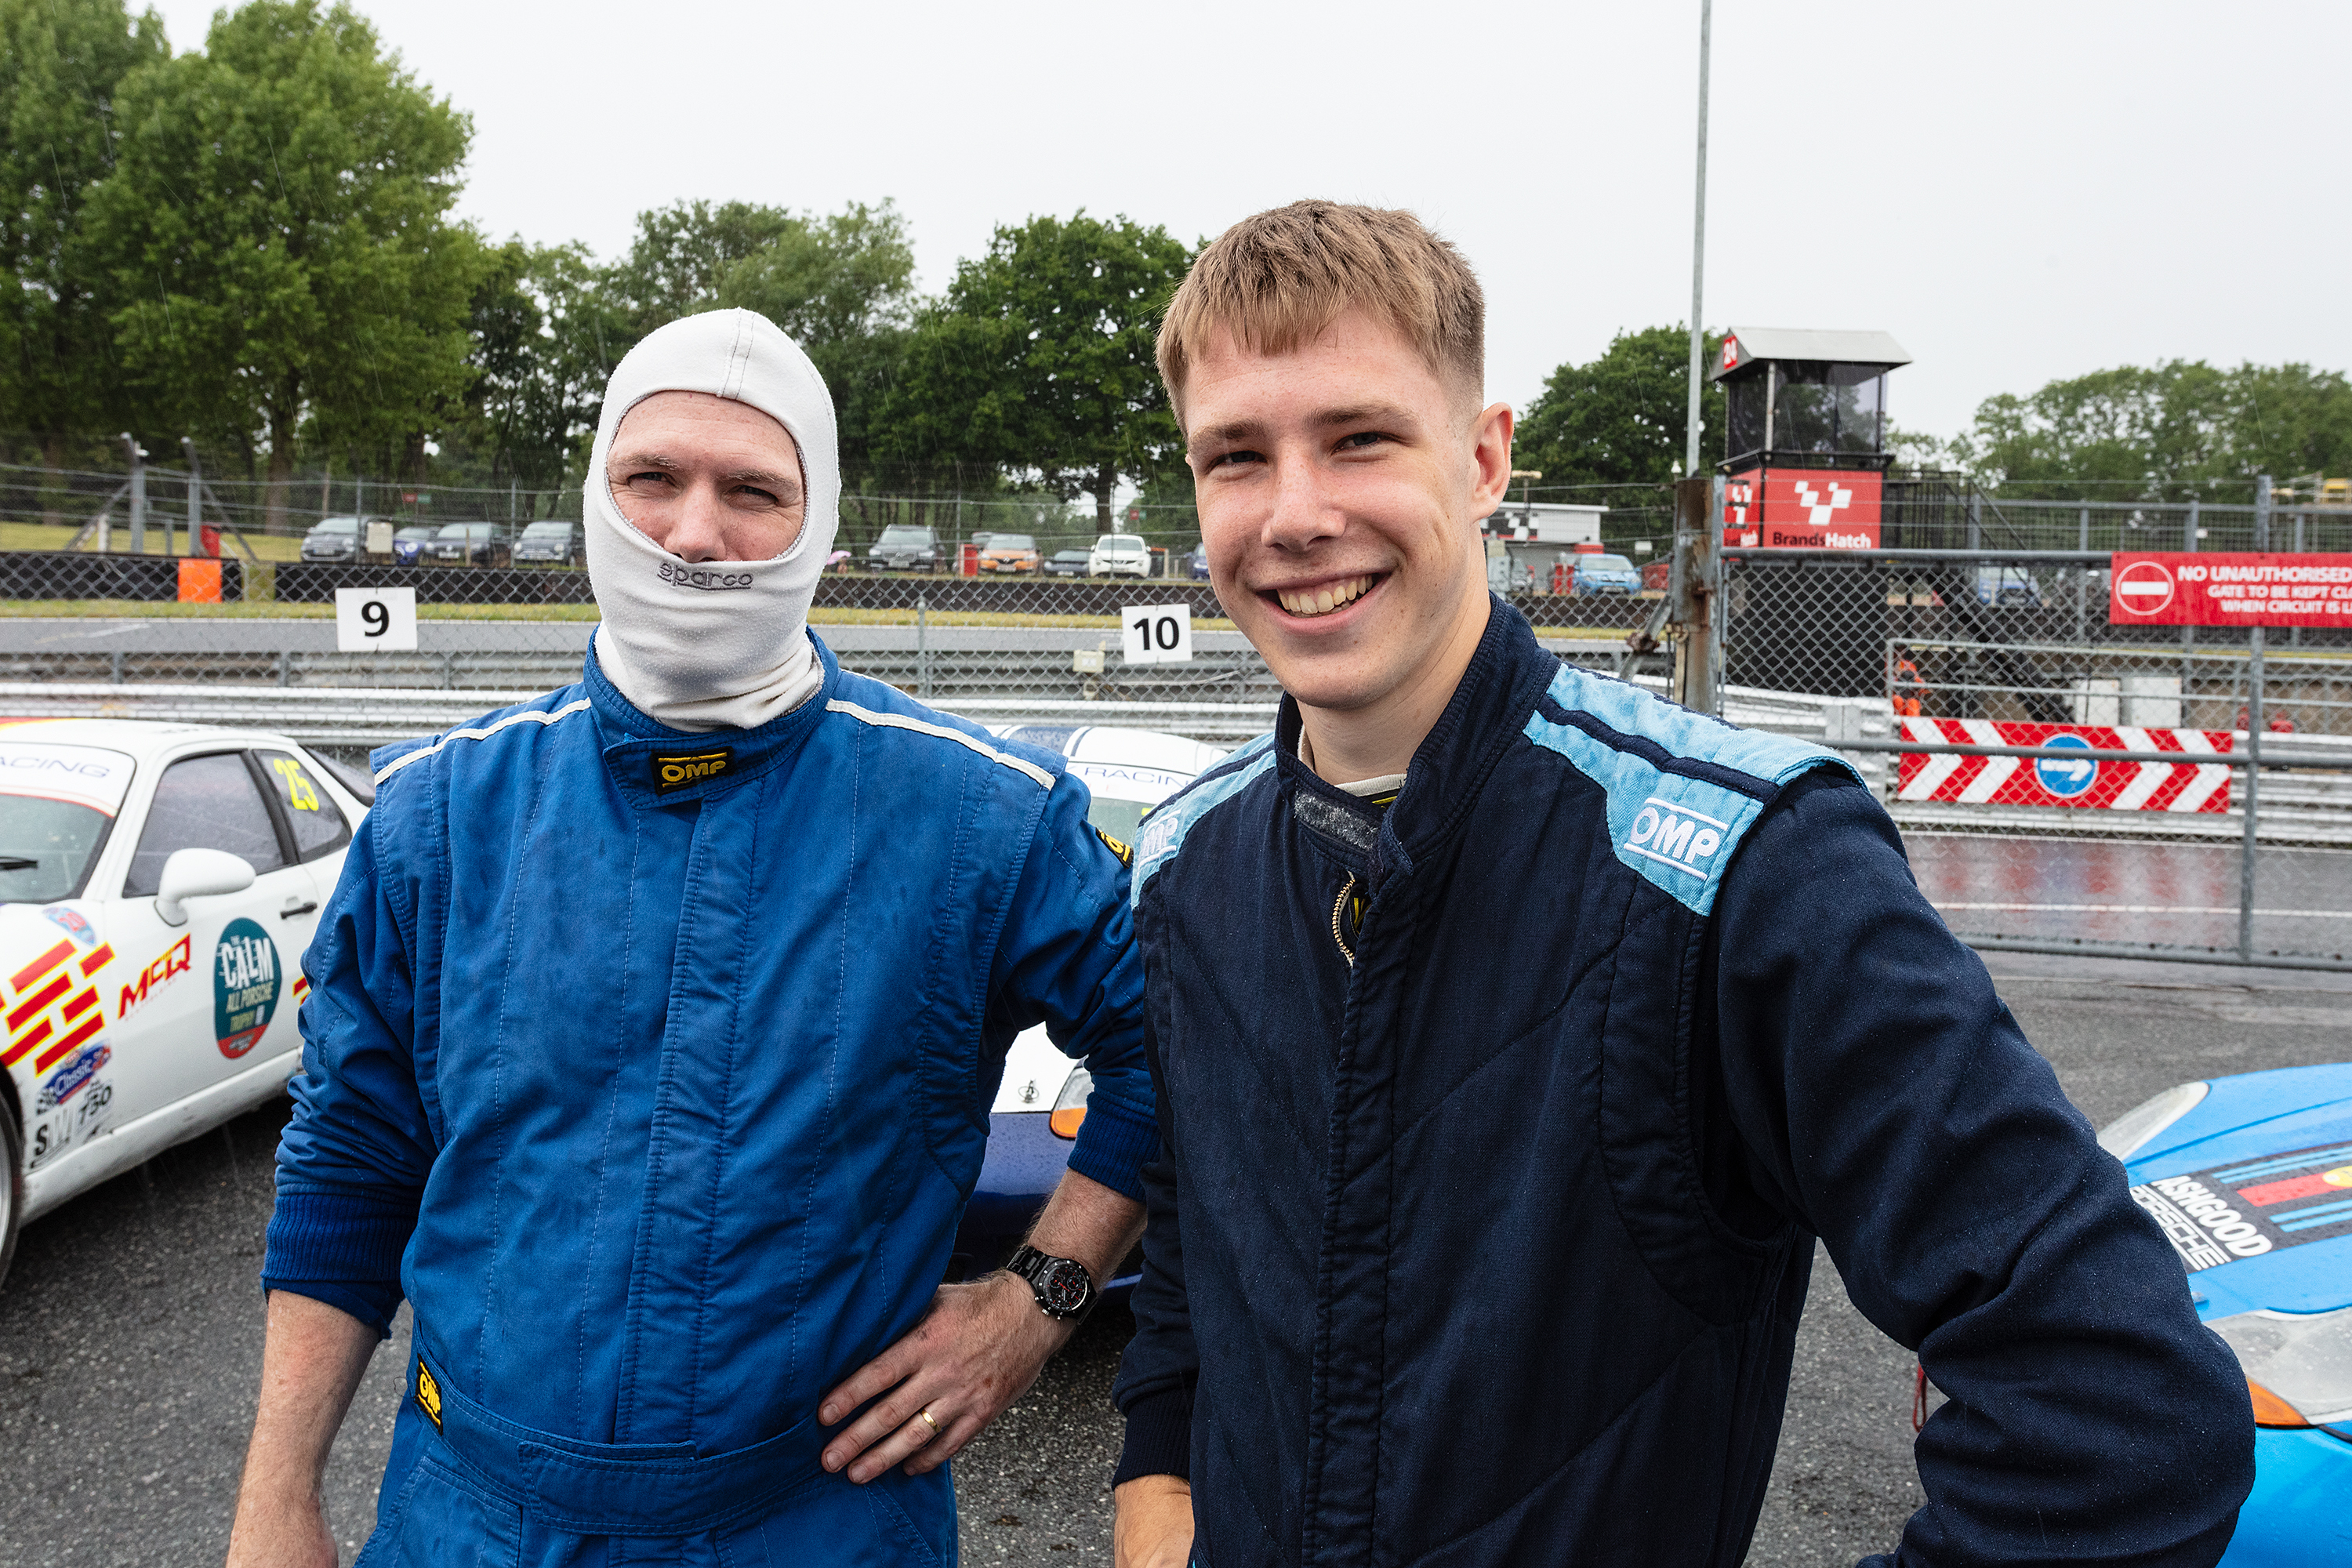
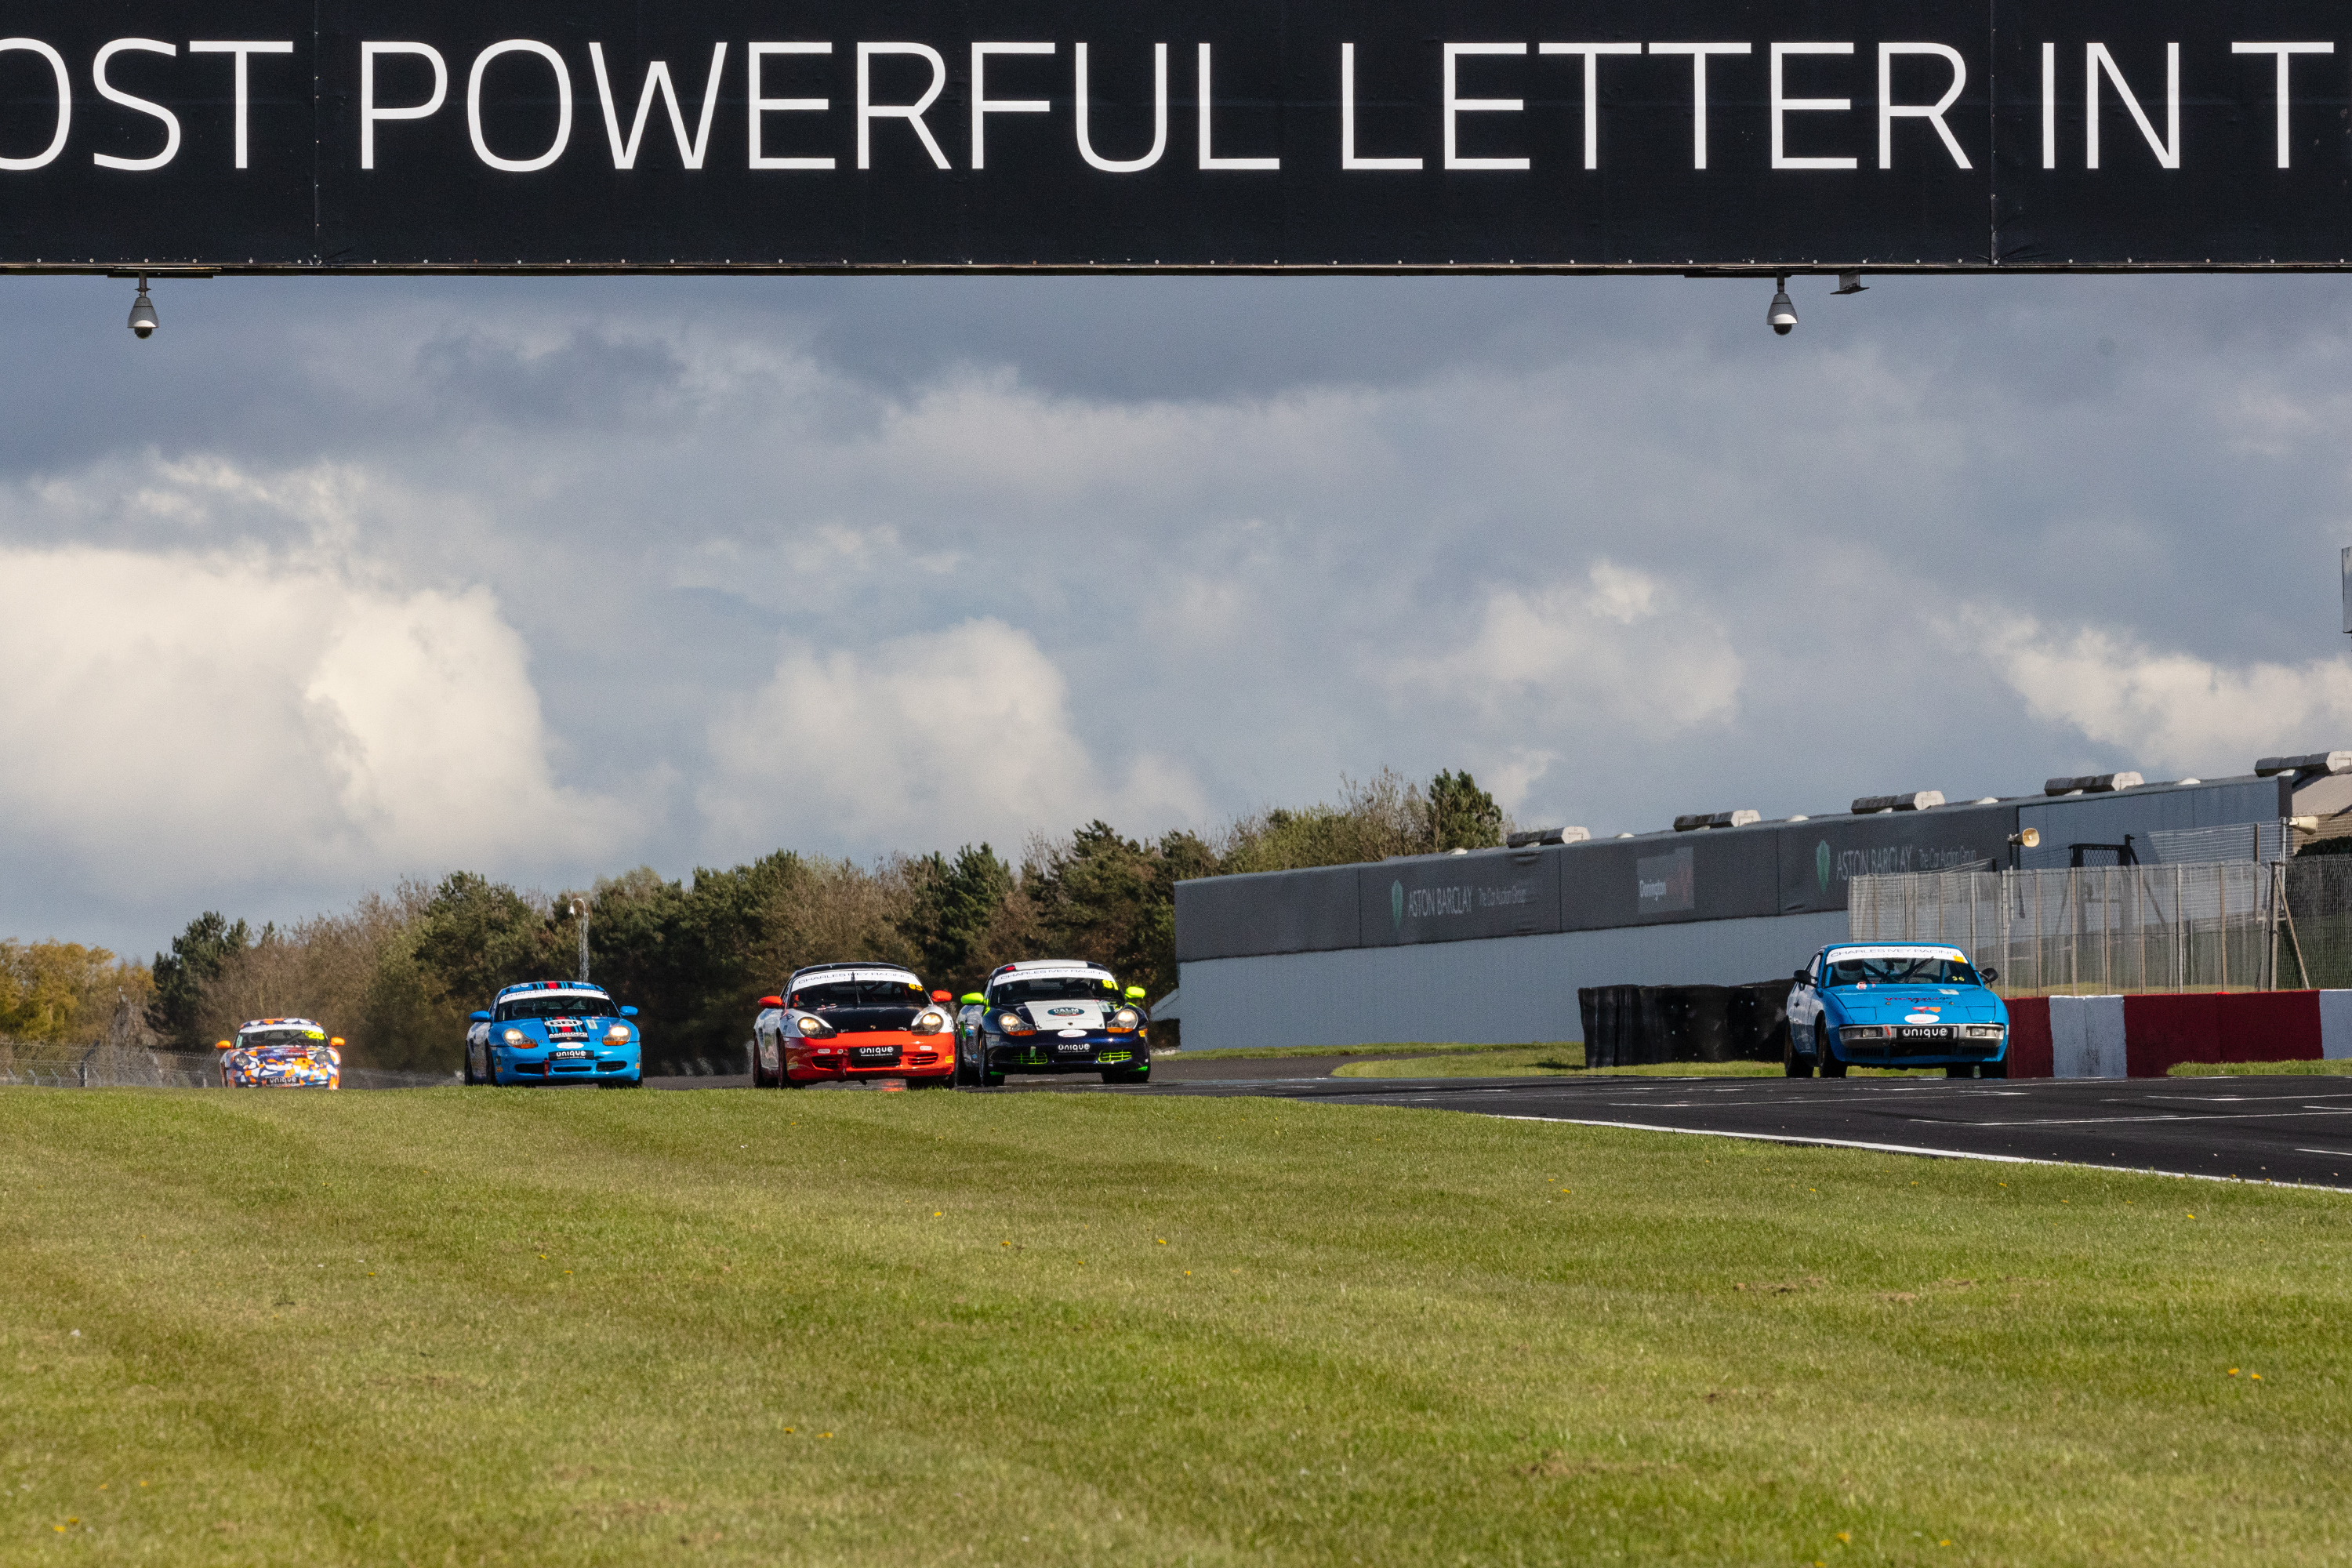
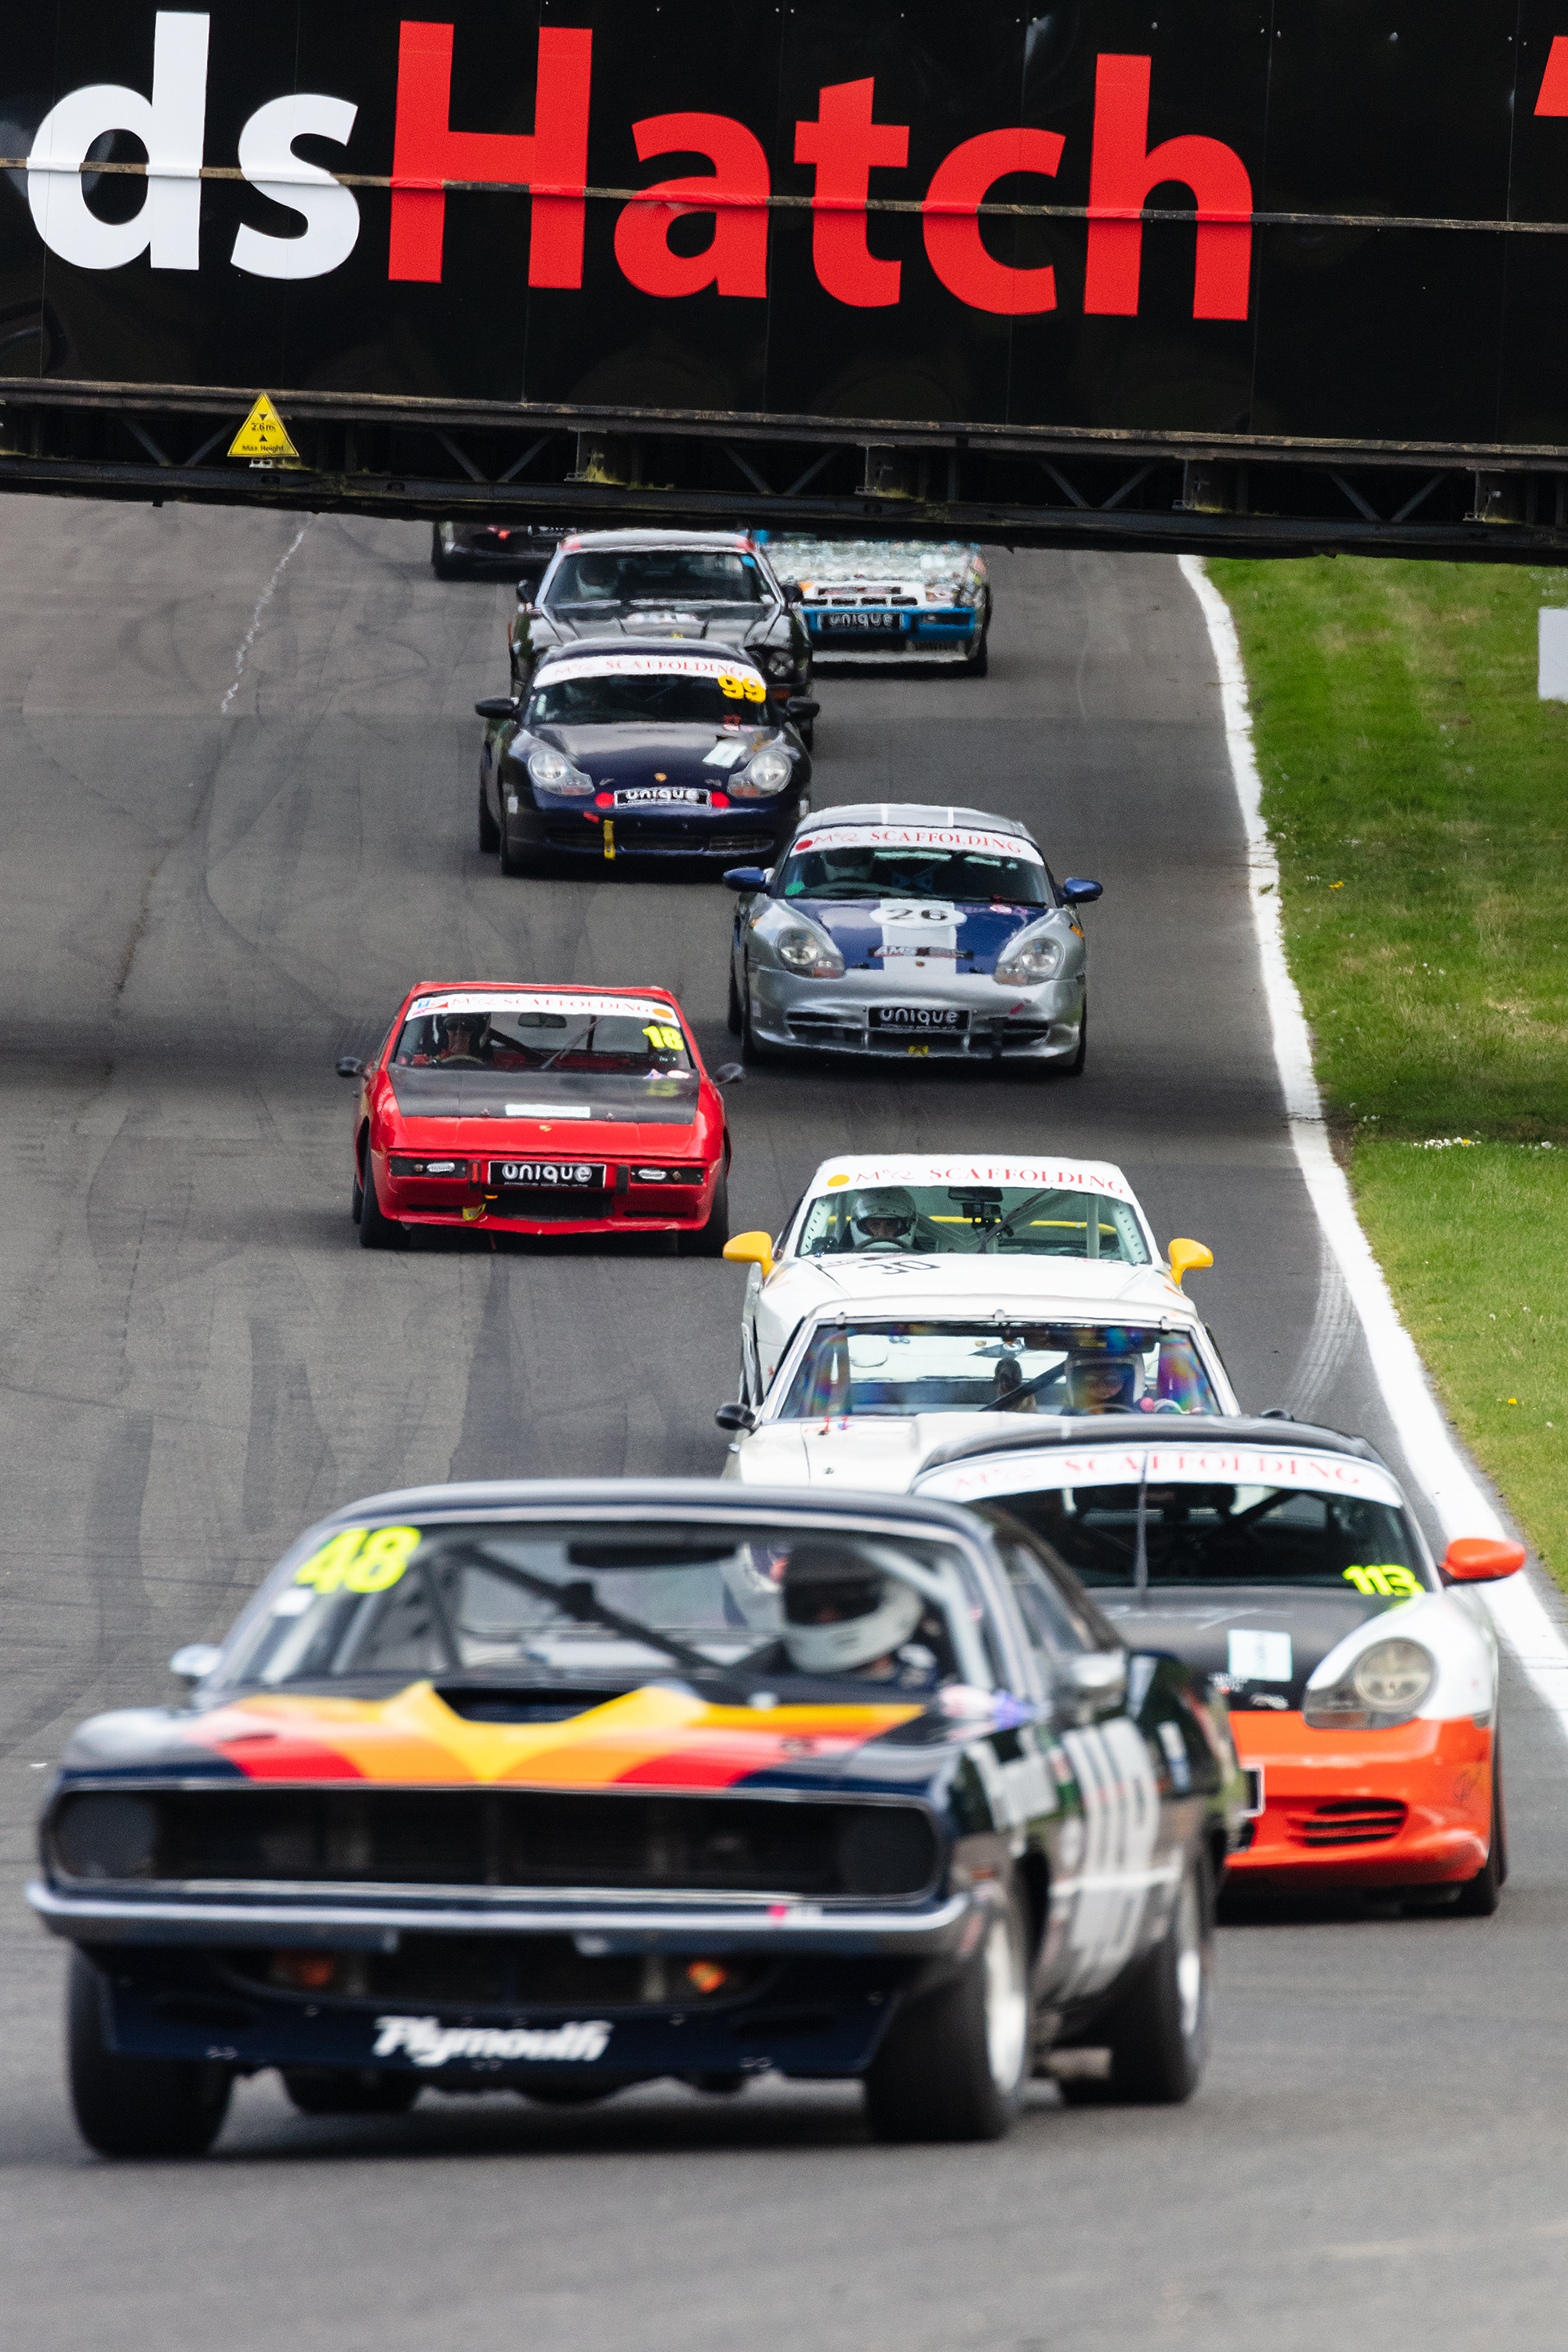
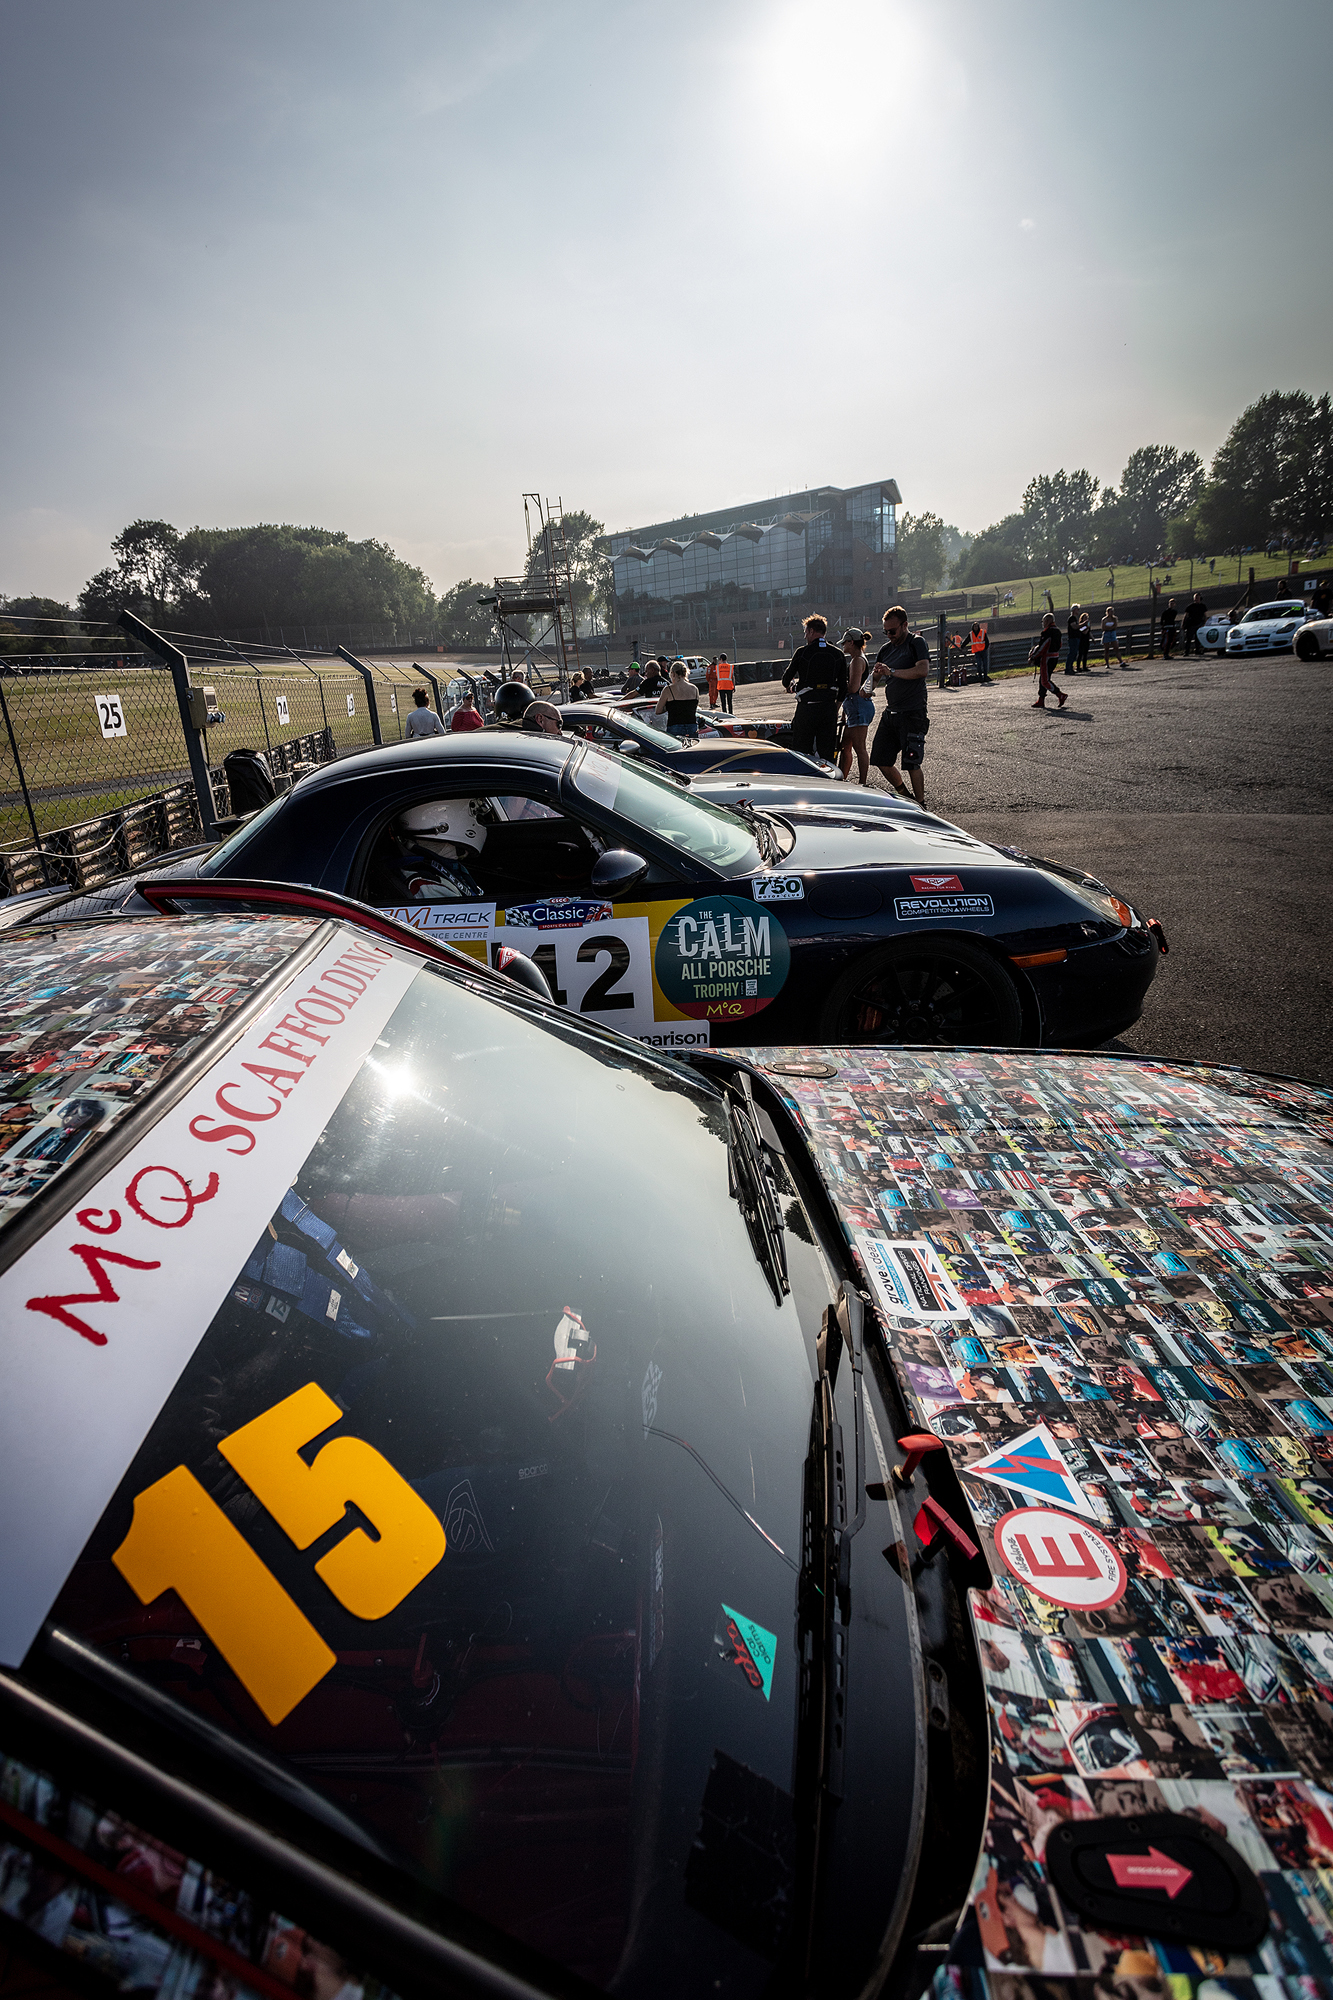
Calm All Porsche Trophy Driver line up, Snetterton, Saturday, 12th of August 2023
I was at Snetterton, Norfolk for the weekend of the 12th and 13th of August for the CALM All Porsche Trophy
The weather held of for us this weekend thankfully
We had planned a full grid photo on the start finish line as our second race was the last of the day on Saturday, however, due to strict noise abatement rules, and previous races running late, it was cancelled at the last minute, but we did manage a driver line up in front of our marquee
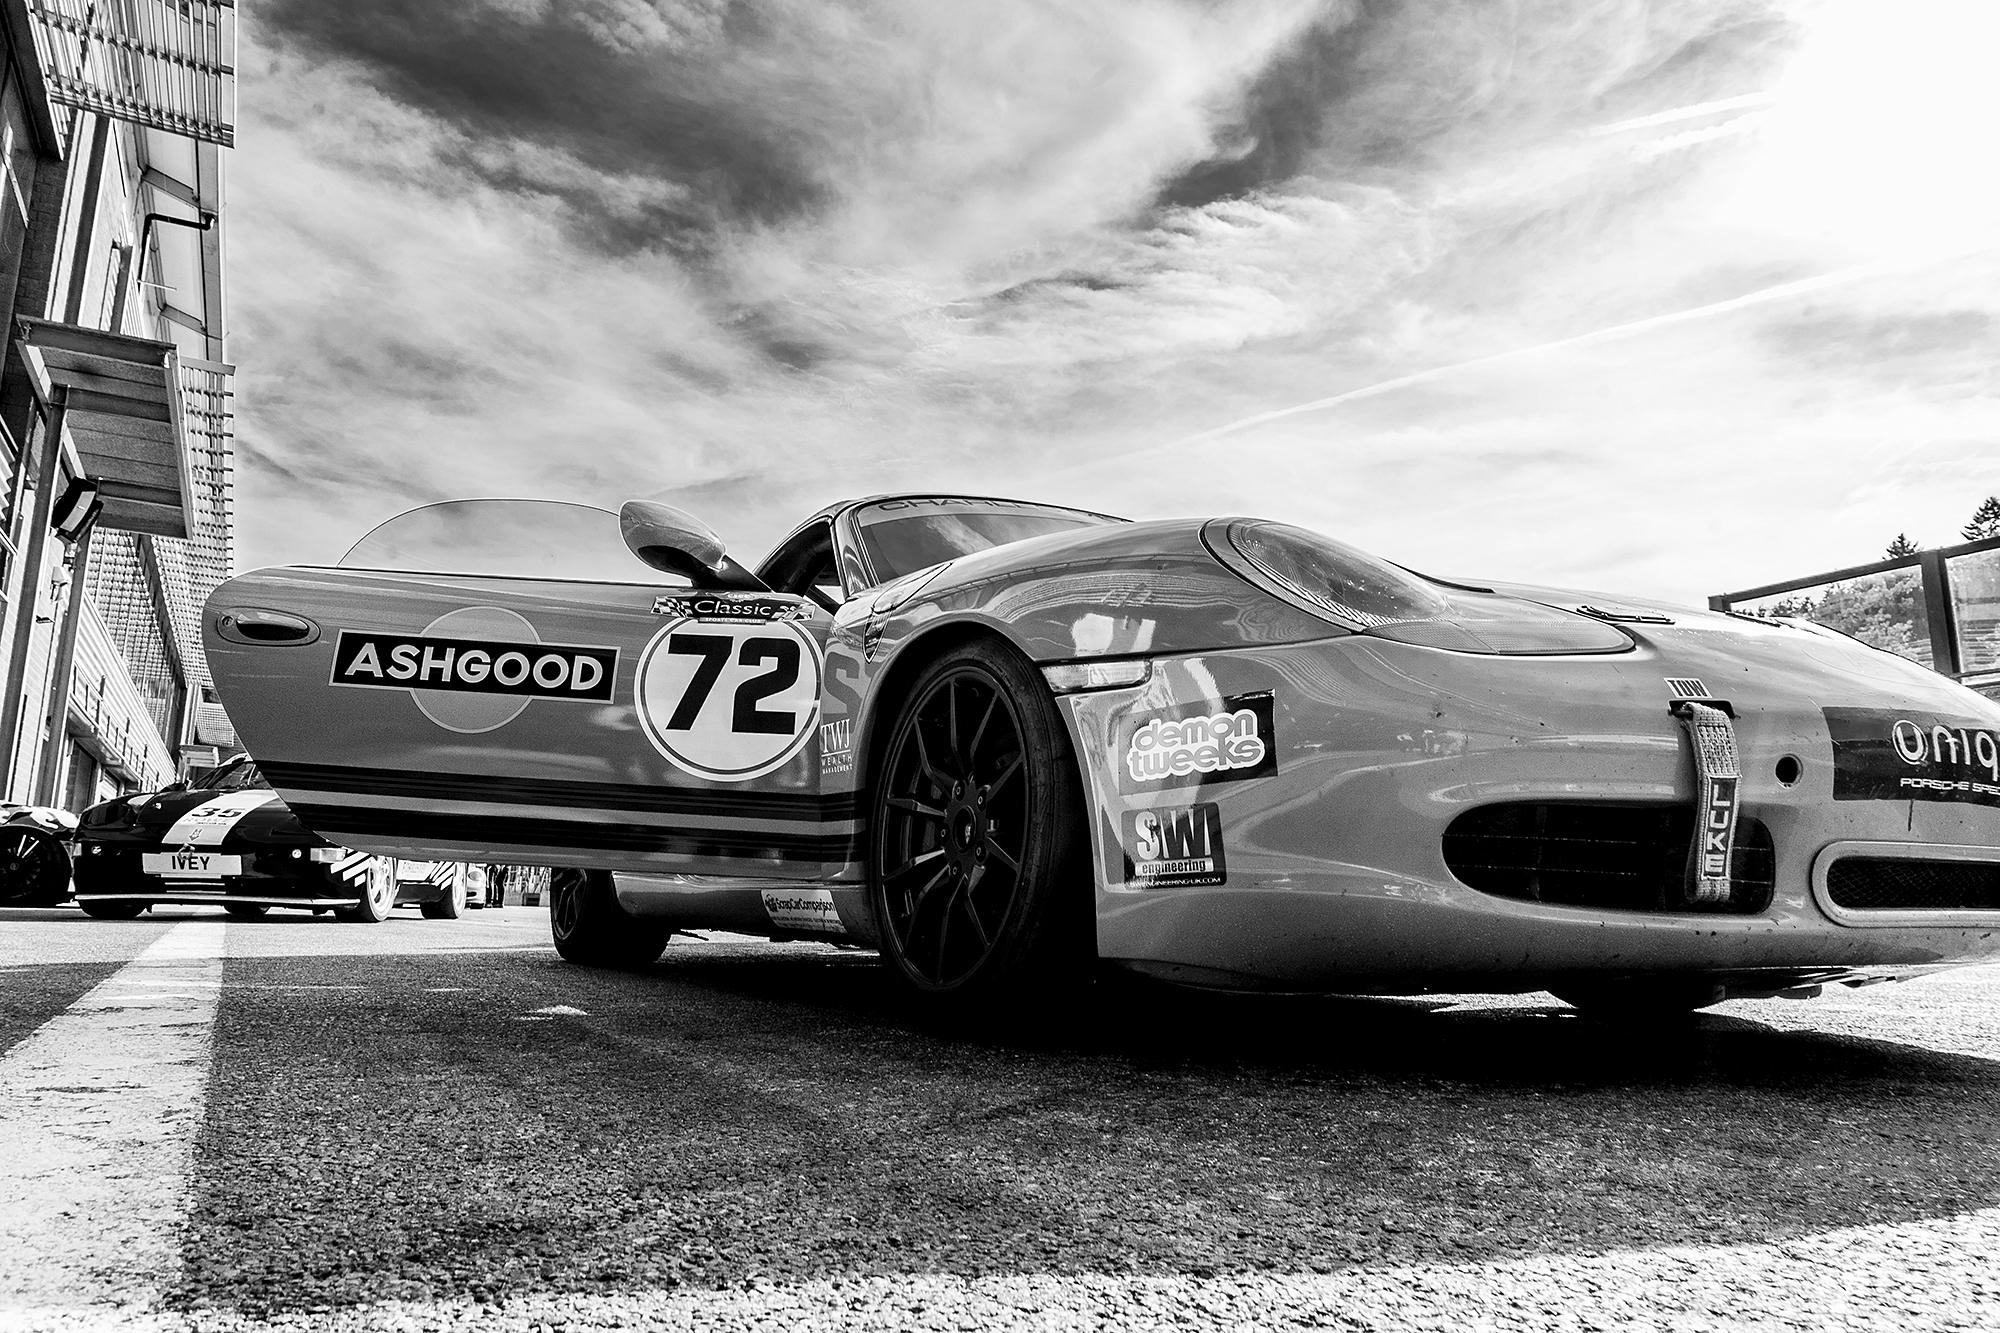
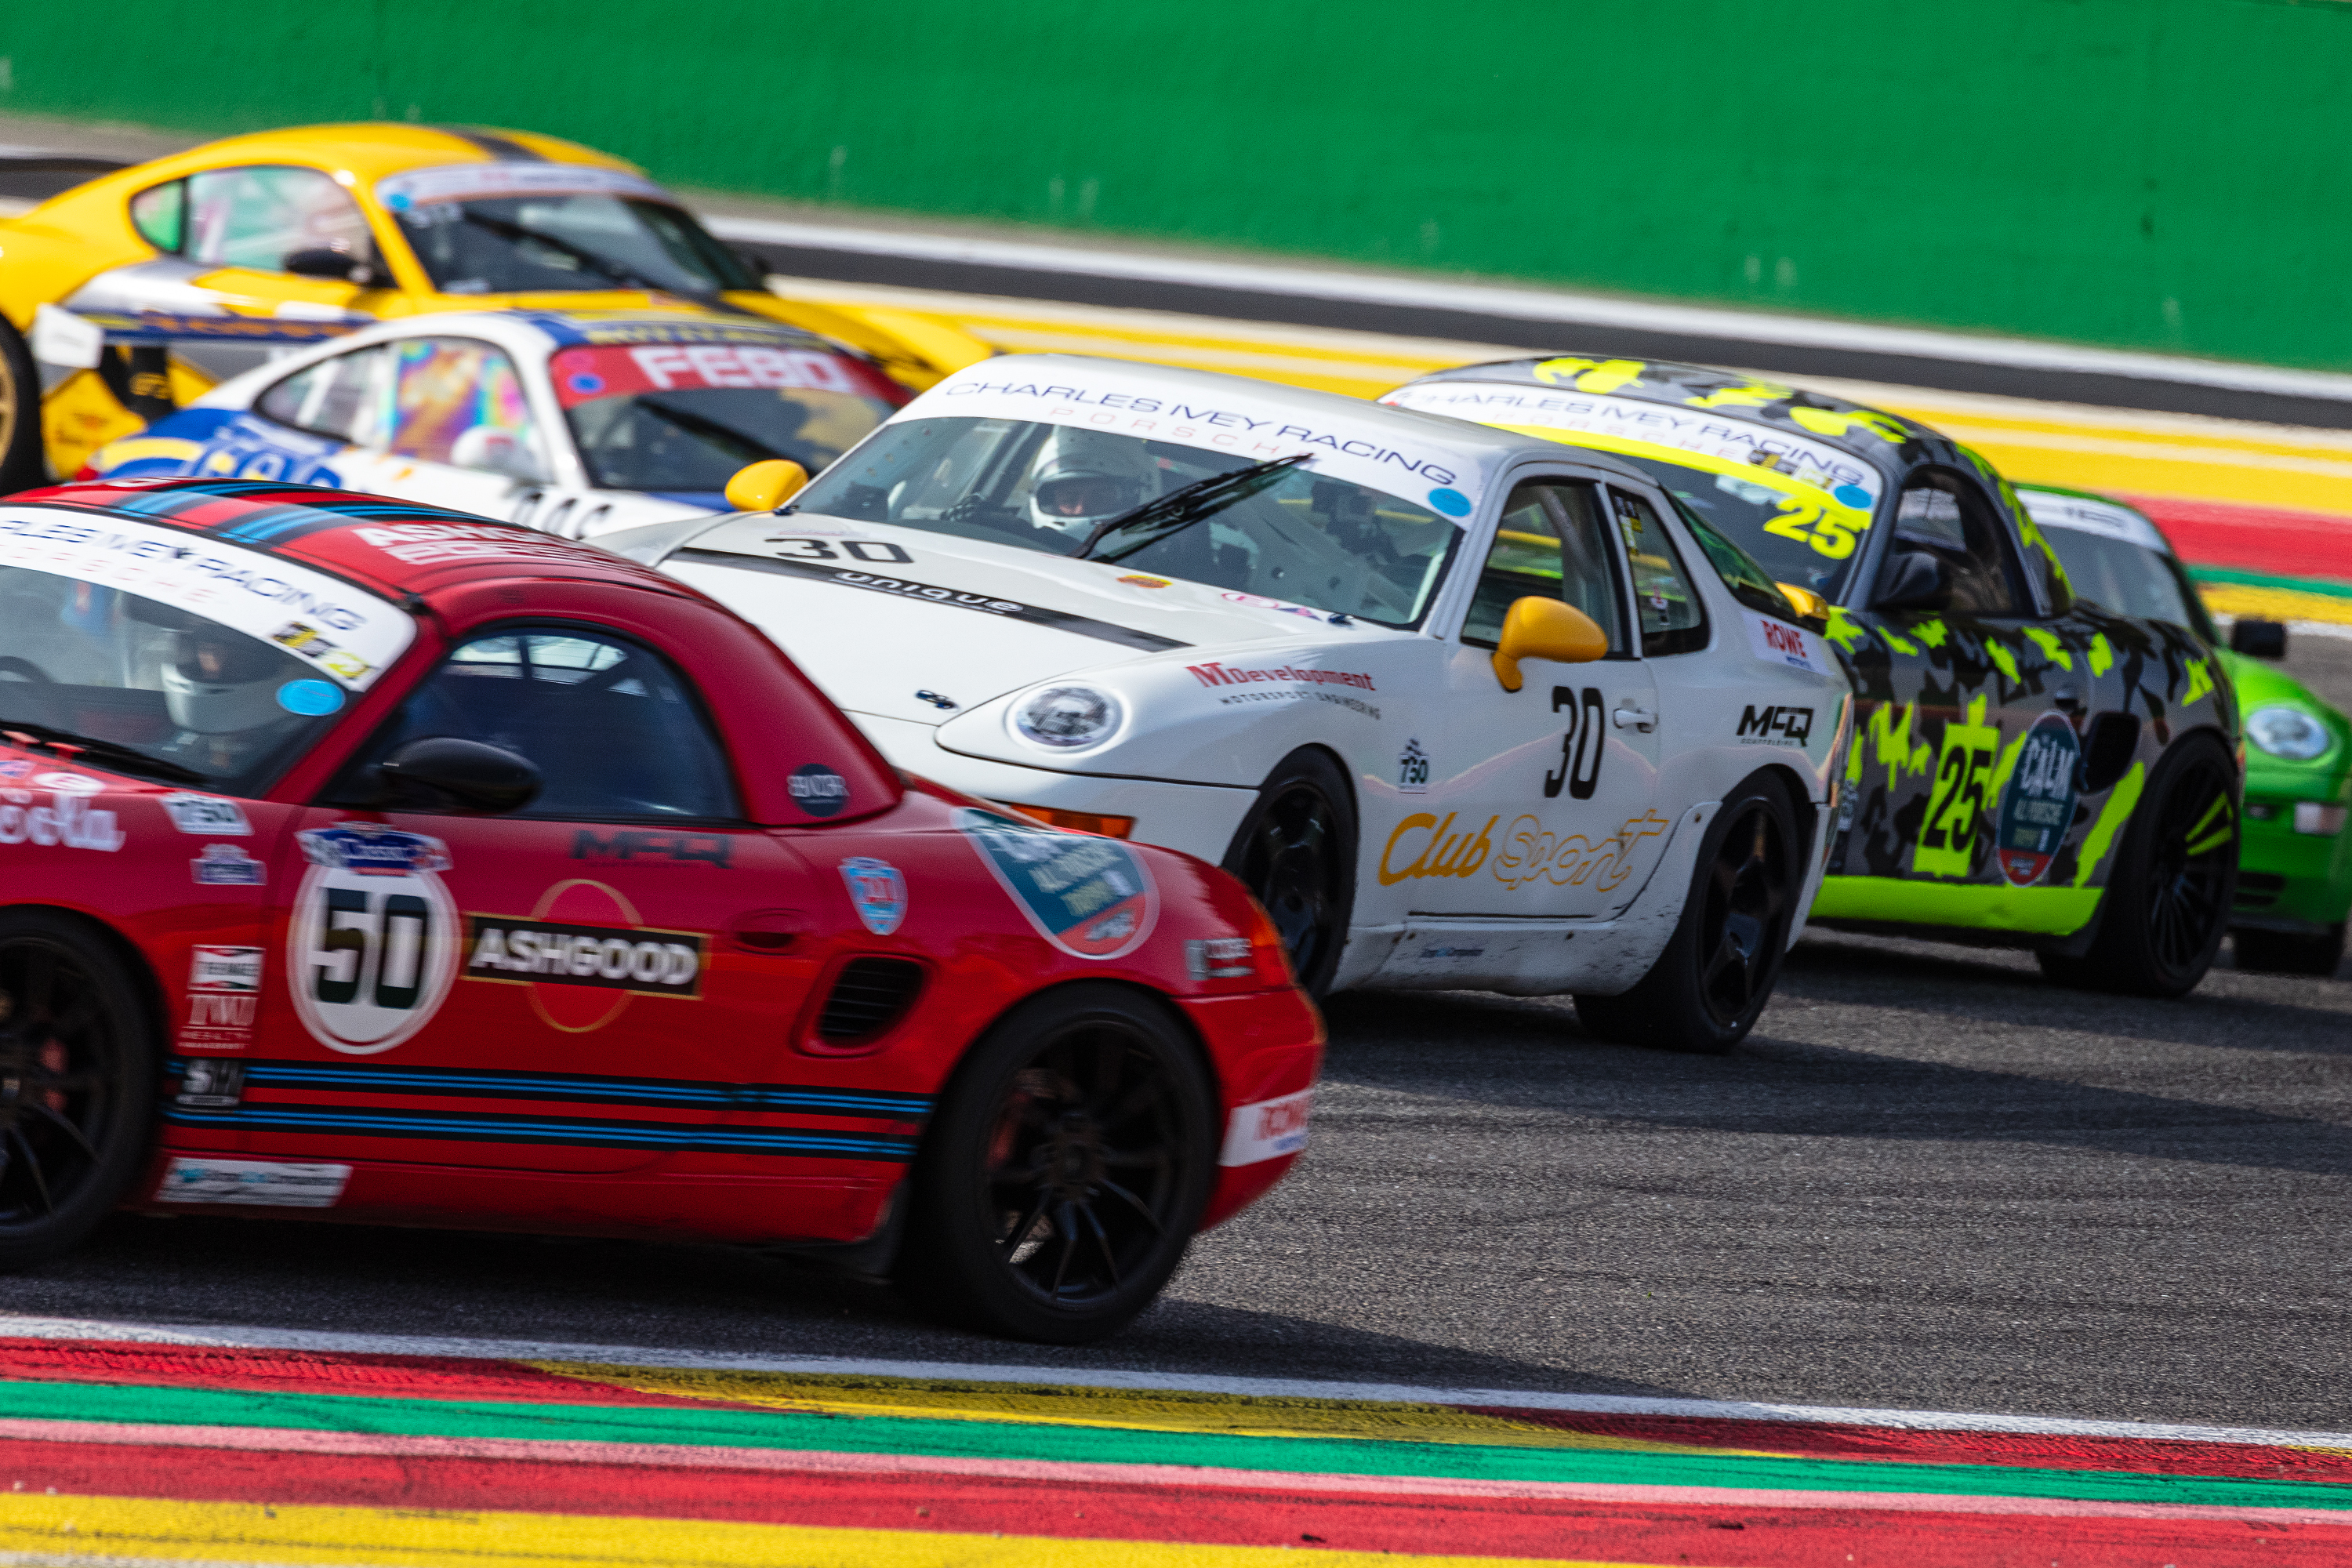
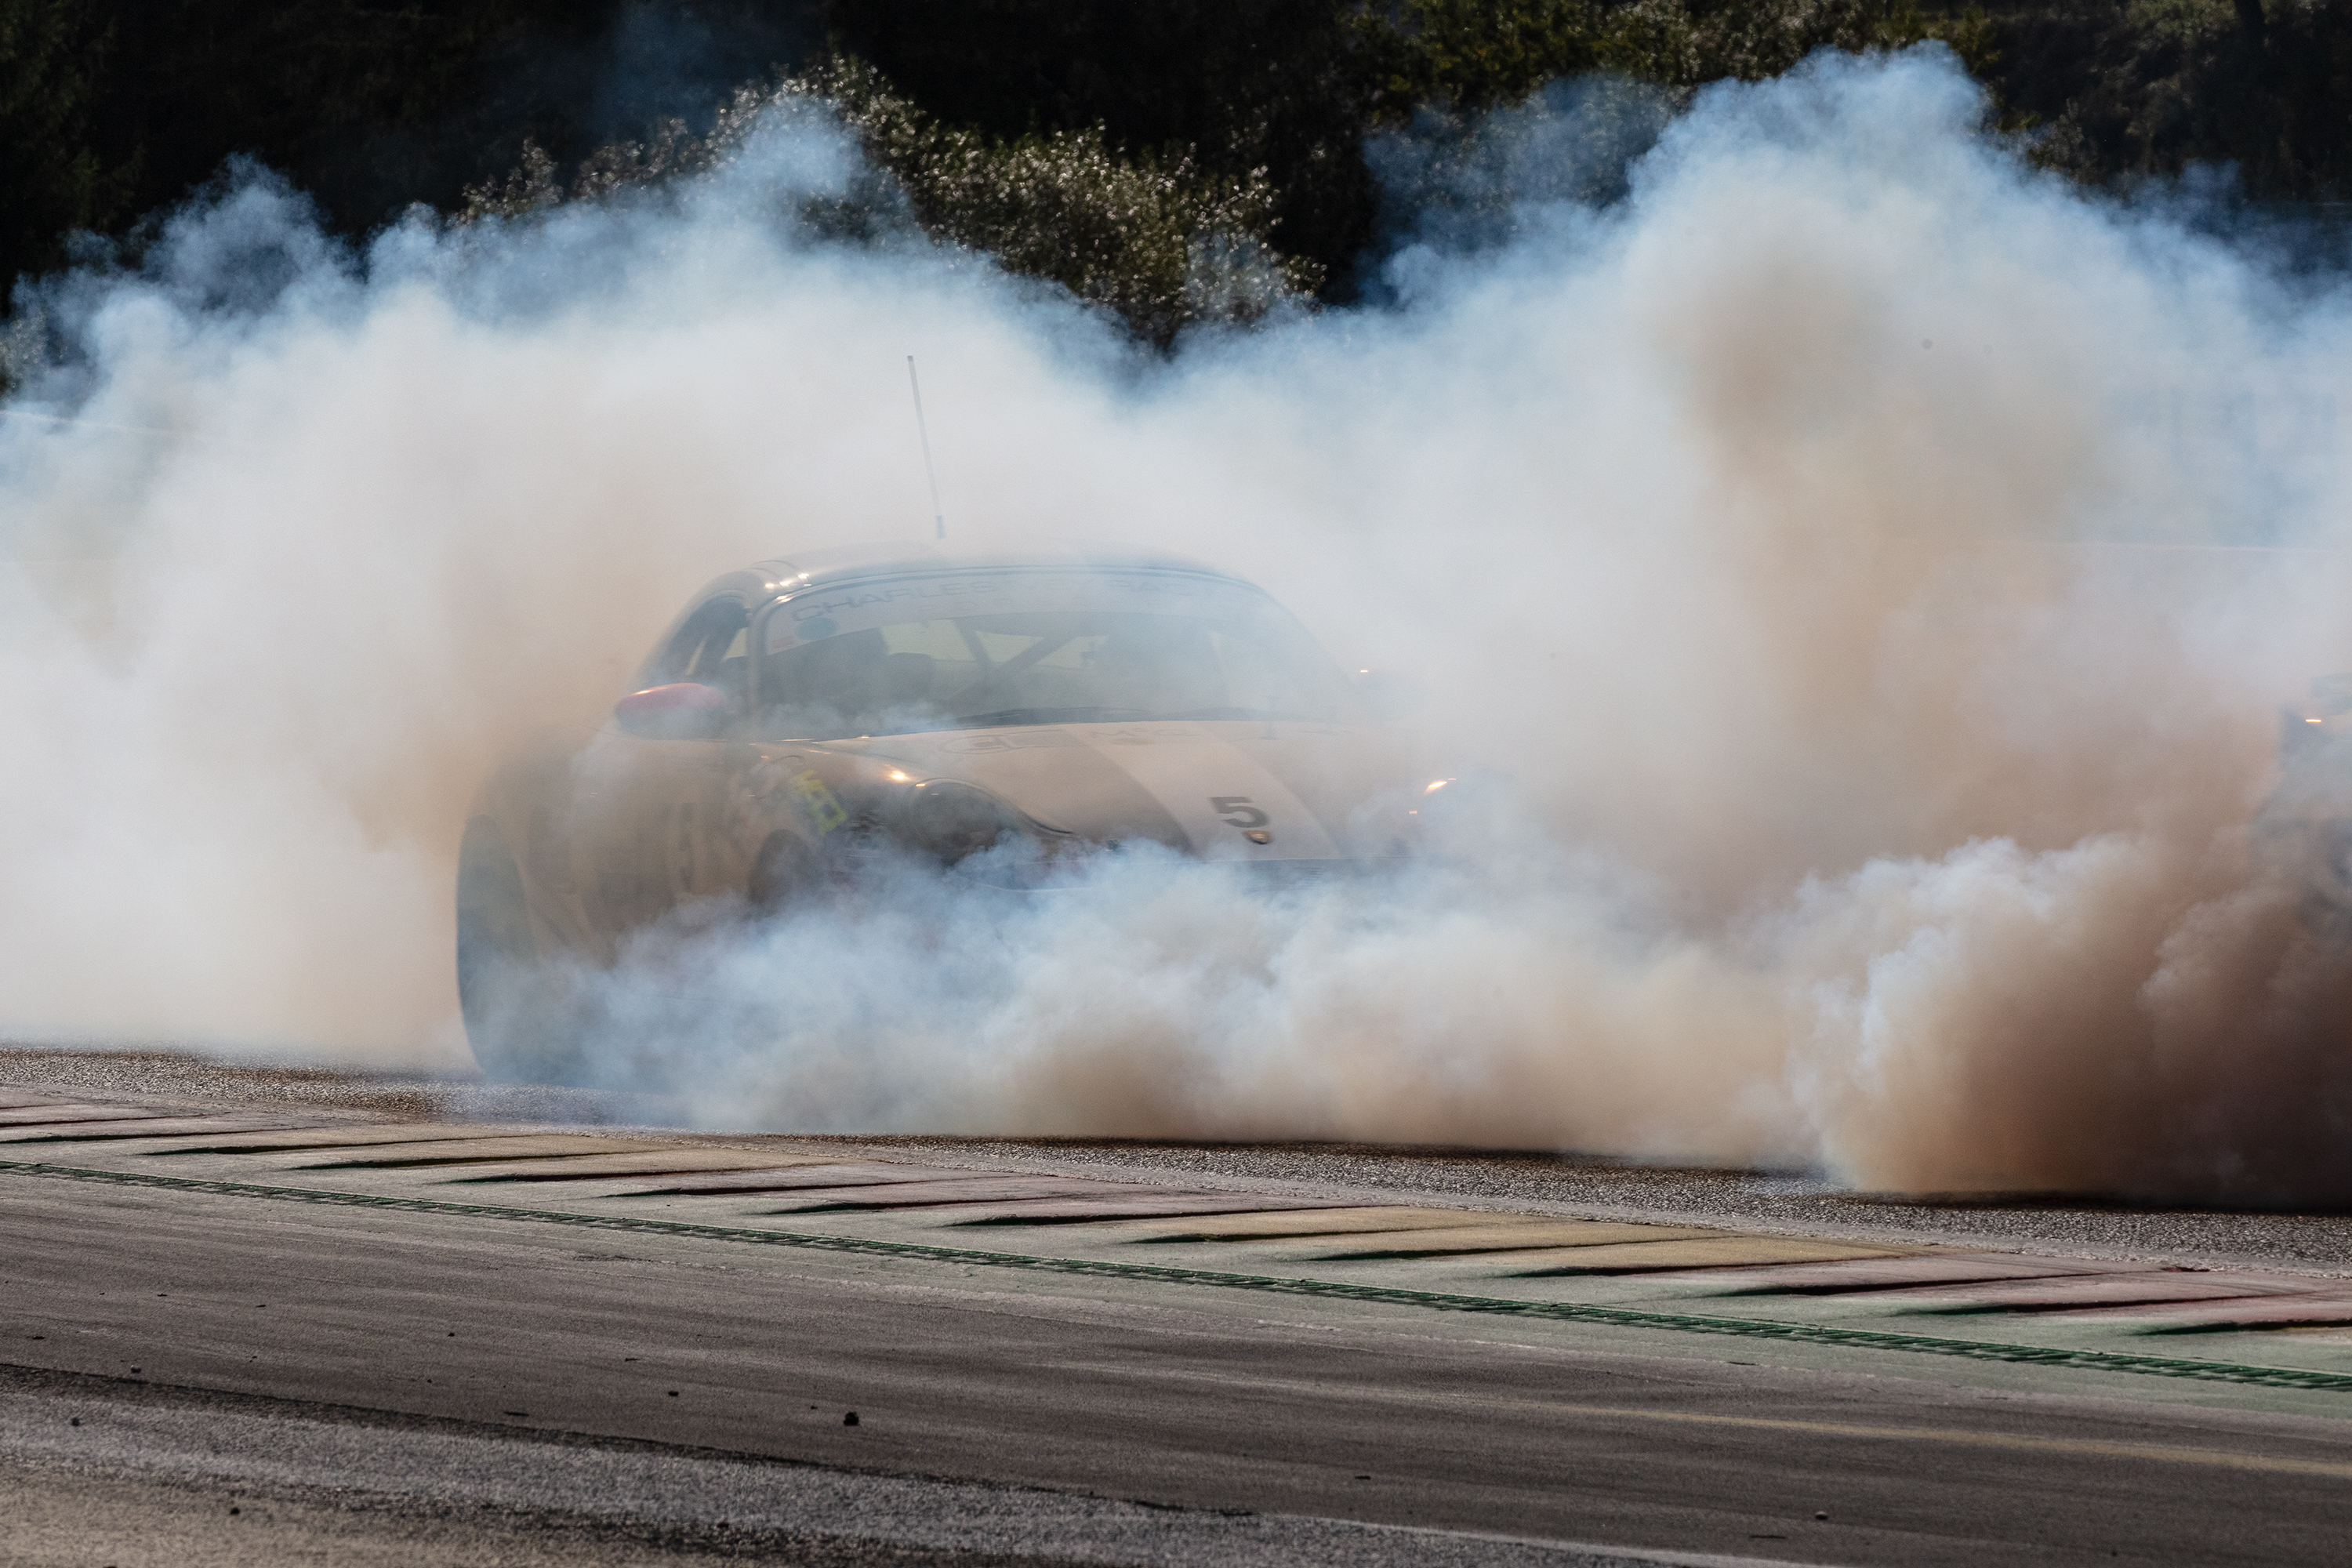
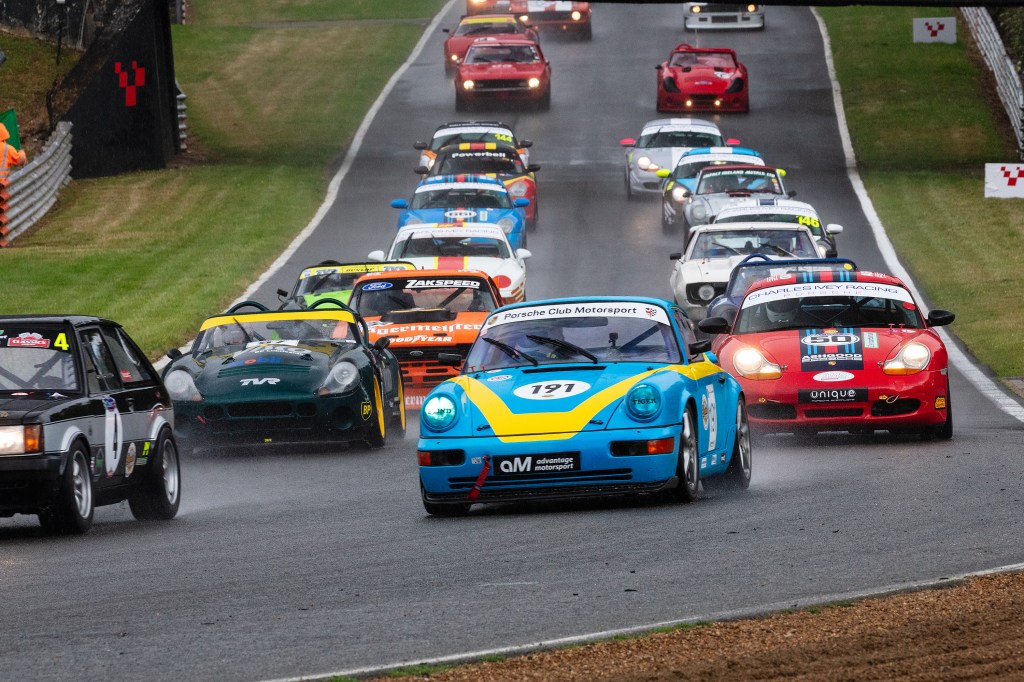
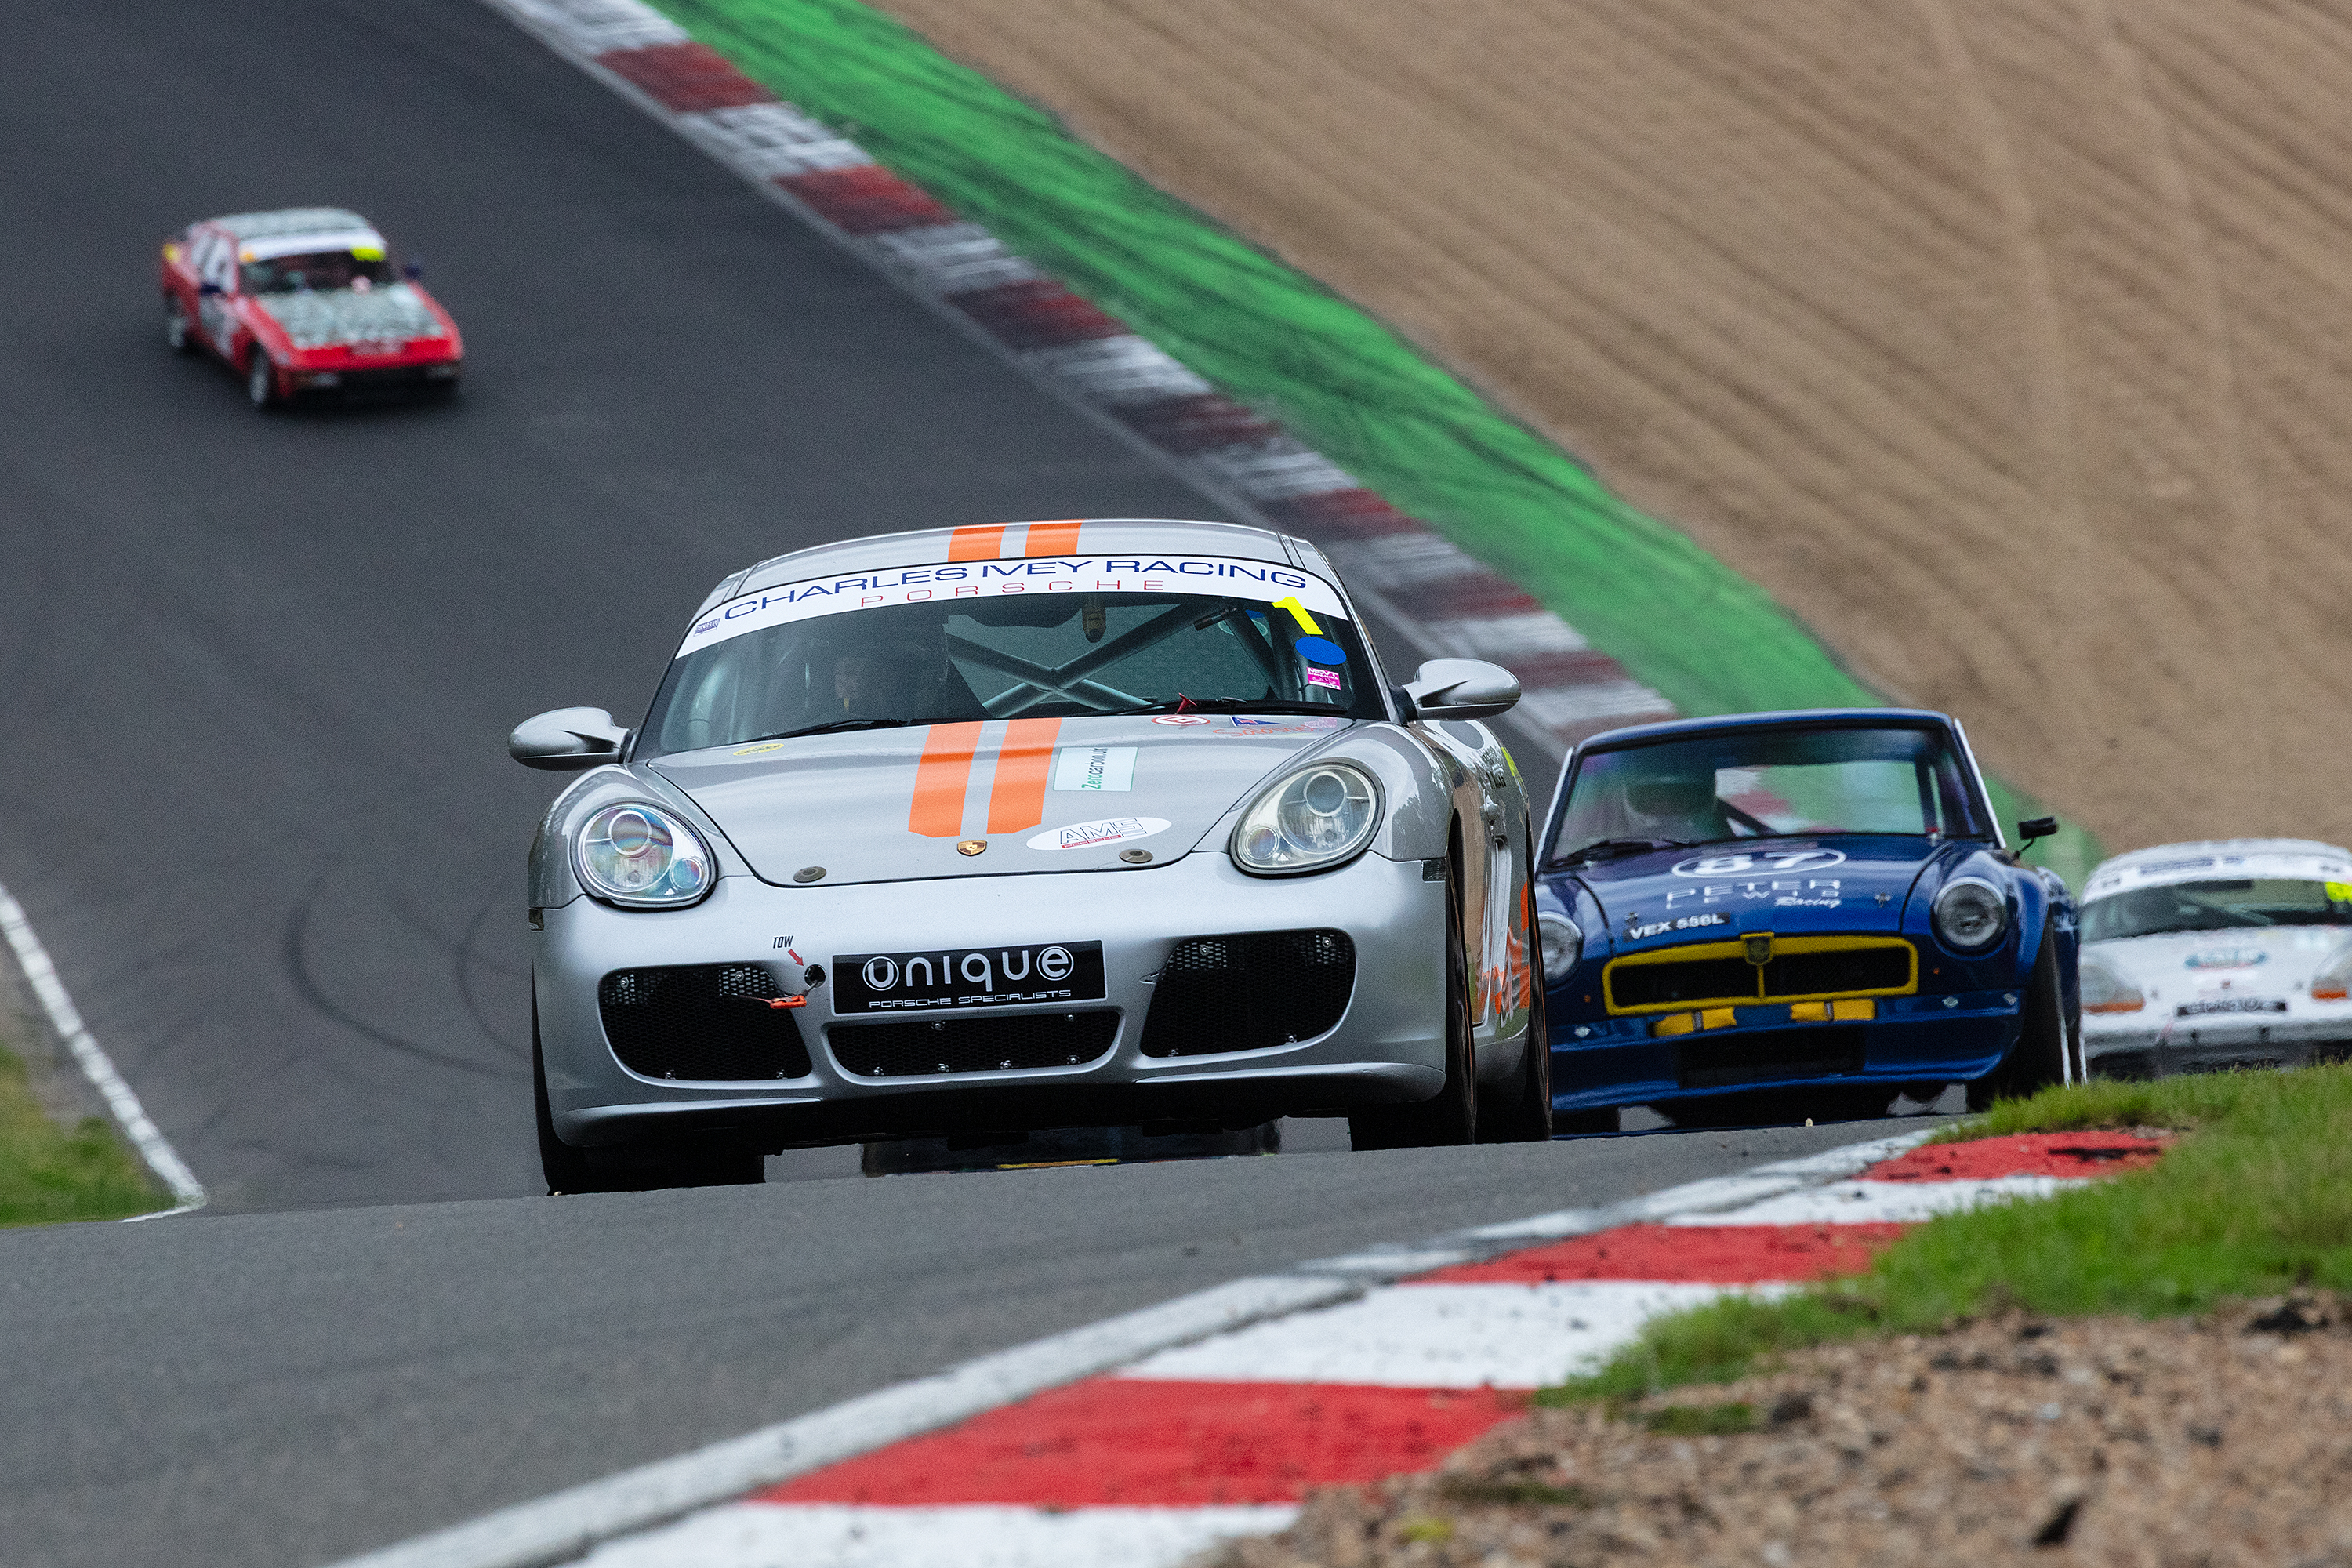
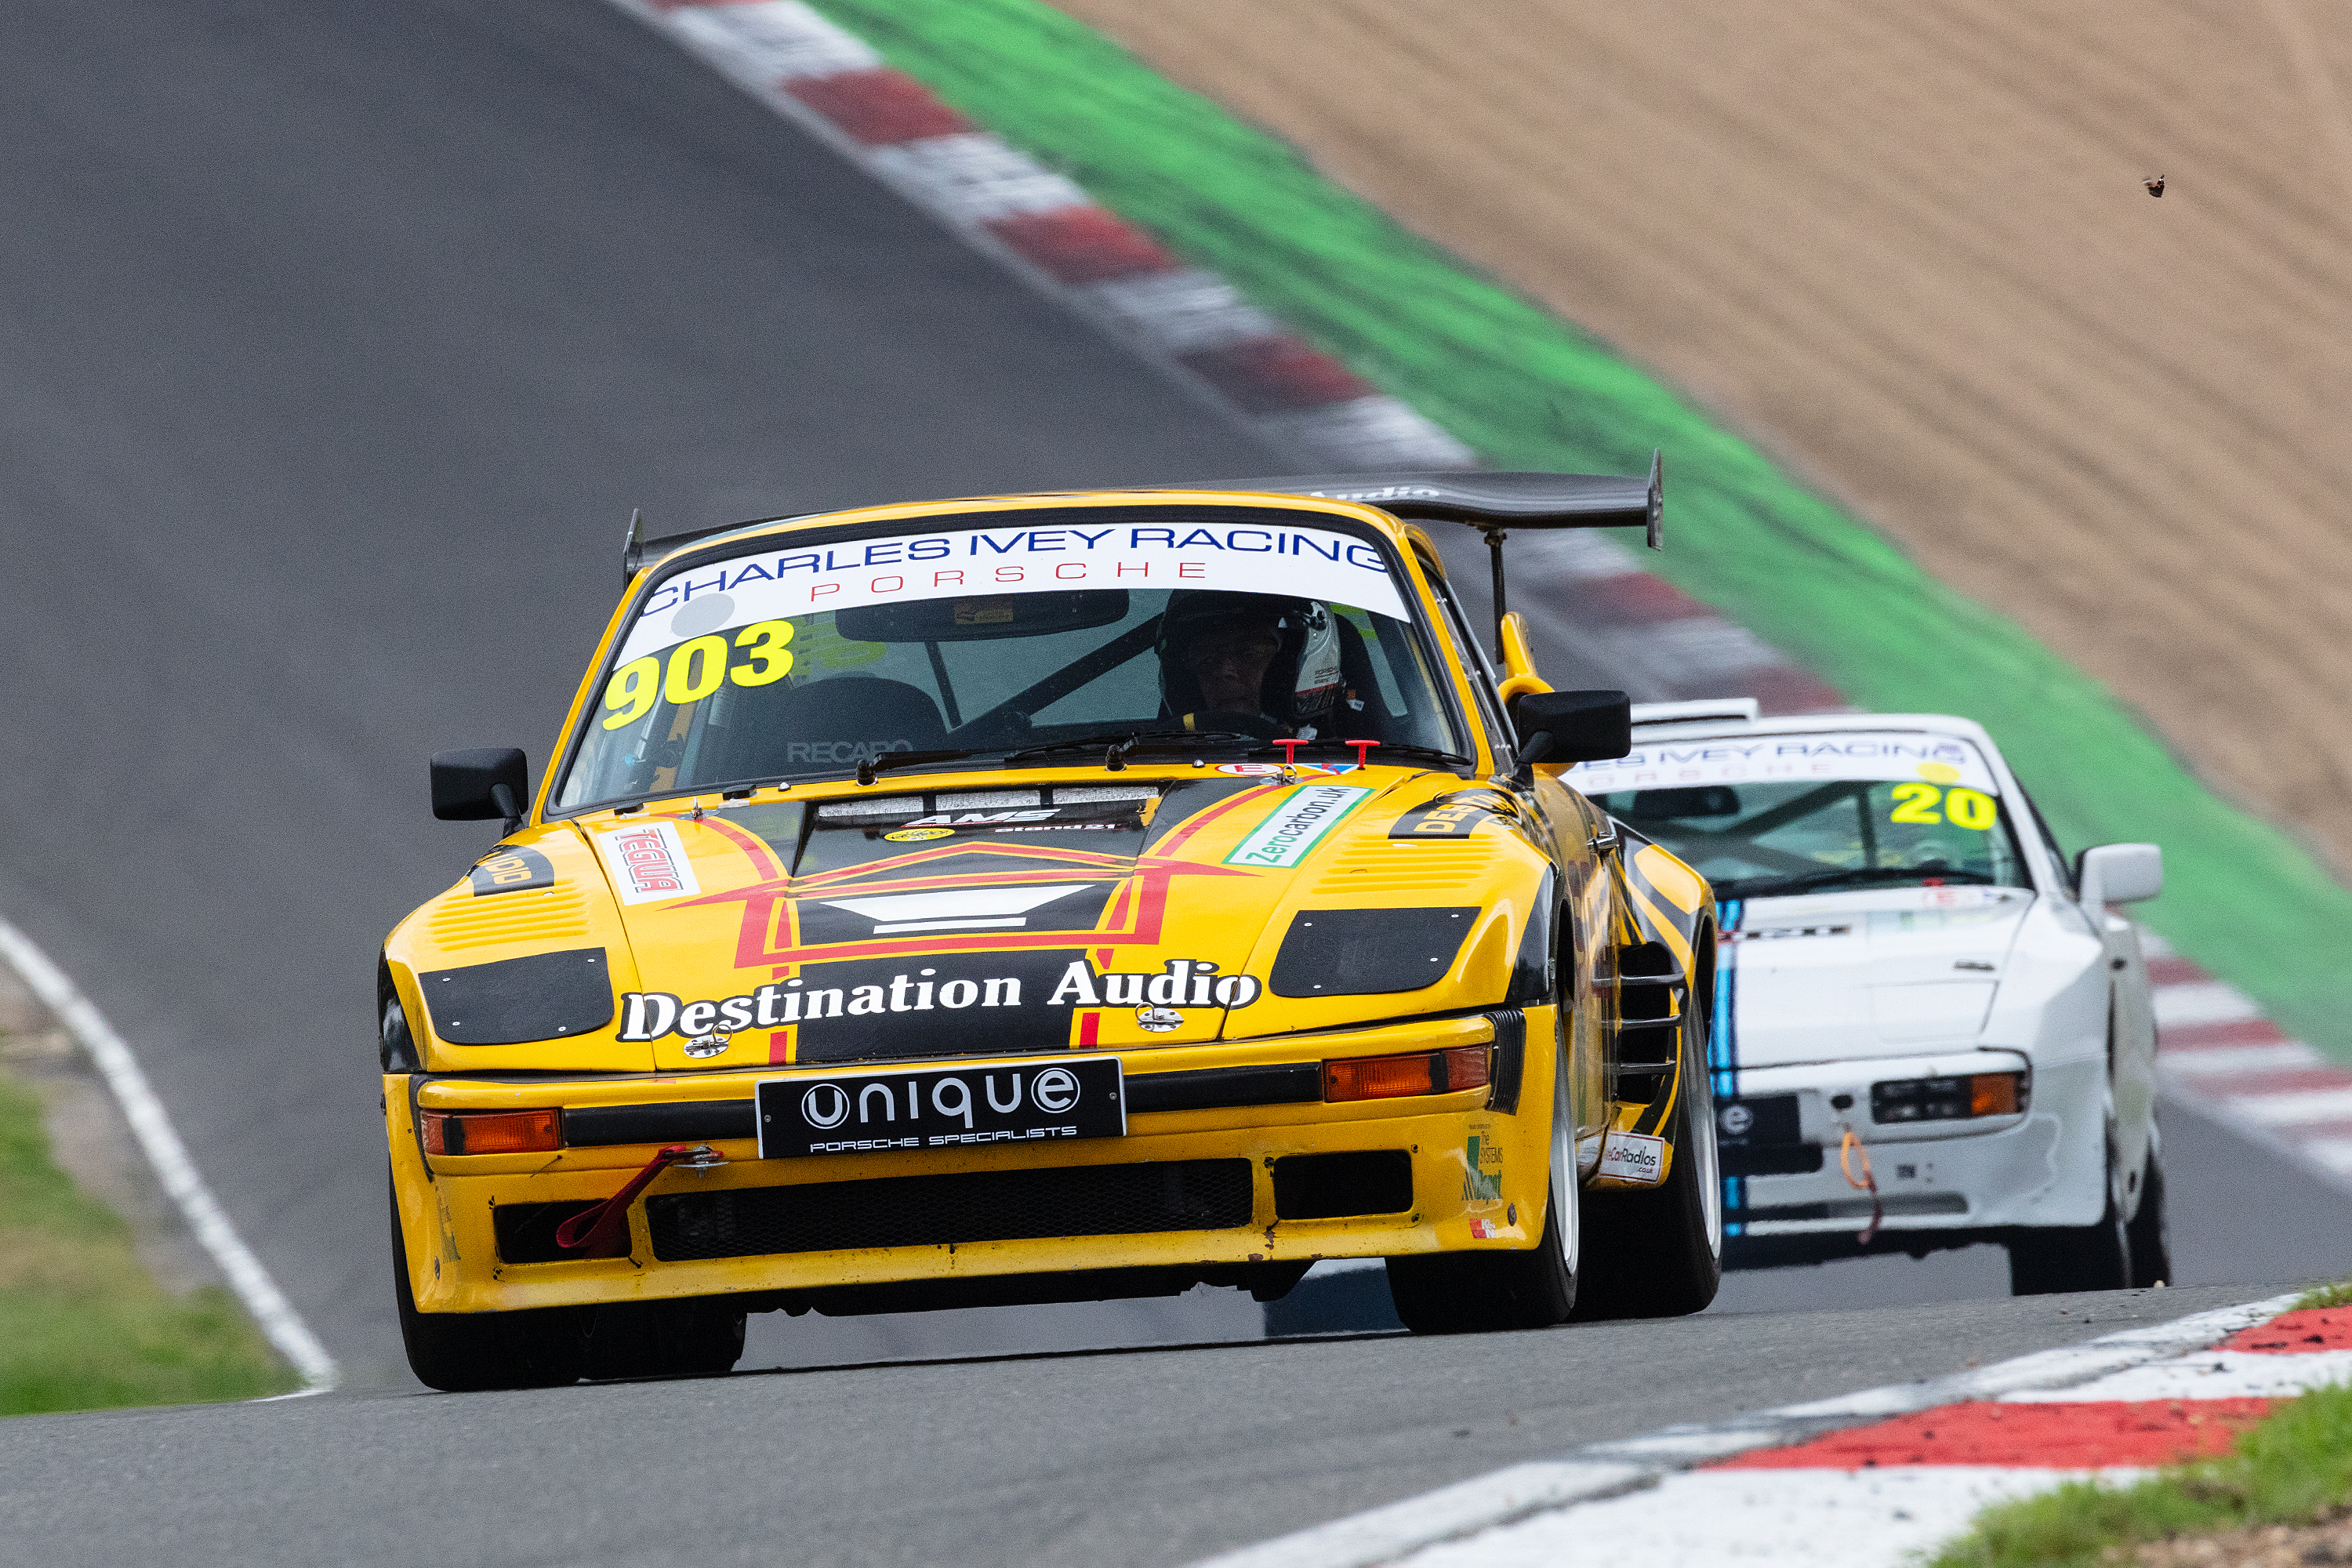
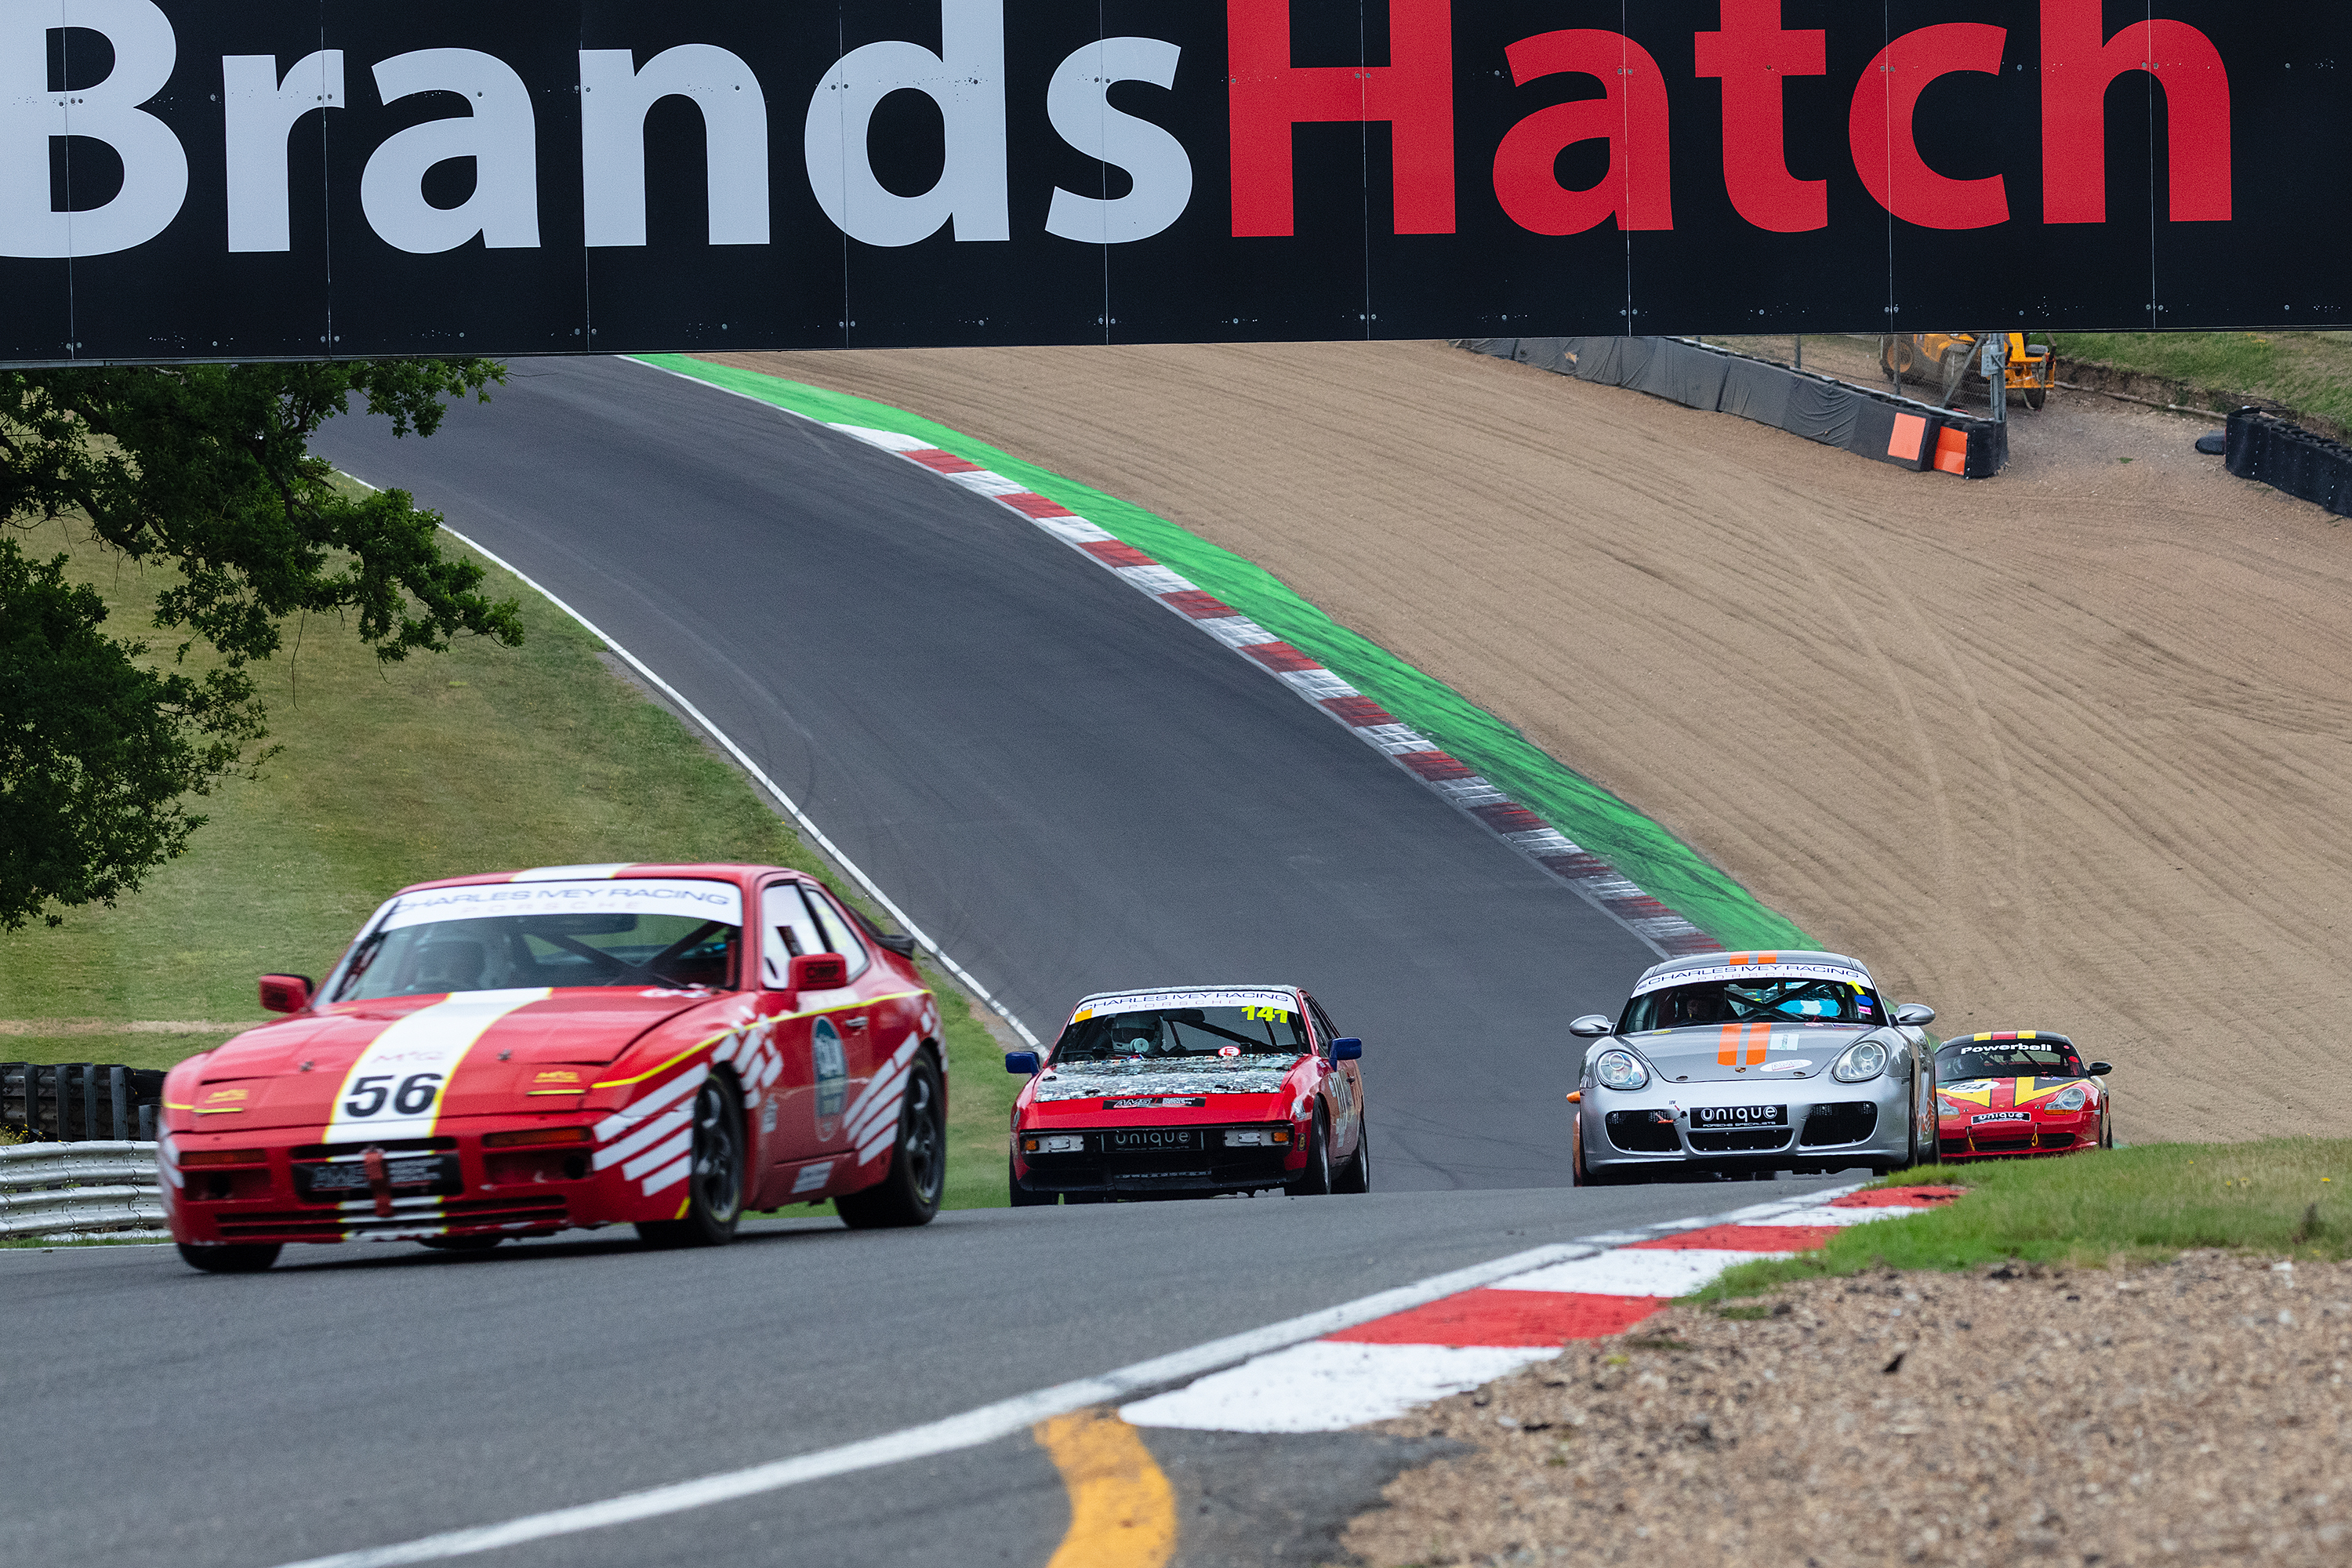
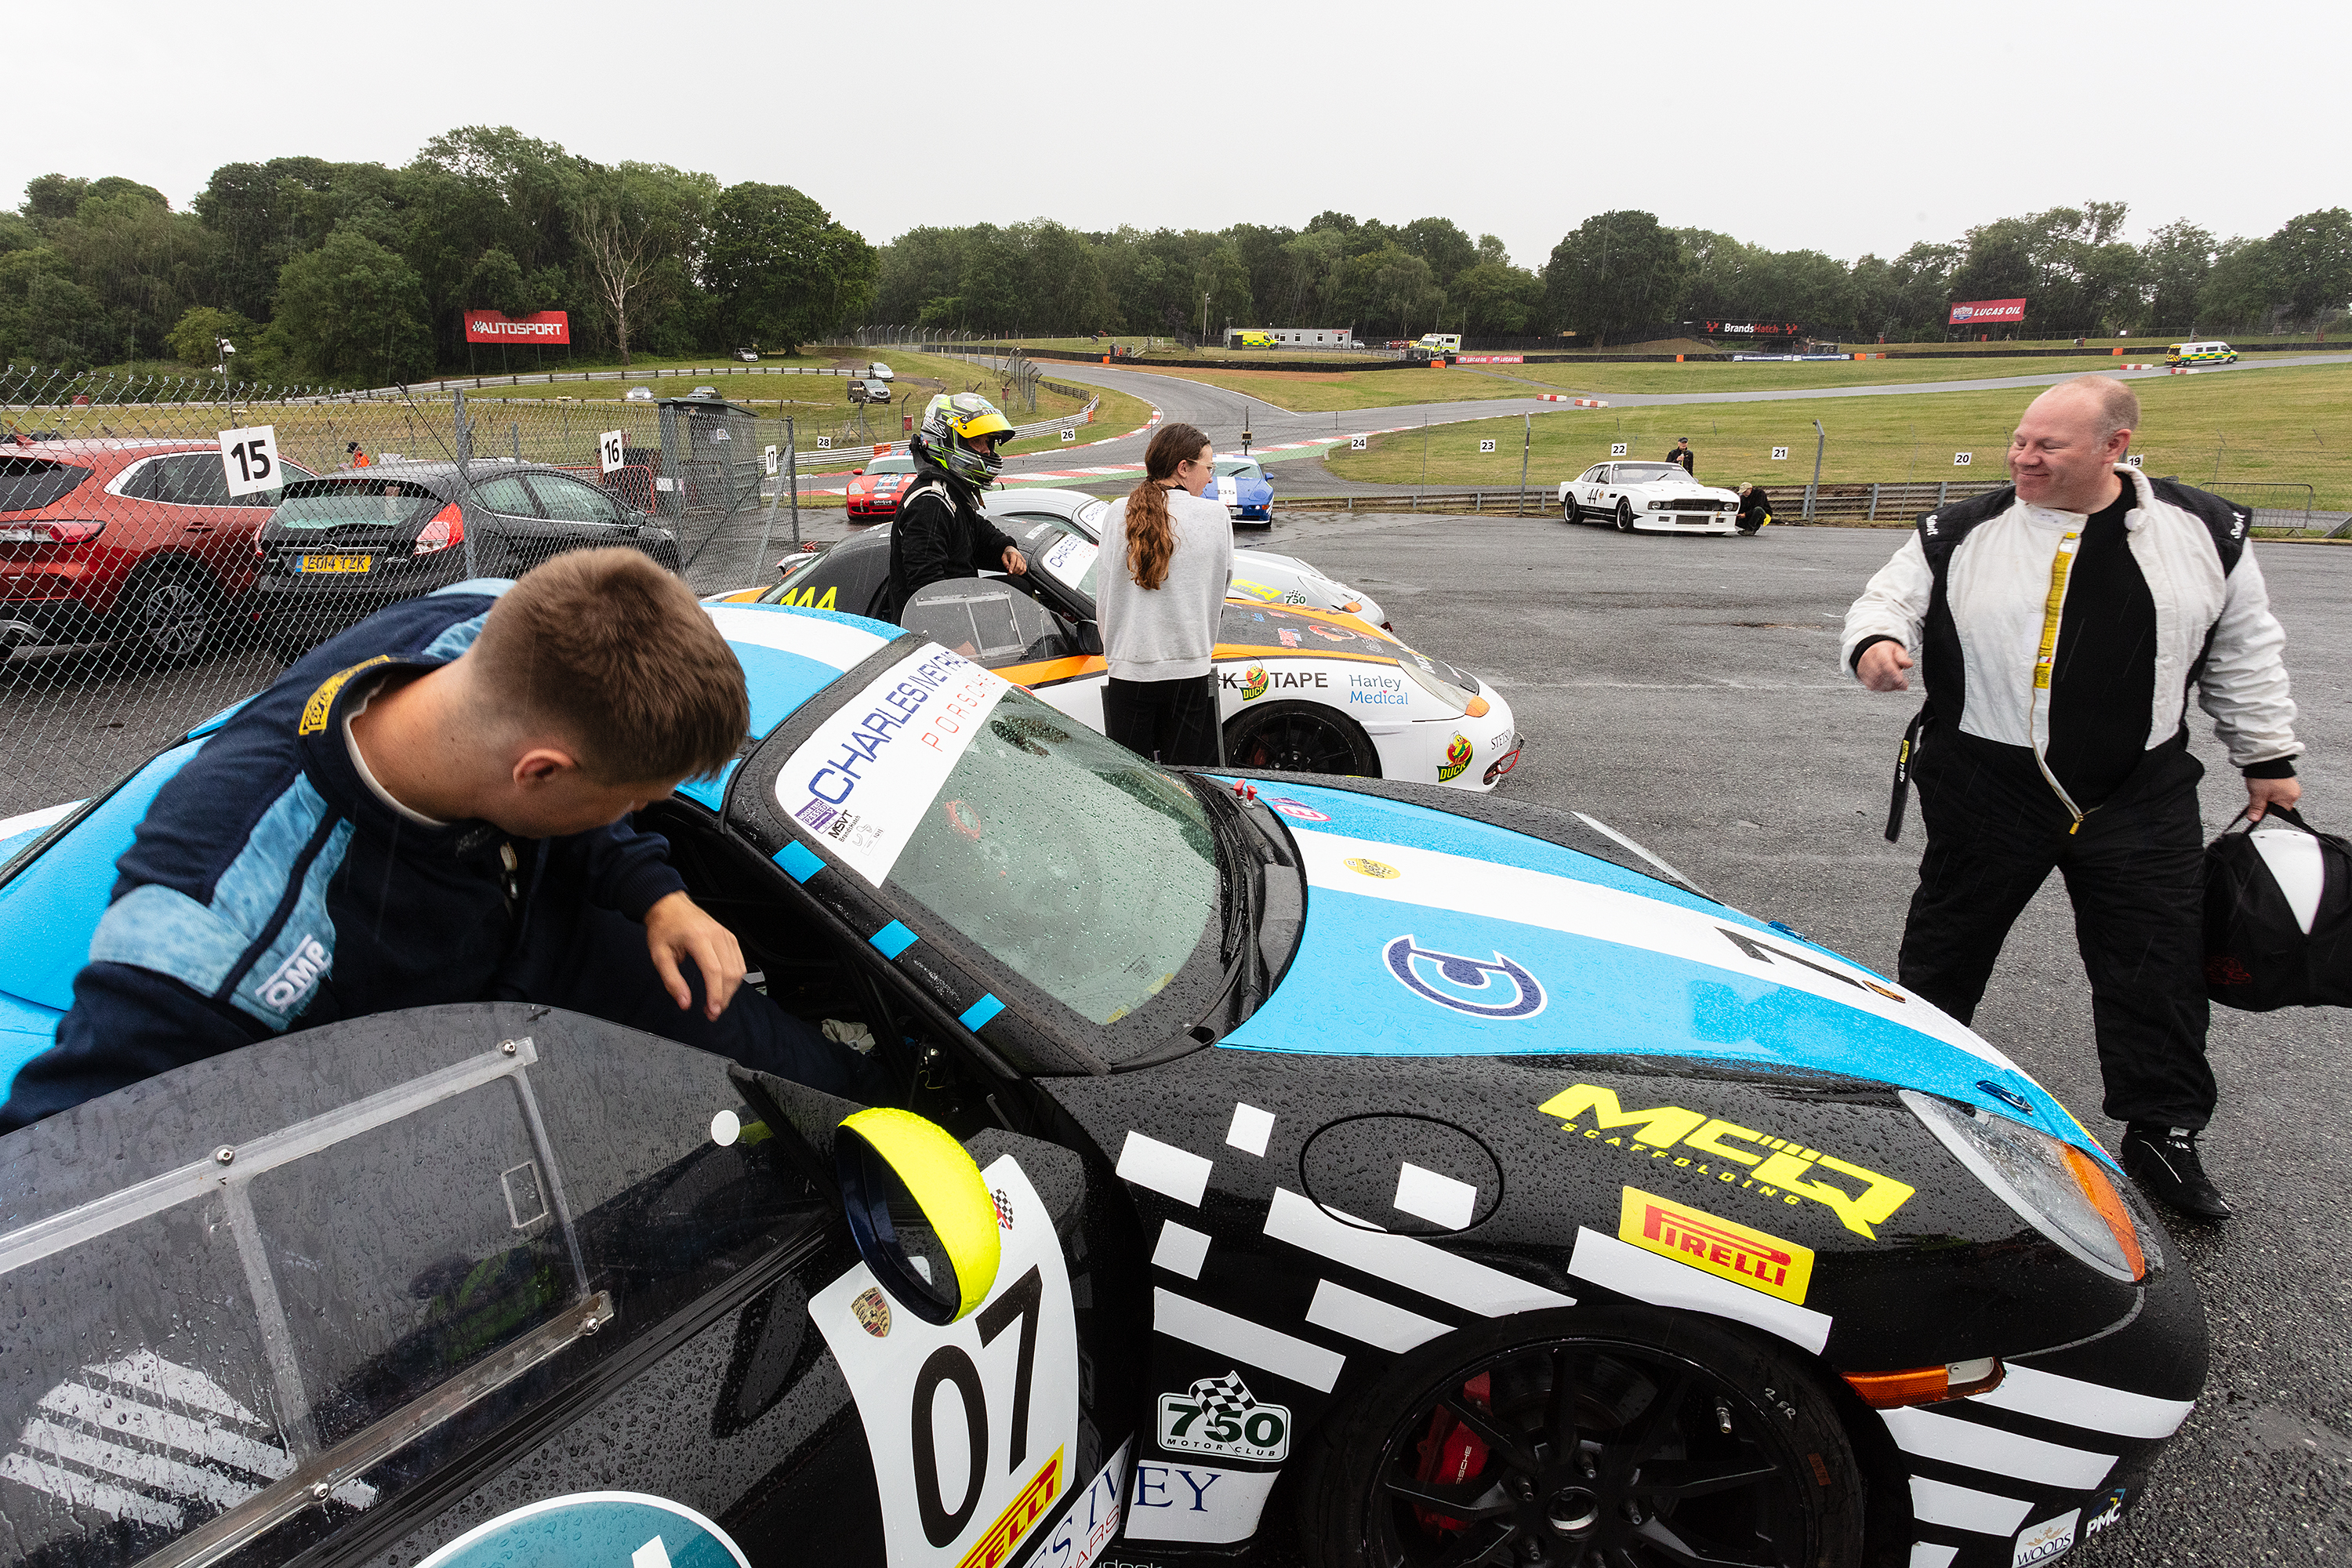
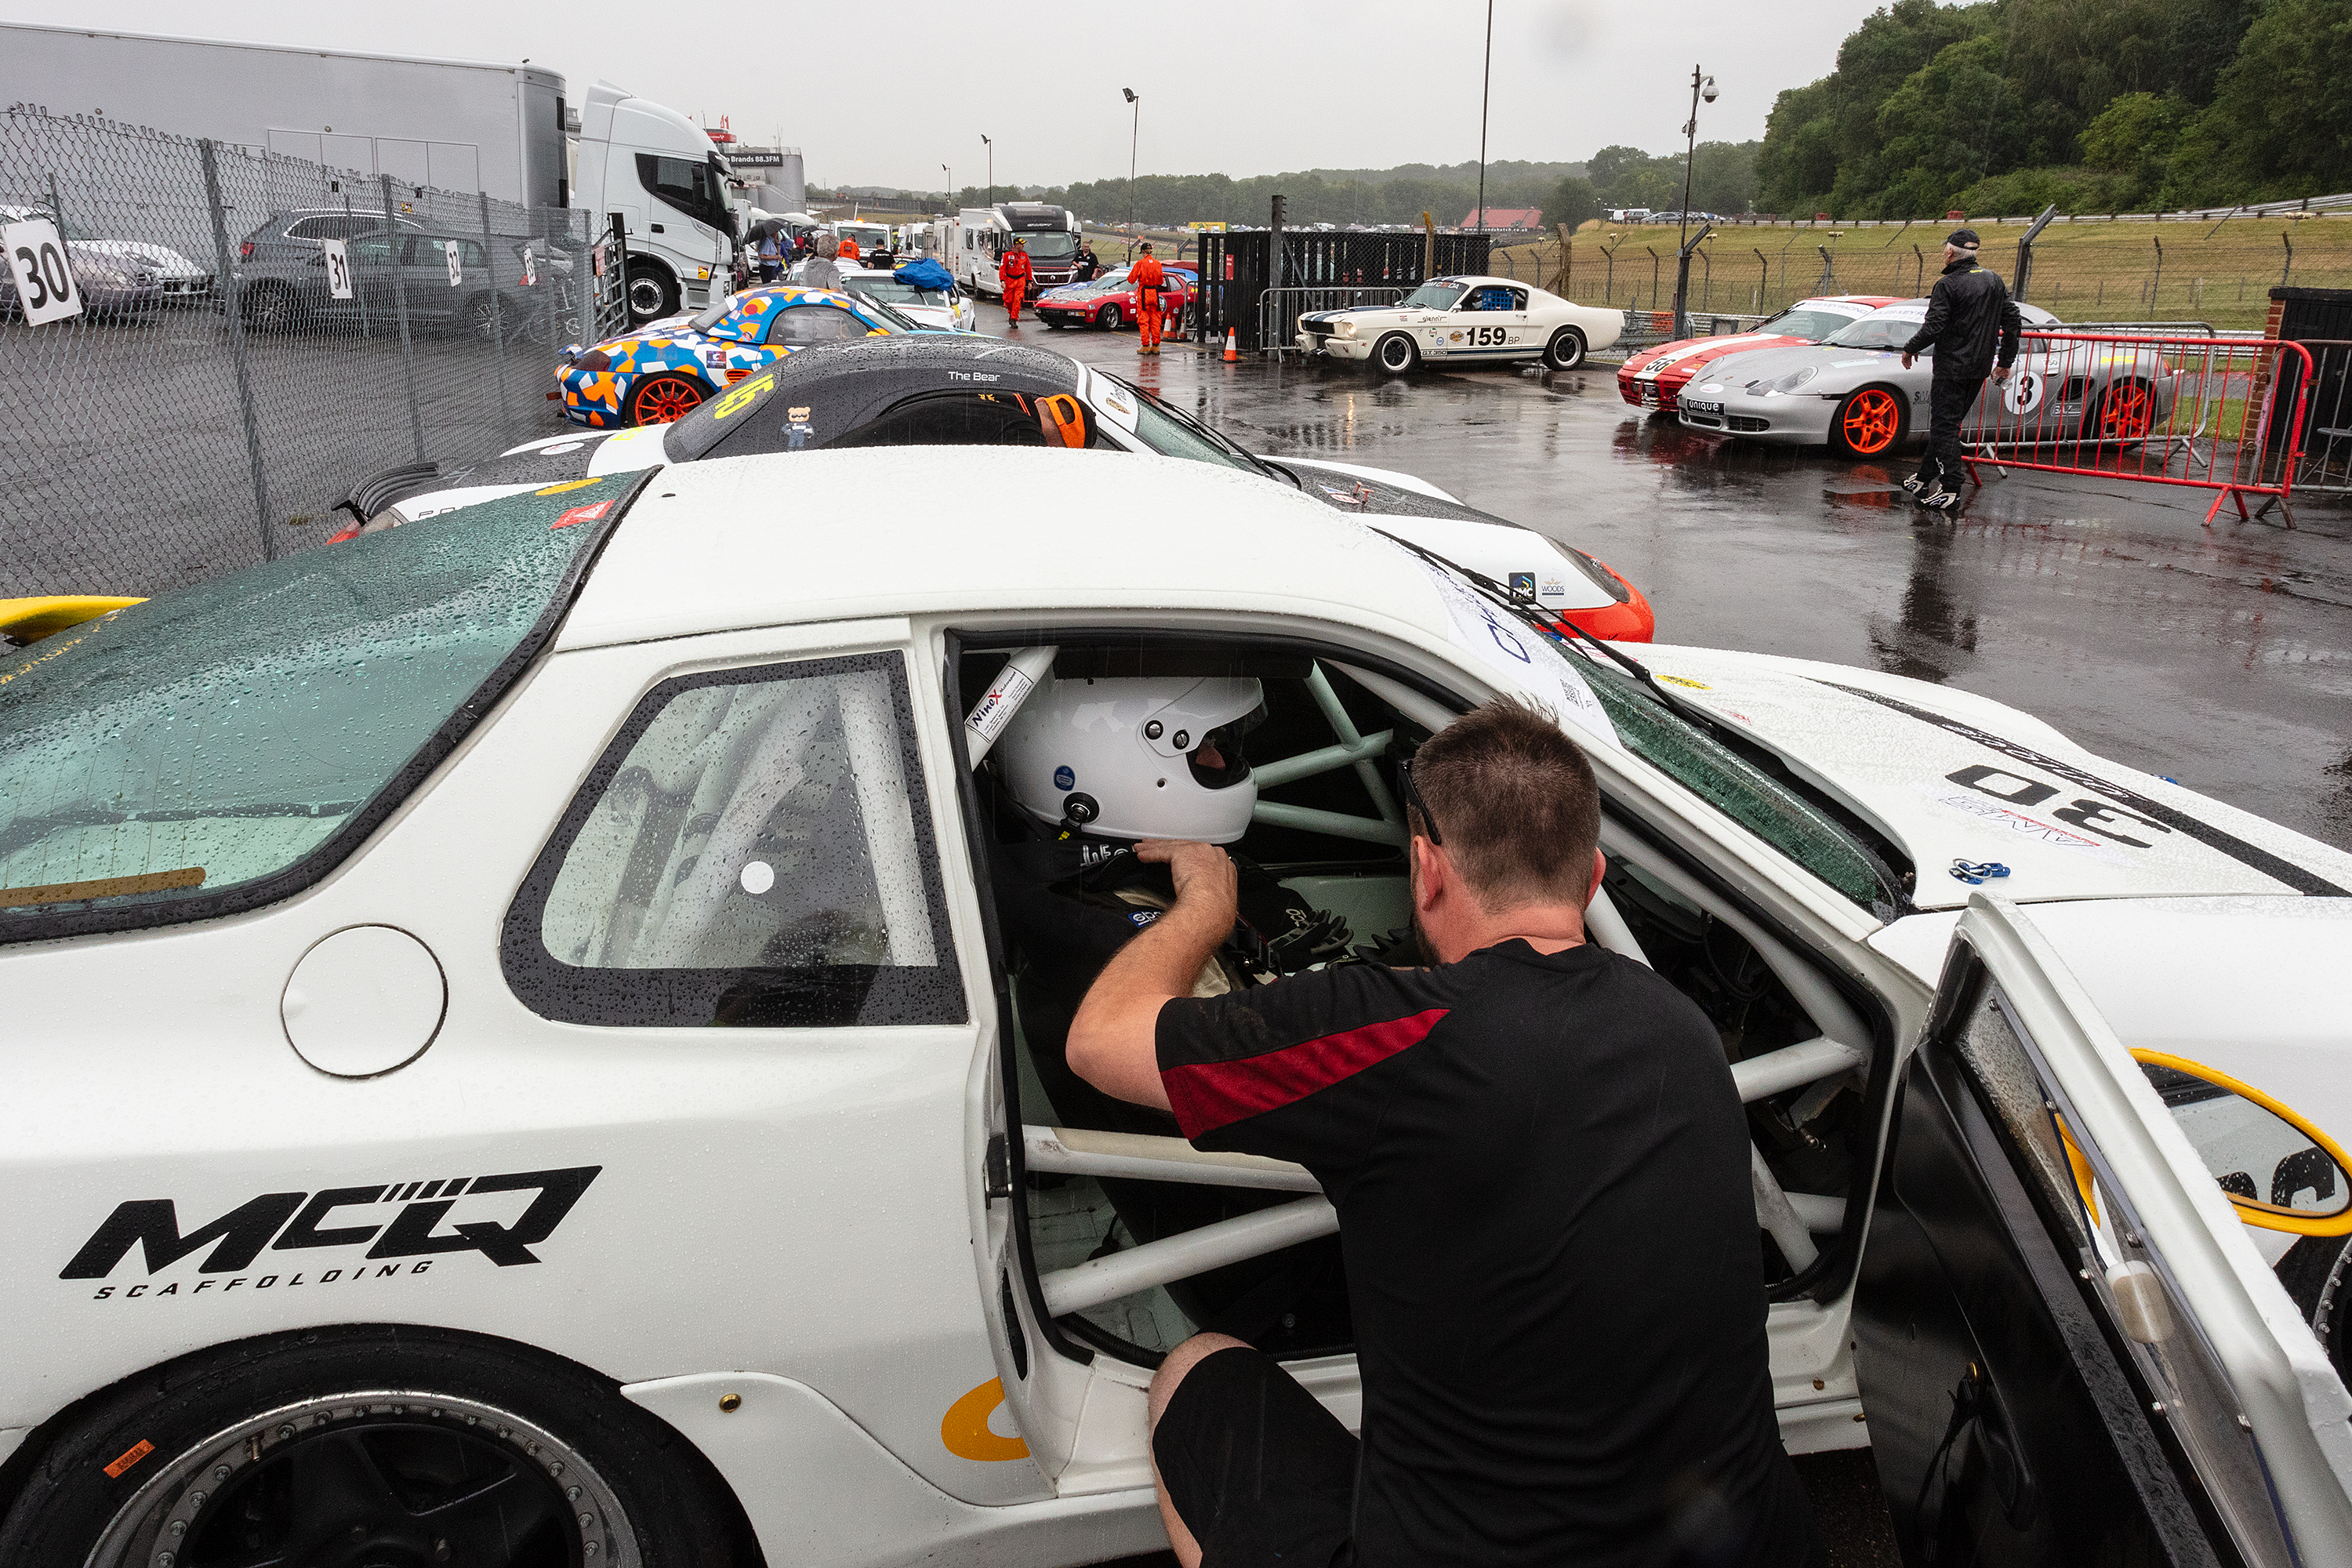
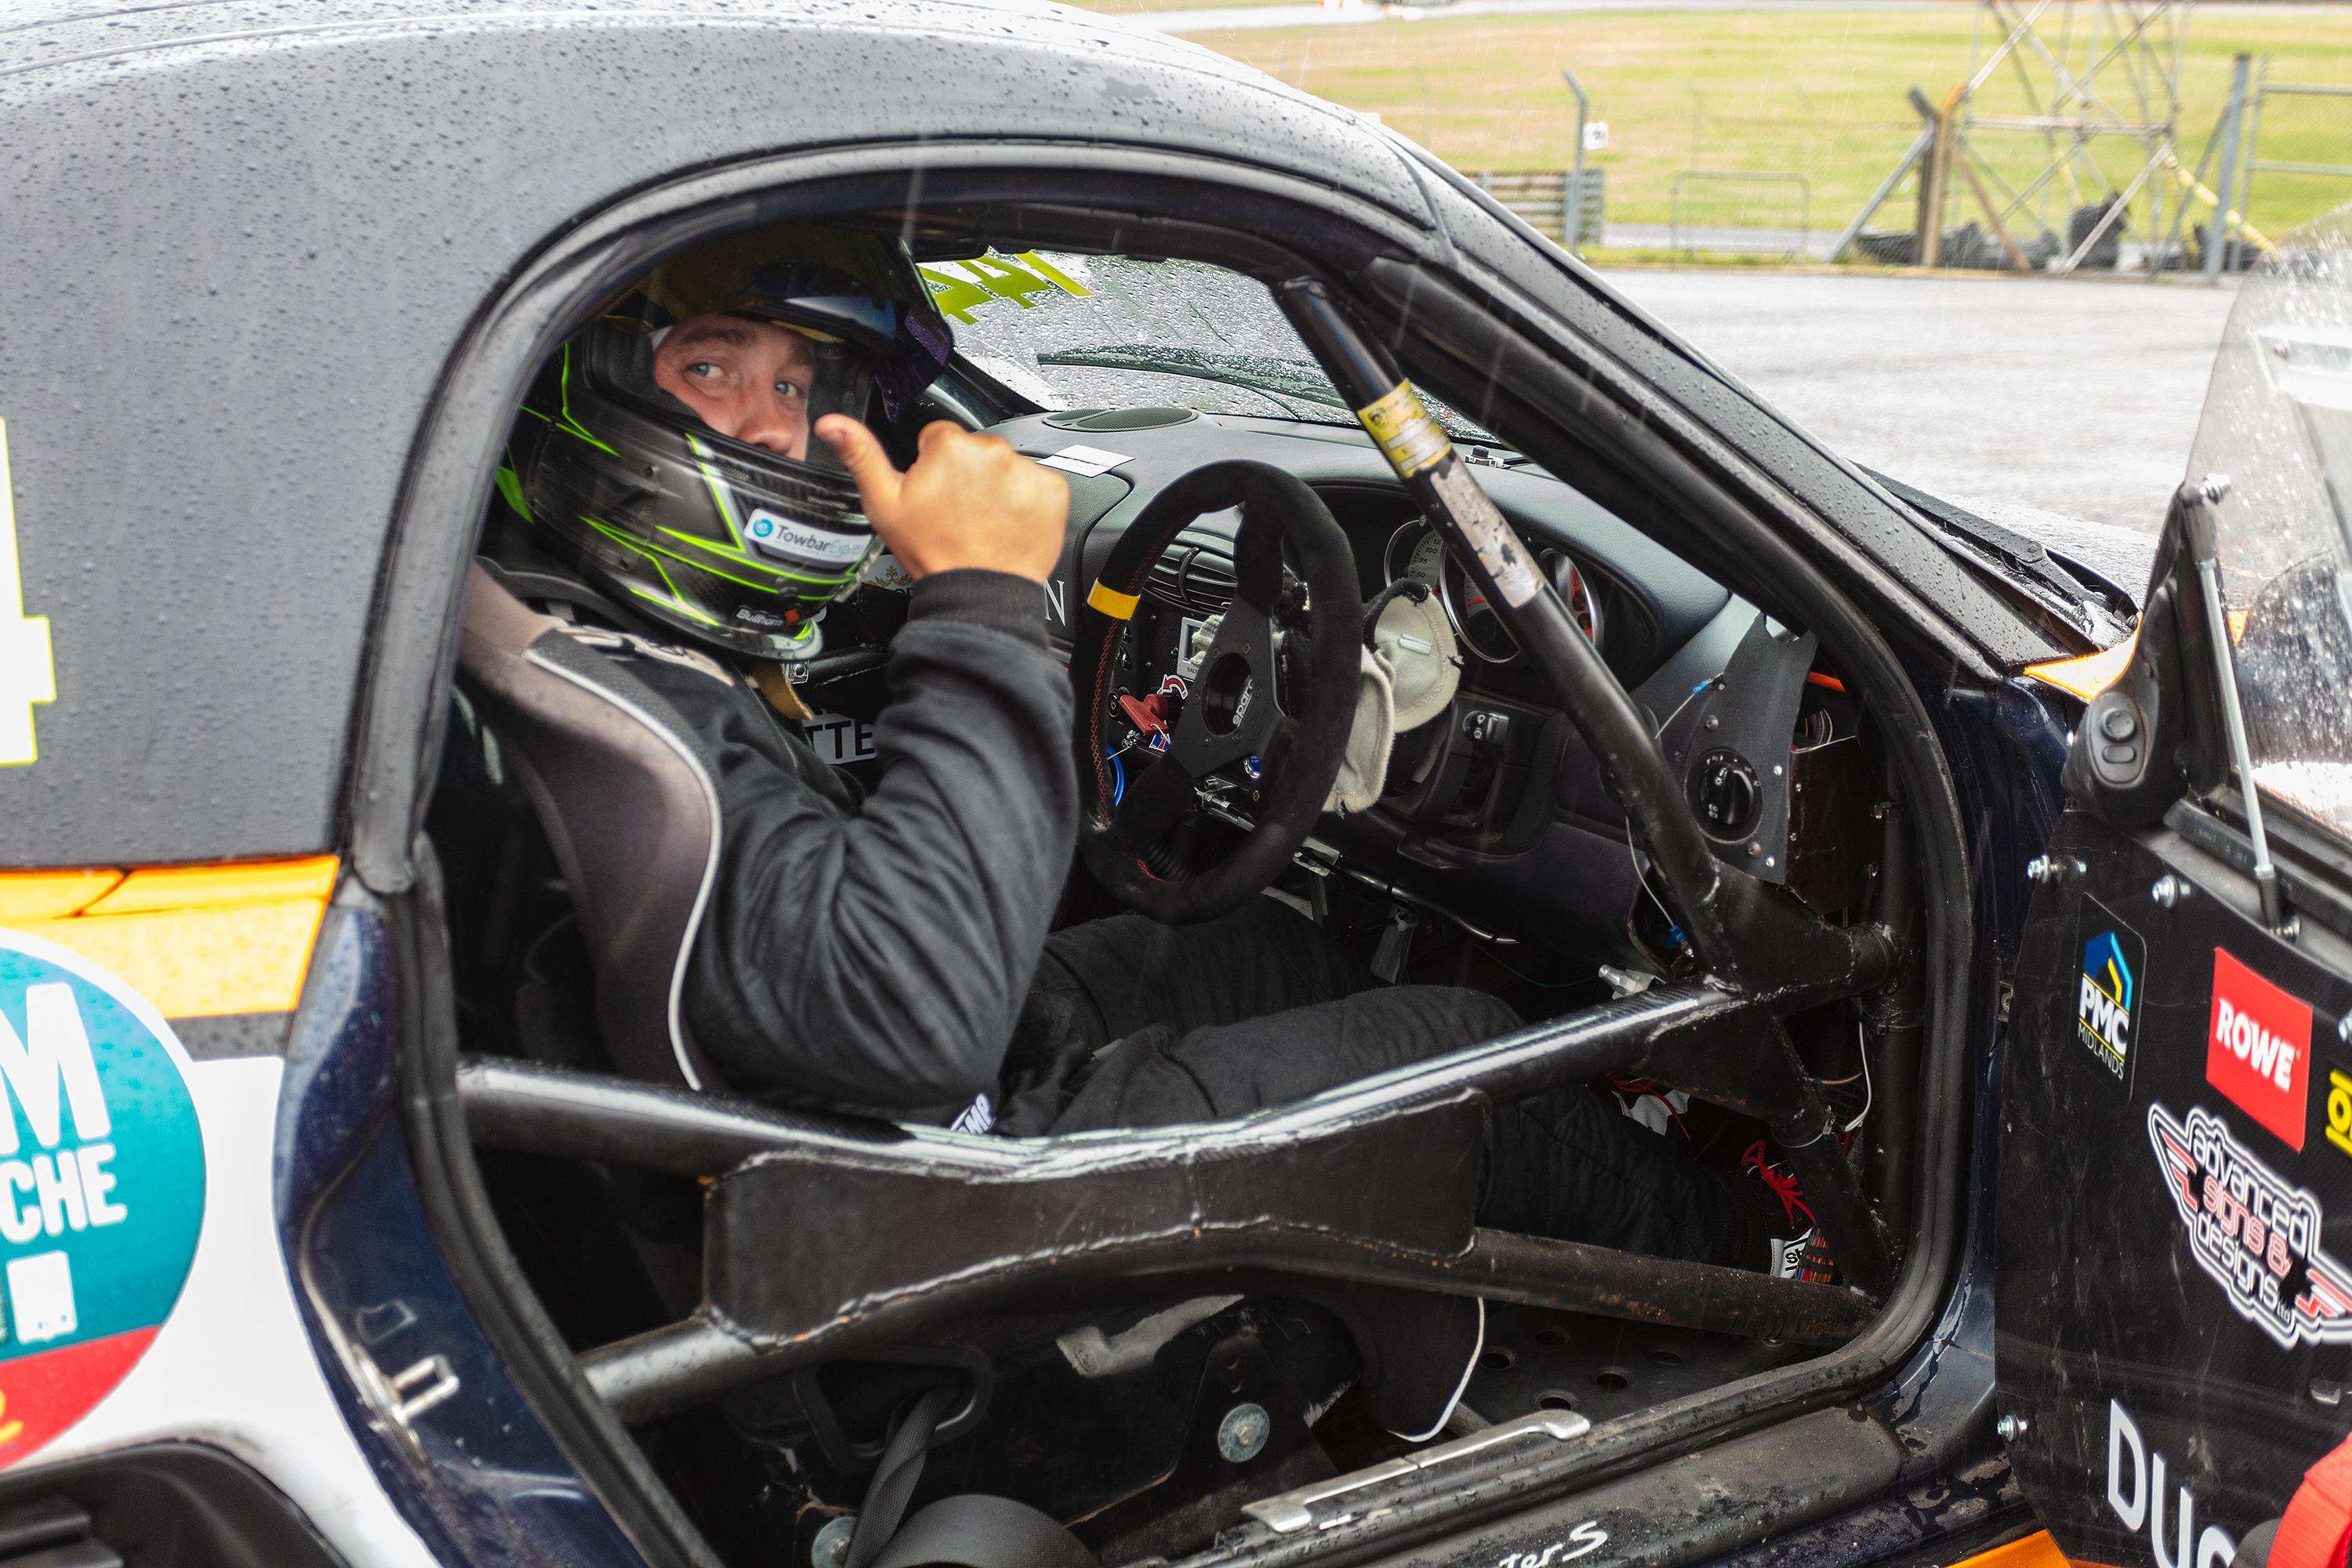
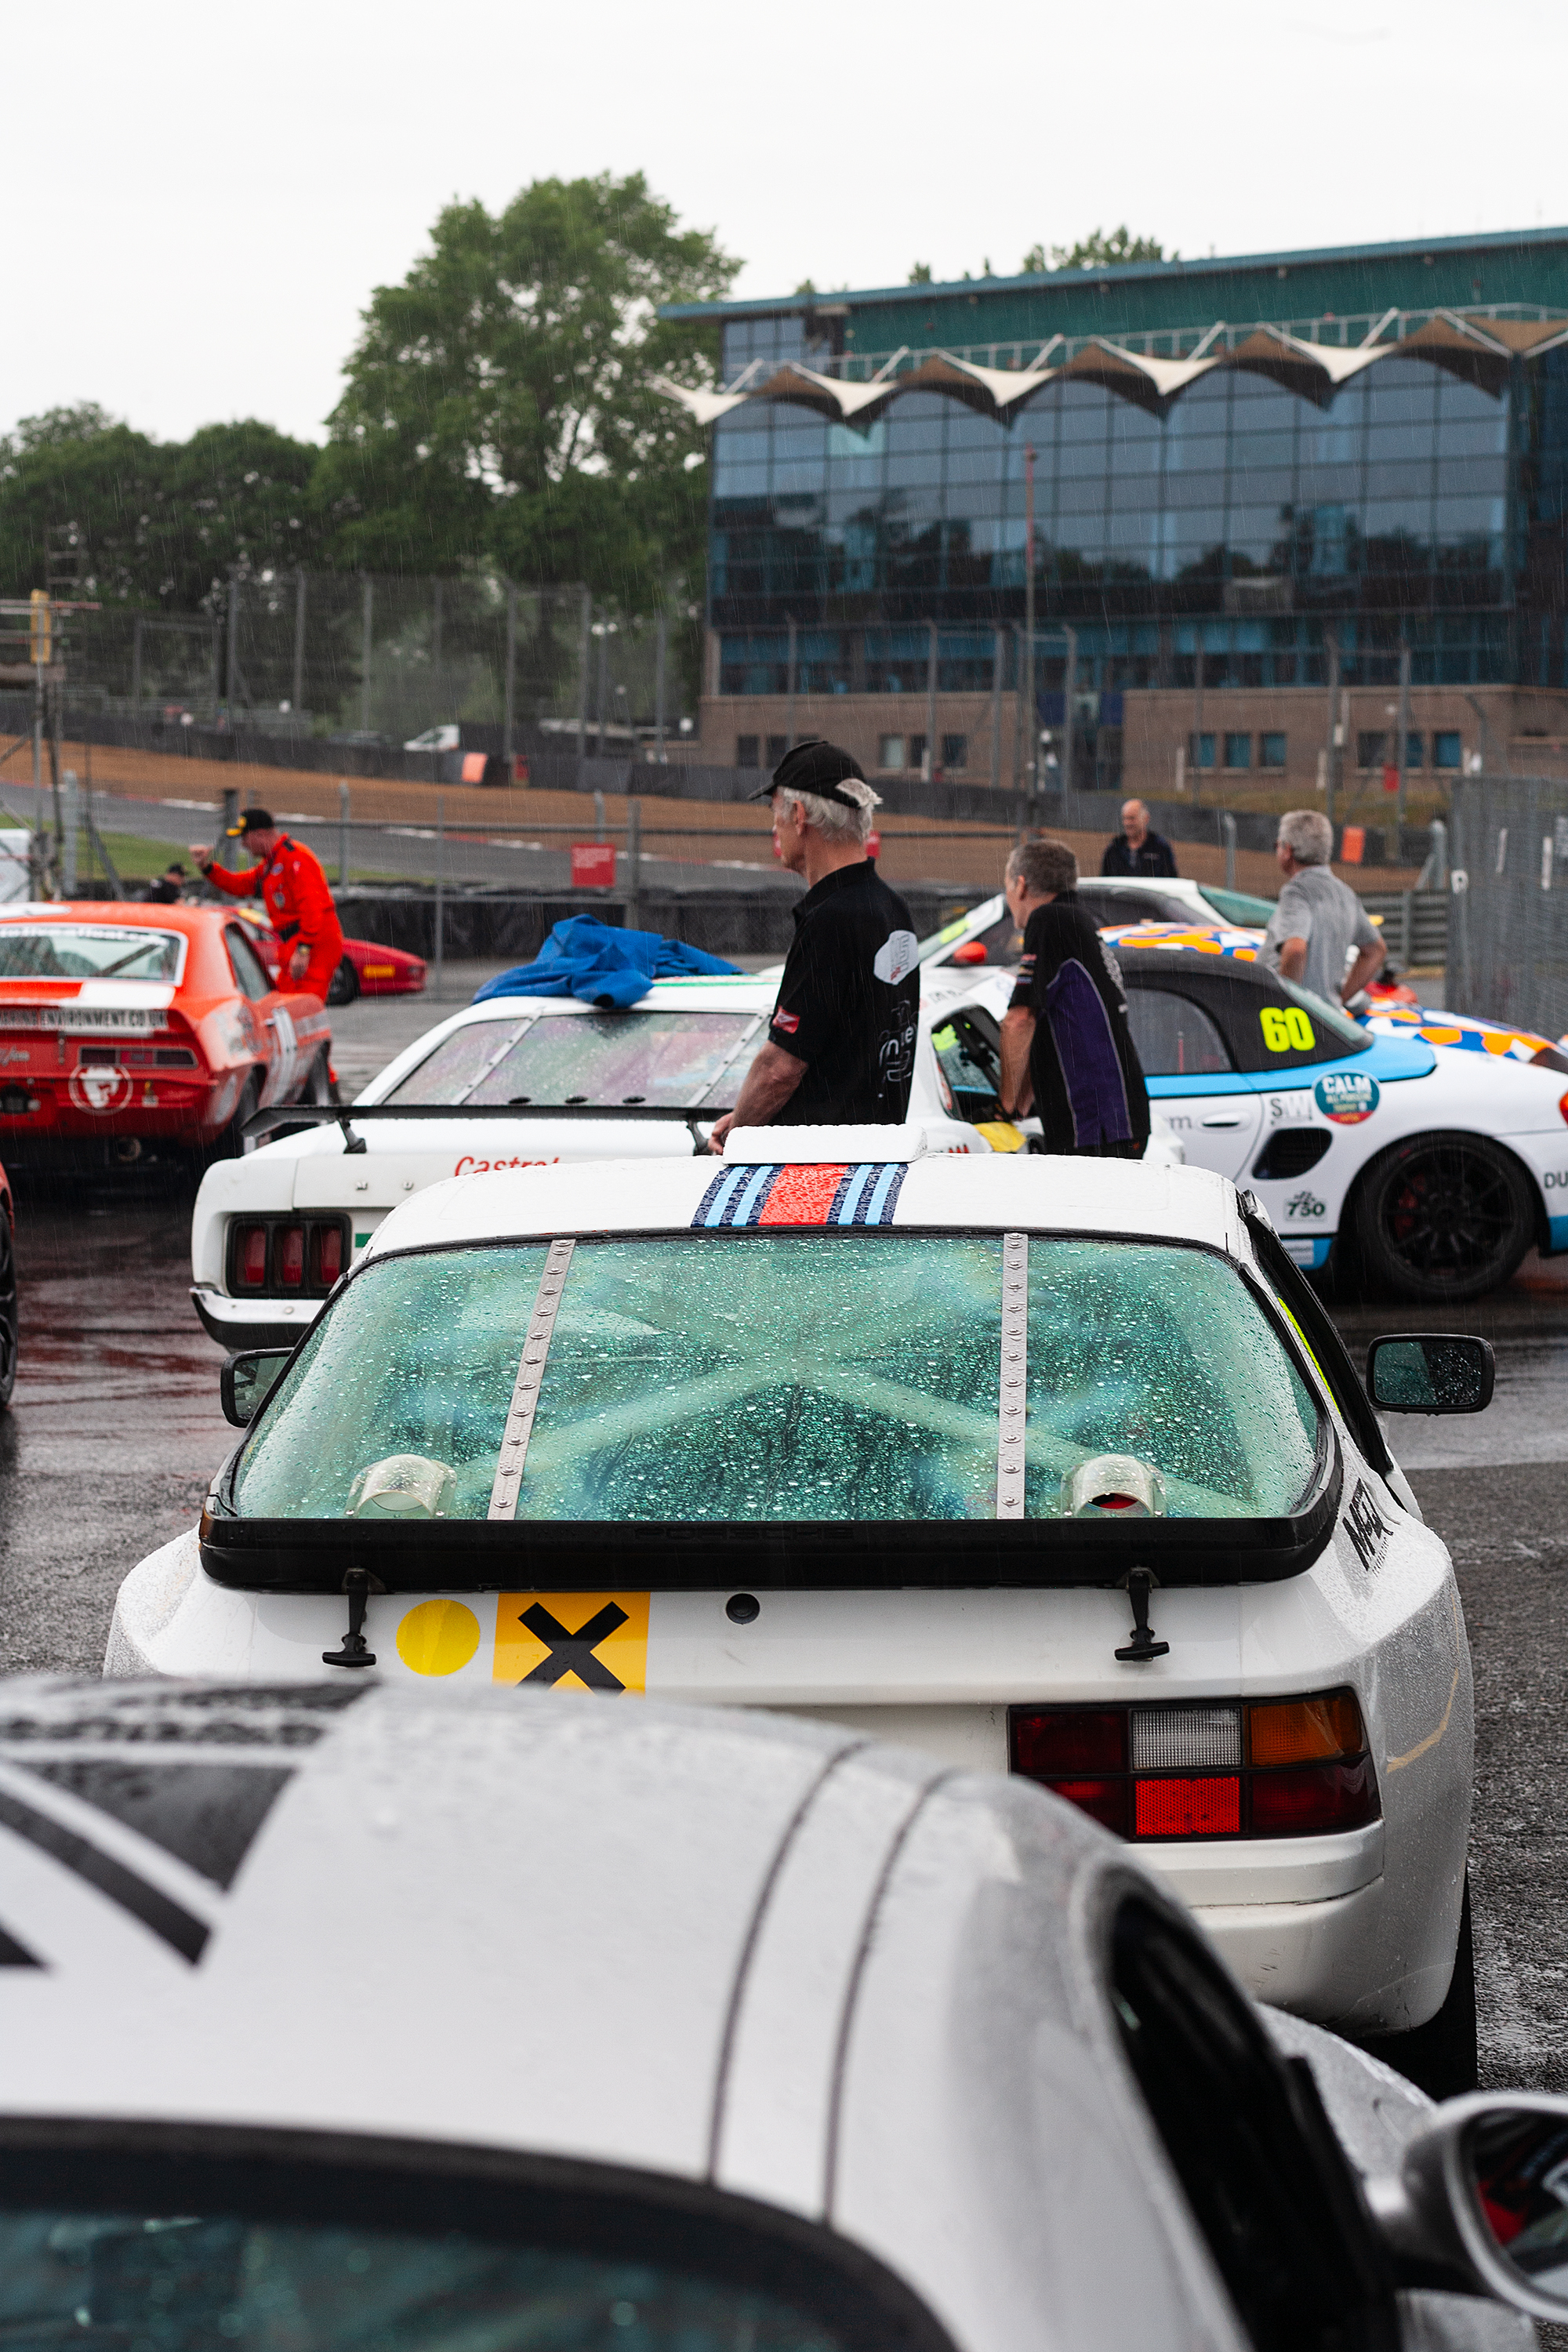
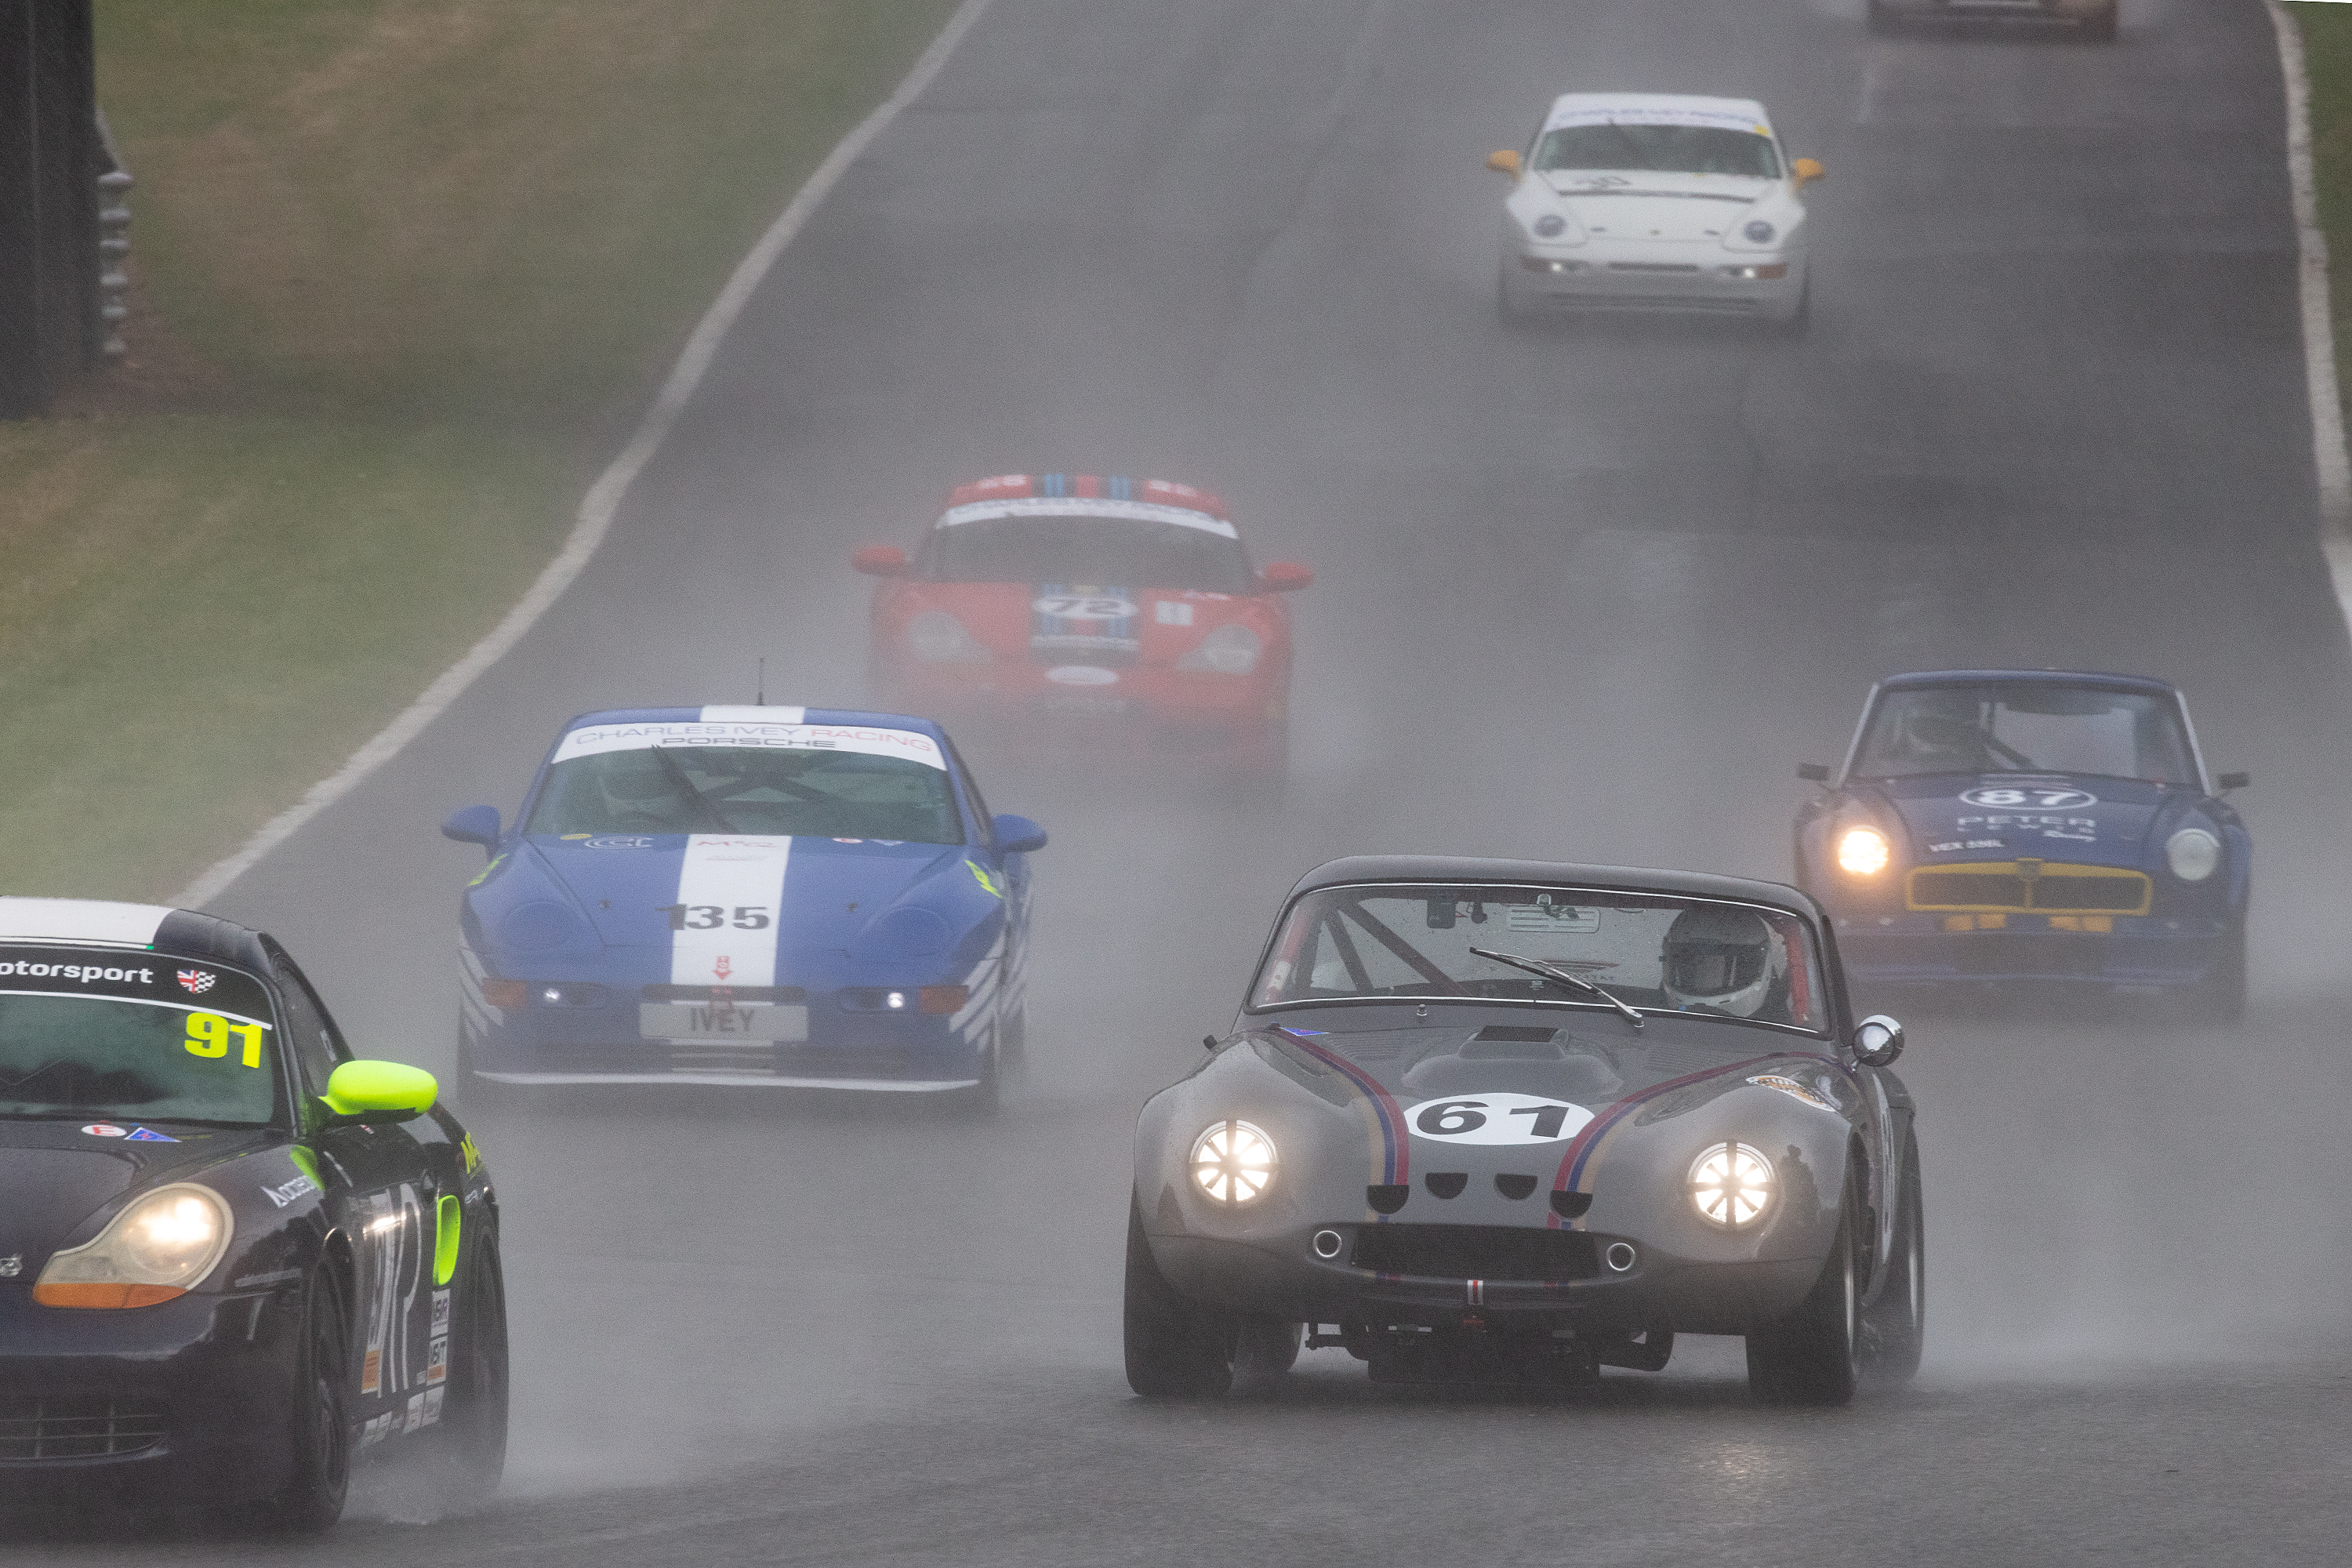
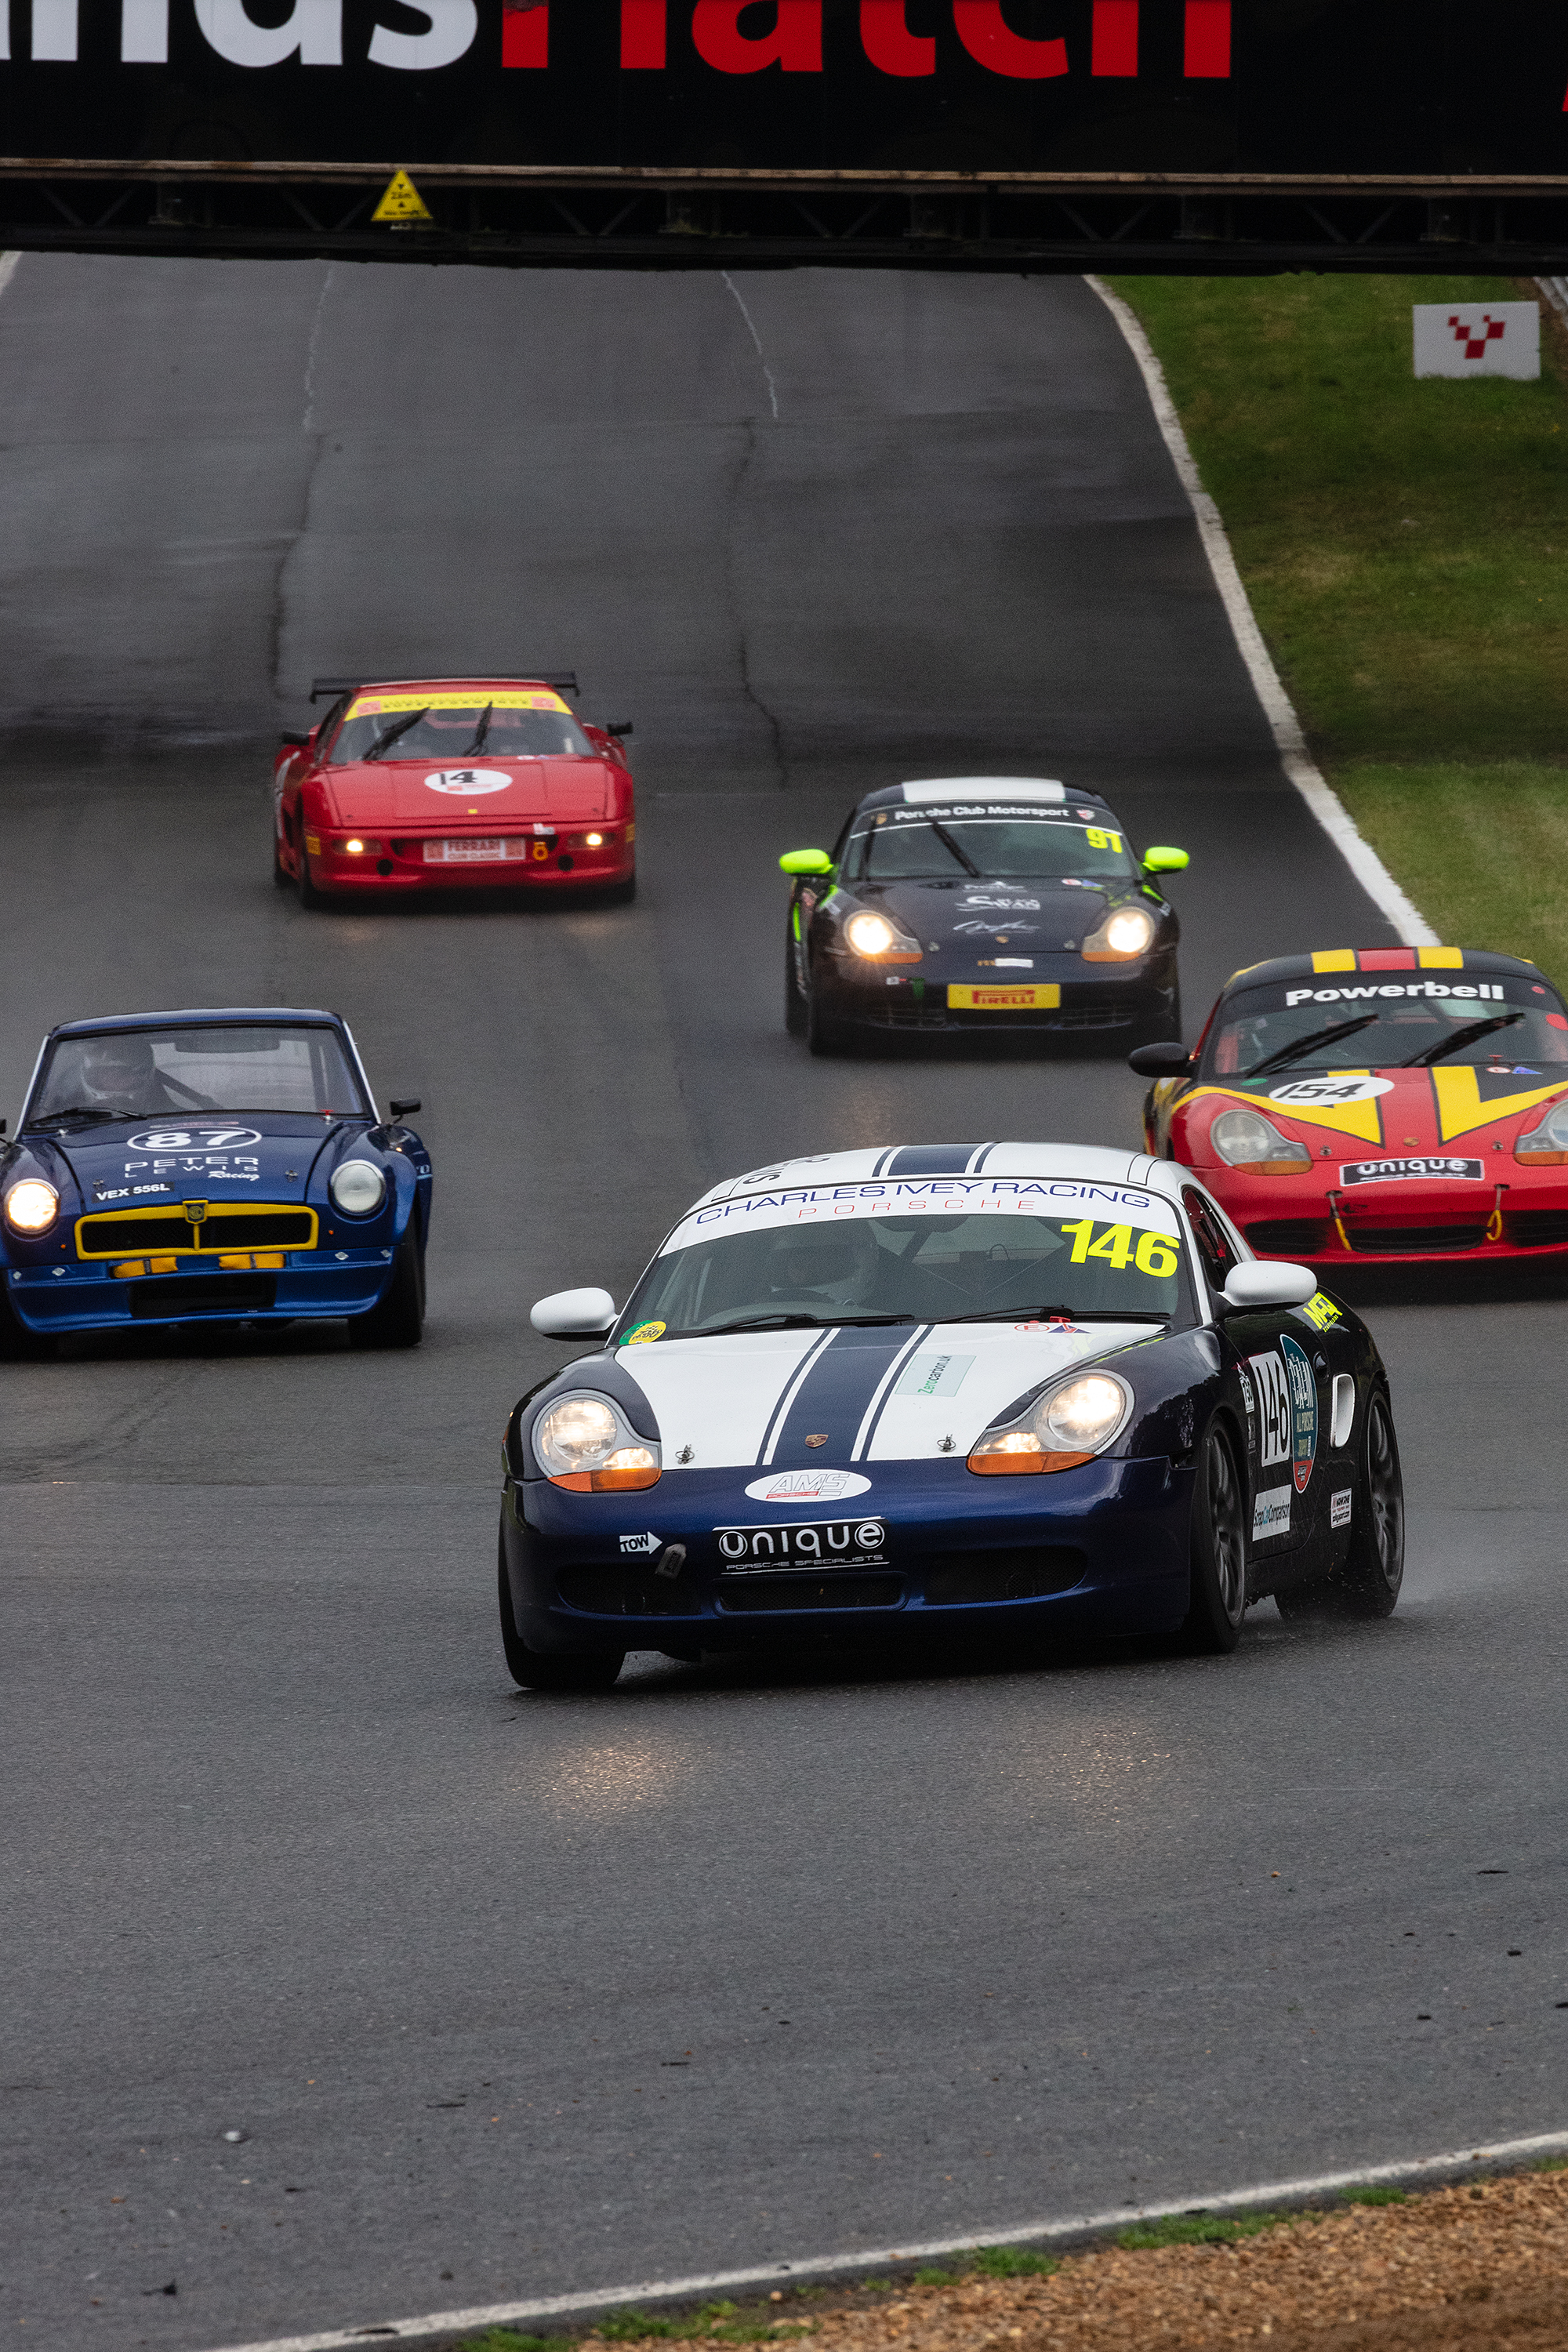
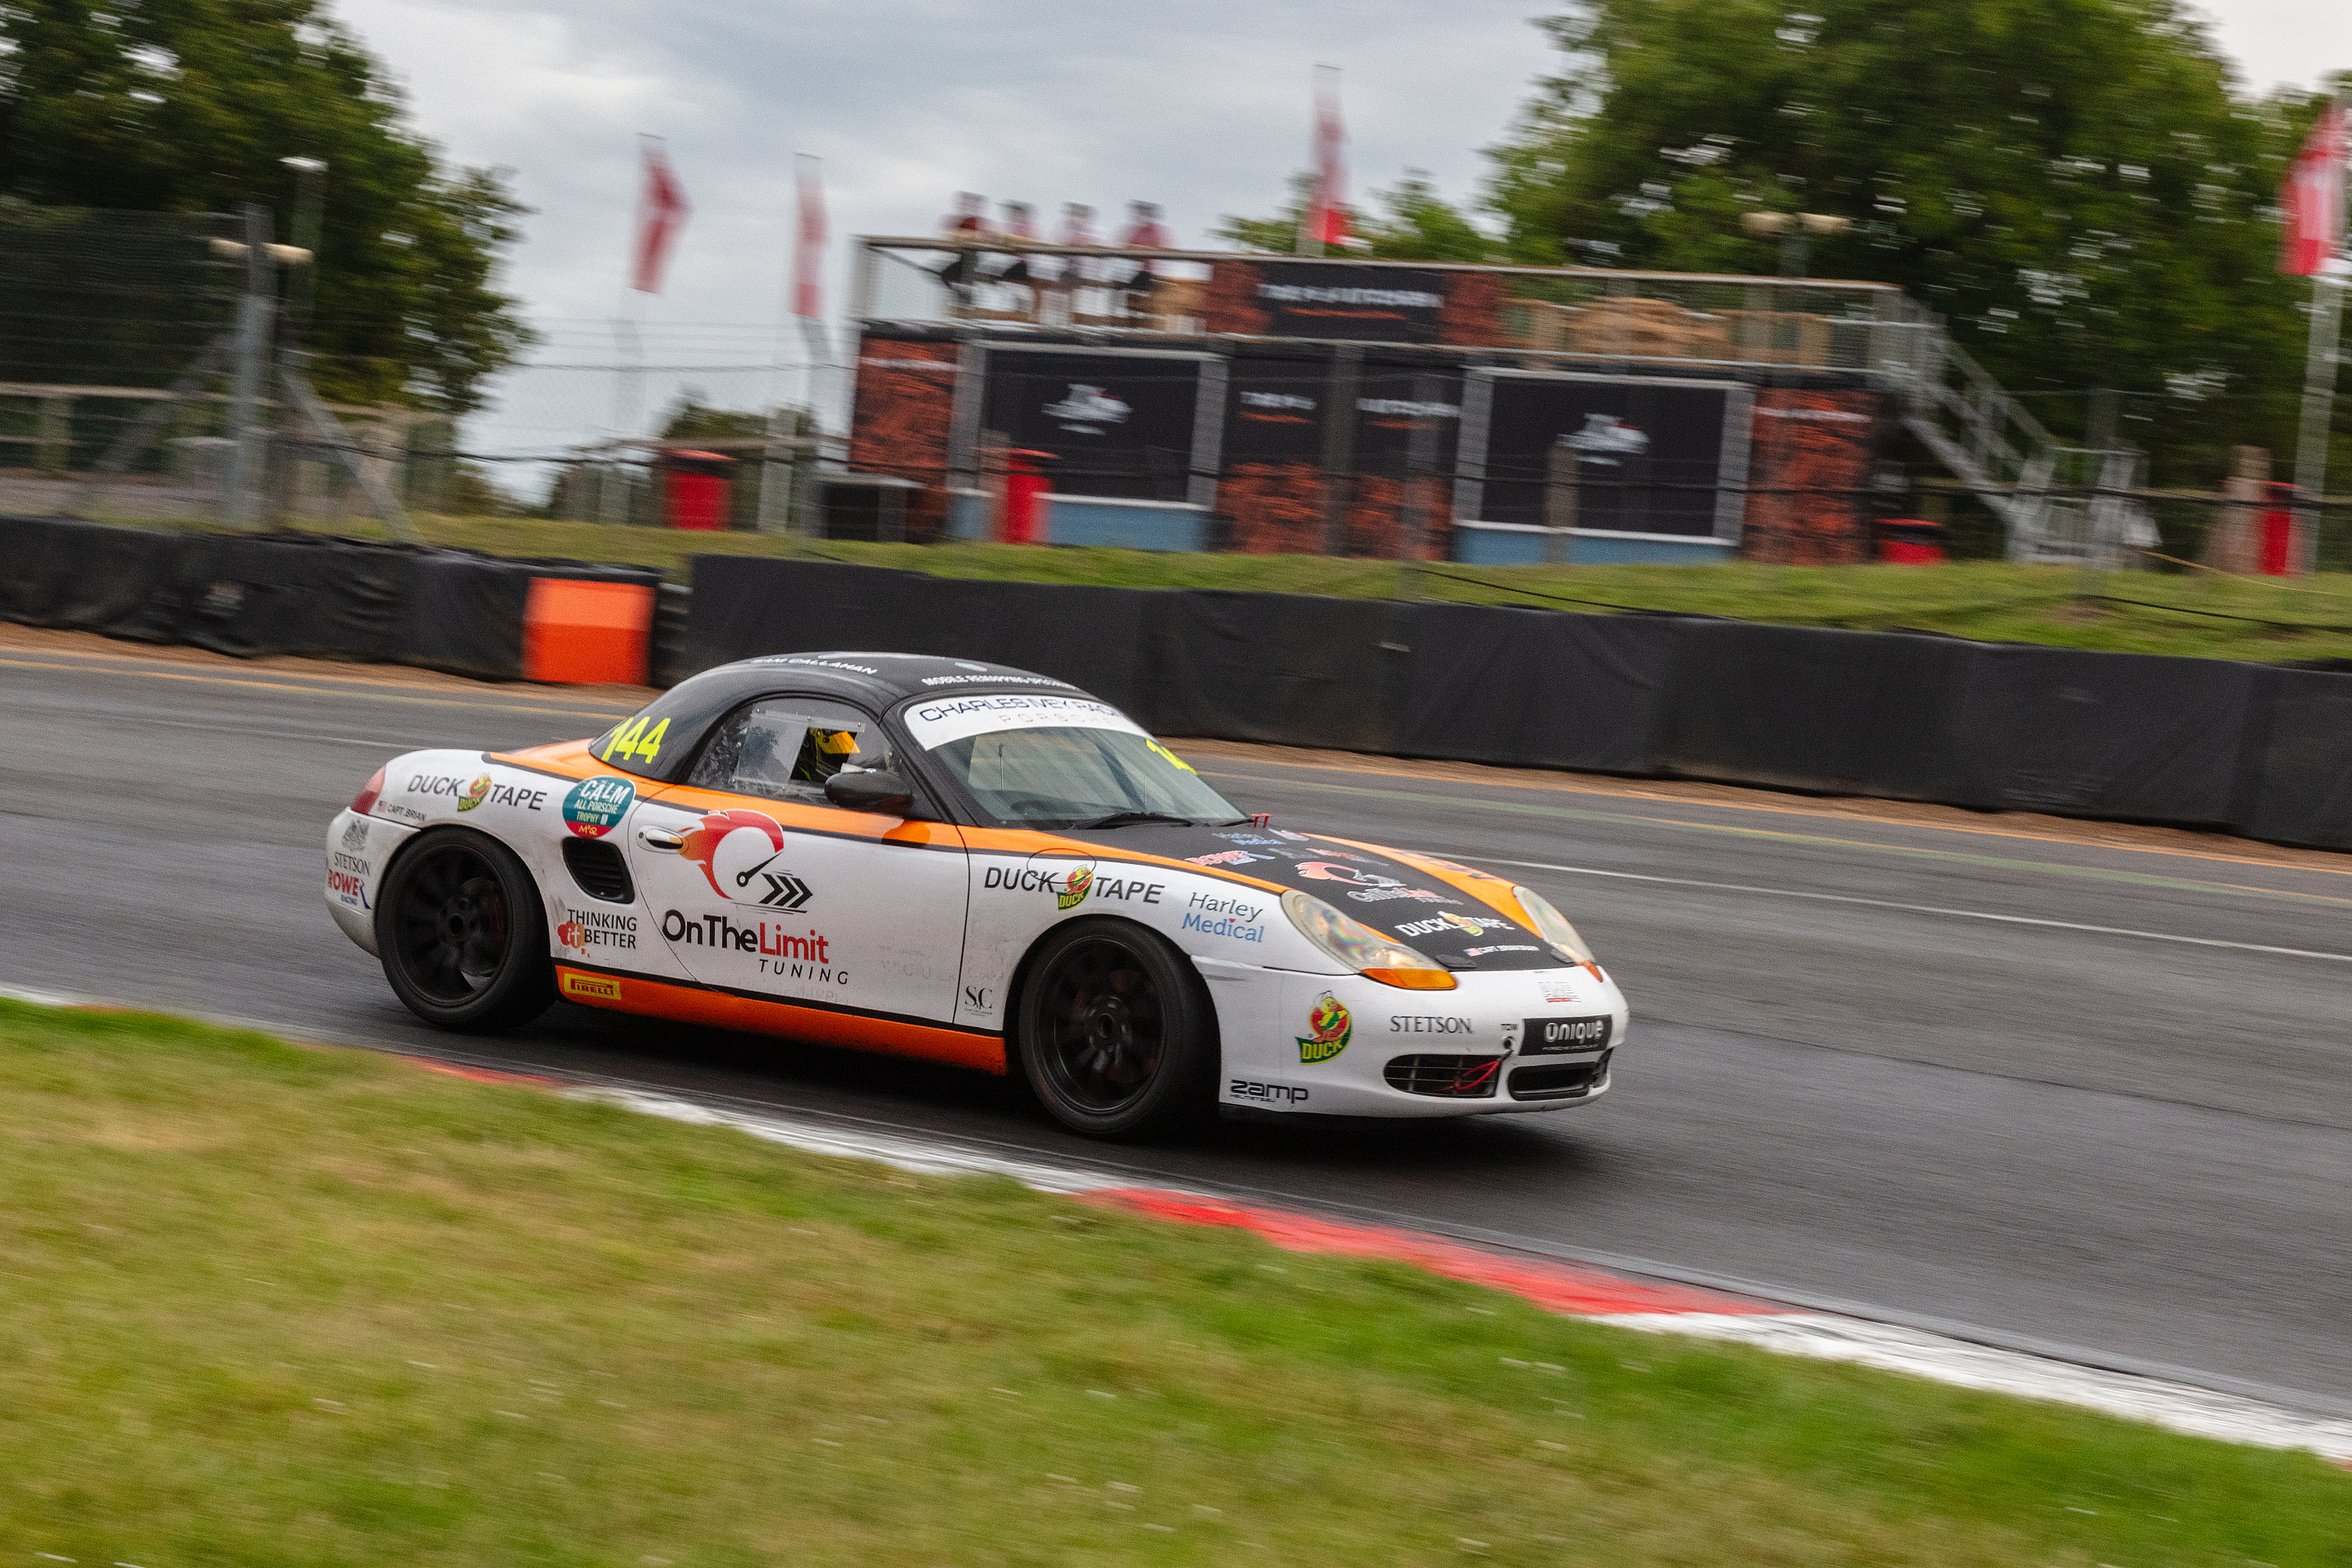
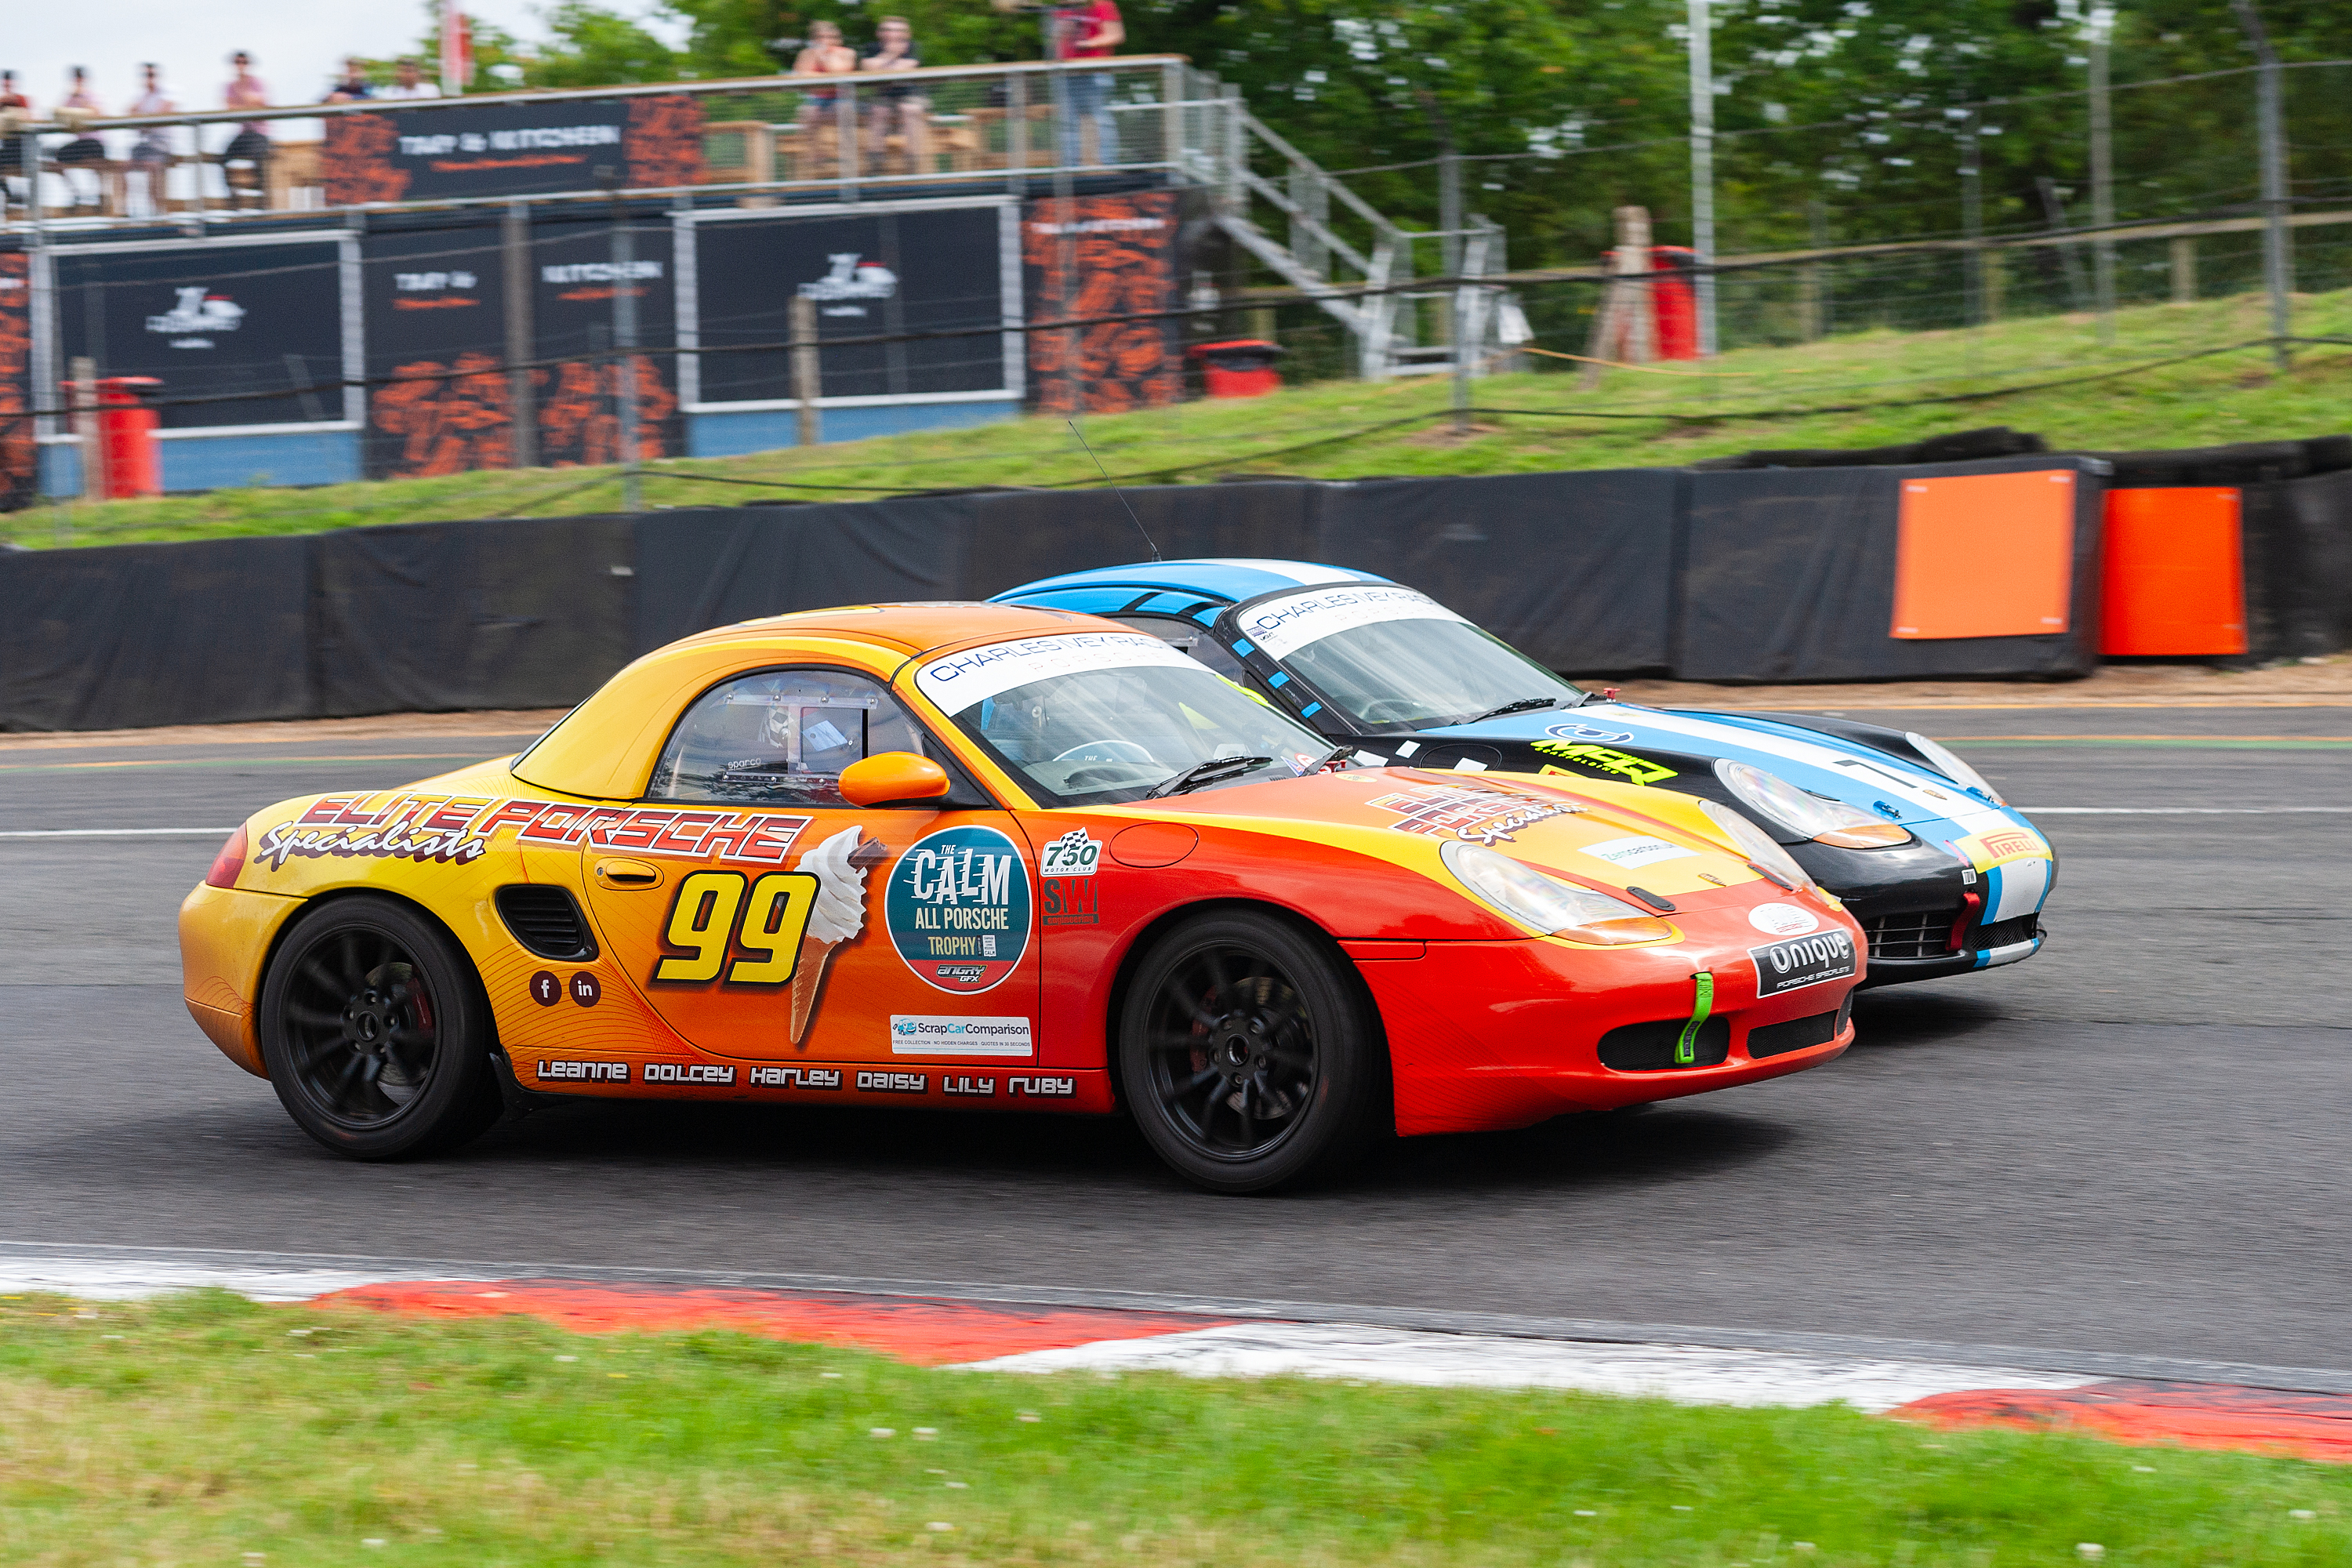
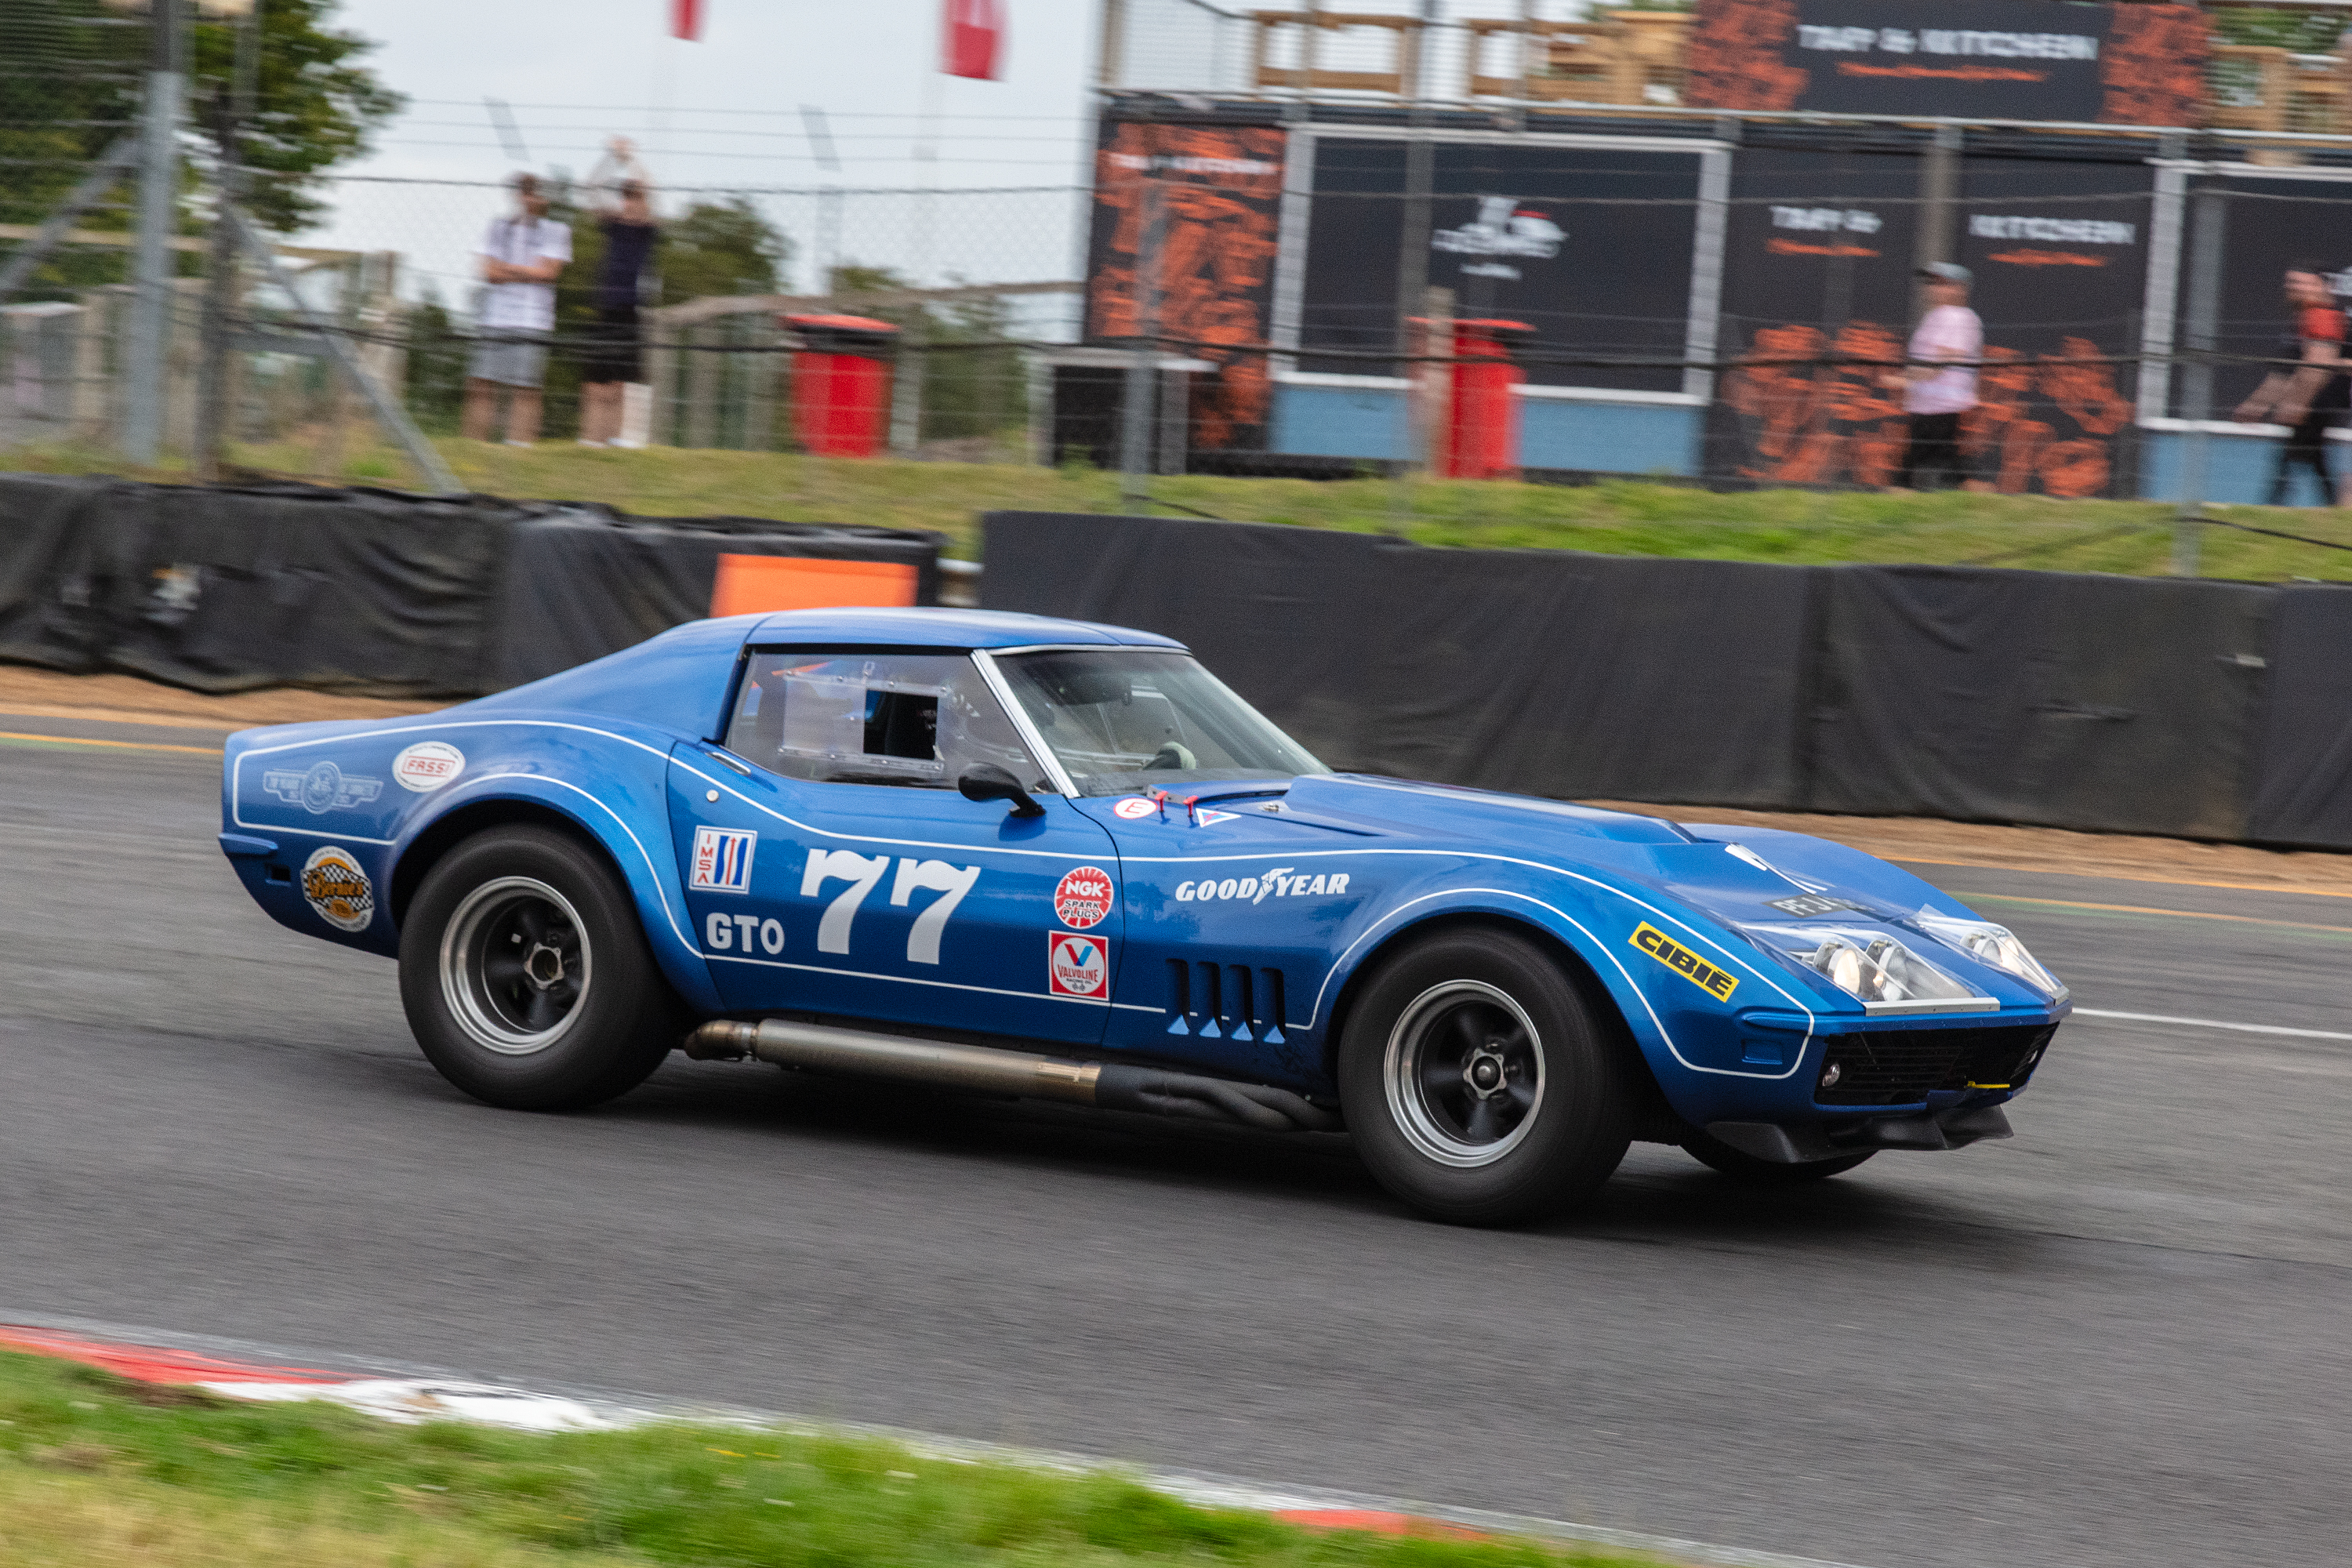
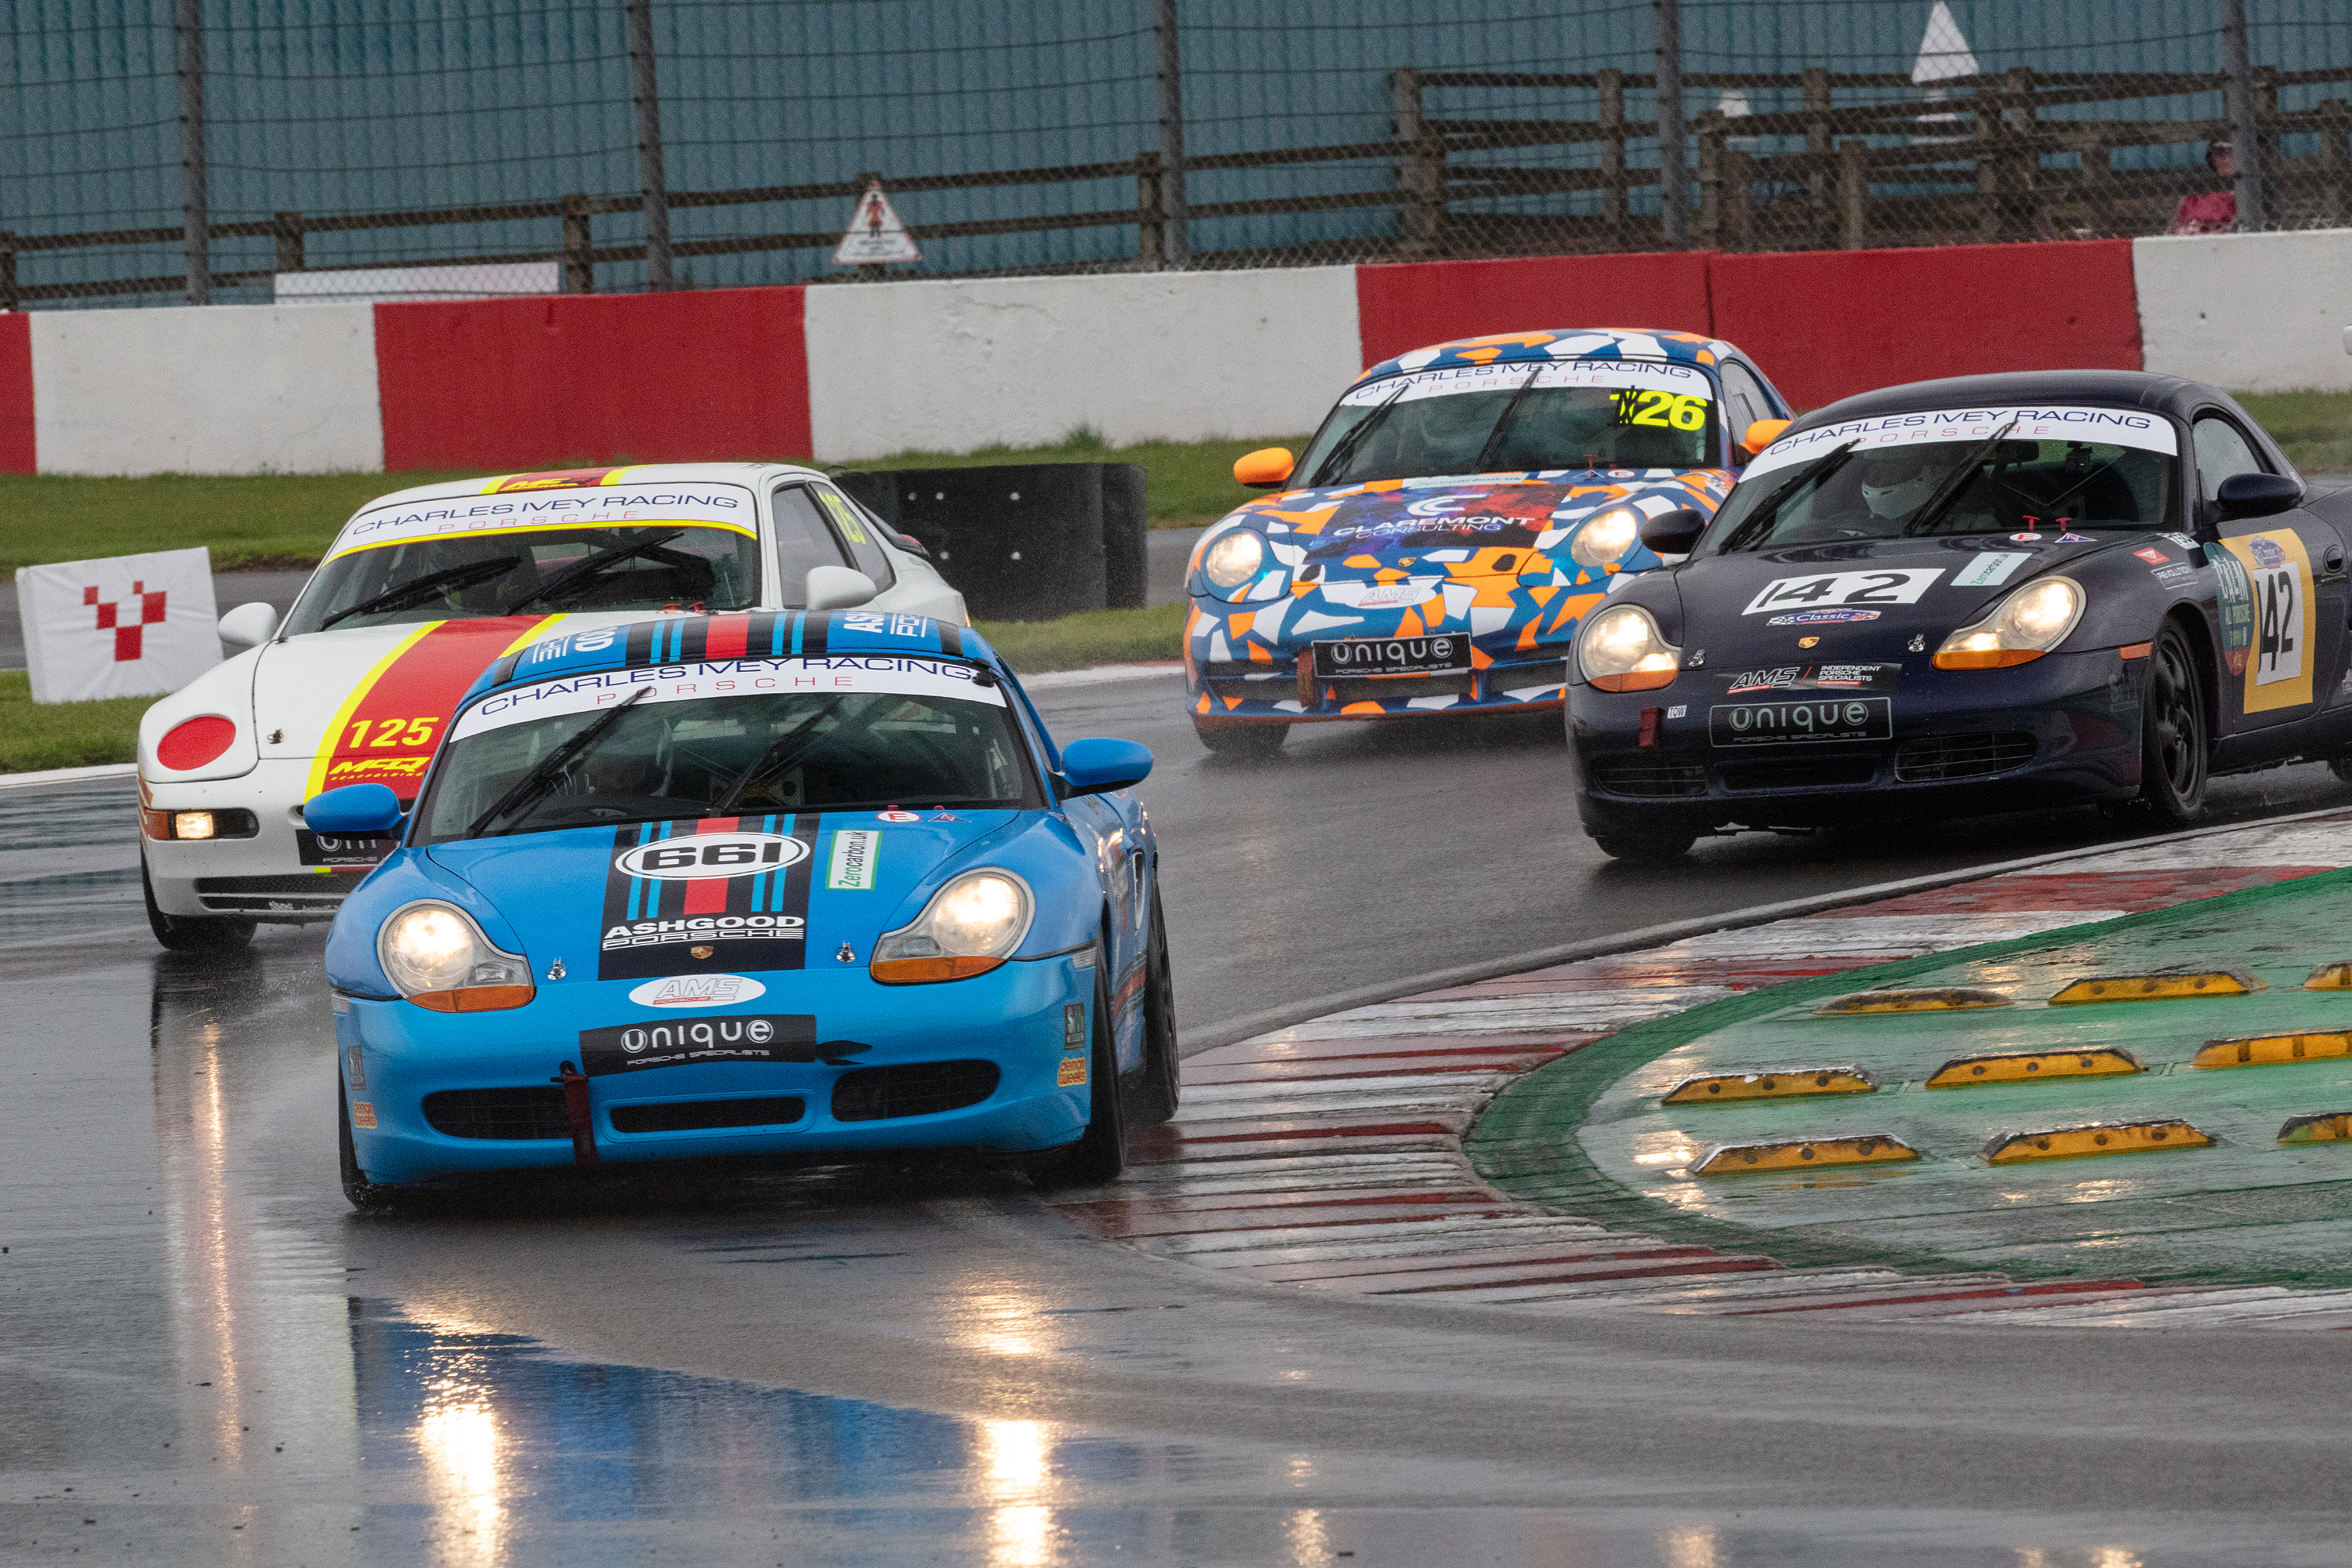
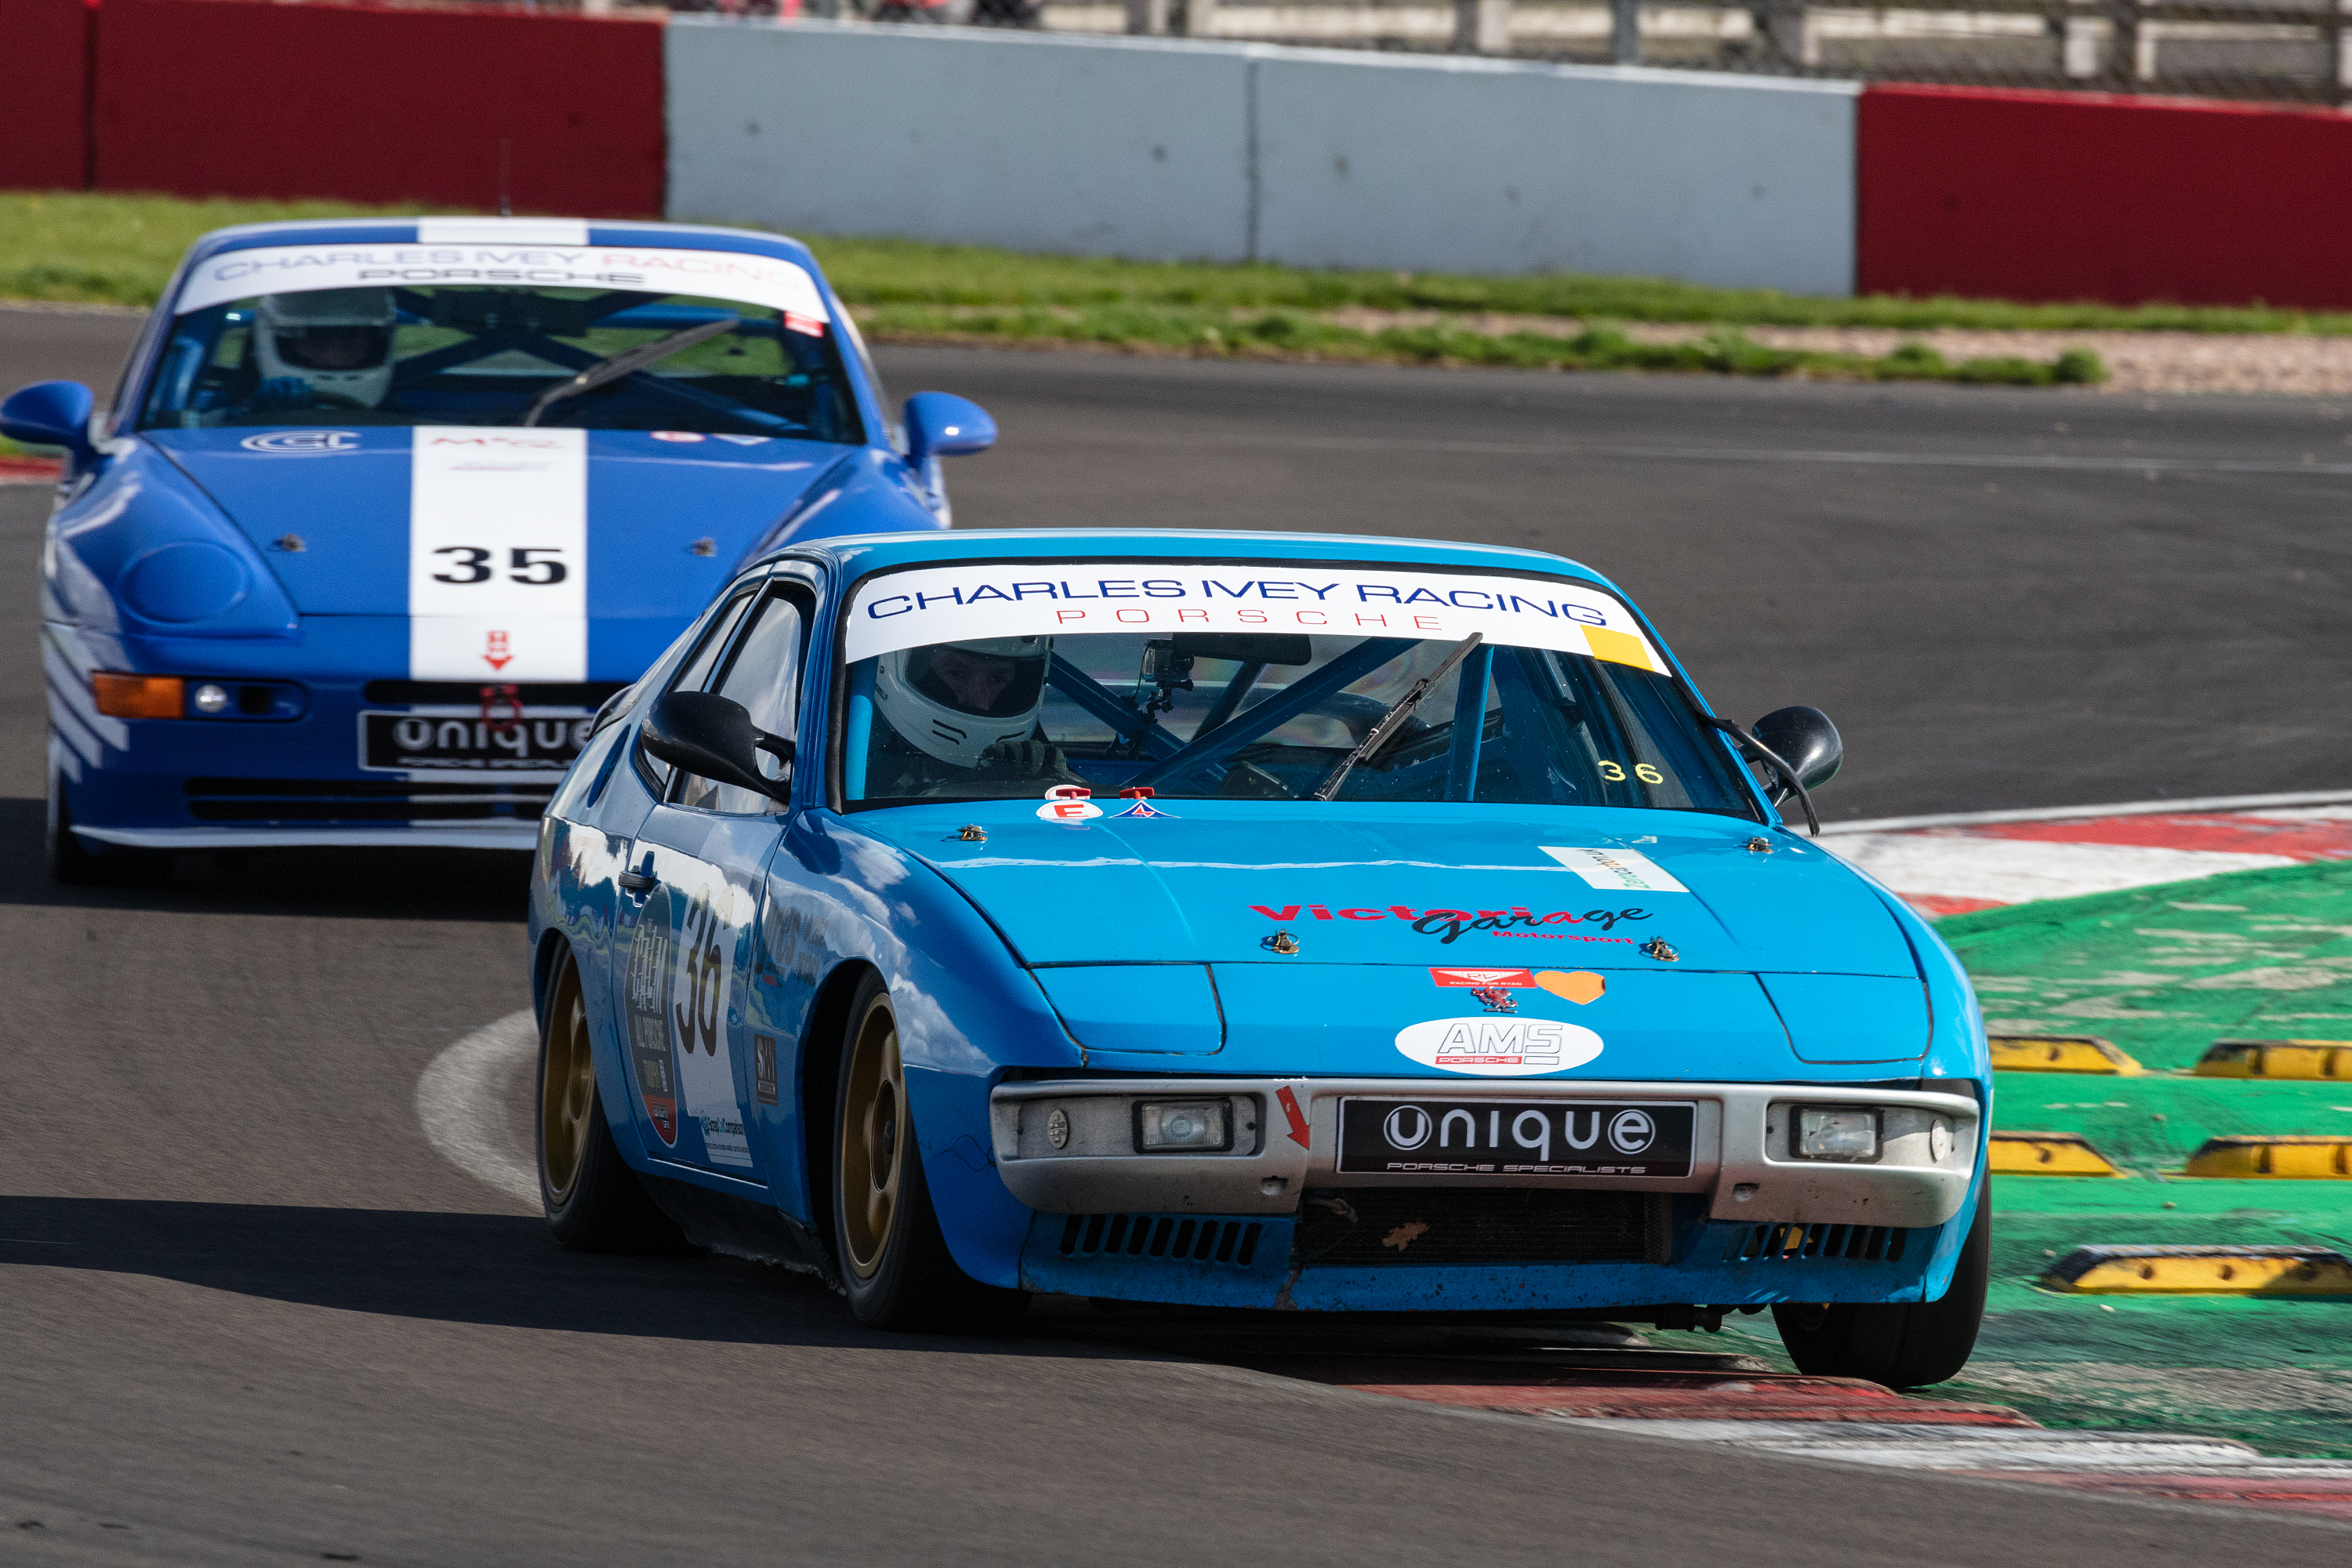
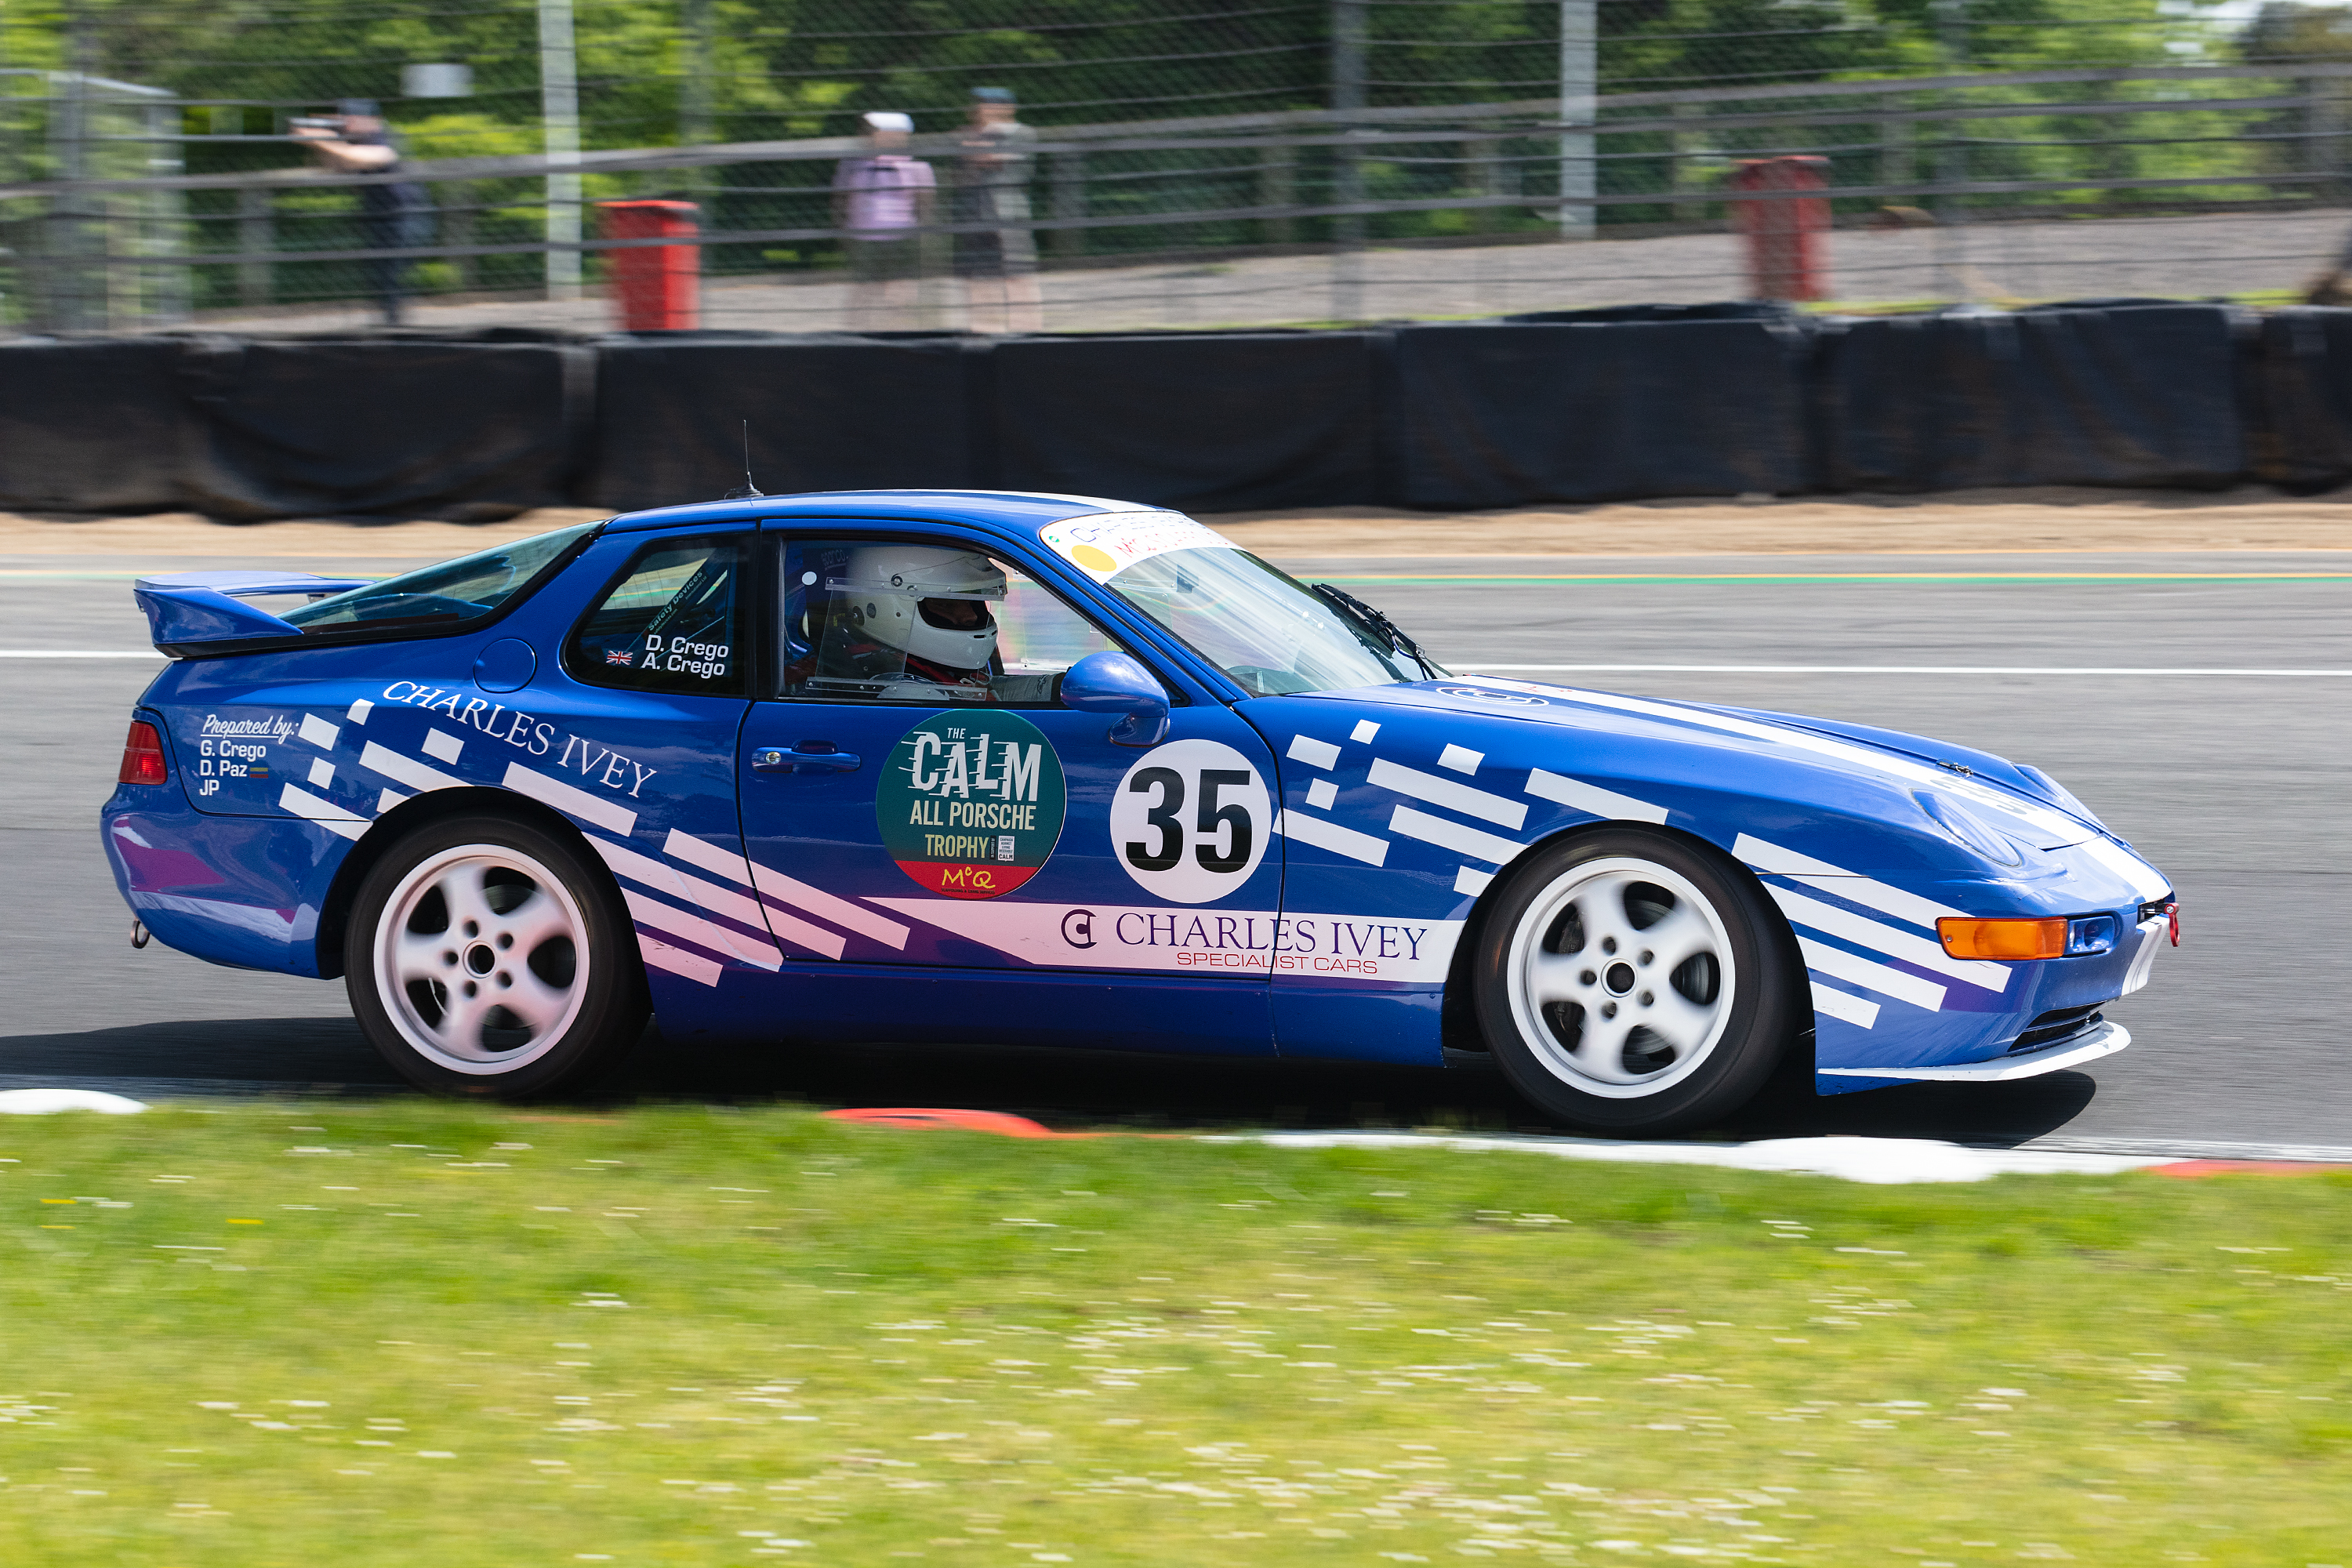
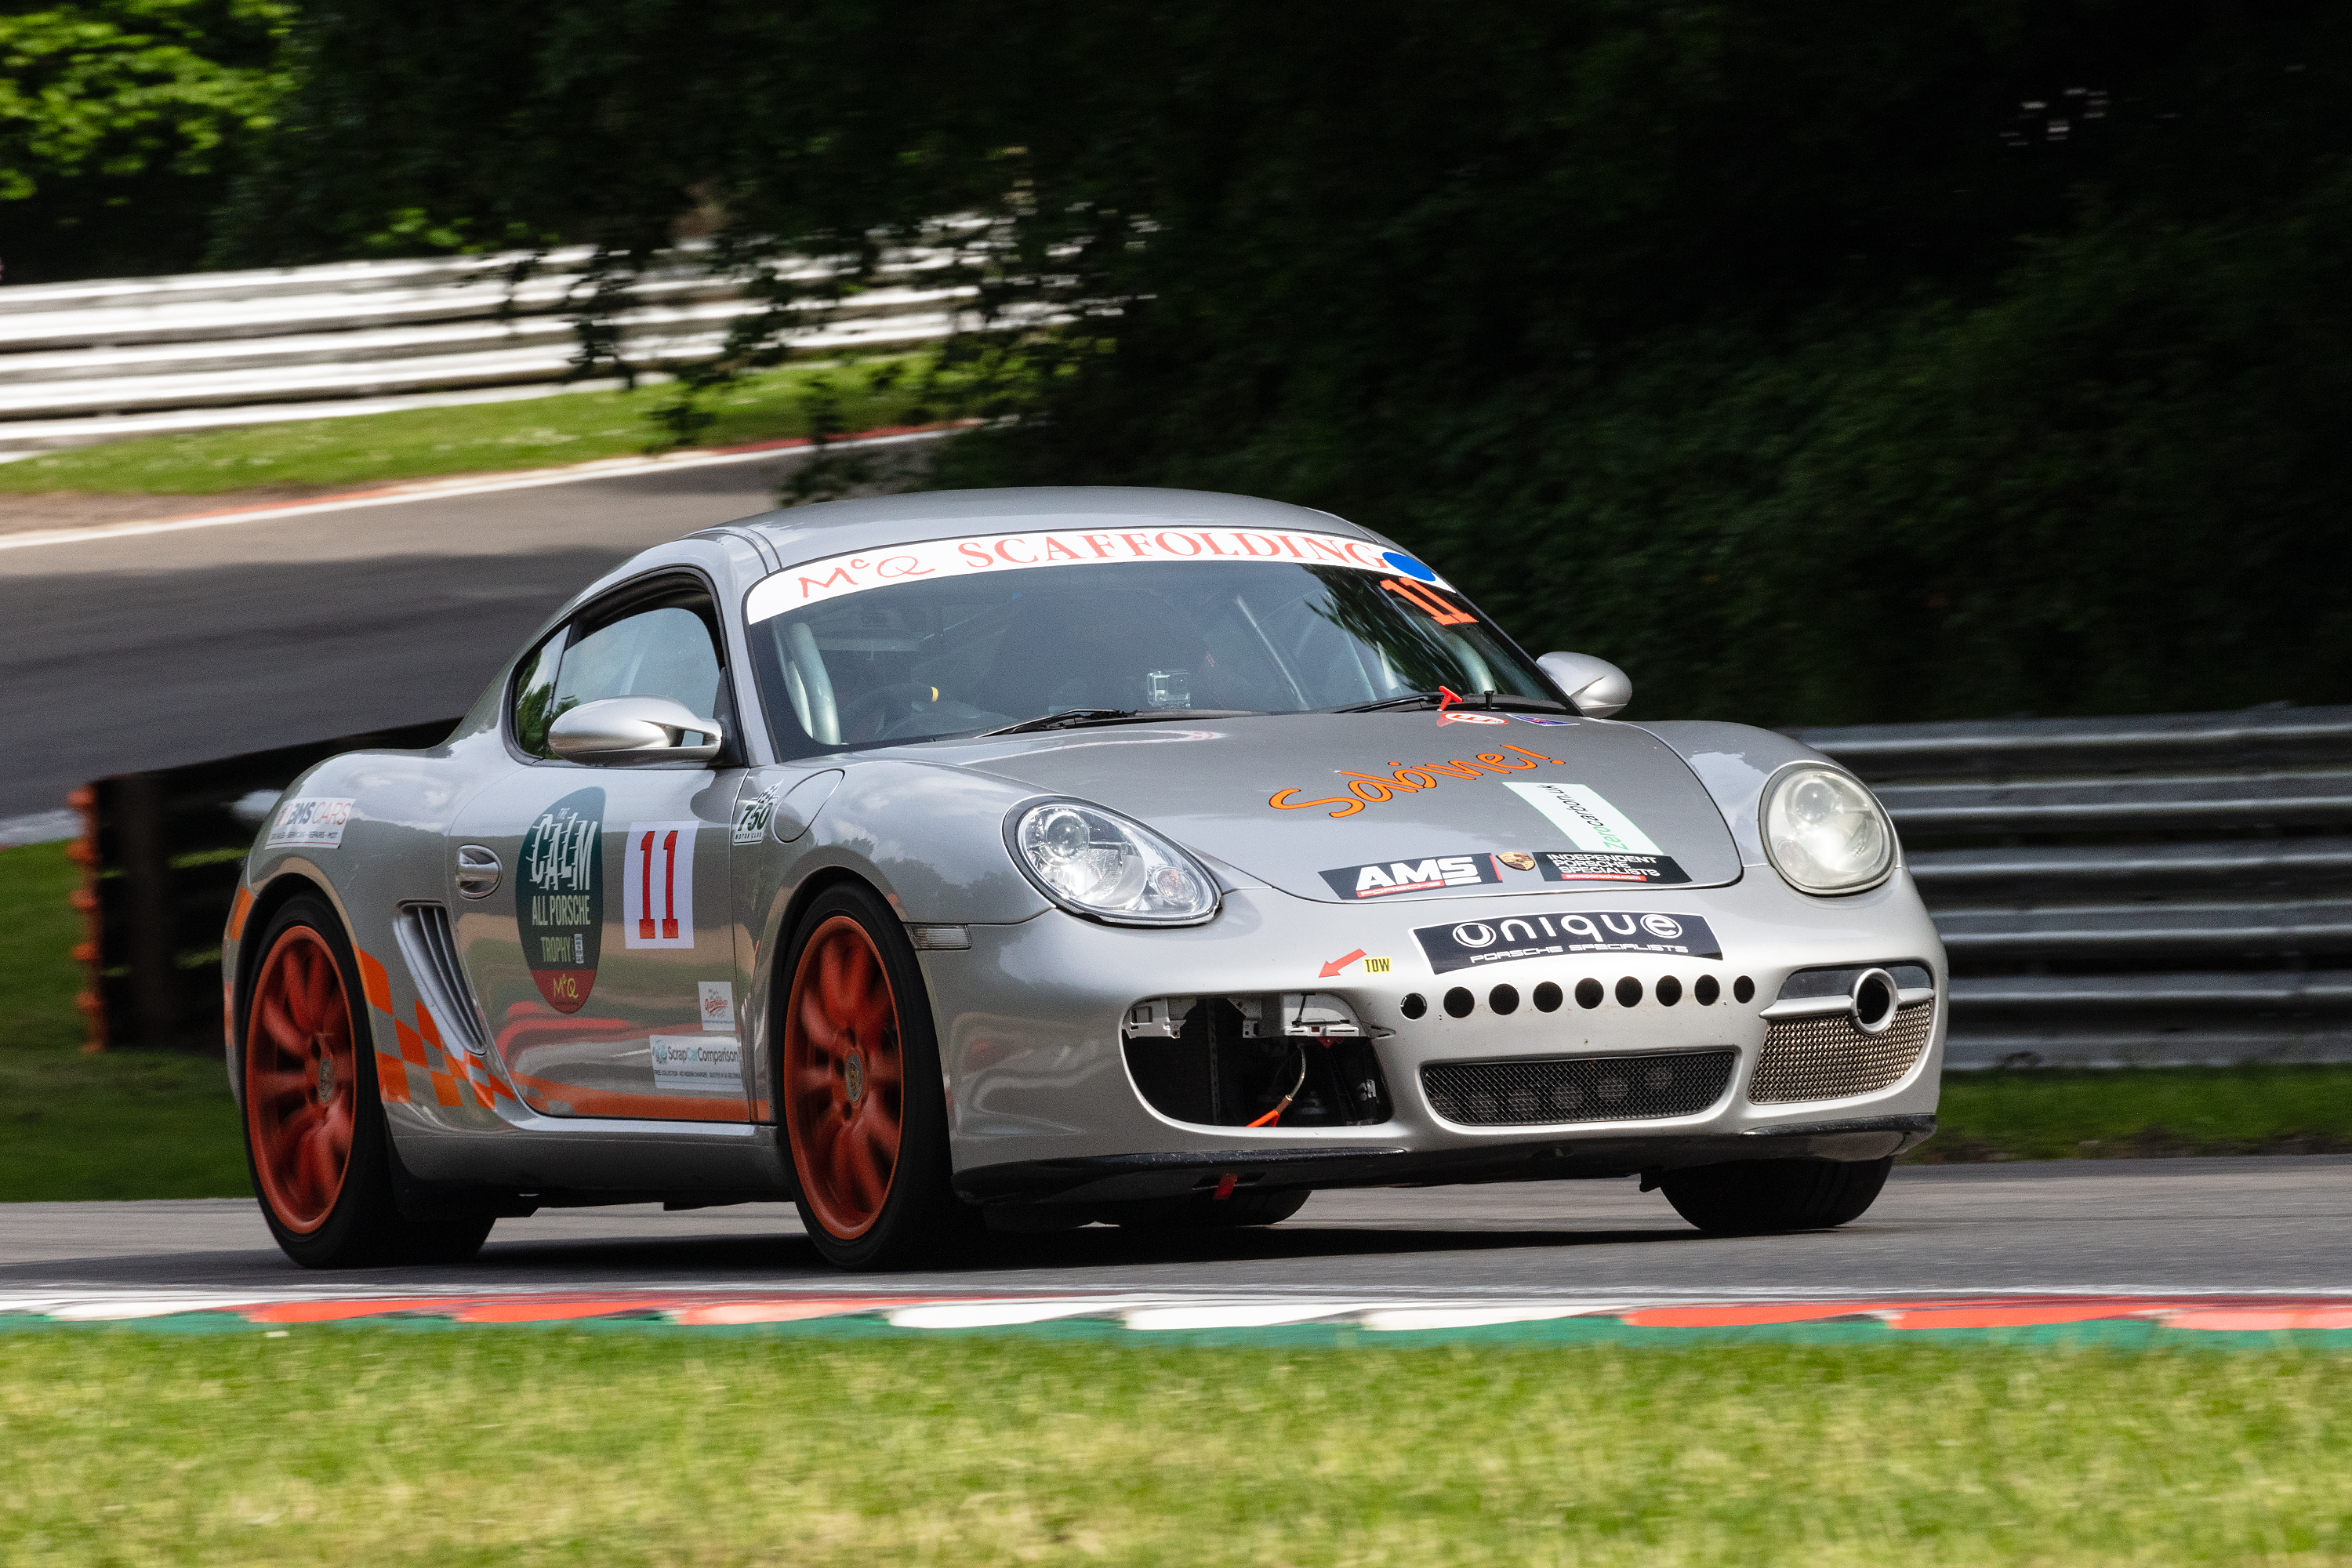
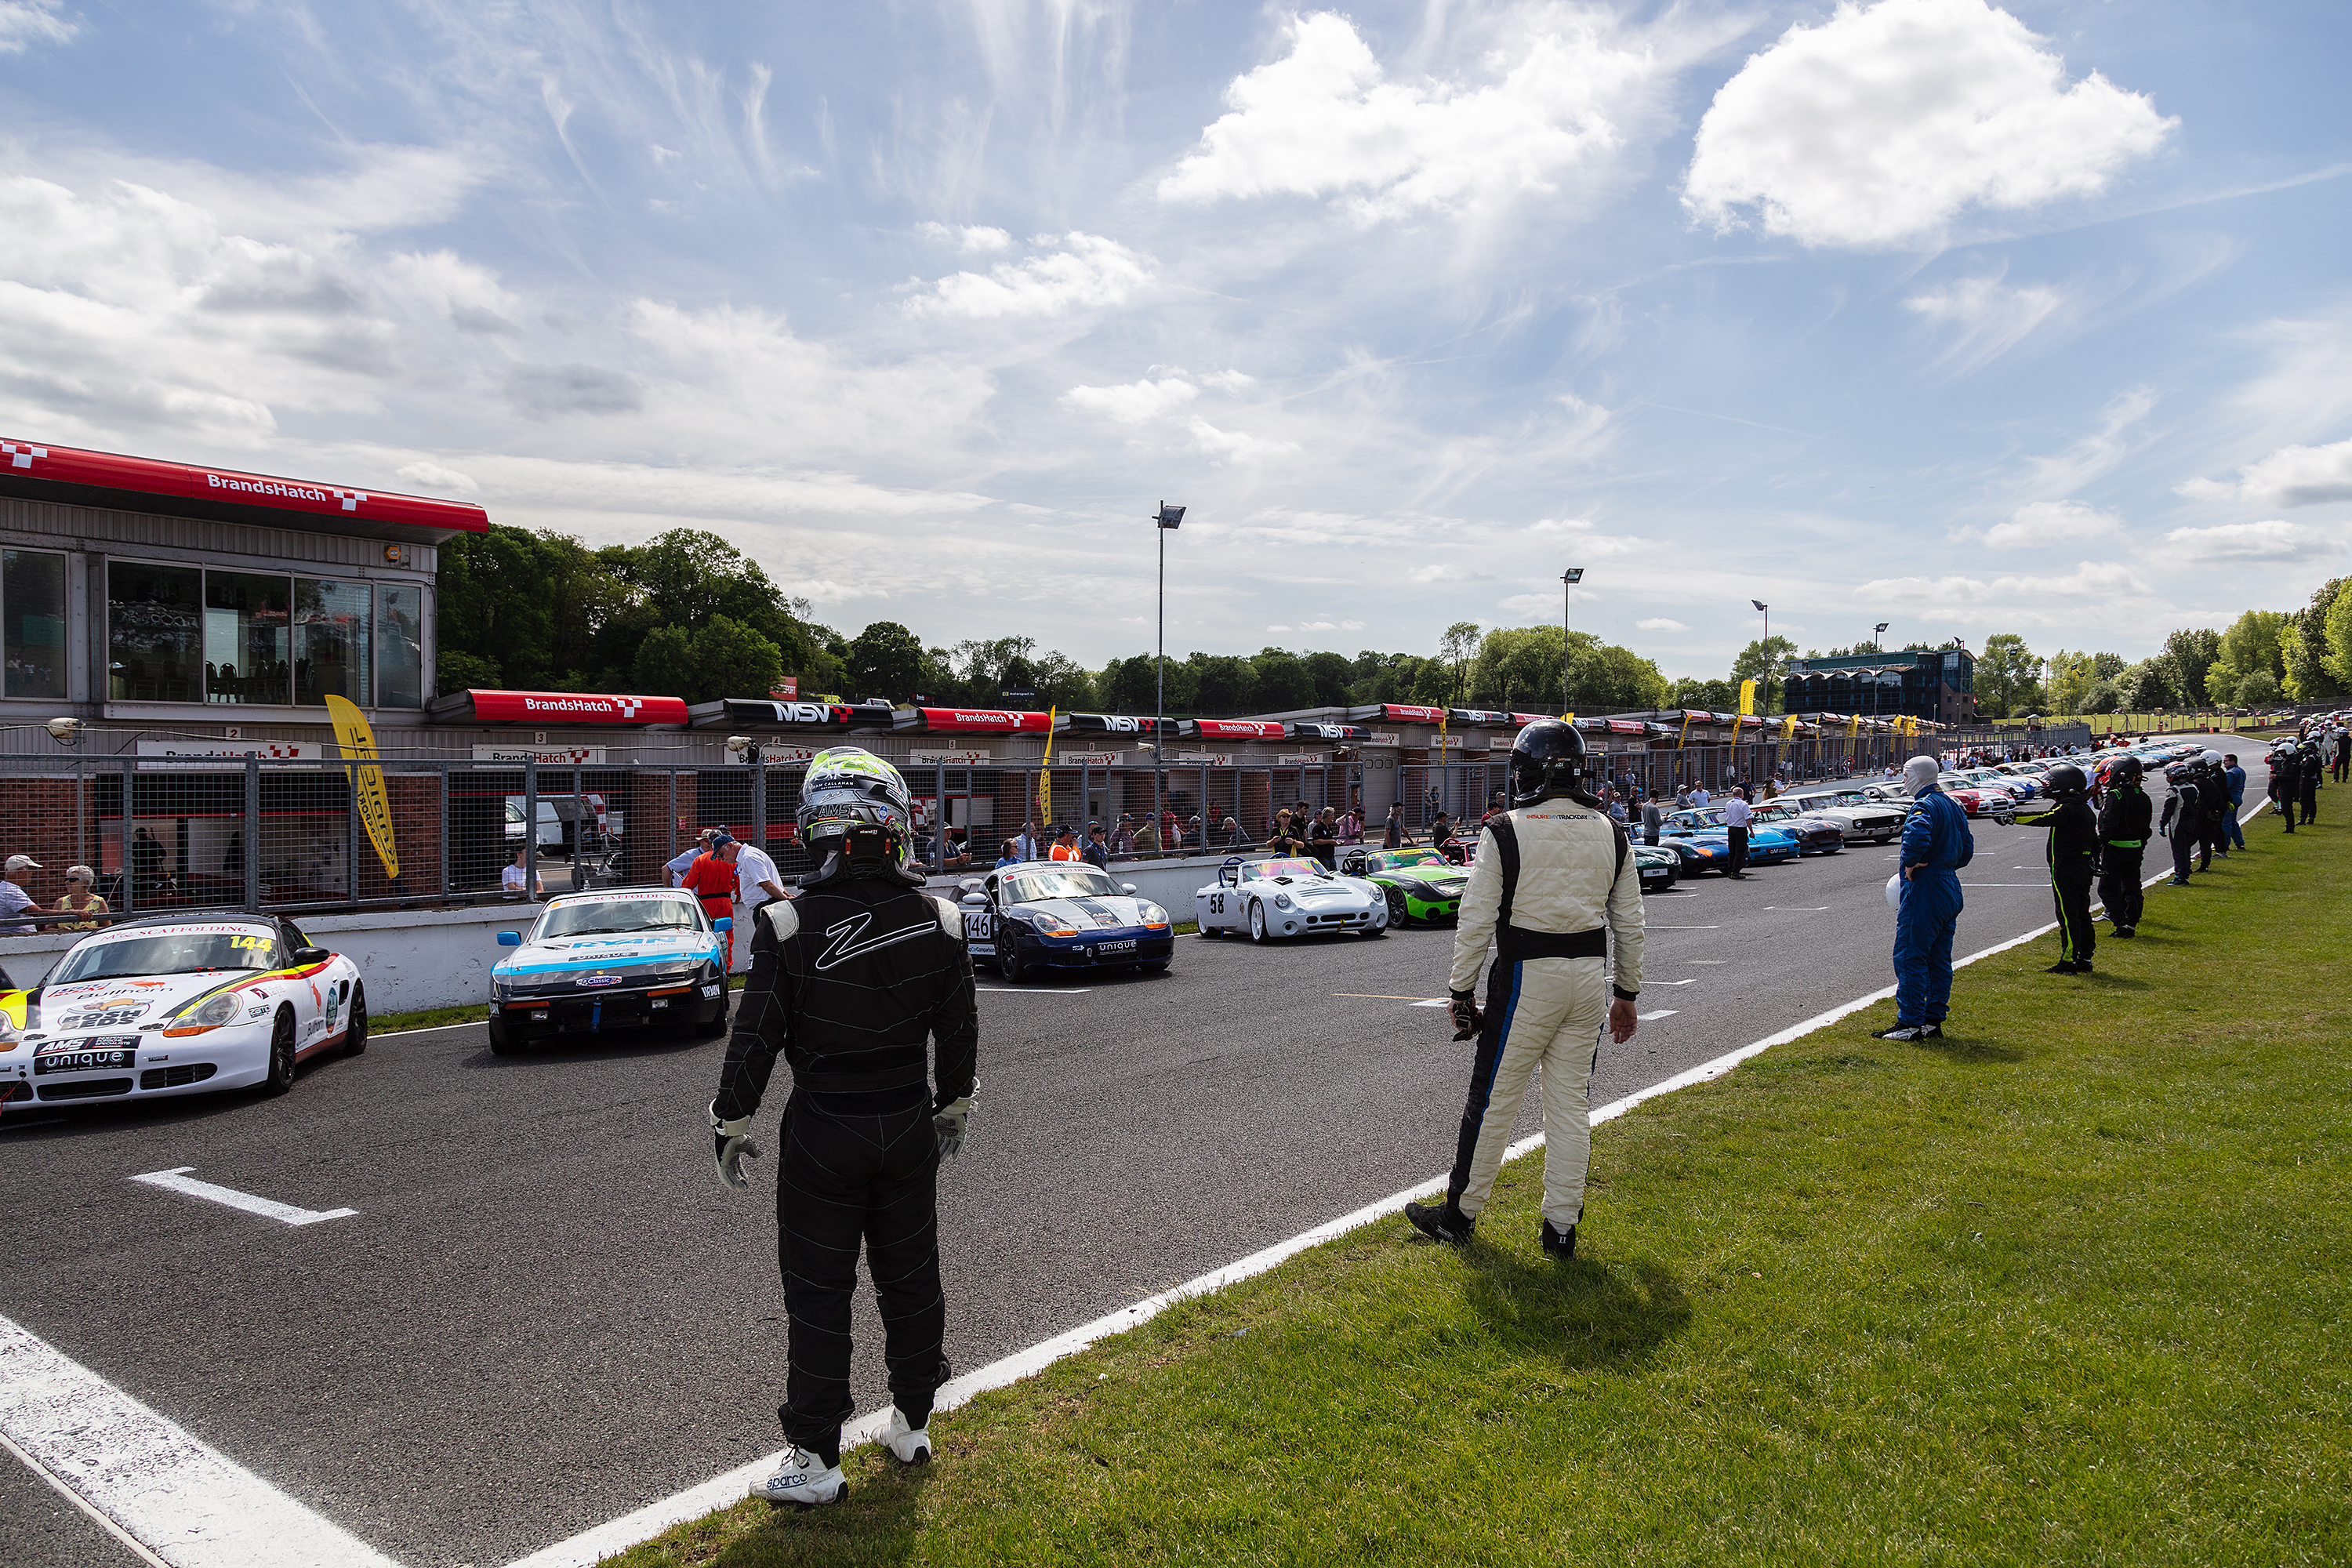
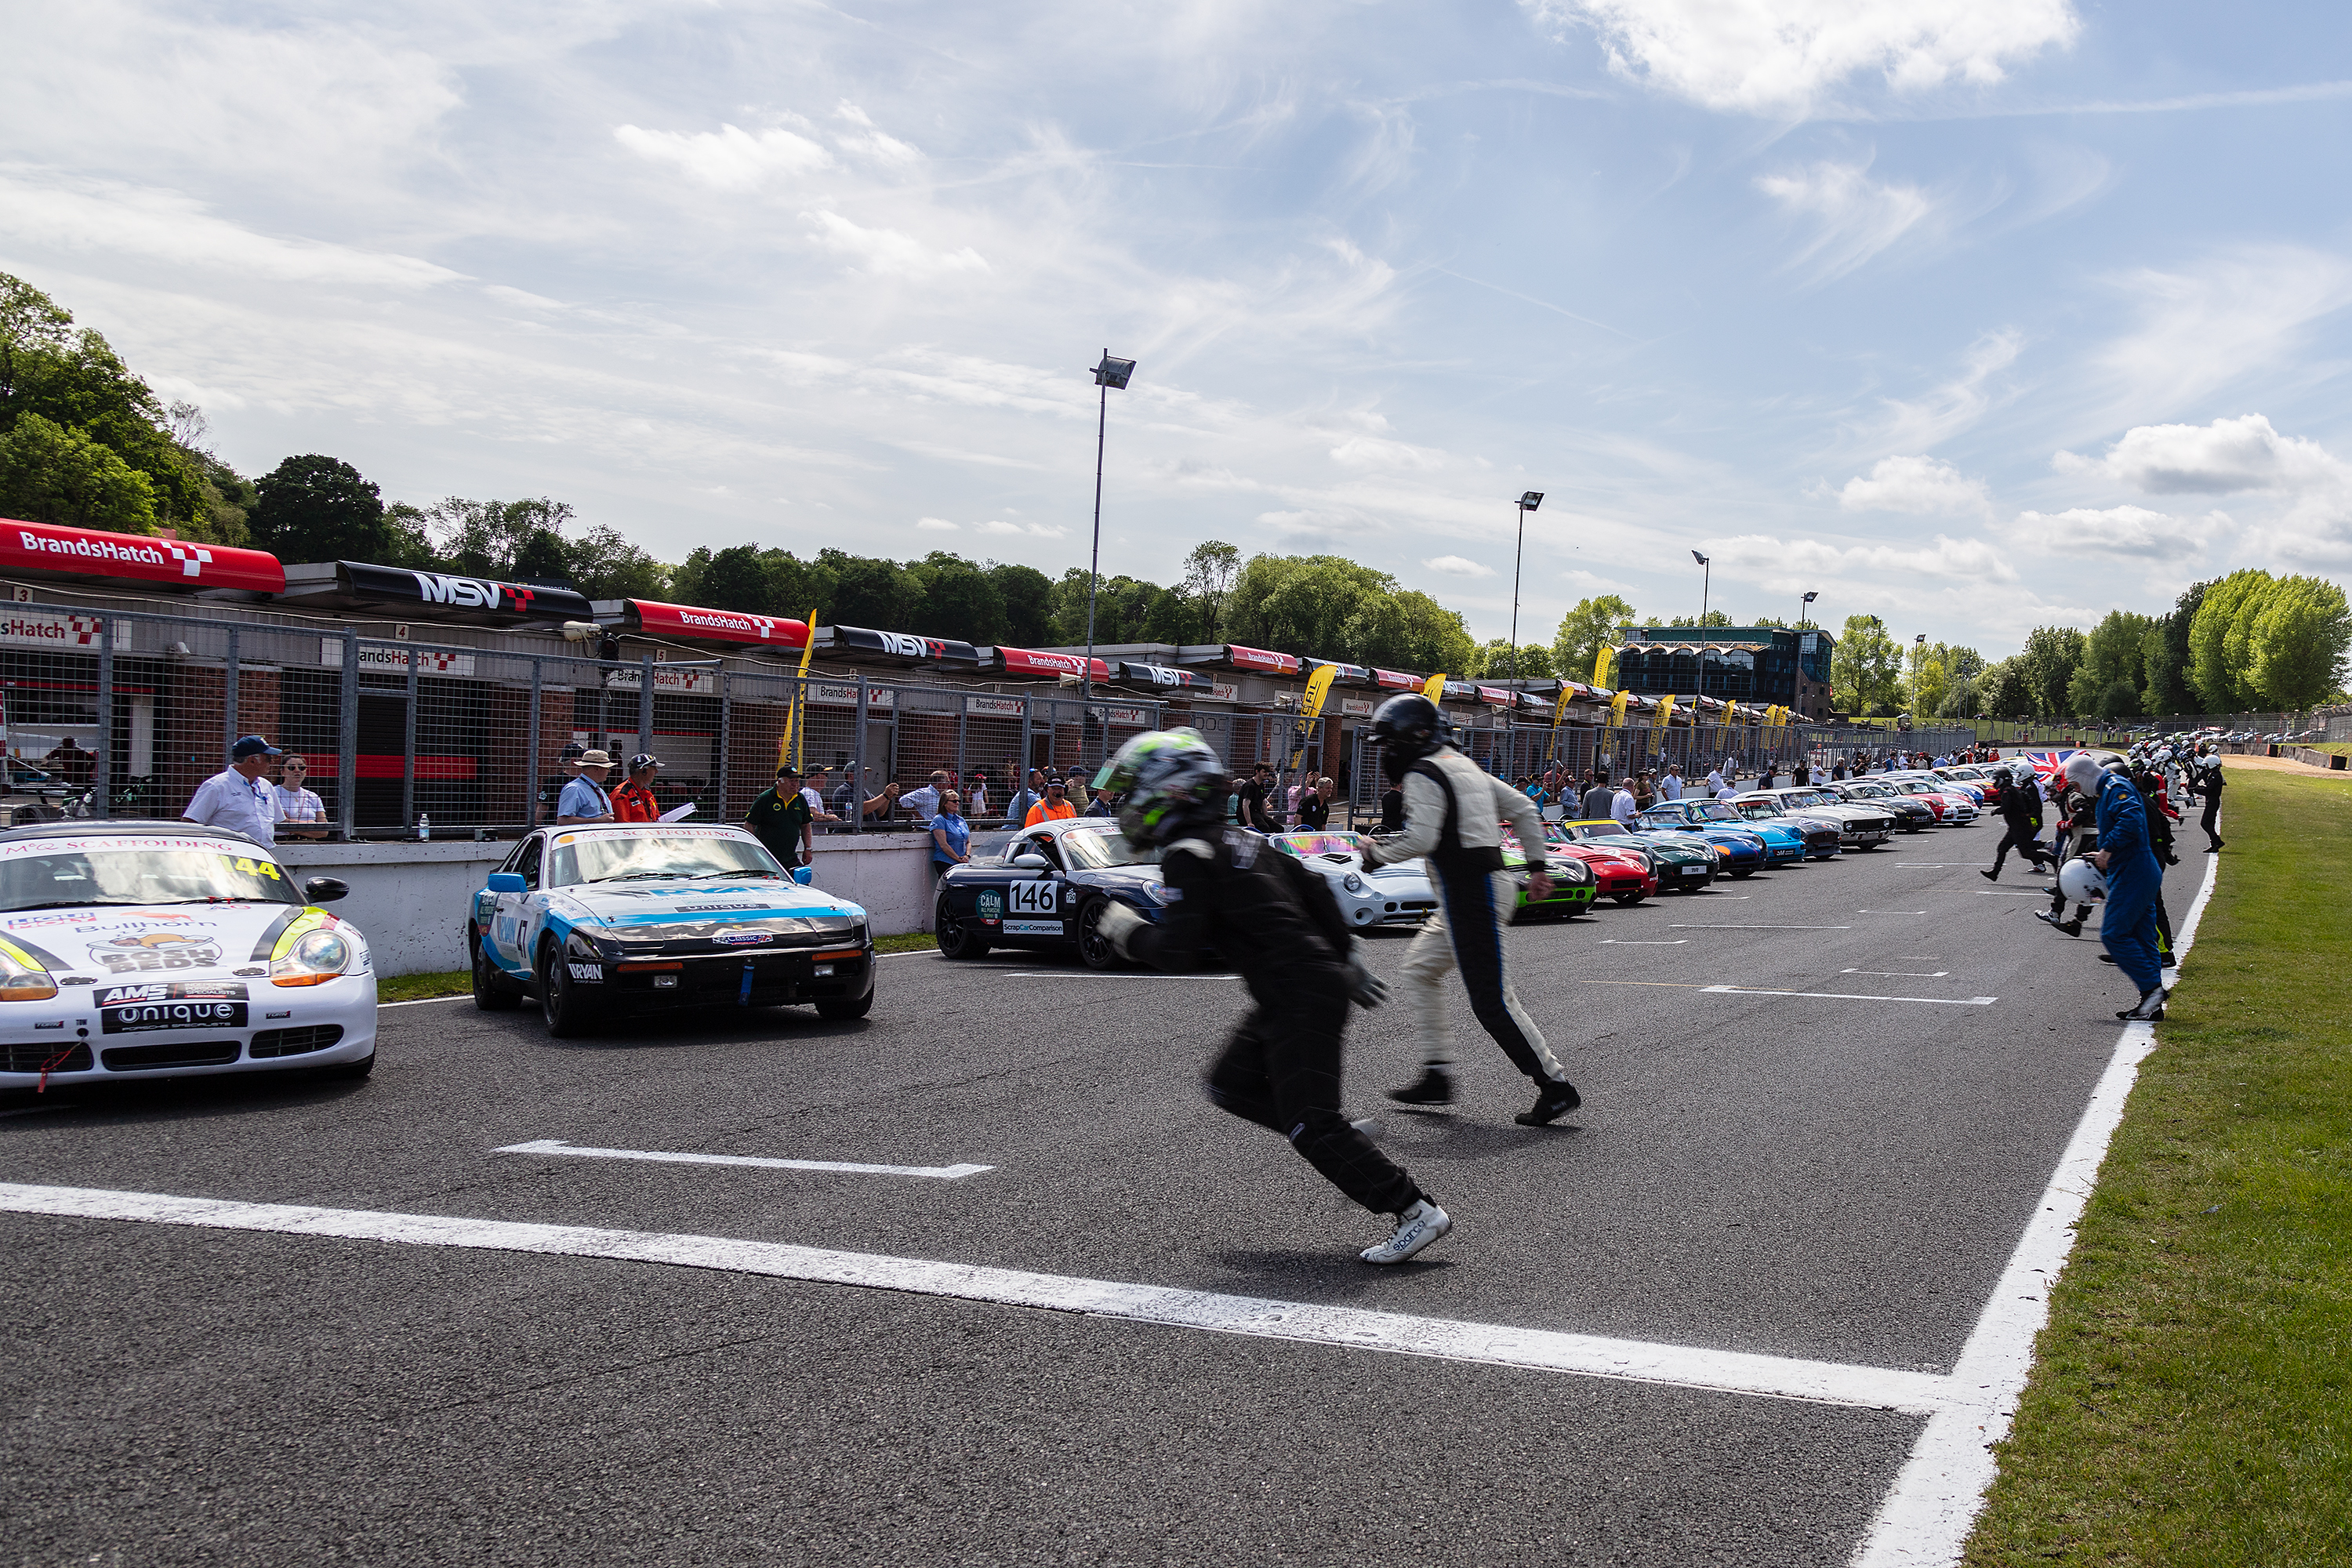
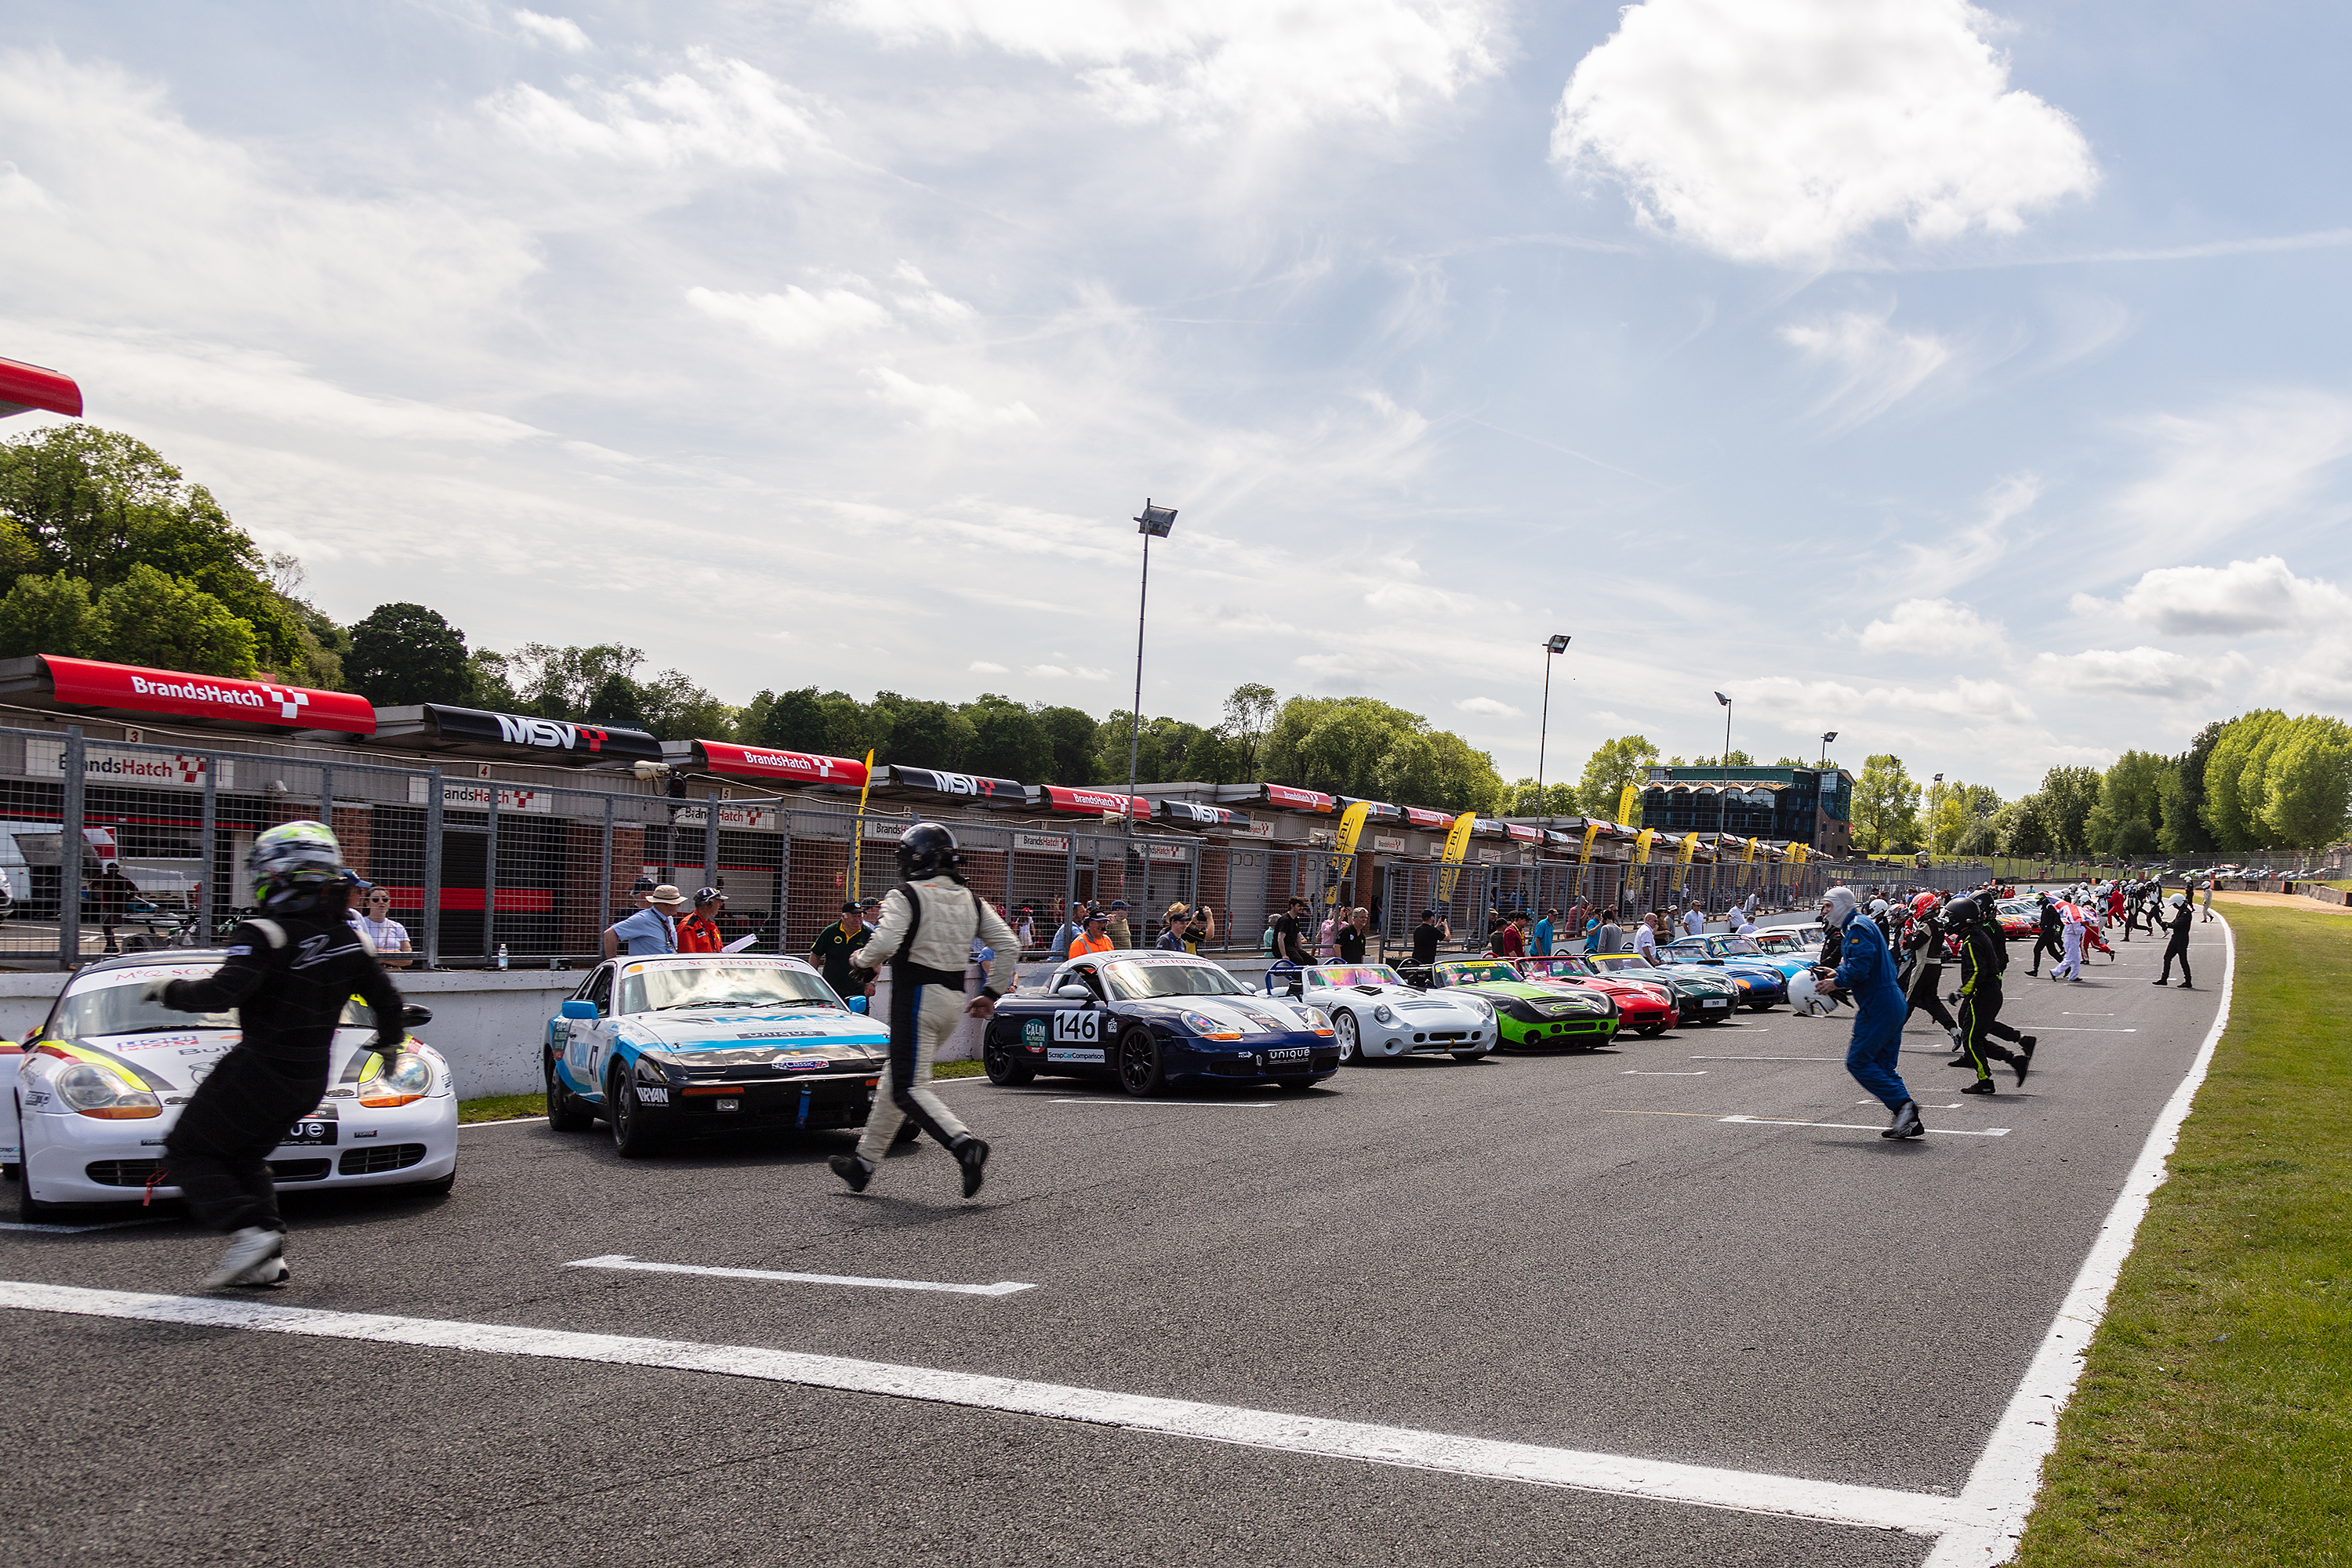
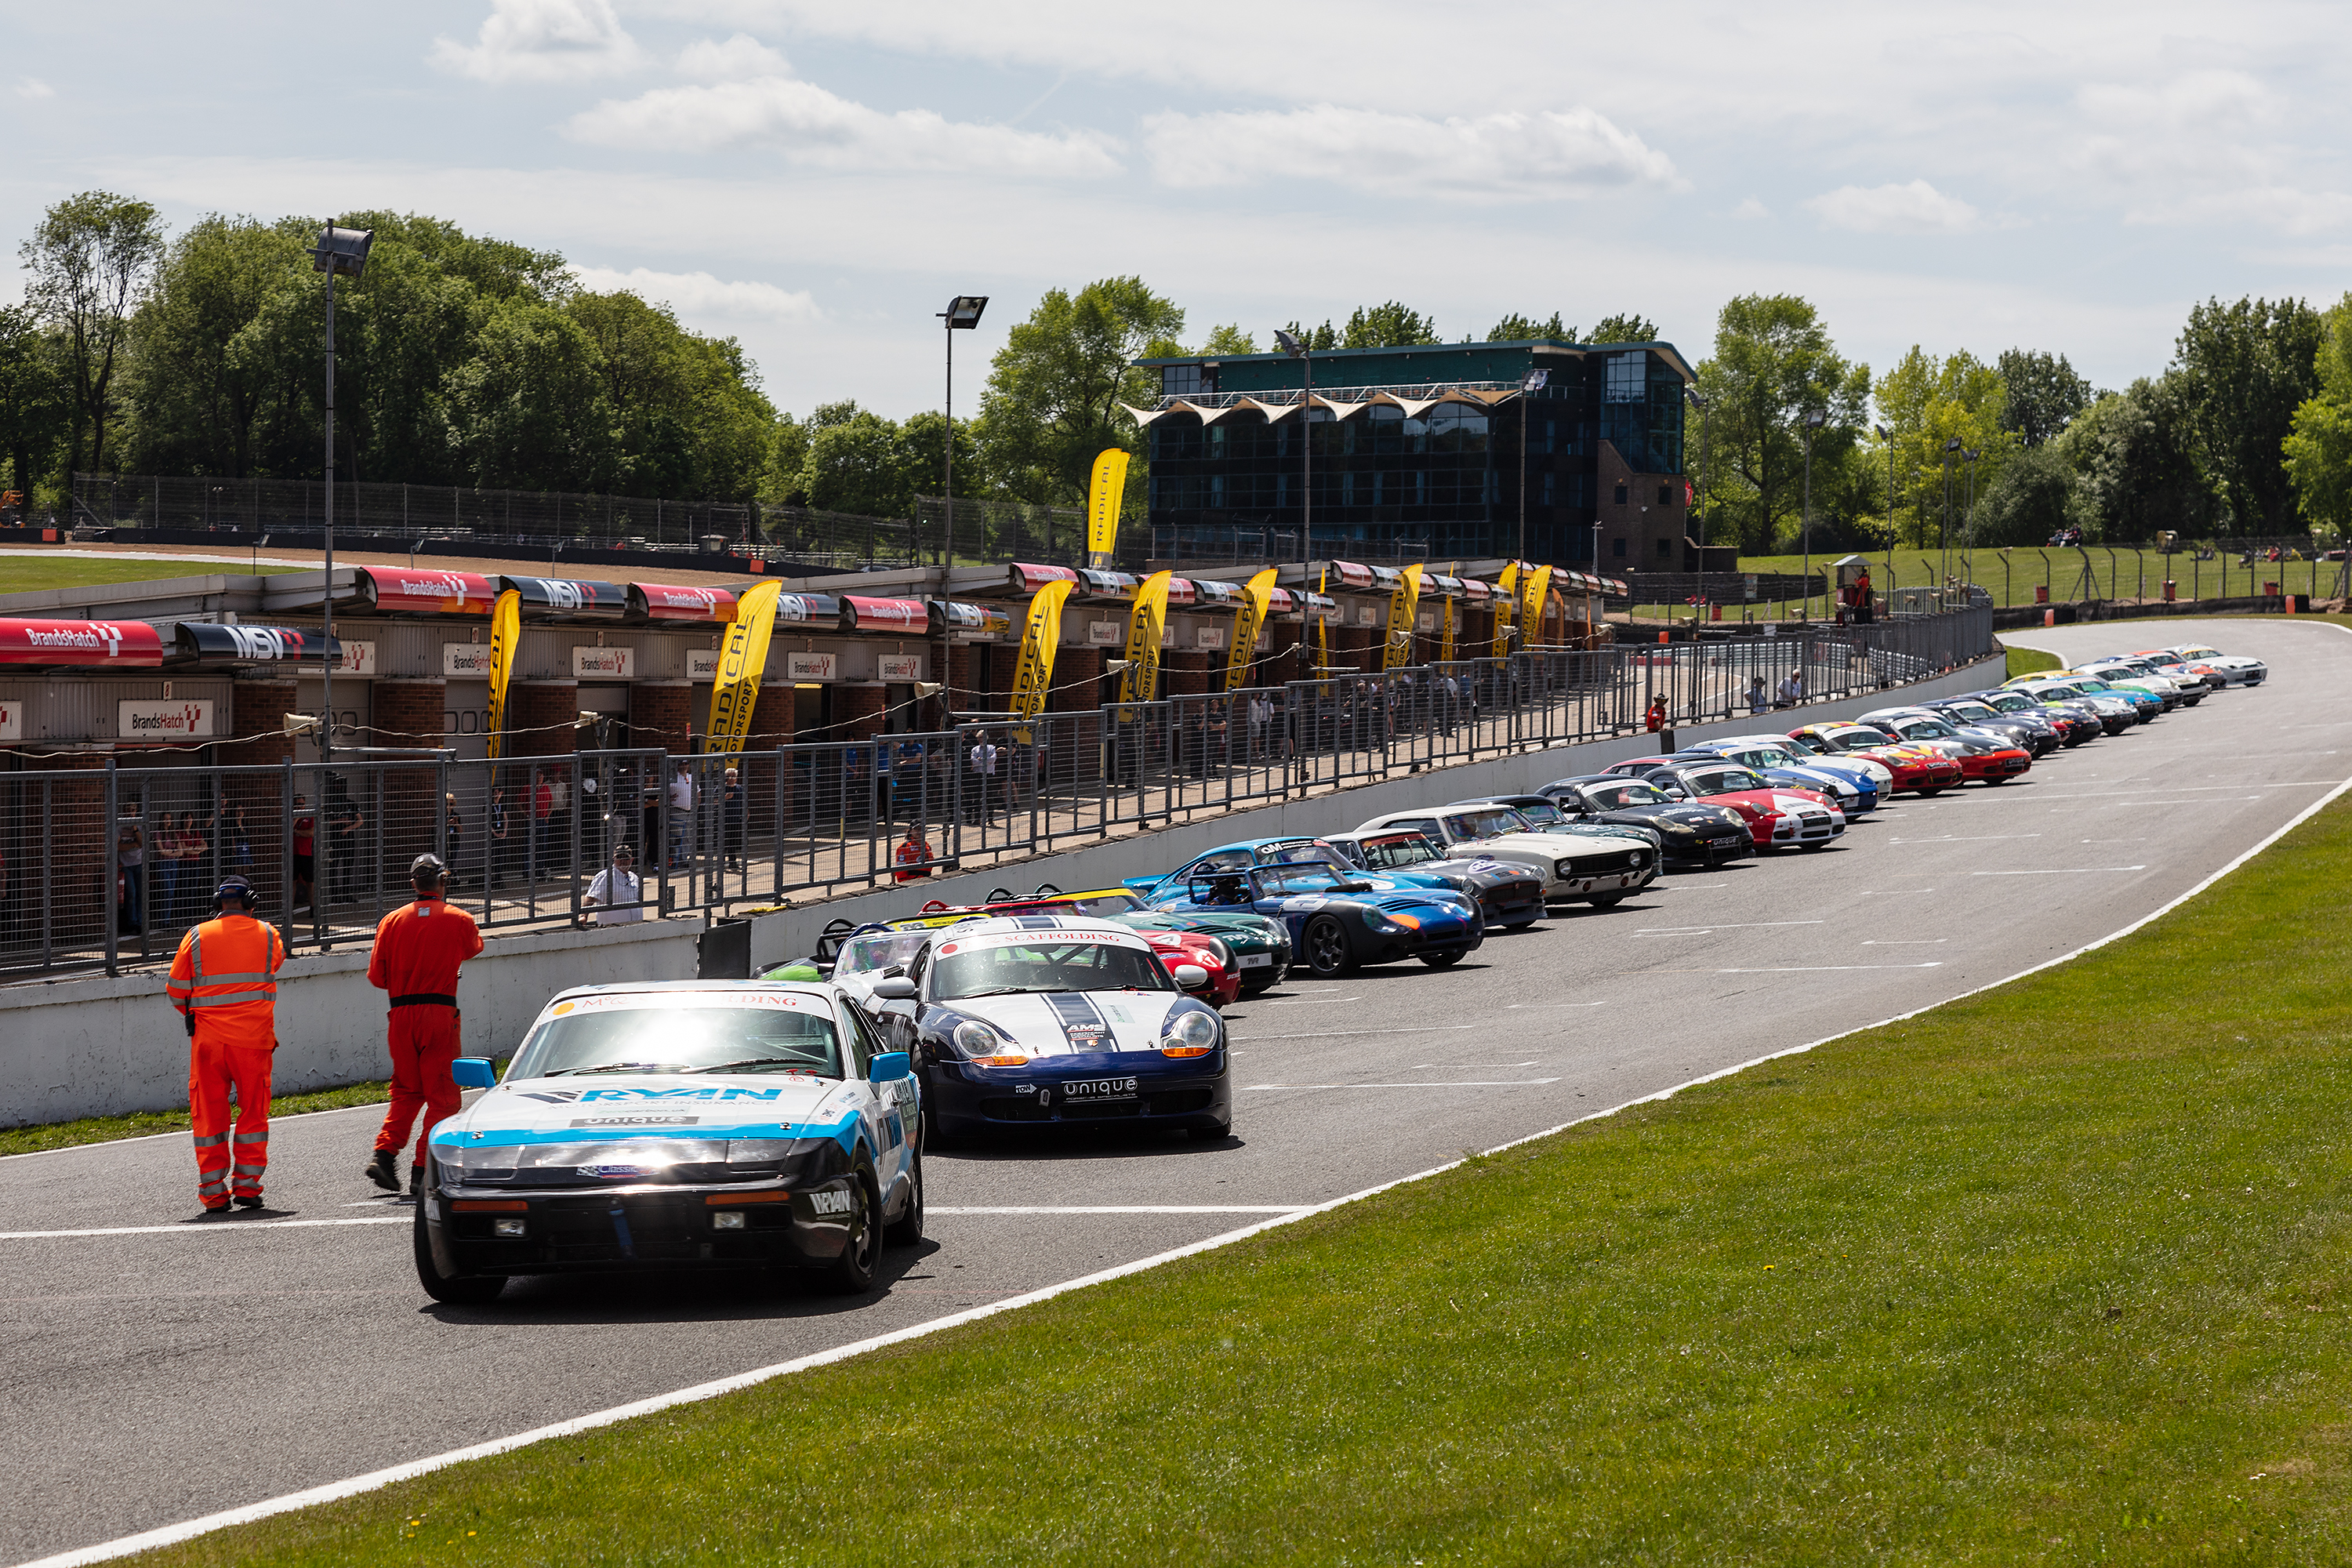
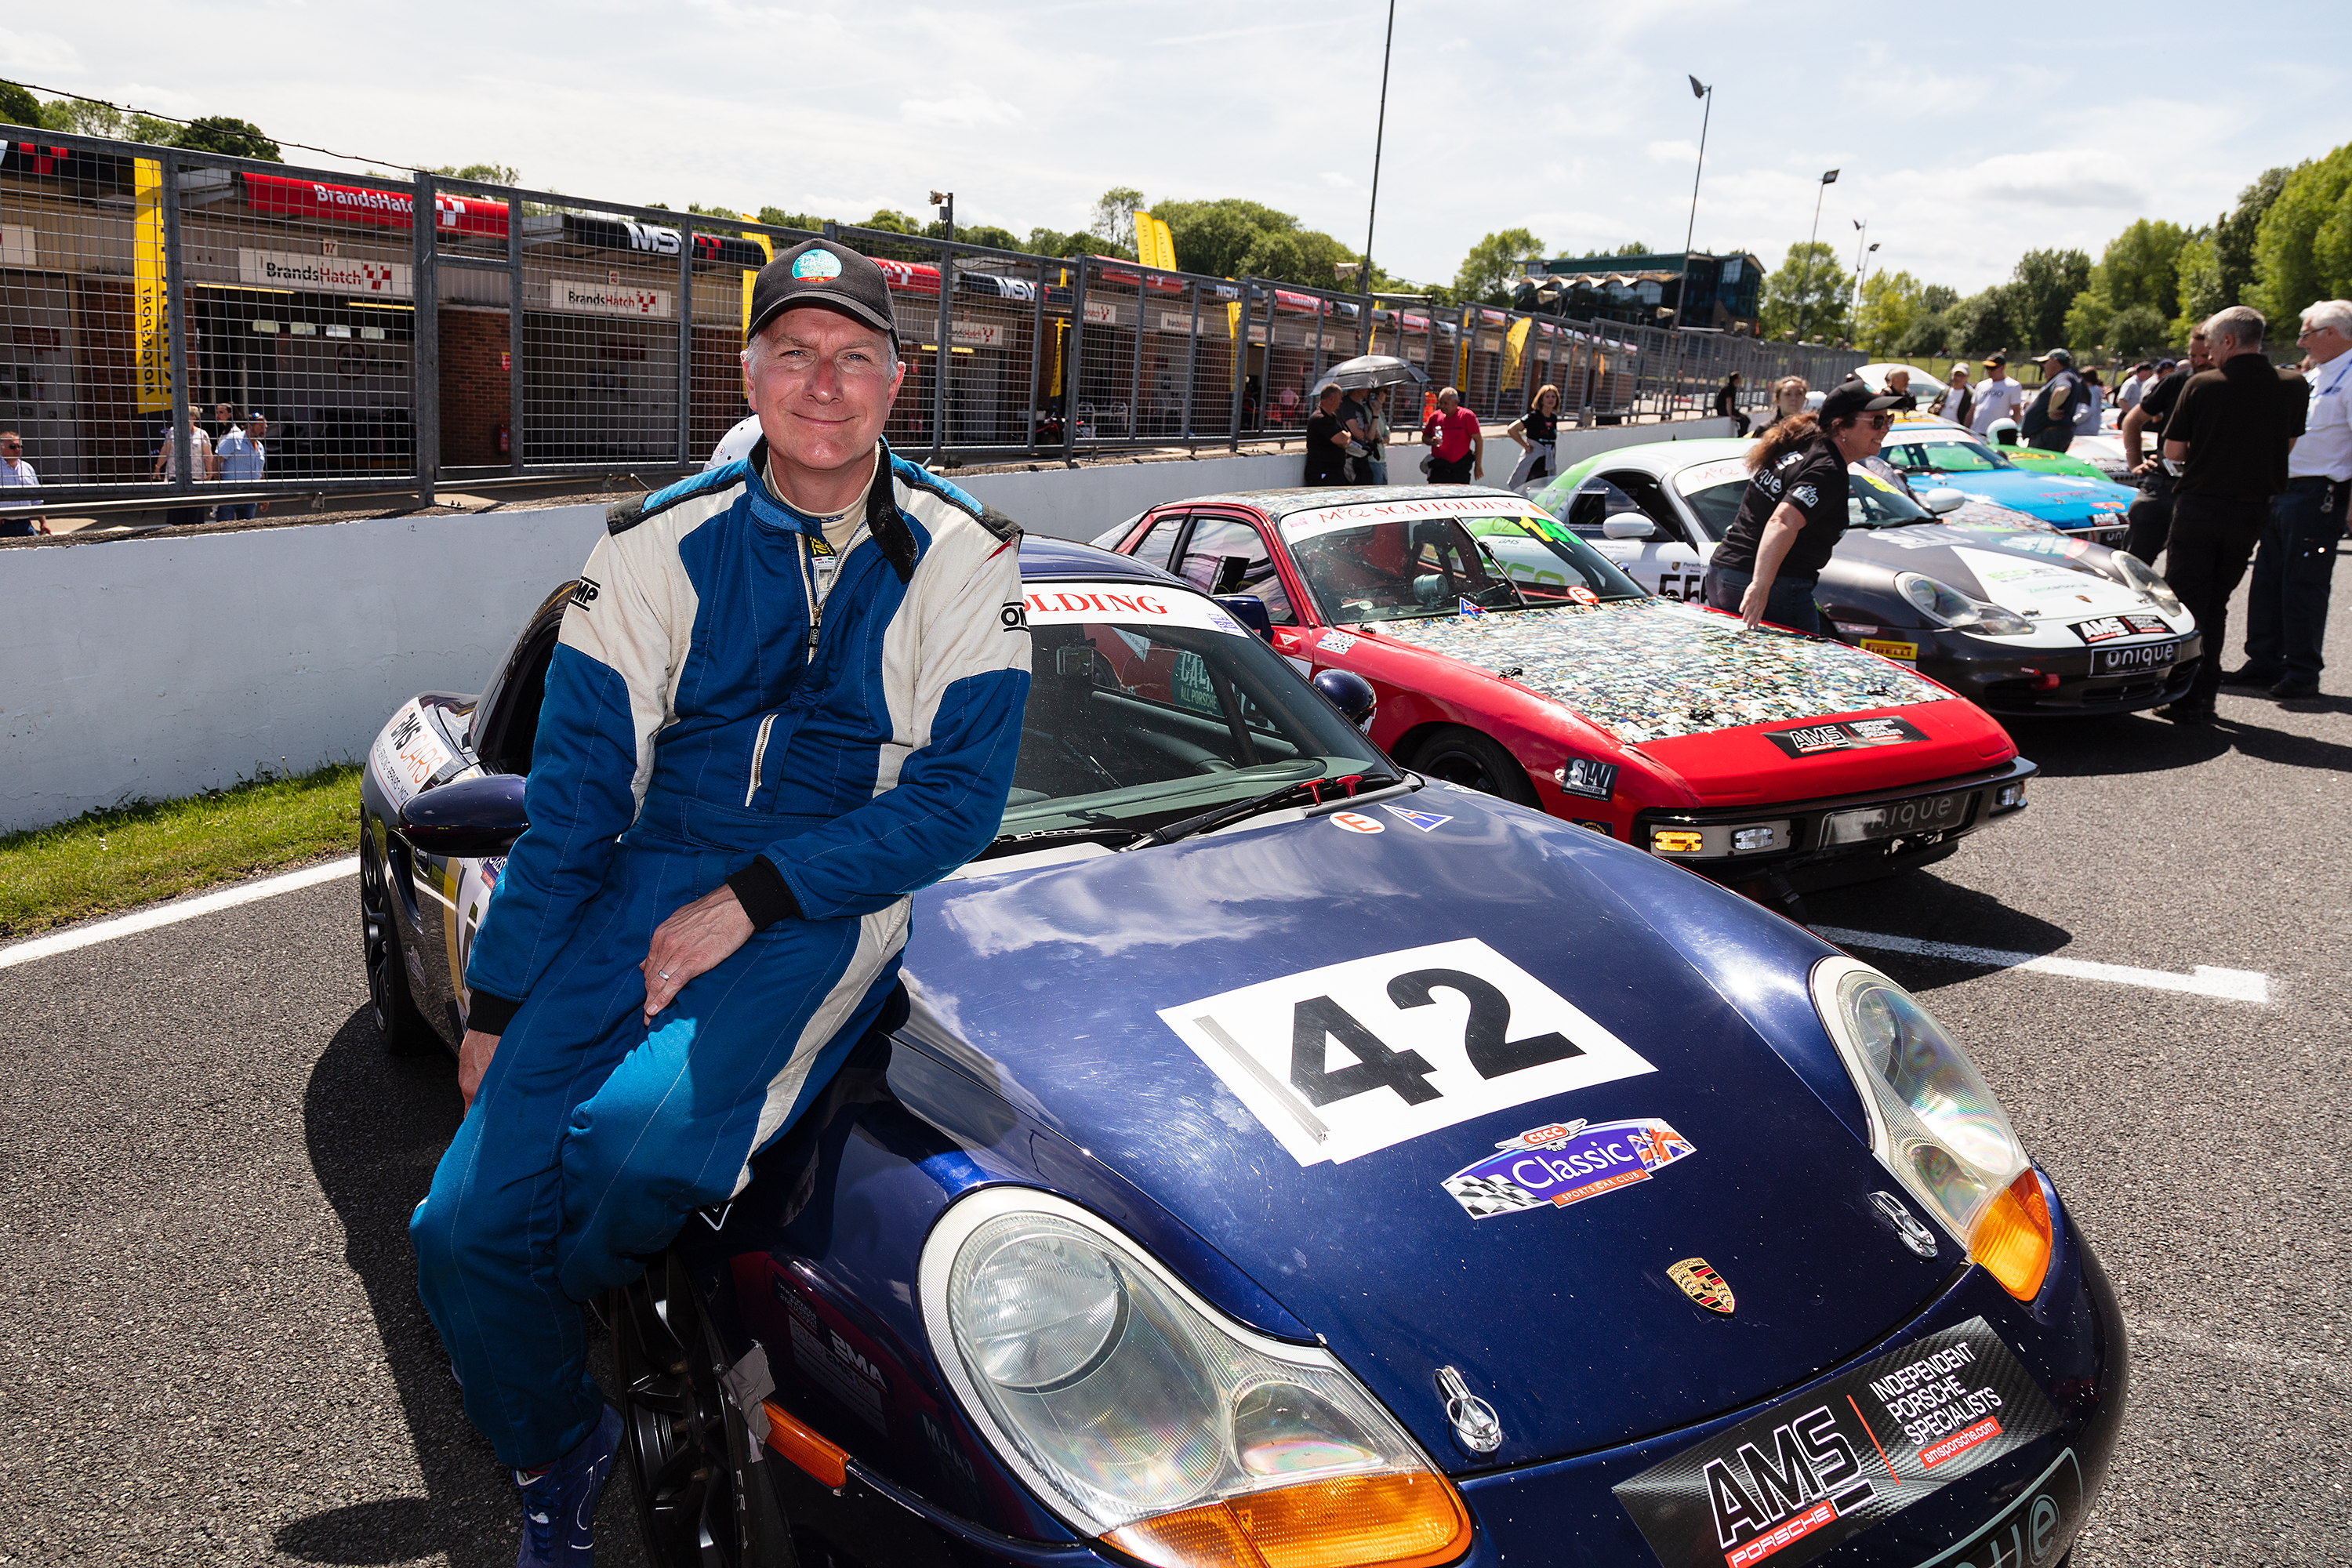
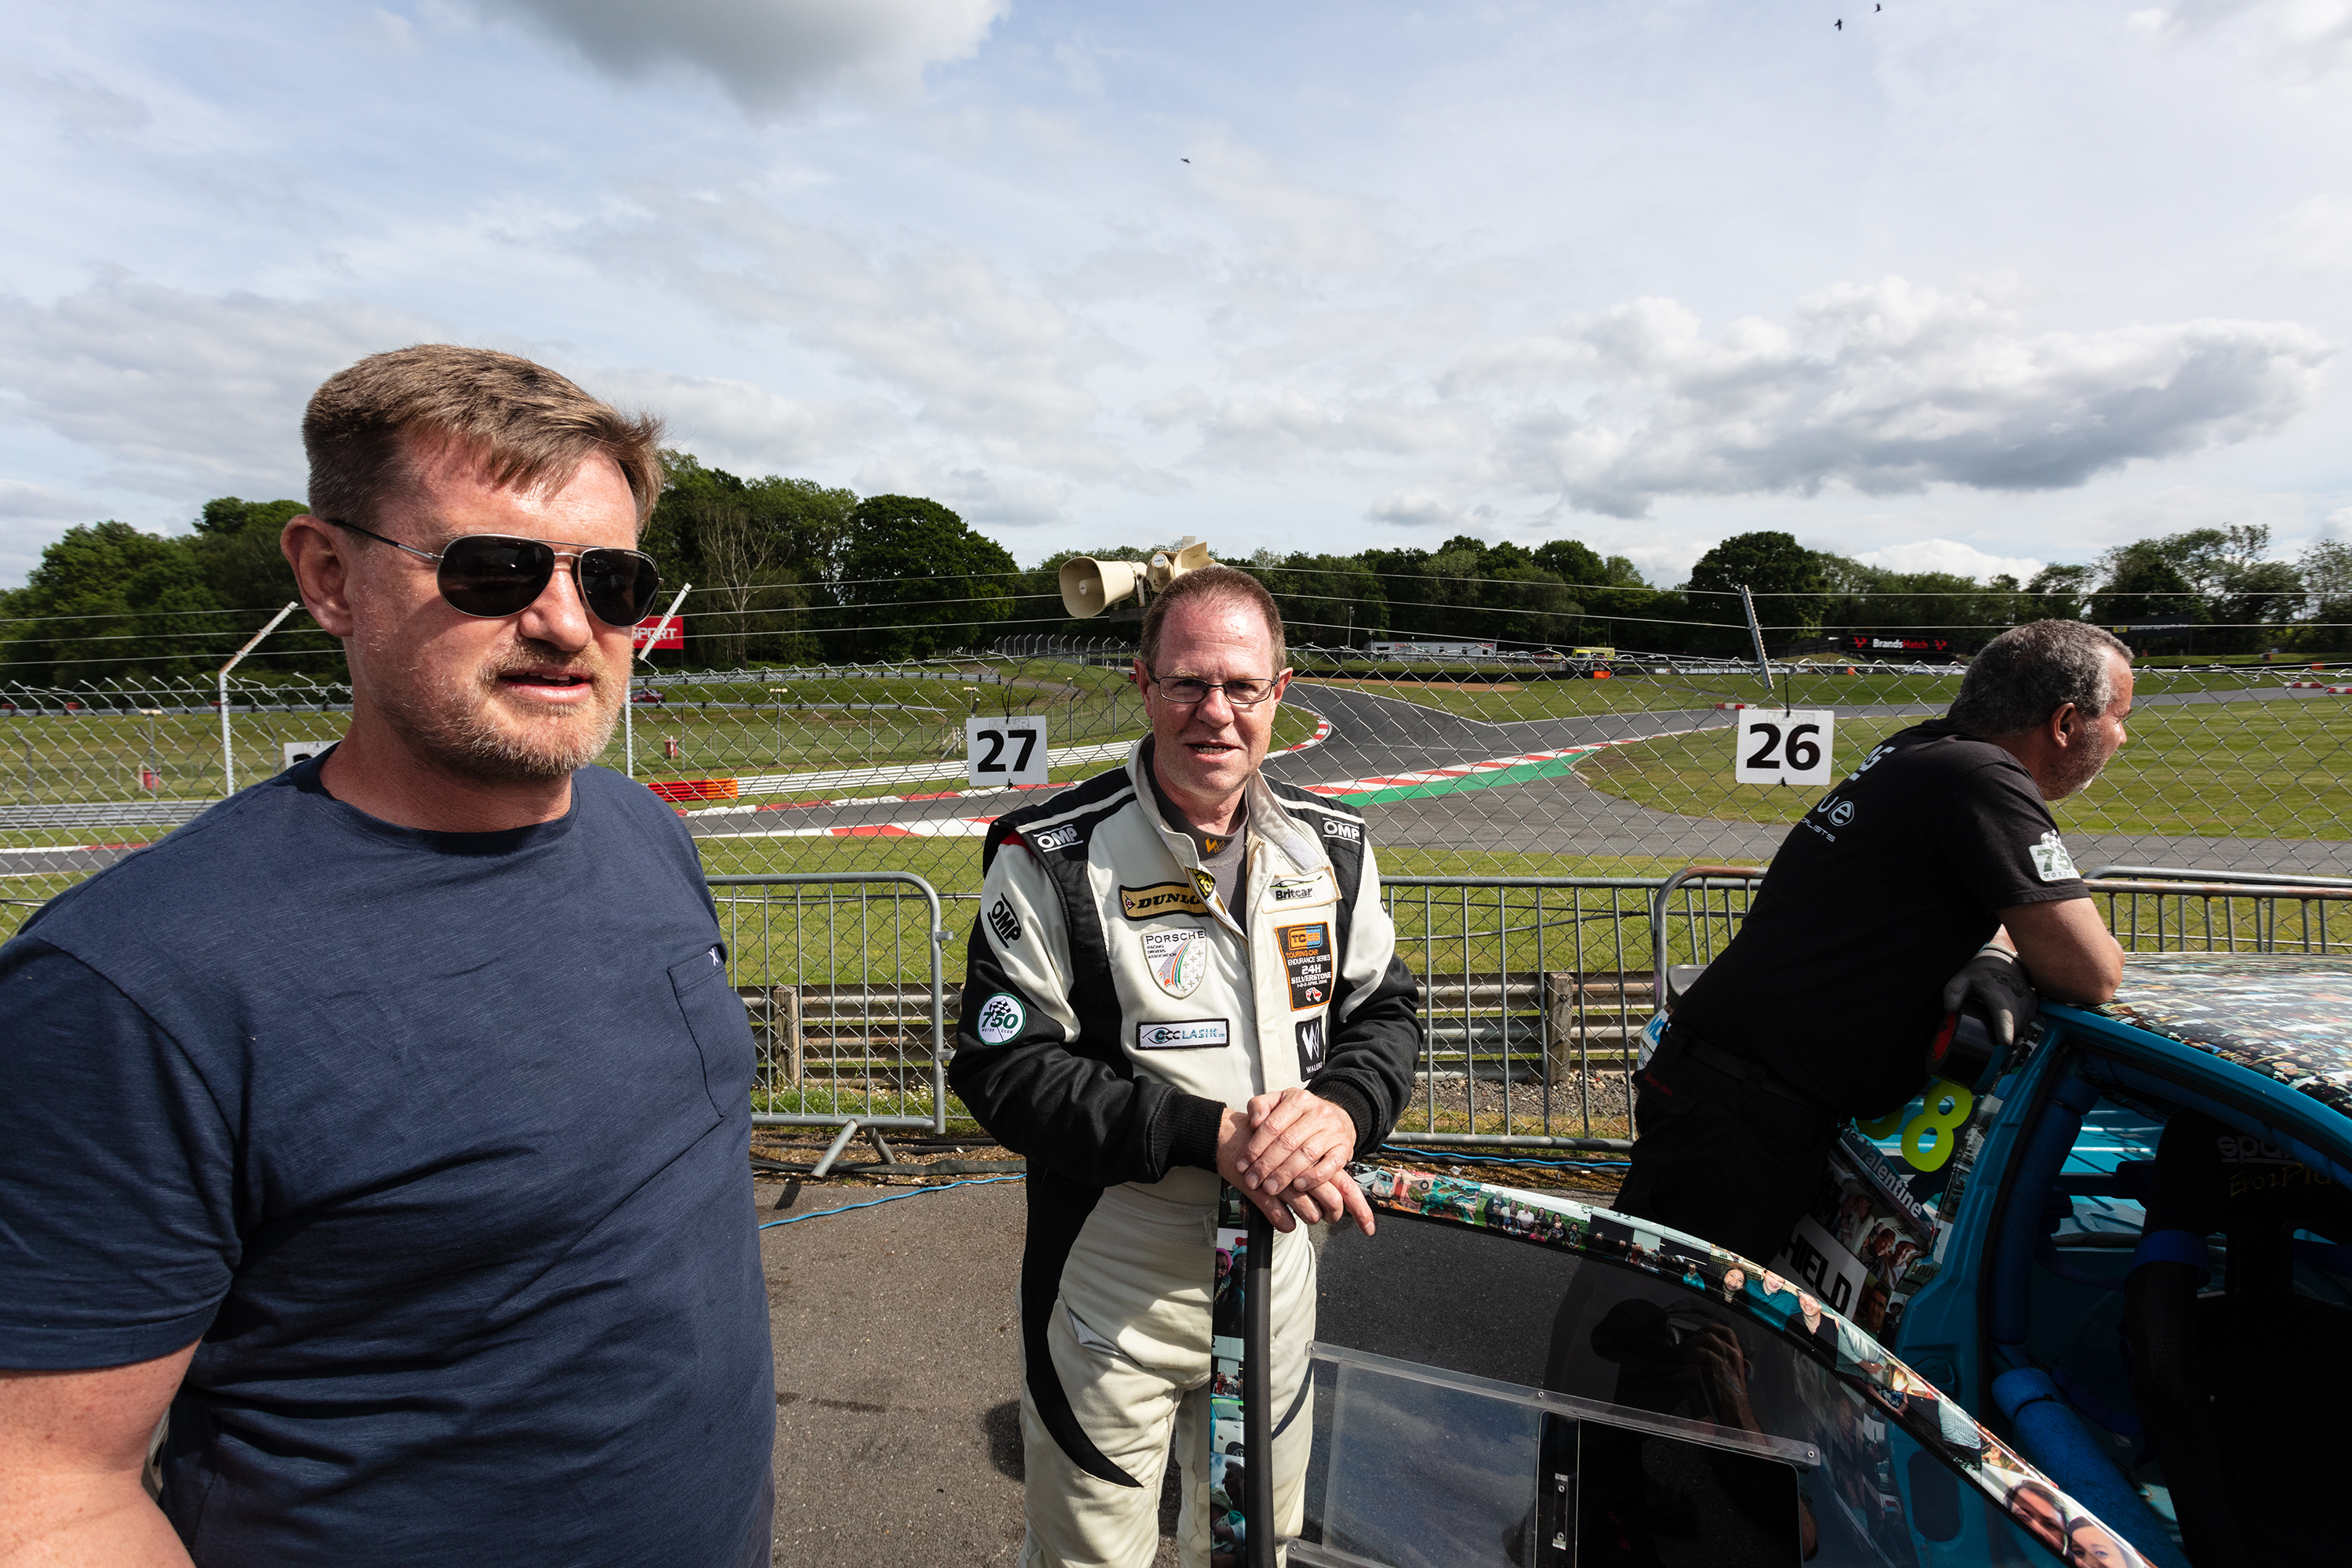
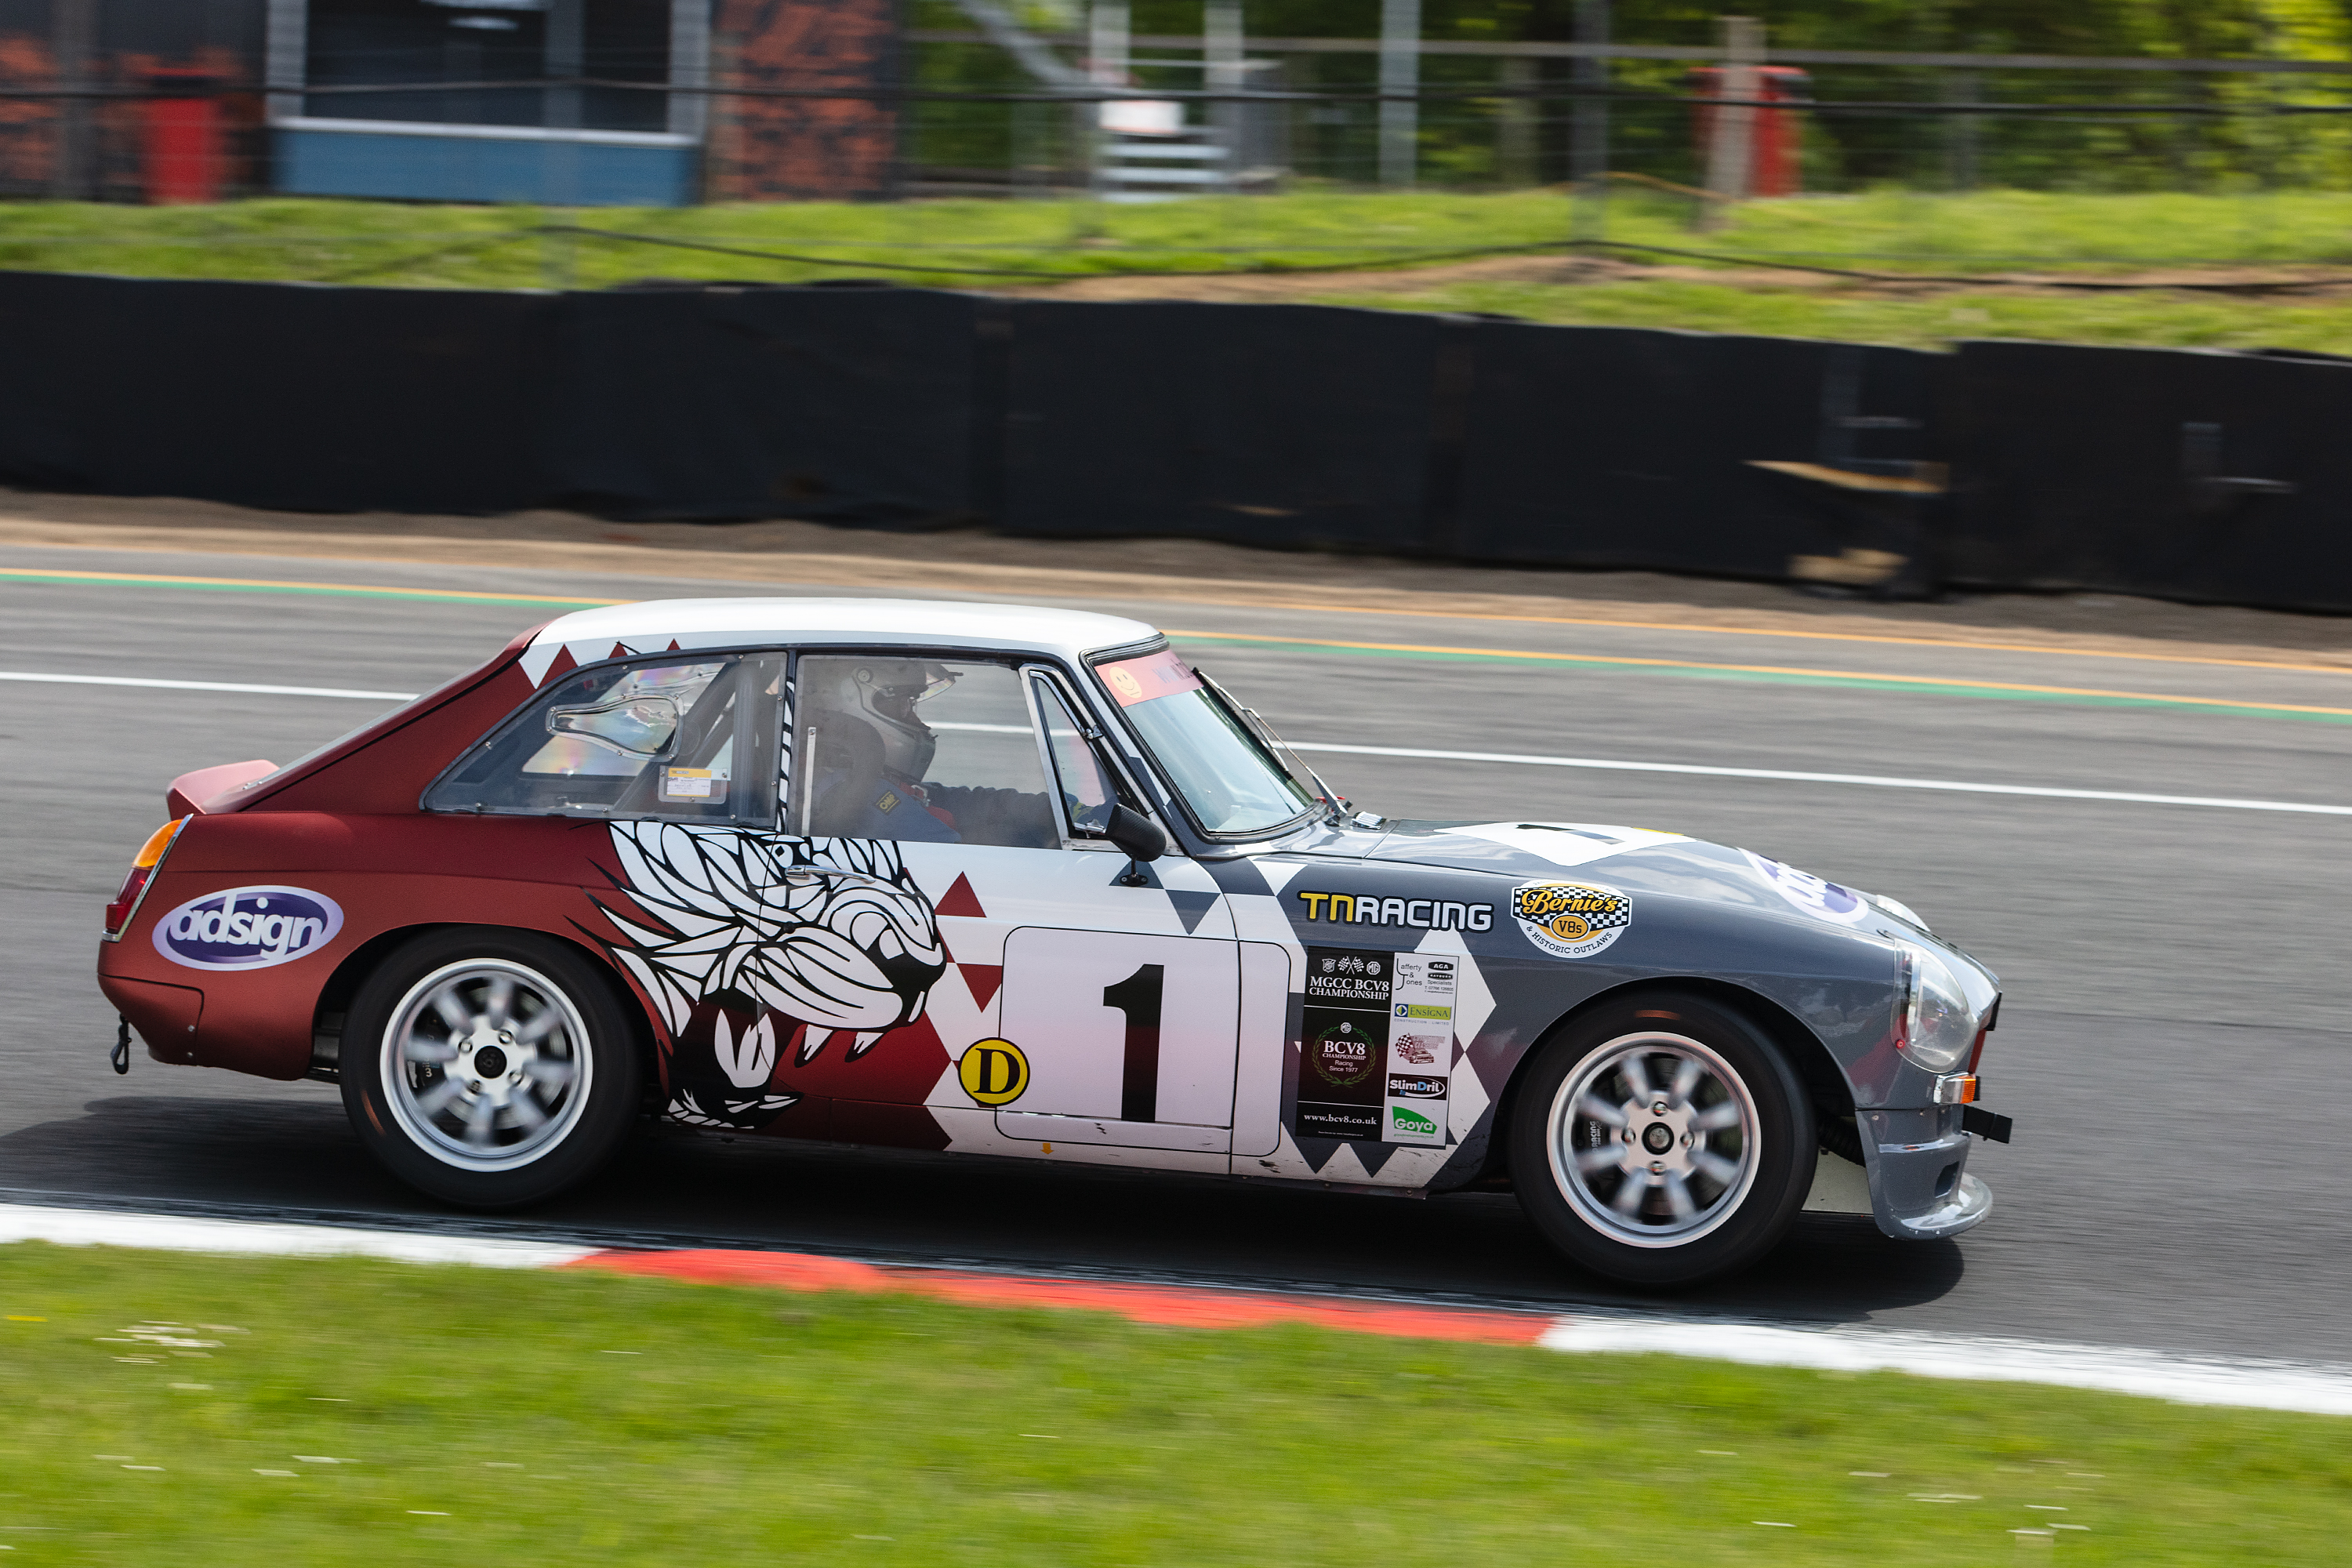
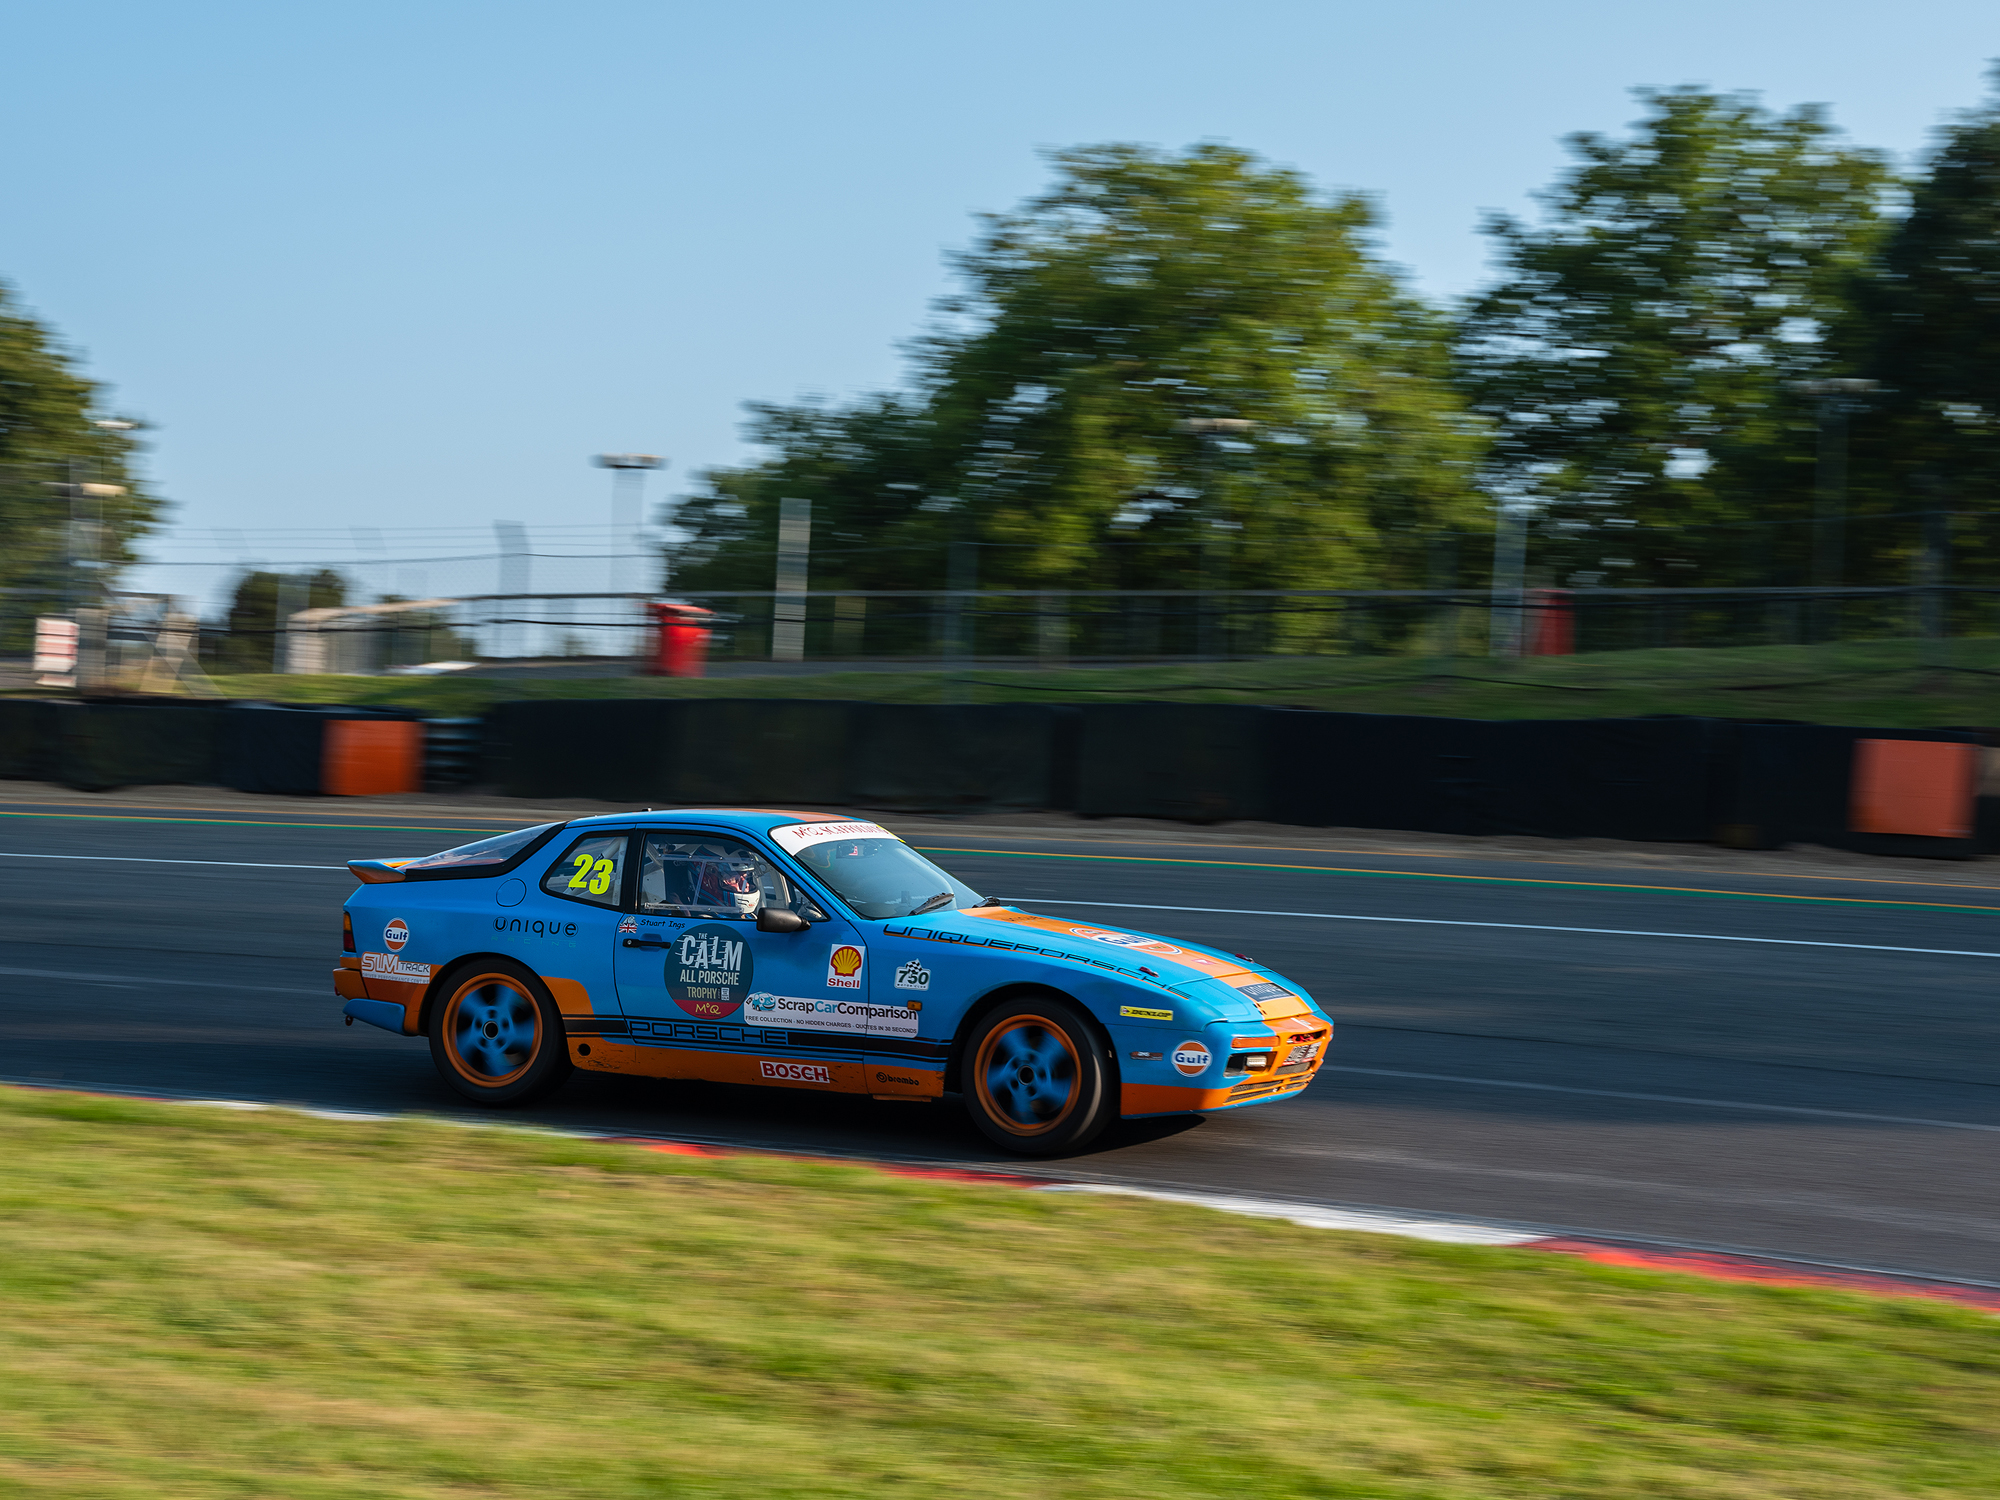
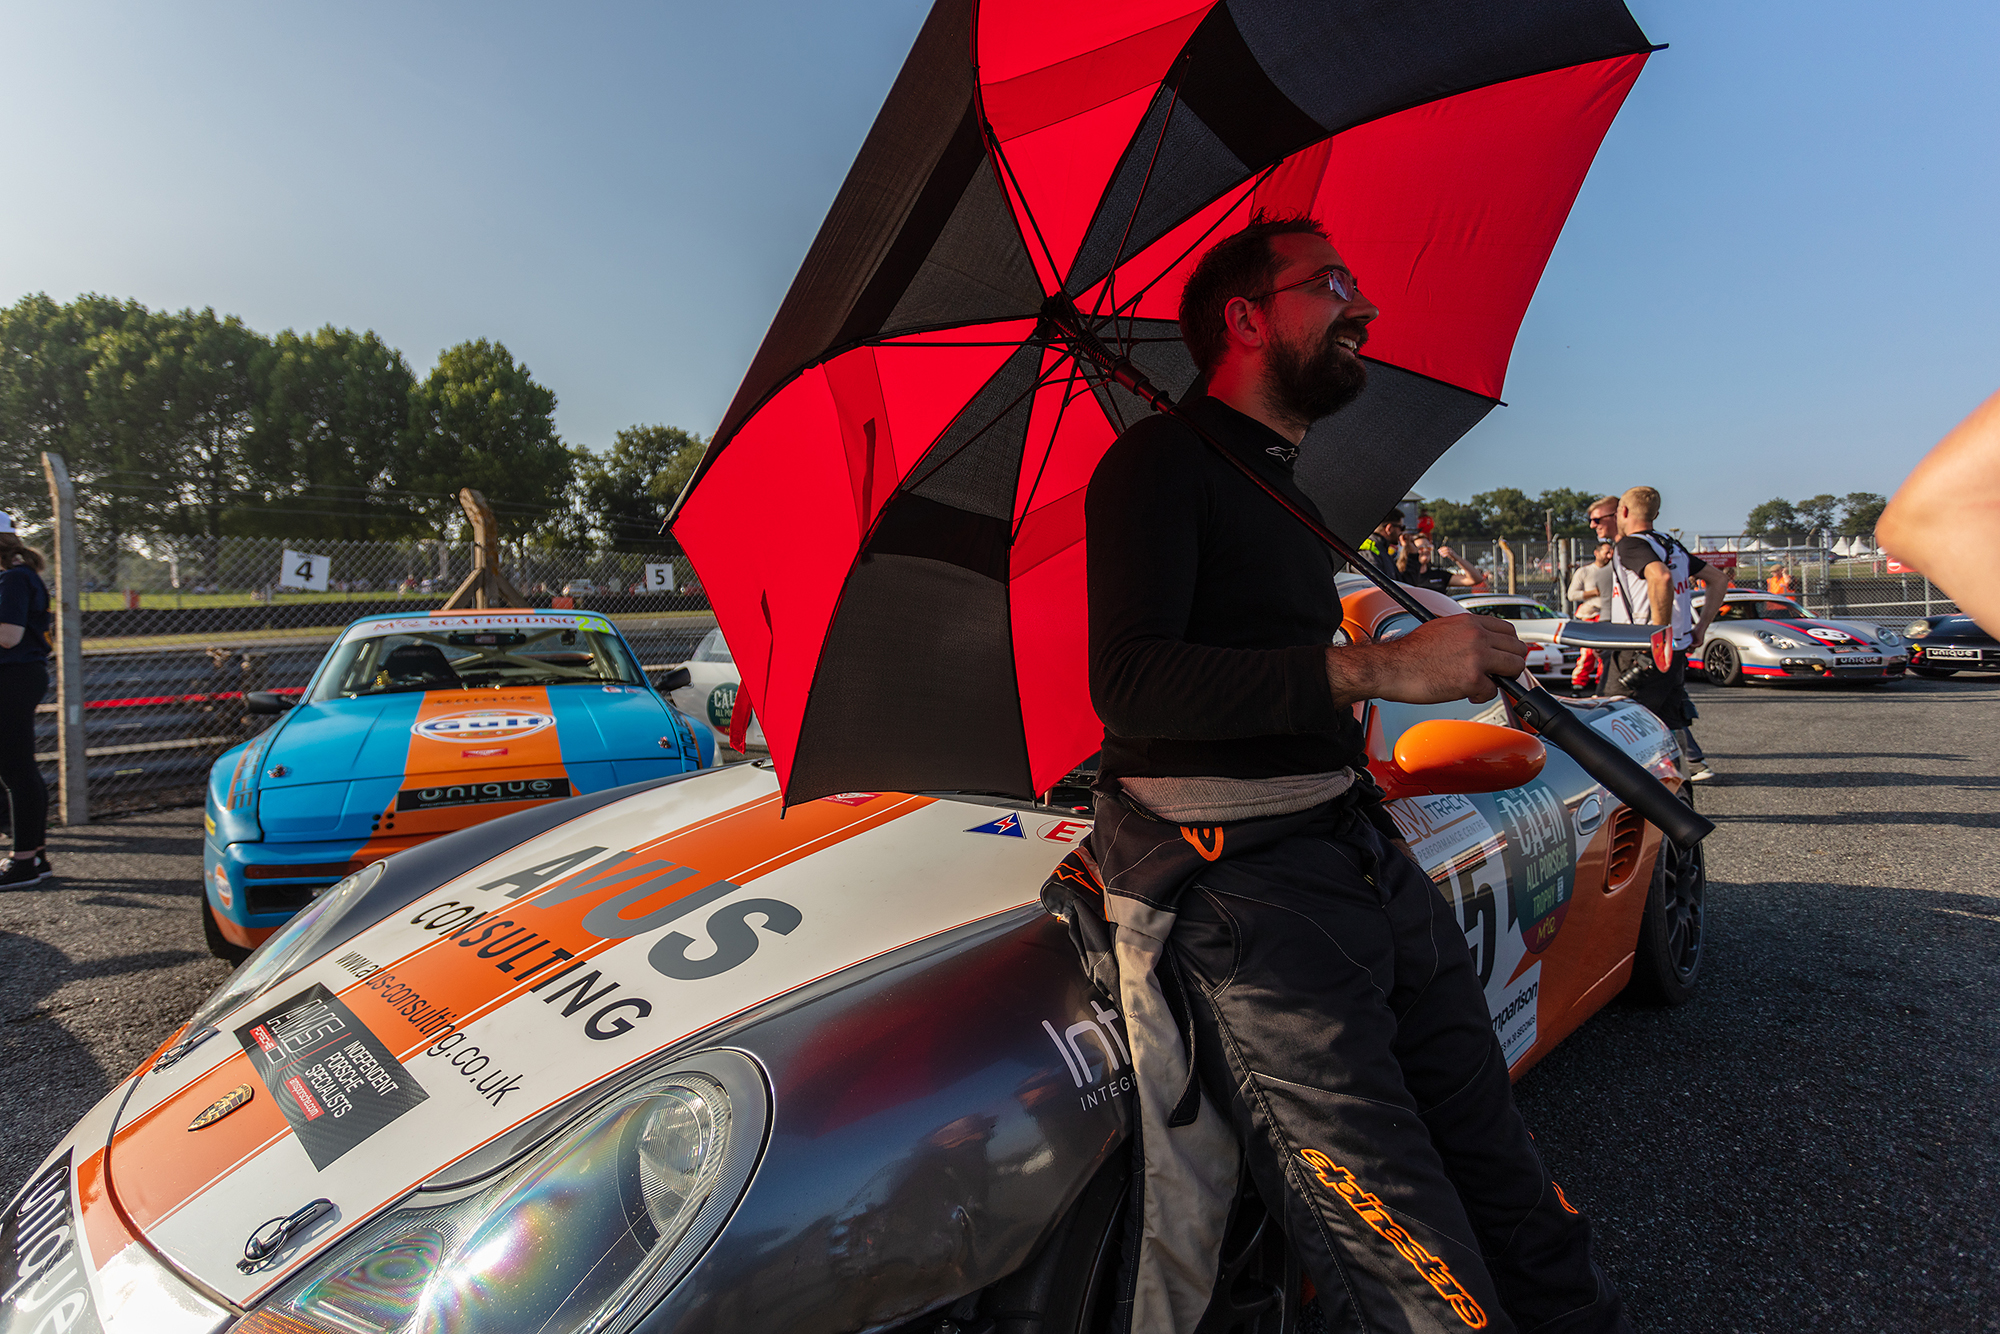
Calm All Porsche Trophy & Bernie´s V8s afternoon race , Brands Hatch GP, Saturday the 8th of July 2023
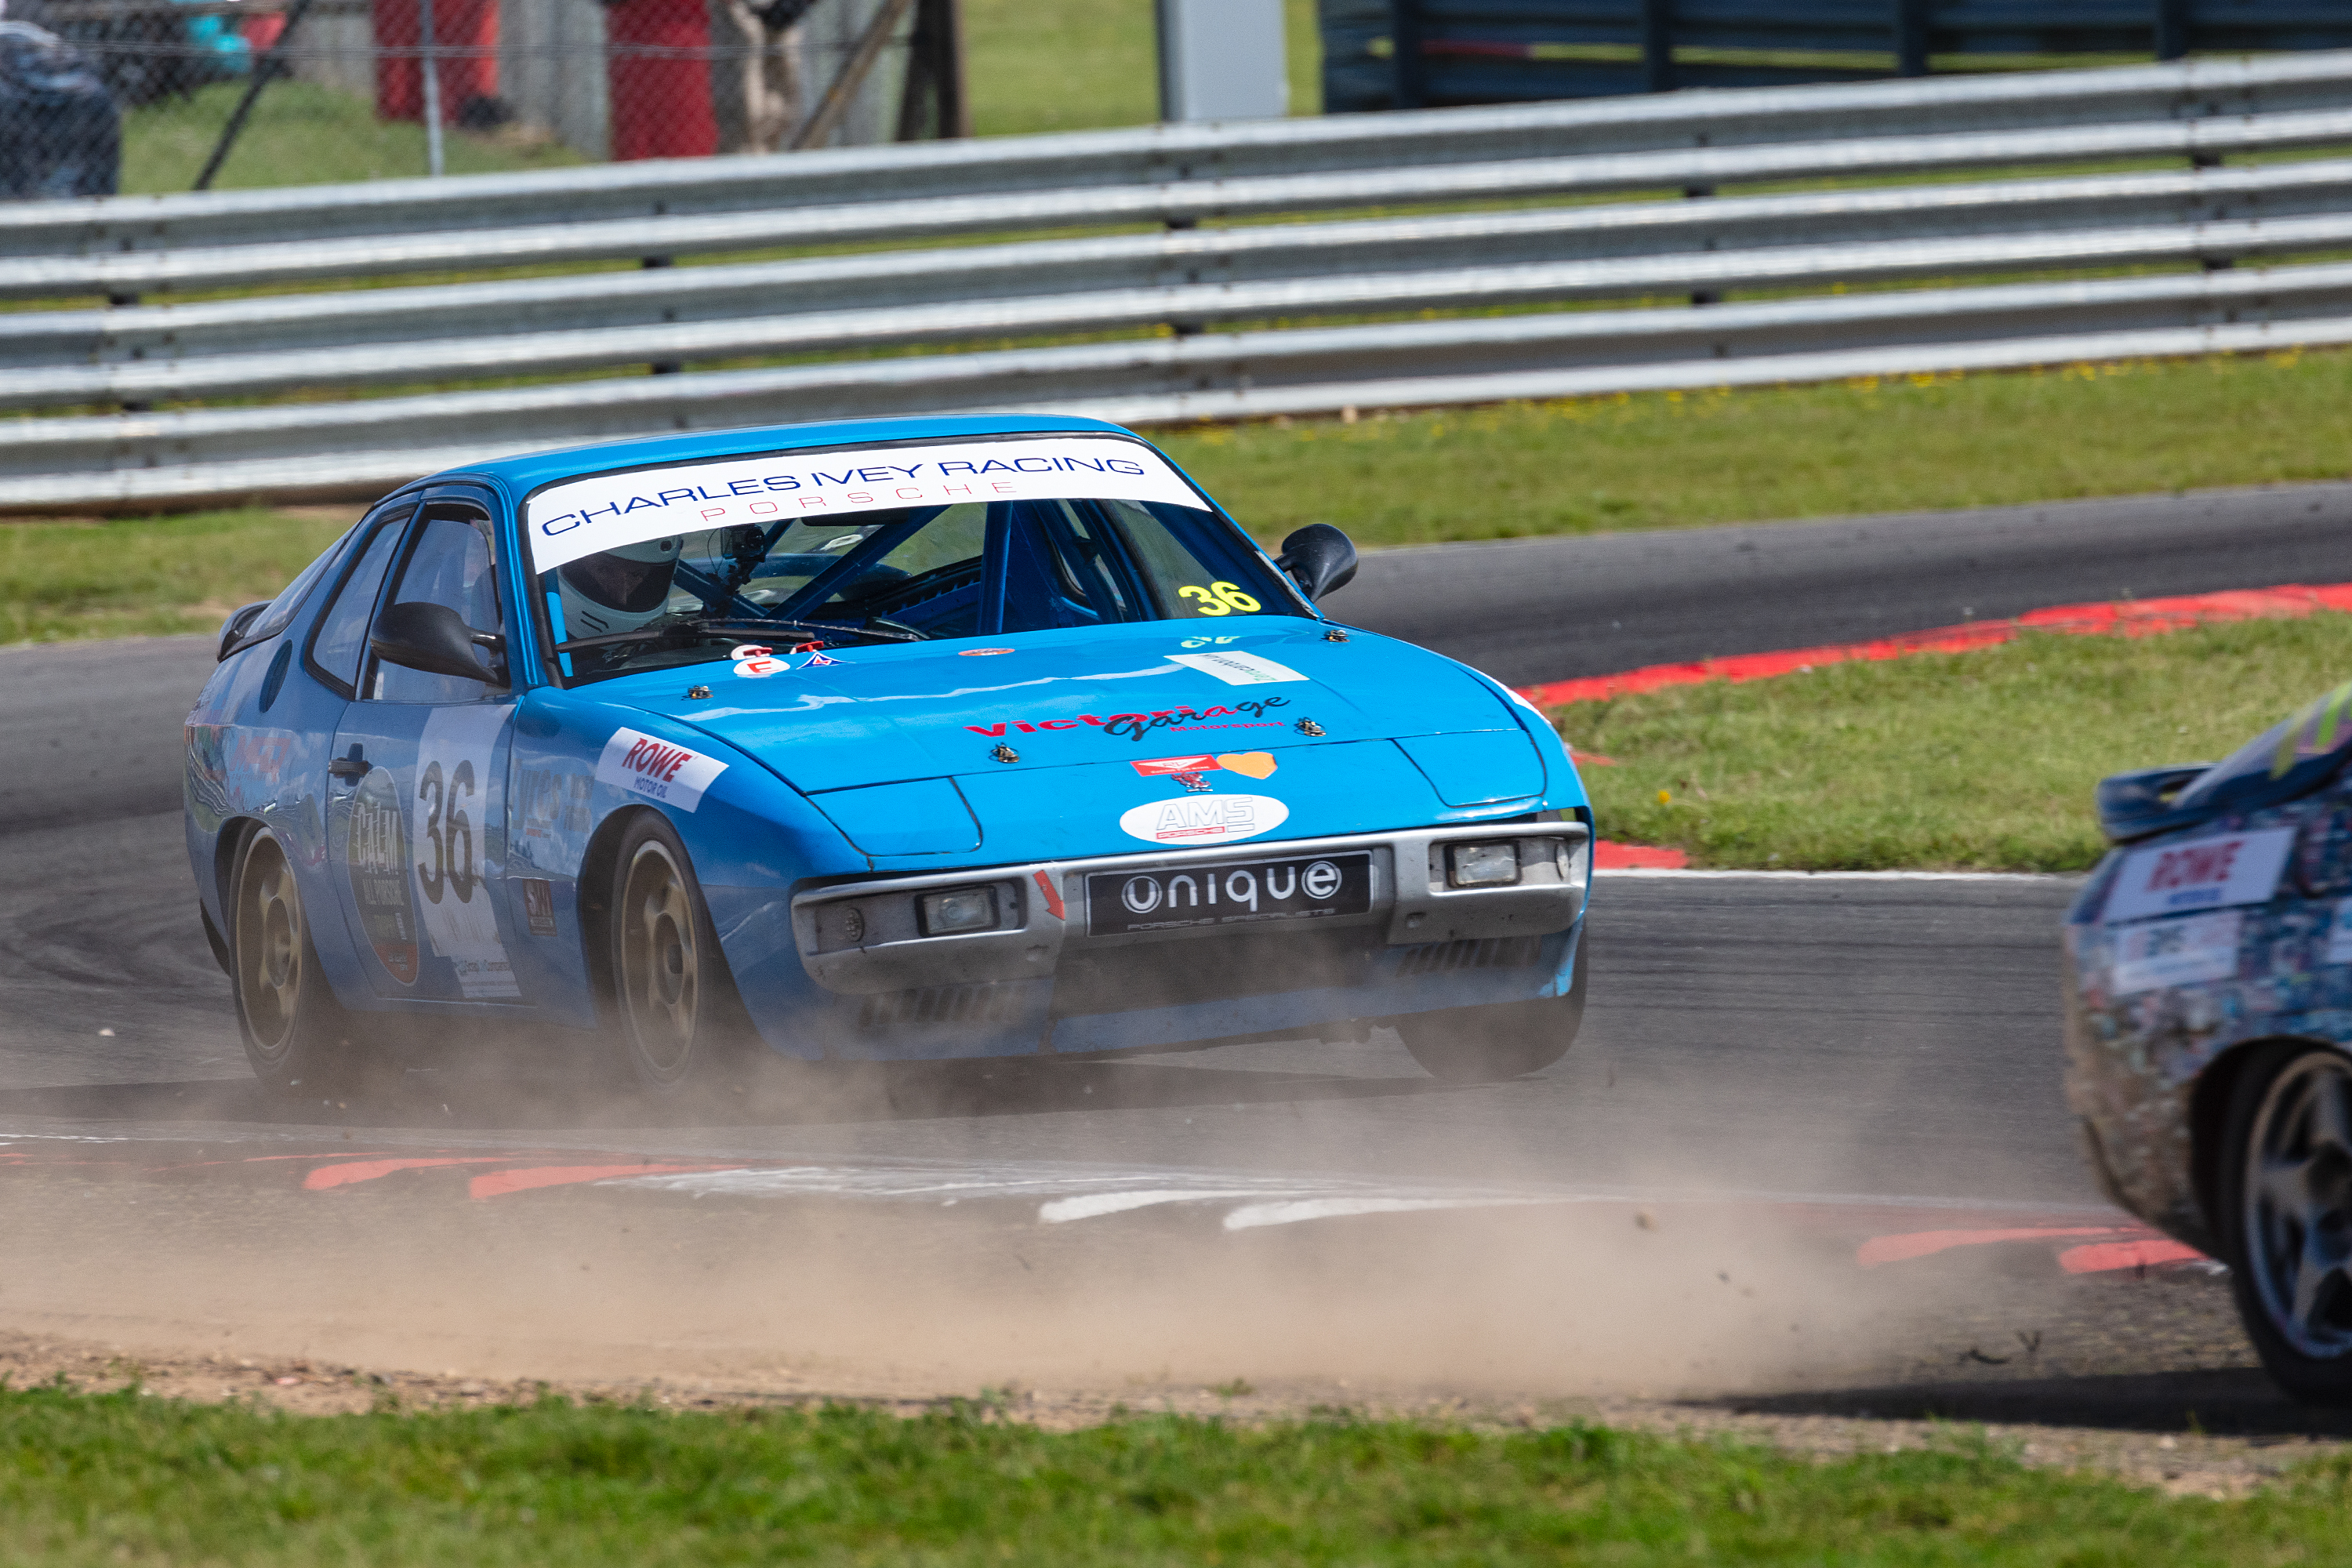
I was back at the Brands Hatch GP loop for the CALM All Porsche Trophy & Bernie’s V8s & Historic Outlaws for some great racing
The morning was wonderful, glorious sunshine, although the forcast later was for the possibility of local thunderstorms
Thankfully, it held off for the morning quali session
I’m always very keen to get the qualification covered at any race meeting, as there is always the chance that one or more of the cars wont make it to the start line for whatever reason
Just before assembly the rain started, although, with no thunder & lightning
I didnt hang around too long, I dont do water you see!
Luckily the rain stopped after 15 minutes or so, making racing conditions a little easier
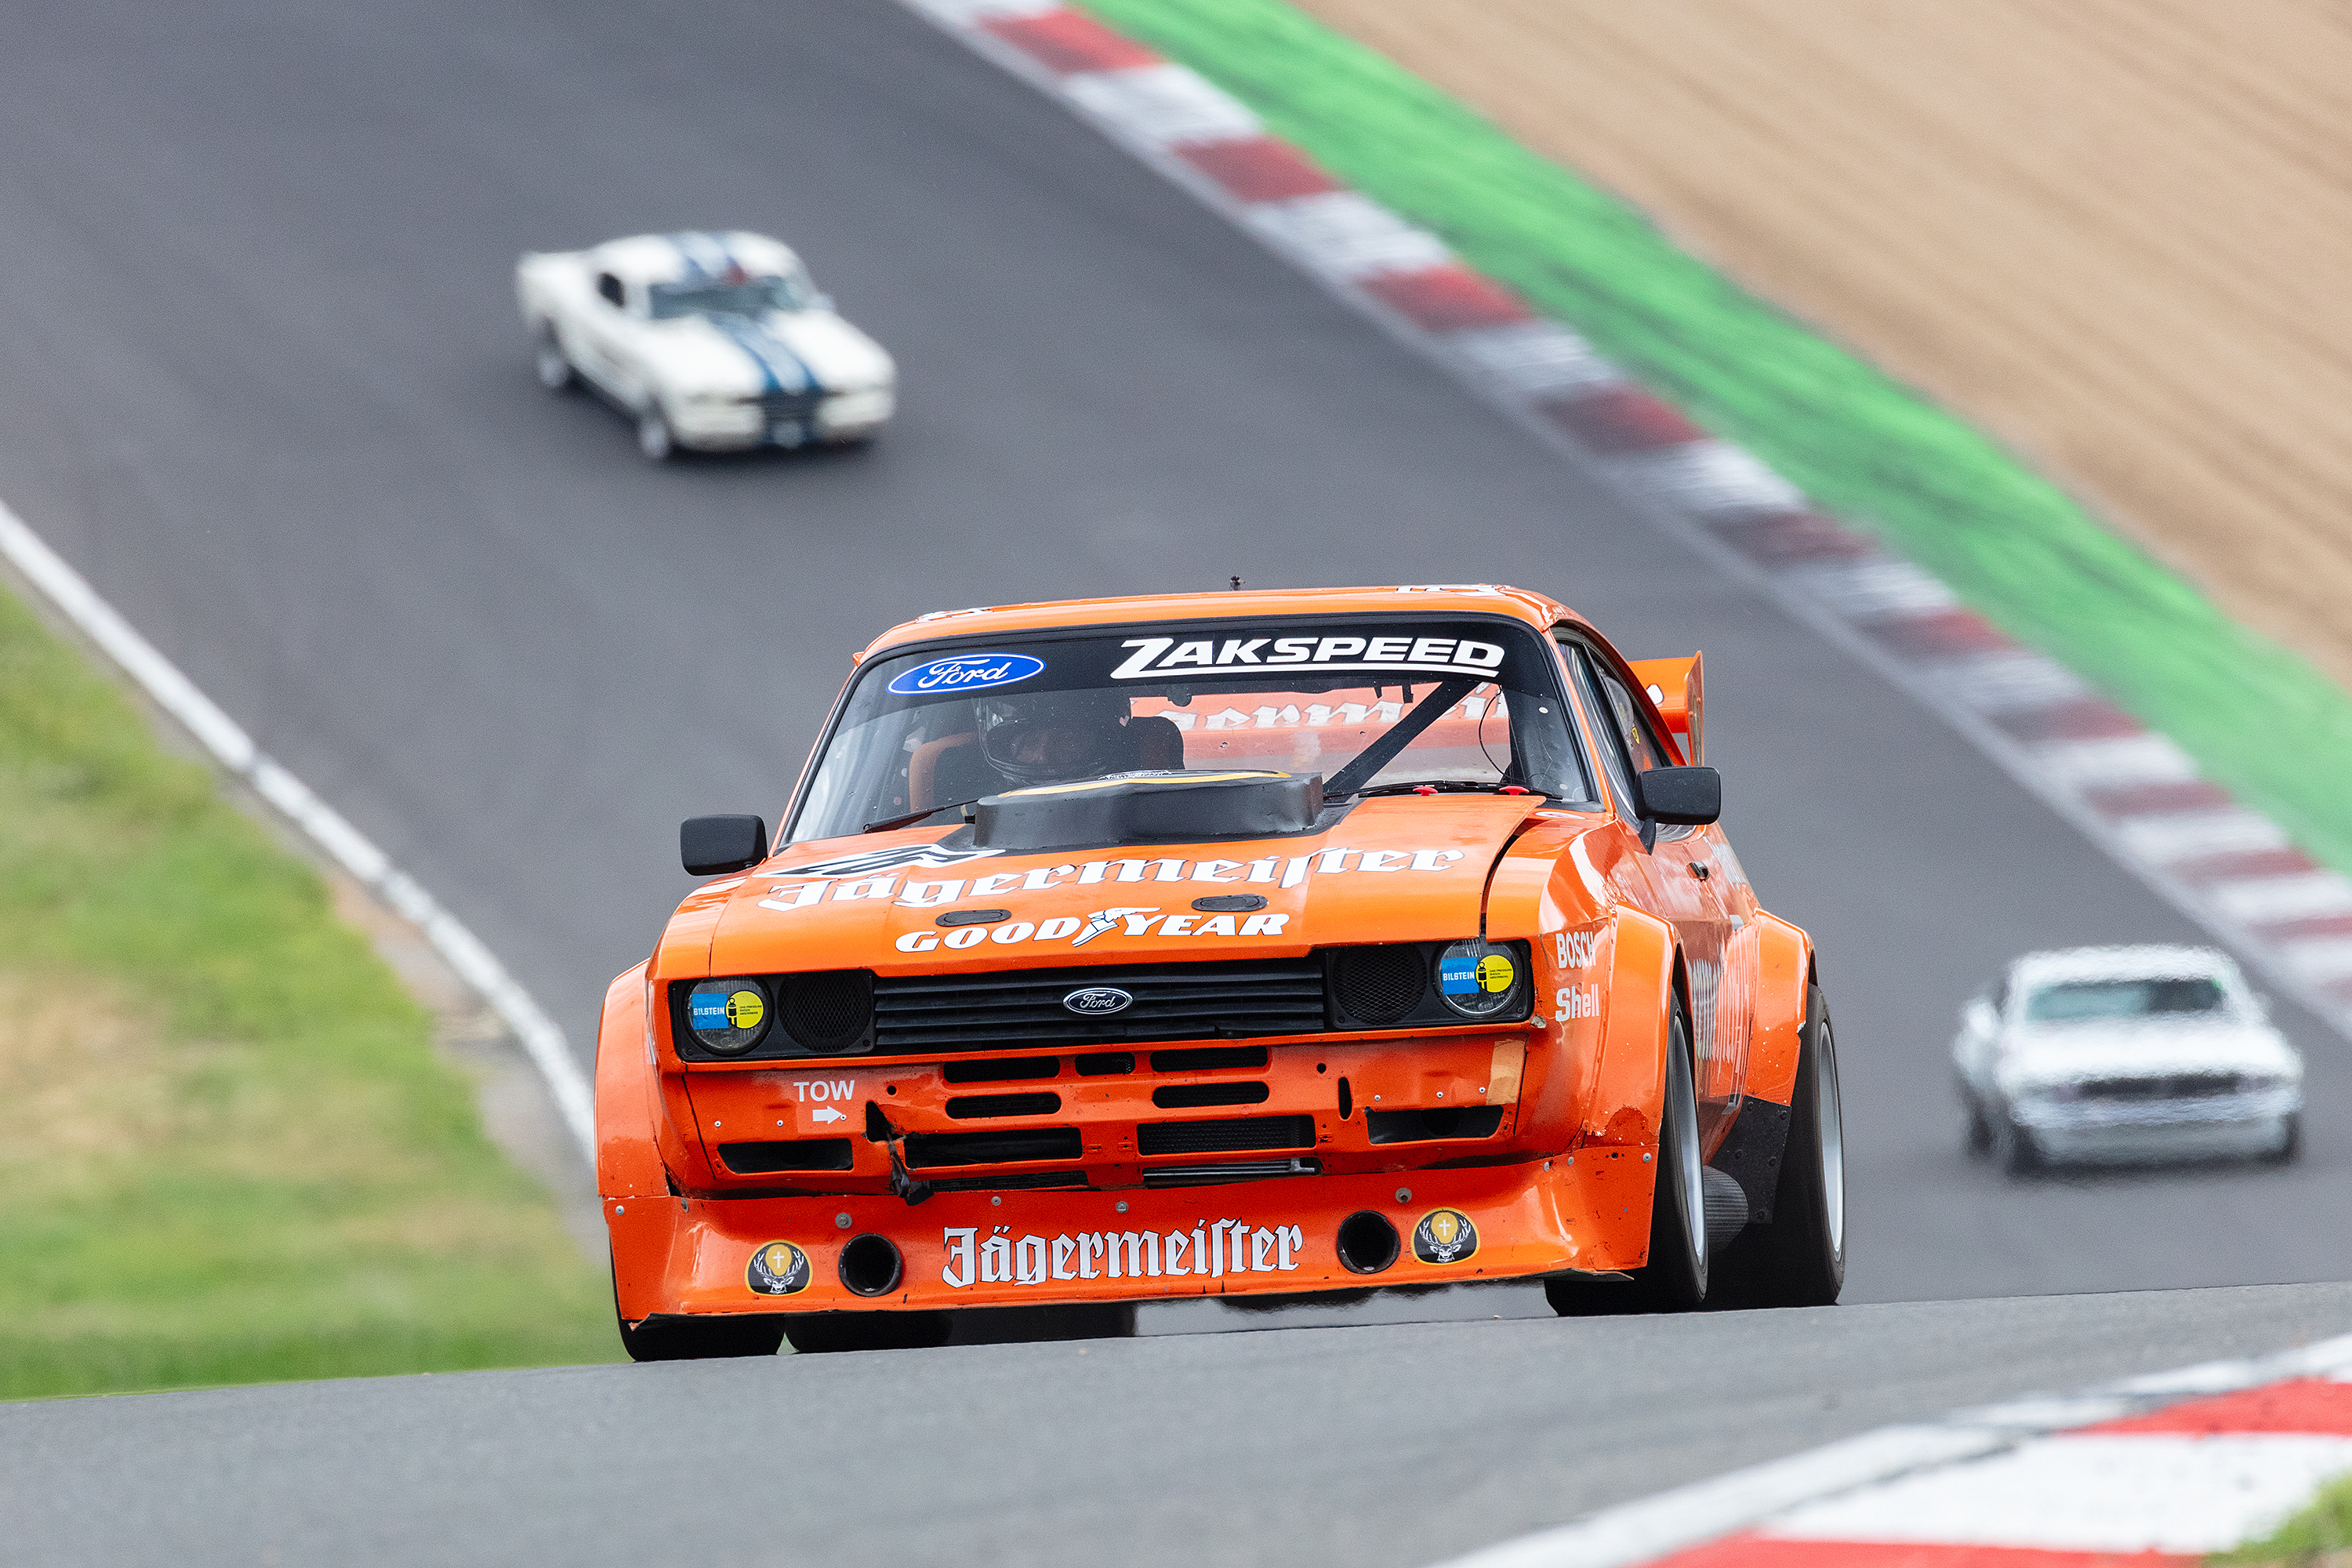
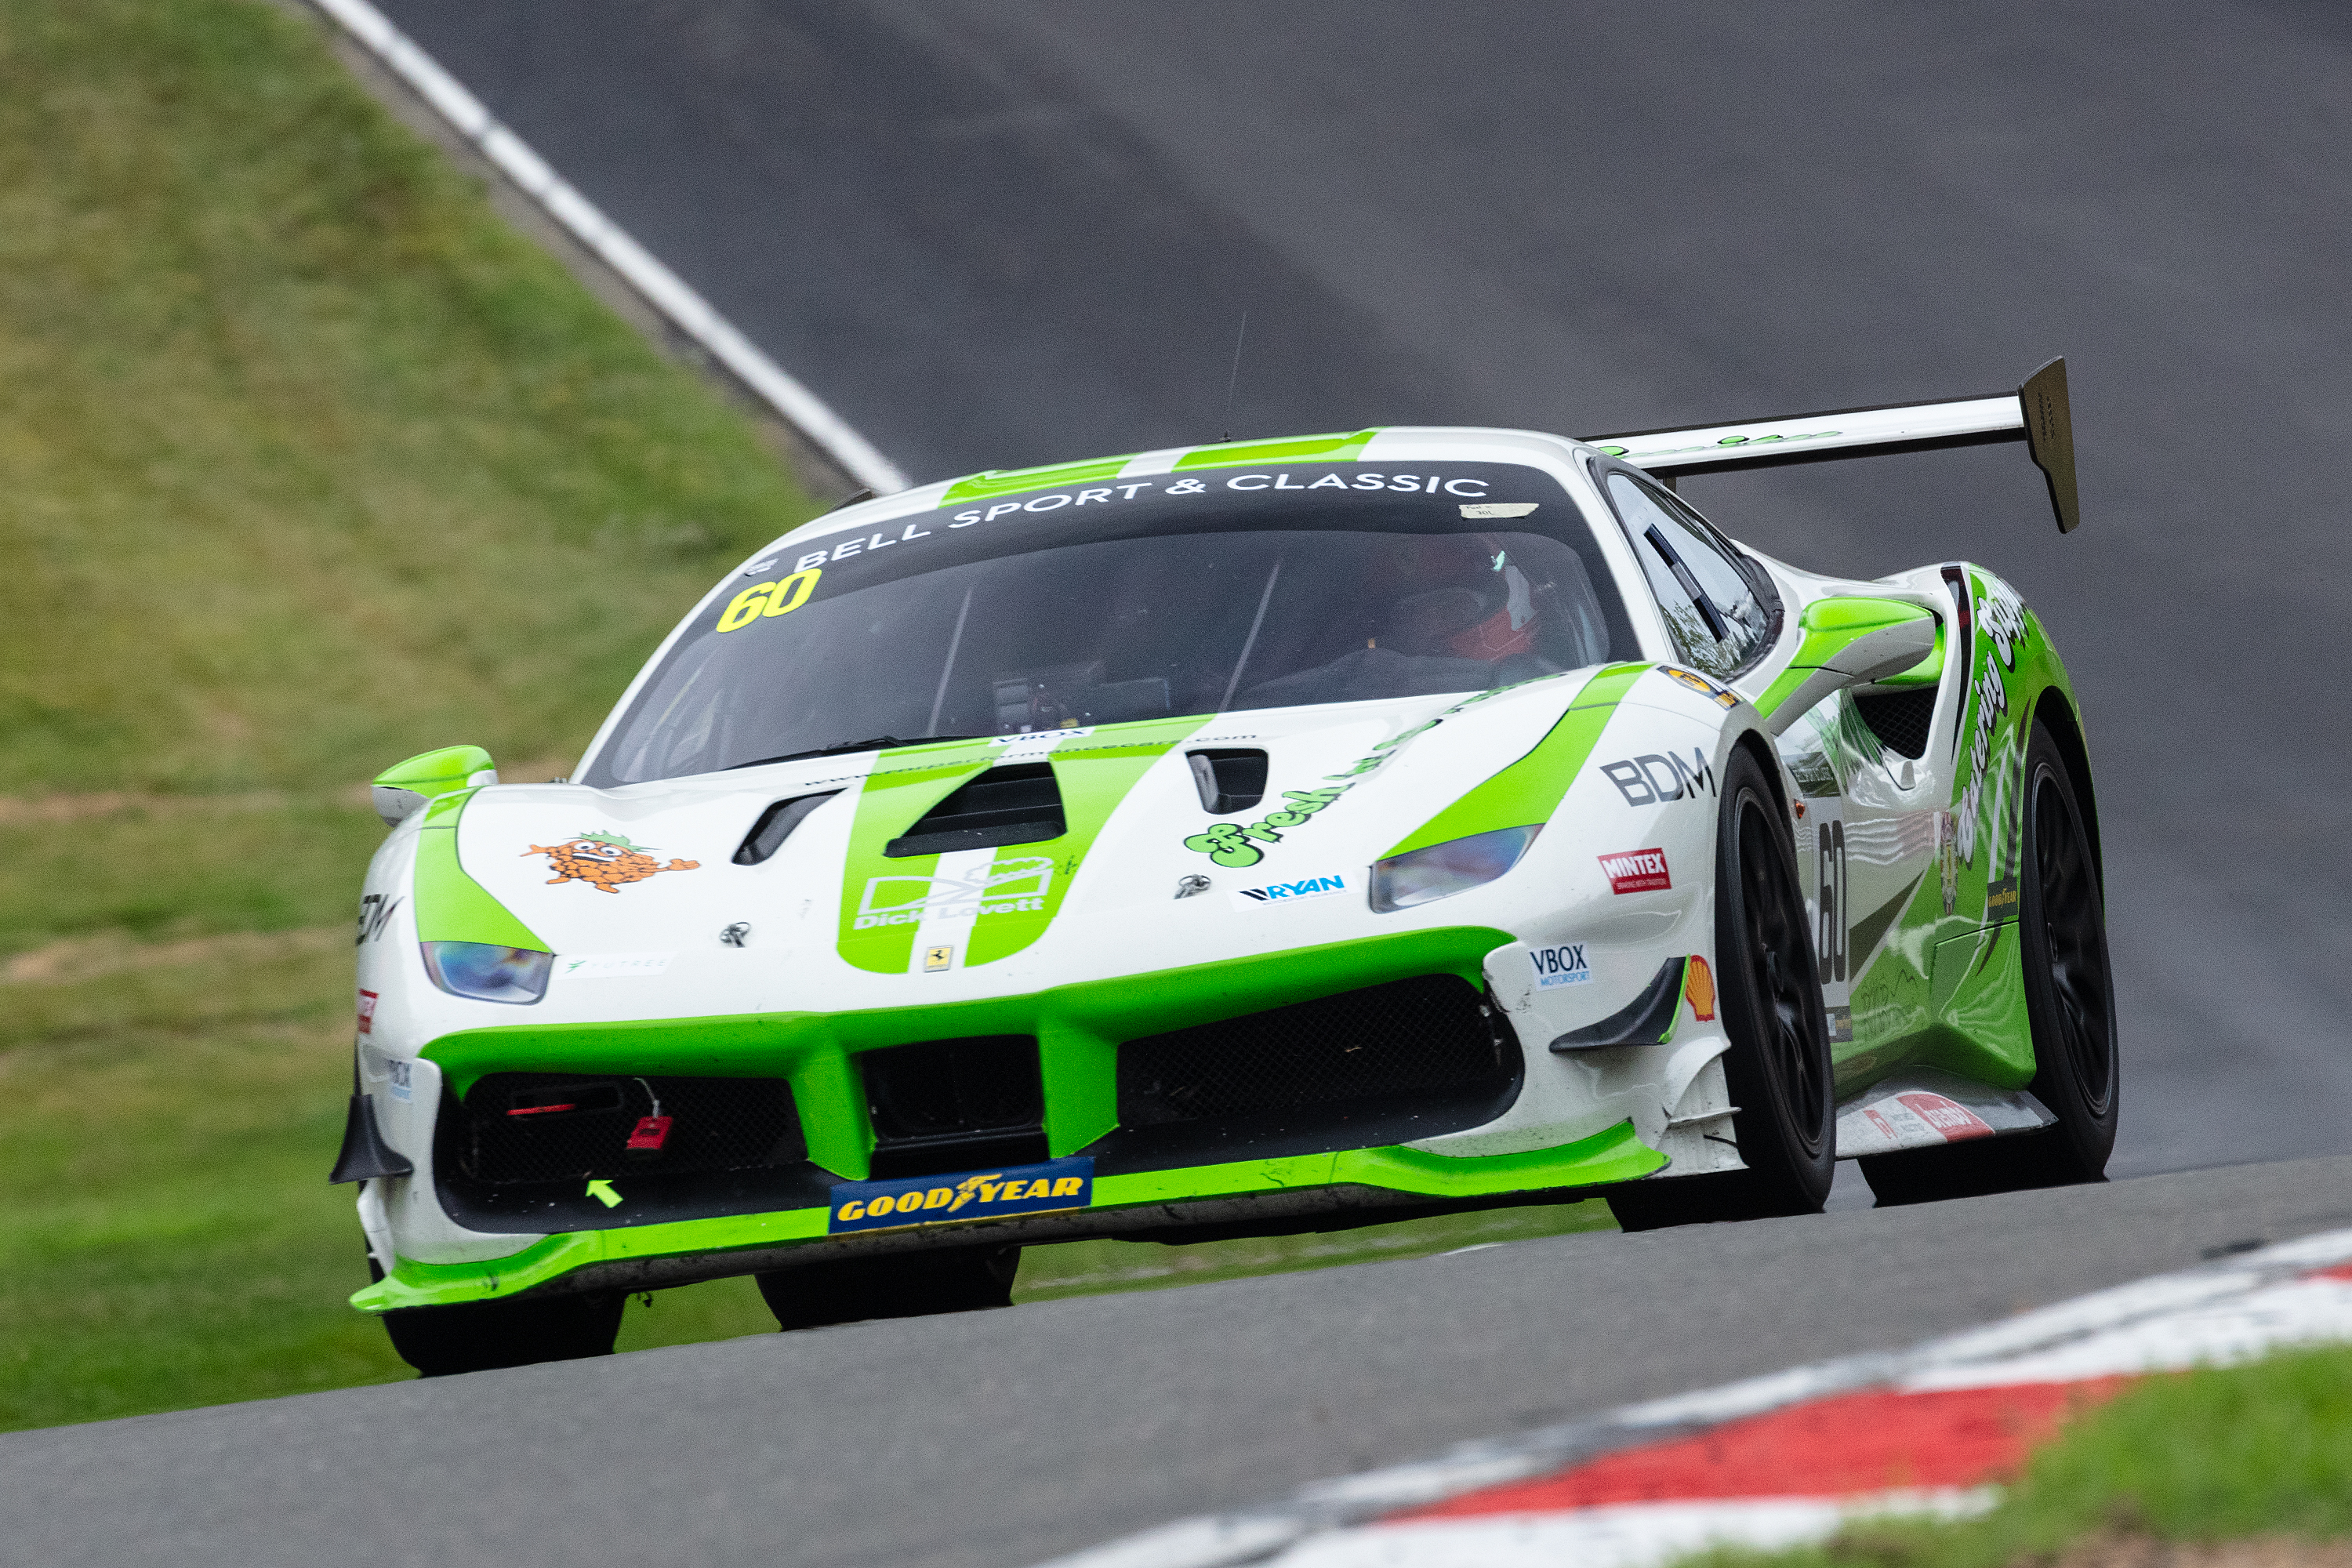
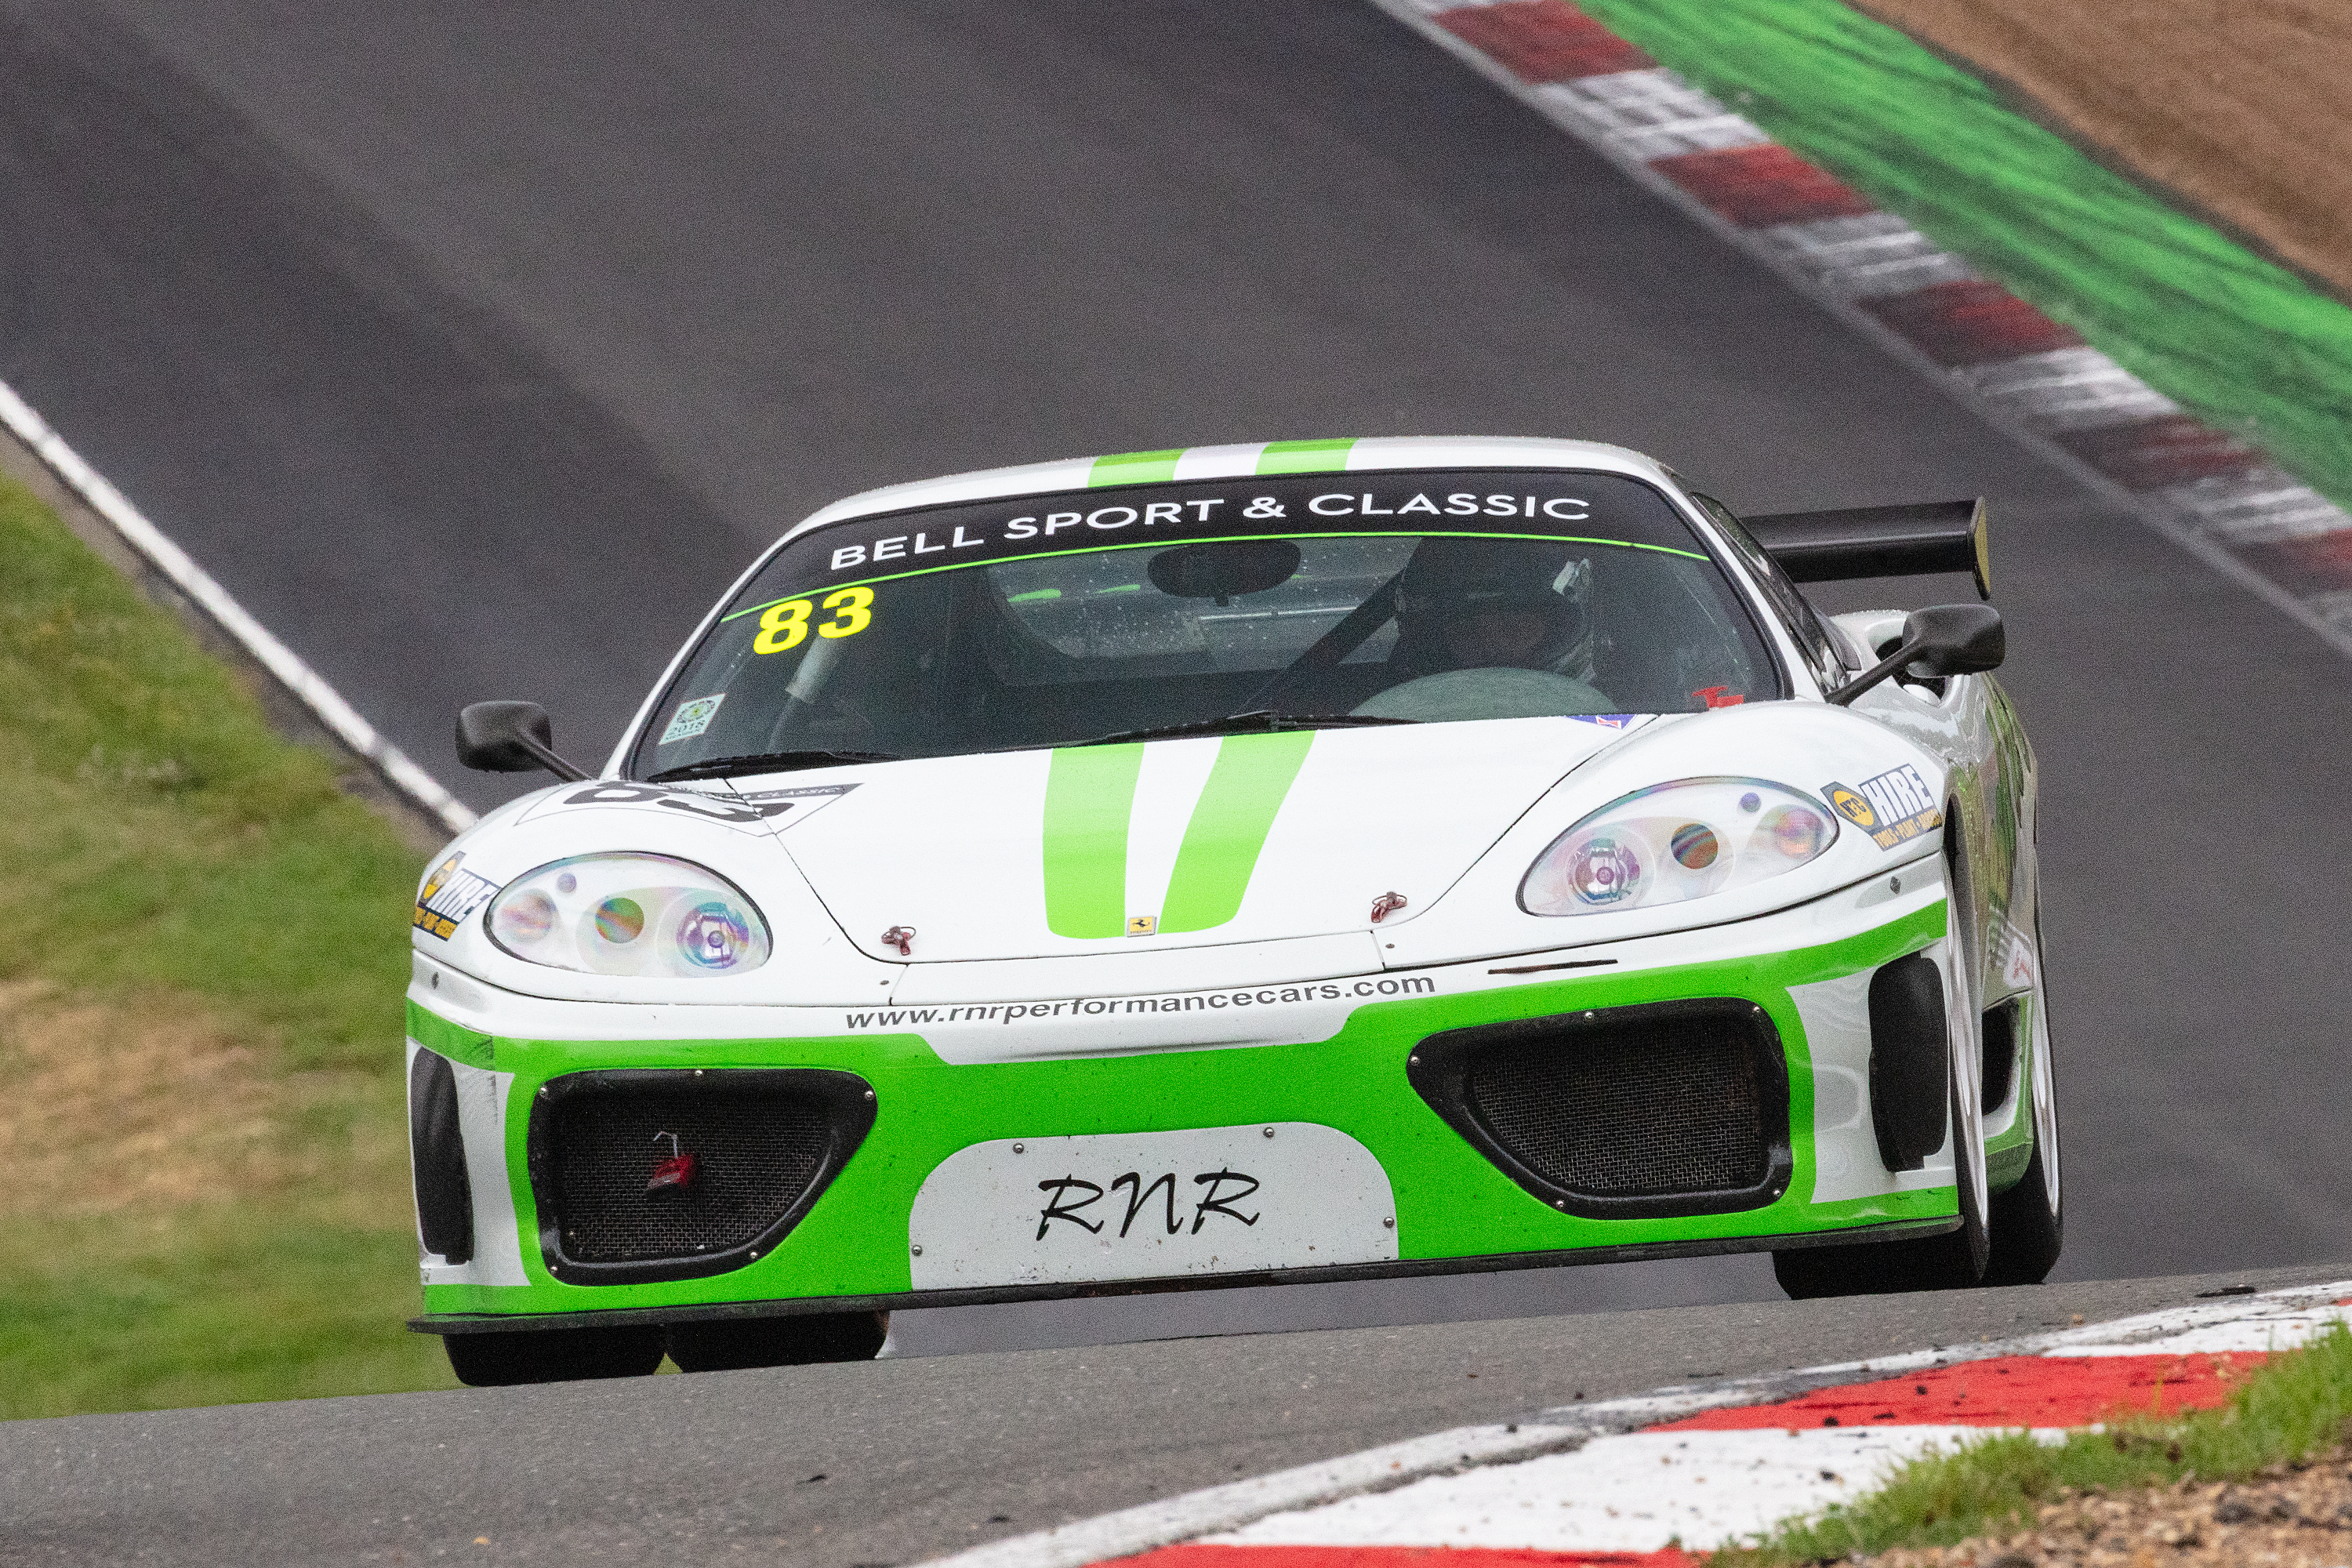
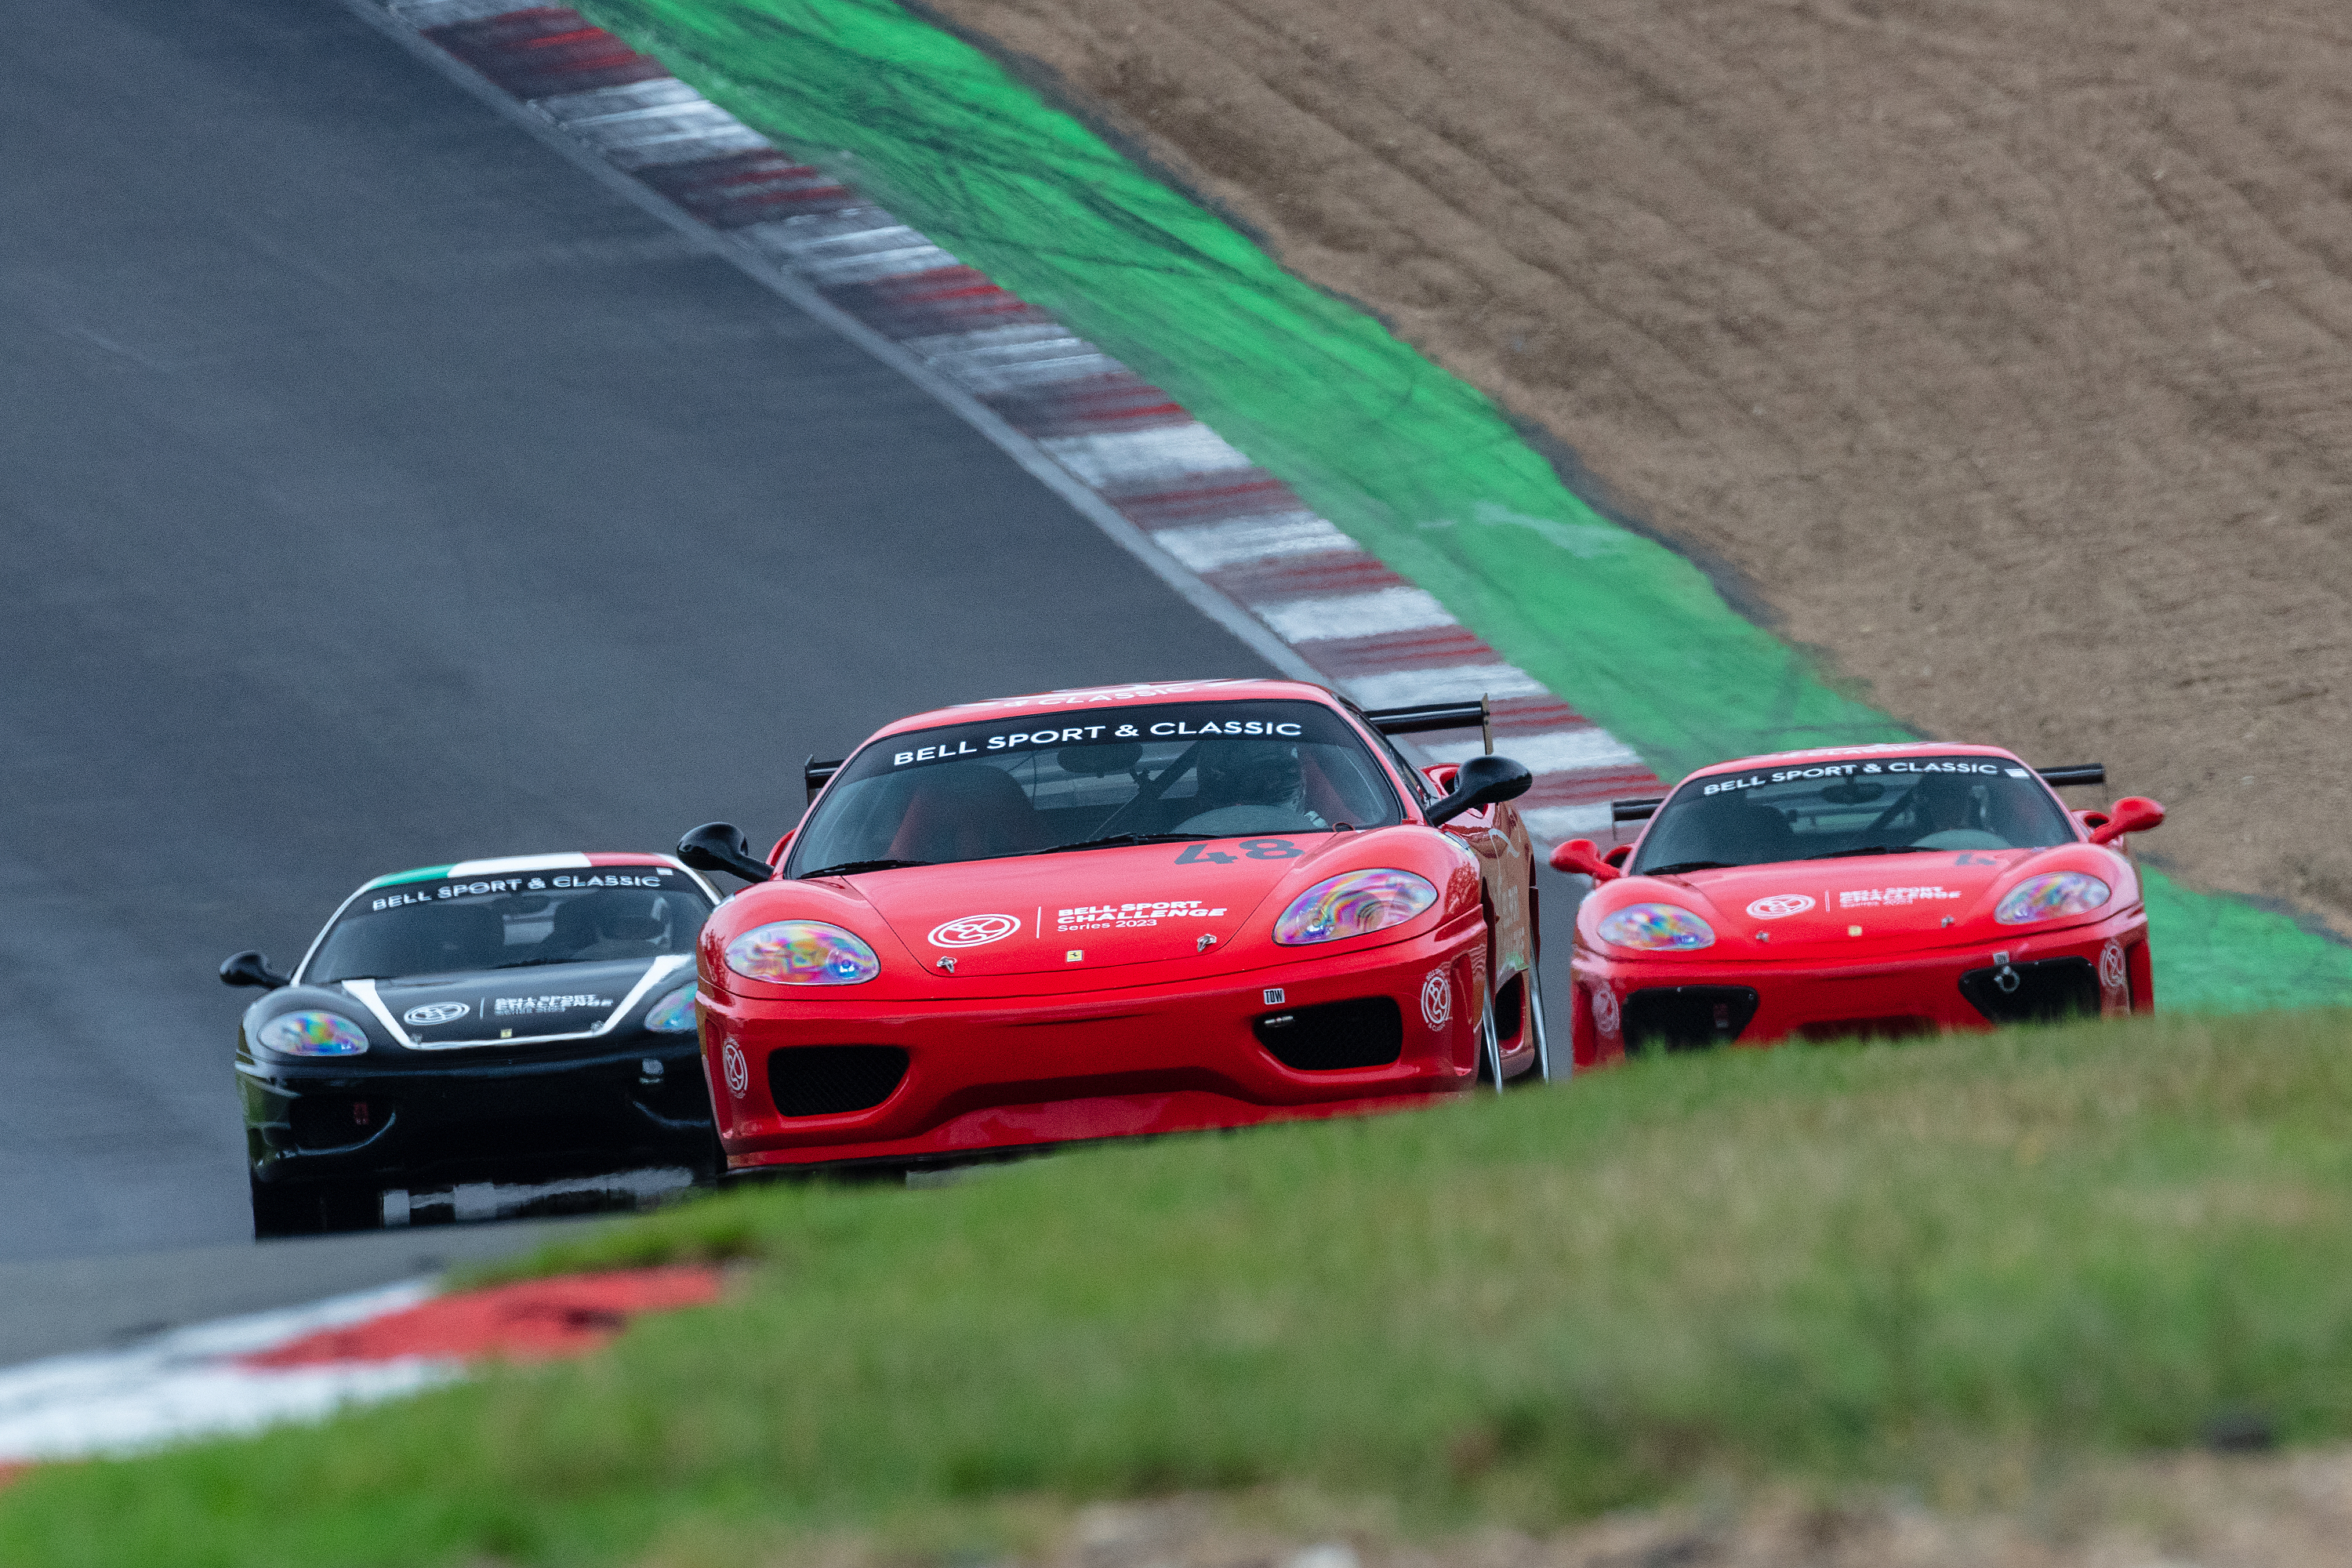
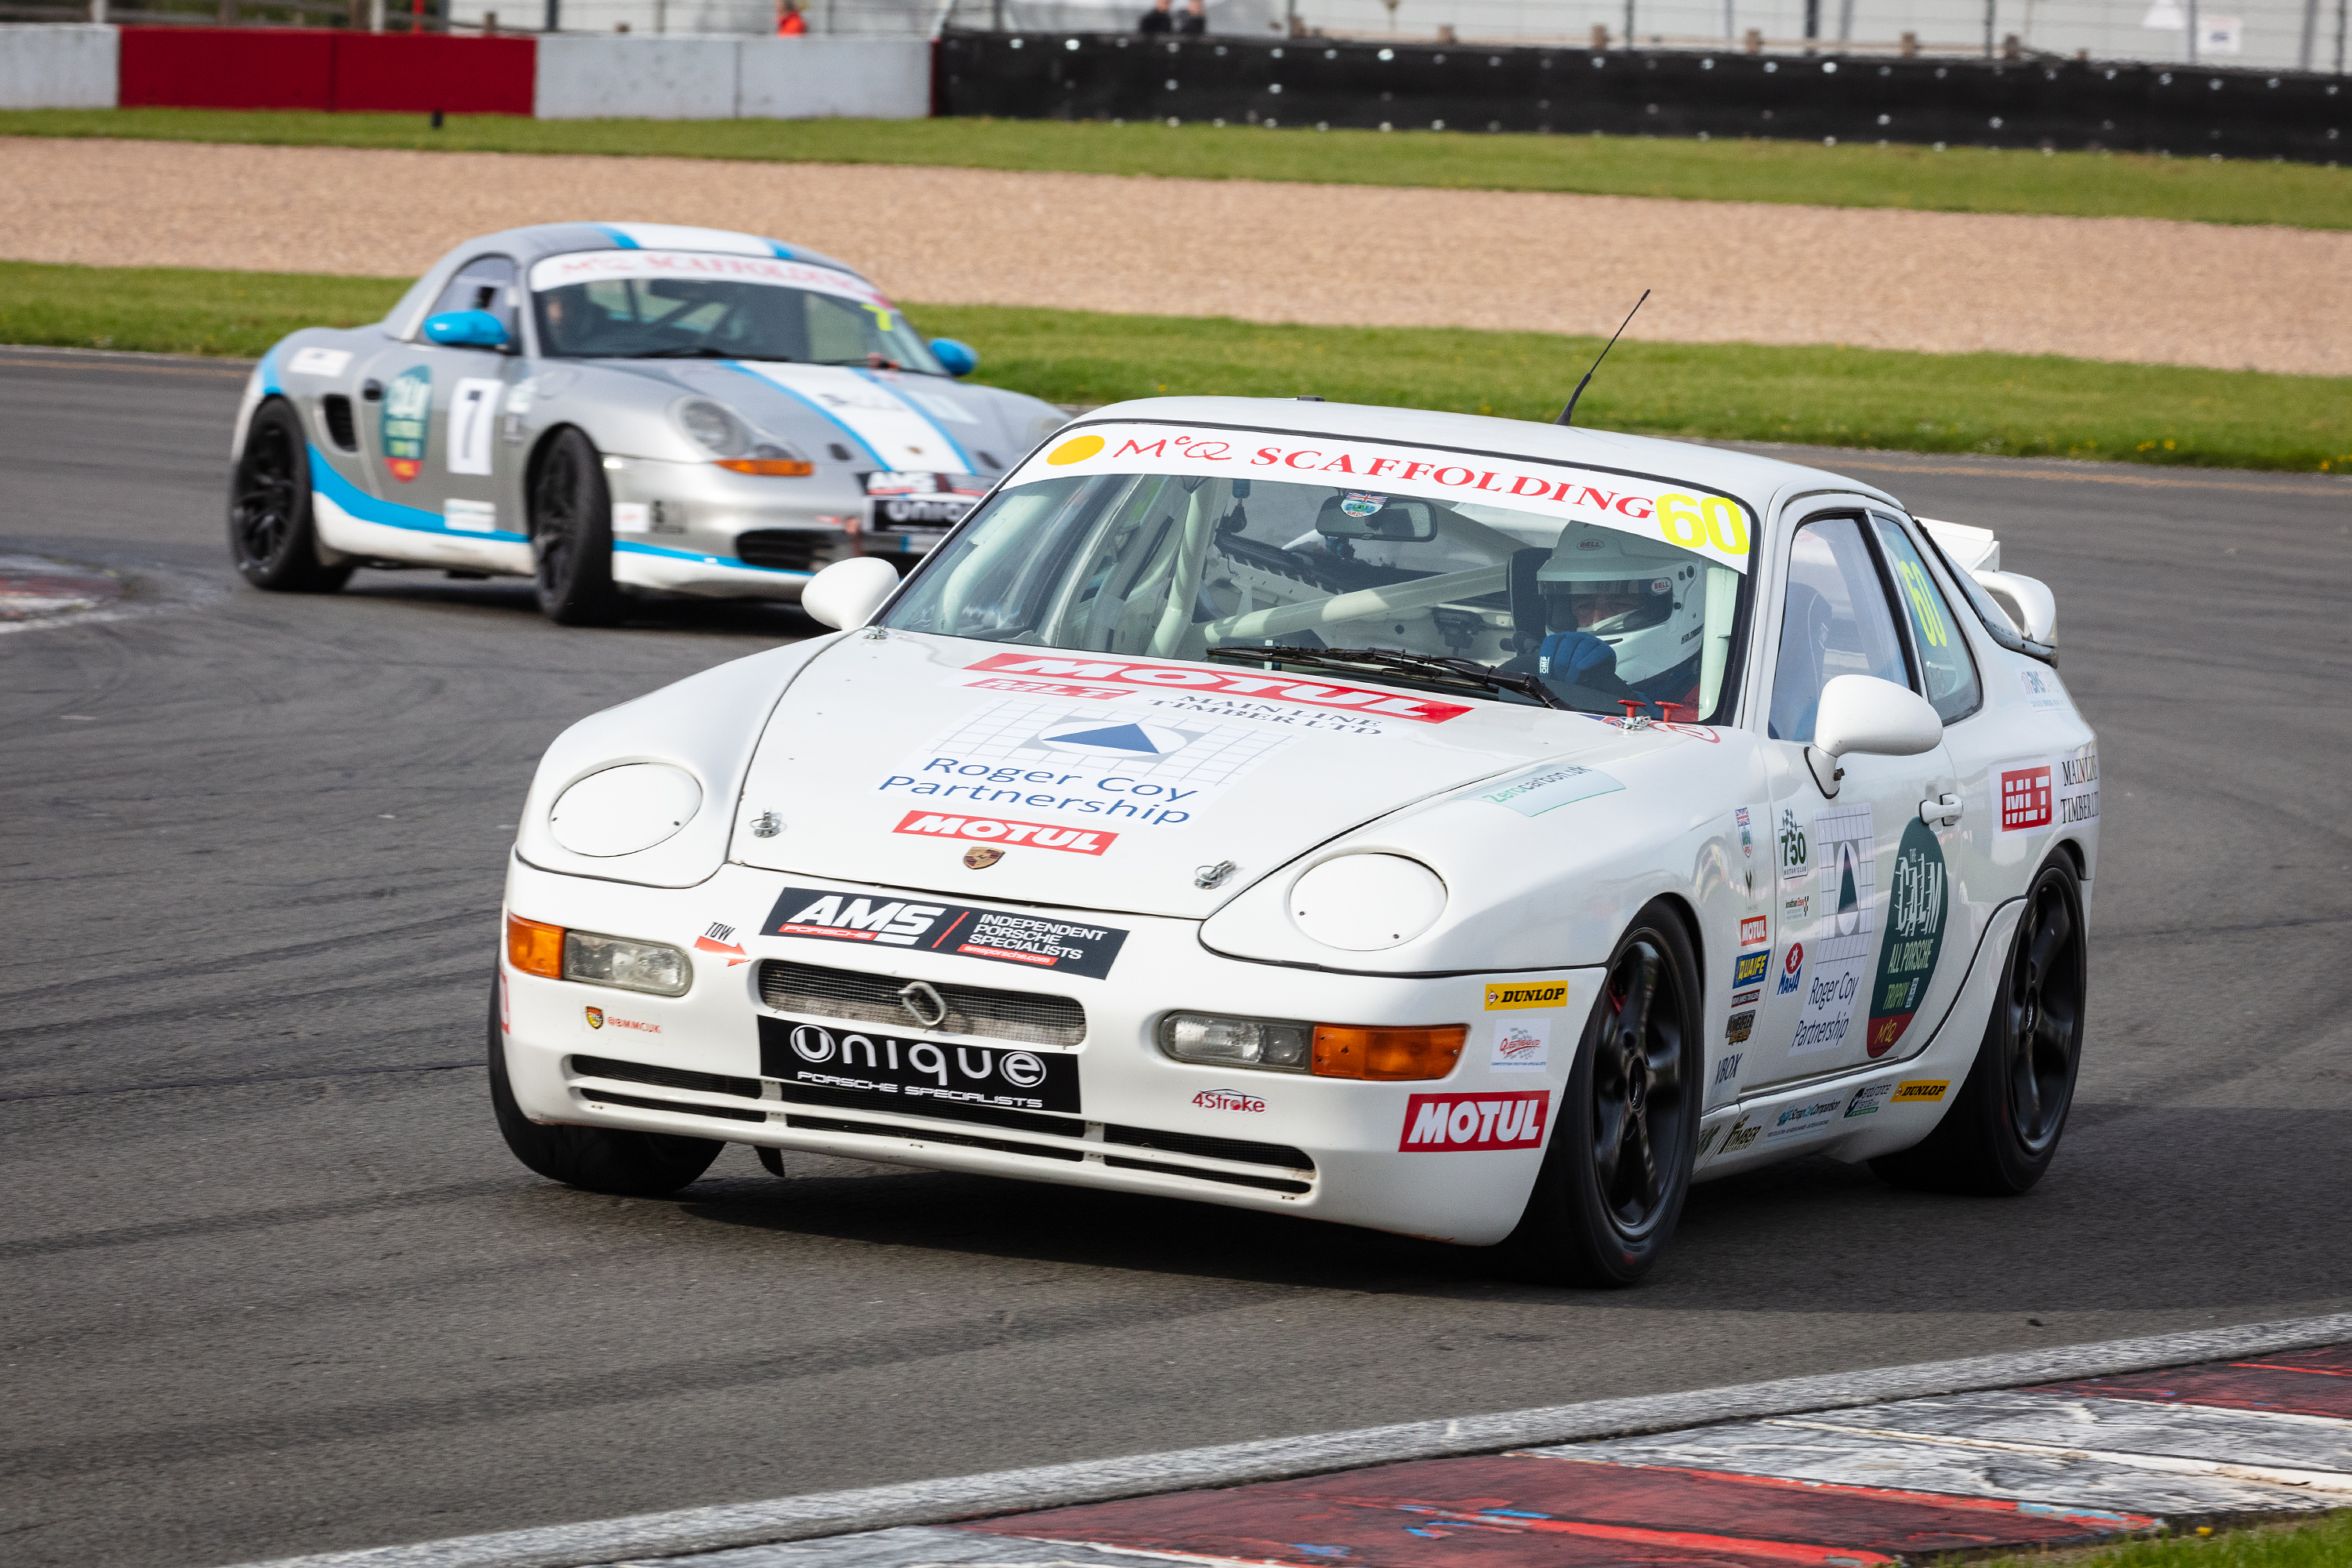
There was even a chance to catch a bit of Ferrari action with the Bell Sport Challenge Series and Britcar regular Wayne Marrs #60 after my race
The next round is Snetterton in Norfolk, a really great setting
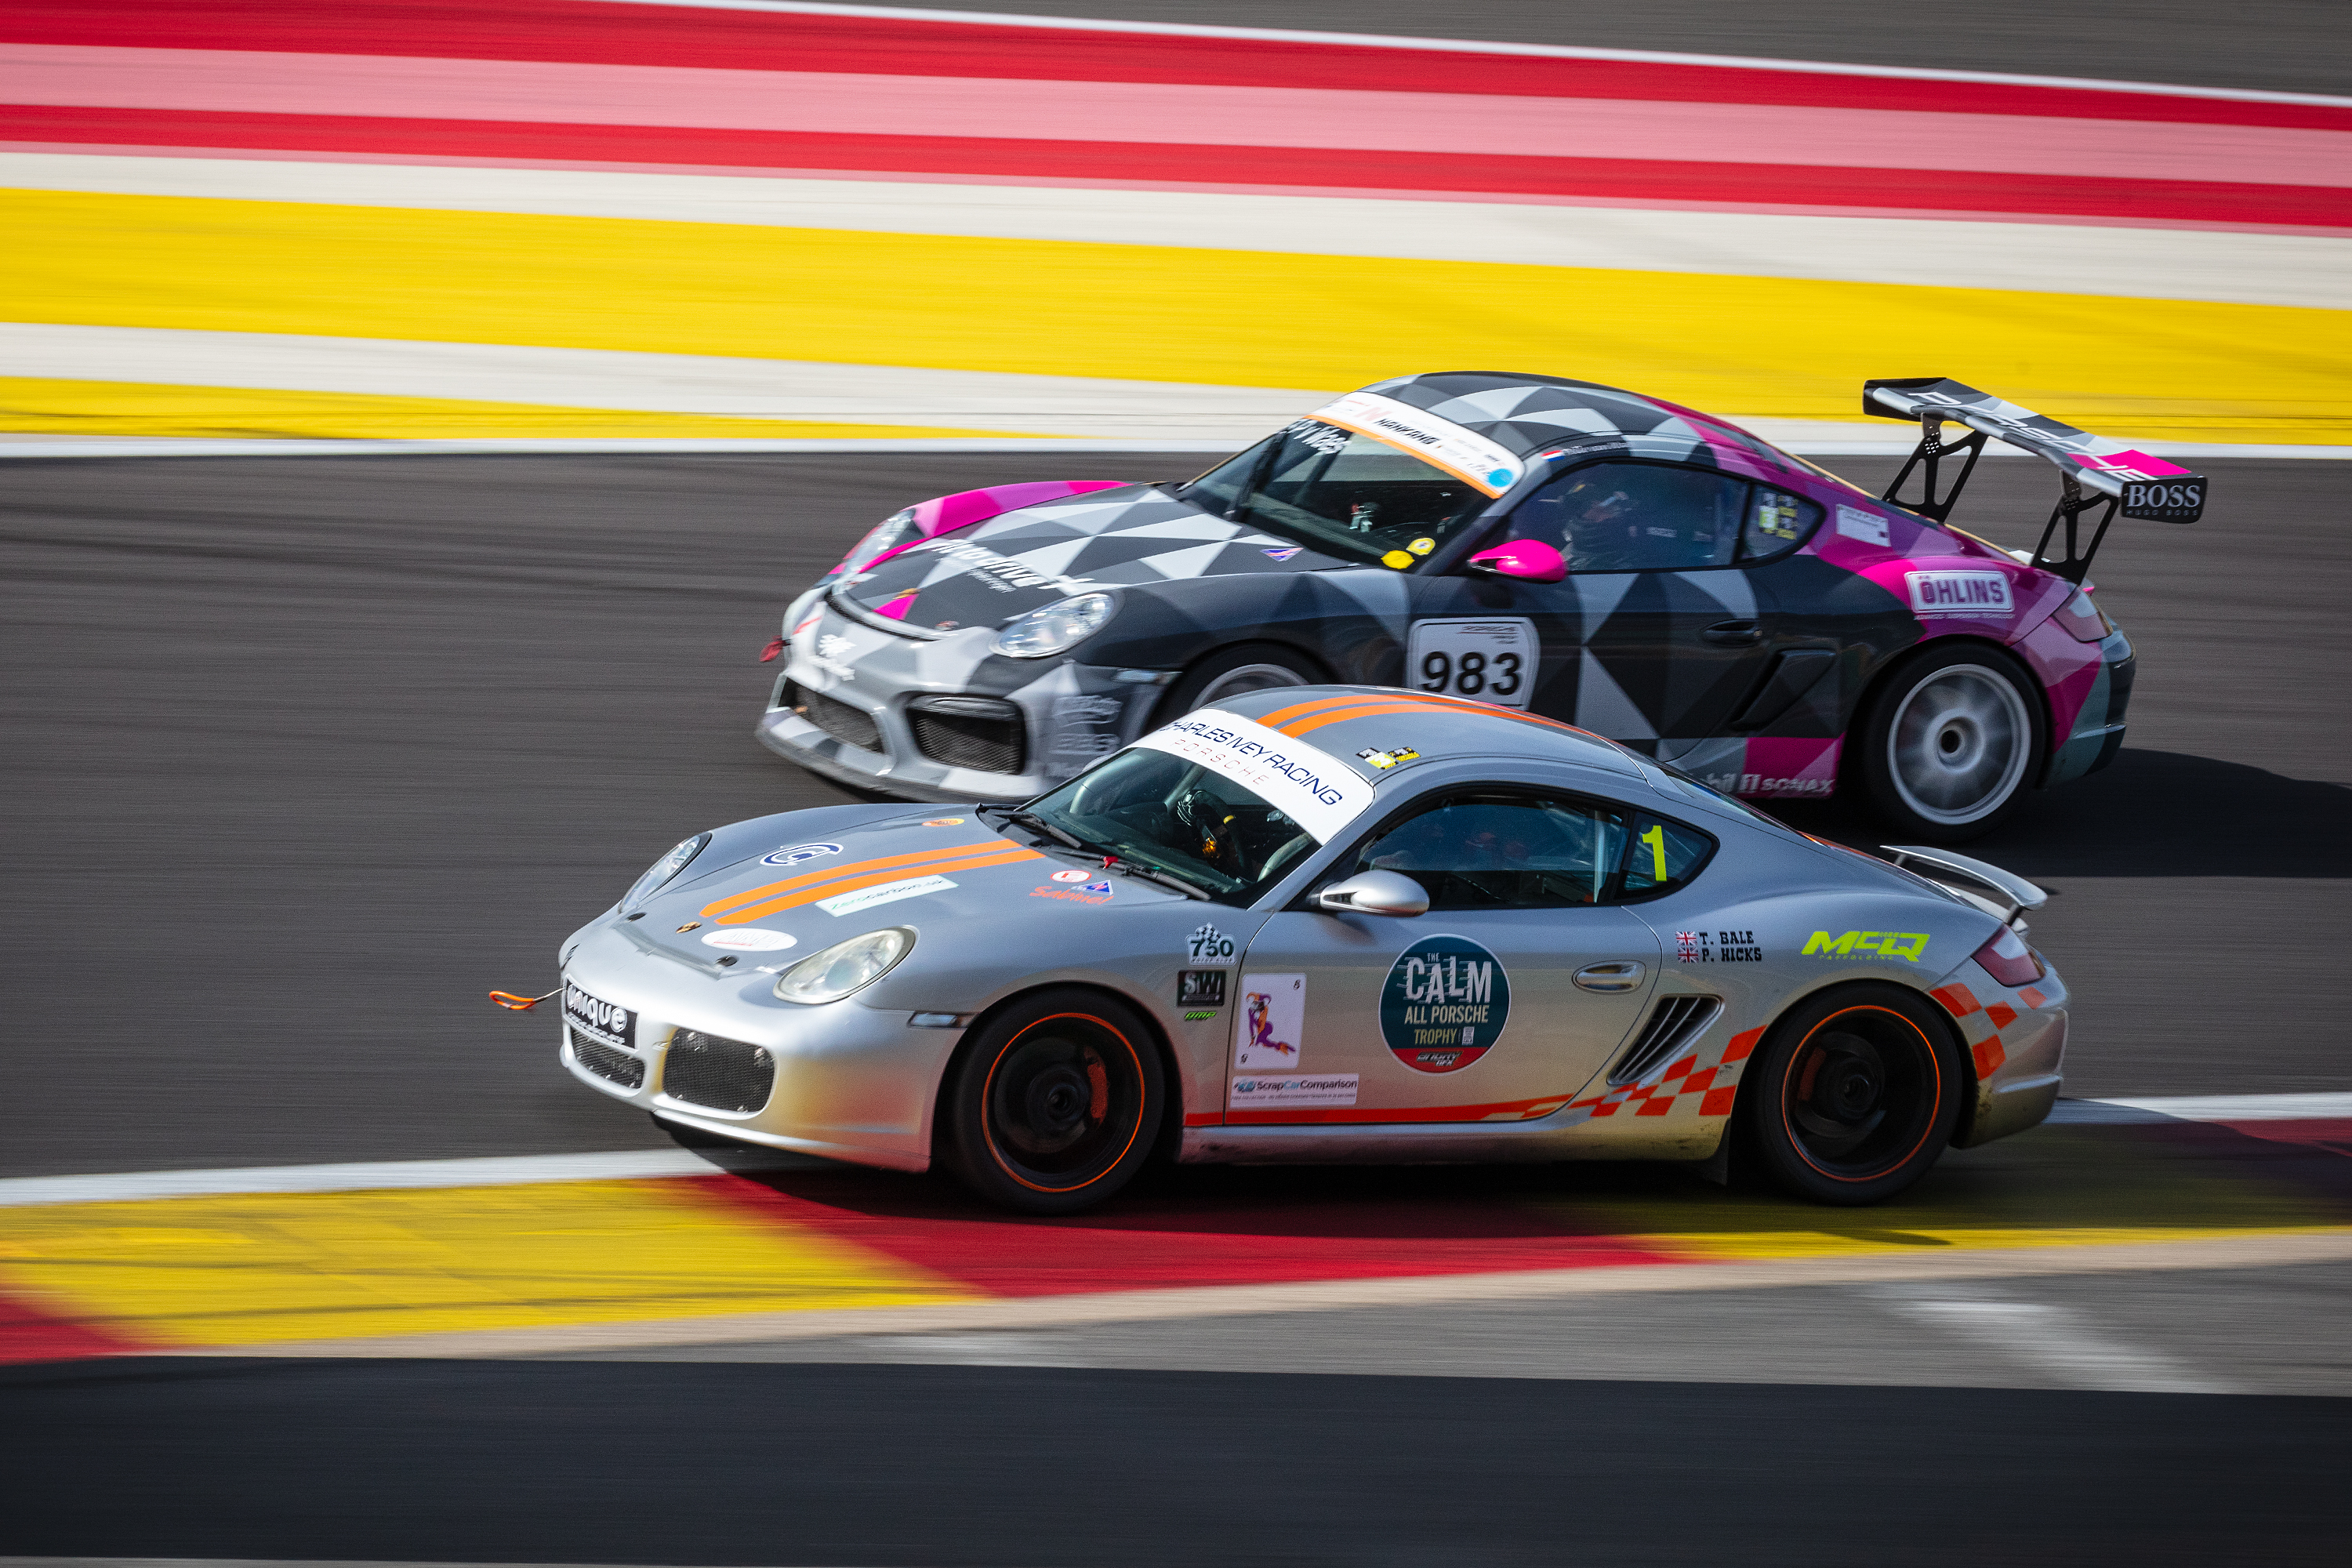
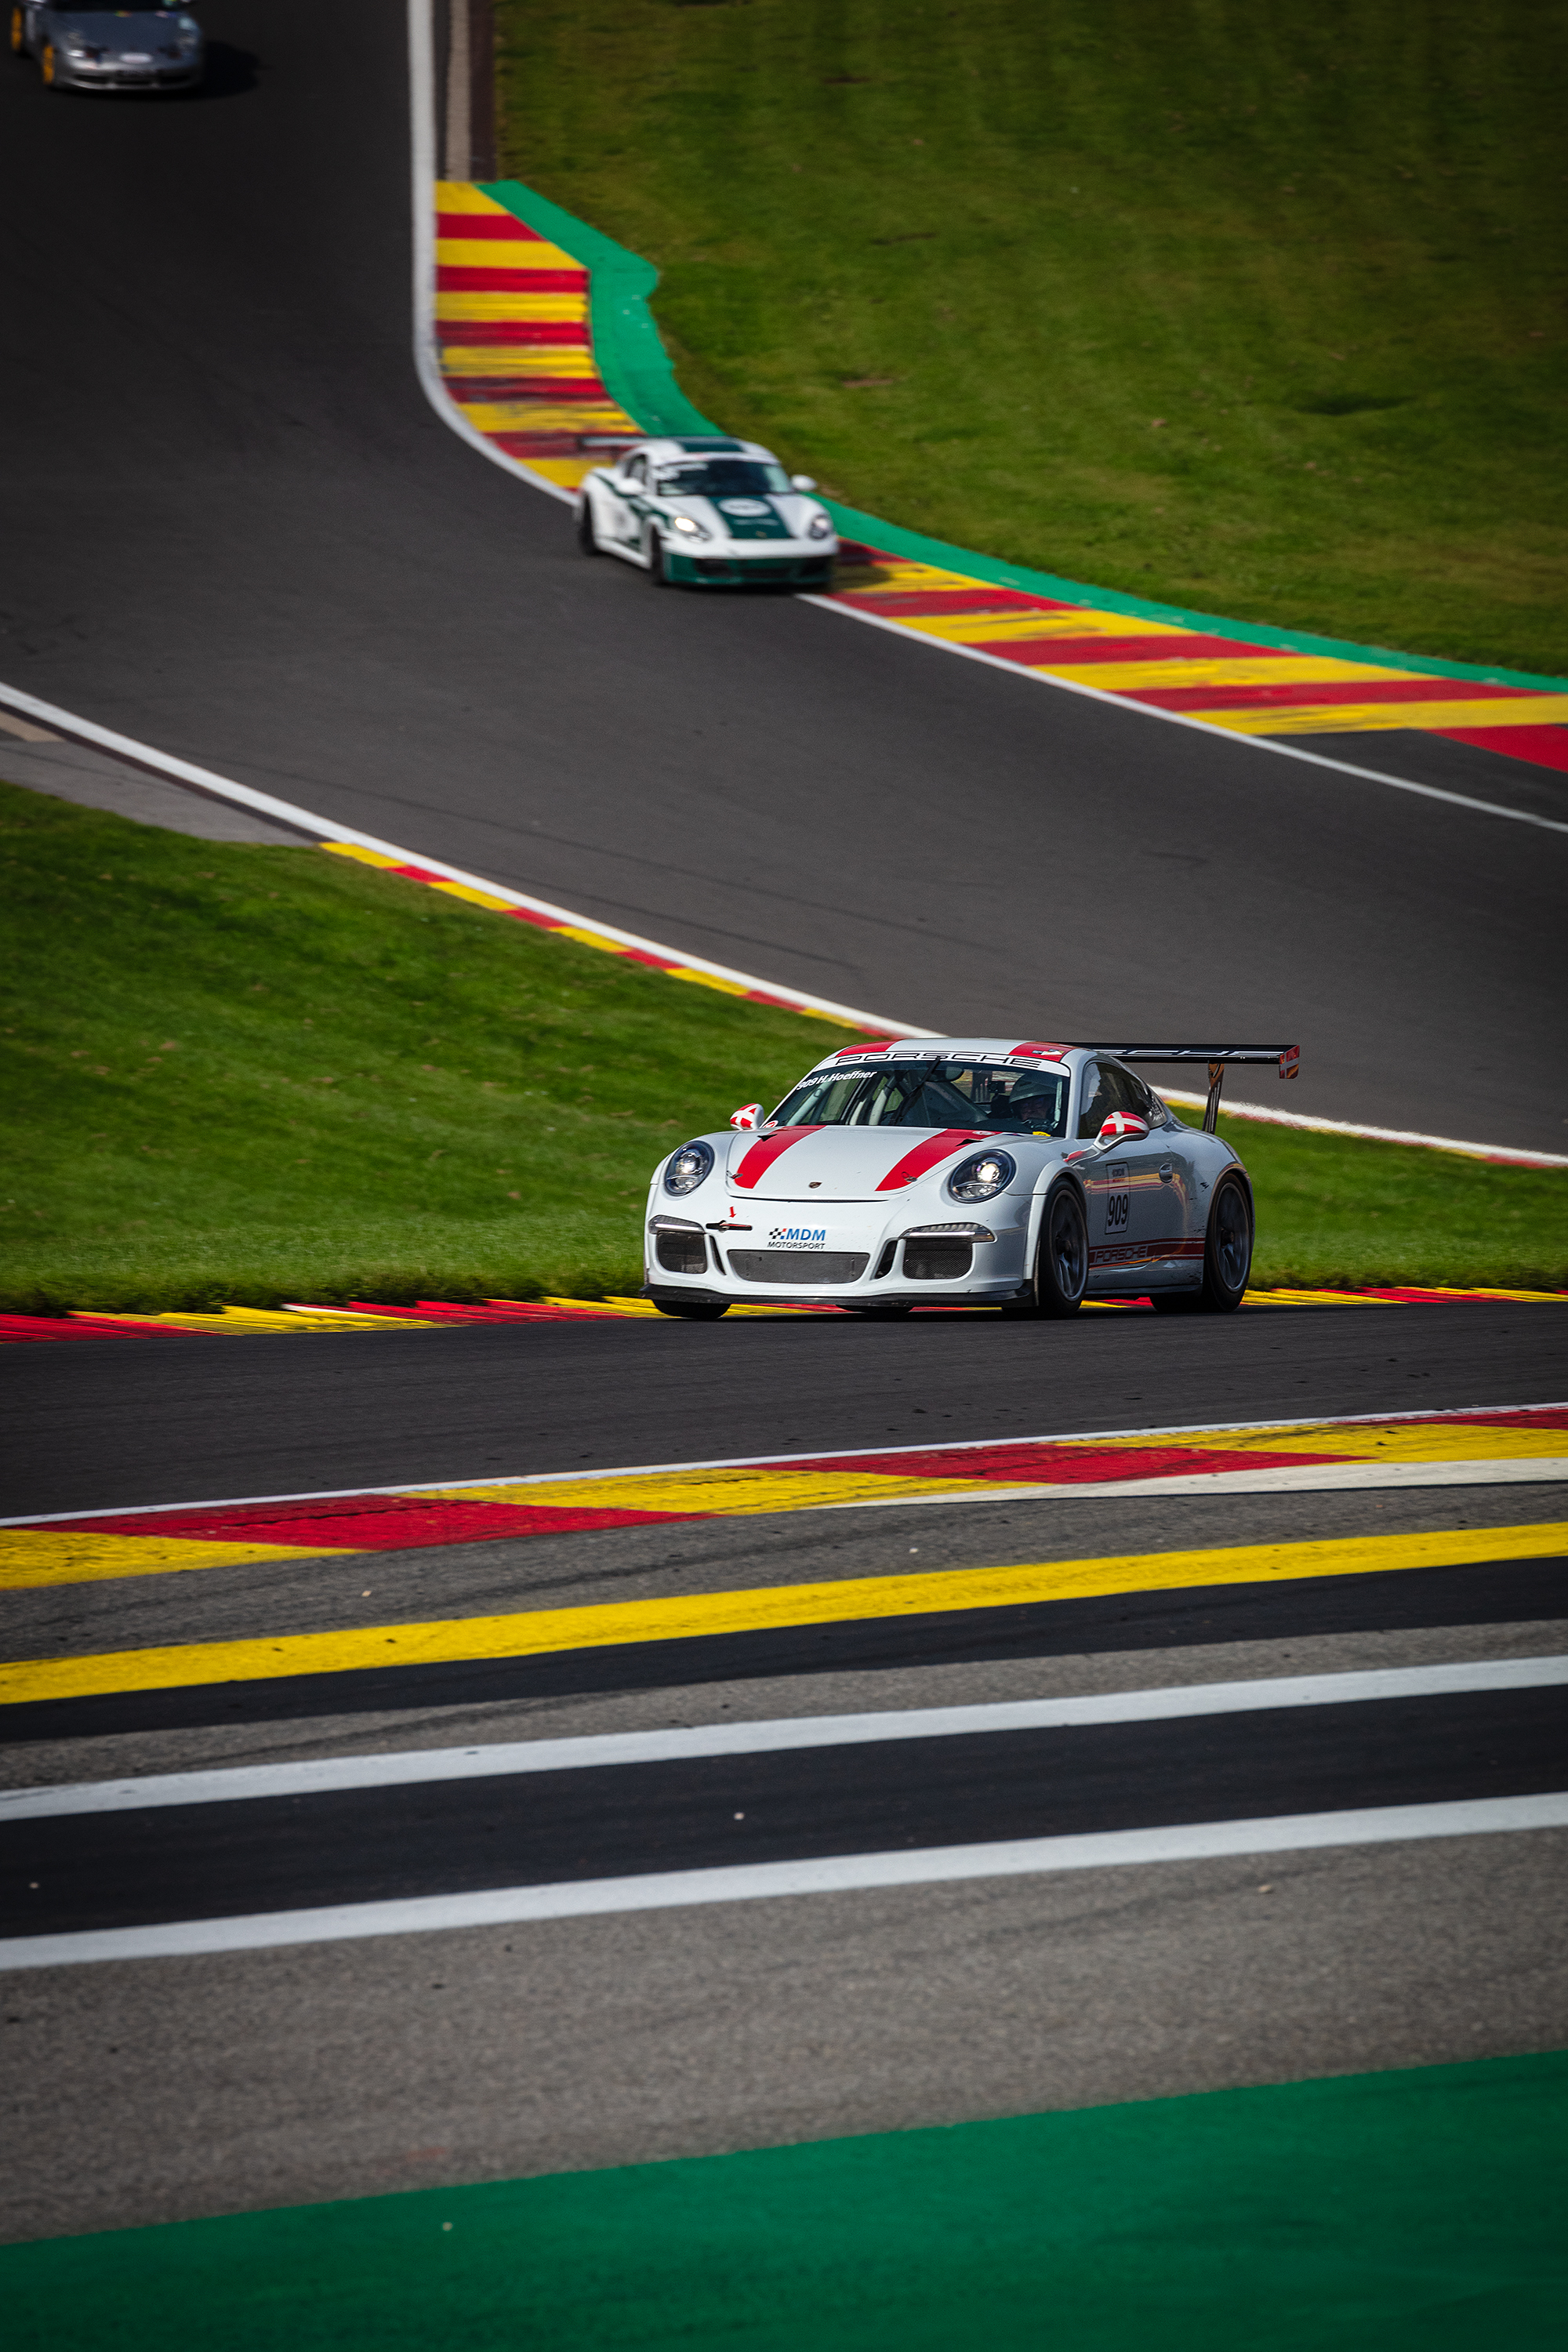
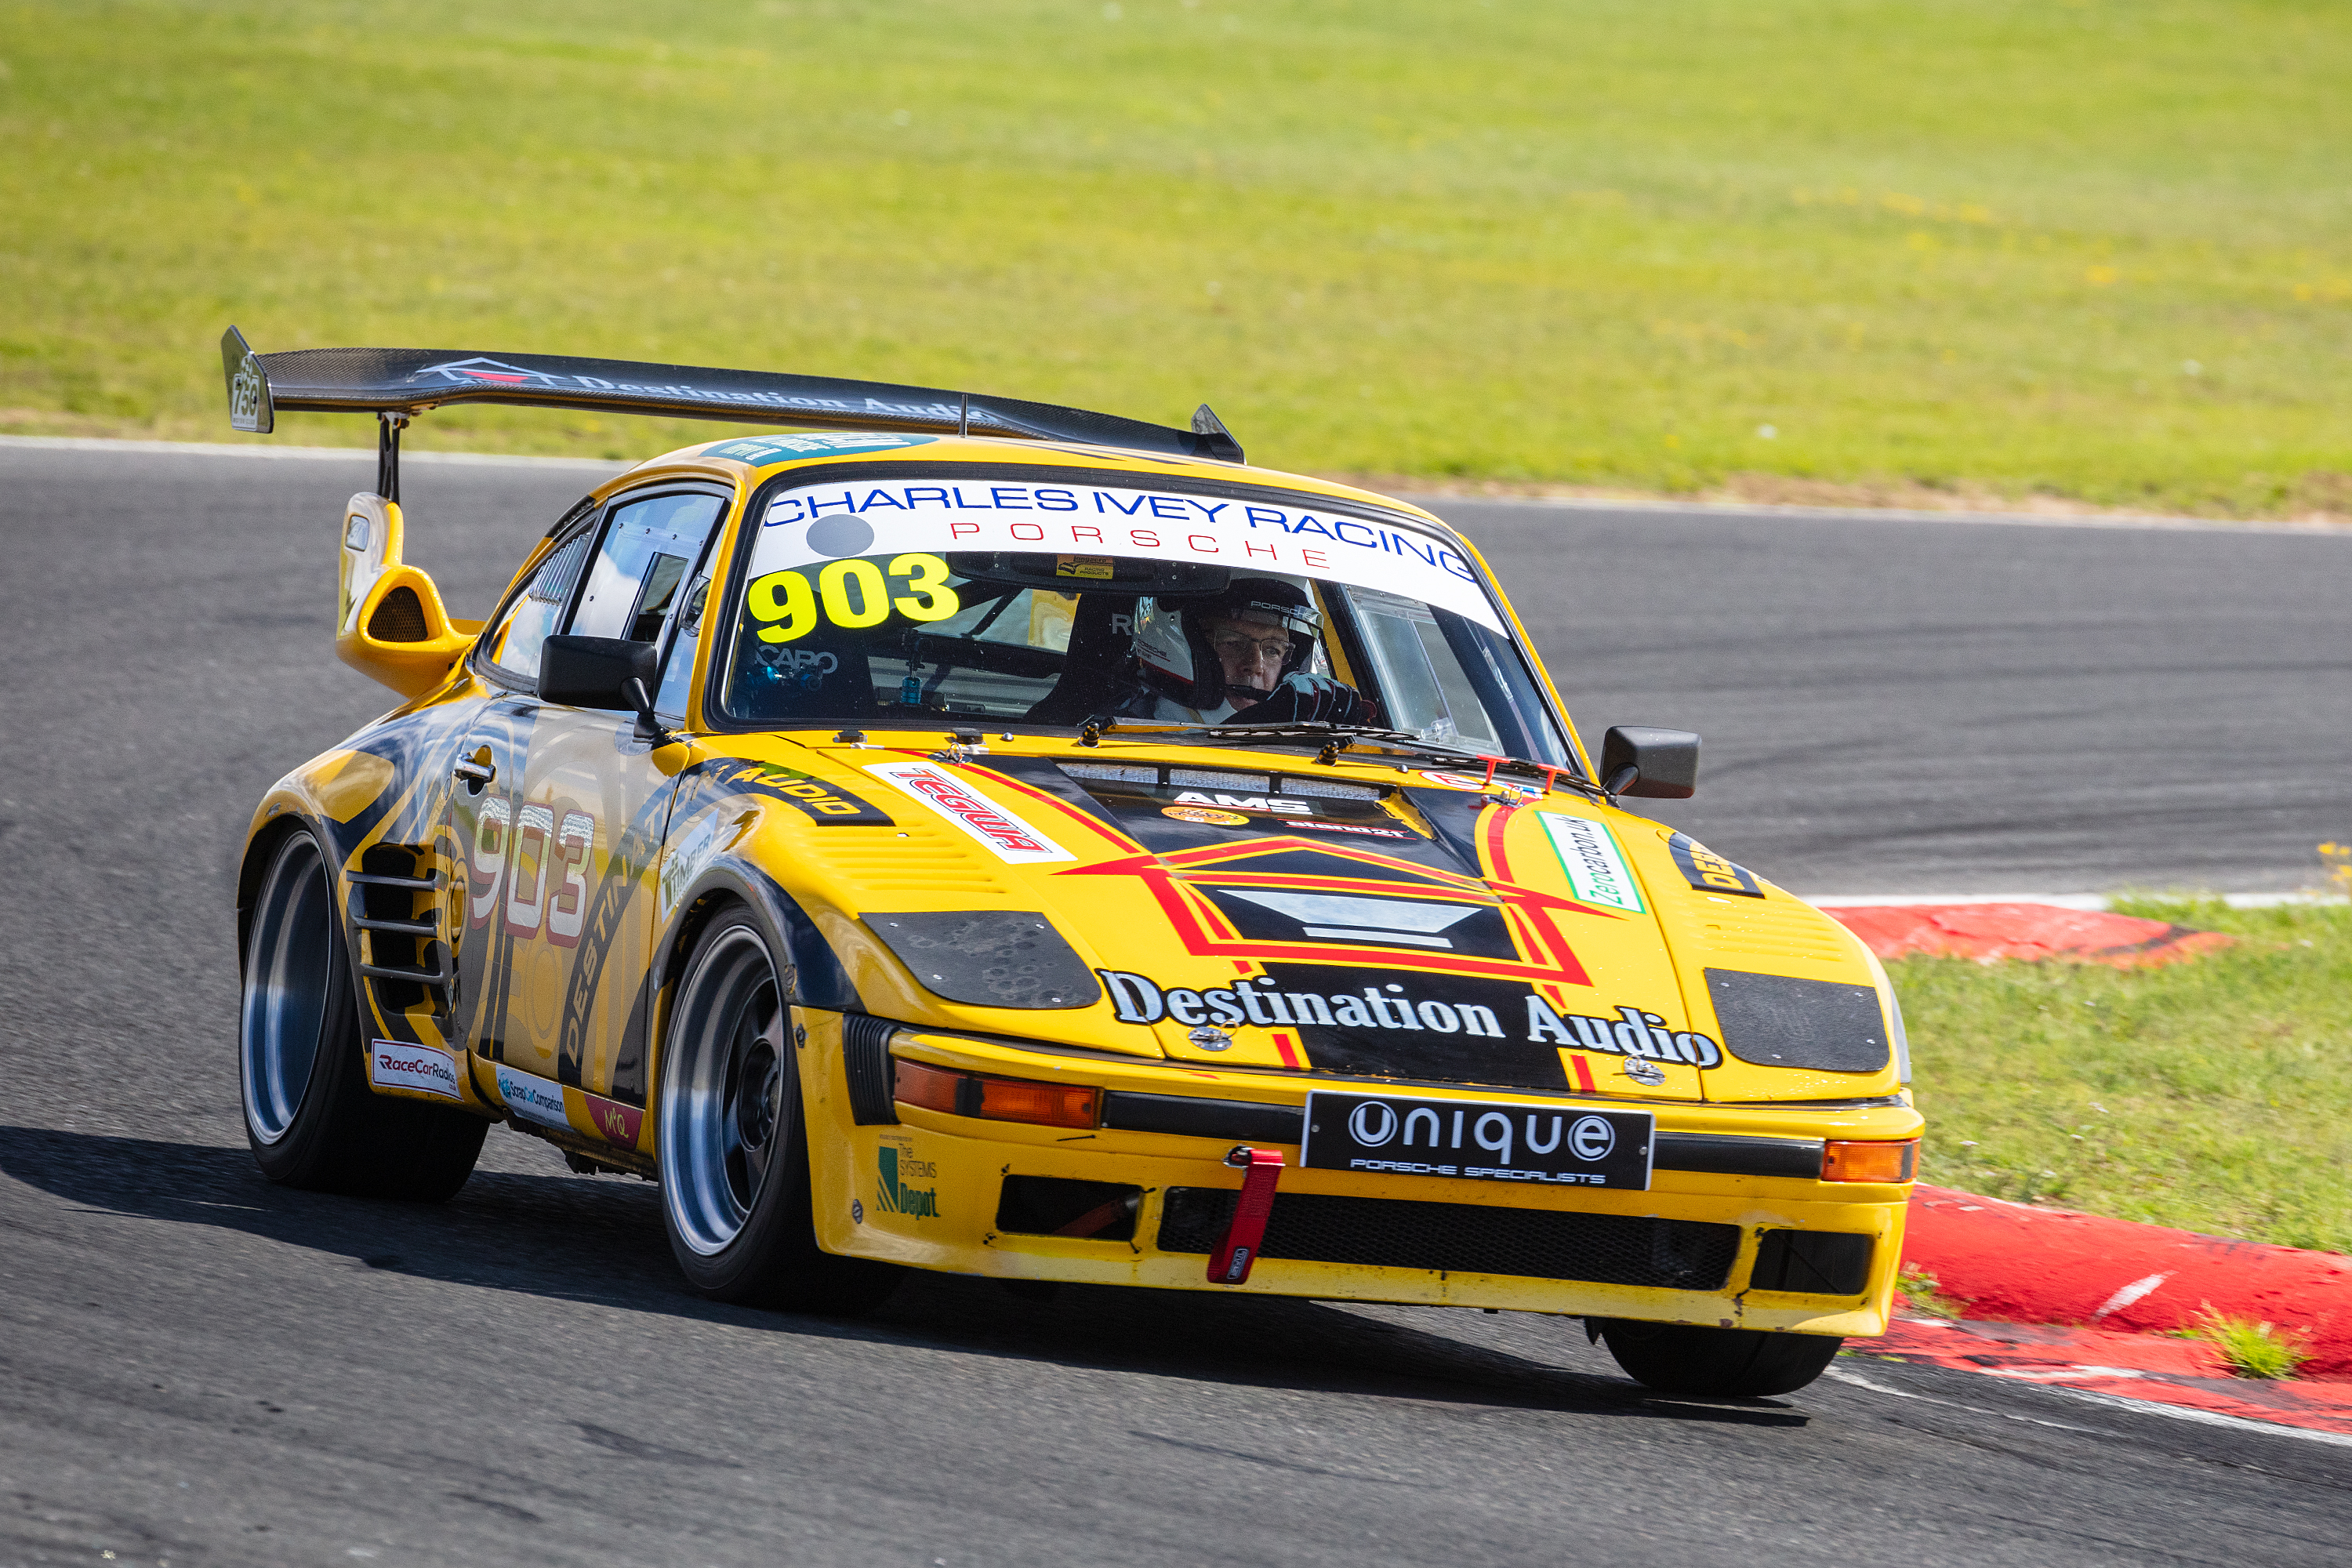
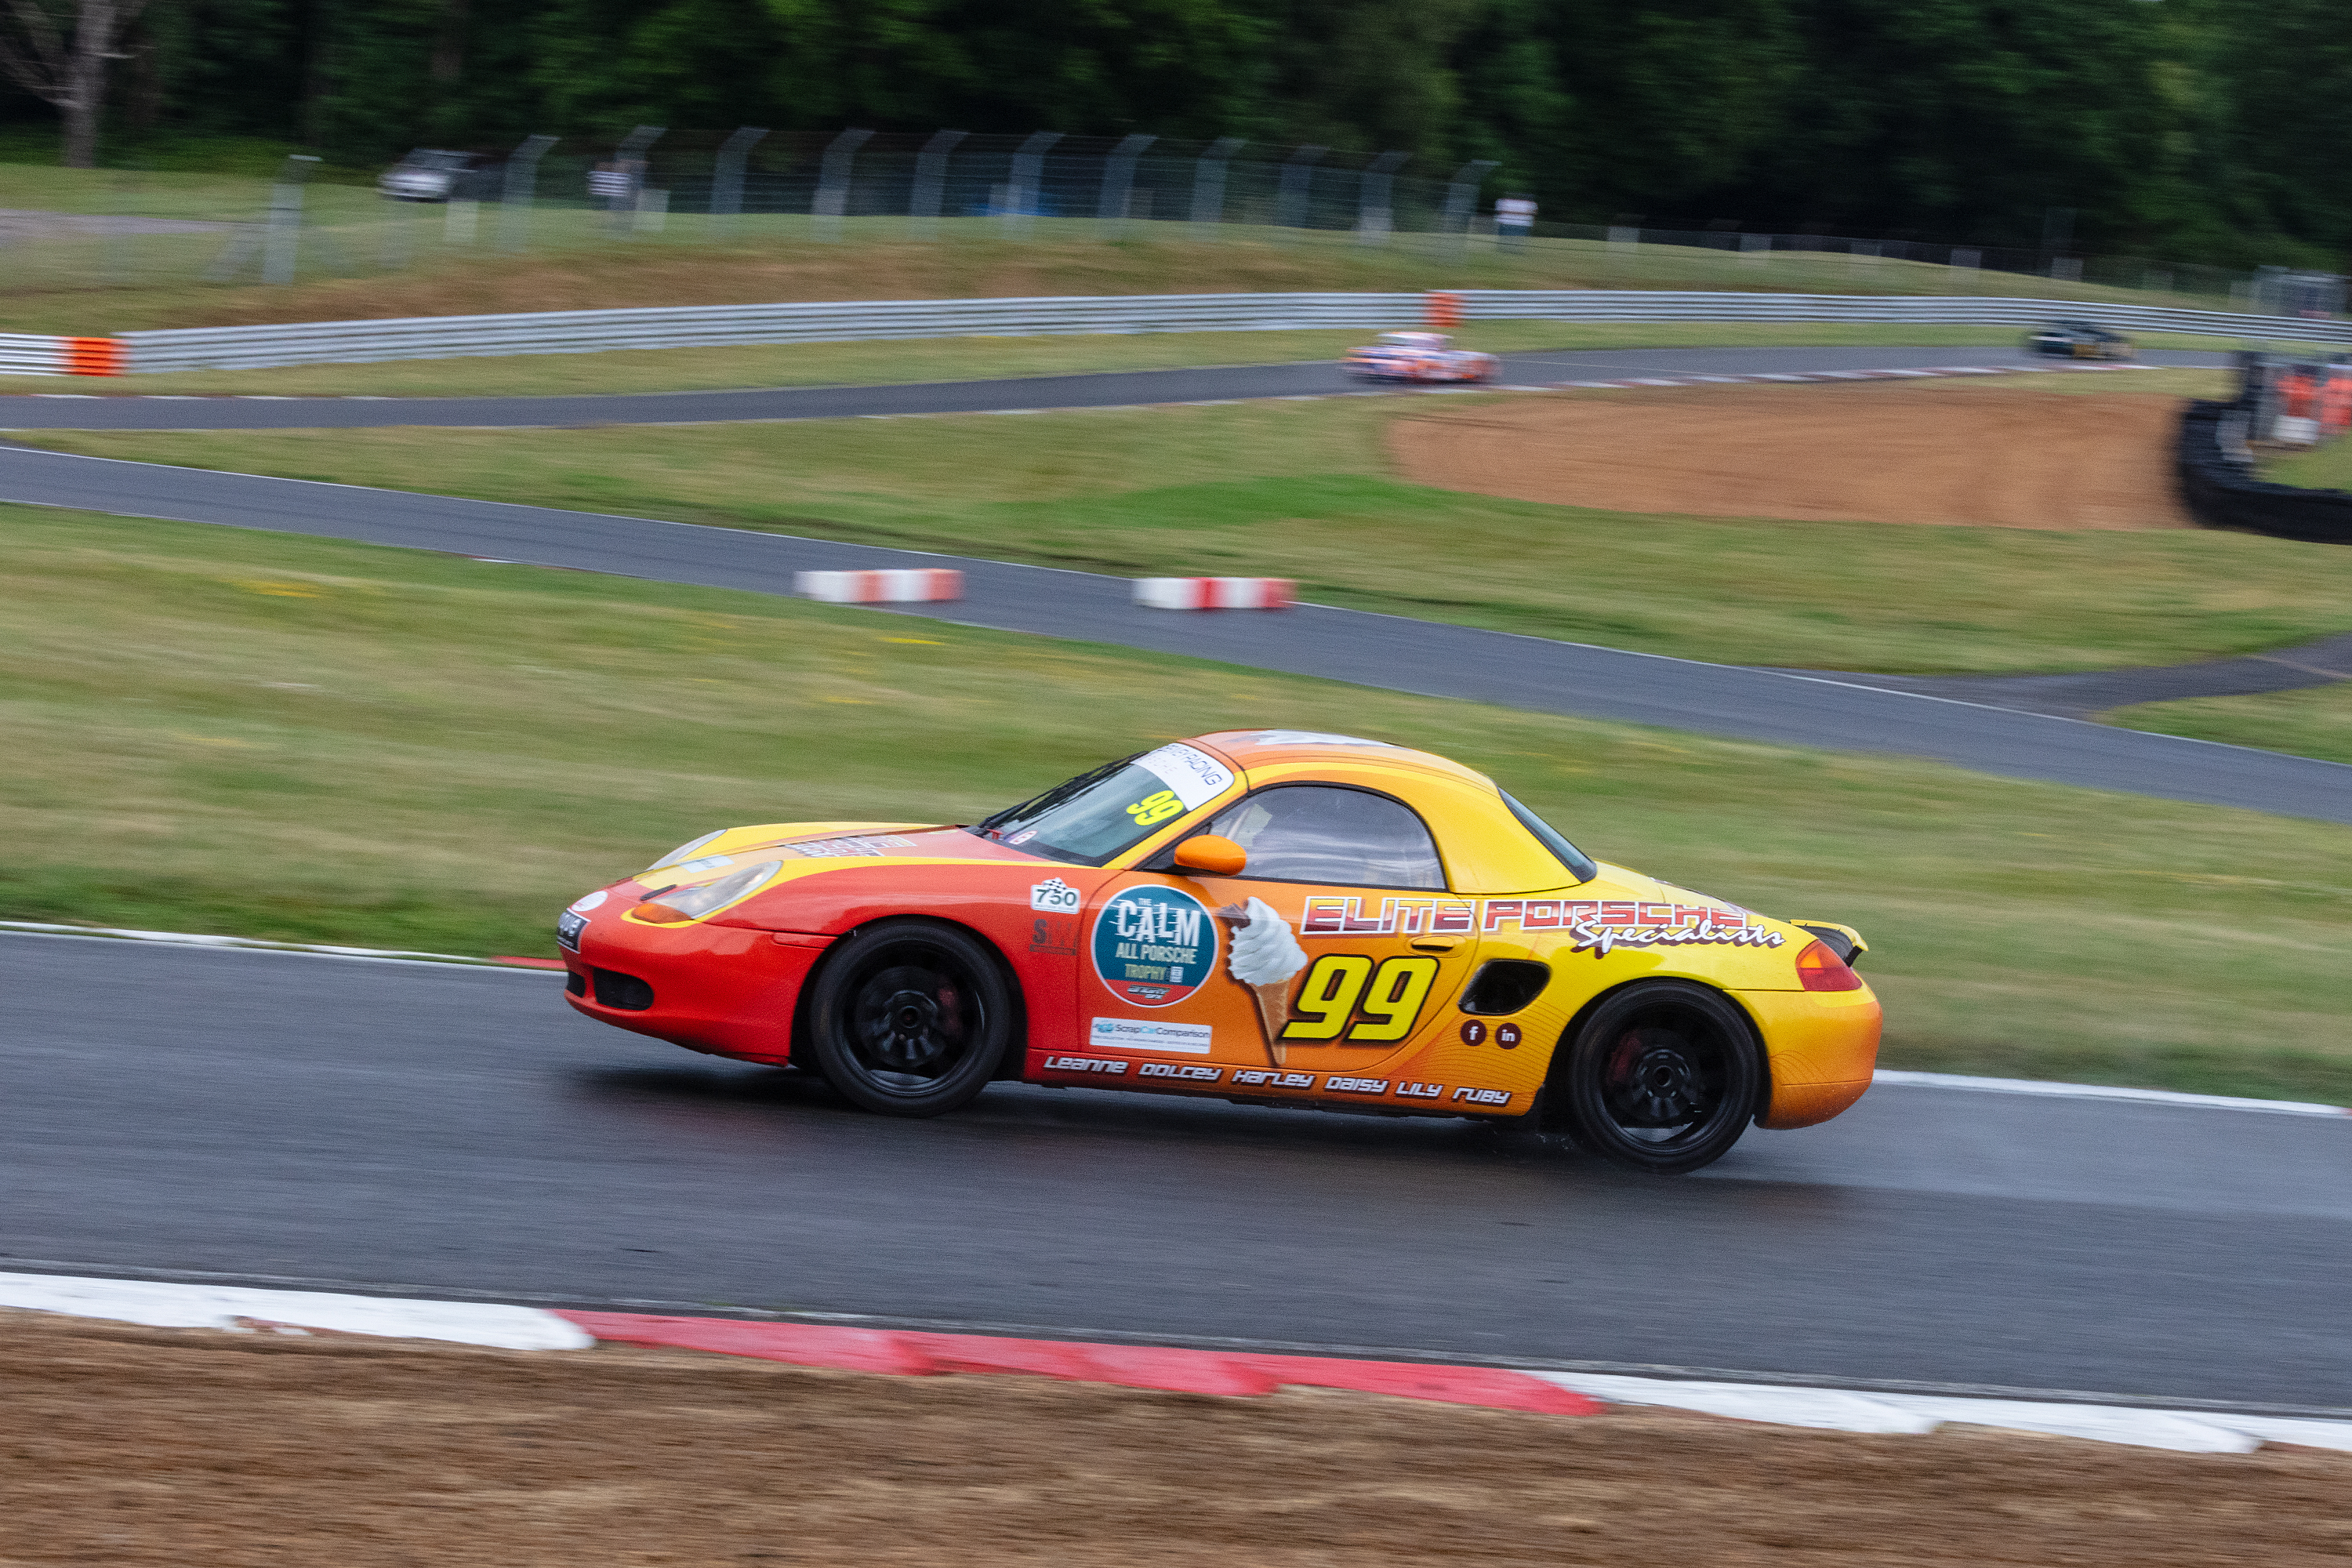
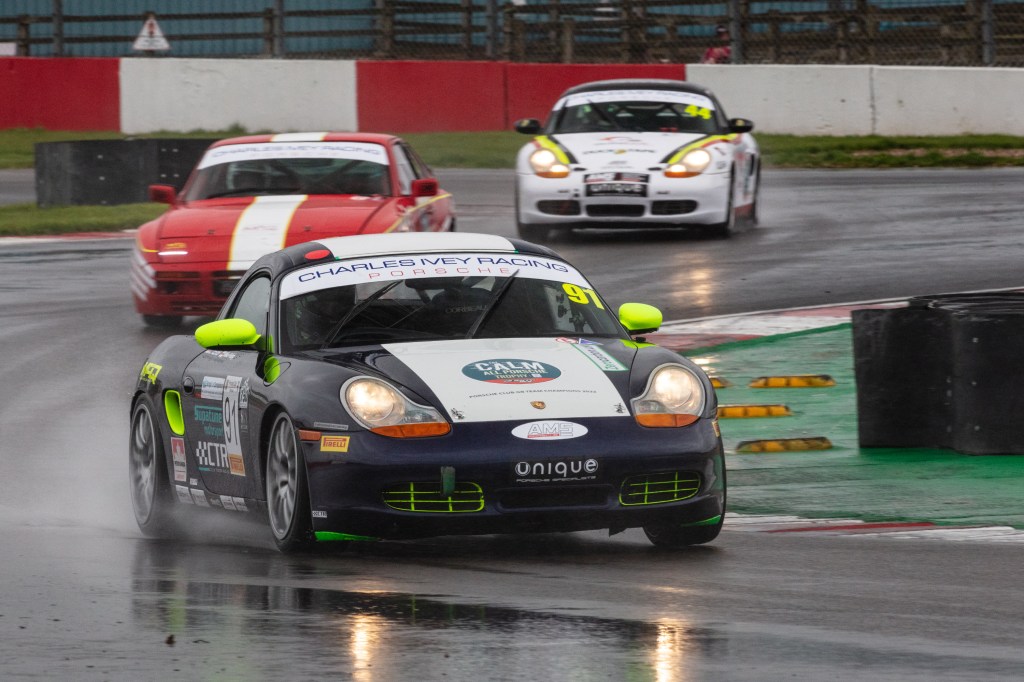
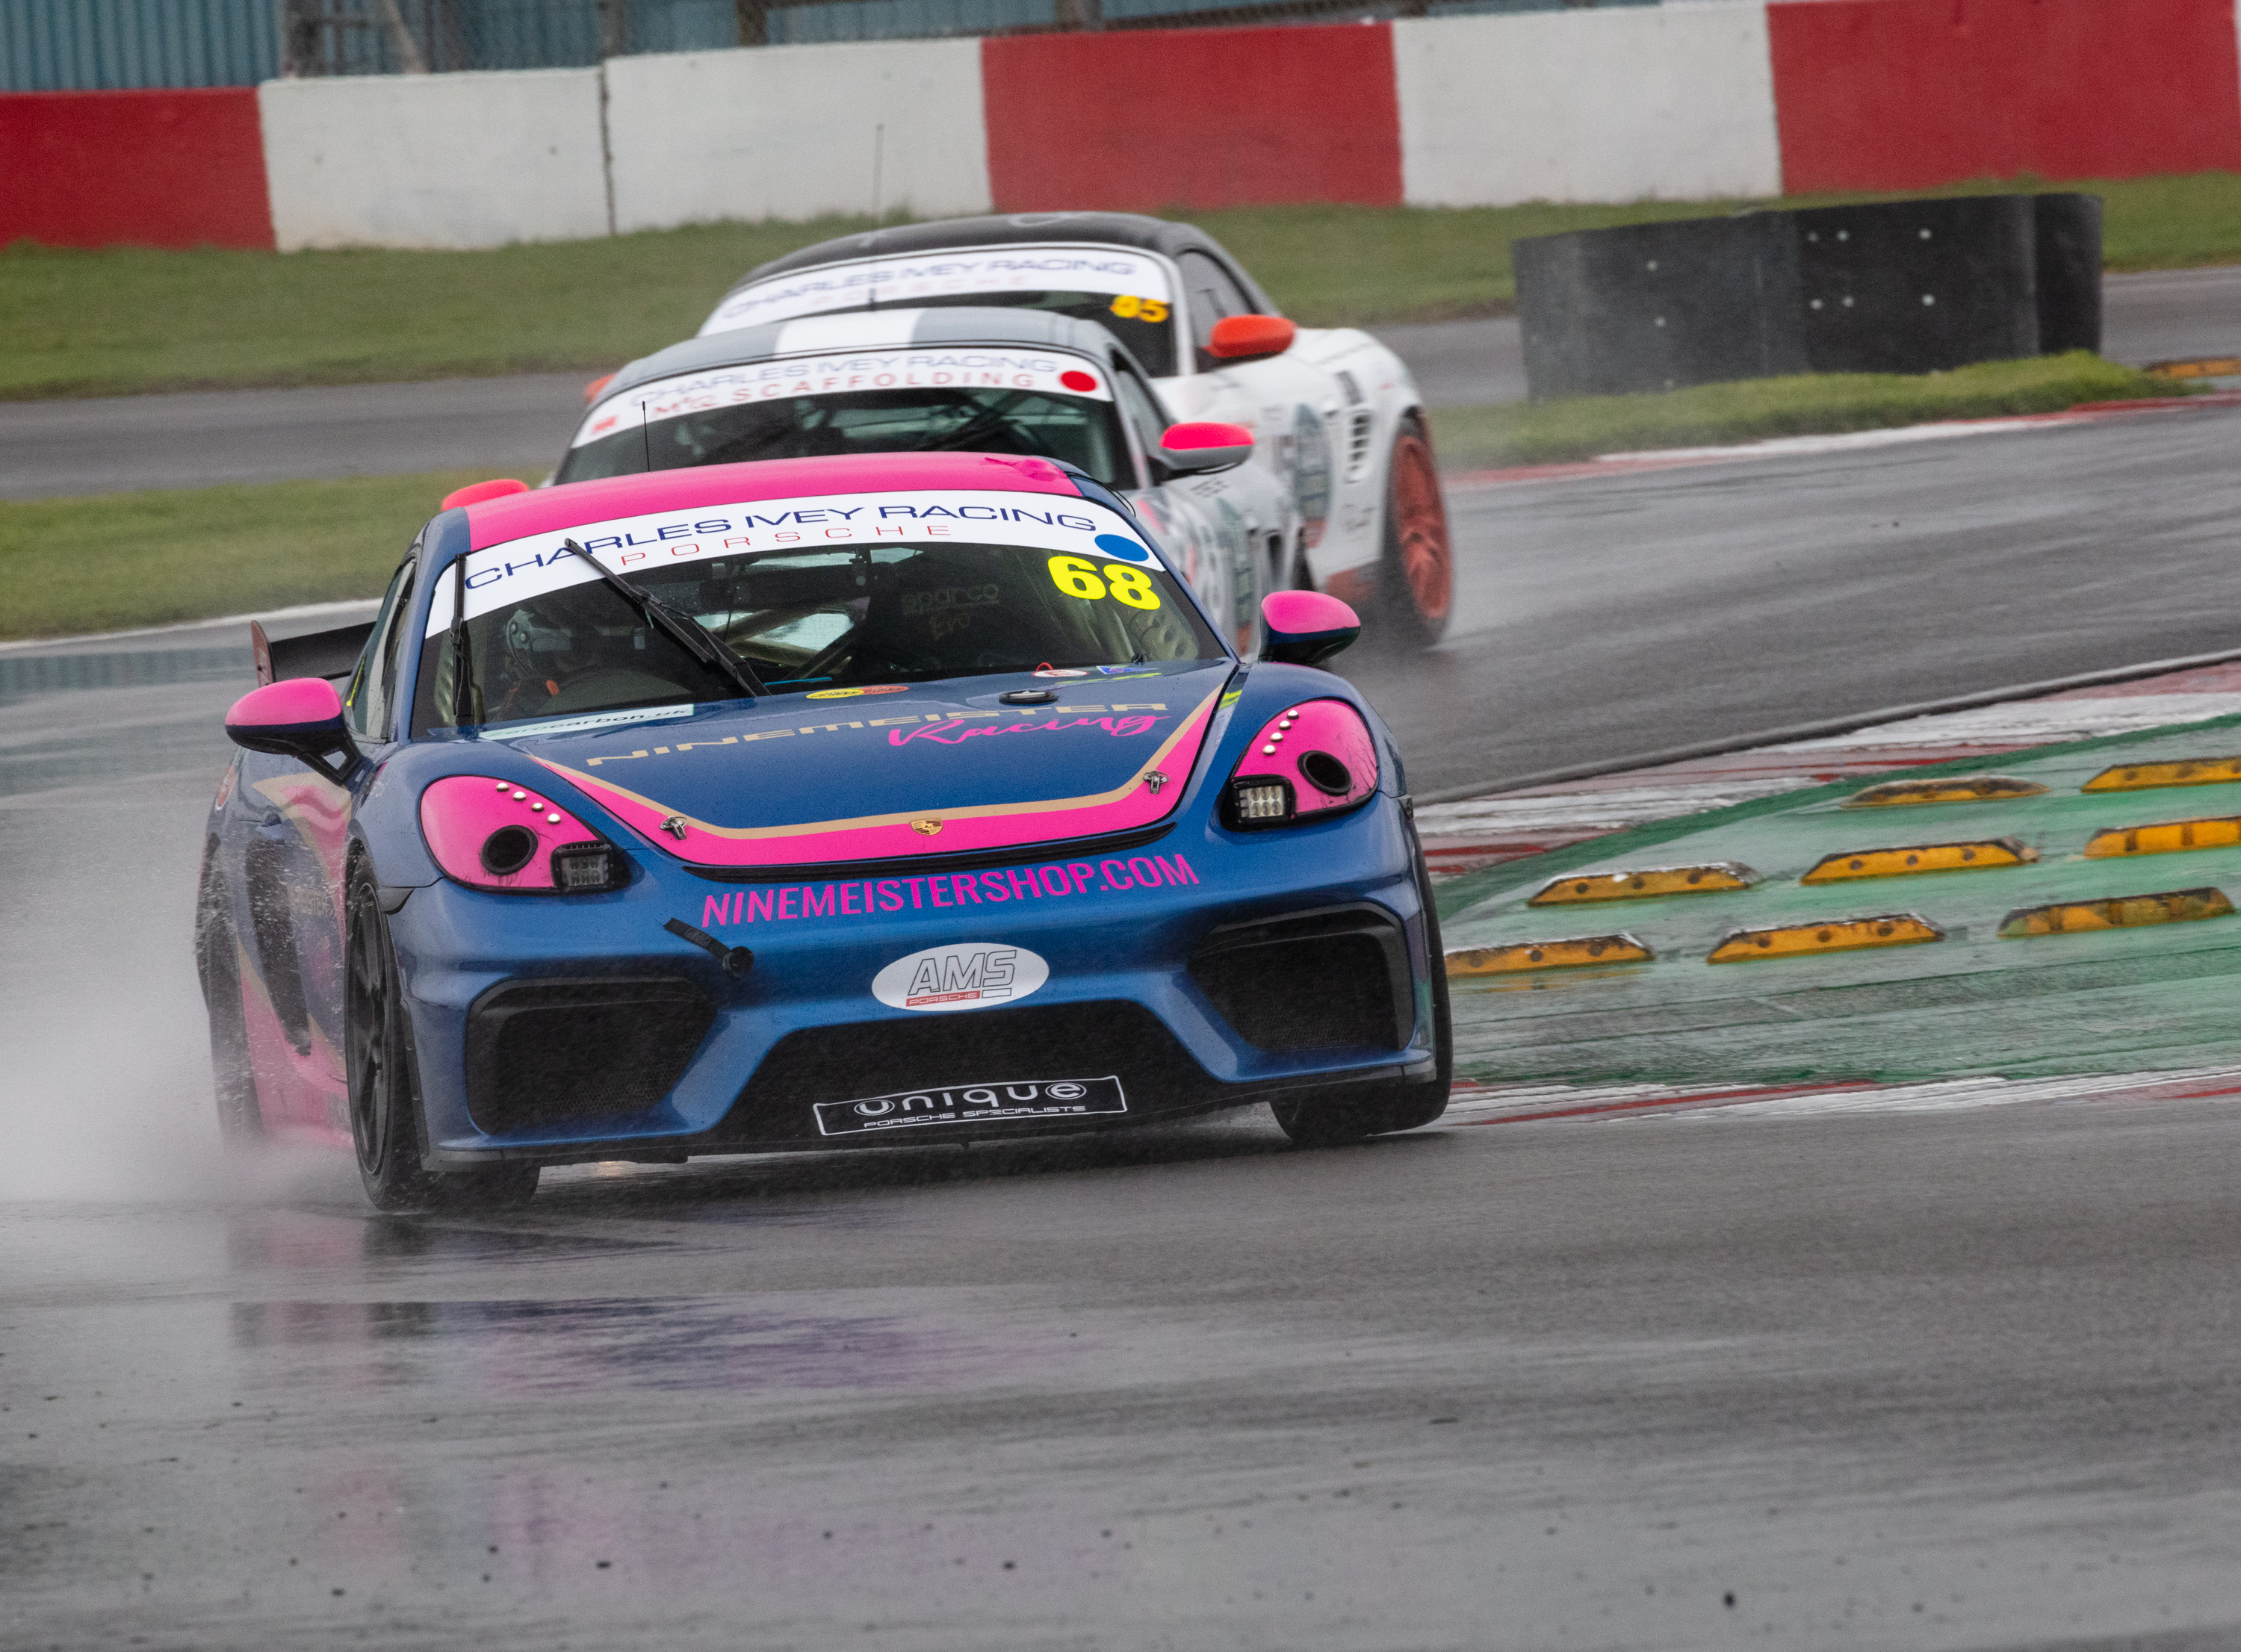
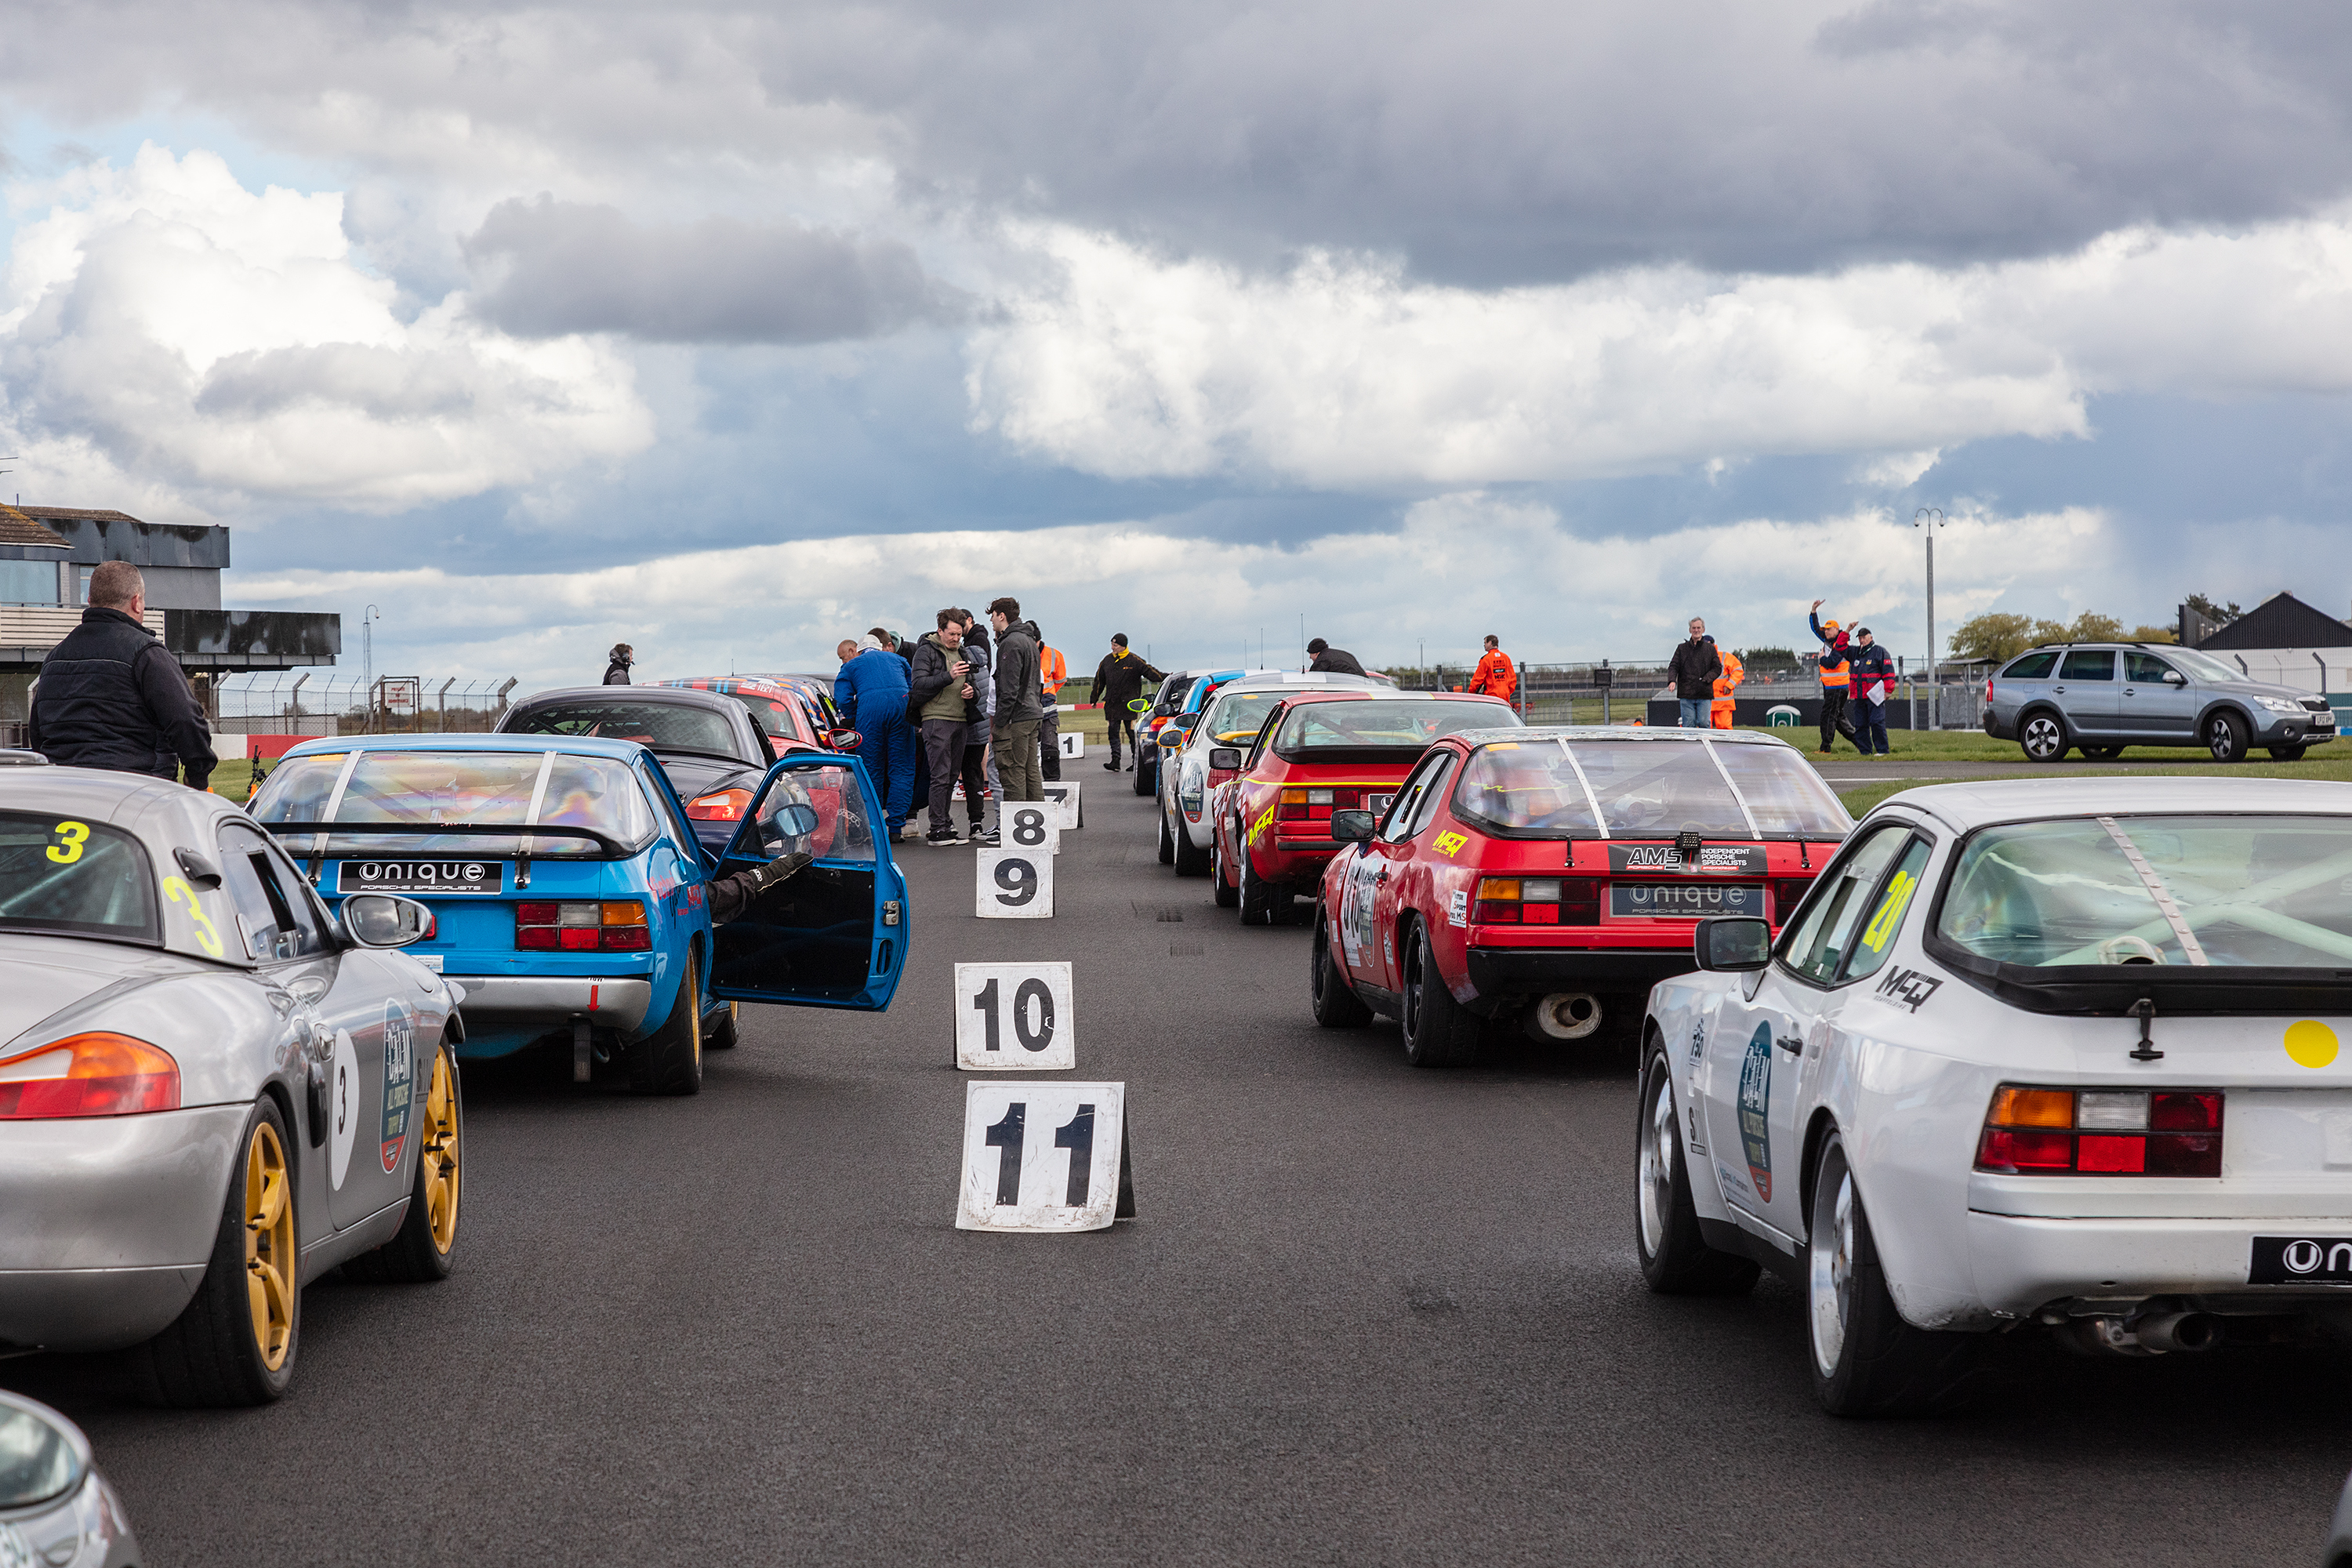
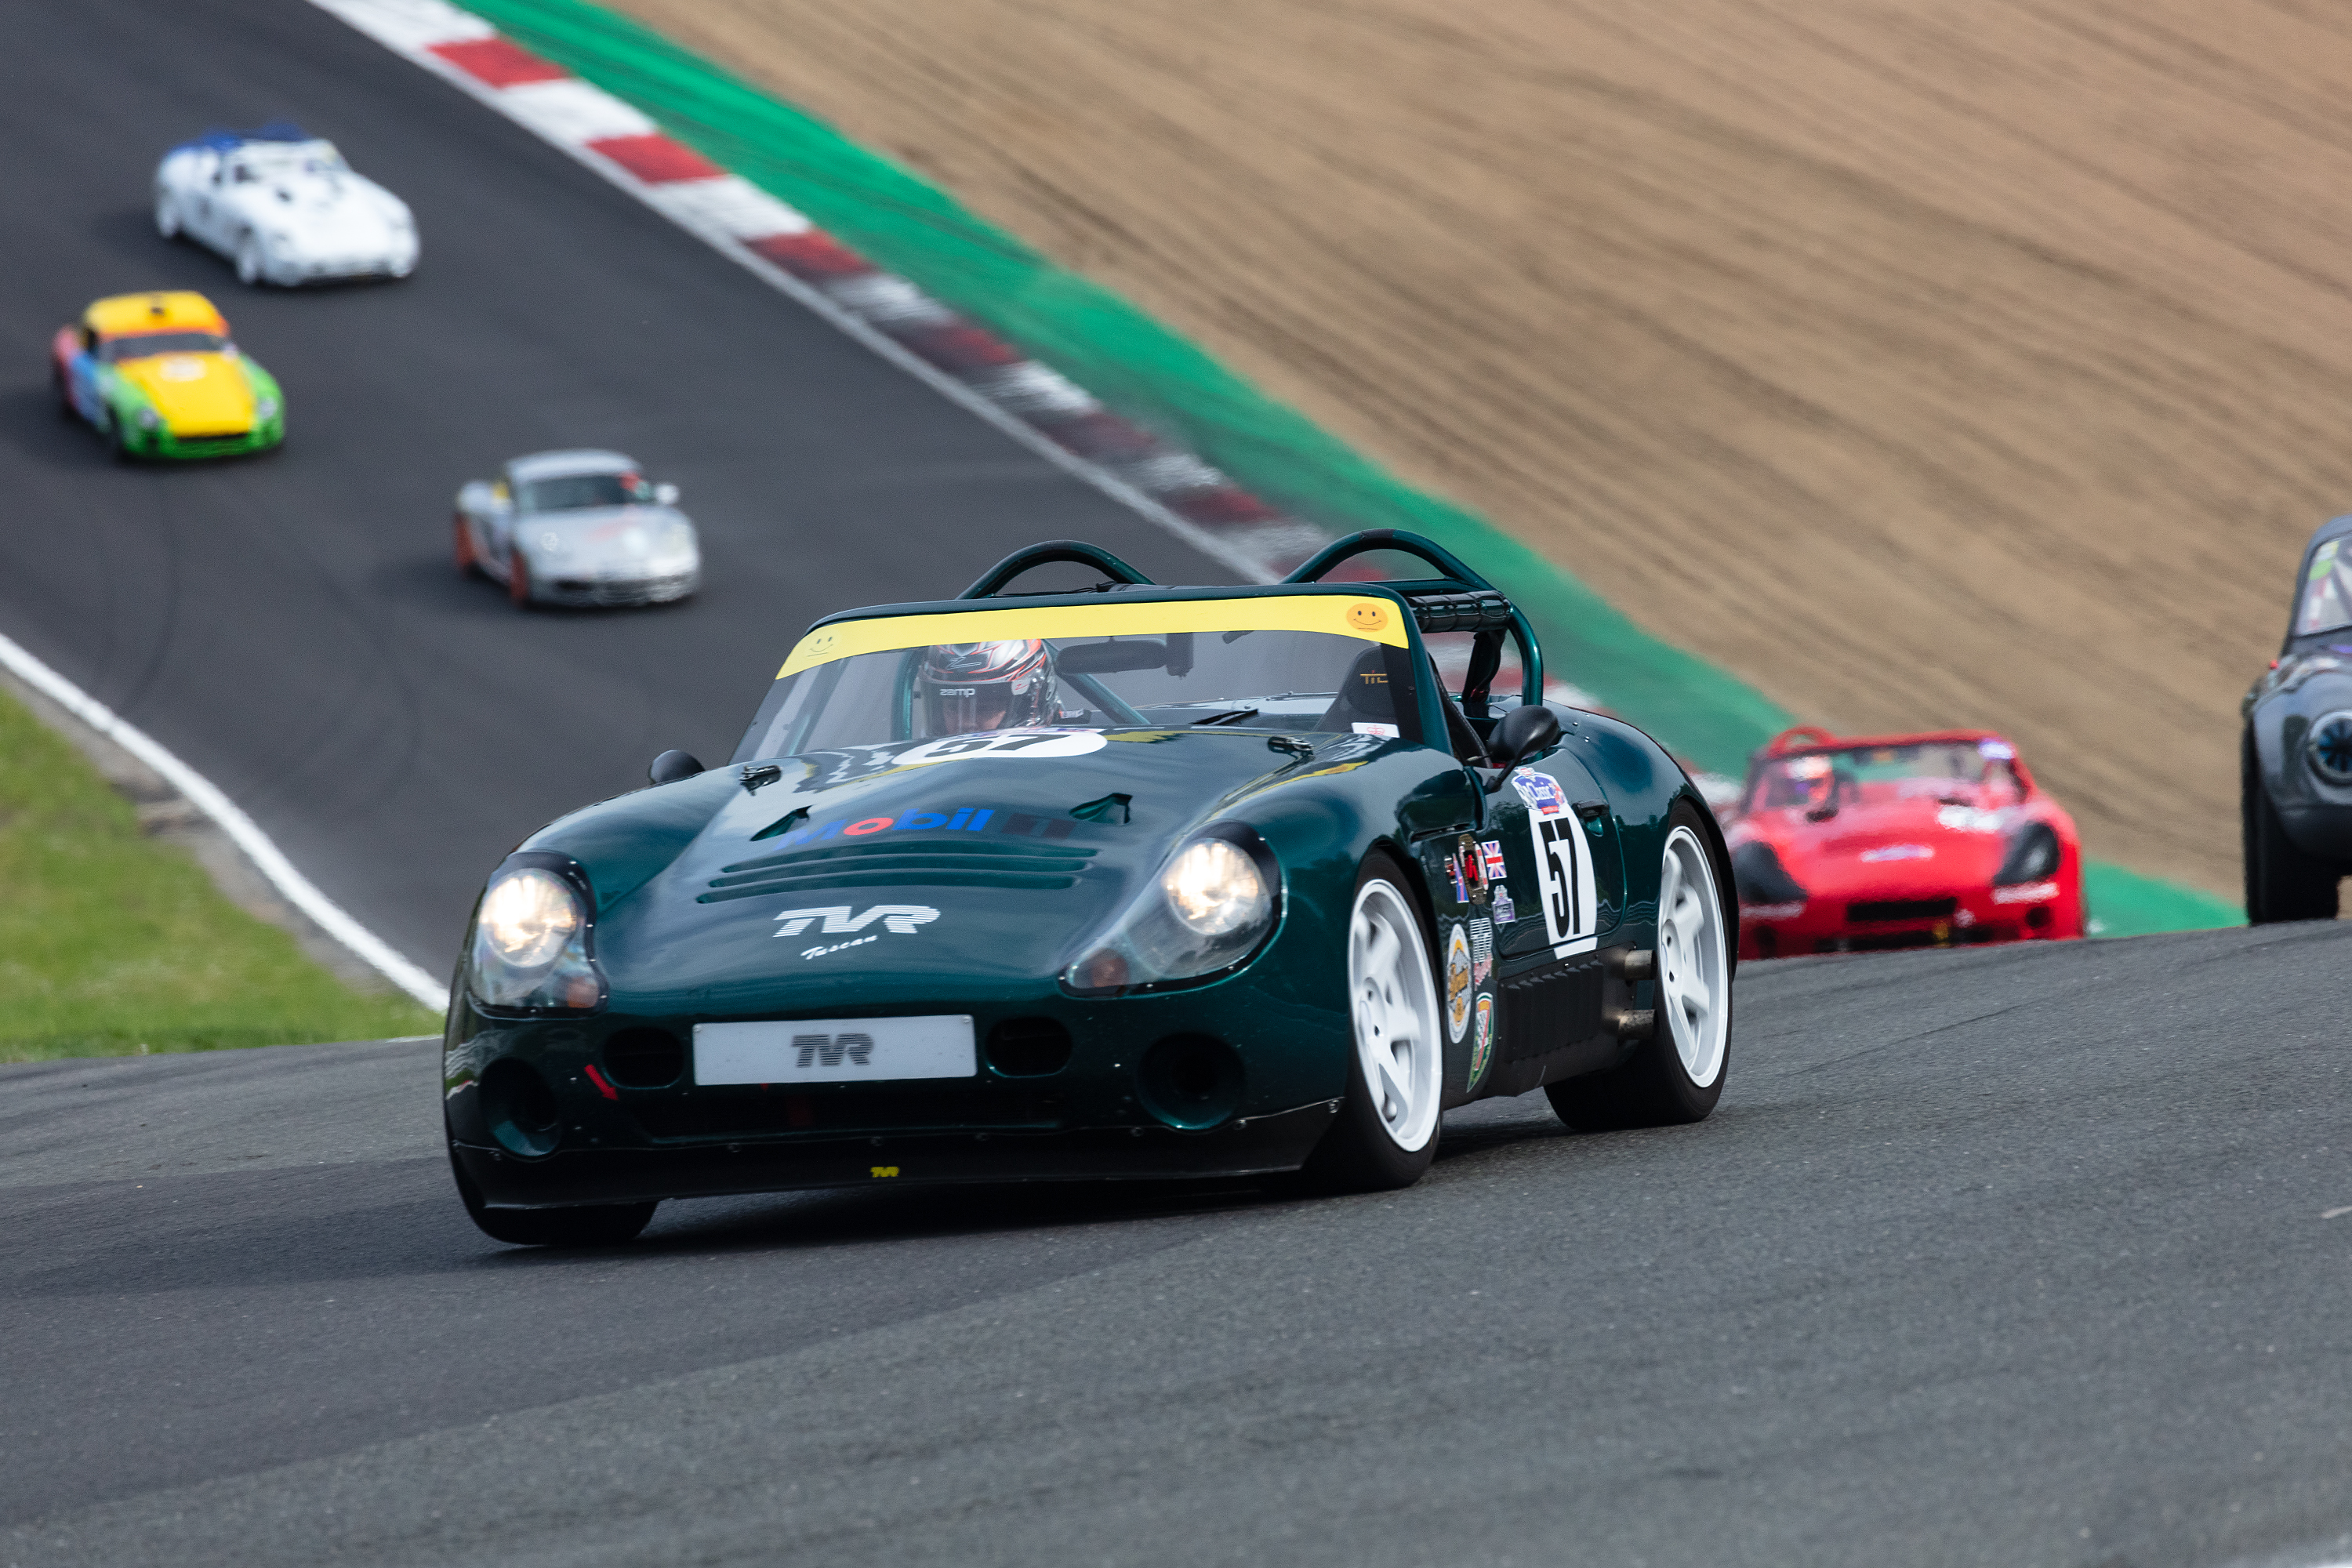
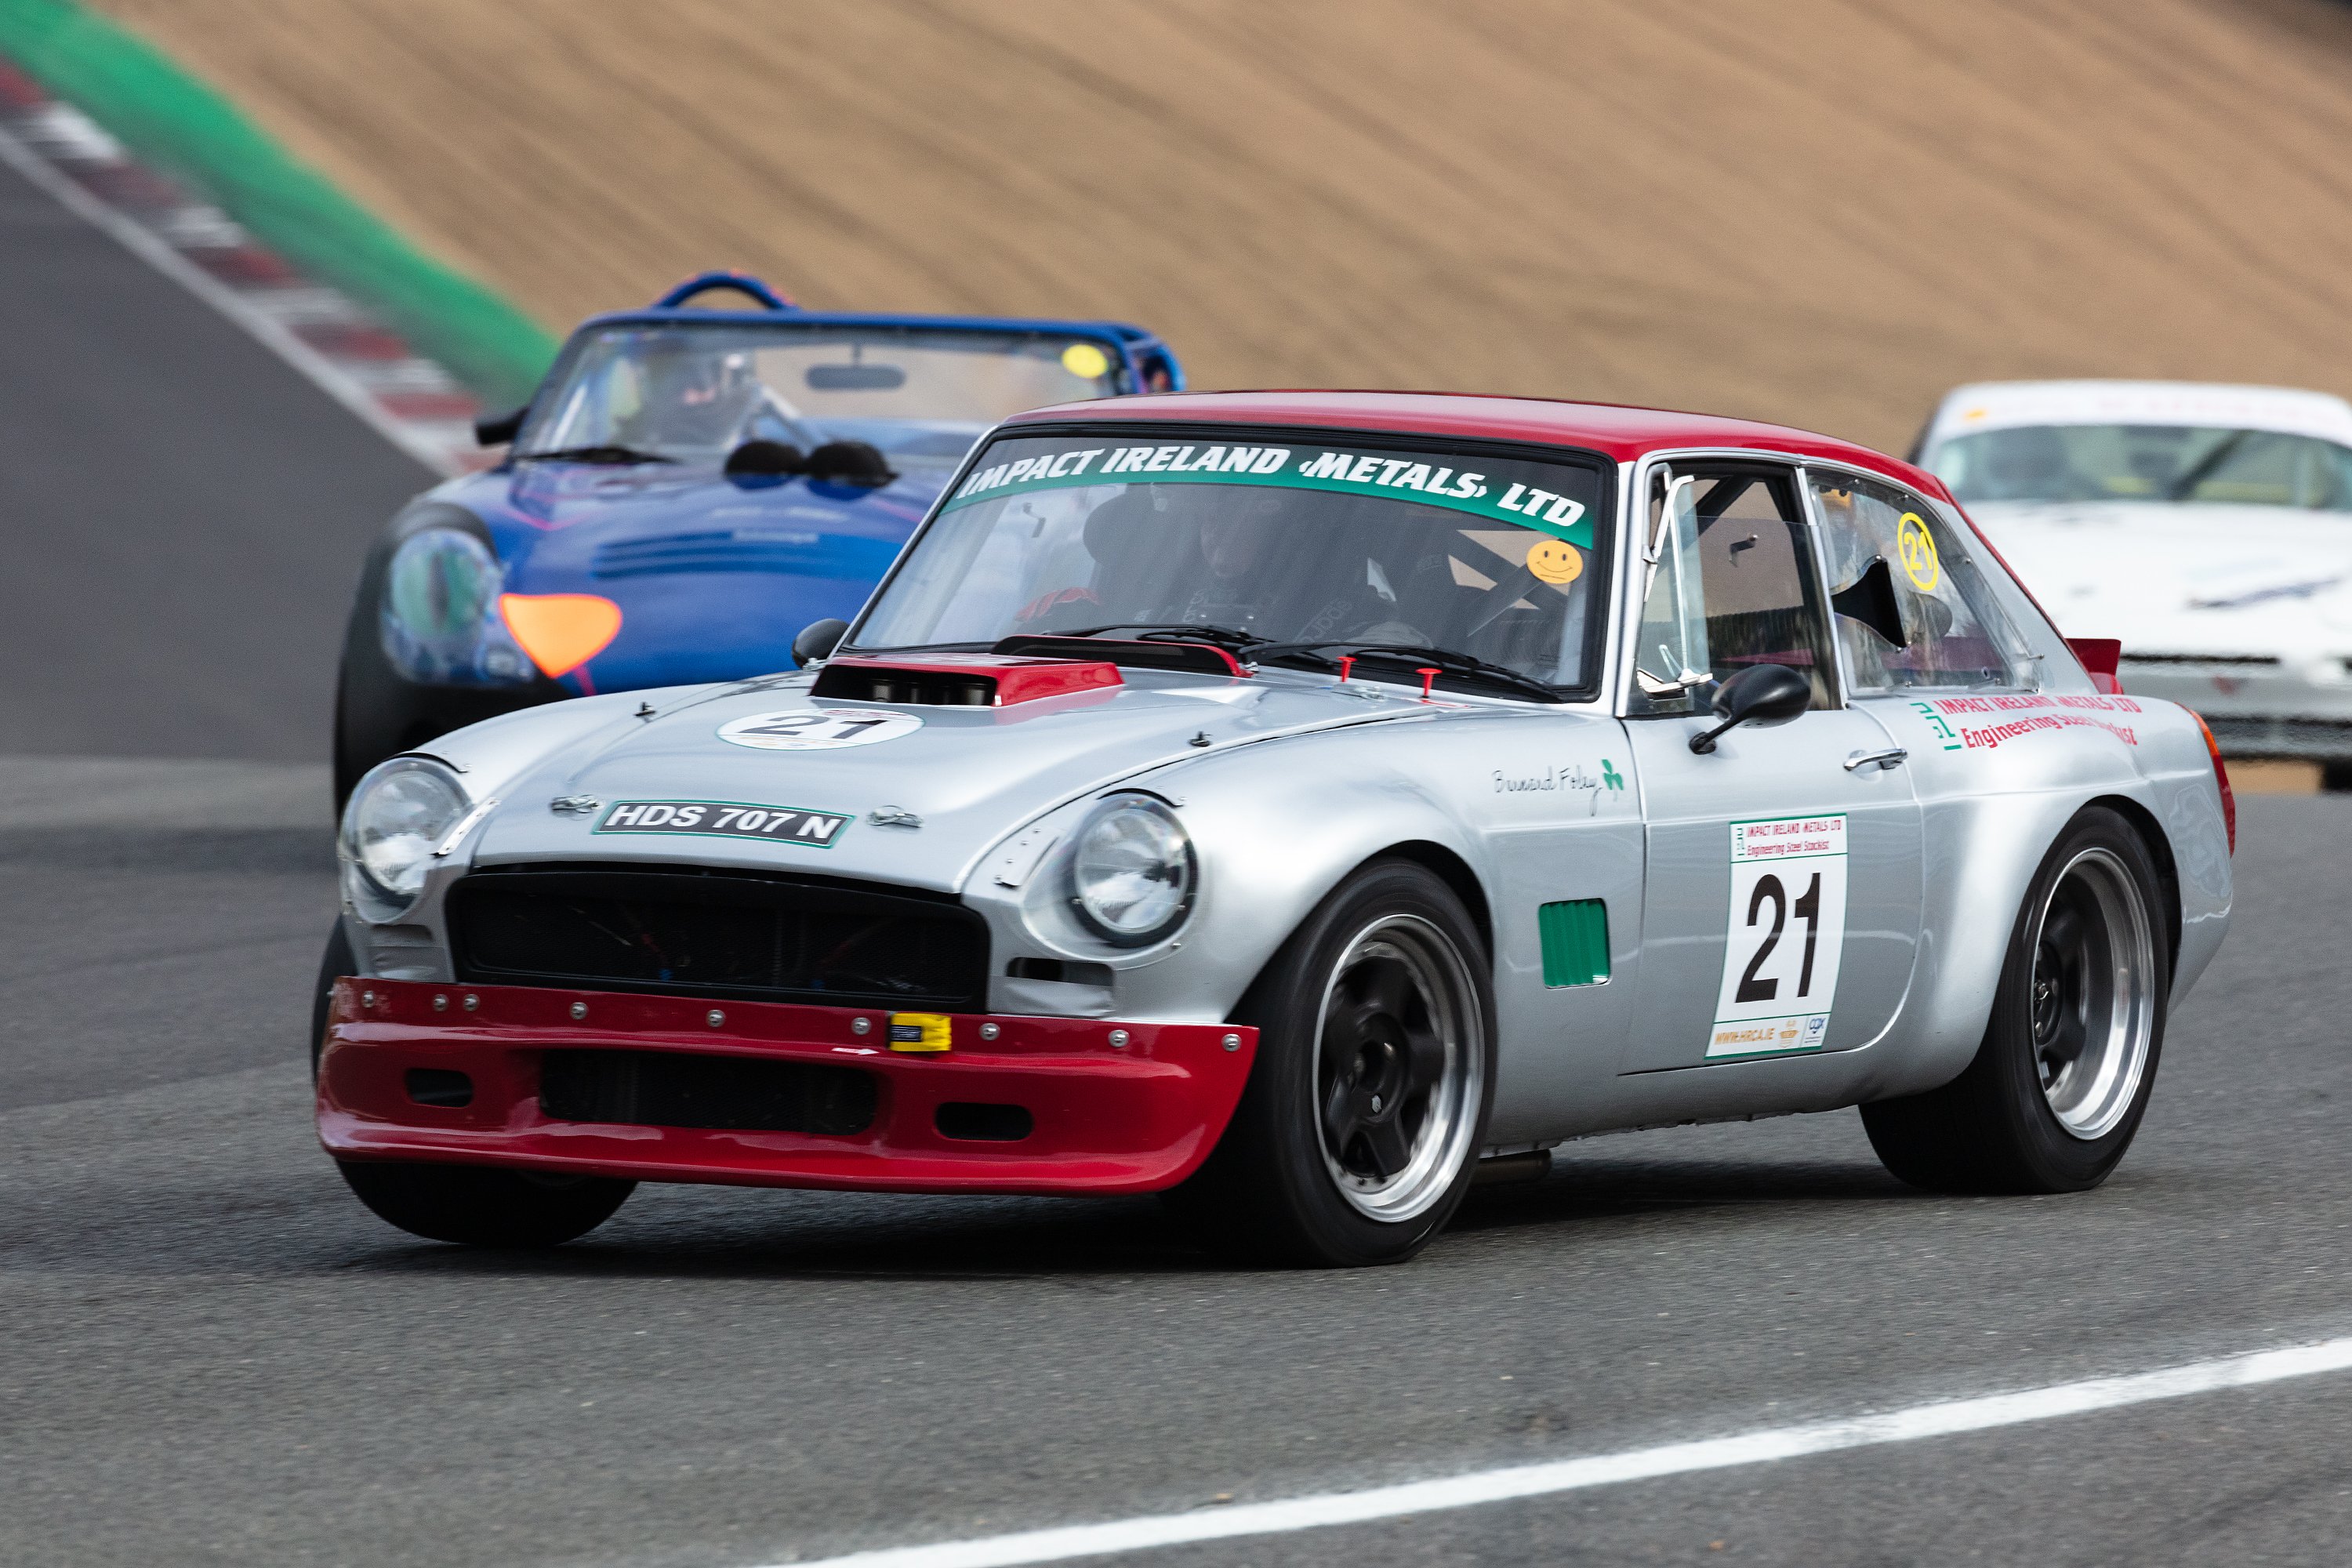
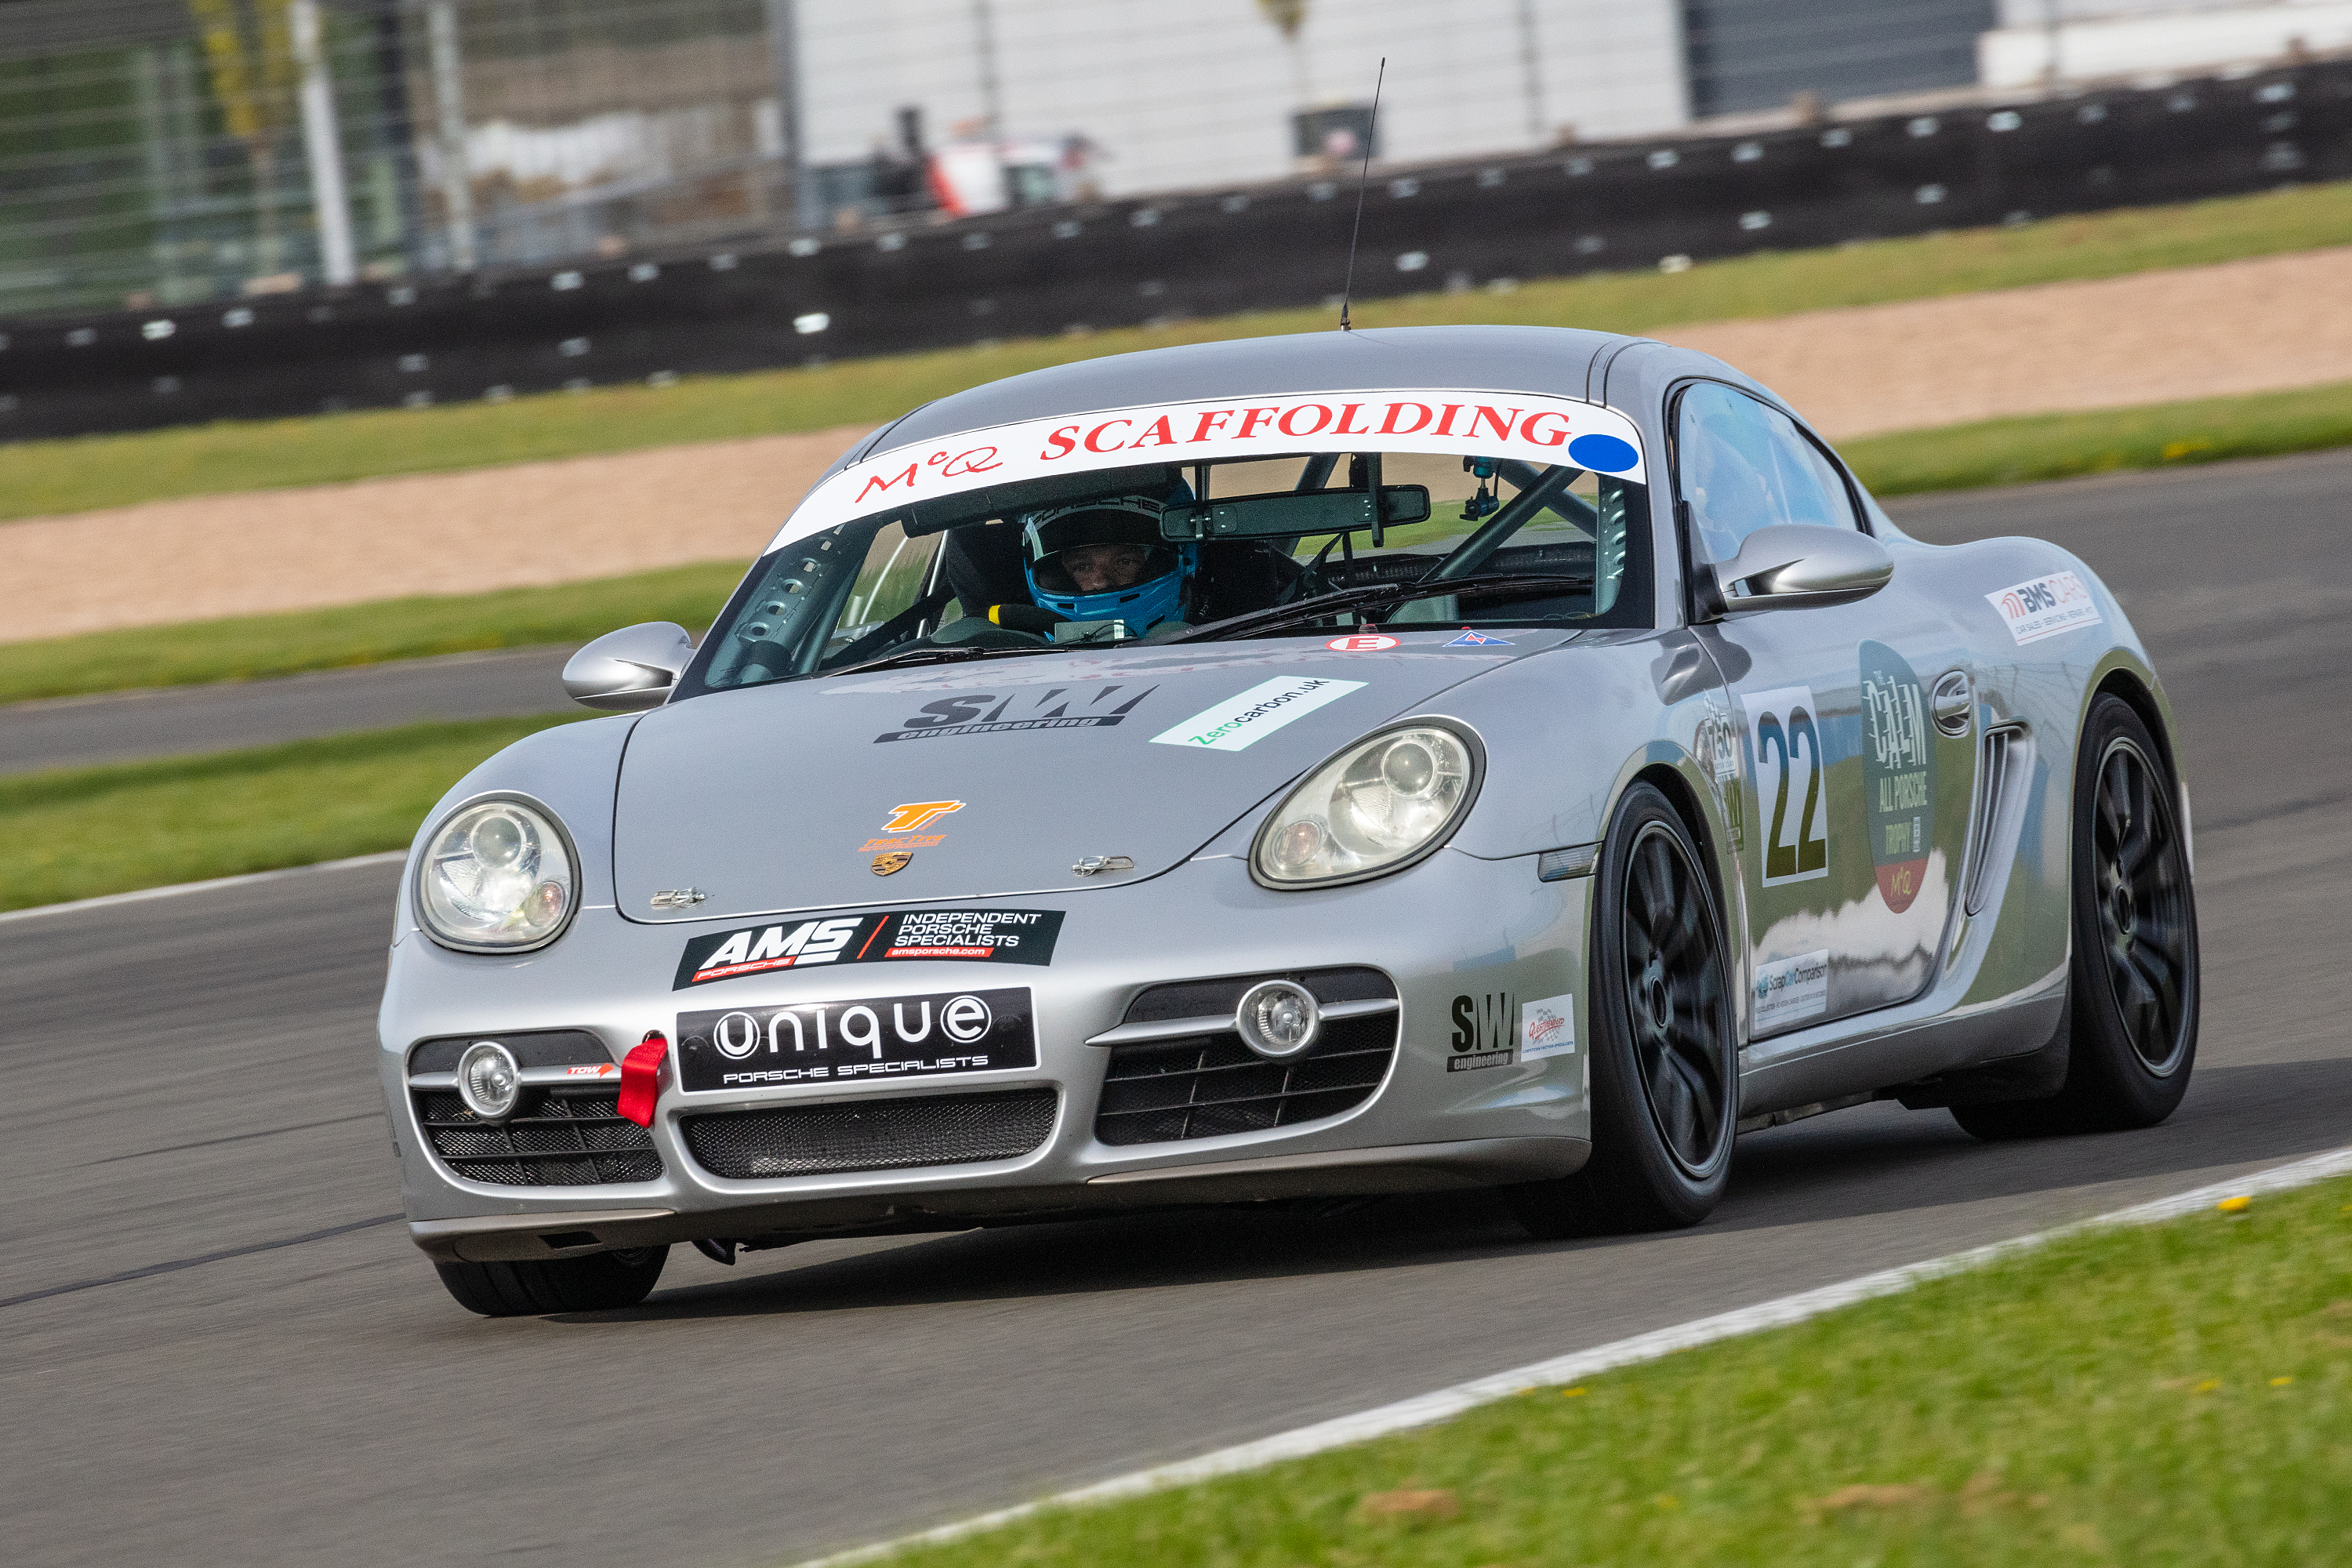
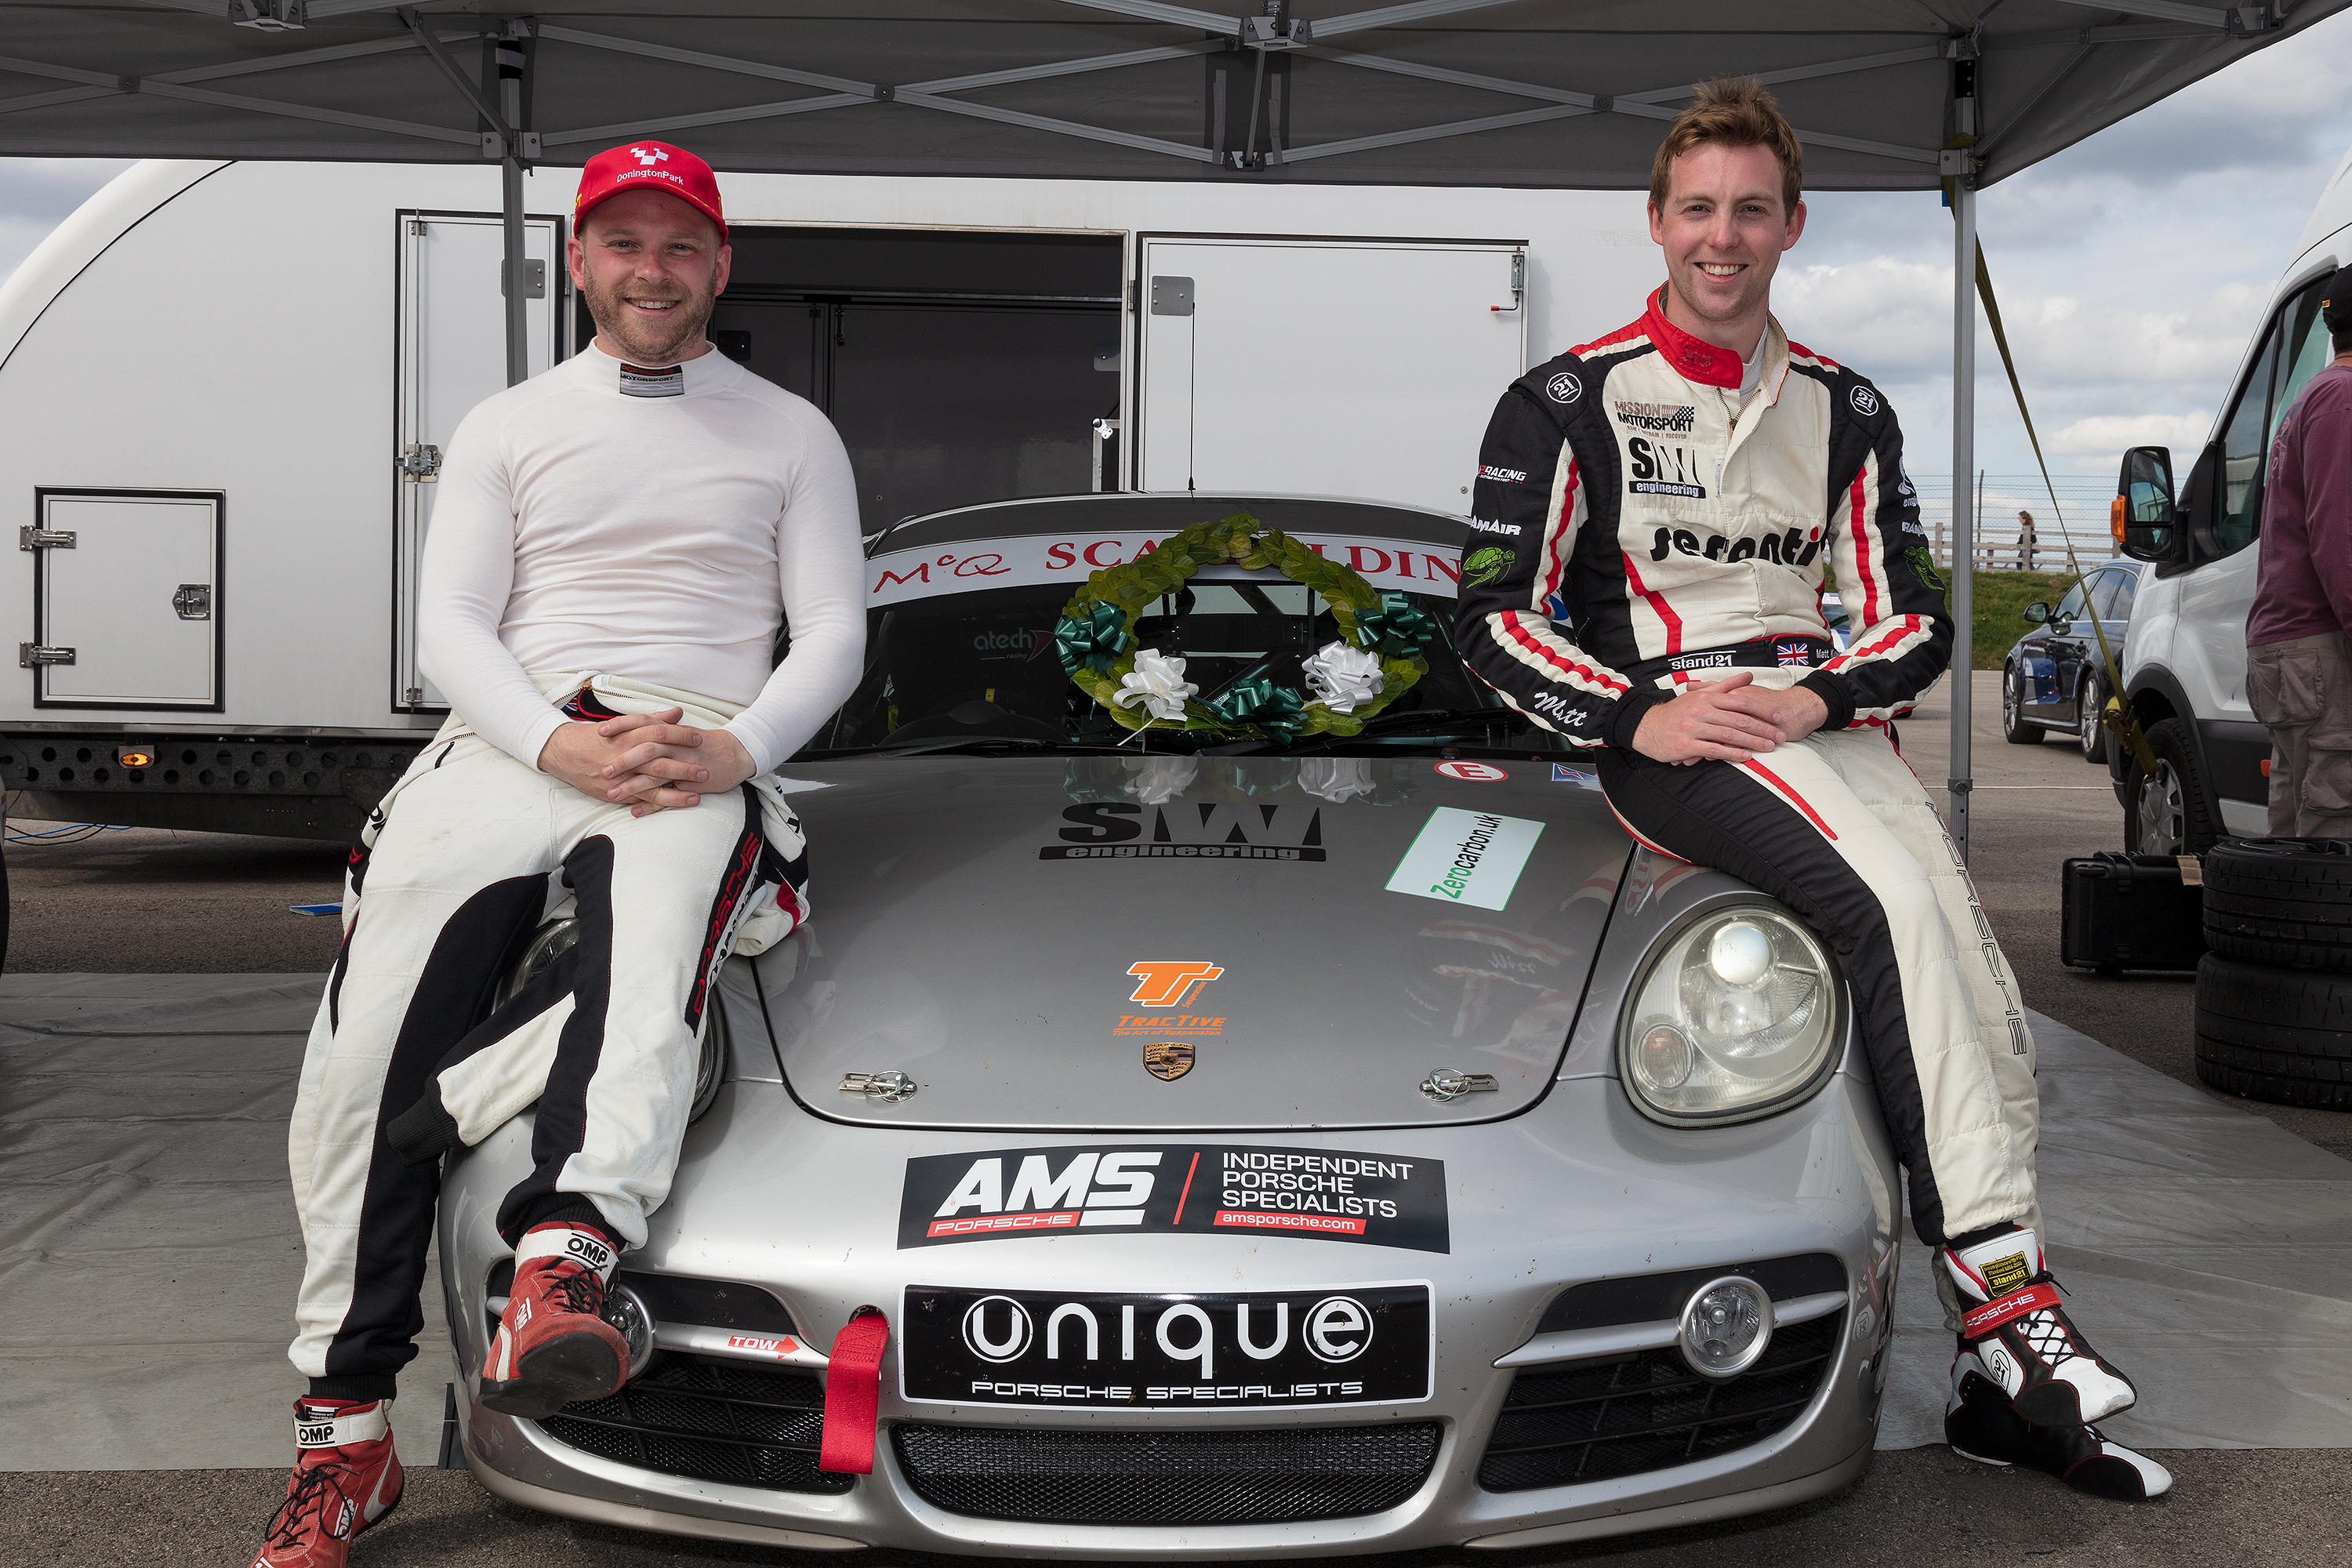
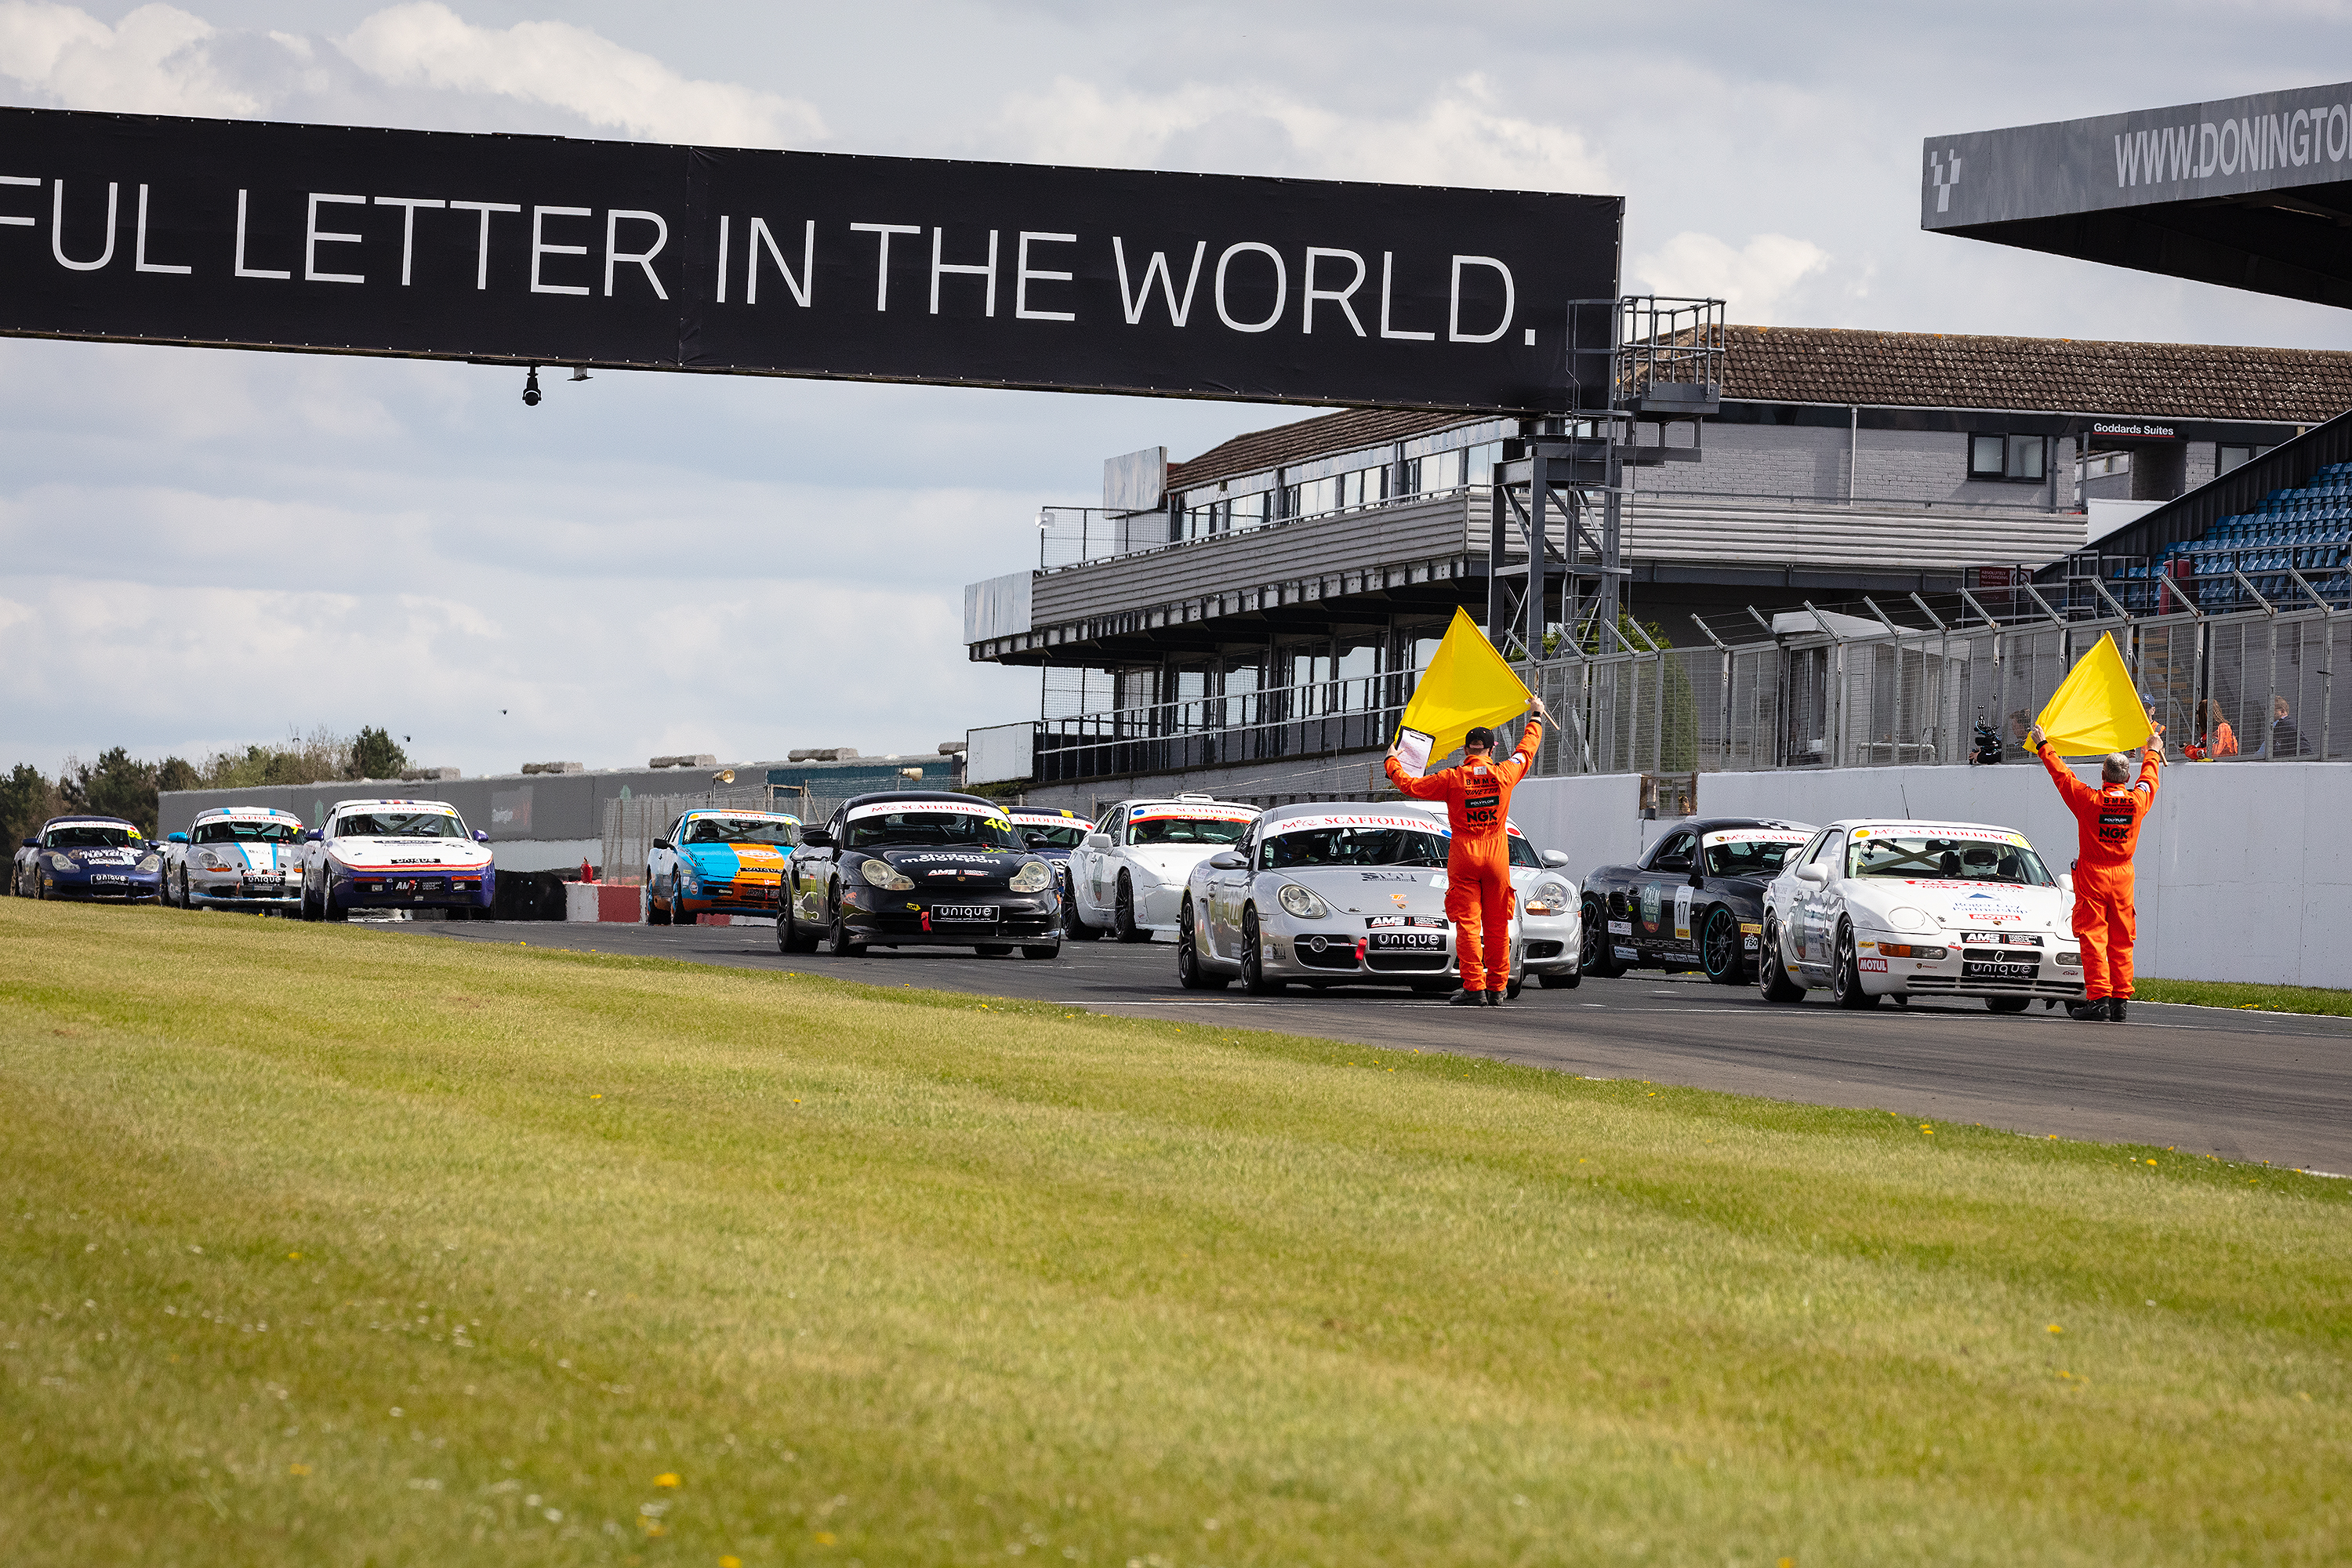
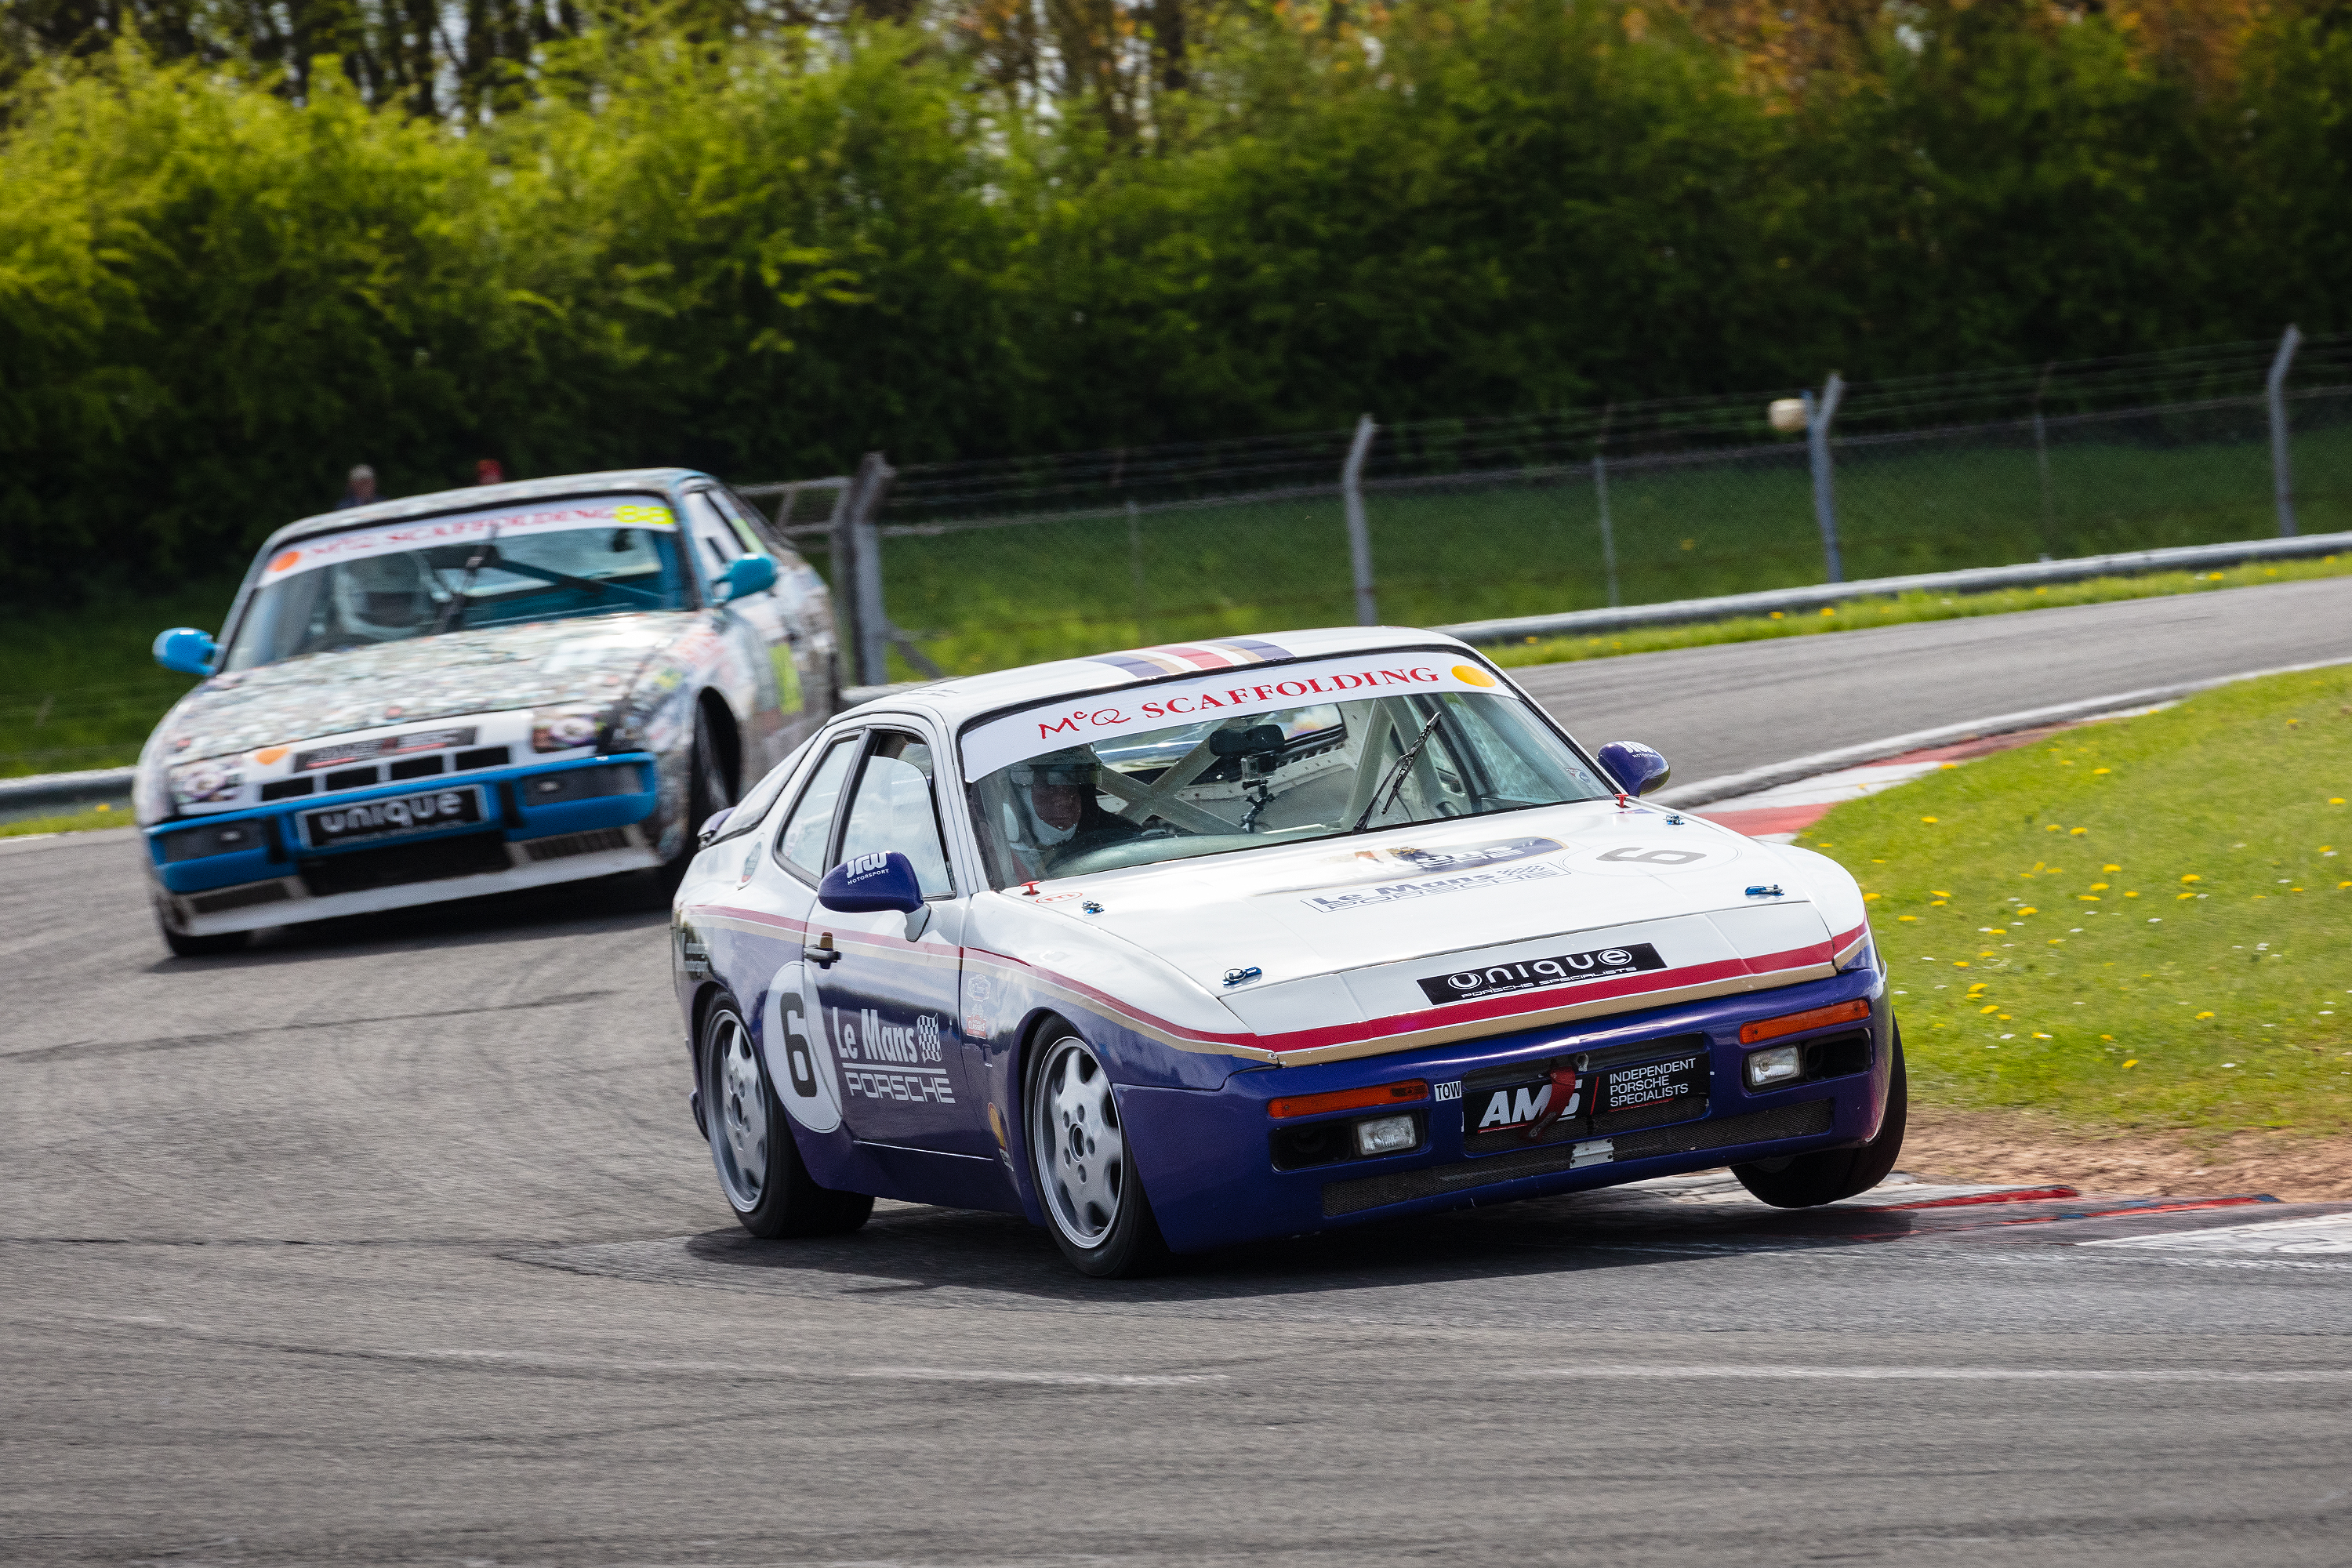
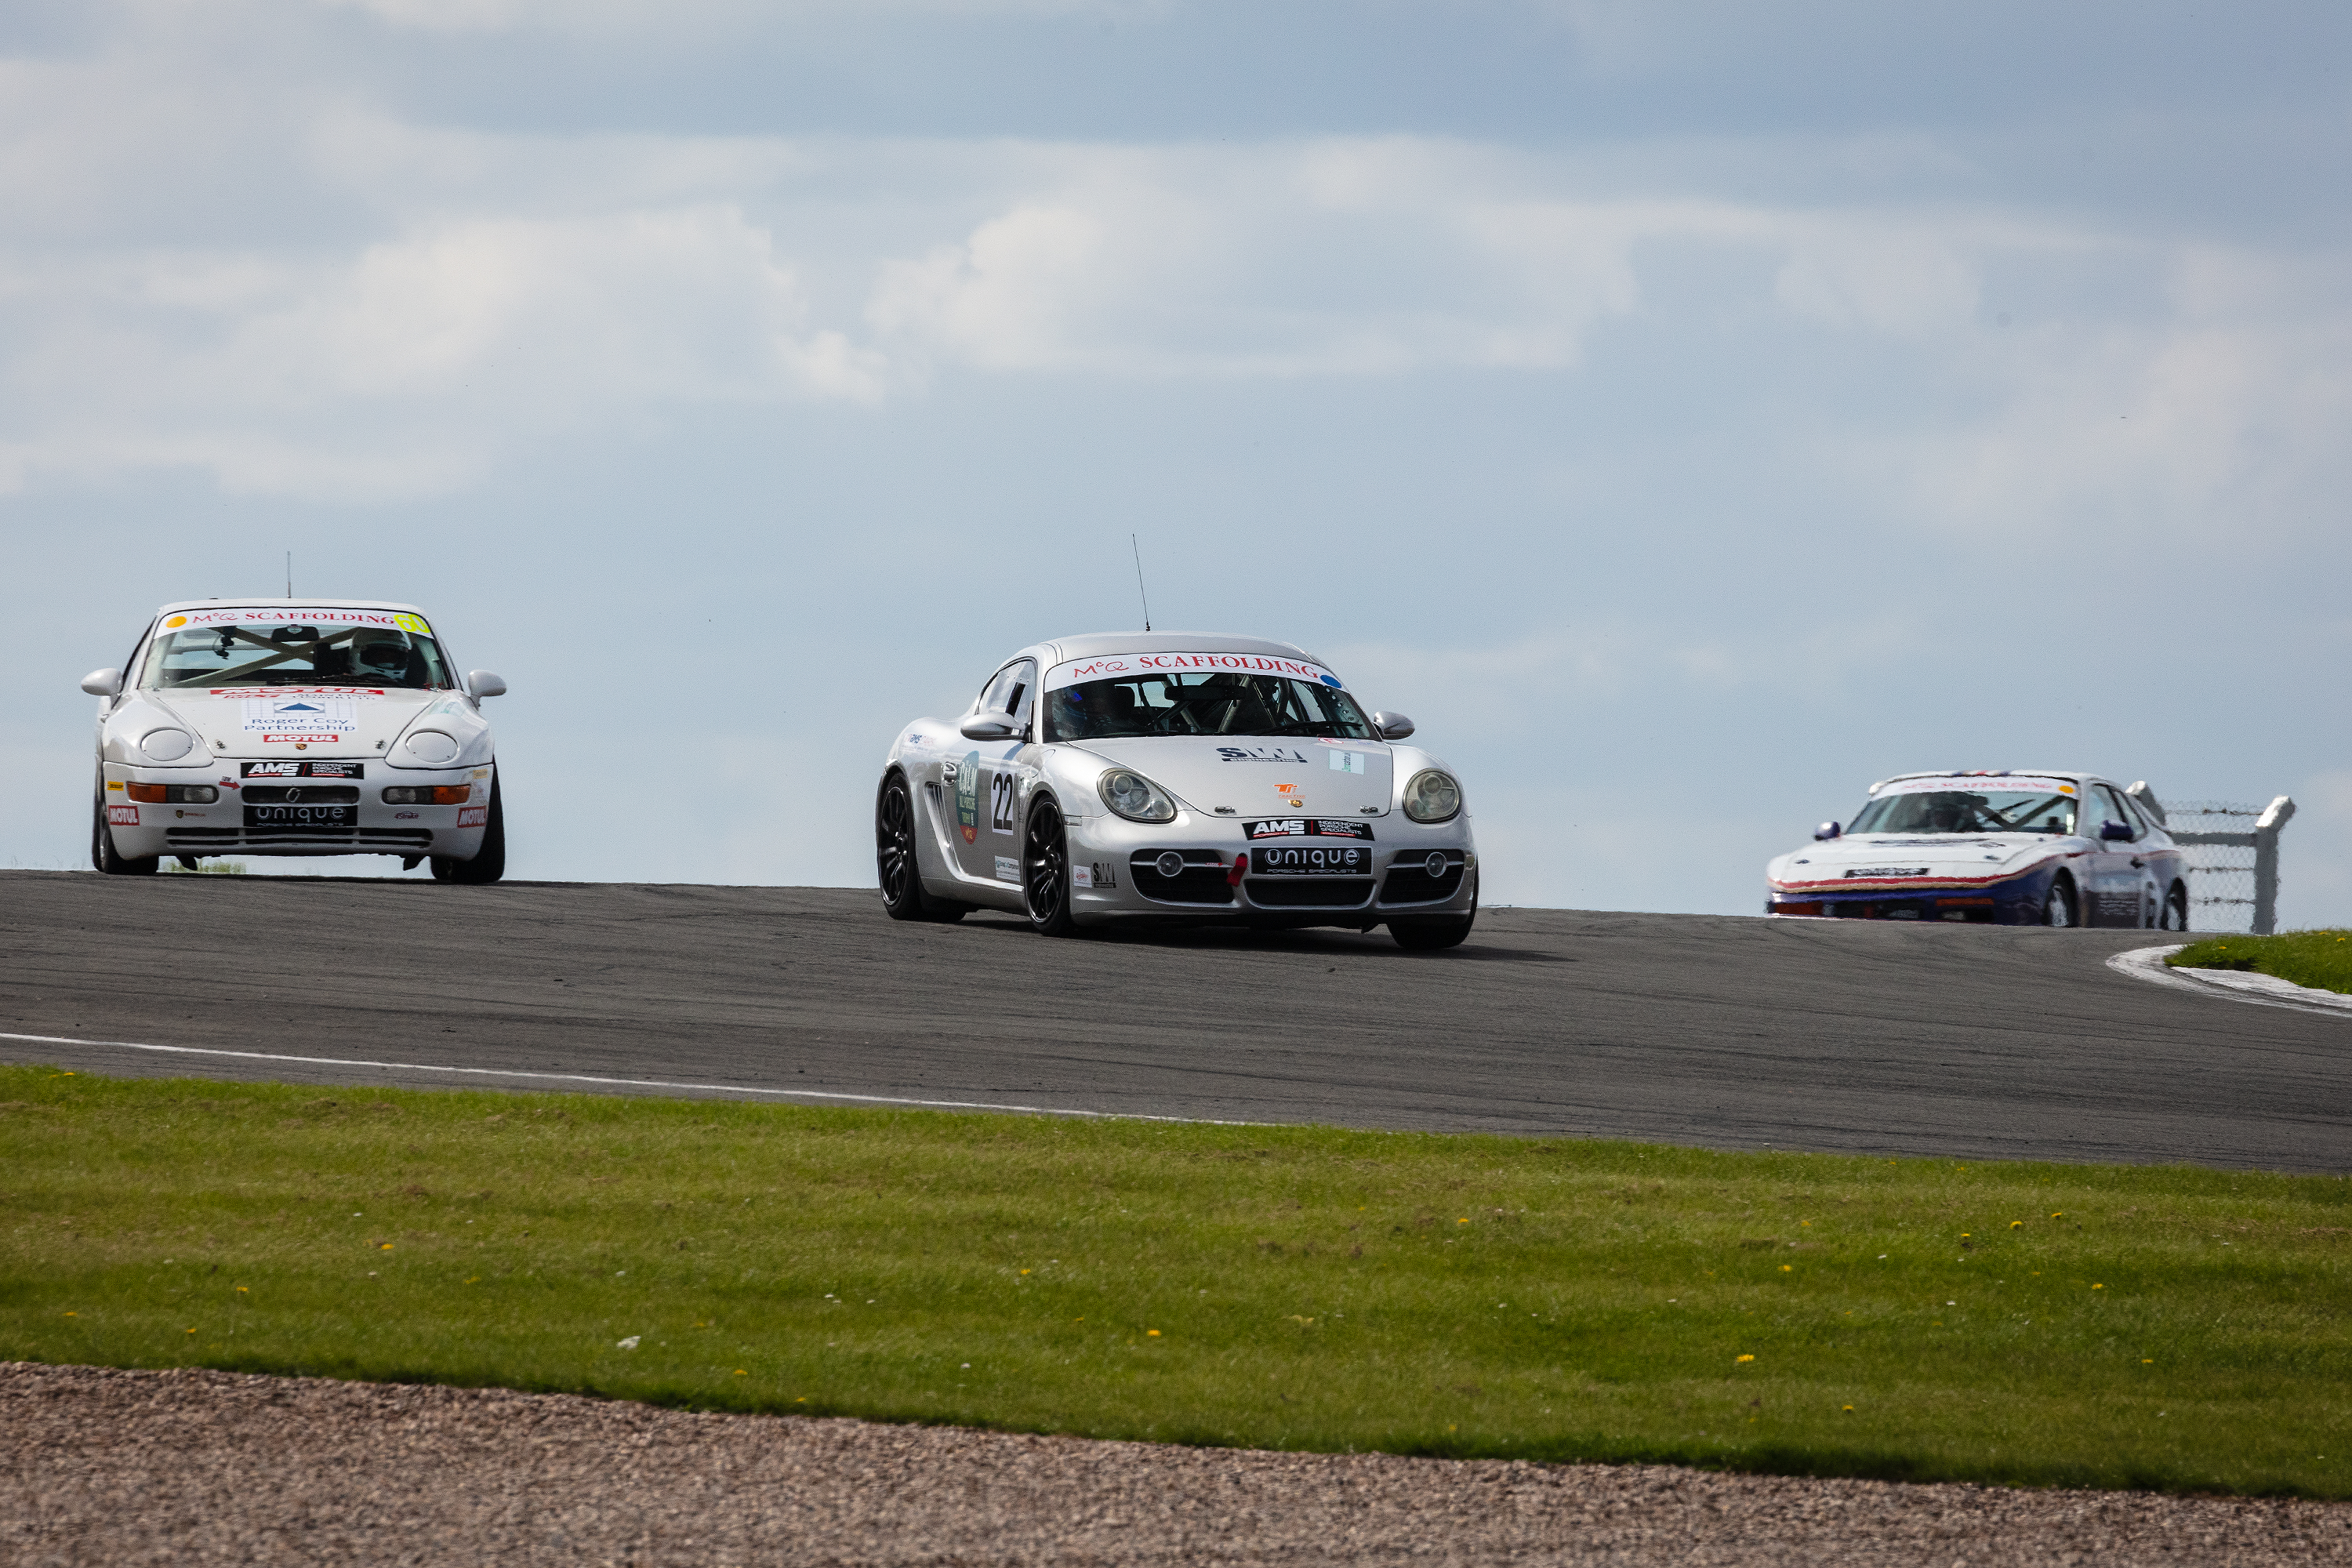
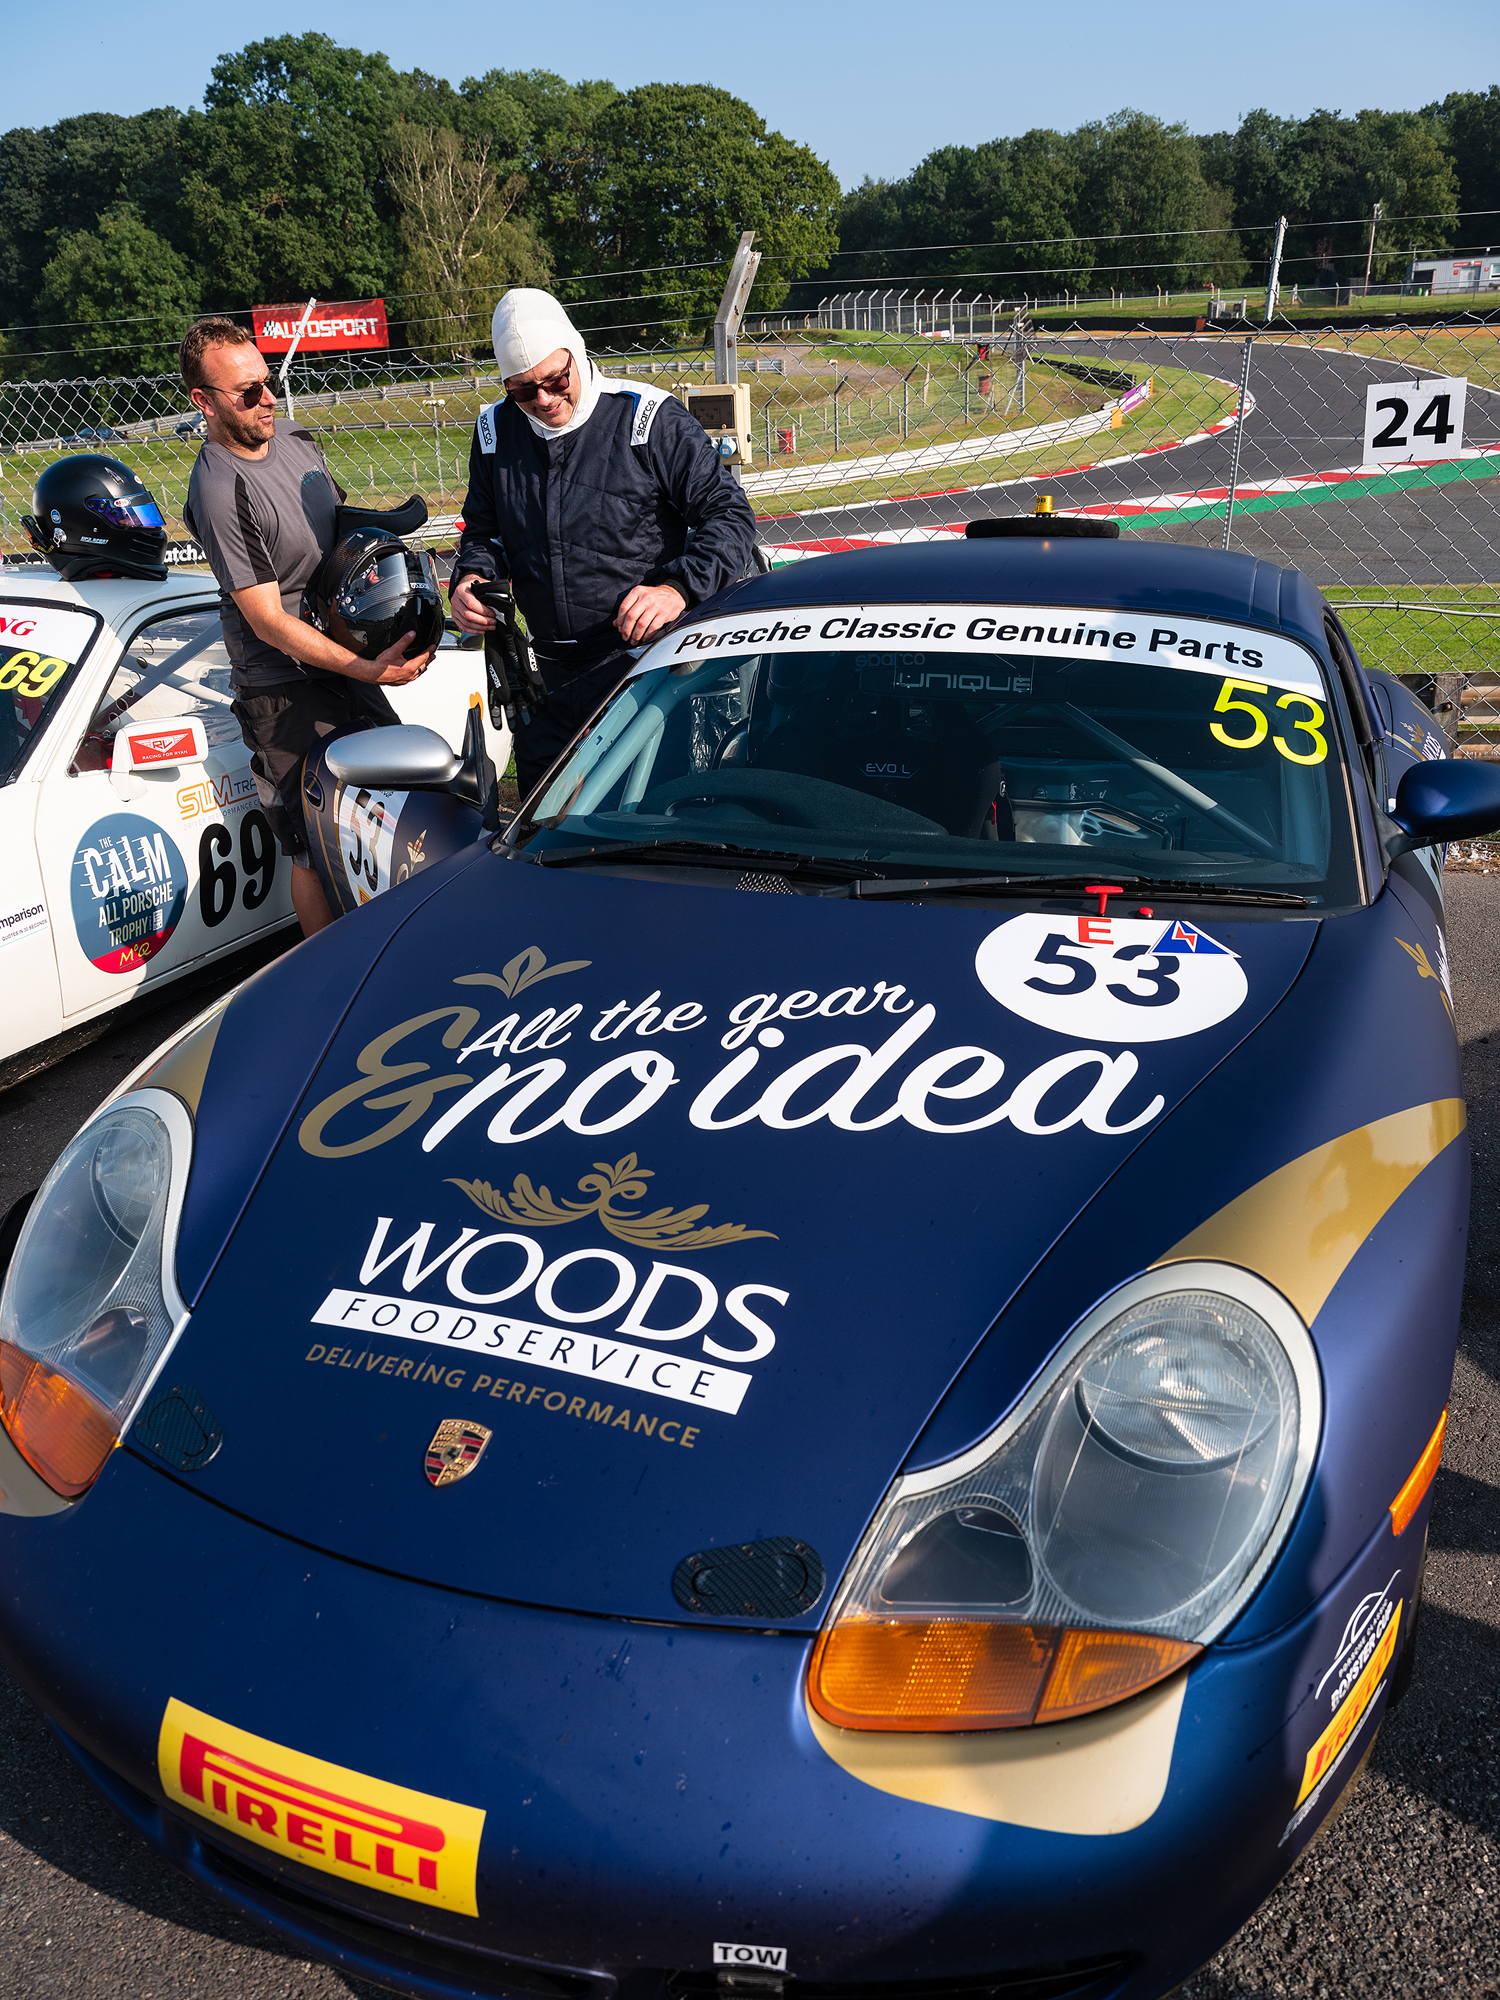
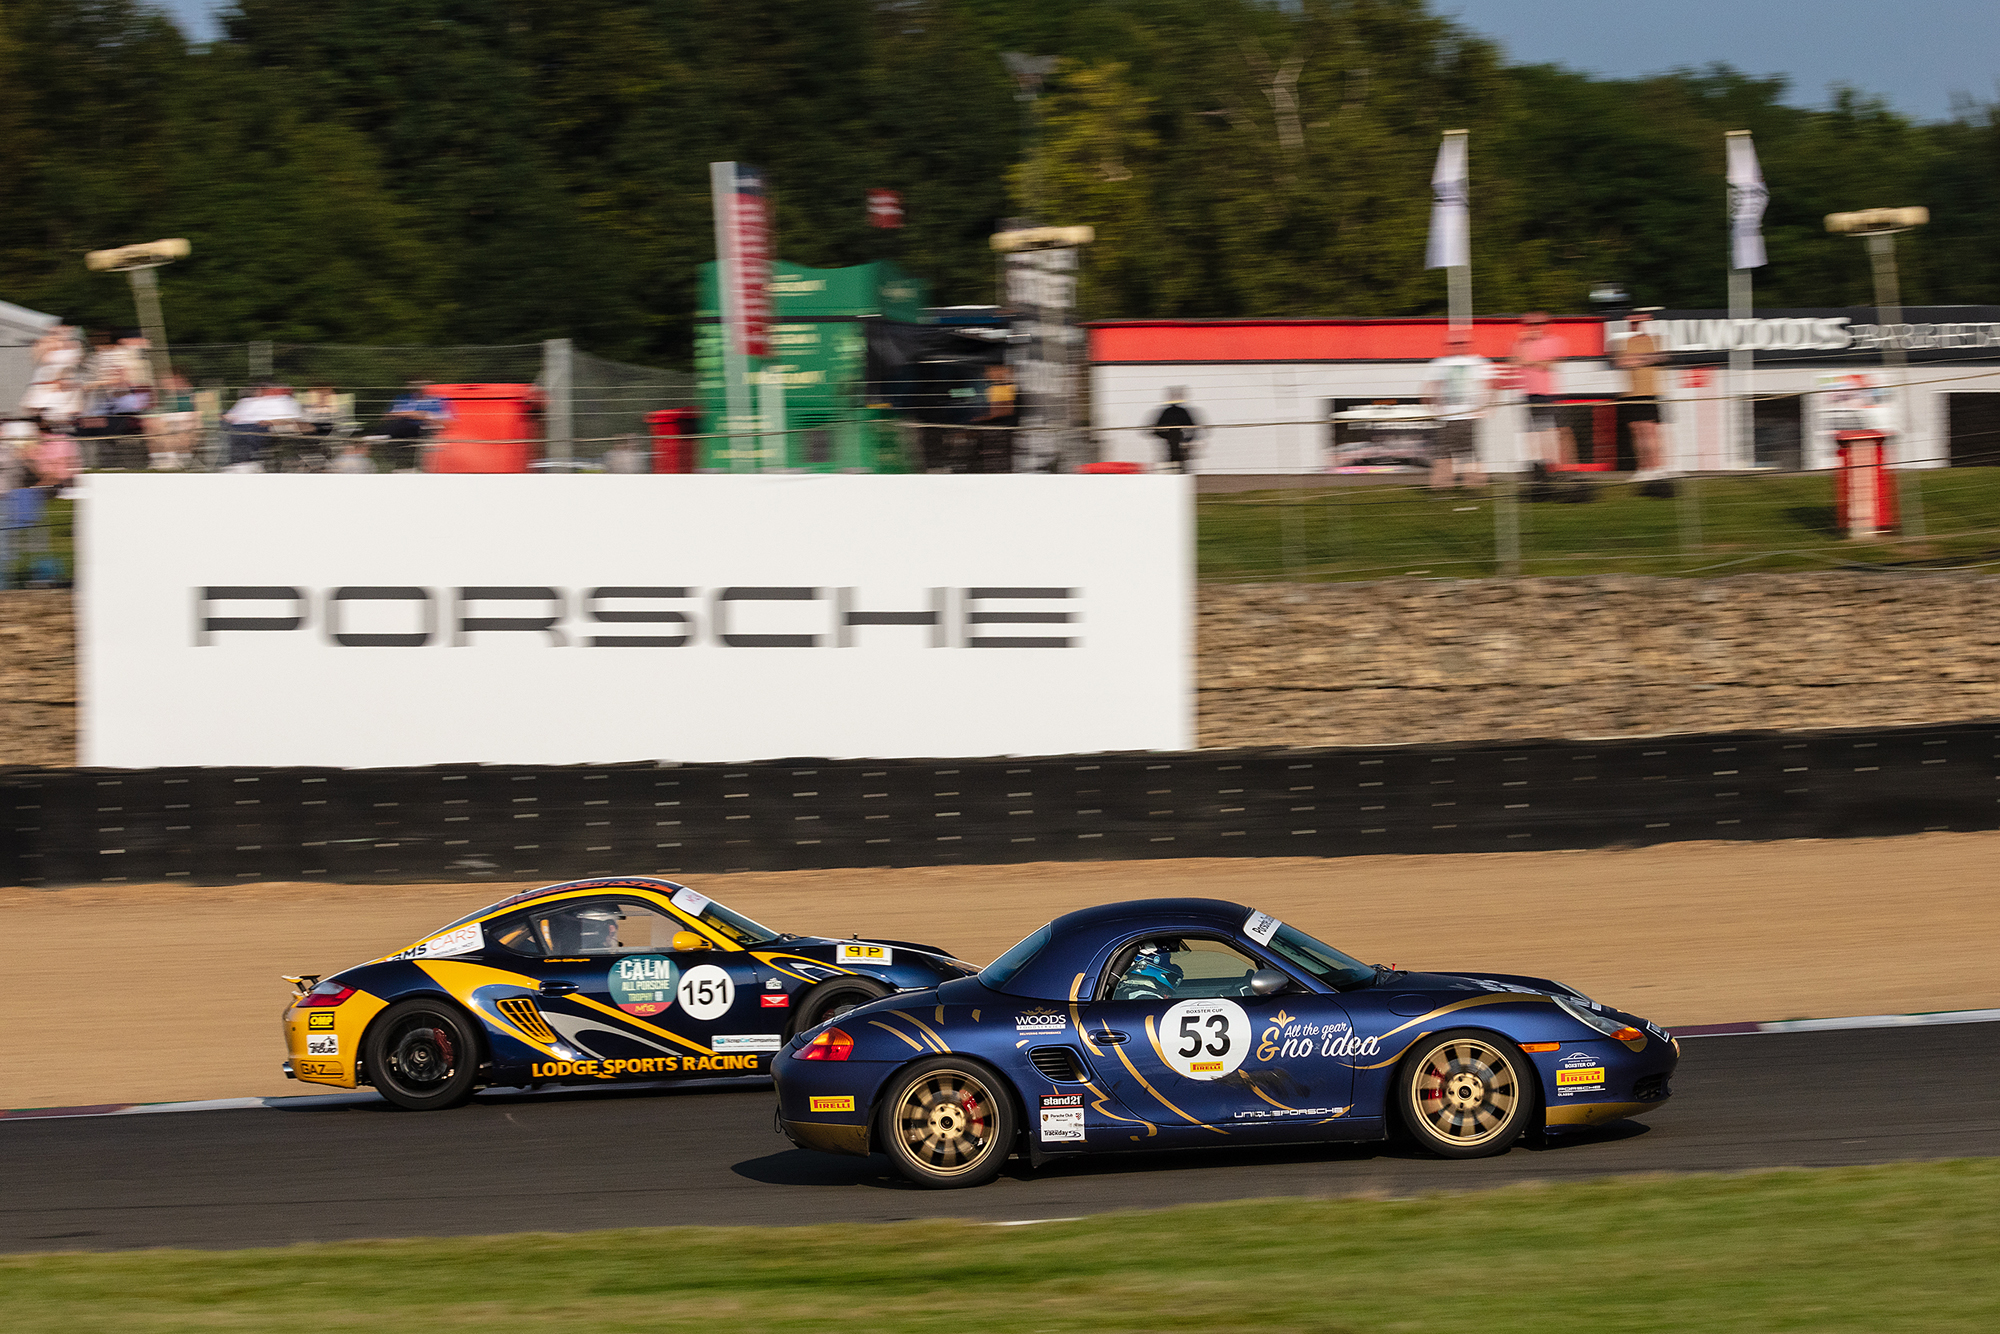
The CALM All Porsche Trophy at Donington National, 10th of April 2023
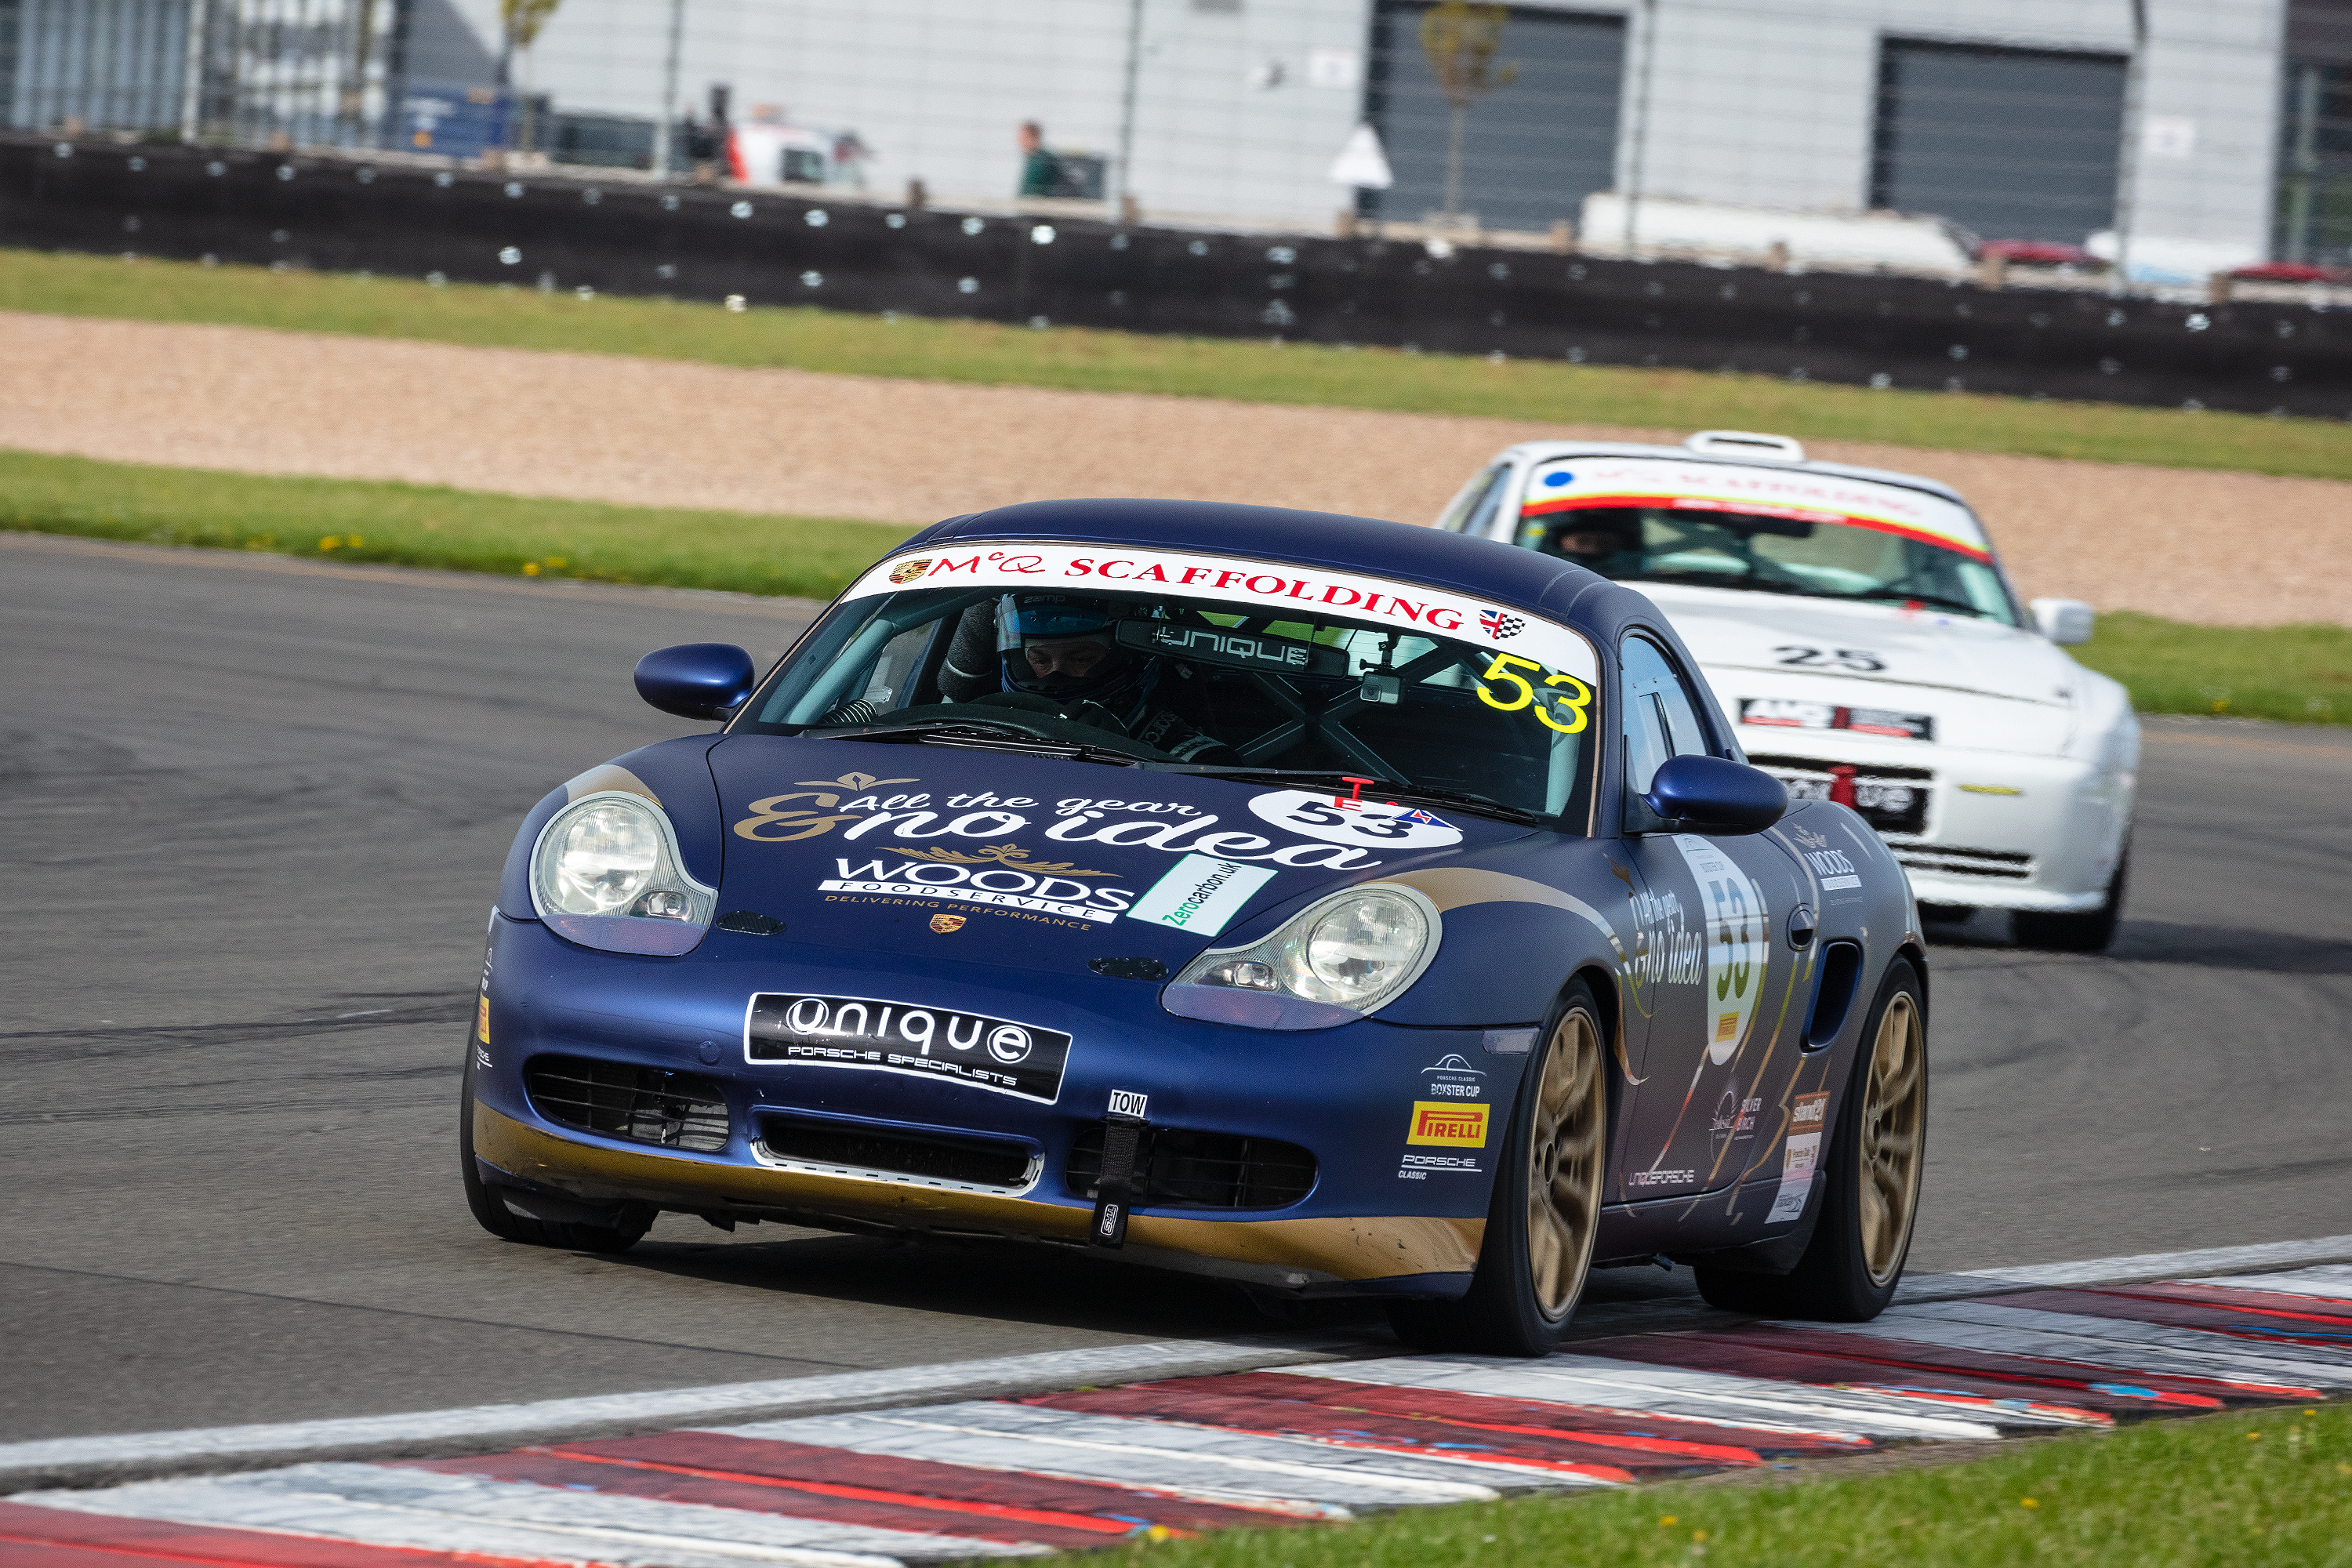
Colin Tester #91, Boxster S, Calm All Porsche Trophy, Donington National 10th of April 2023
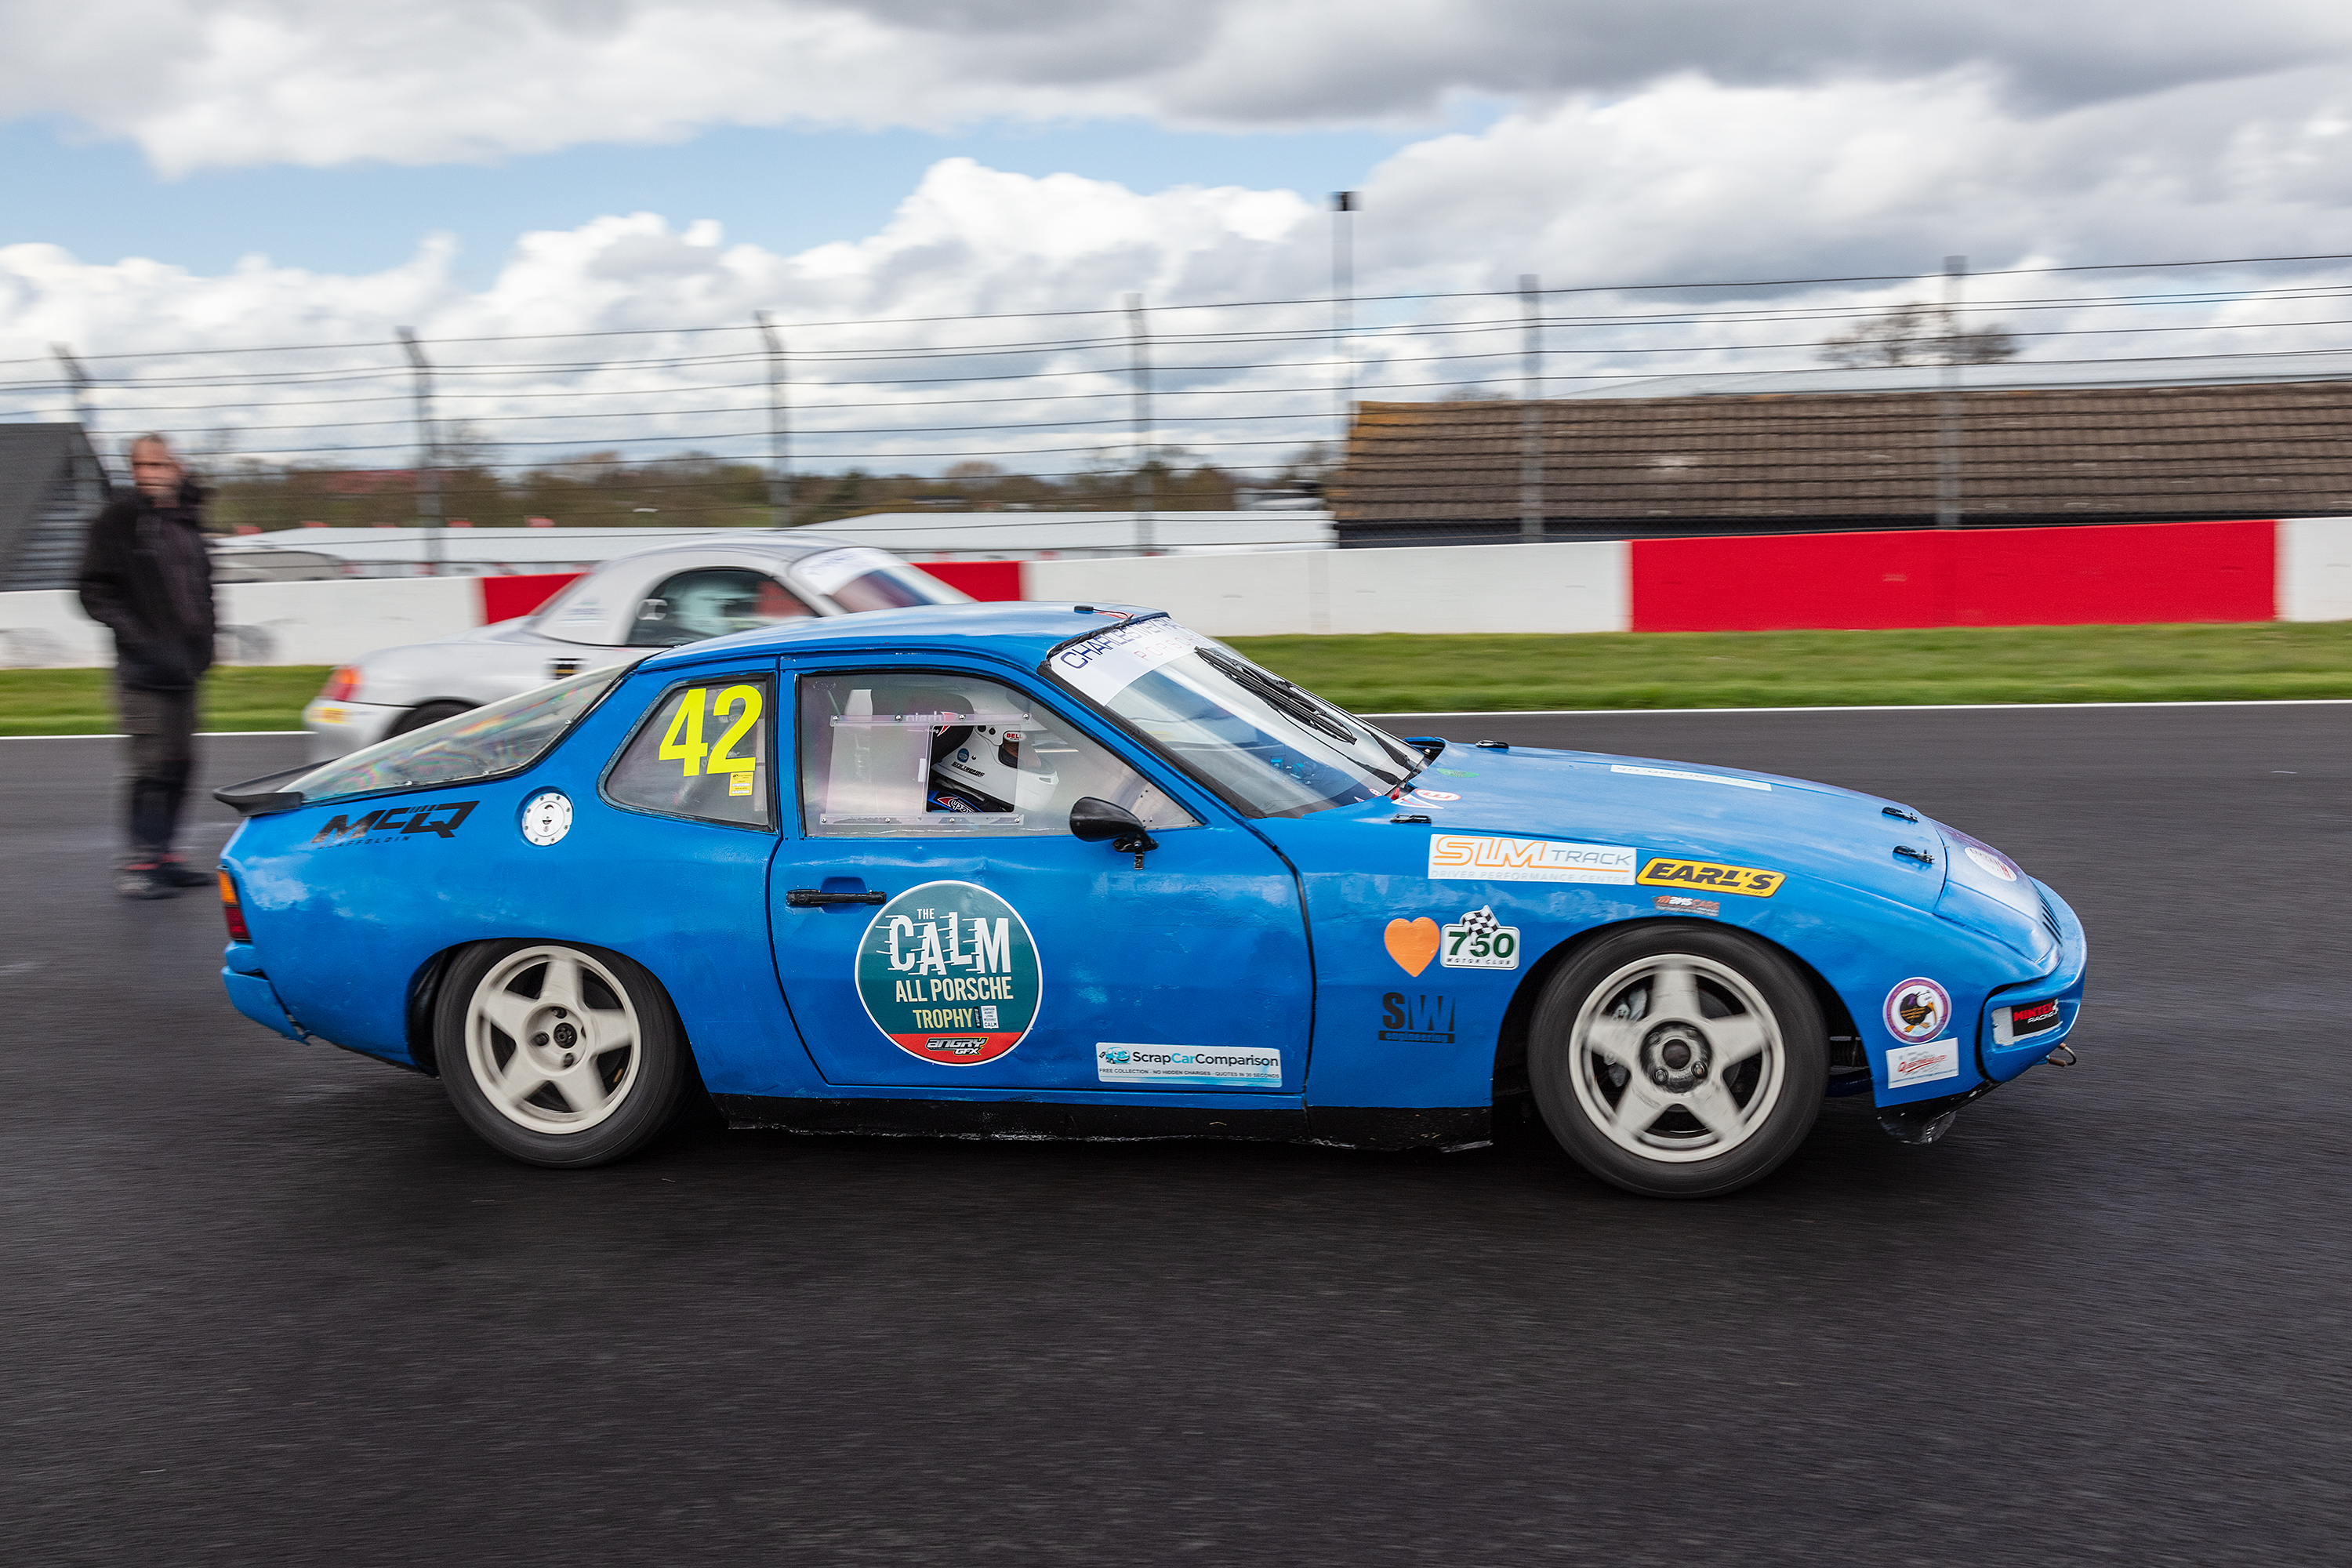
My first motorsport event of the season was at Donington for the Calm All Porsche Trophy on the National circuit which uses the chicane at the end of Starkey’s straight and omiting the Melbourne loop hairpin
The day was mixed weather wise, with very heavy downpours in the morning, and very windy in the afternoon, which helped dry the track
Qualifying was in the morning, with the race mid-afternoon
The race ran without incident, impresive as around half the field were new to the CALM series
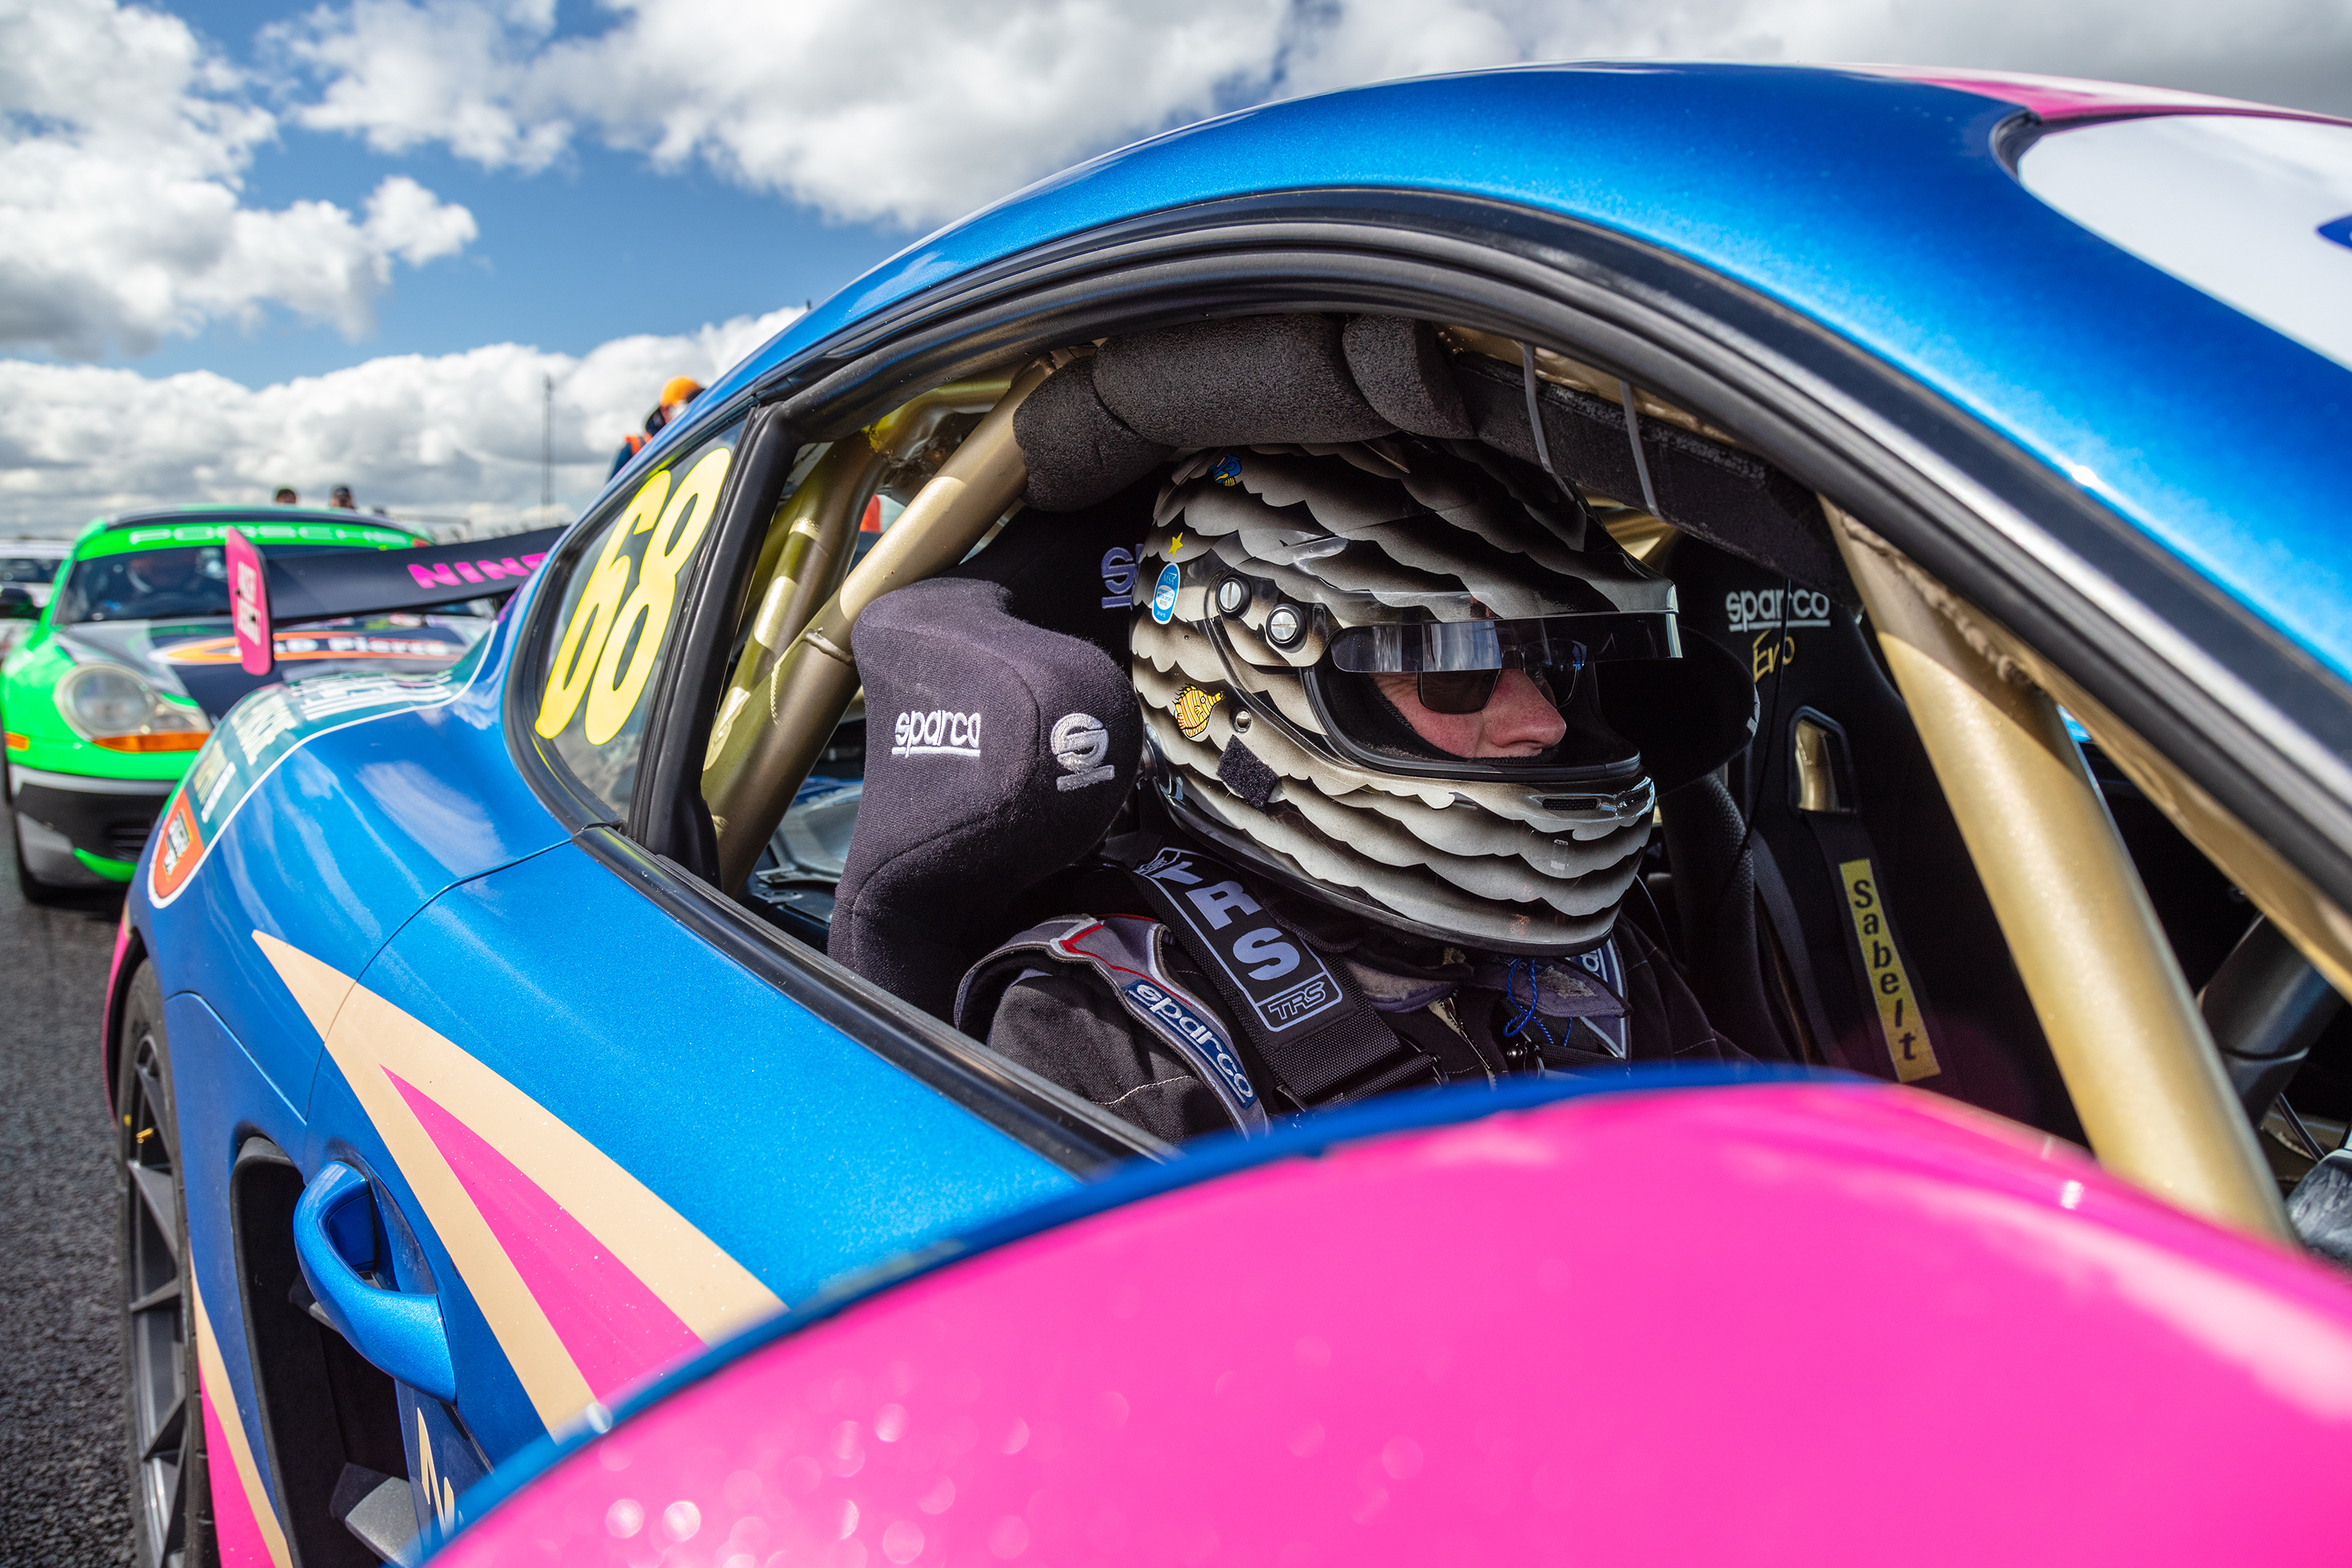
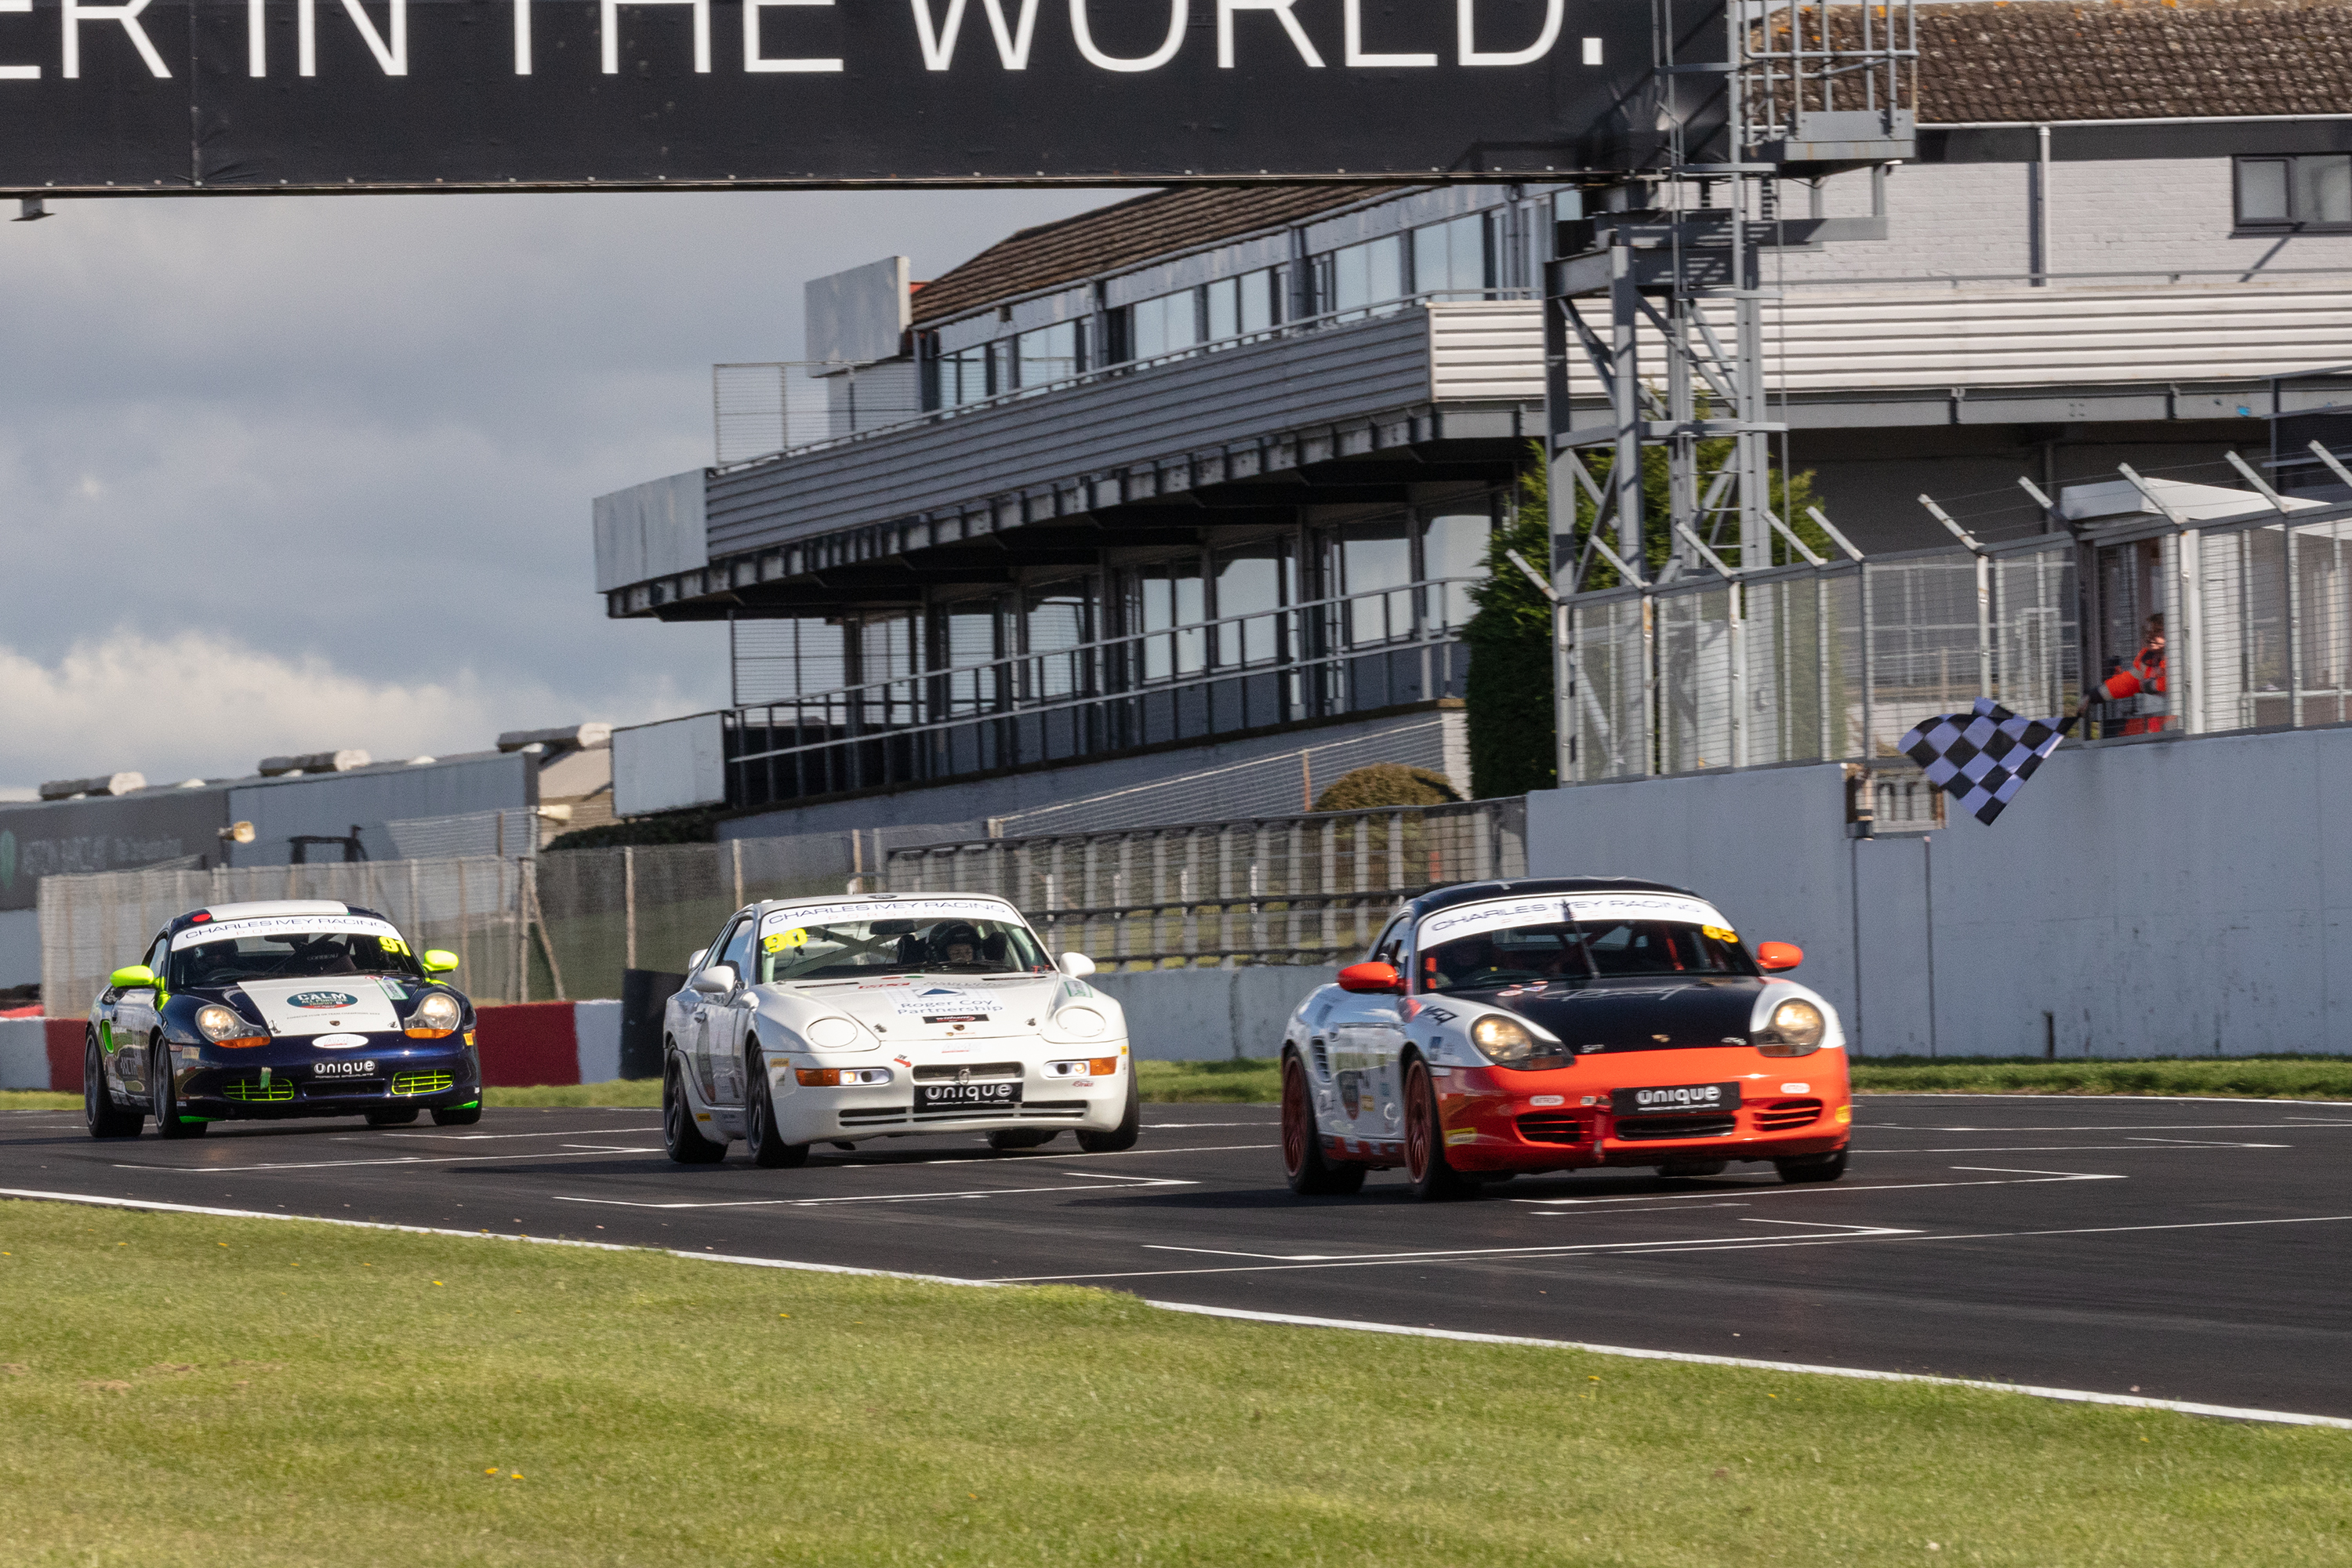
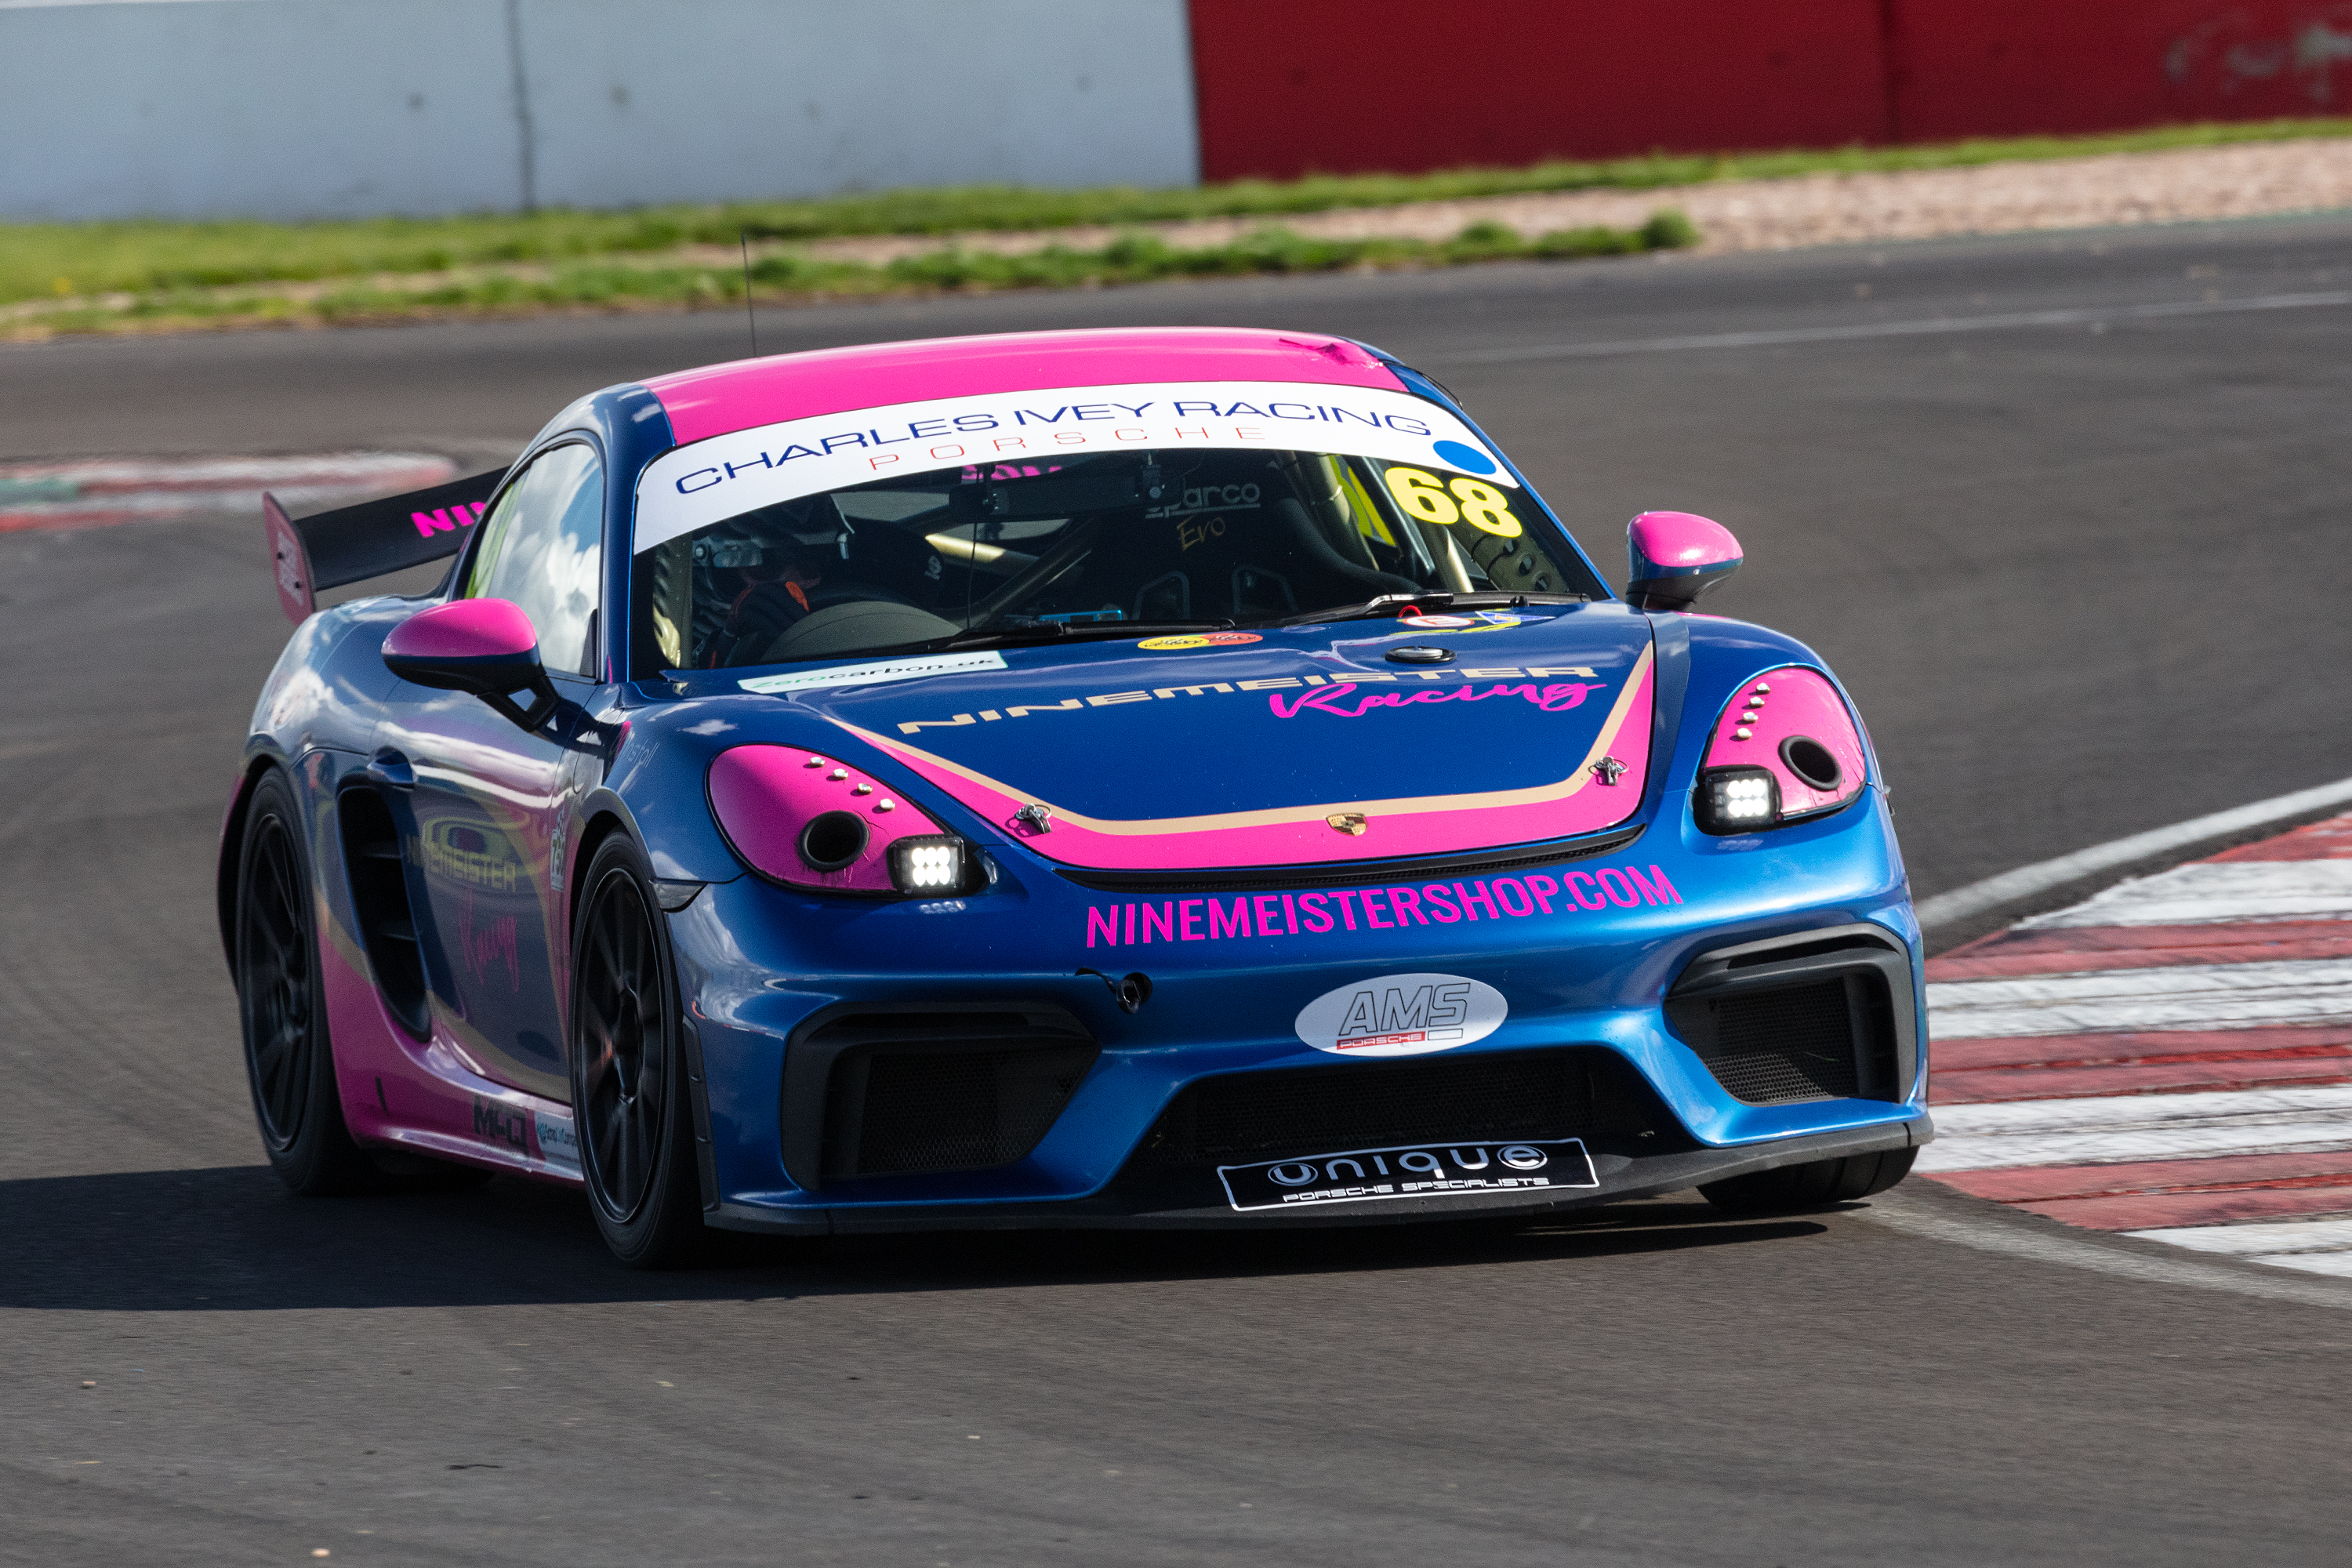
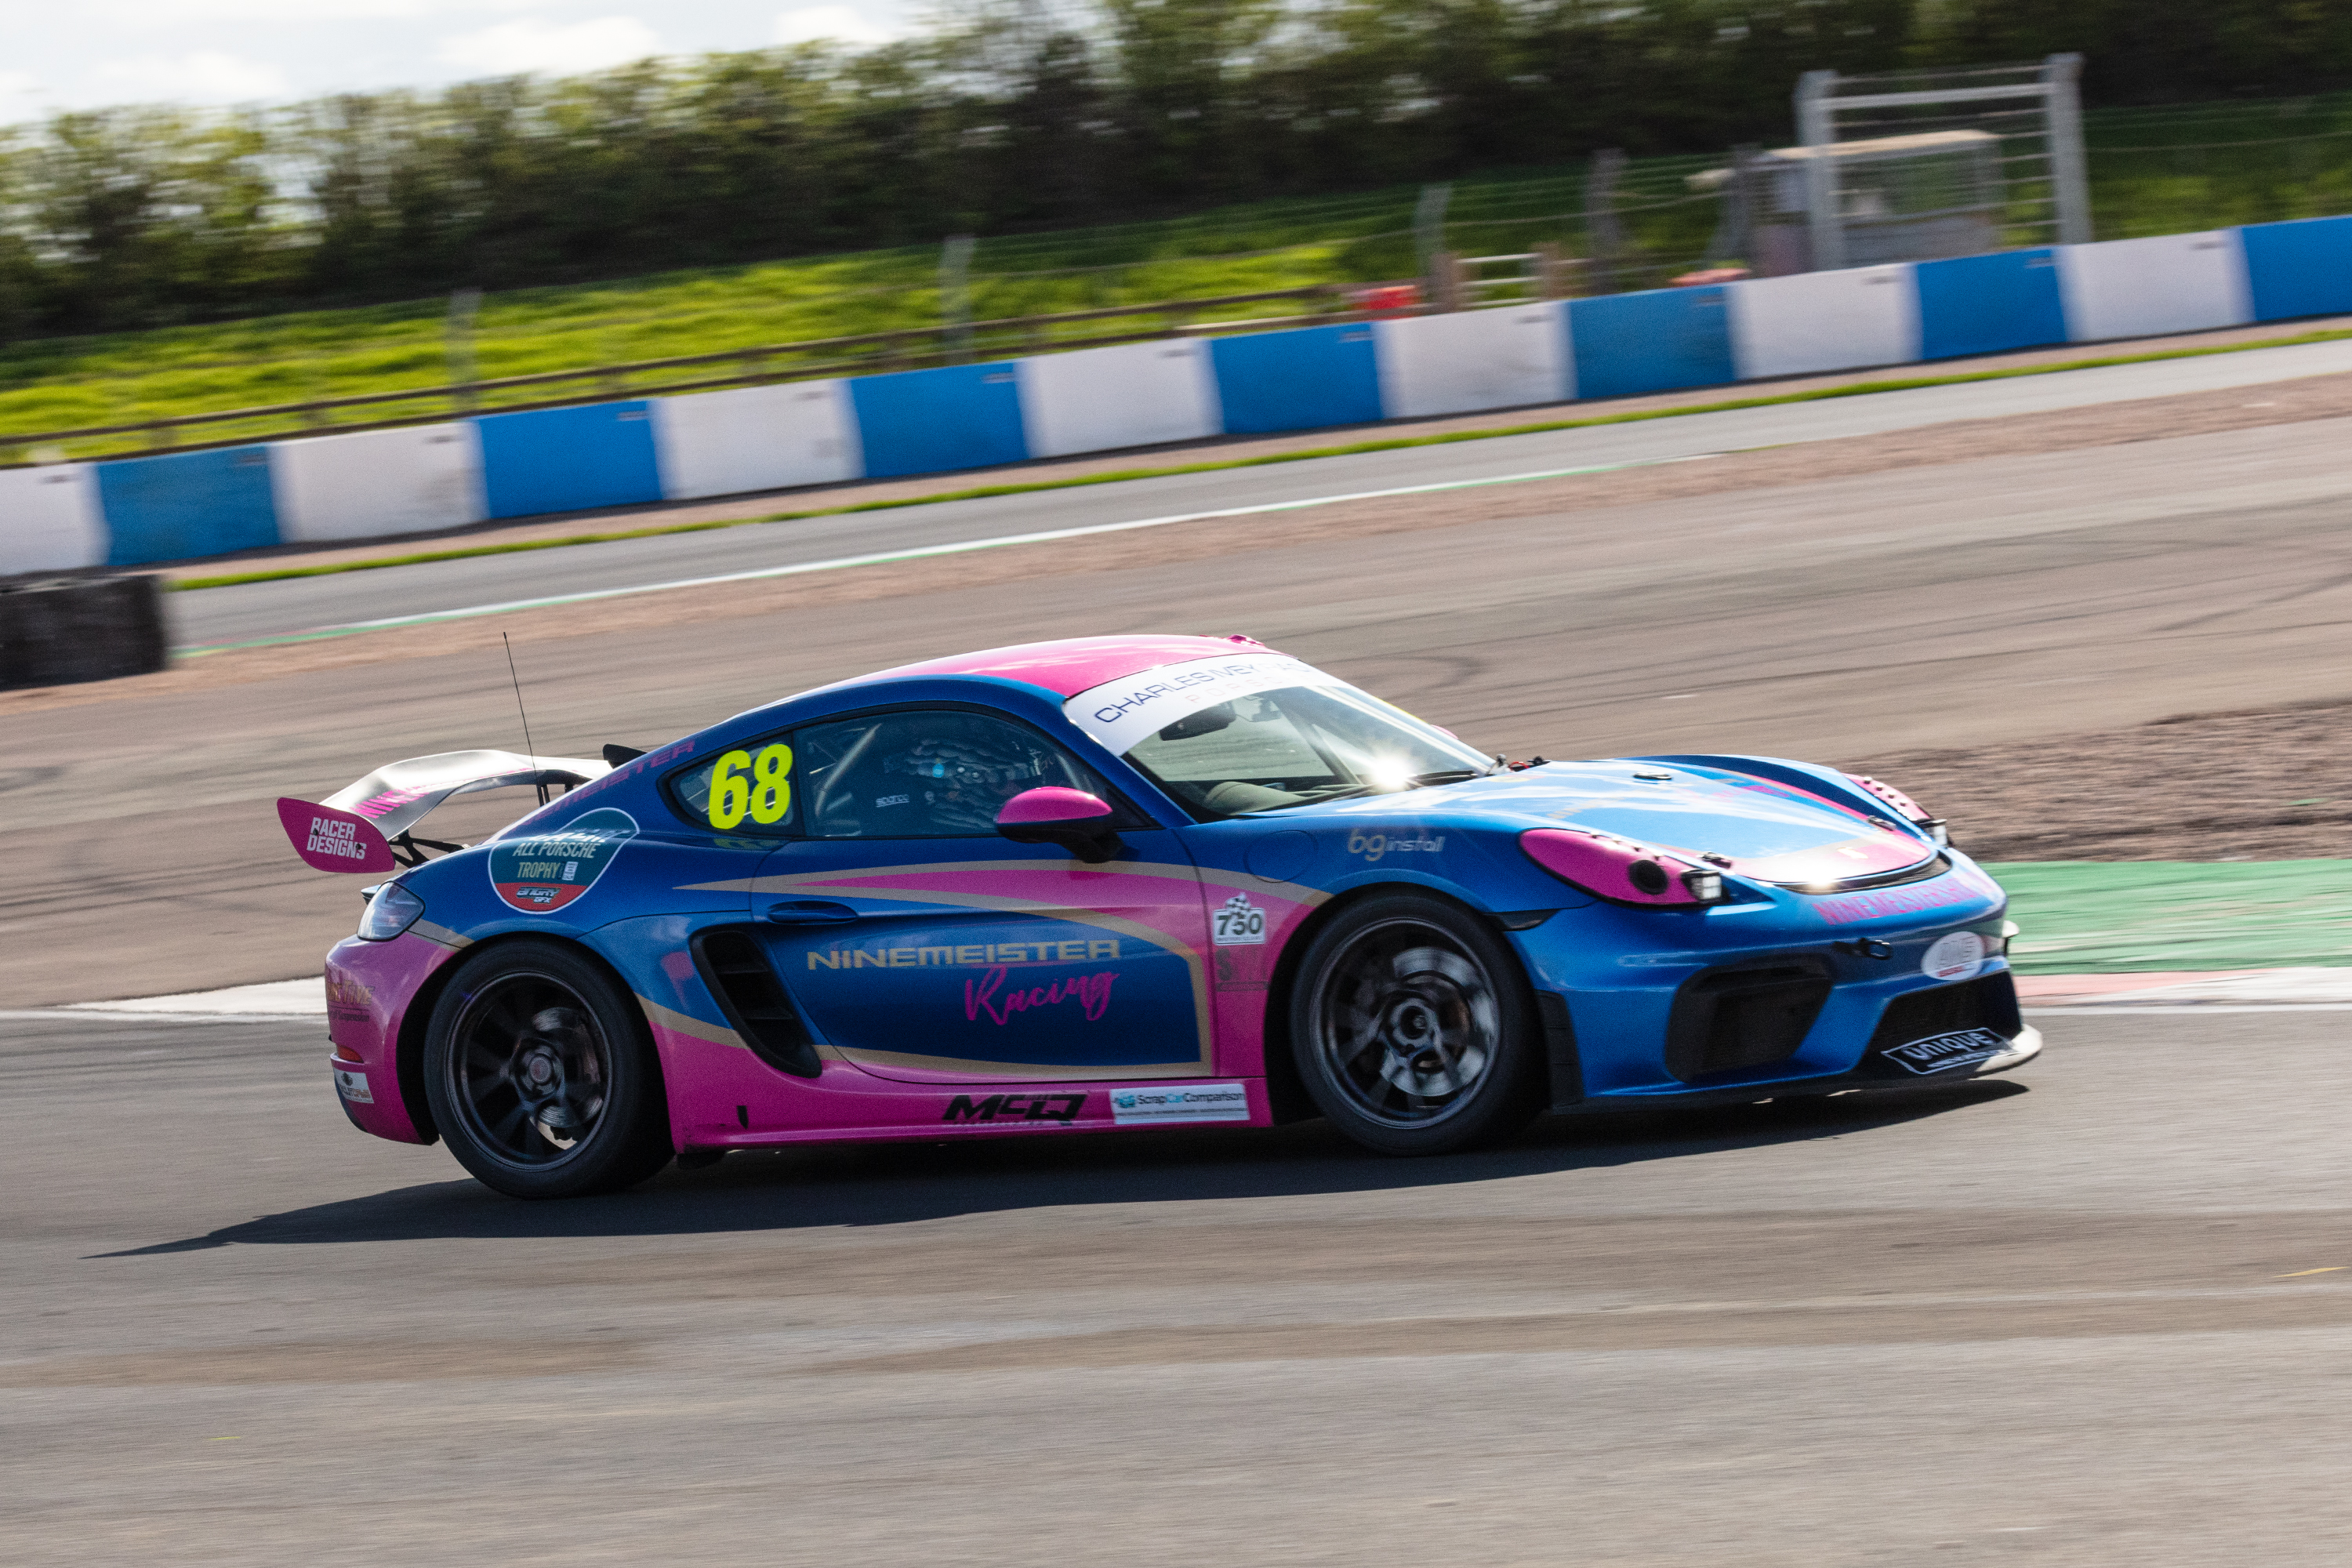
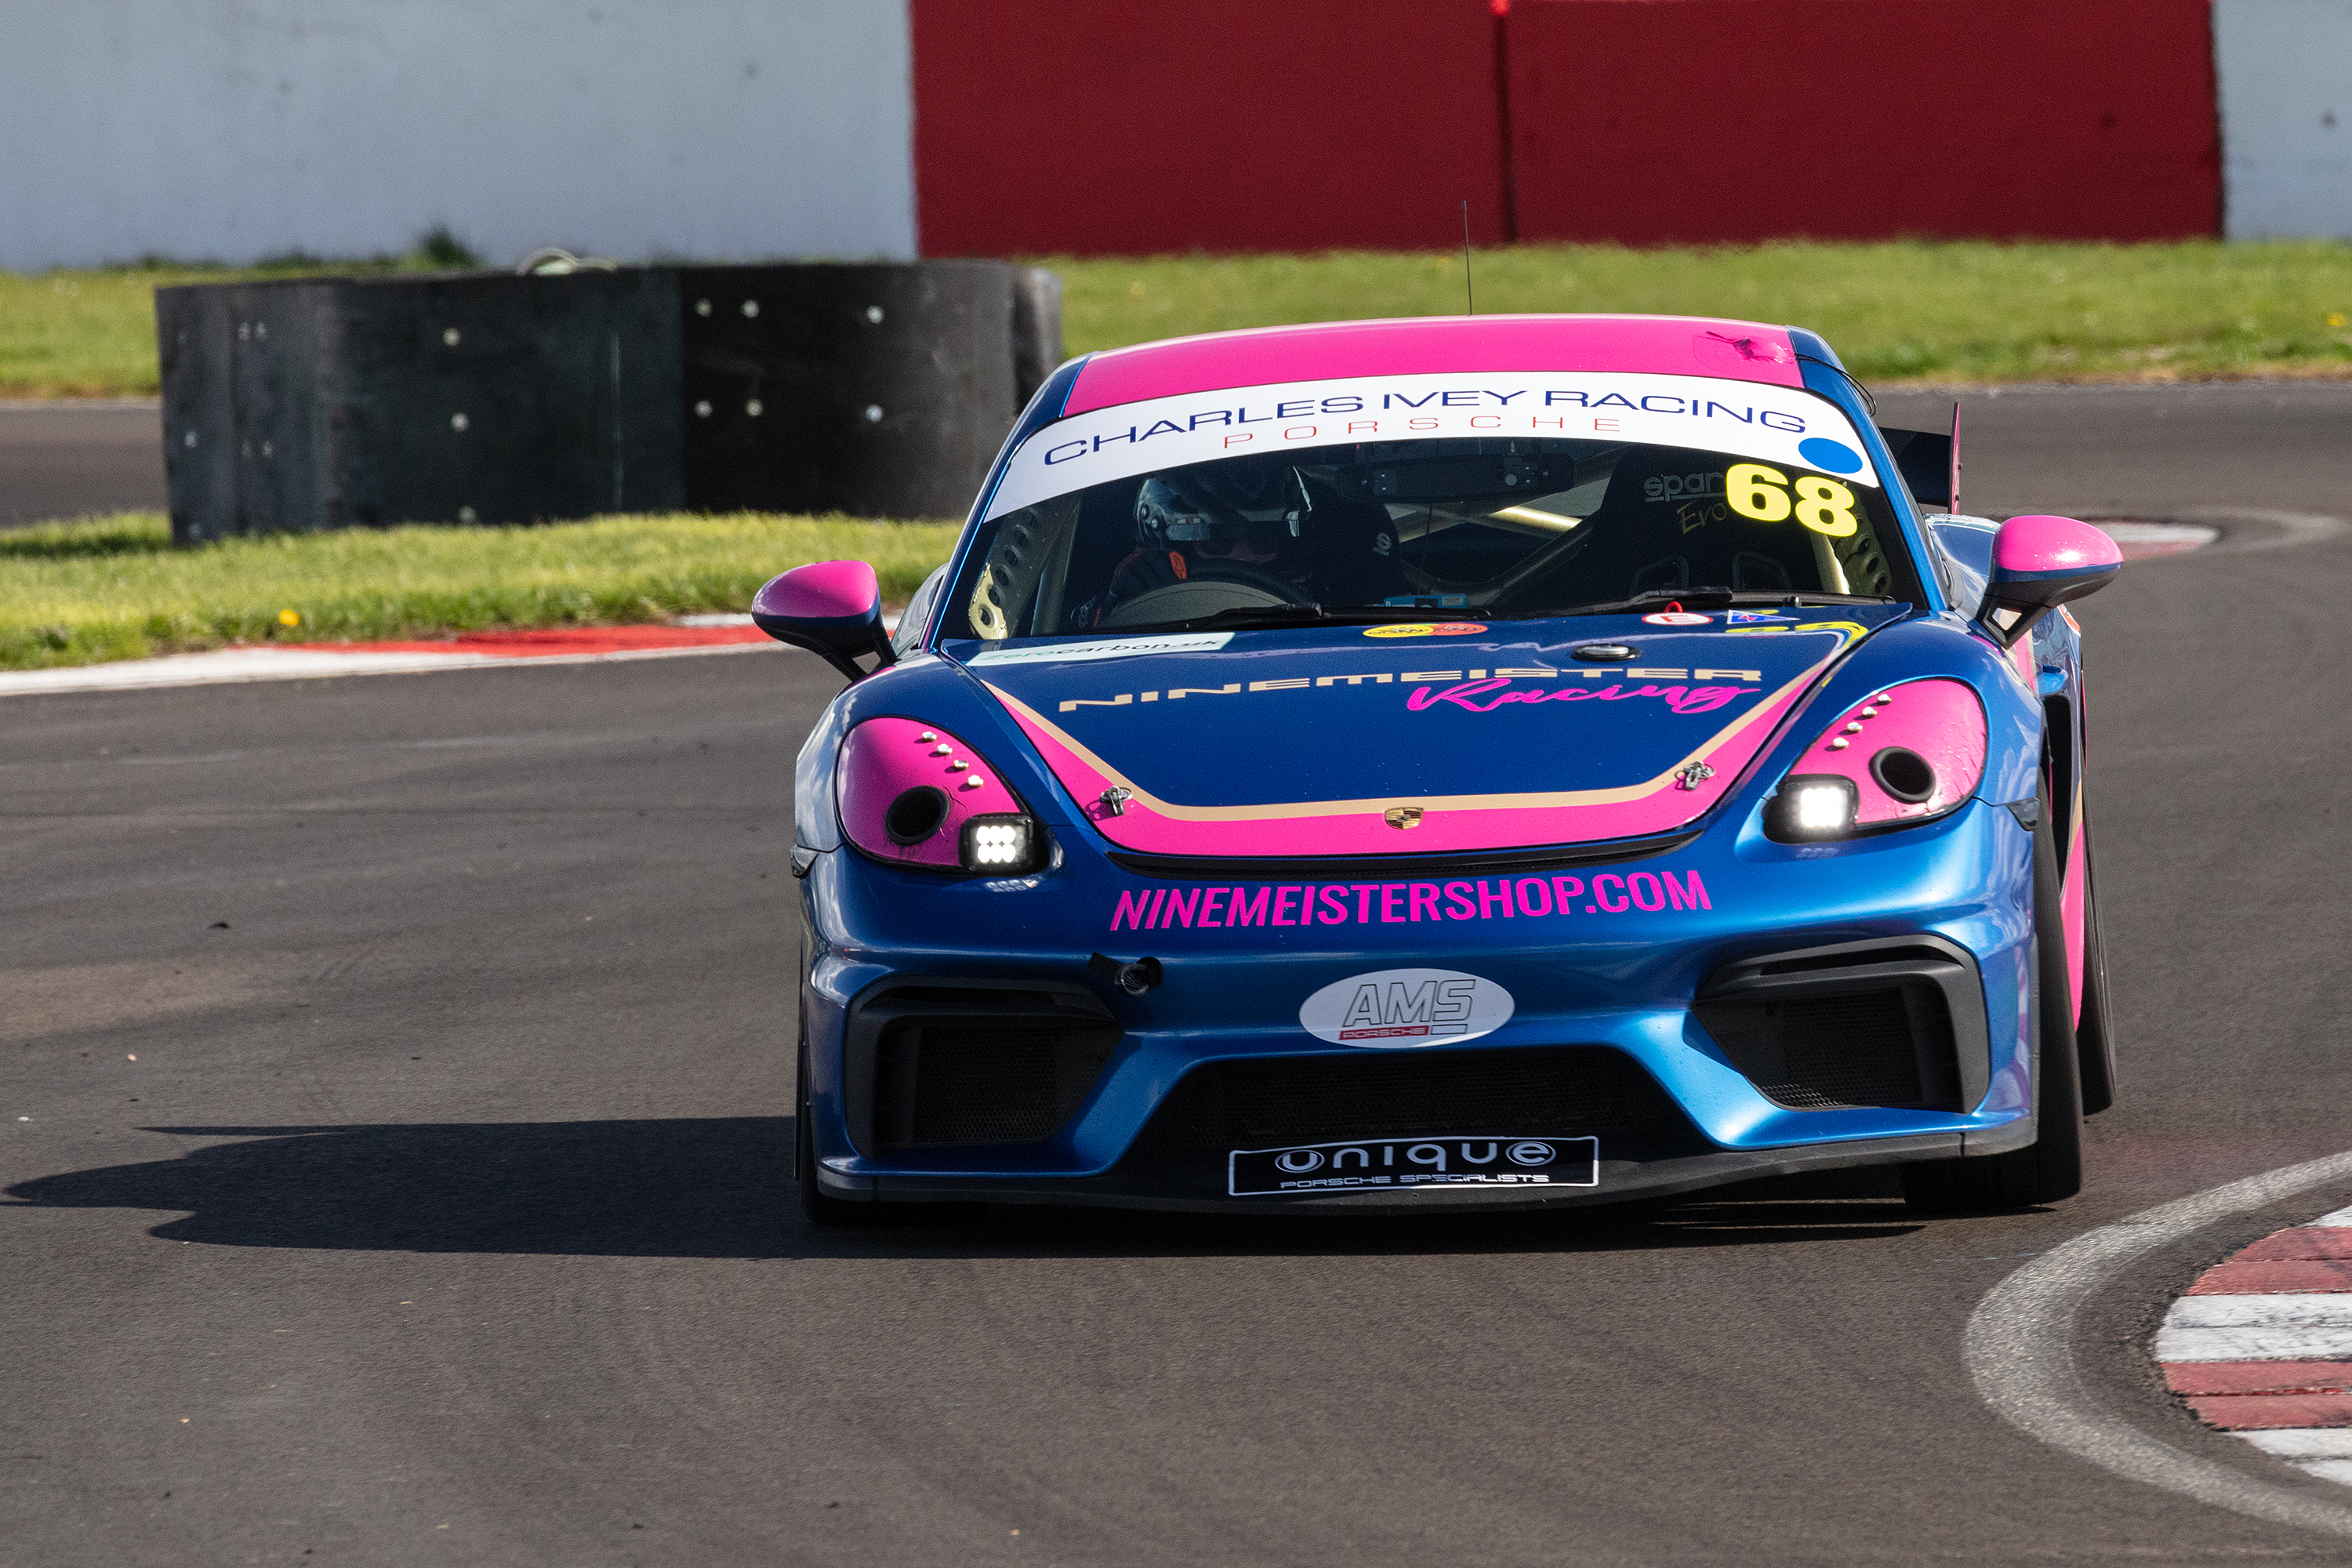
The overall winner was #68 Steve Hewson in his beautifully presented Cayman
Next round for the CALM All Porsche Trophy will be at Trac Môn, Anglesey on the weekend of May the 13th & 14th
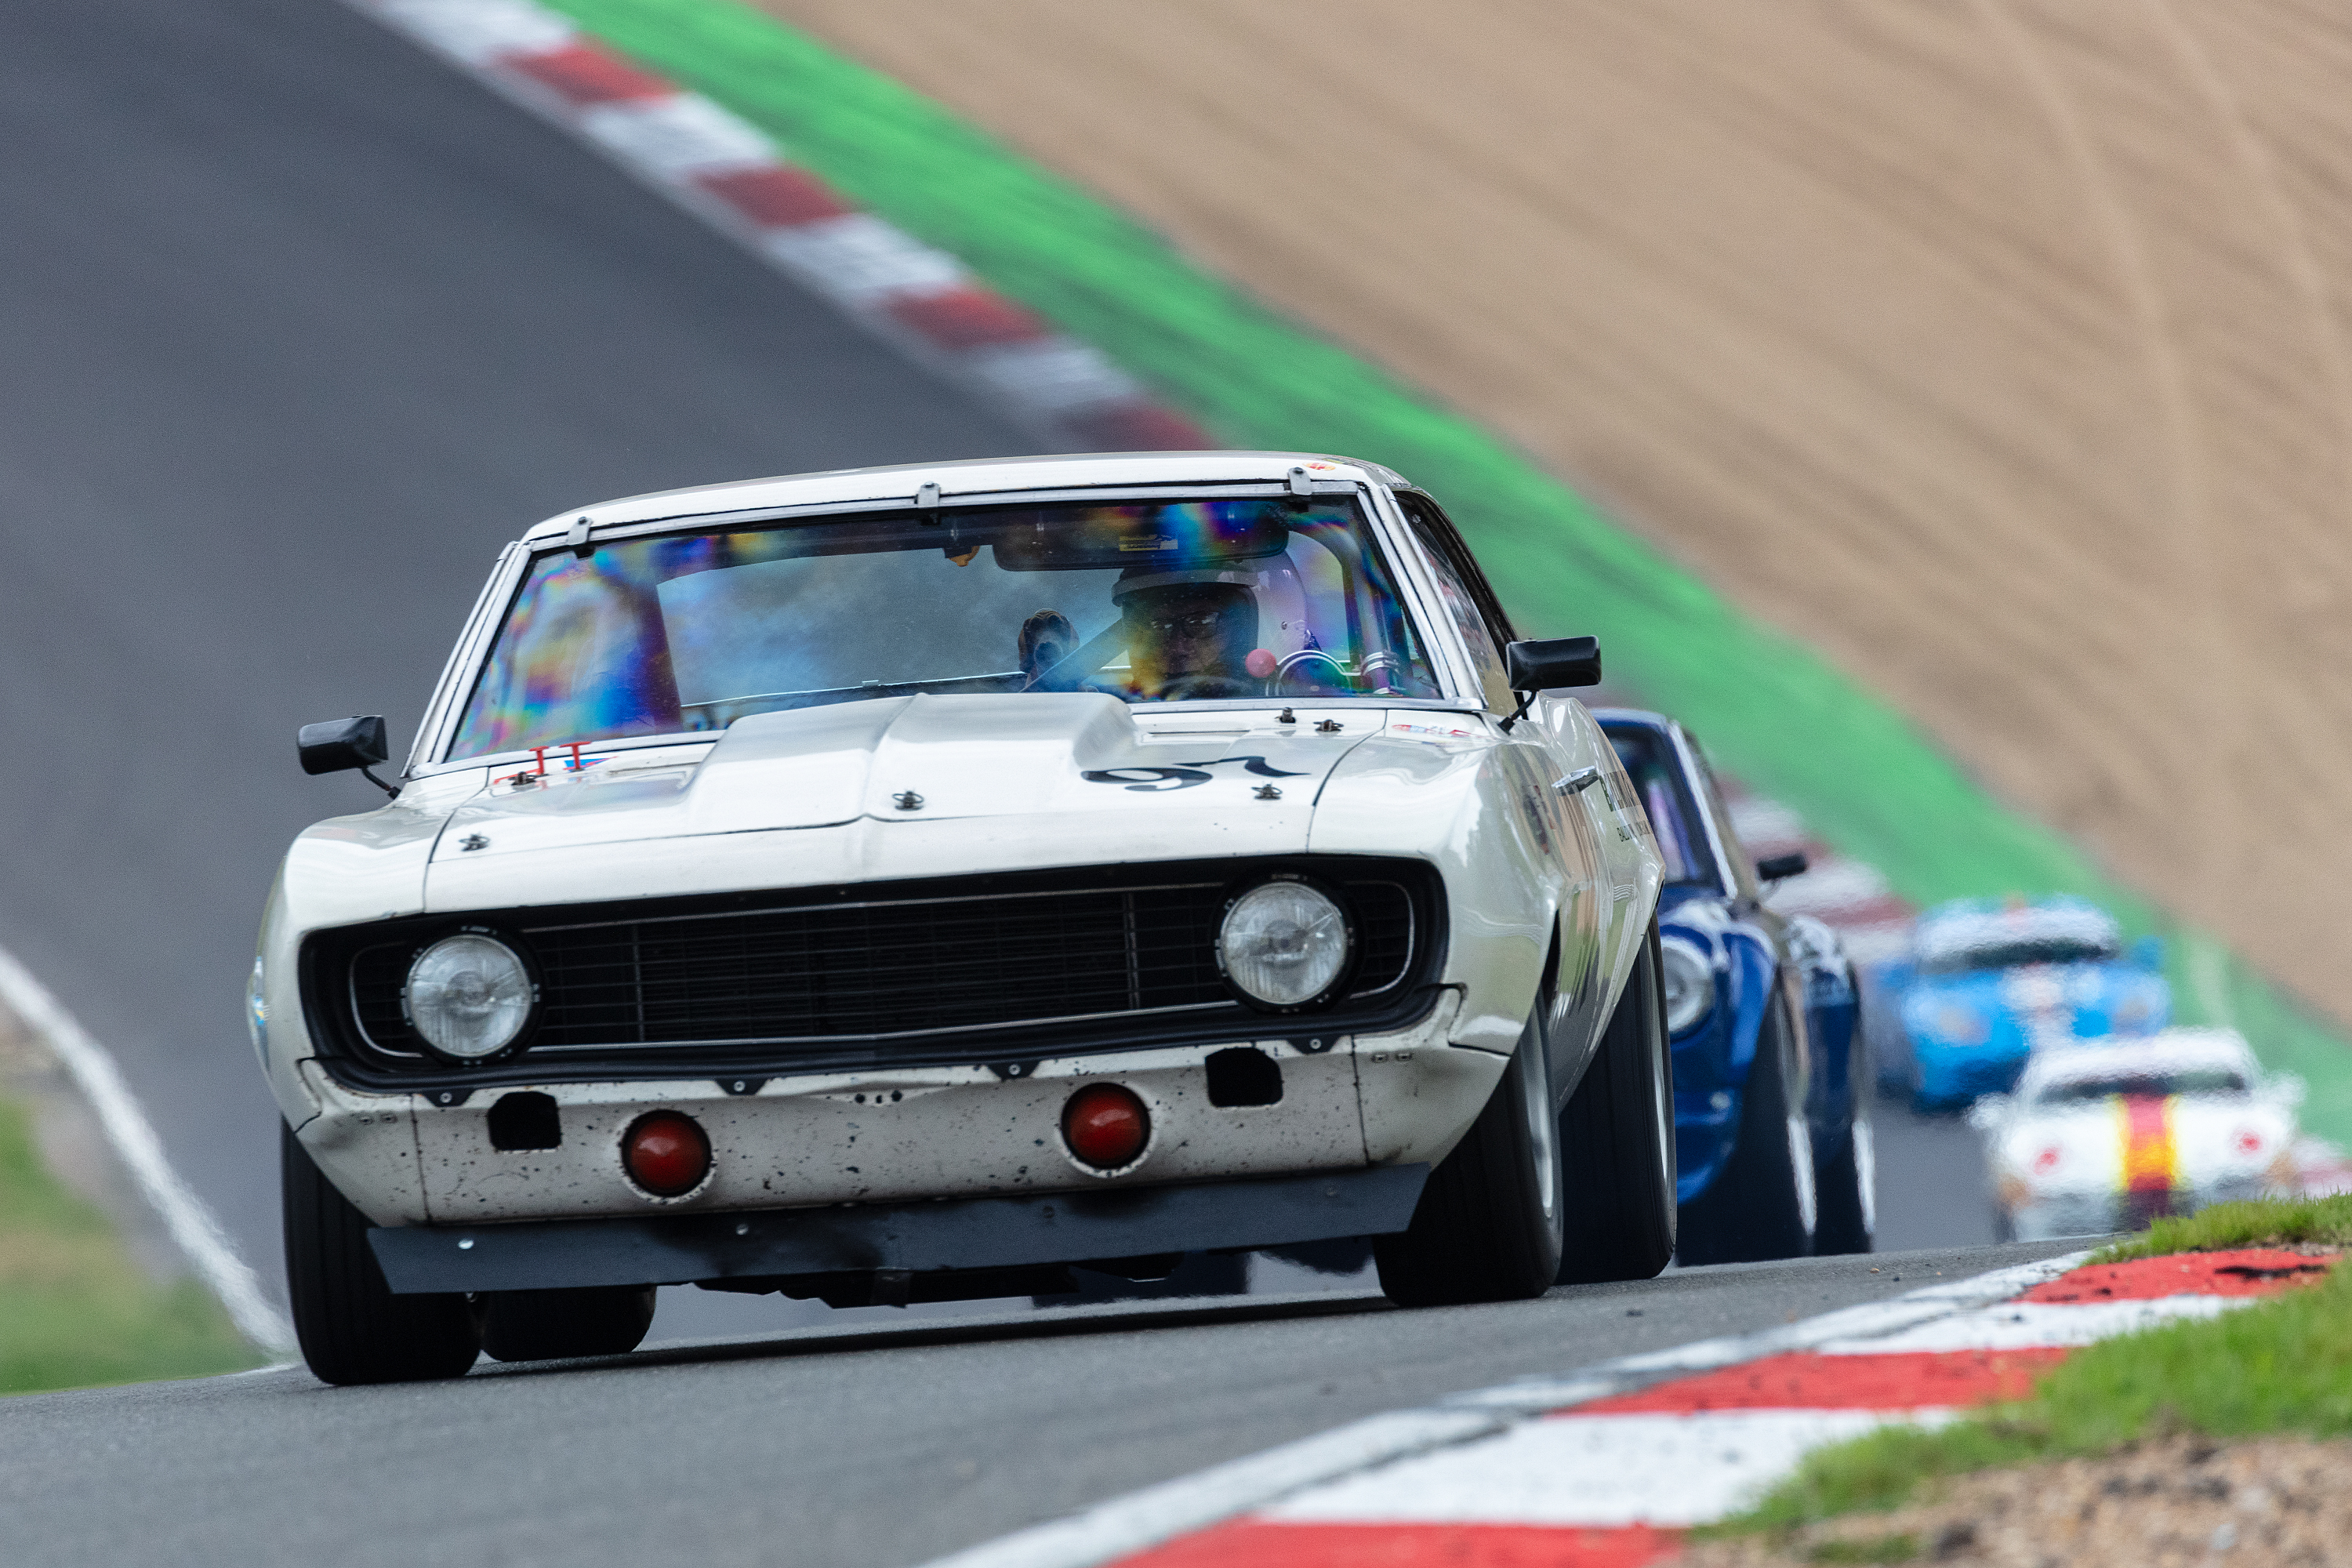
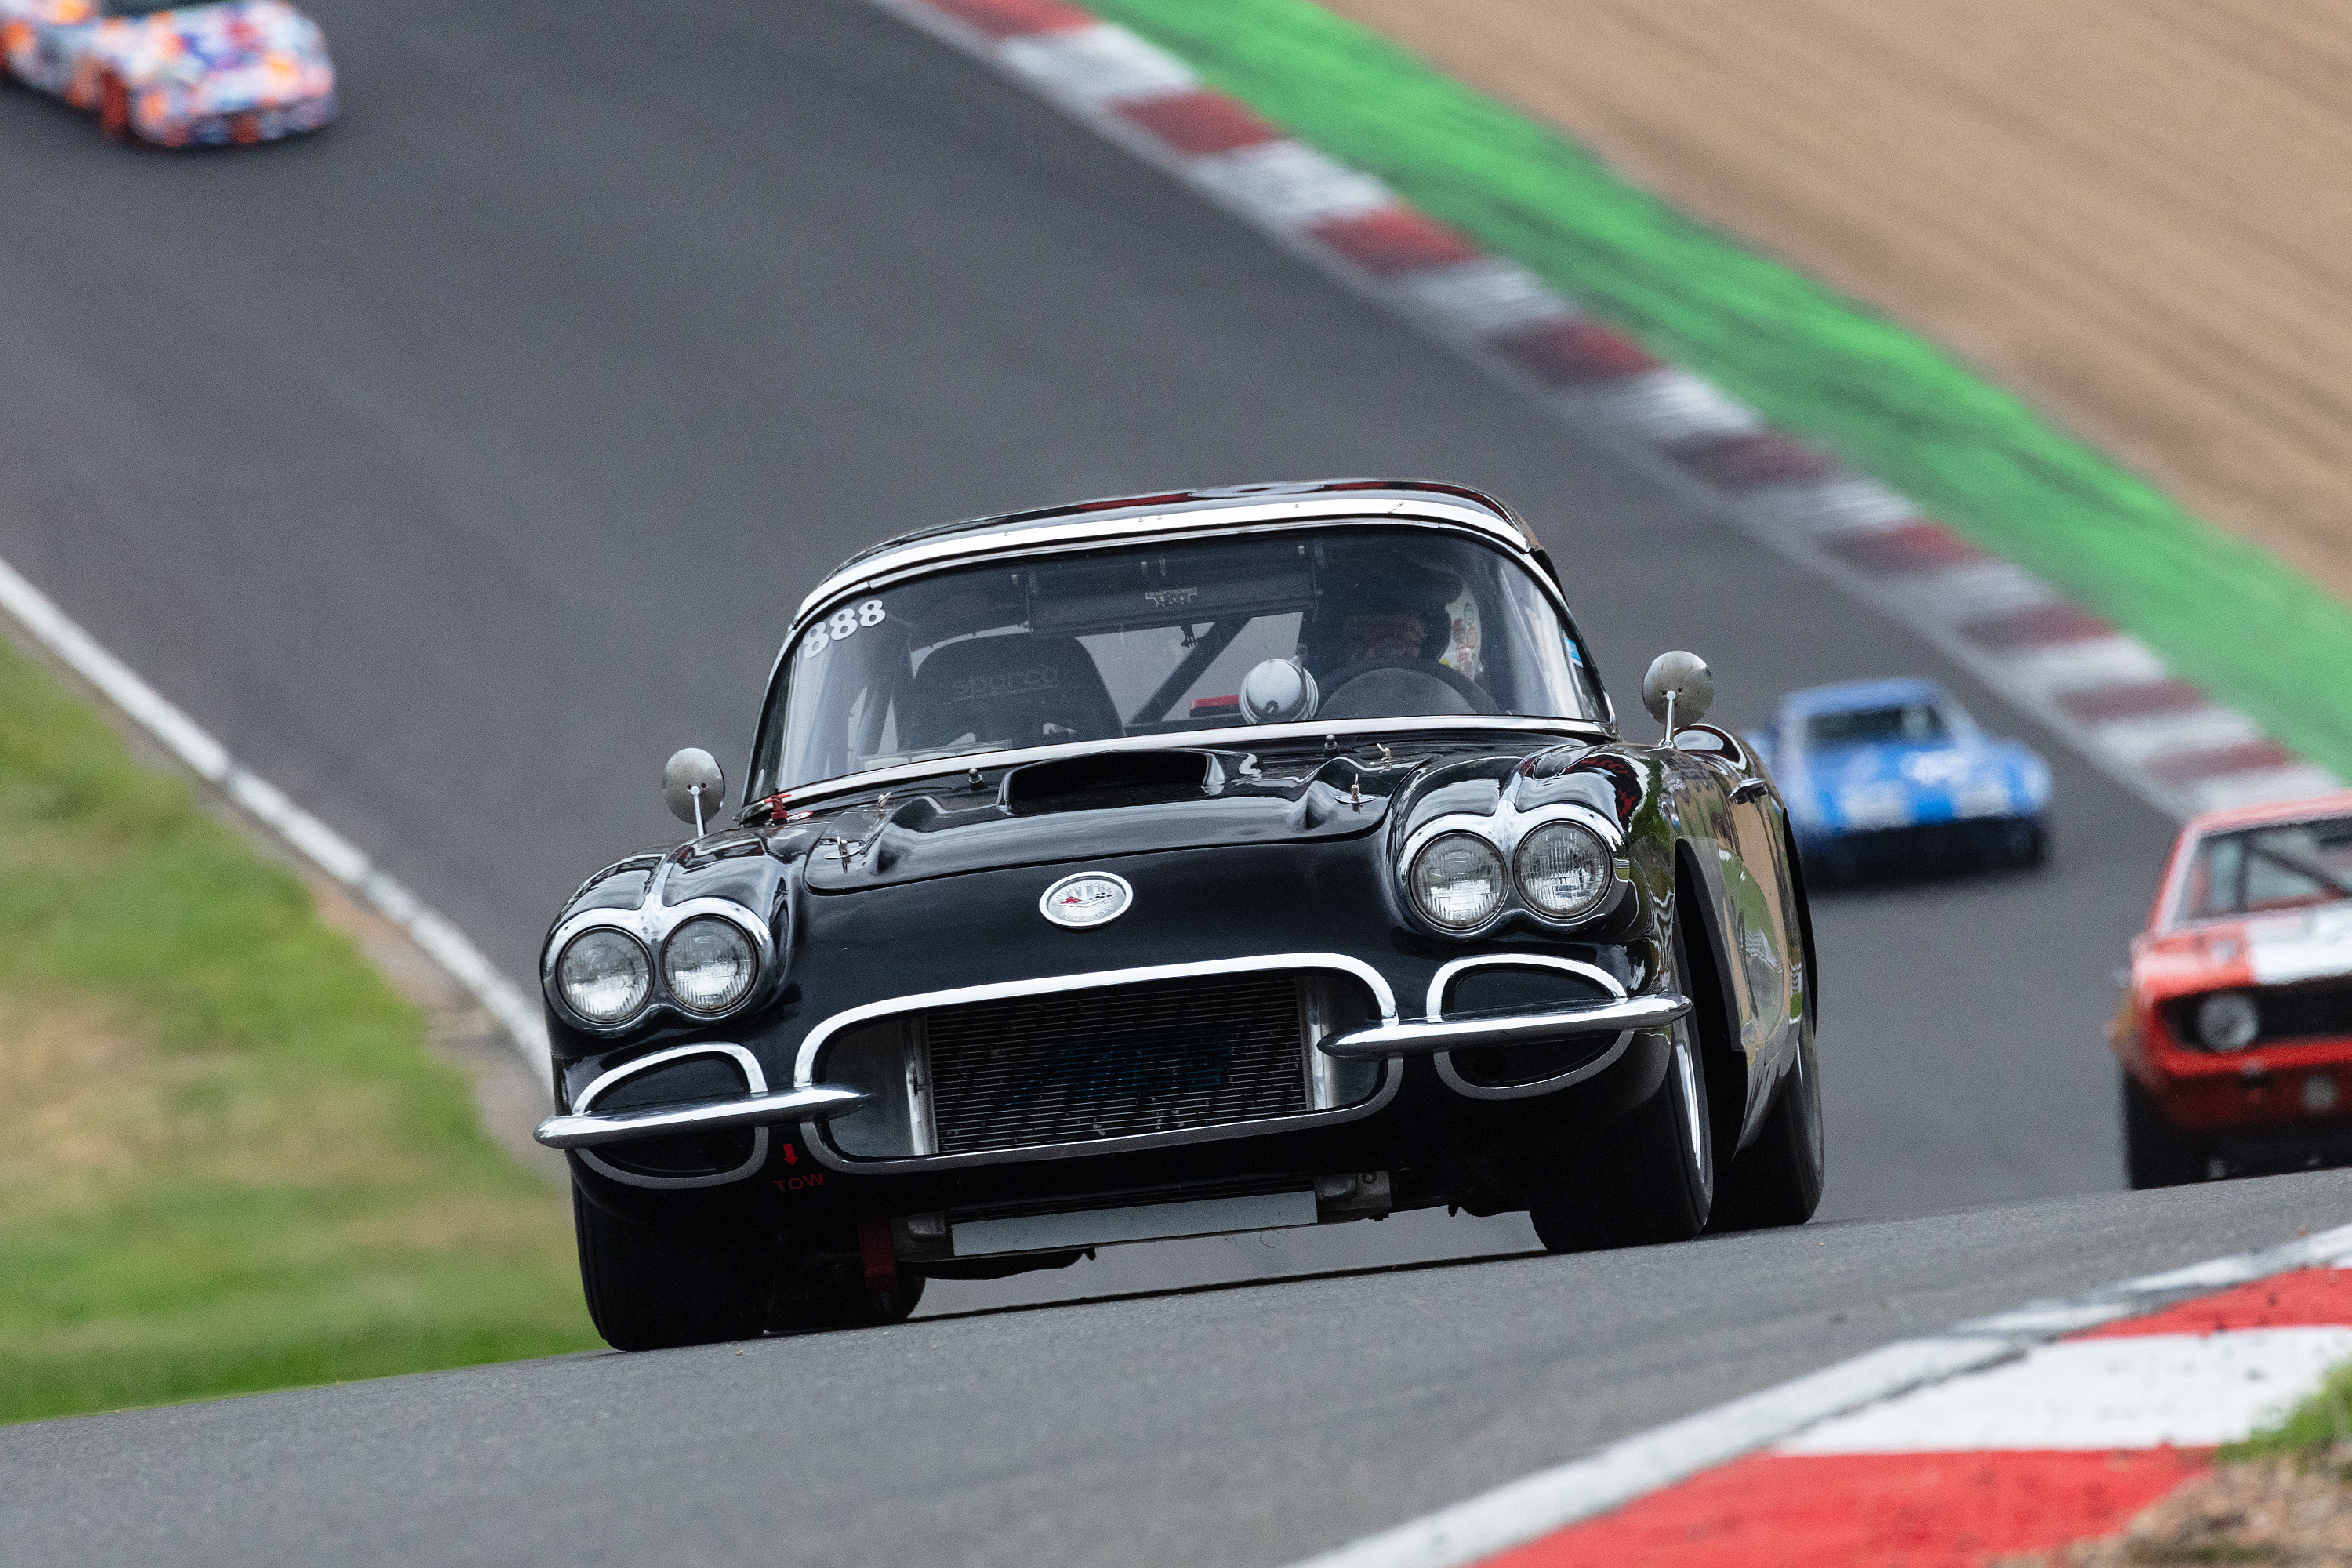
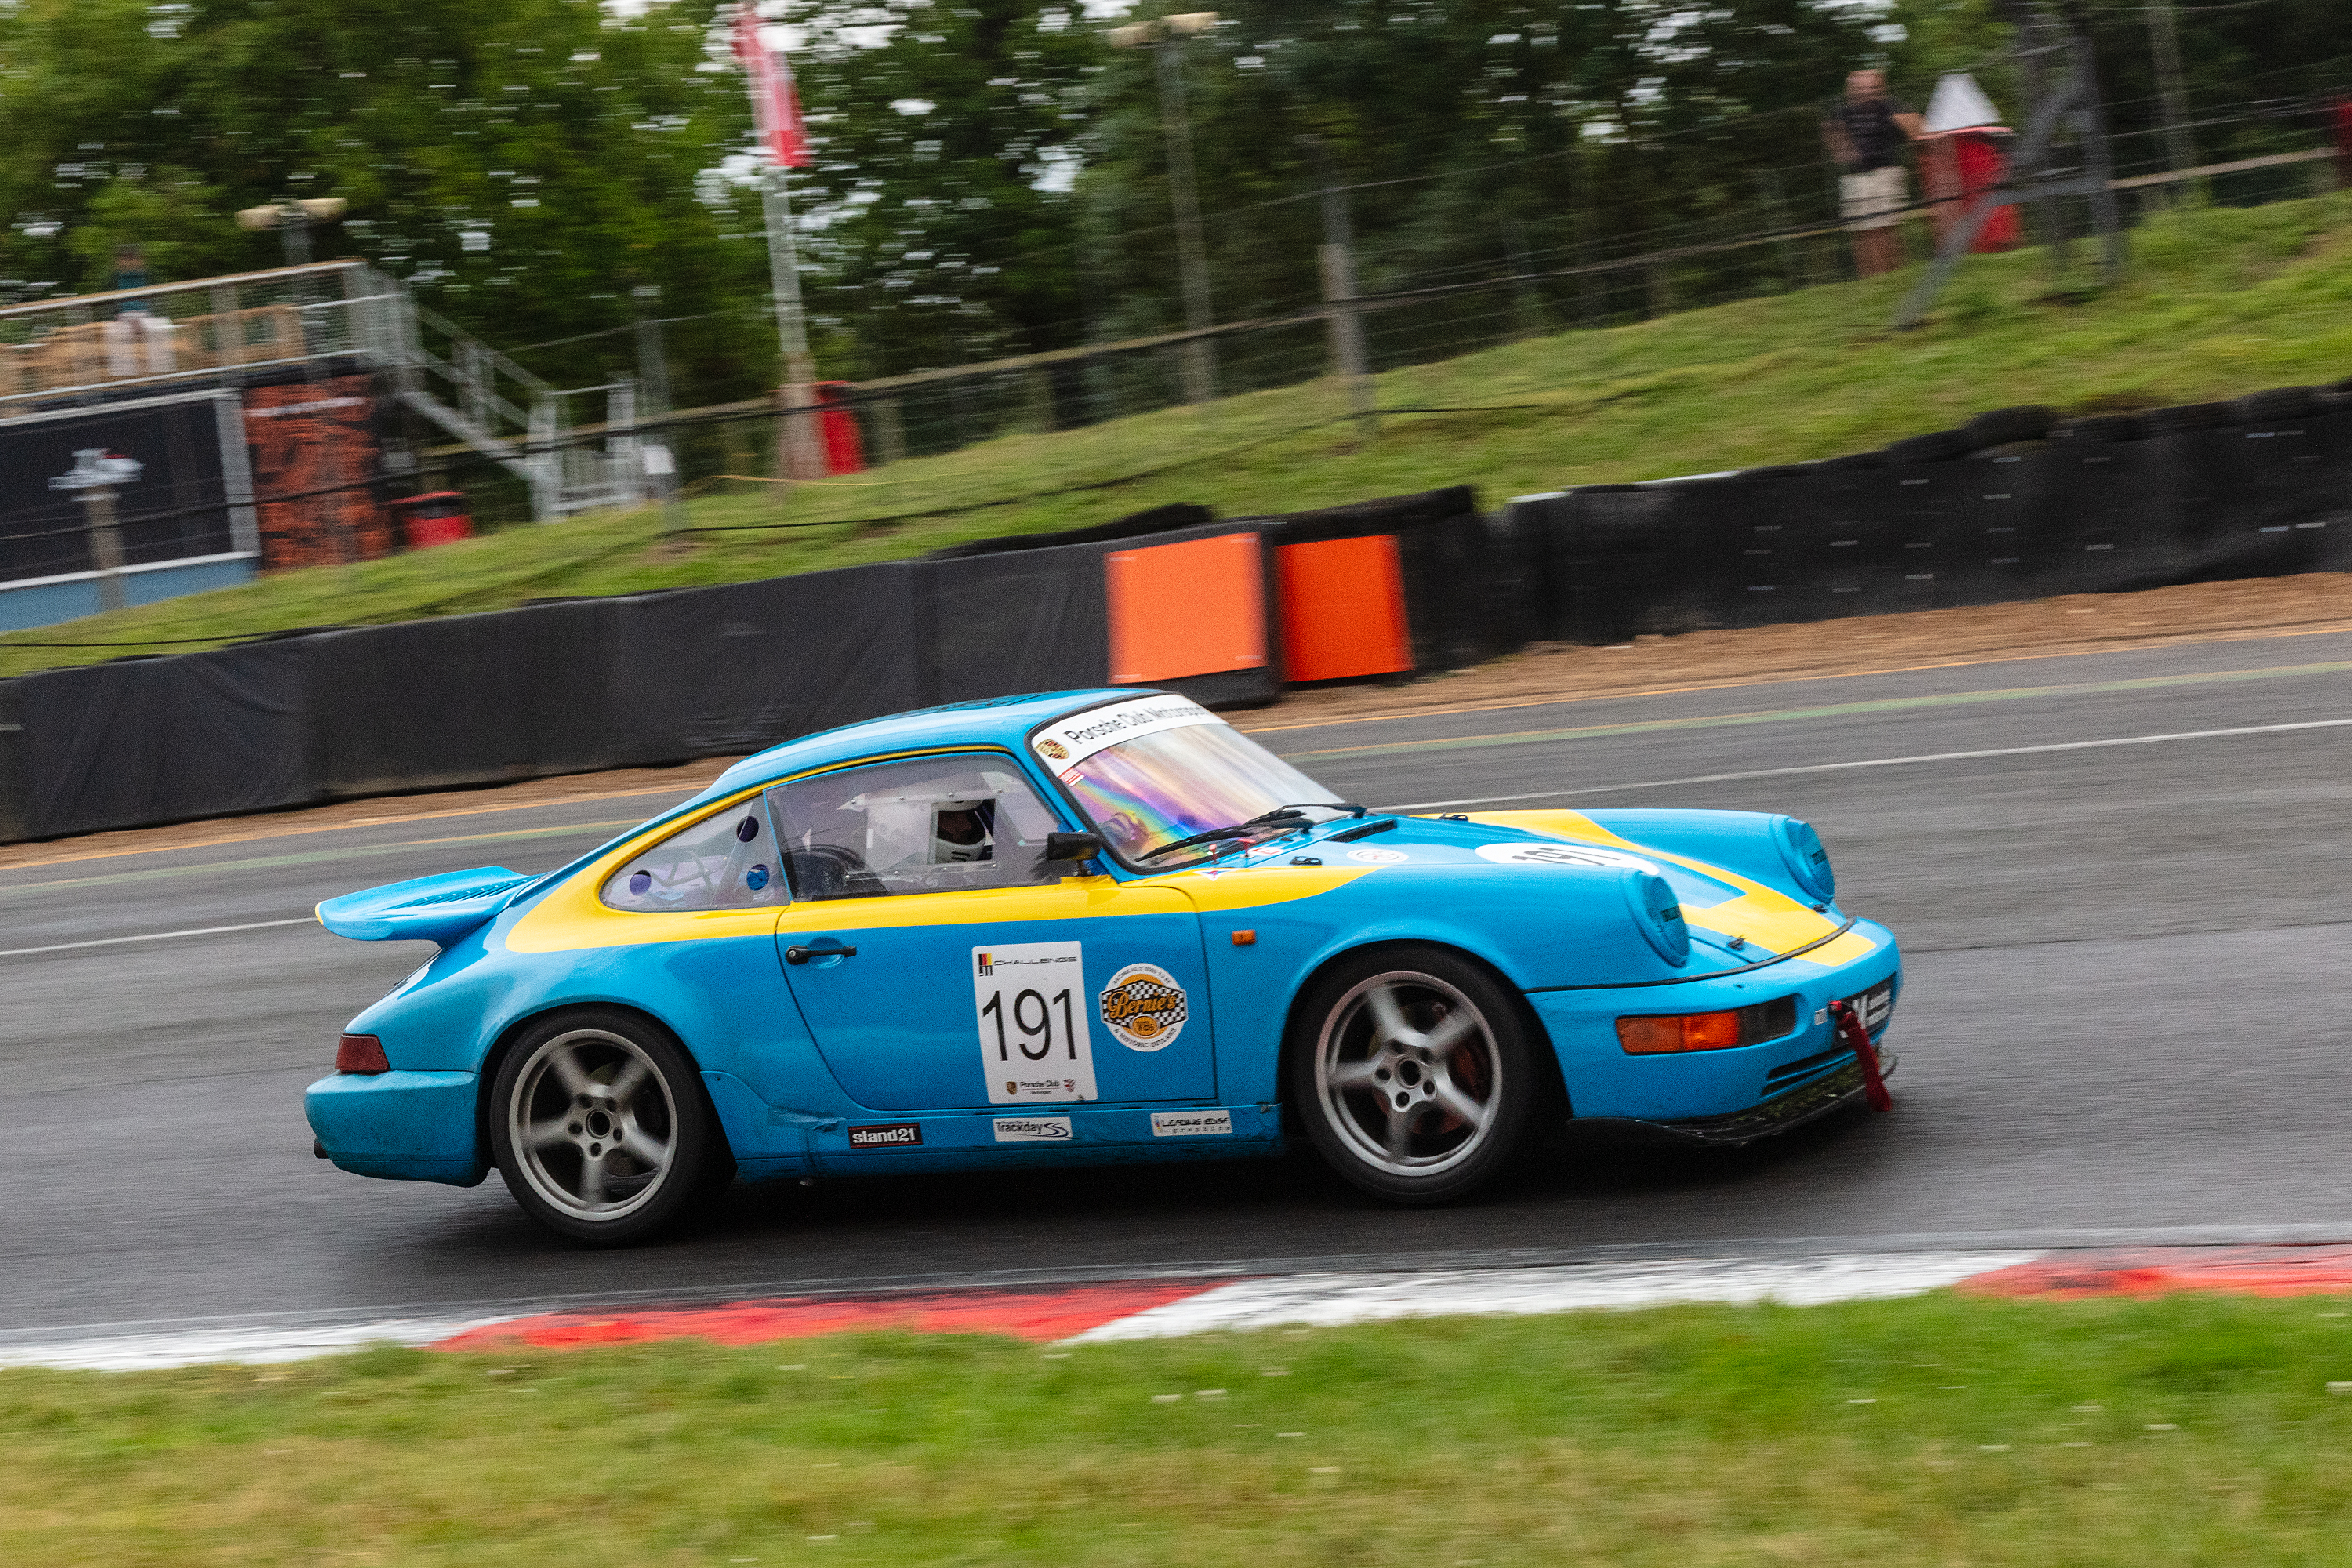
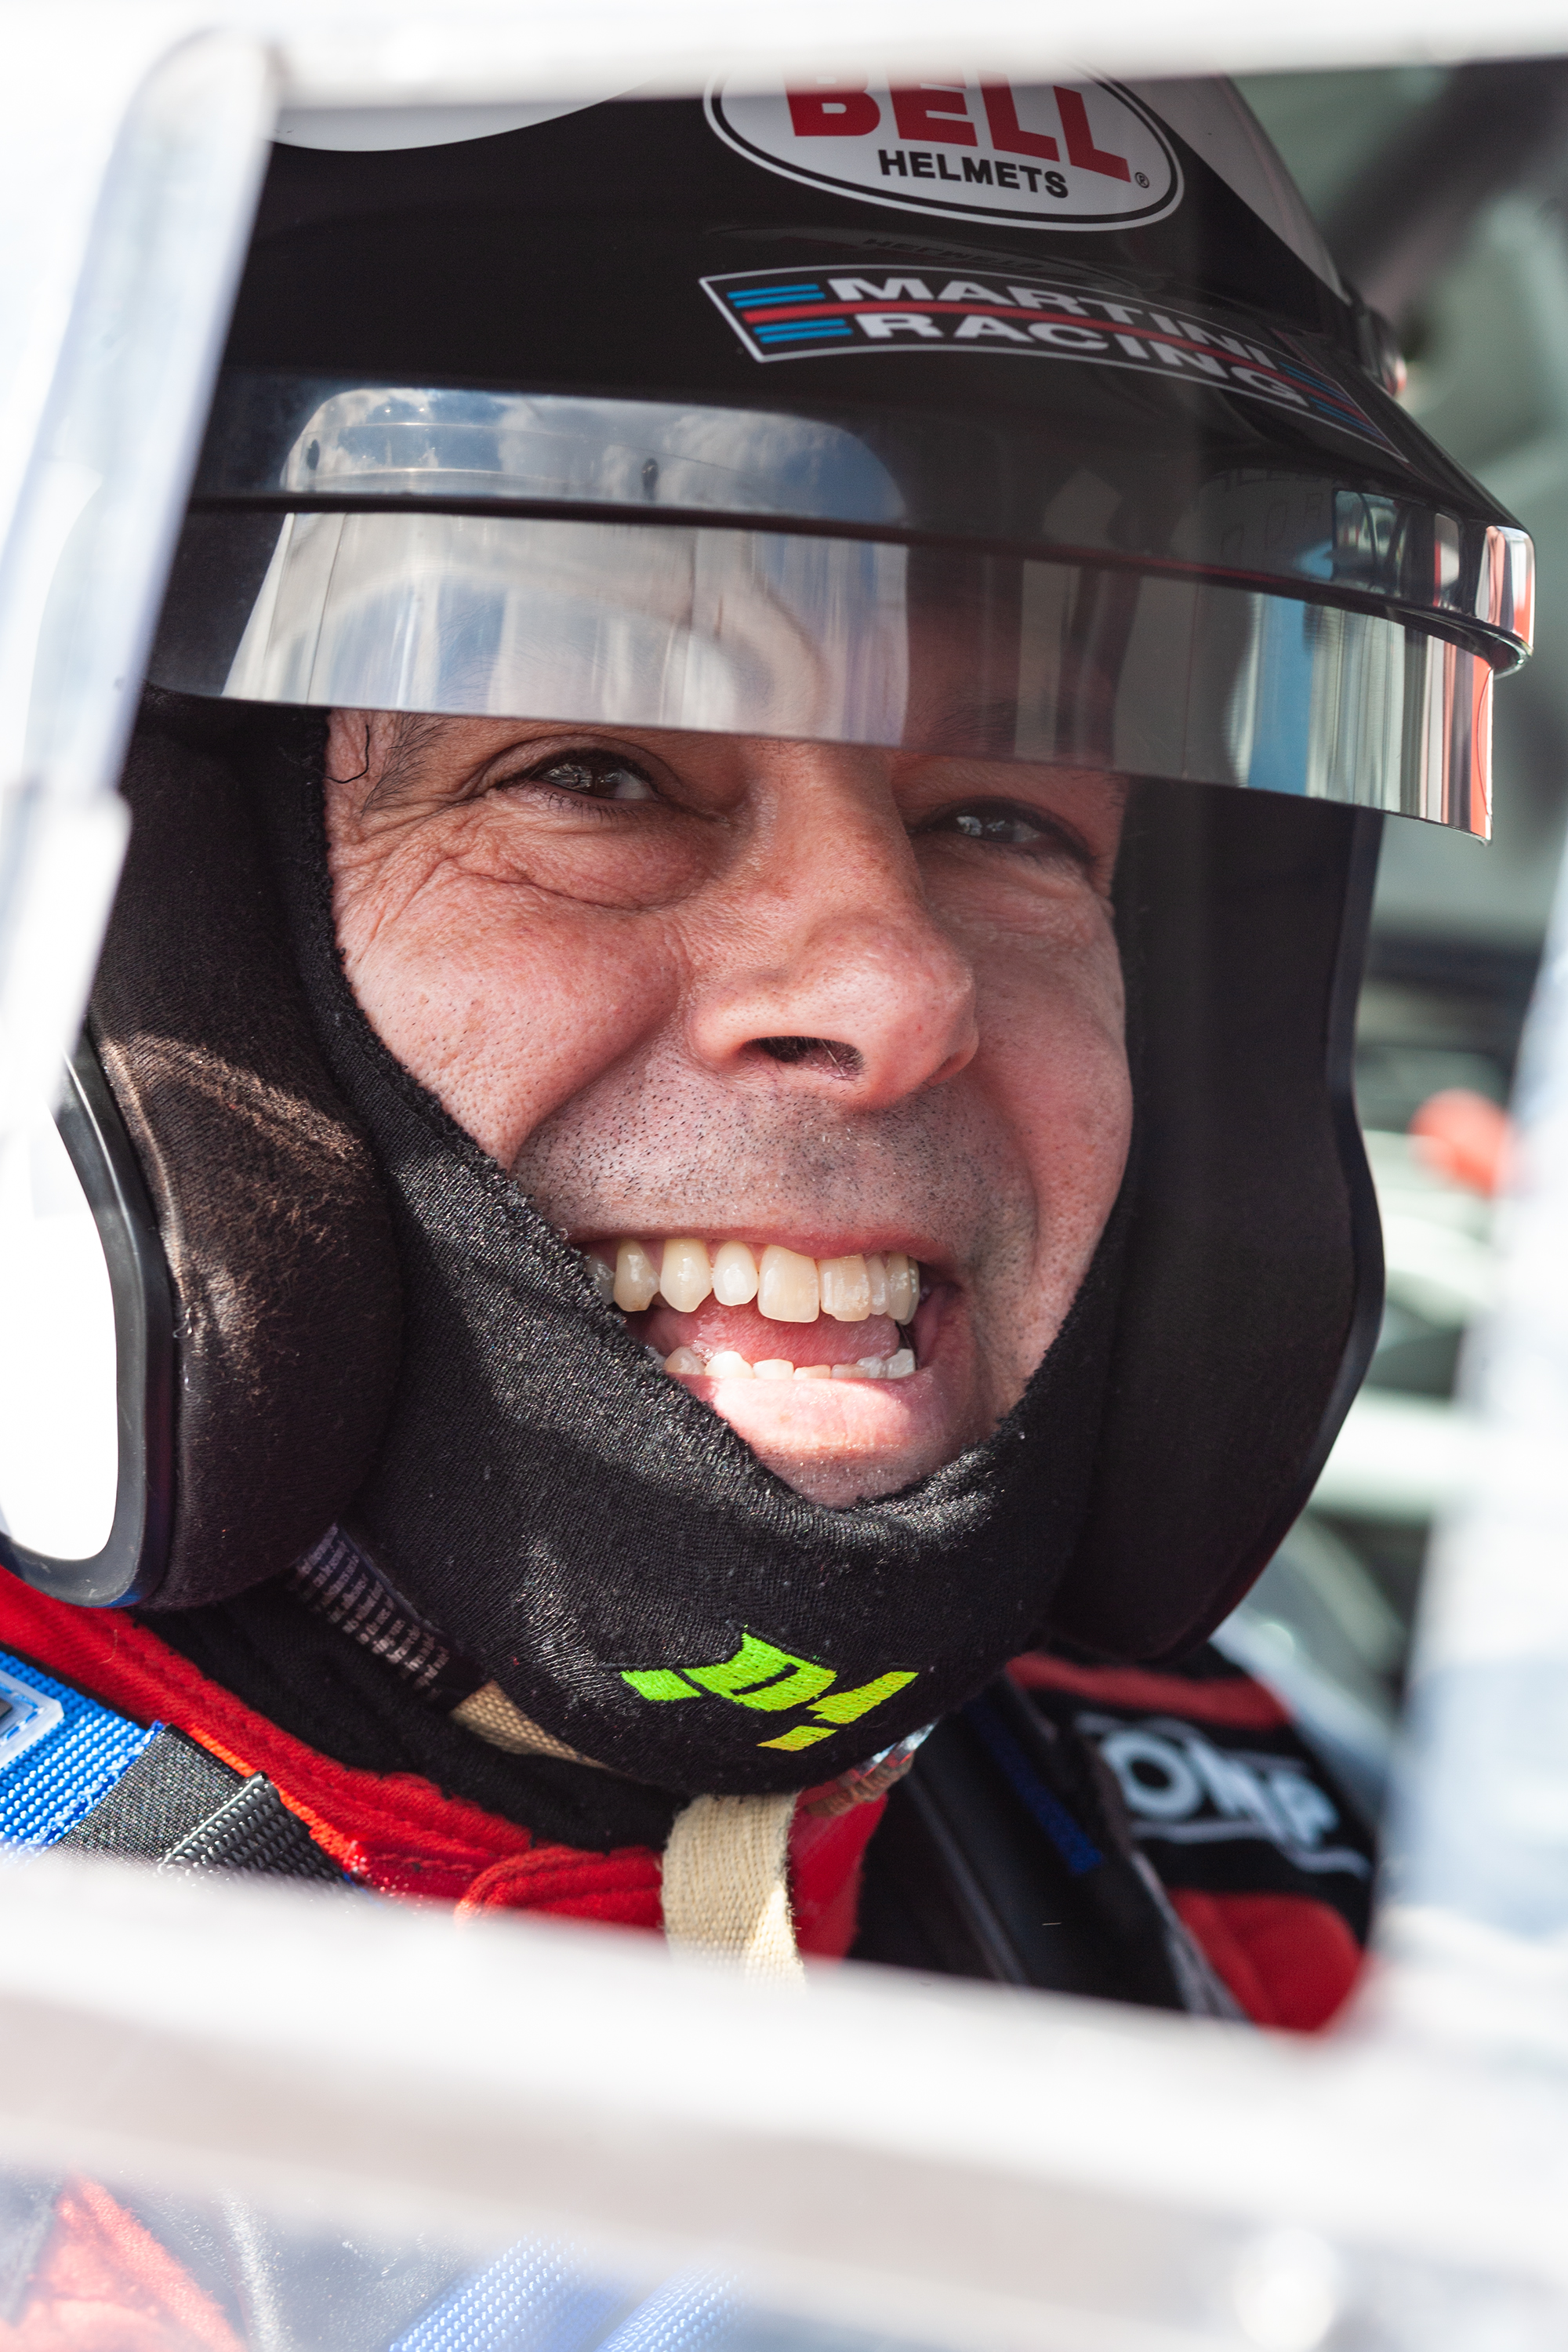
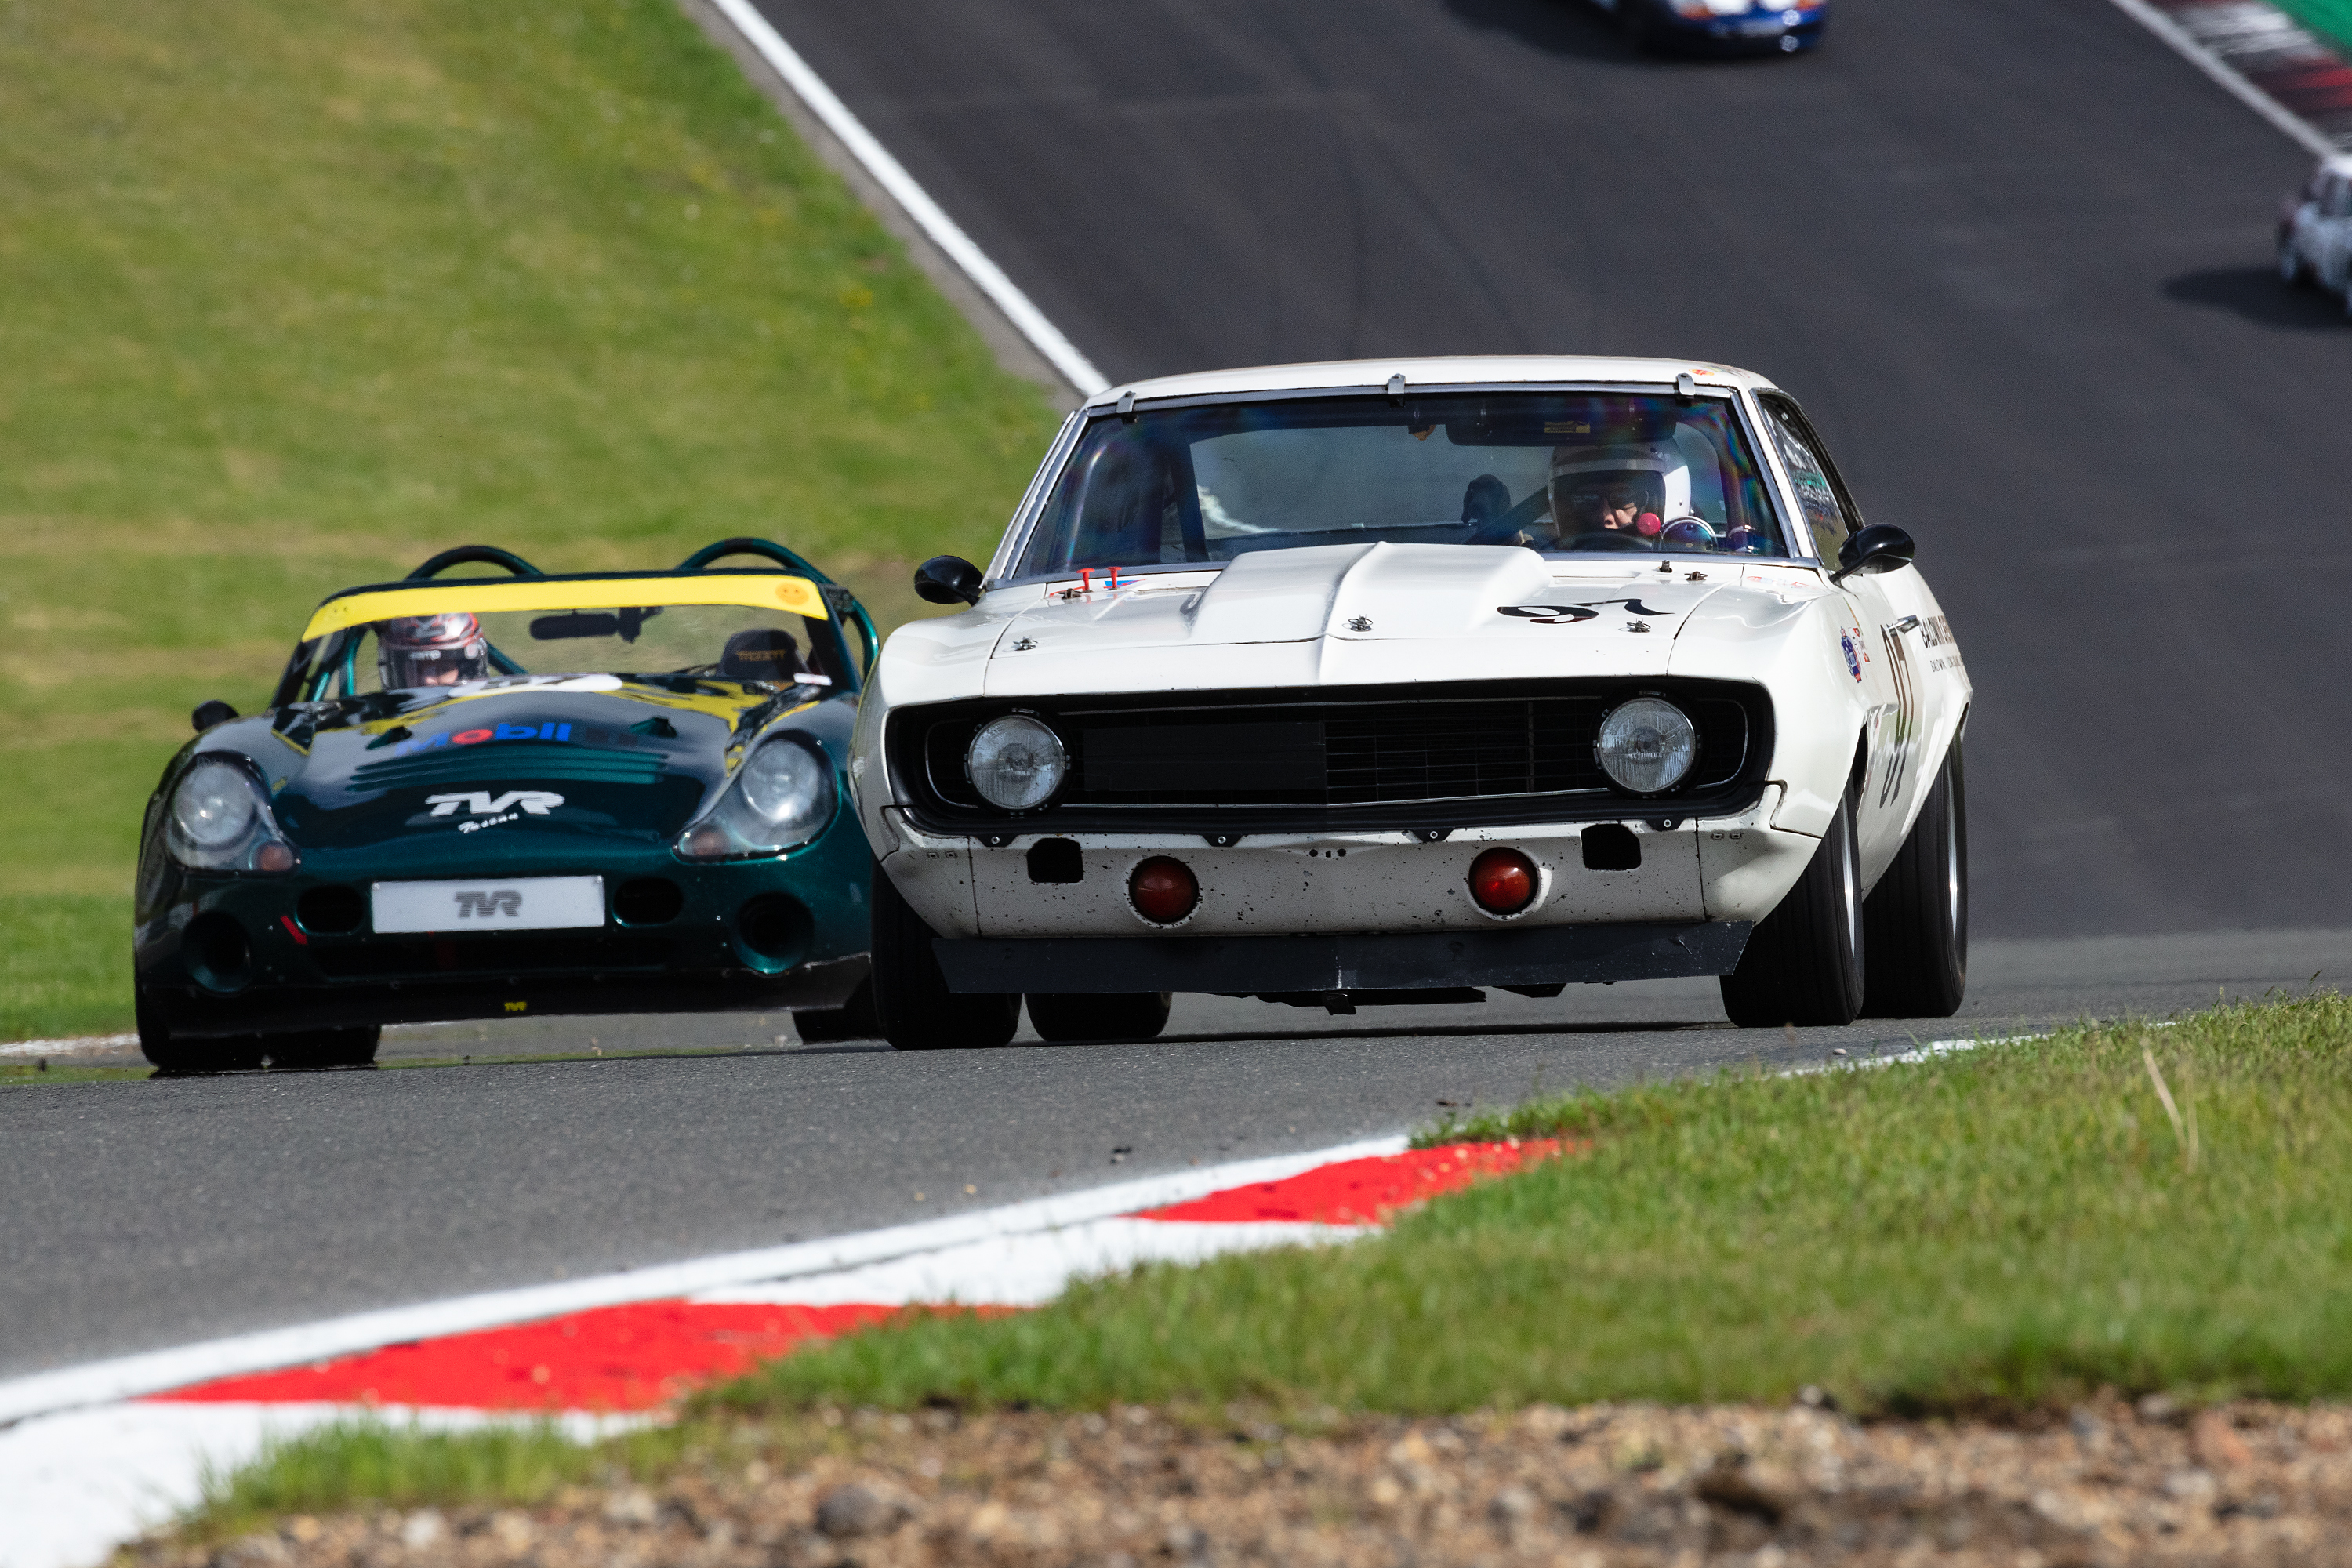
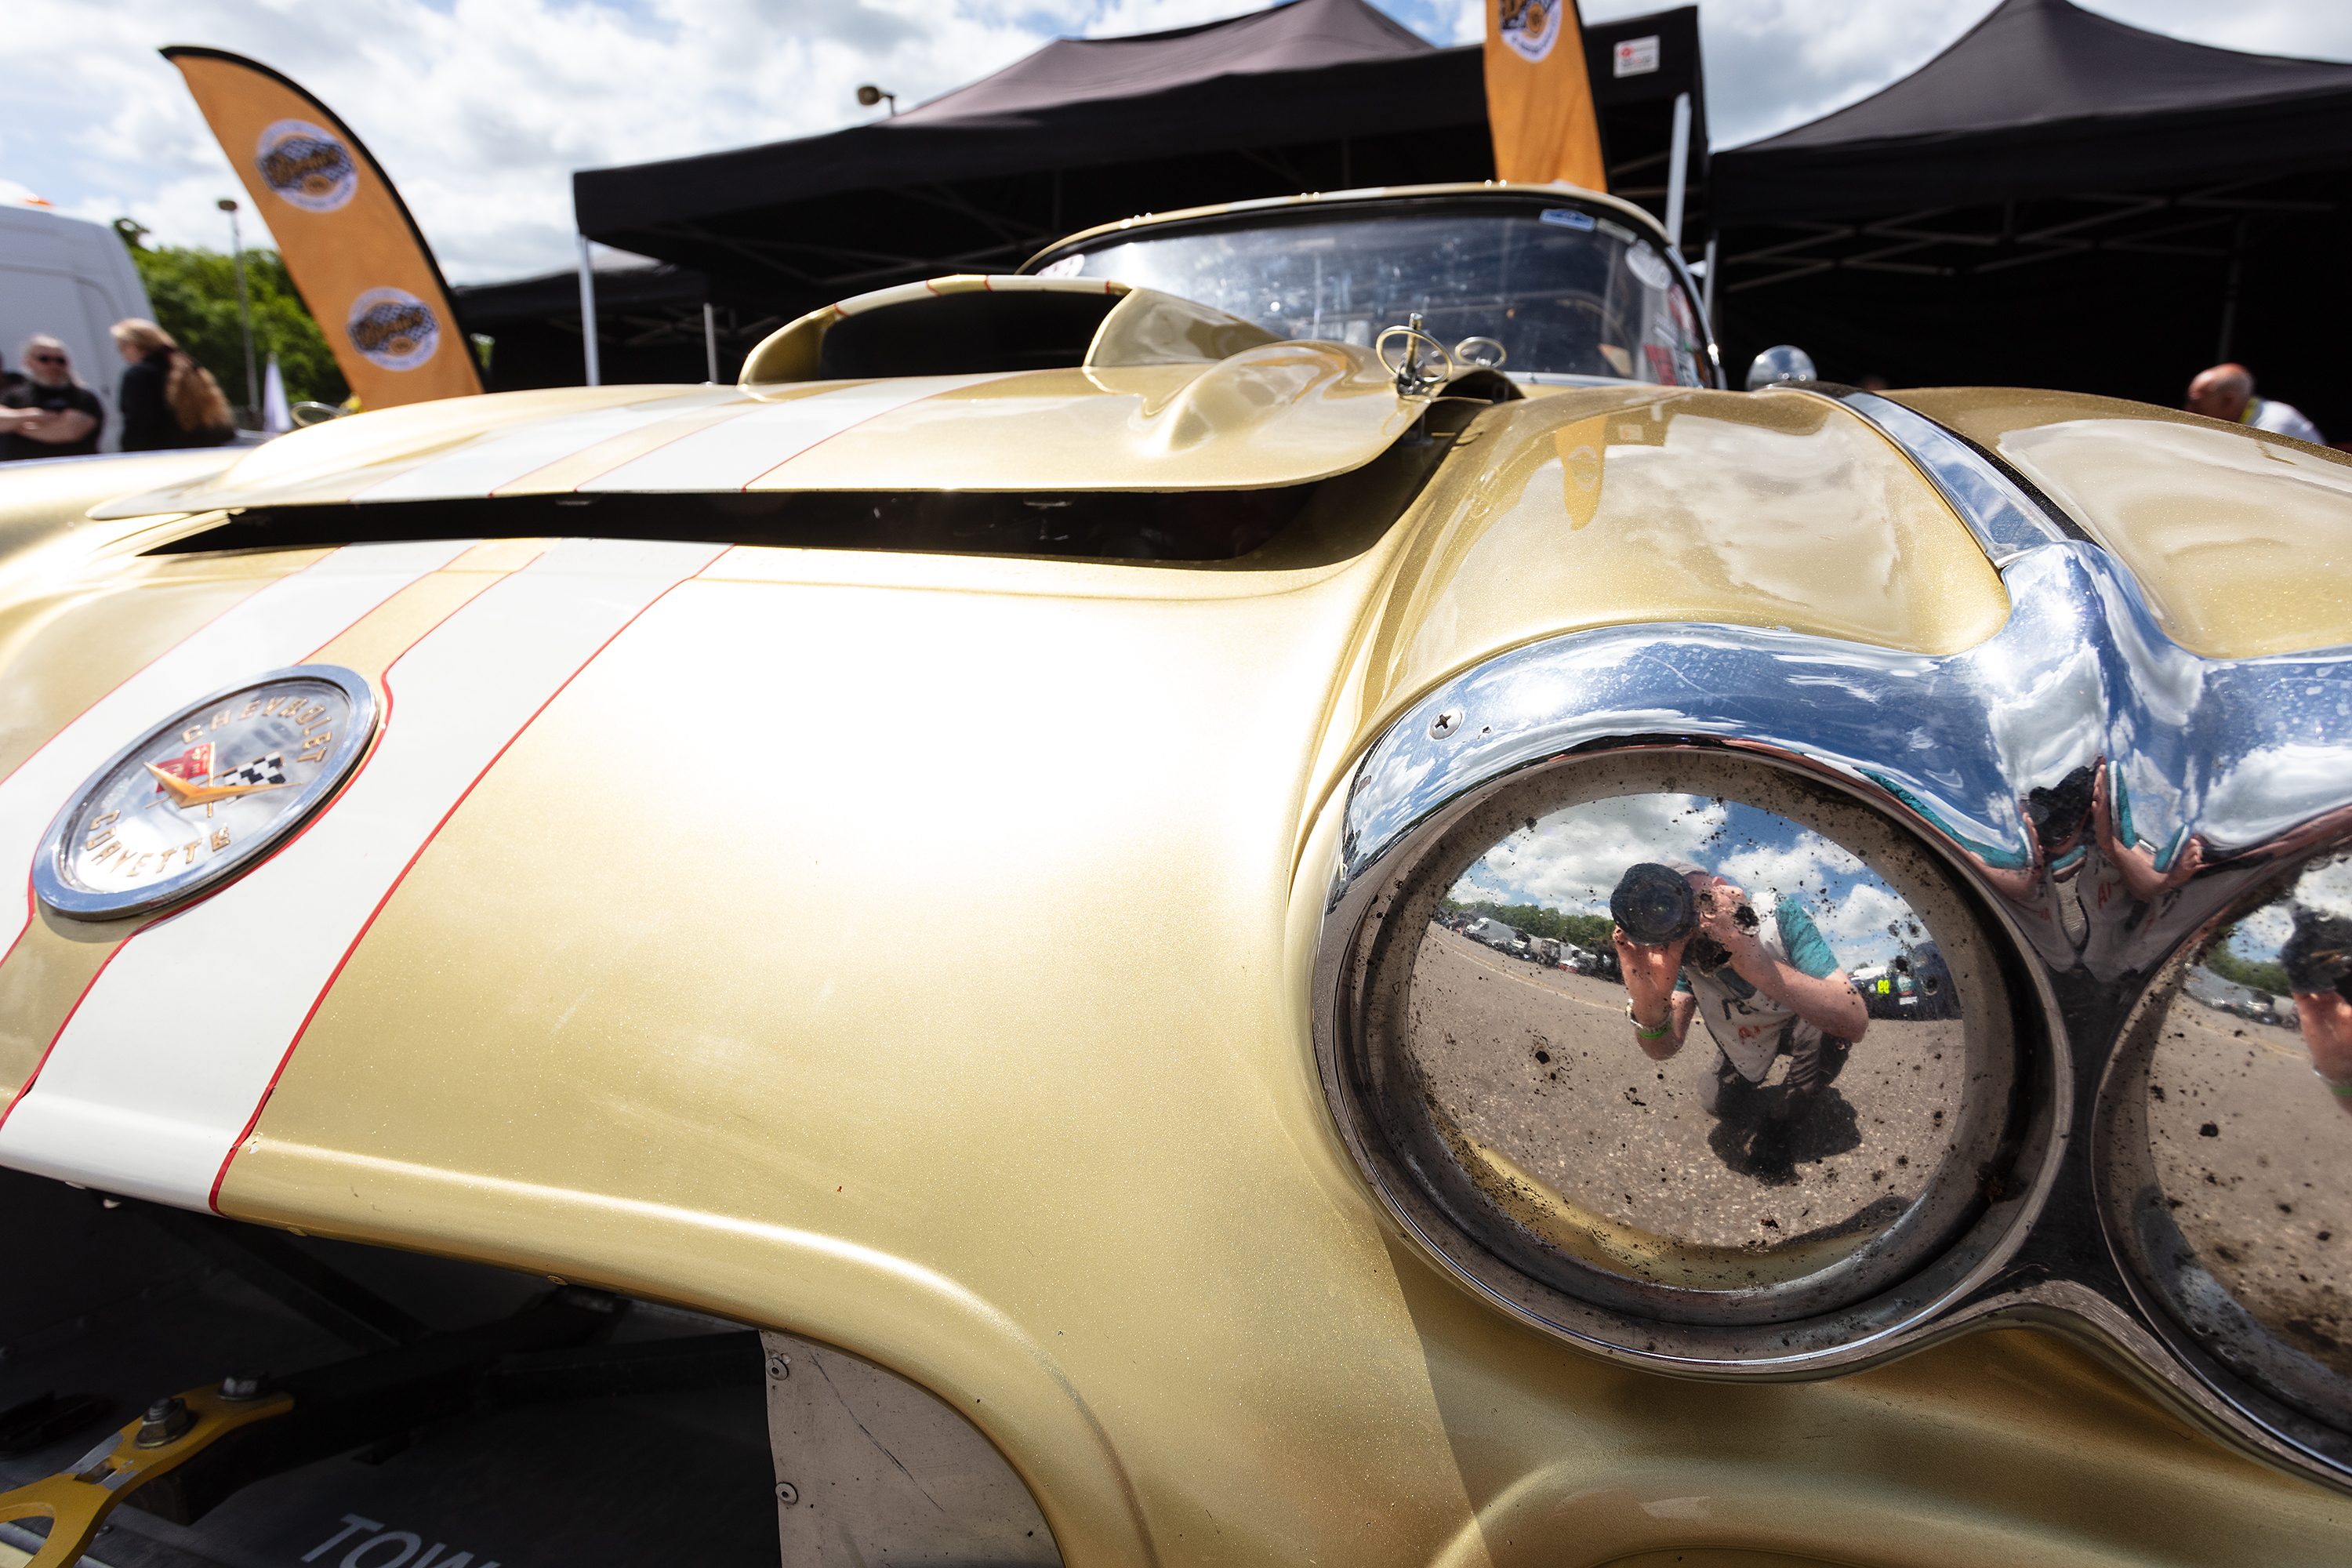
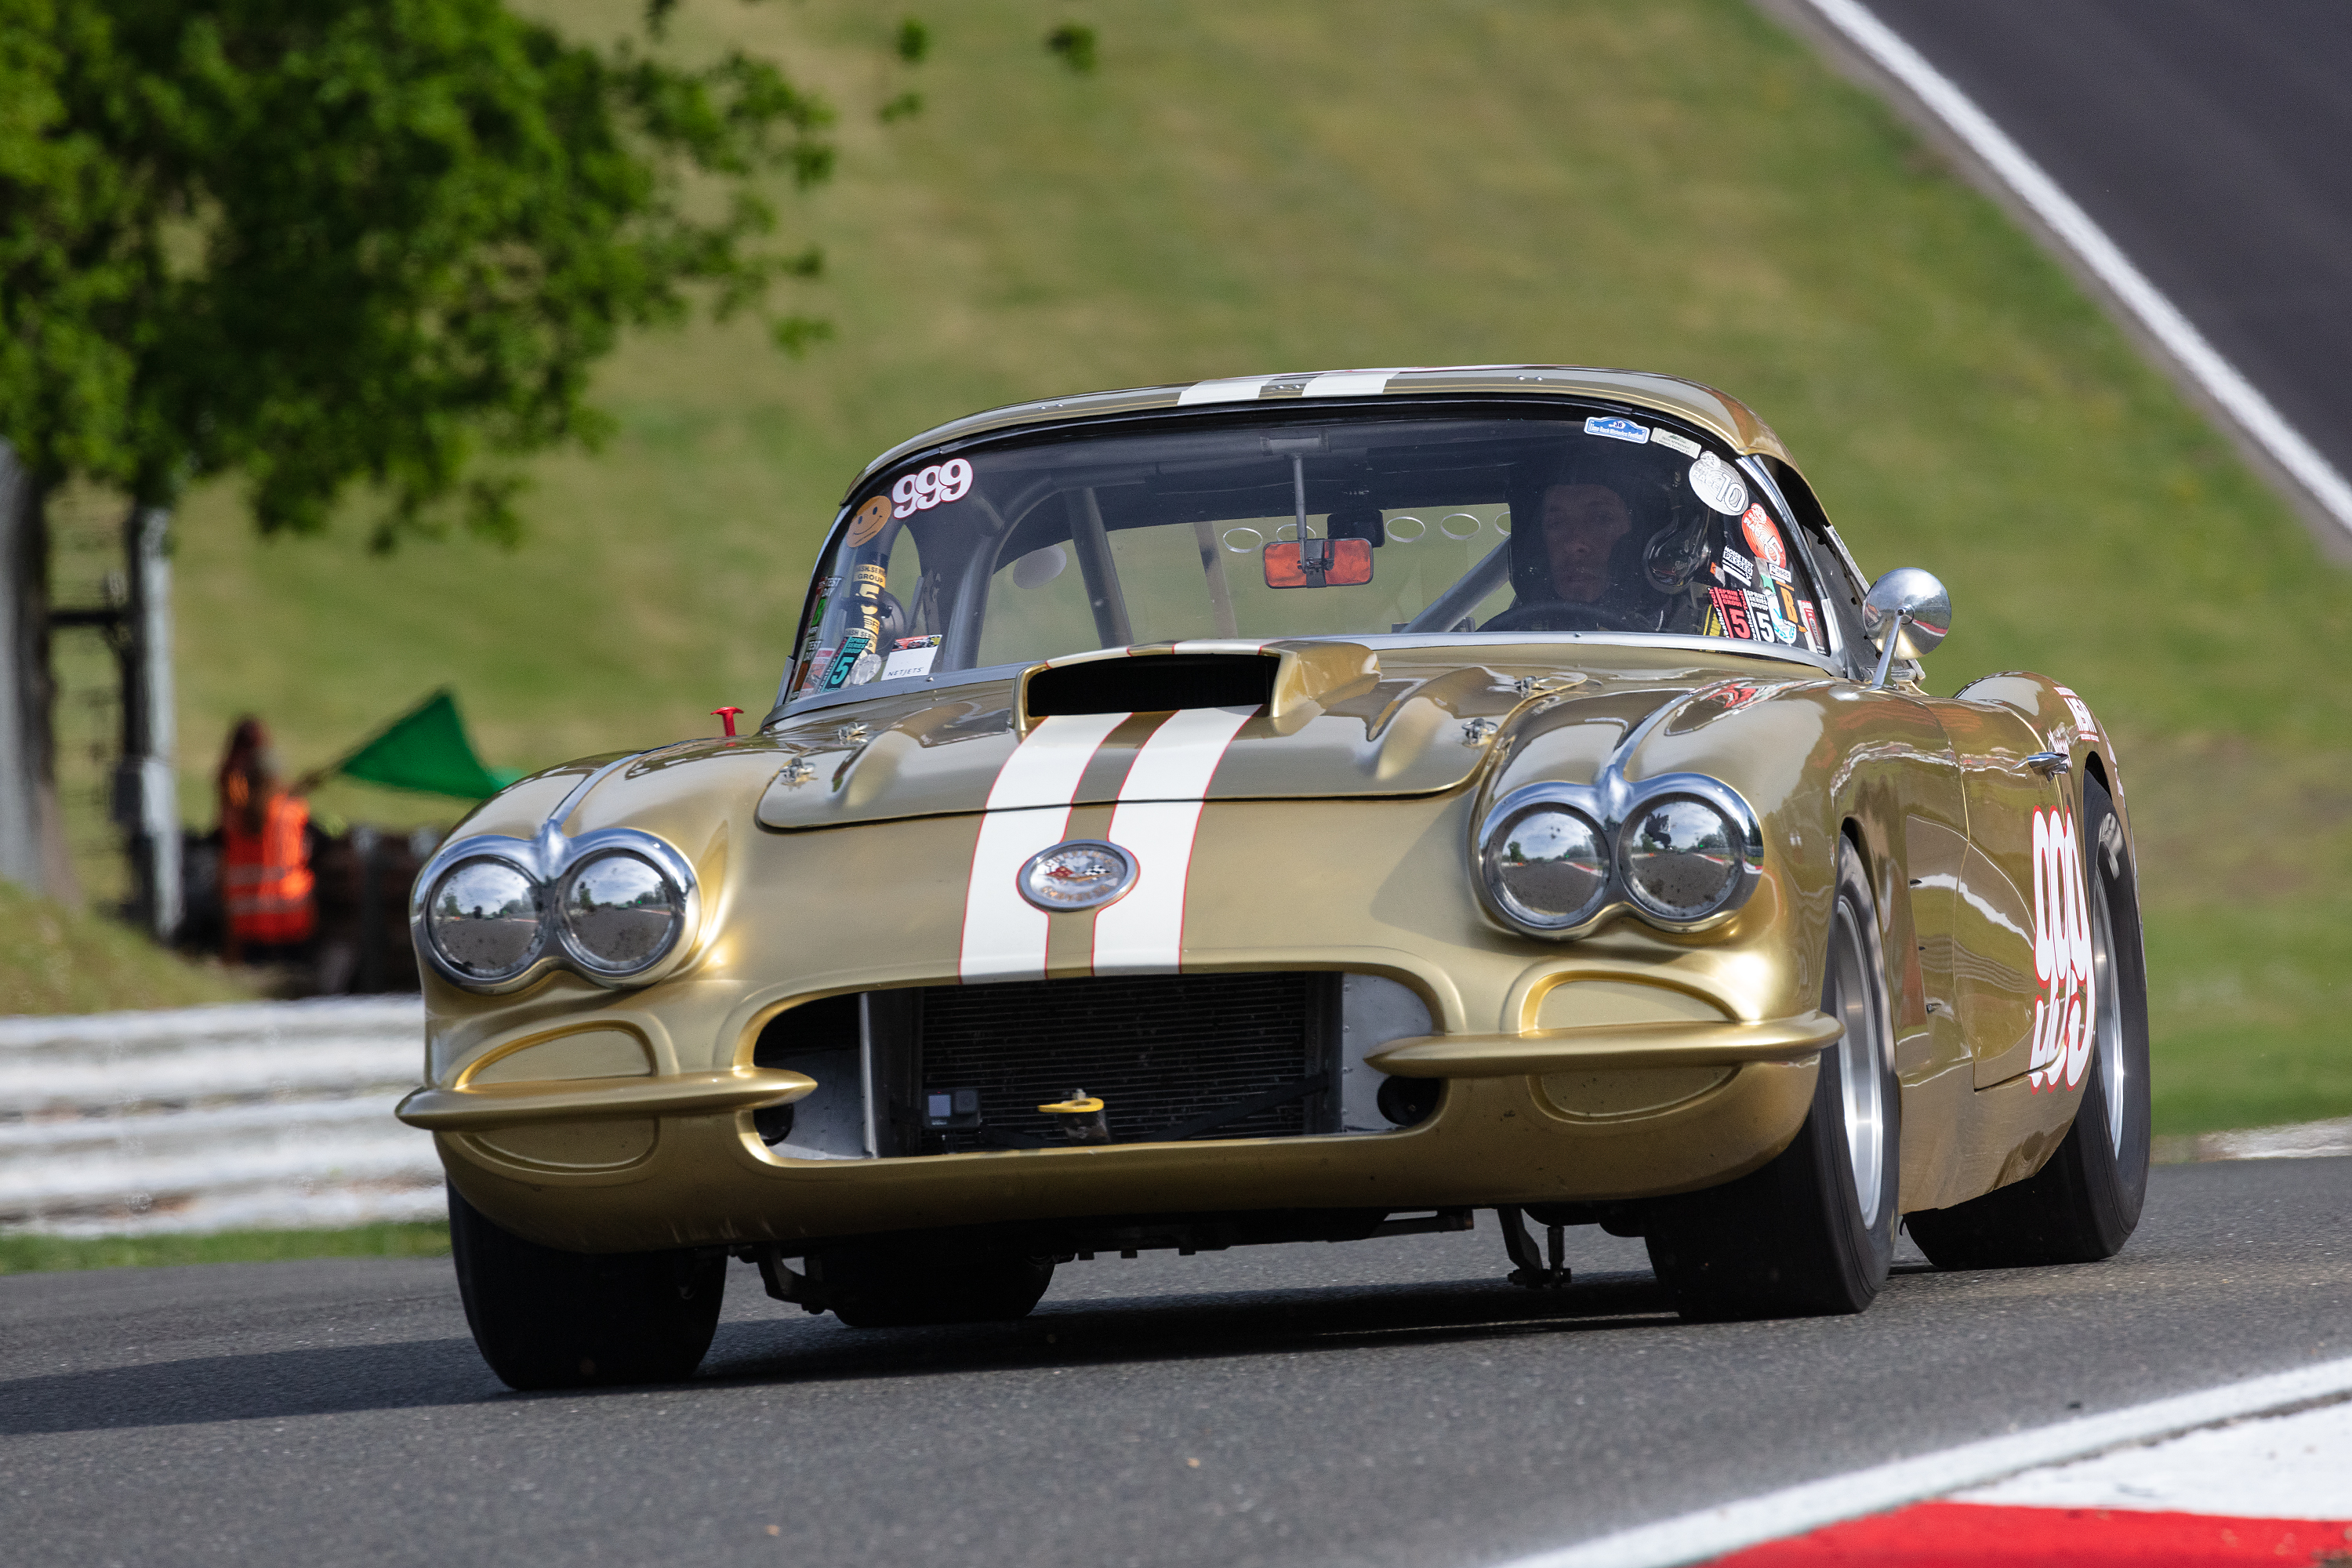
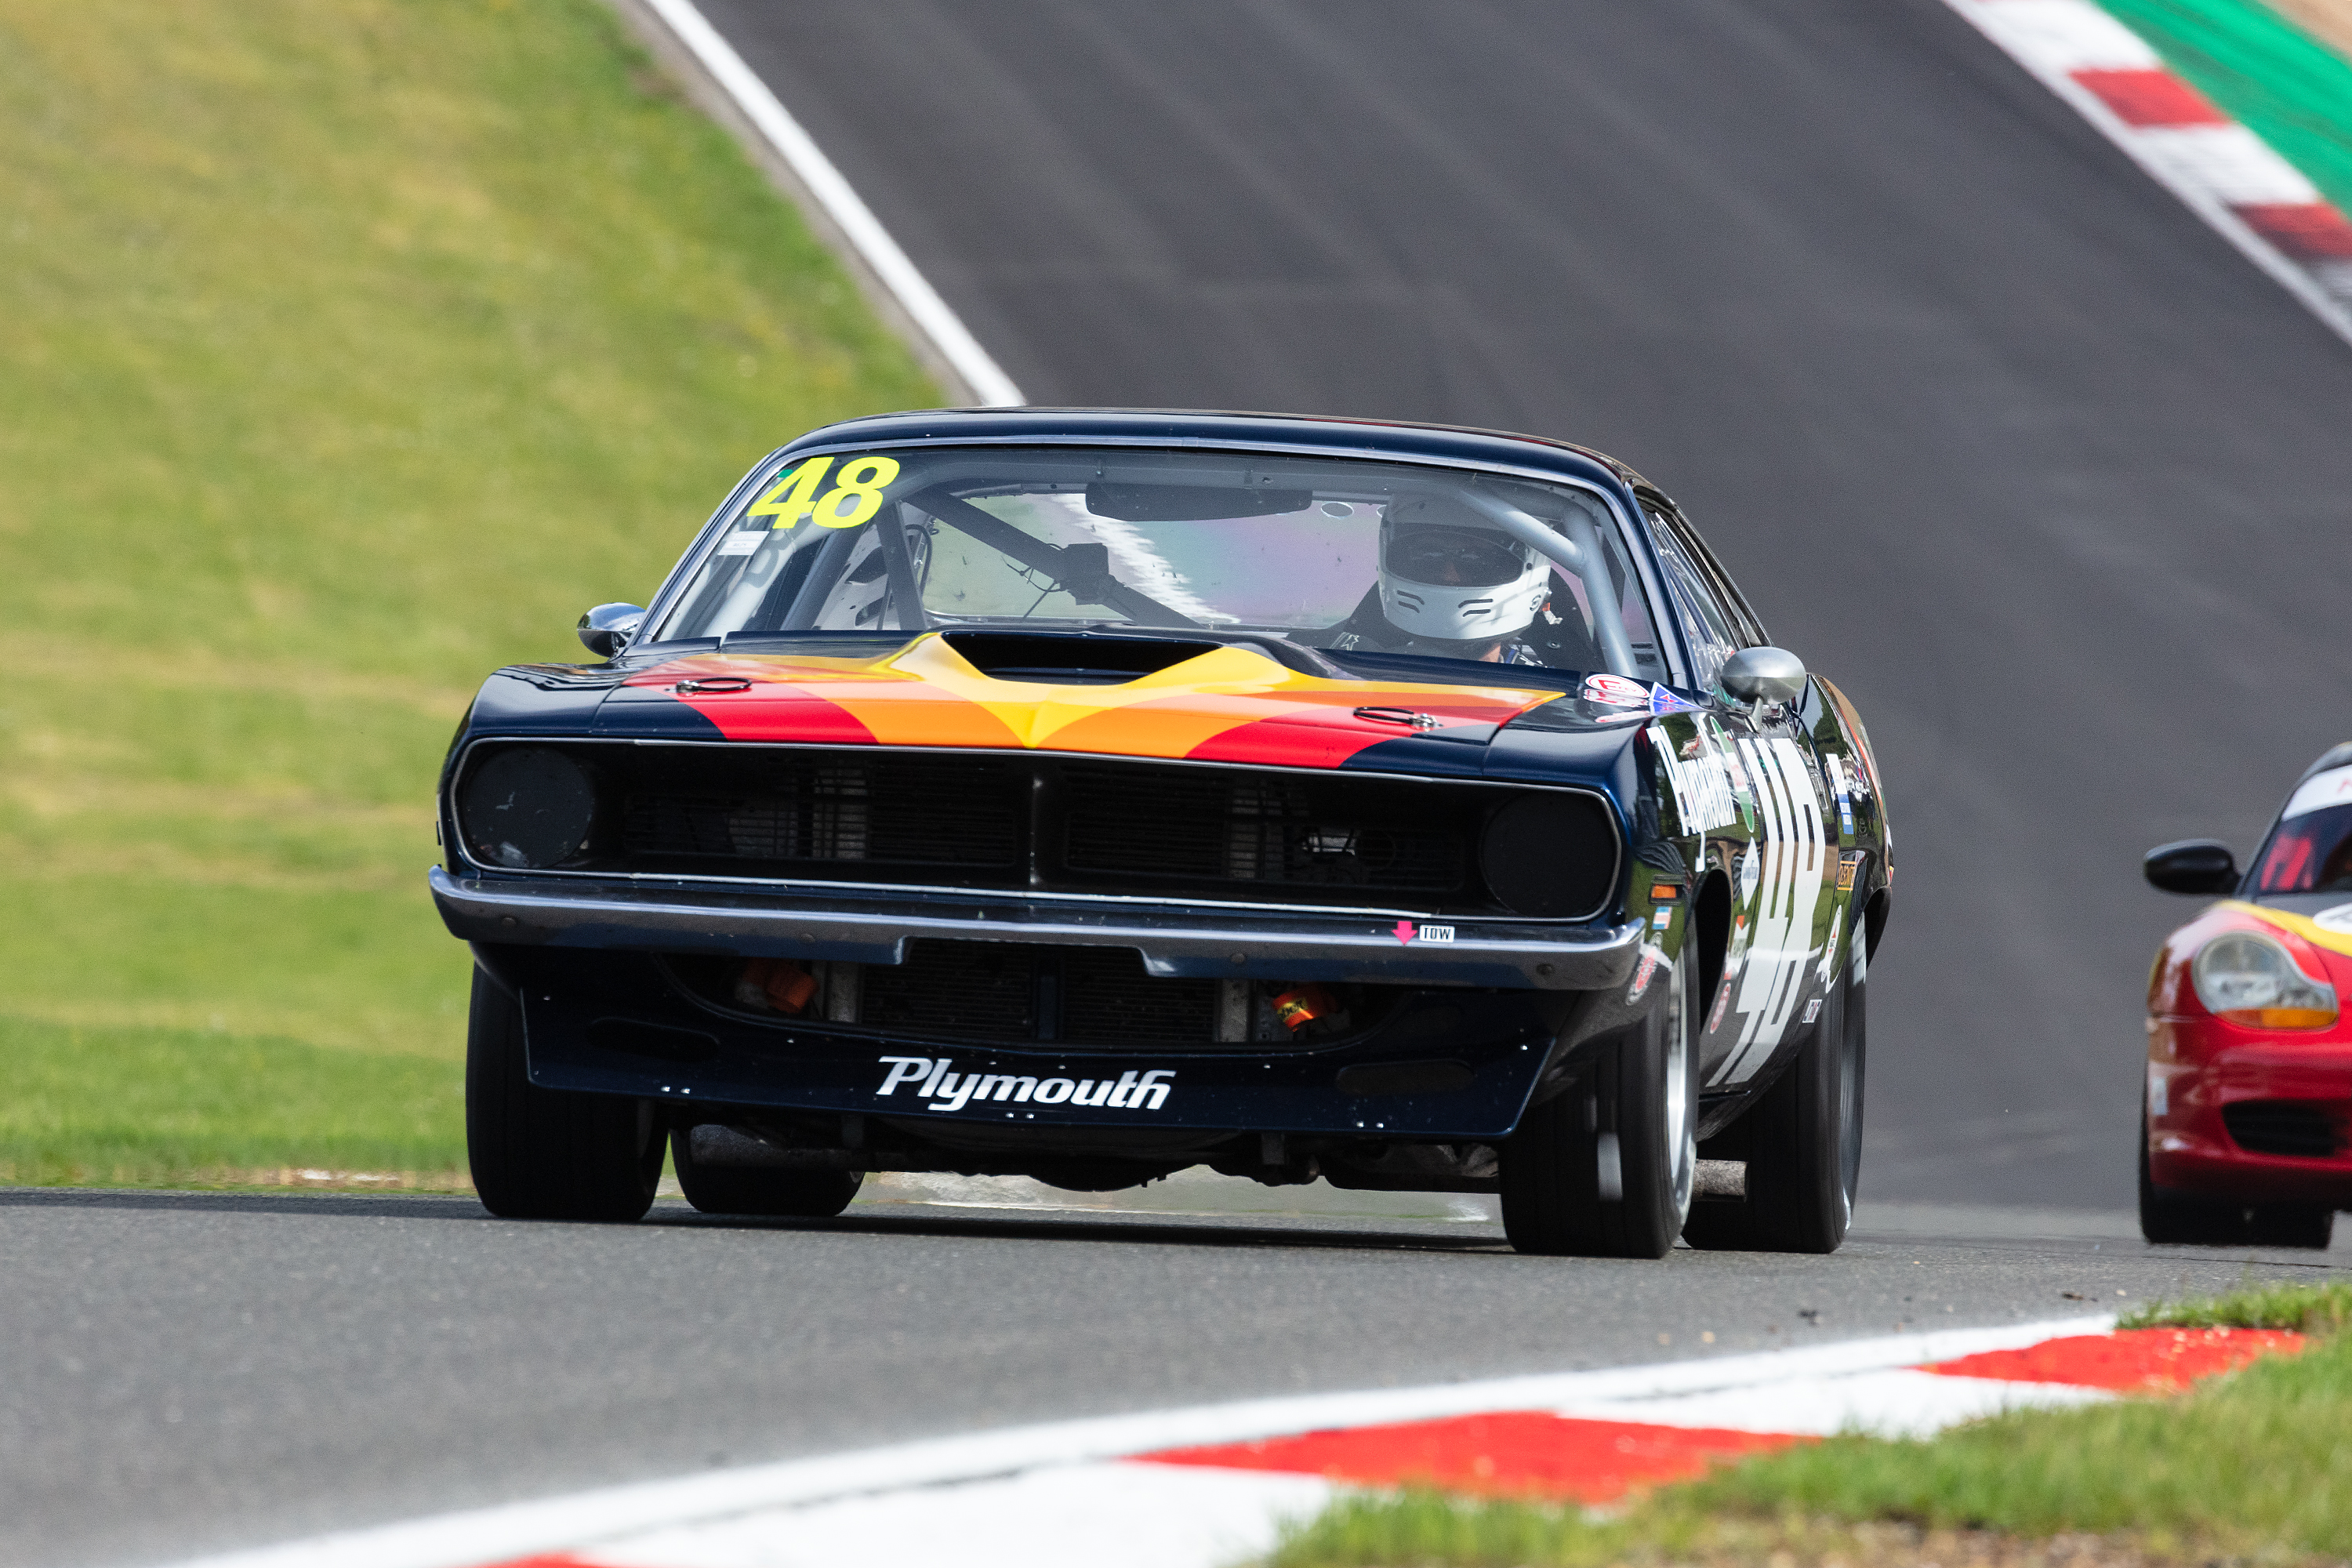
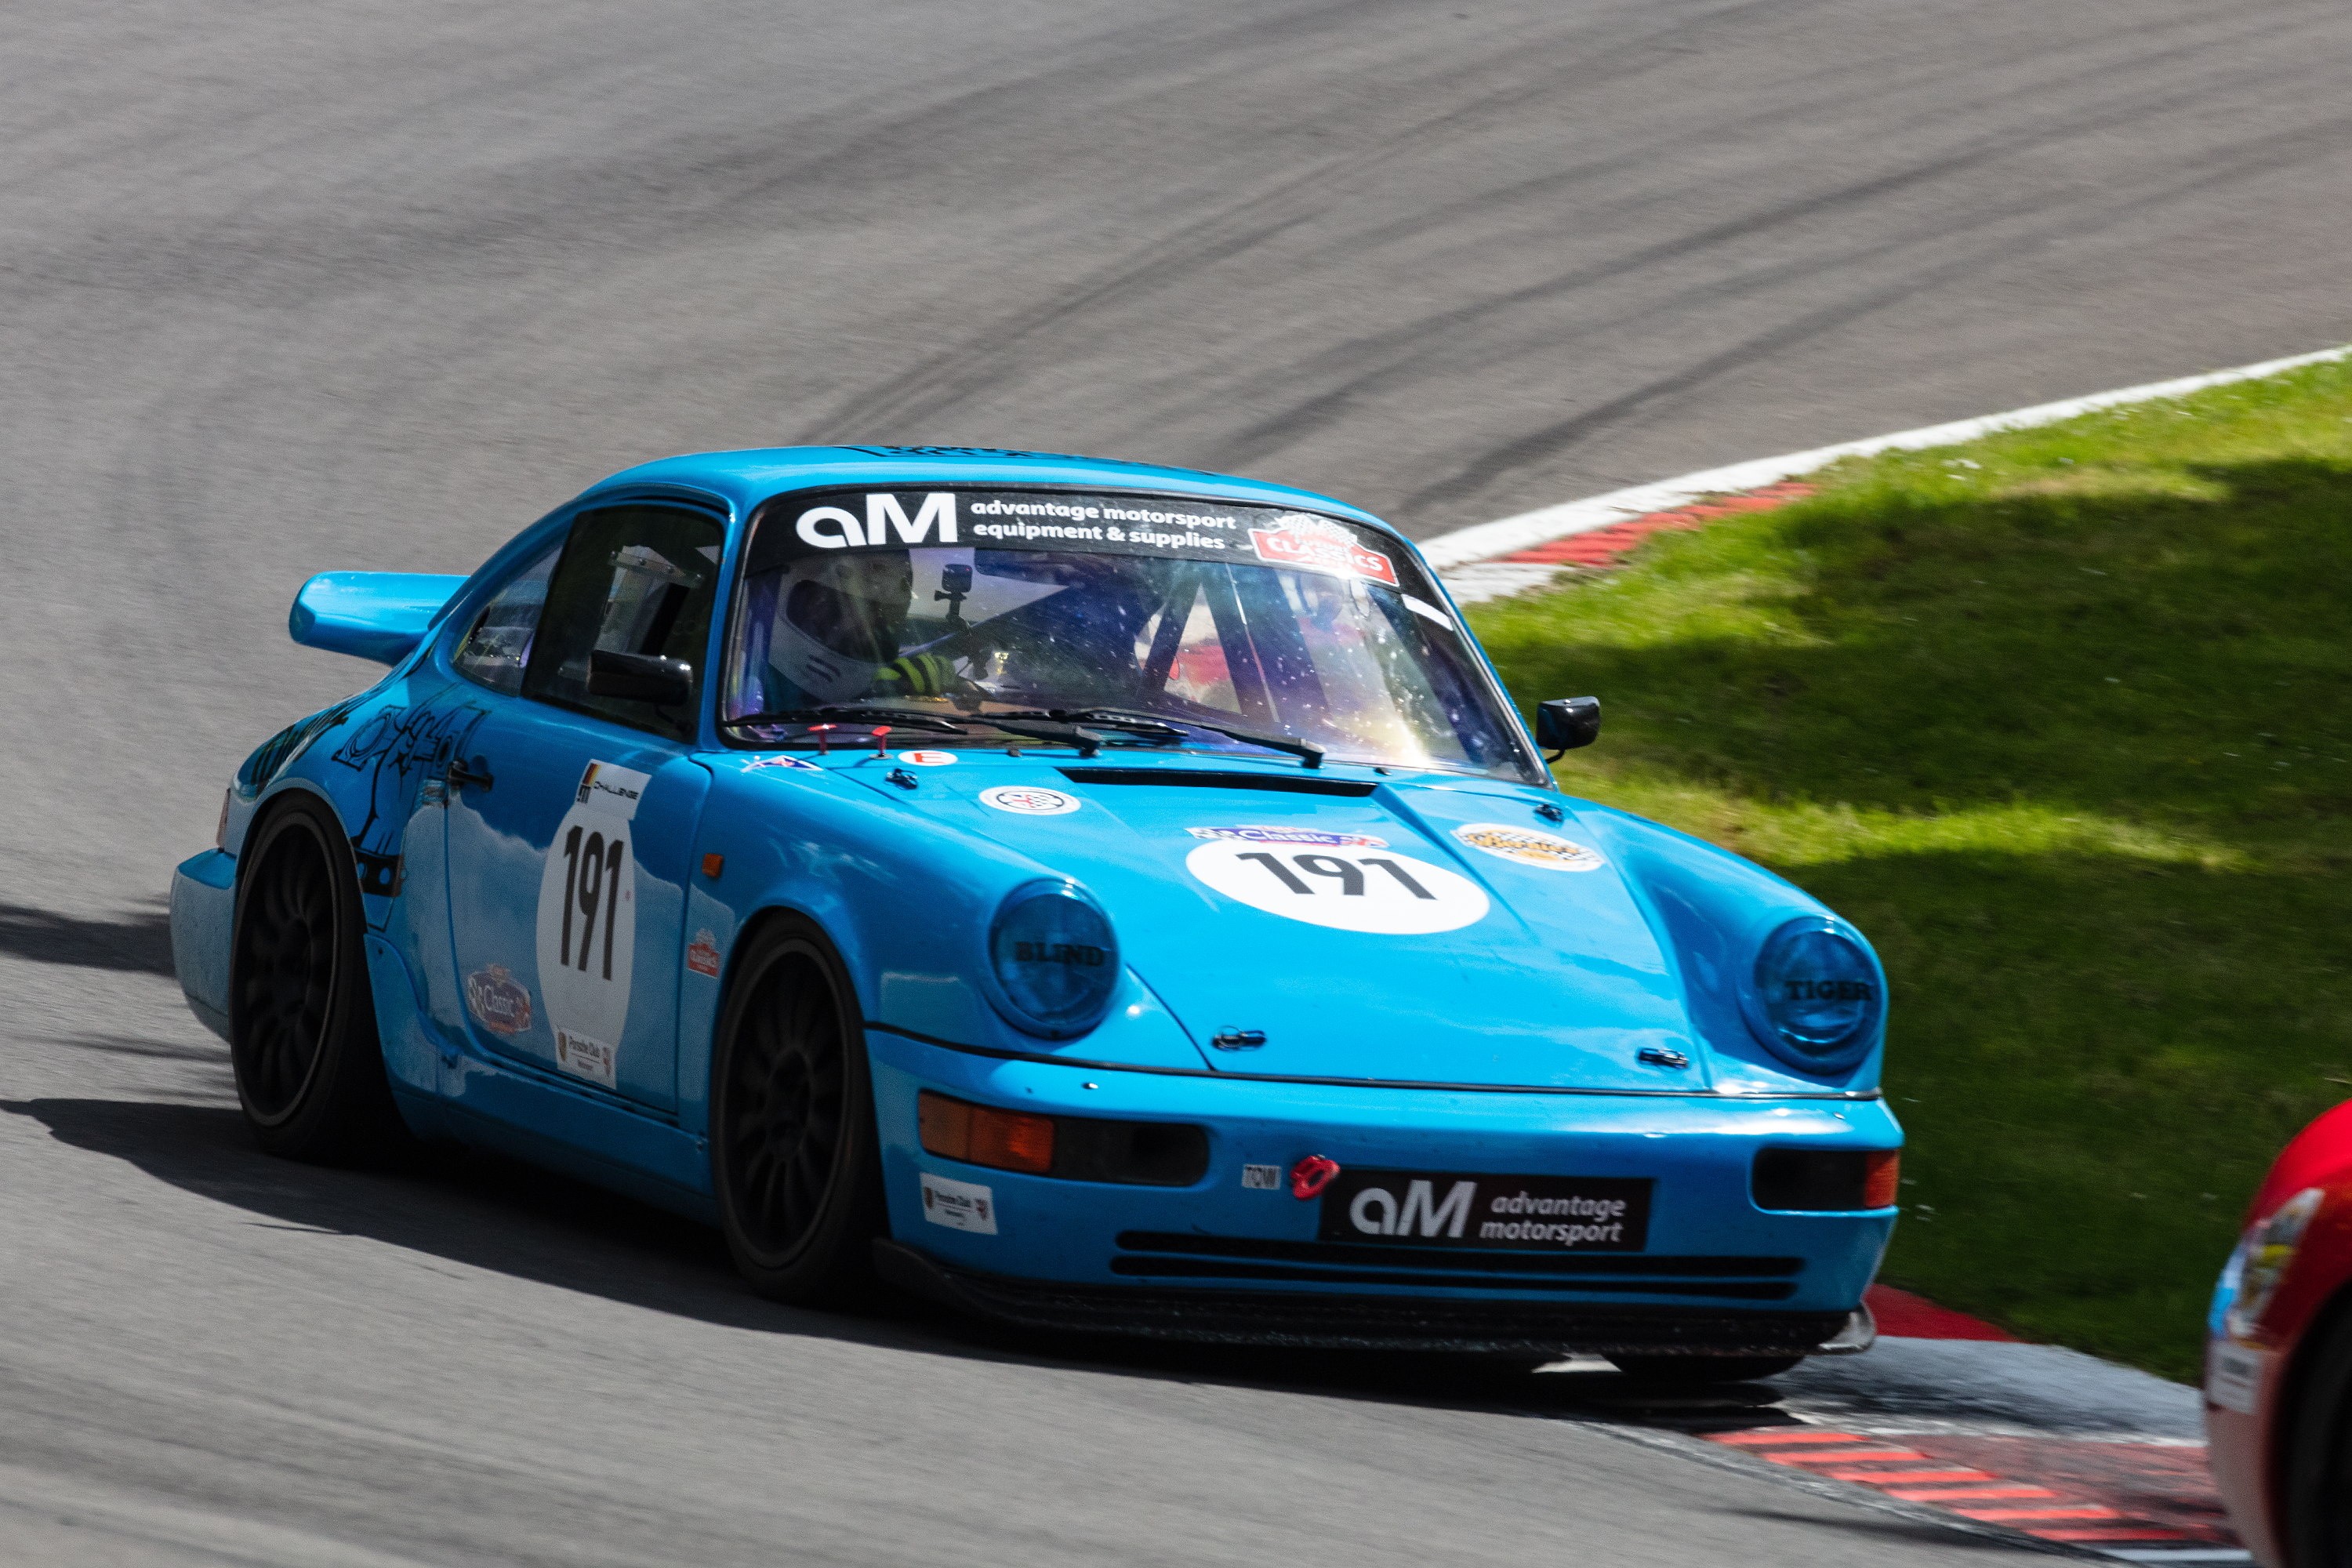
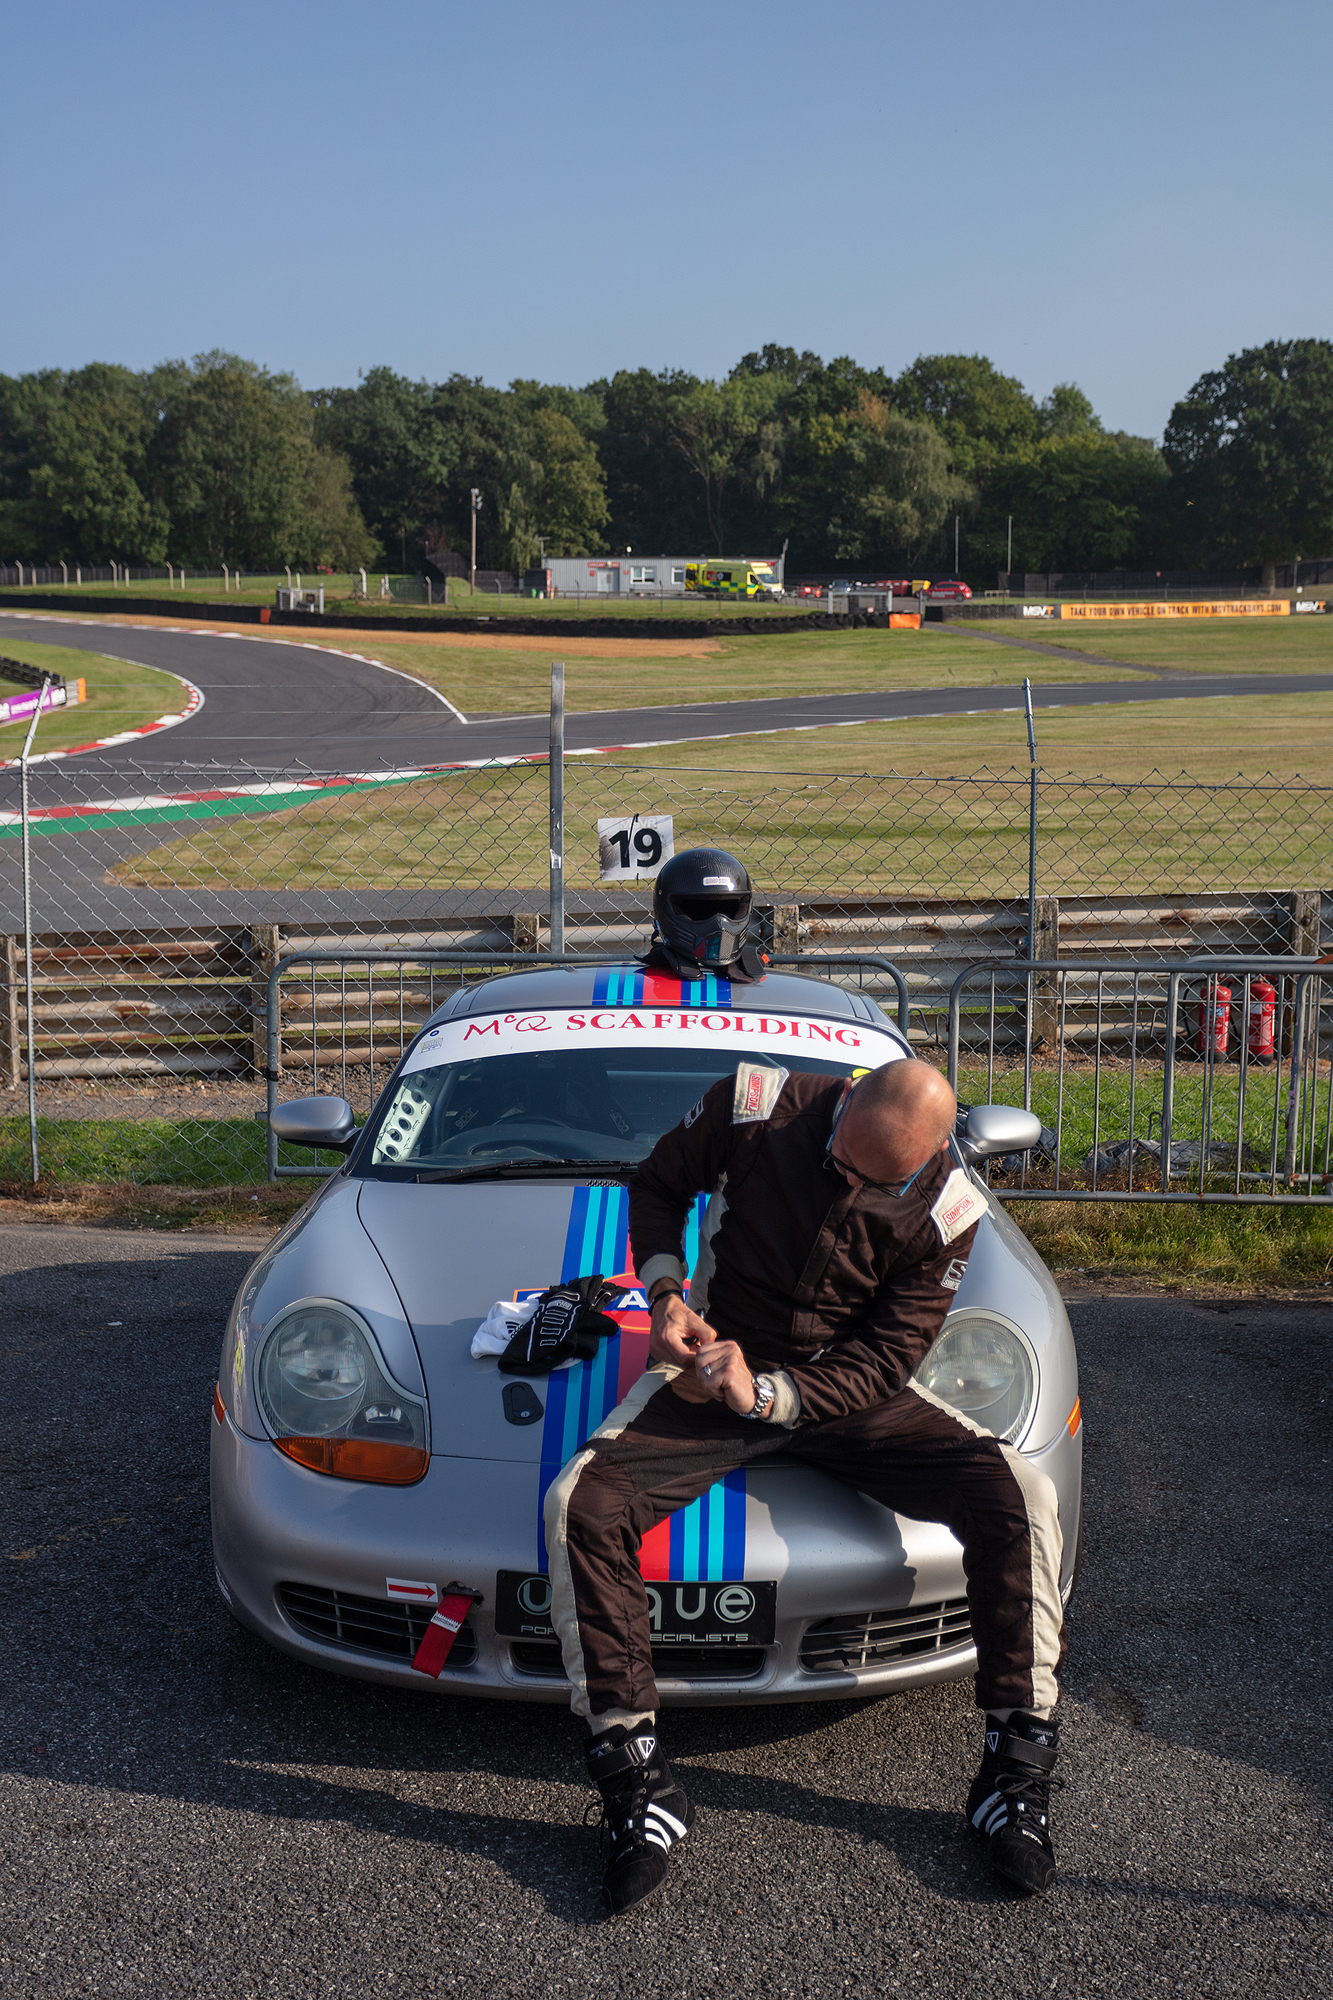
Stuary Entwhistle in his Chevrolet Monte Carlo #46 climbing Hailwoods Hill towards Druids during qualifying for the CALM All Porsche Trophy & Bernie’s V8s races, Brands Hatch GP, Saturday the 21st of May 2022, Brands Hatch, Kent, UK.
It was back to Brands Hatch, and the not often used GP loop, a rare treat for the drivers for CALM All Porsche Trophy and Bernie’s V8s on the May weekend of the 21st & 22nd
The weather held, in fact i got burnt again, and with no major incidents, a good time was had by all
The quali session was on the Saturday morning with the races split over the two days
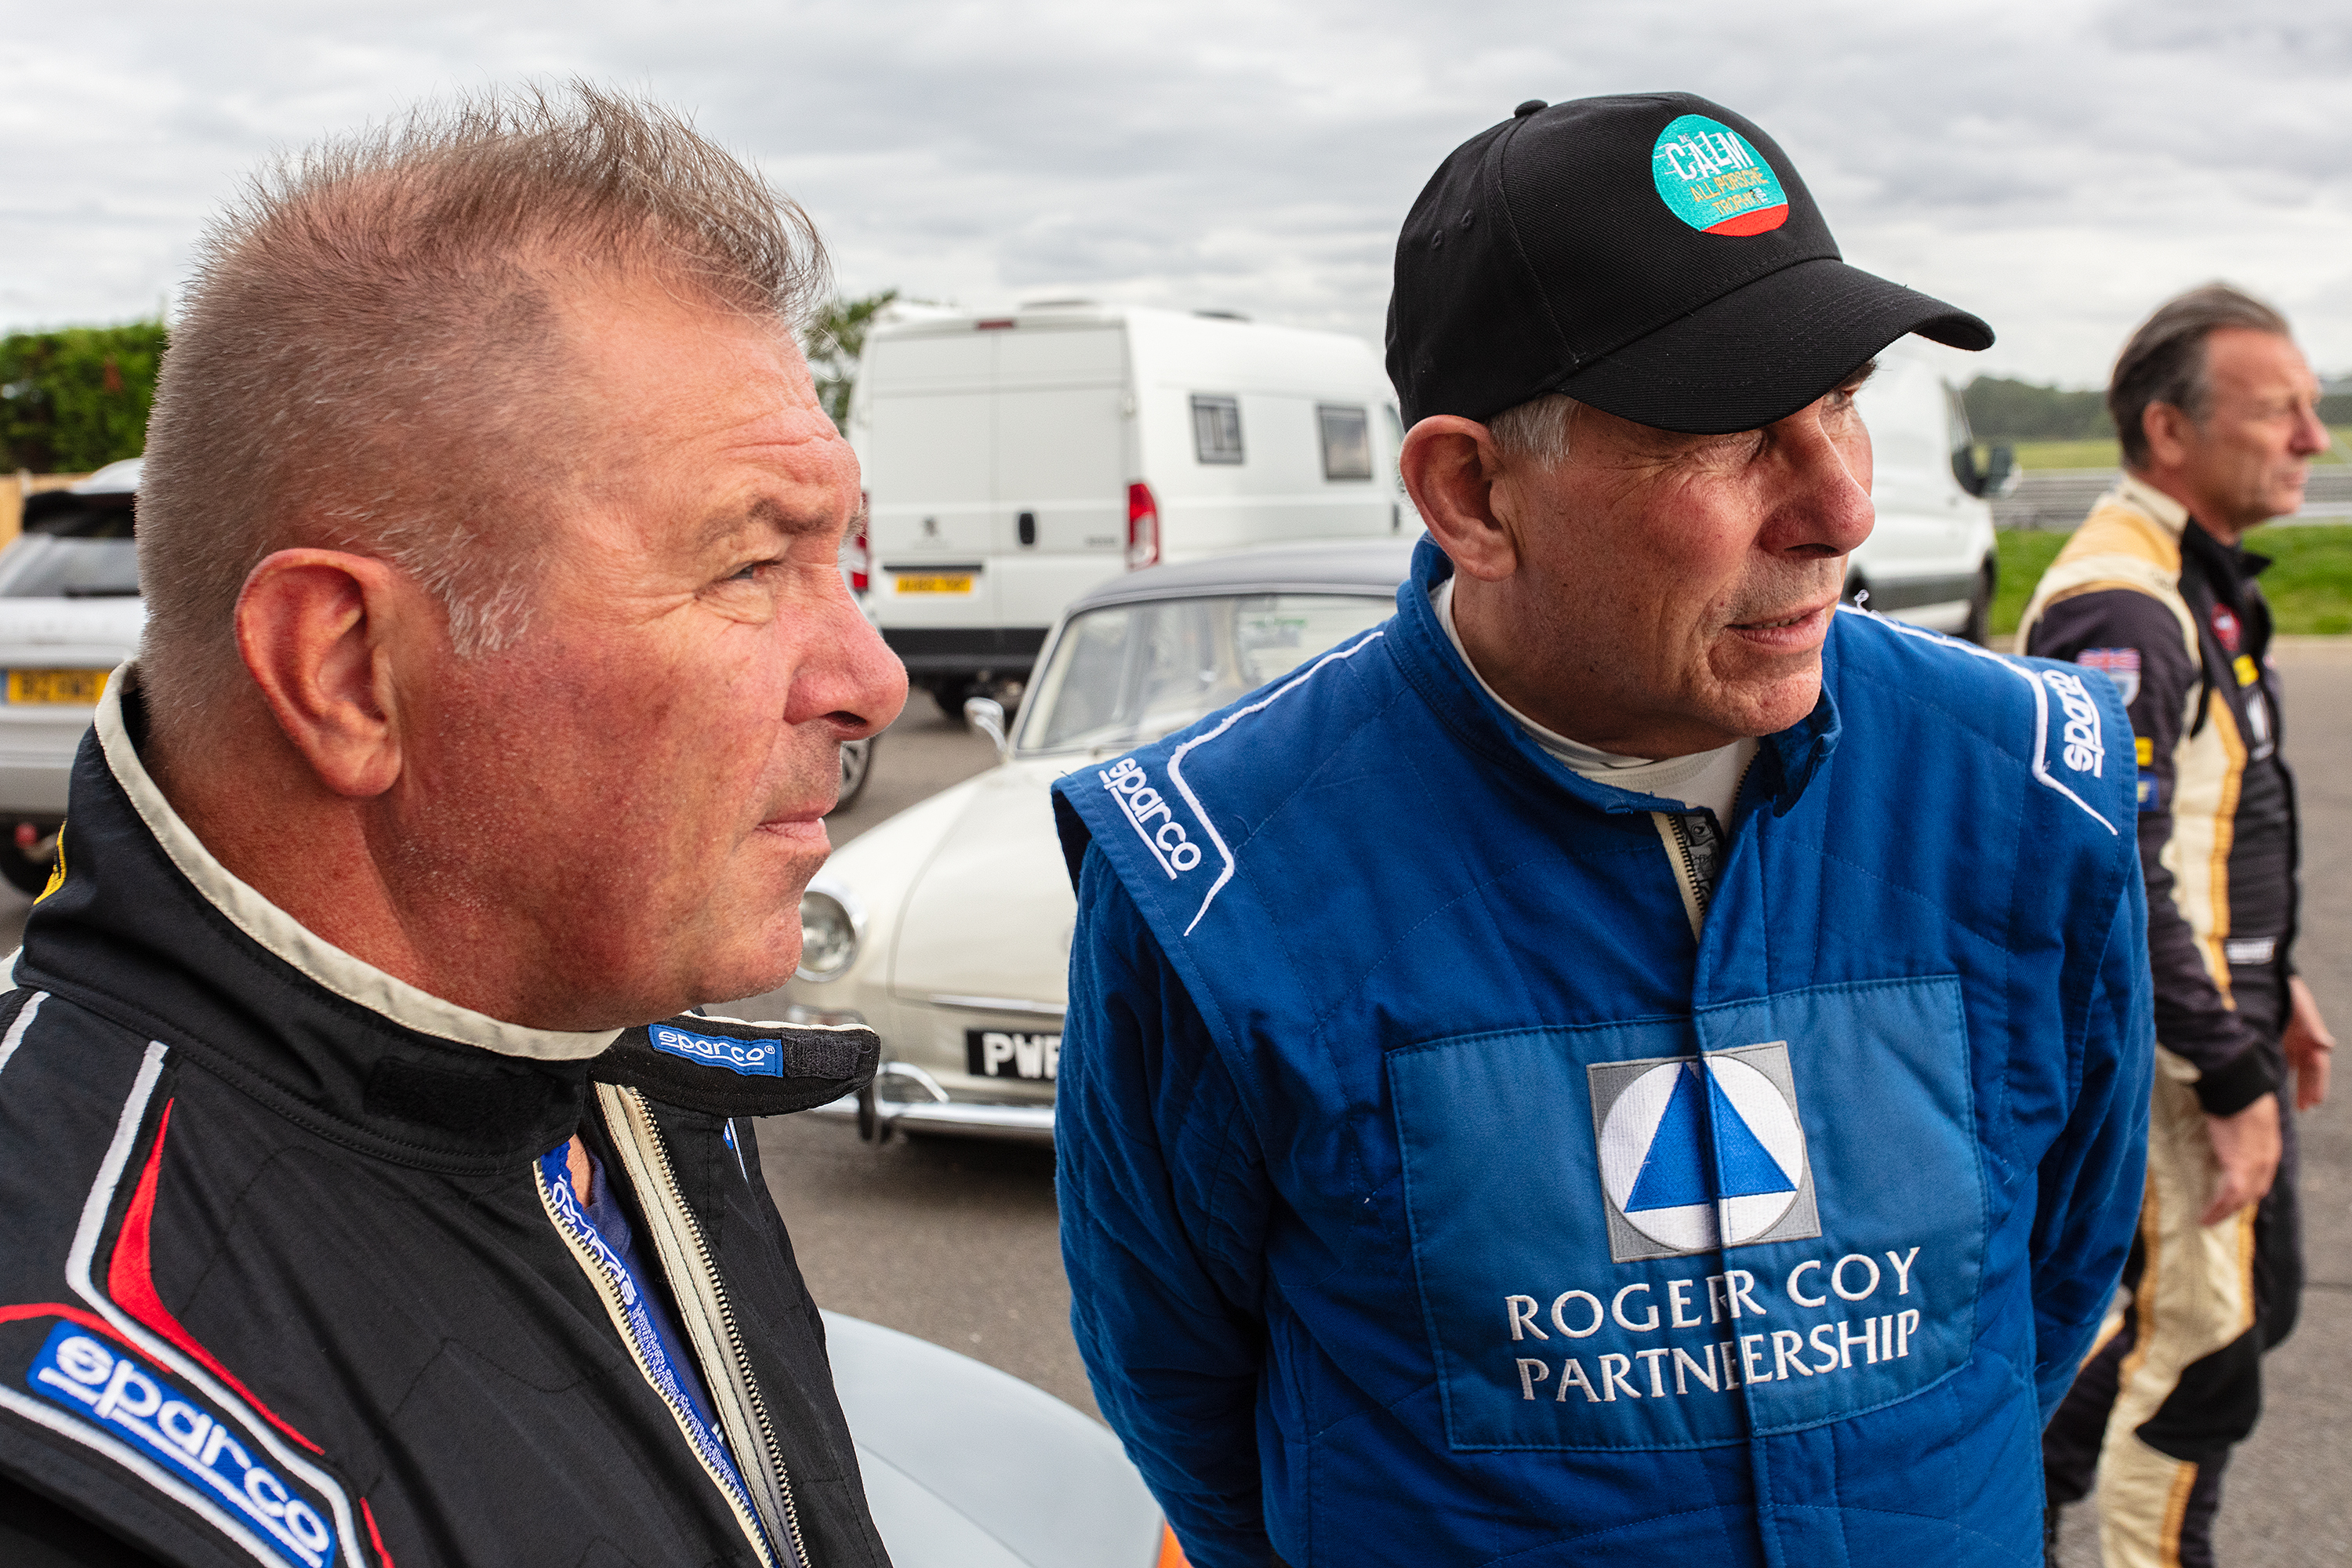
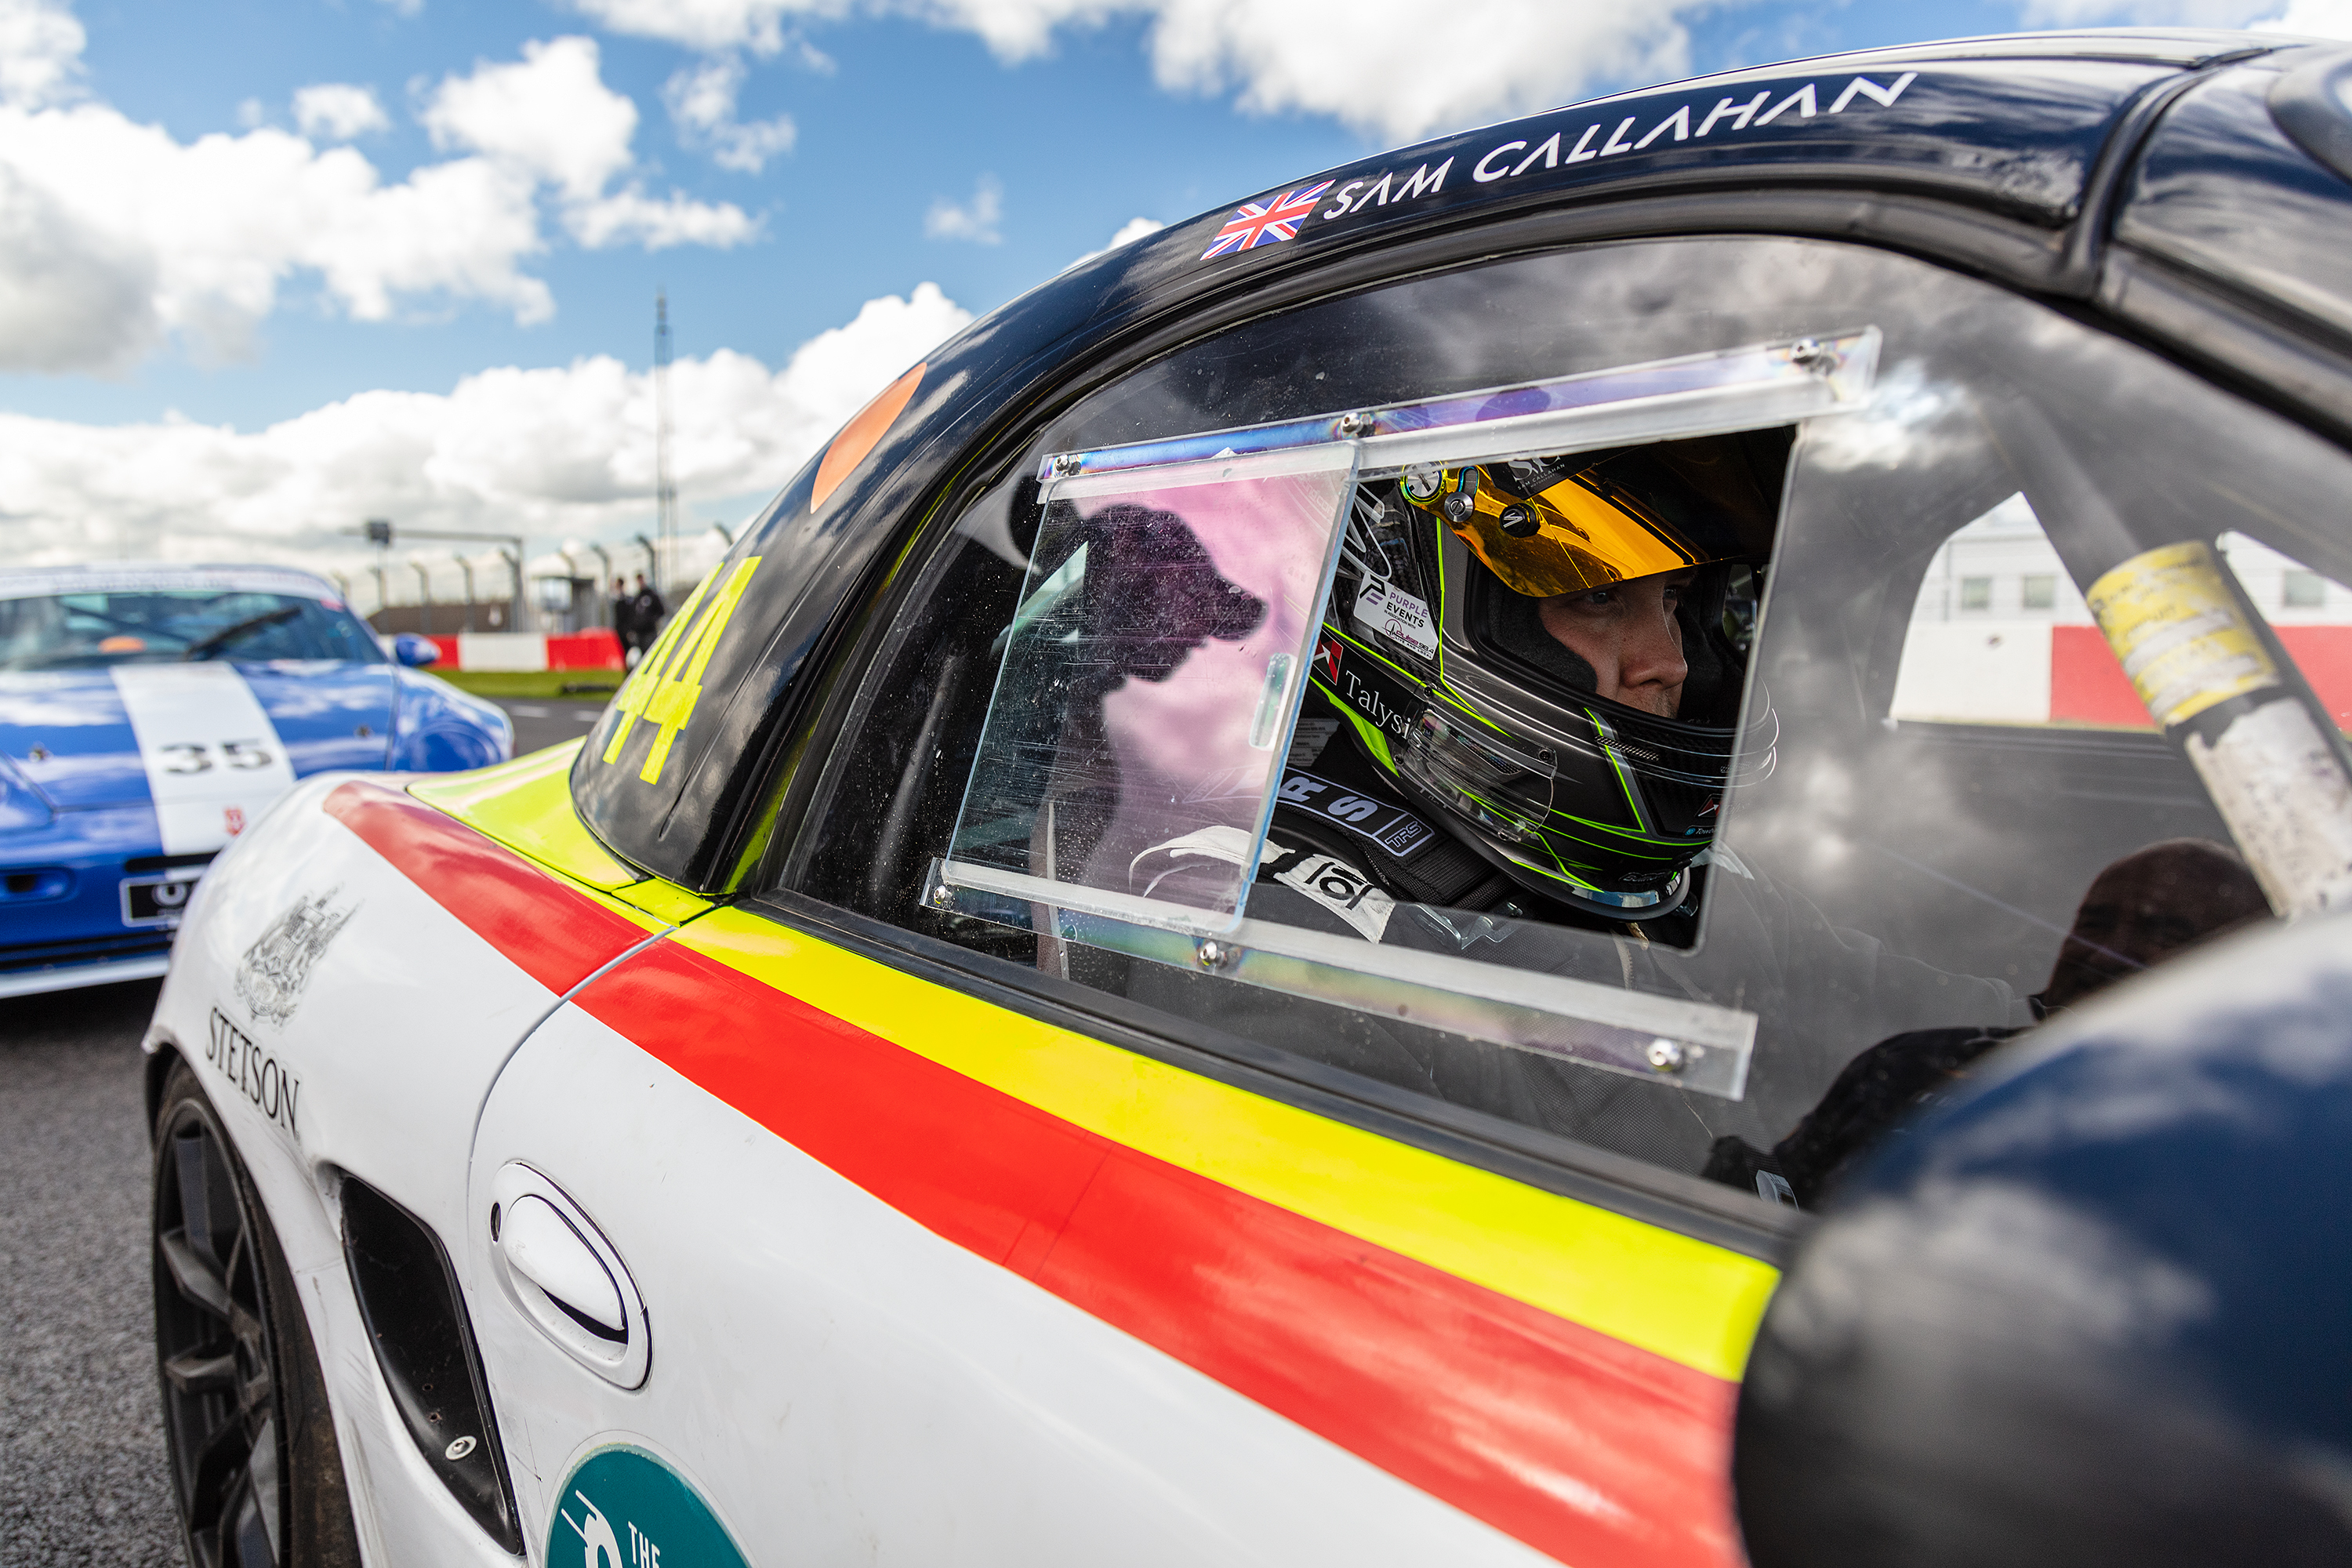
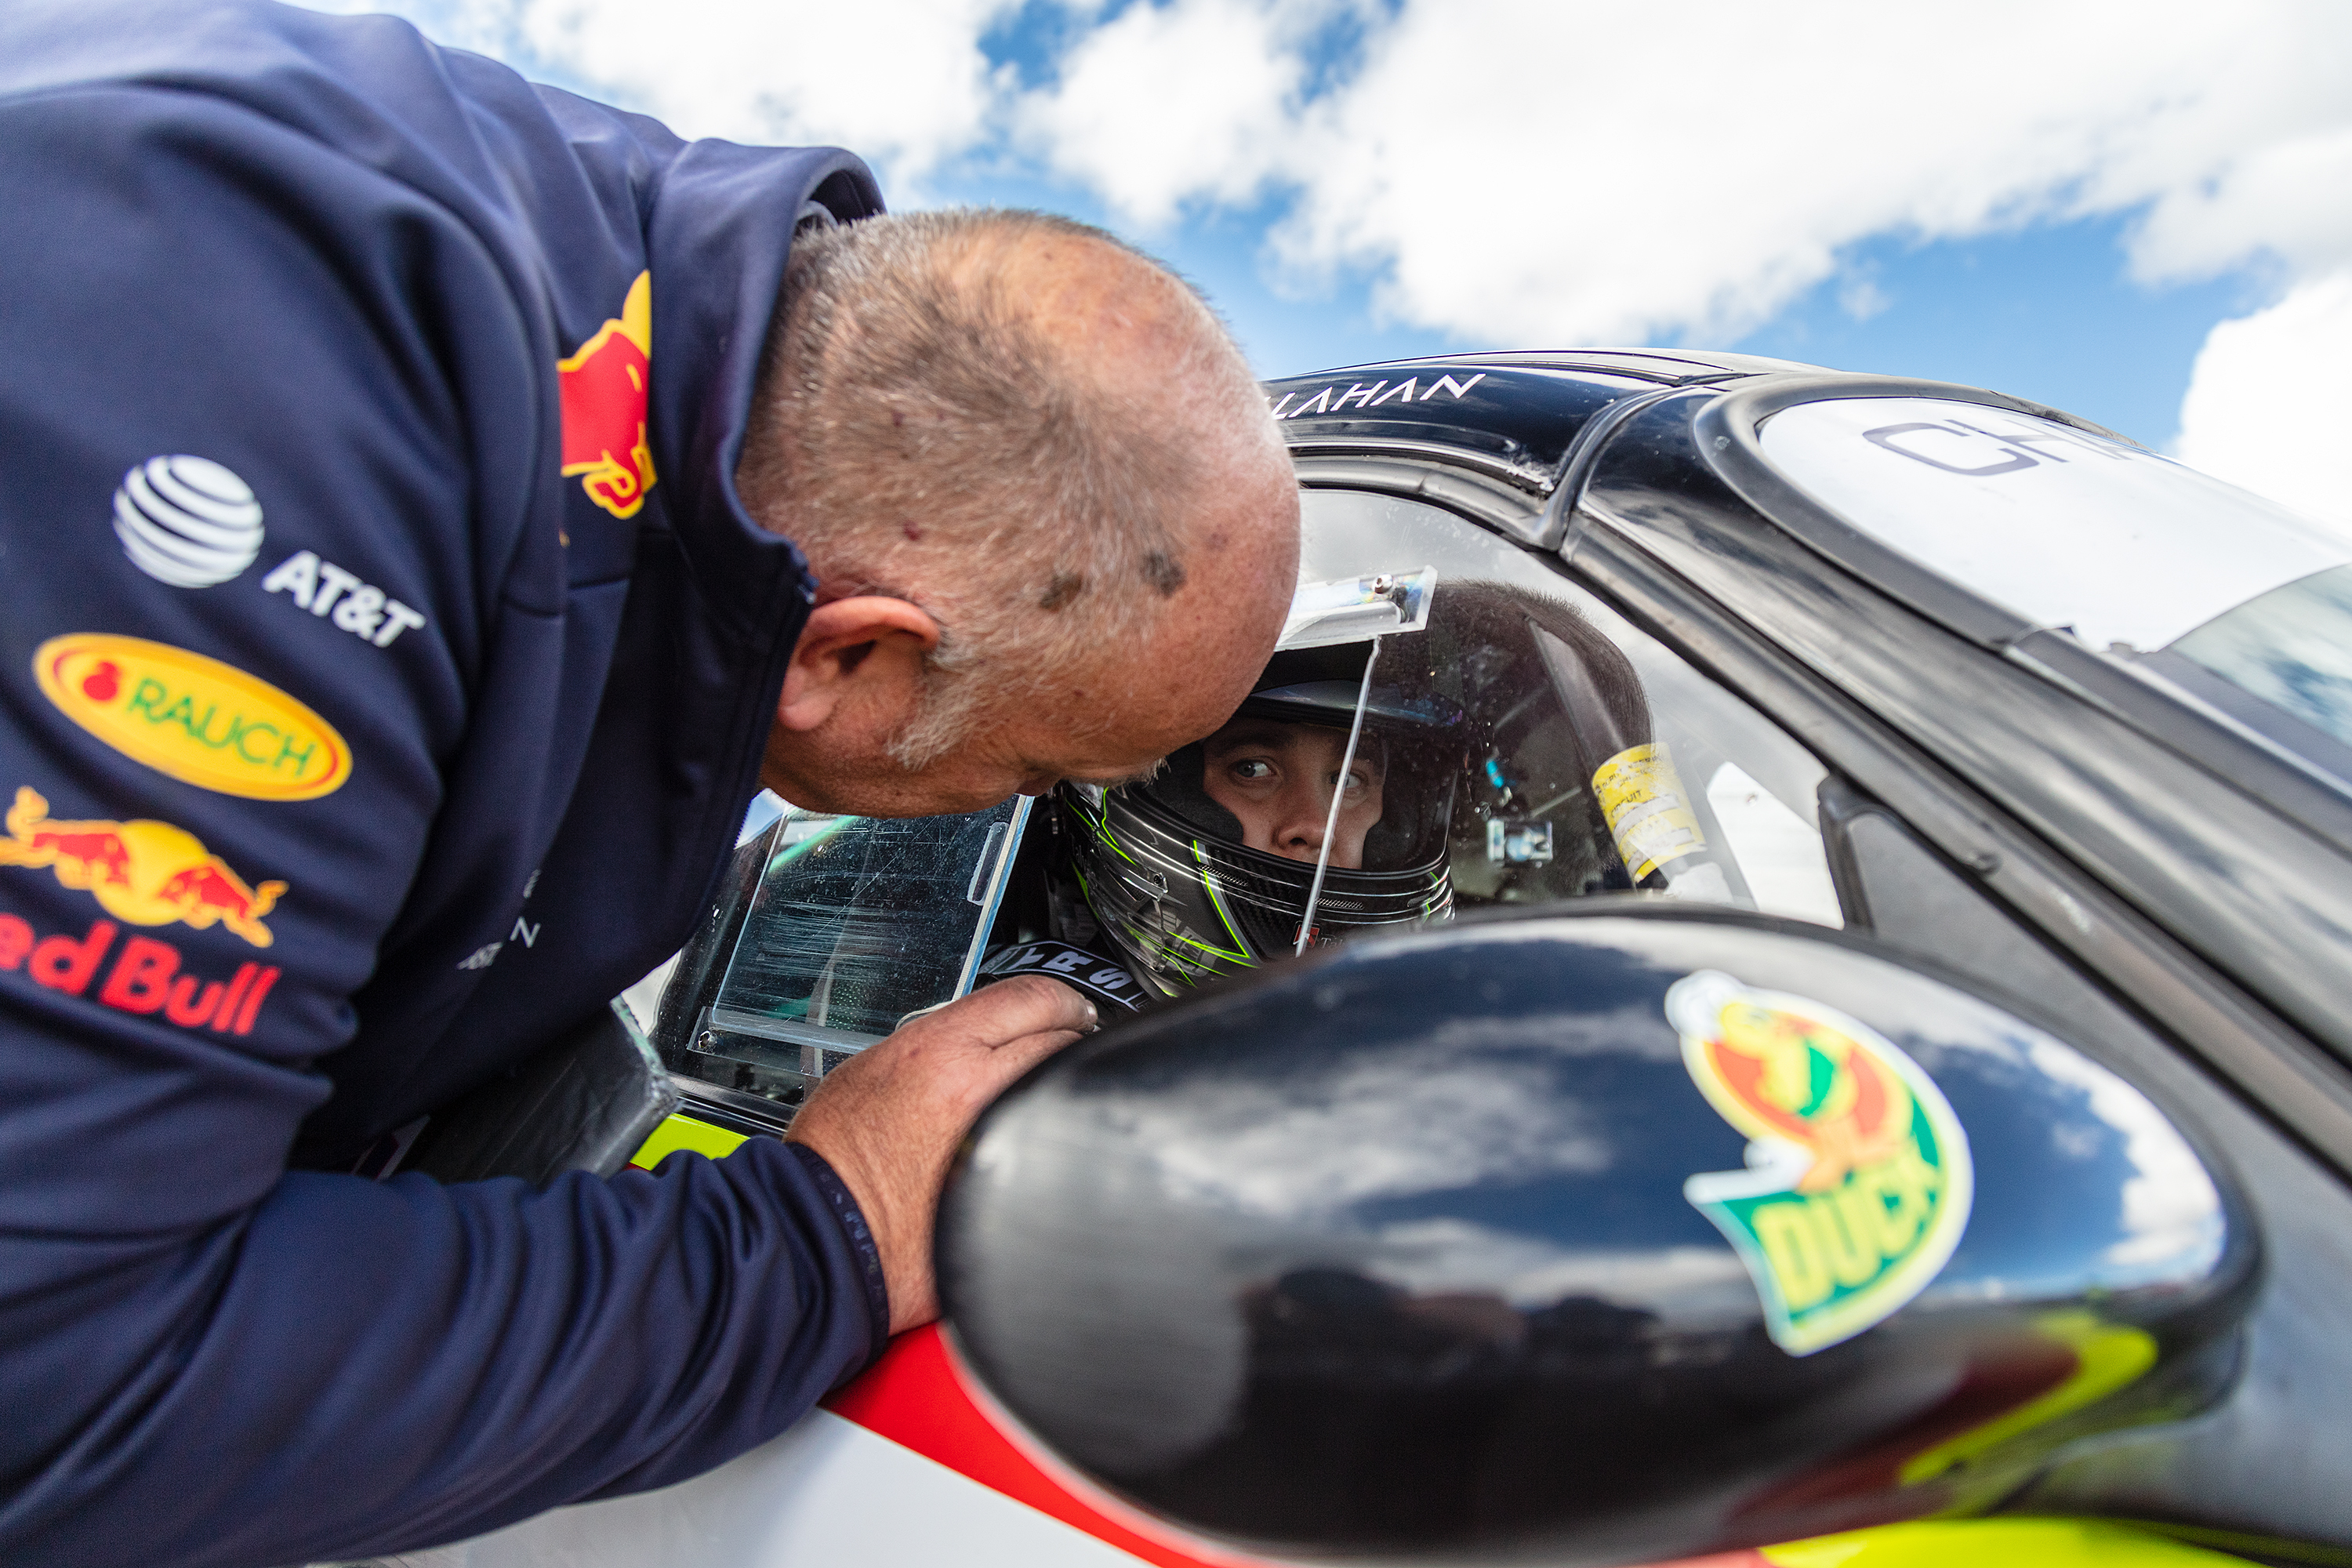
During the Sunday lunch session thare was a public grid walk, followed by a Le Mans style start by Bernie himself and CALMs Sam Callahan on the pole
On the Saturday, my friend James Crow, a huge Porsche nut joined me, and I found time for a cheeky selfie, care of Bernies Chevvy
A few more views of Bernie’s lot
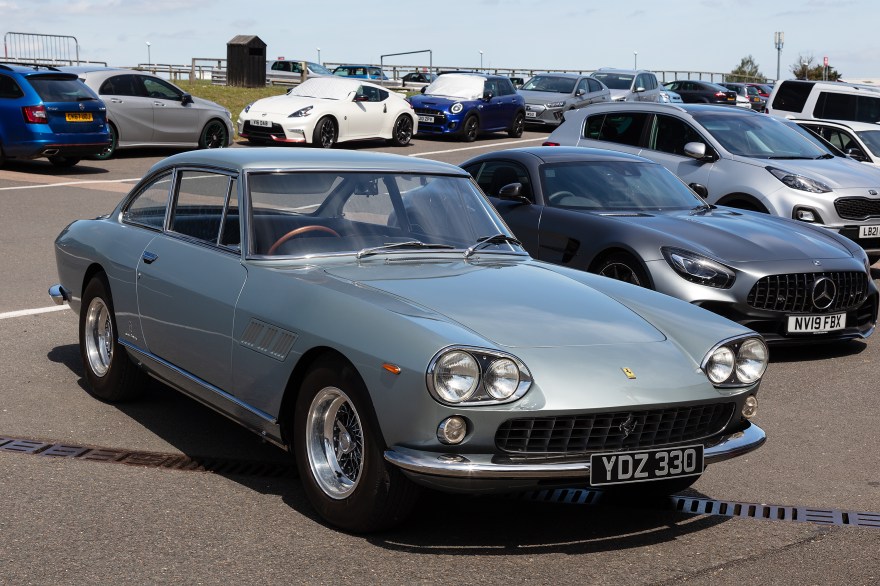
We also spotted this beautiful Ferrari 330 2+2 in the car park (with a rather nice Mercedes AMG GT behind)
CALM All Porsche Trophy, Donington GP, Monday April the 18th, 2022
So after the winter break, it was back to motorsport photography for me, this time it was the GP circuit at Donington Park in Leicestershire
After a few minutes, it all came back, my last race was the Birkett Relay back in October 2021, so i took some time to go through my gear and did all my presets the night before
At this event last year, it was snowing at 9am, and I got sunburnt by luchtime! luckily this year, it was fair and dry
It was an early race, all finished by 4pm, ready for the 200 mile drive South, future planners really need to think about moving race circuits nearer to Whitstable
The overall winers were Toby barlow & Matthew Kyle-Henney in a Cayman S
The next round will be at Brands Hatch next month, as local as it gets for me, roll on May!
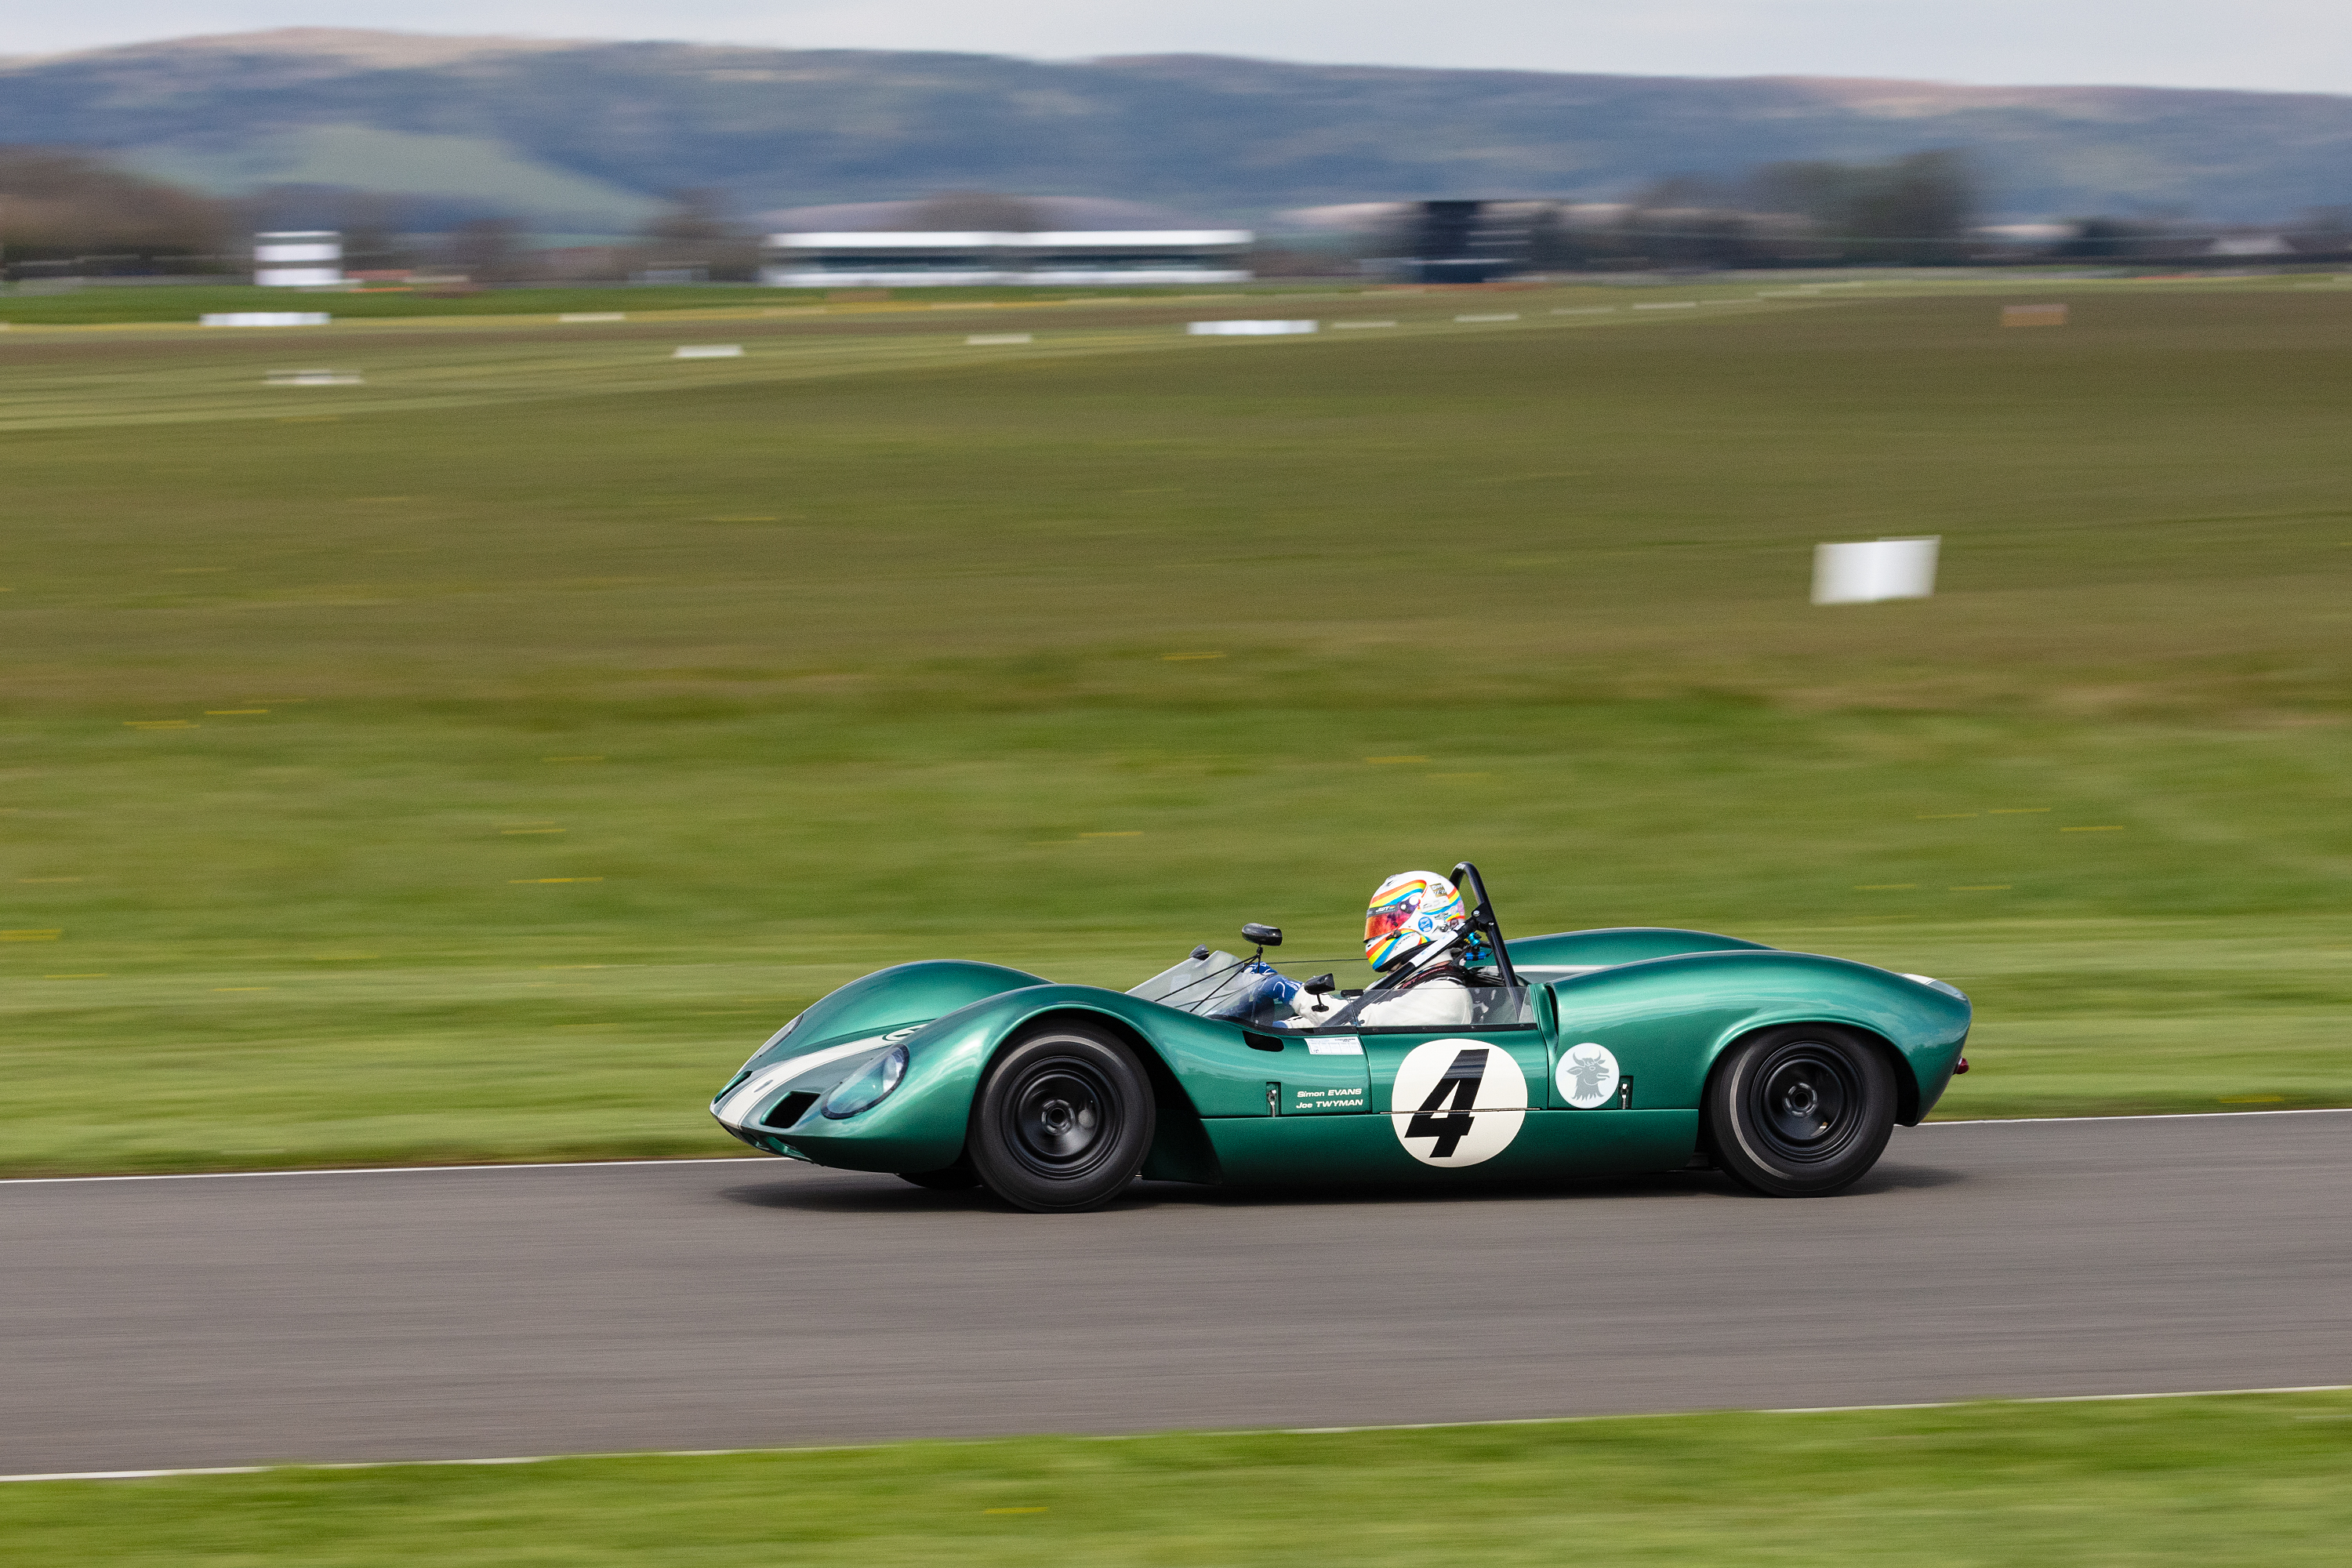
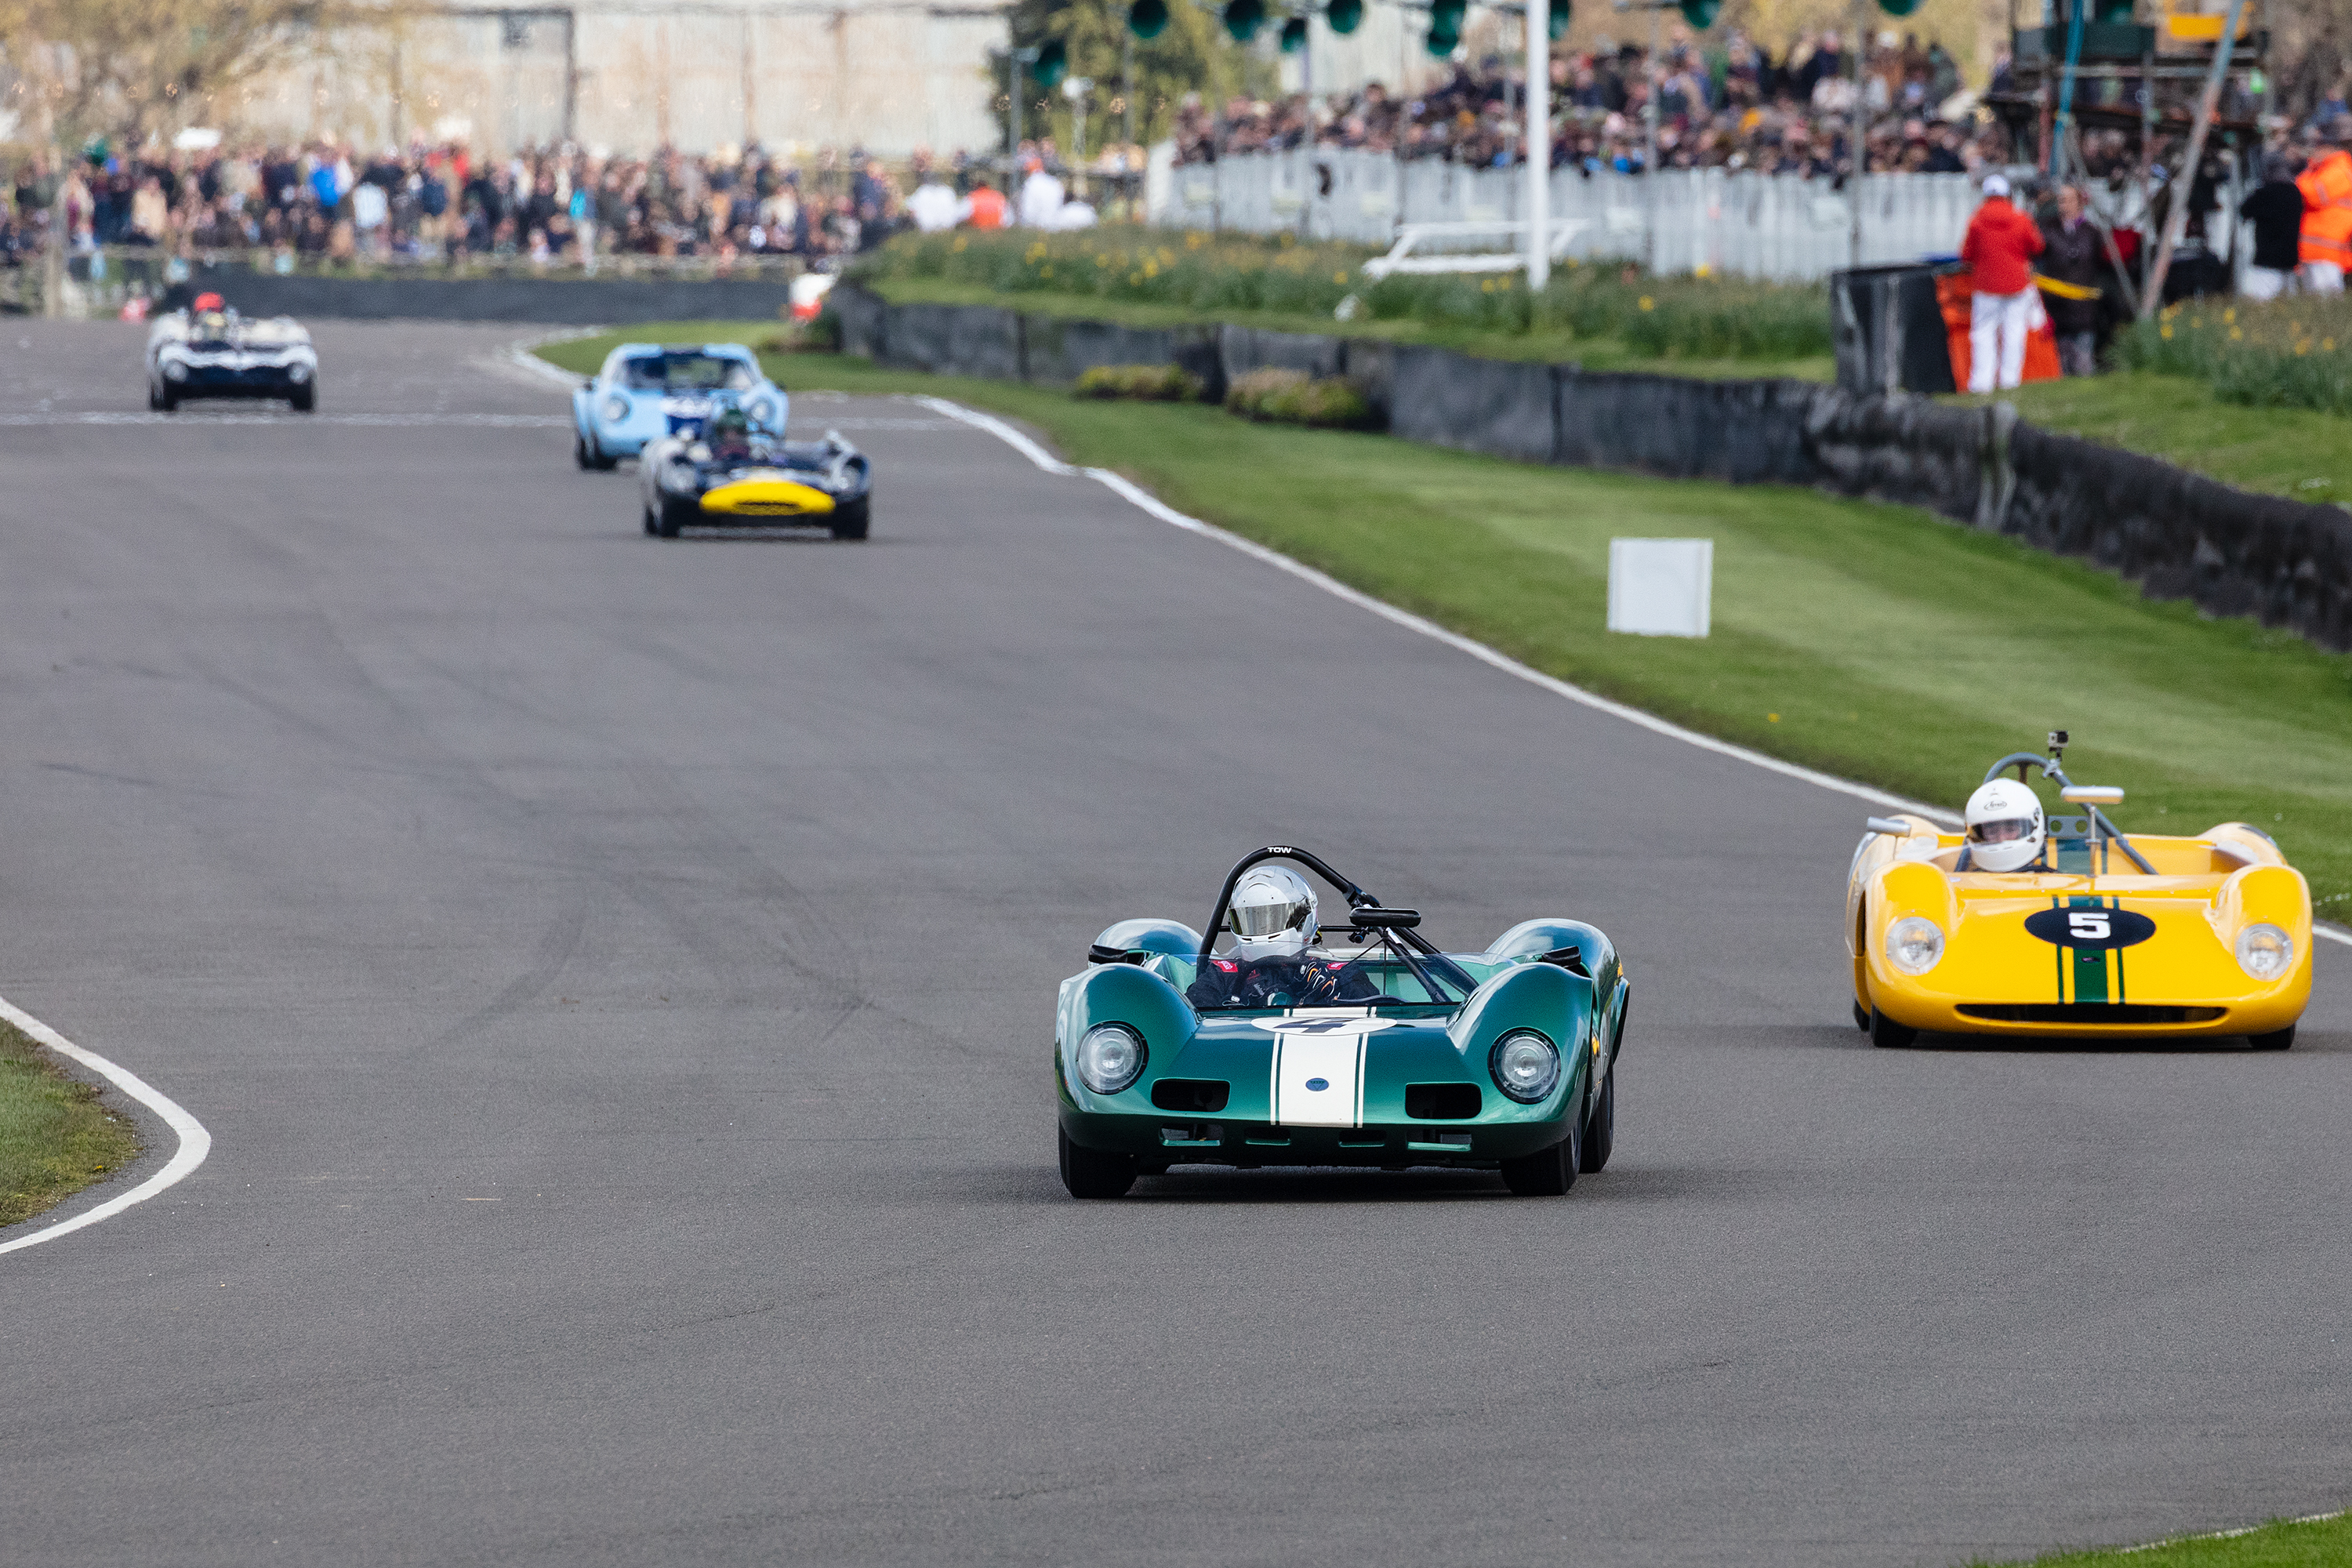
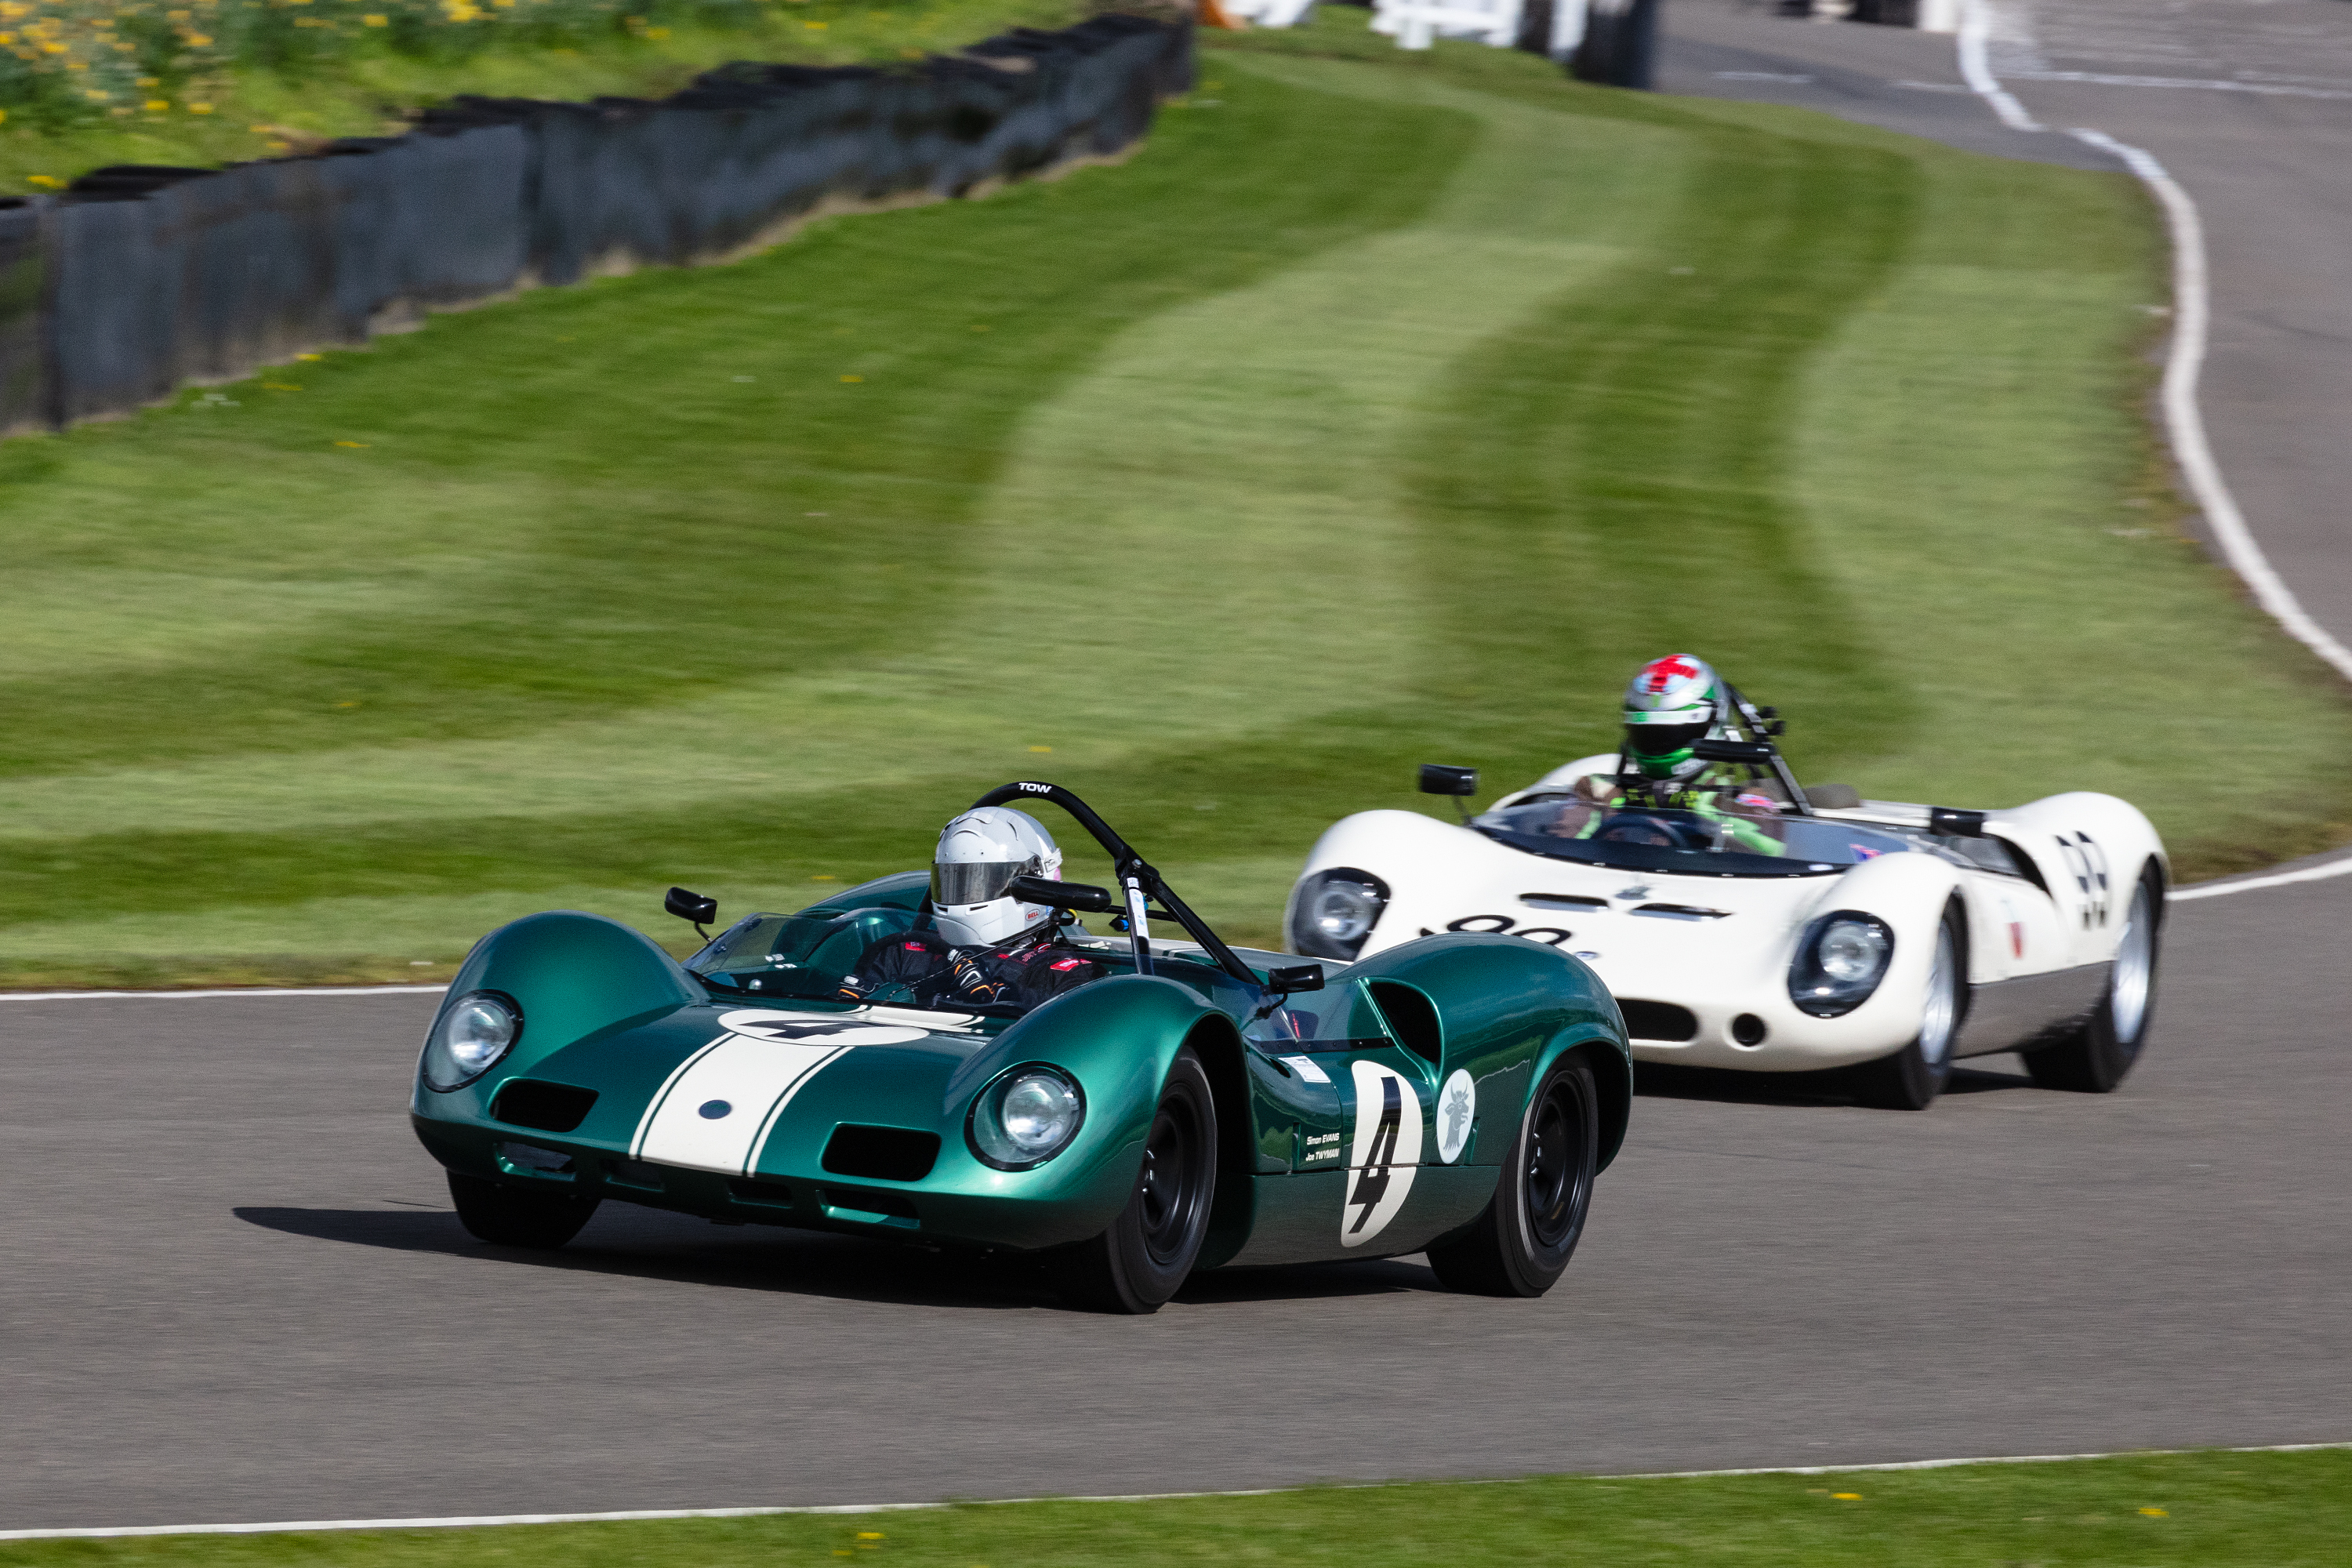
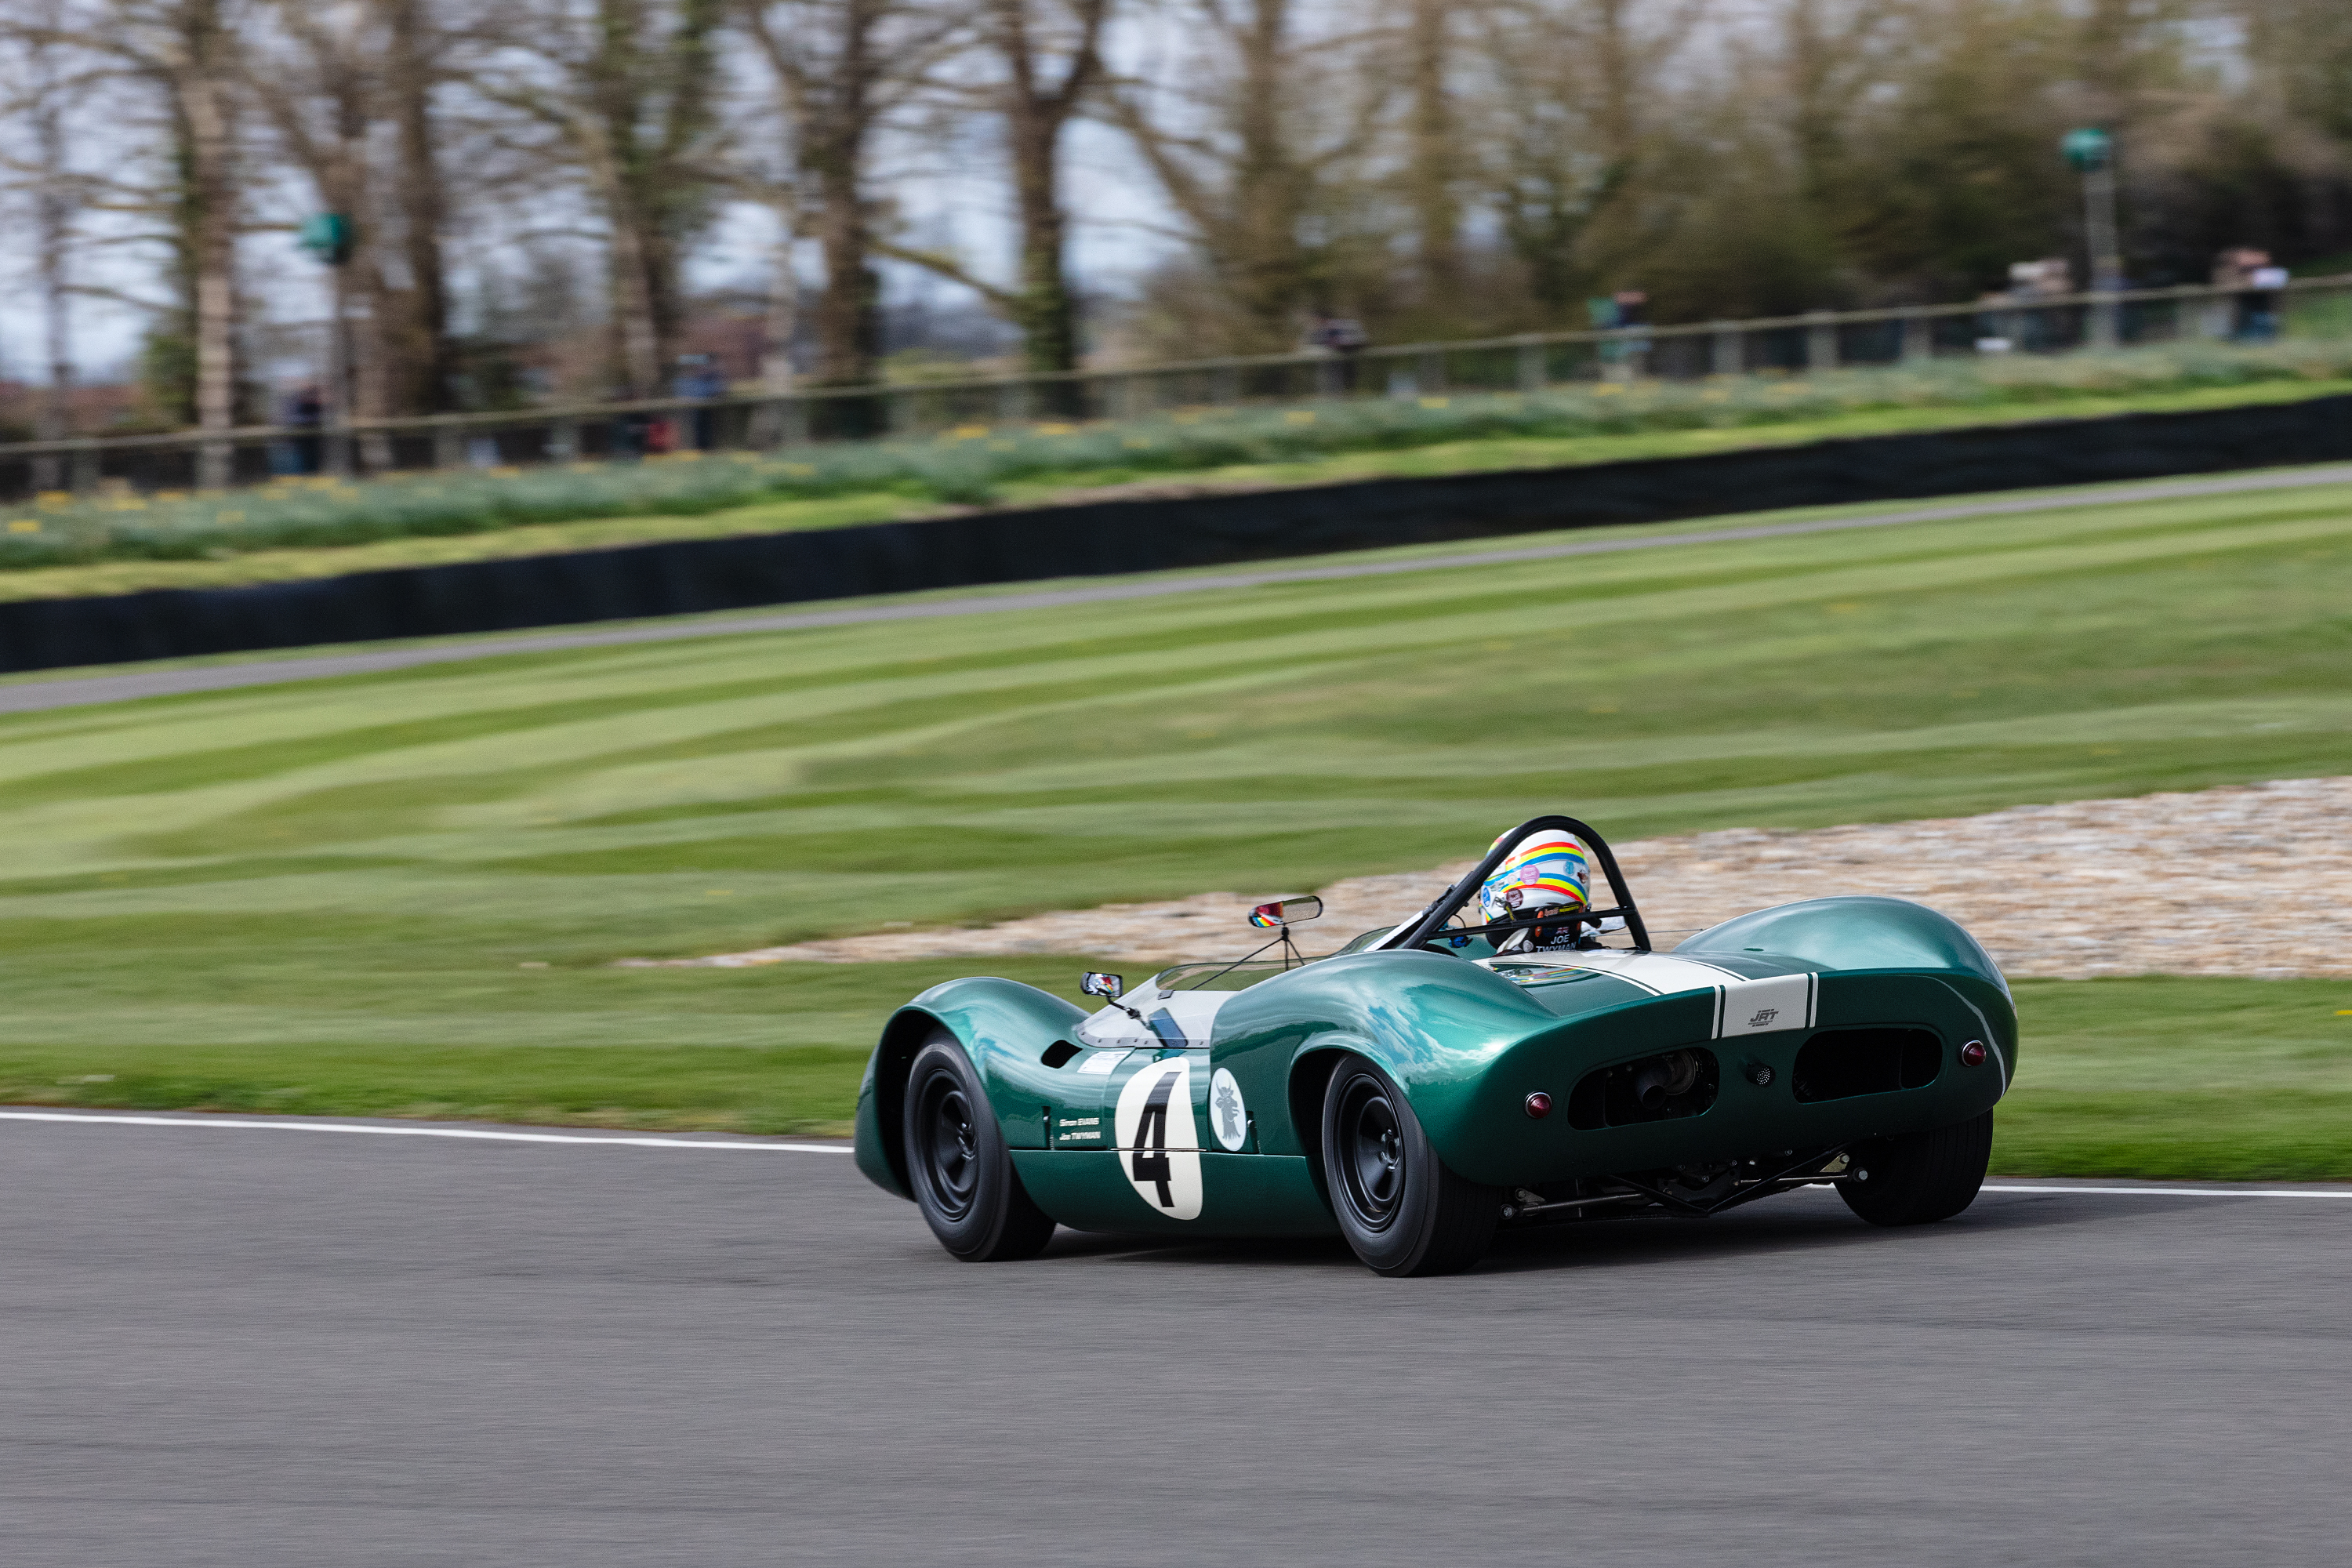
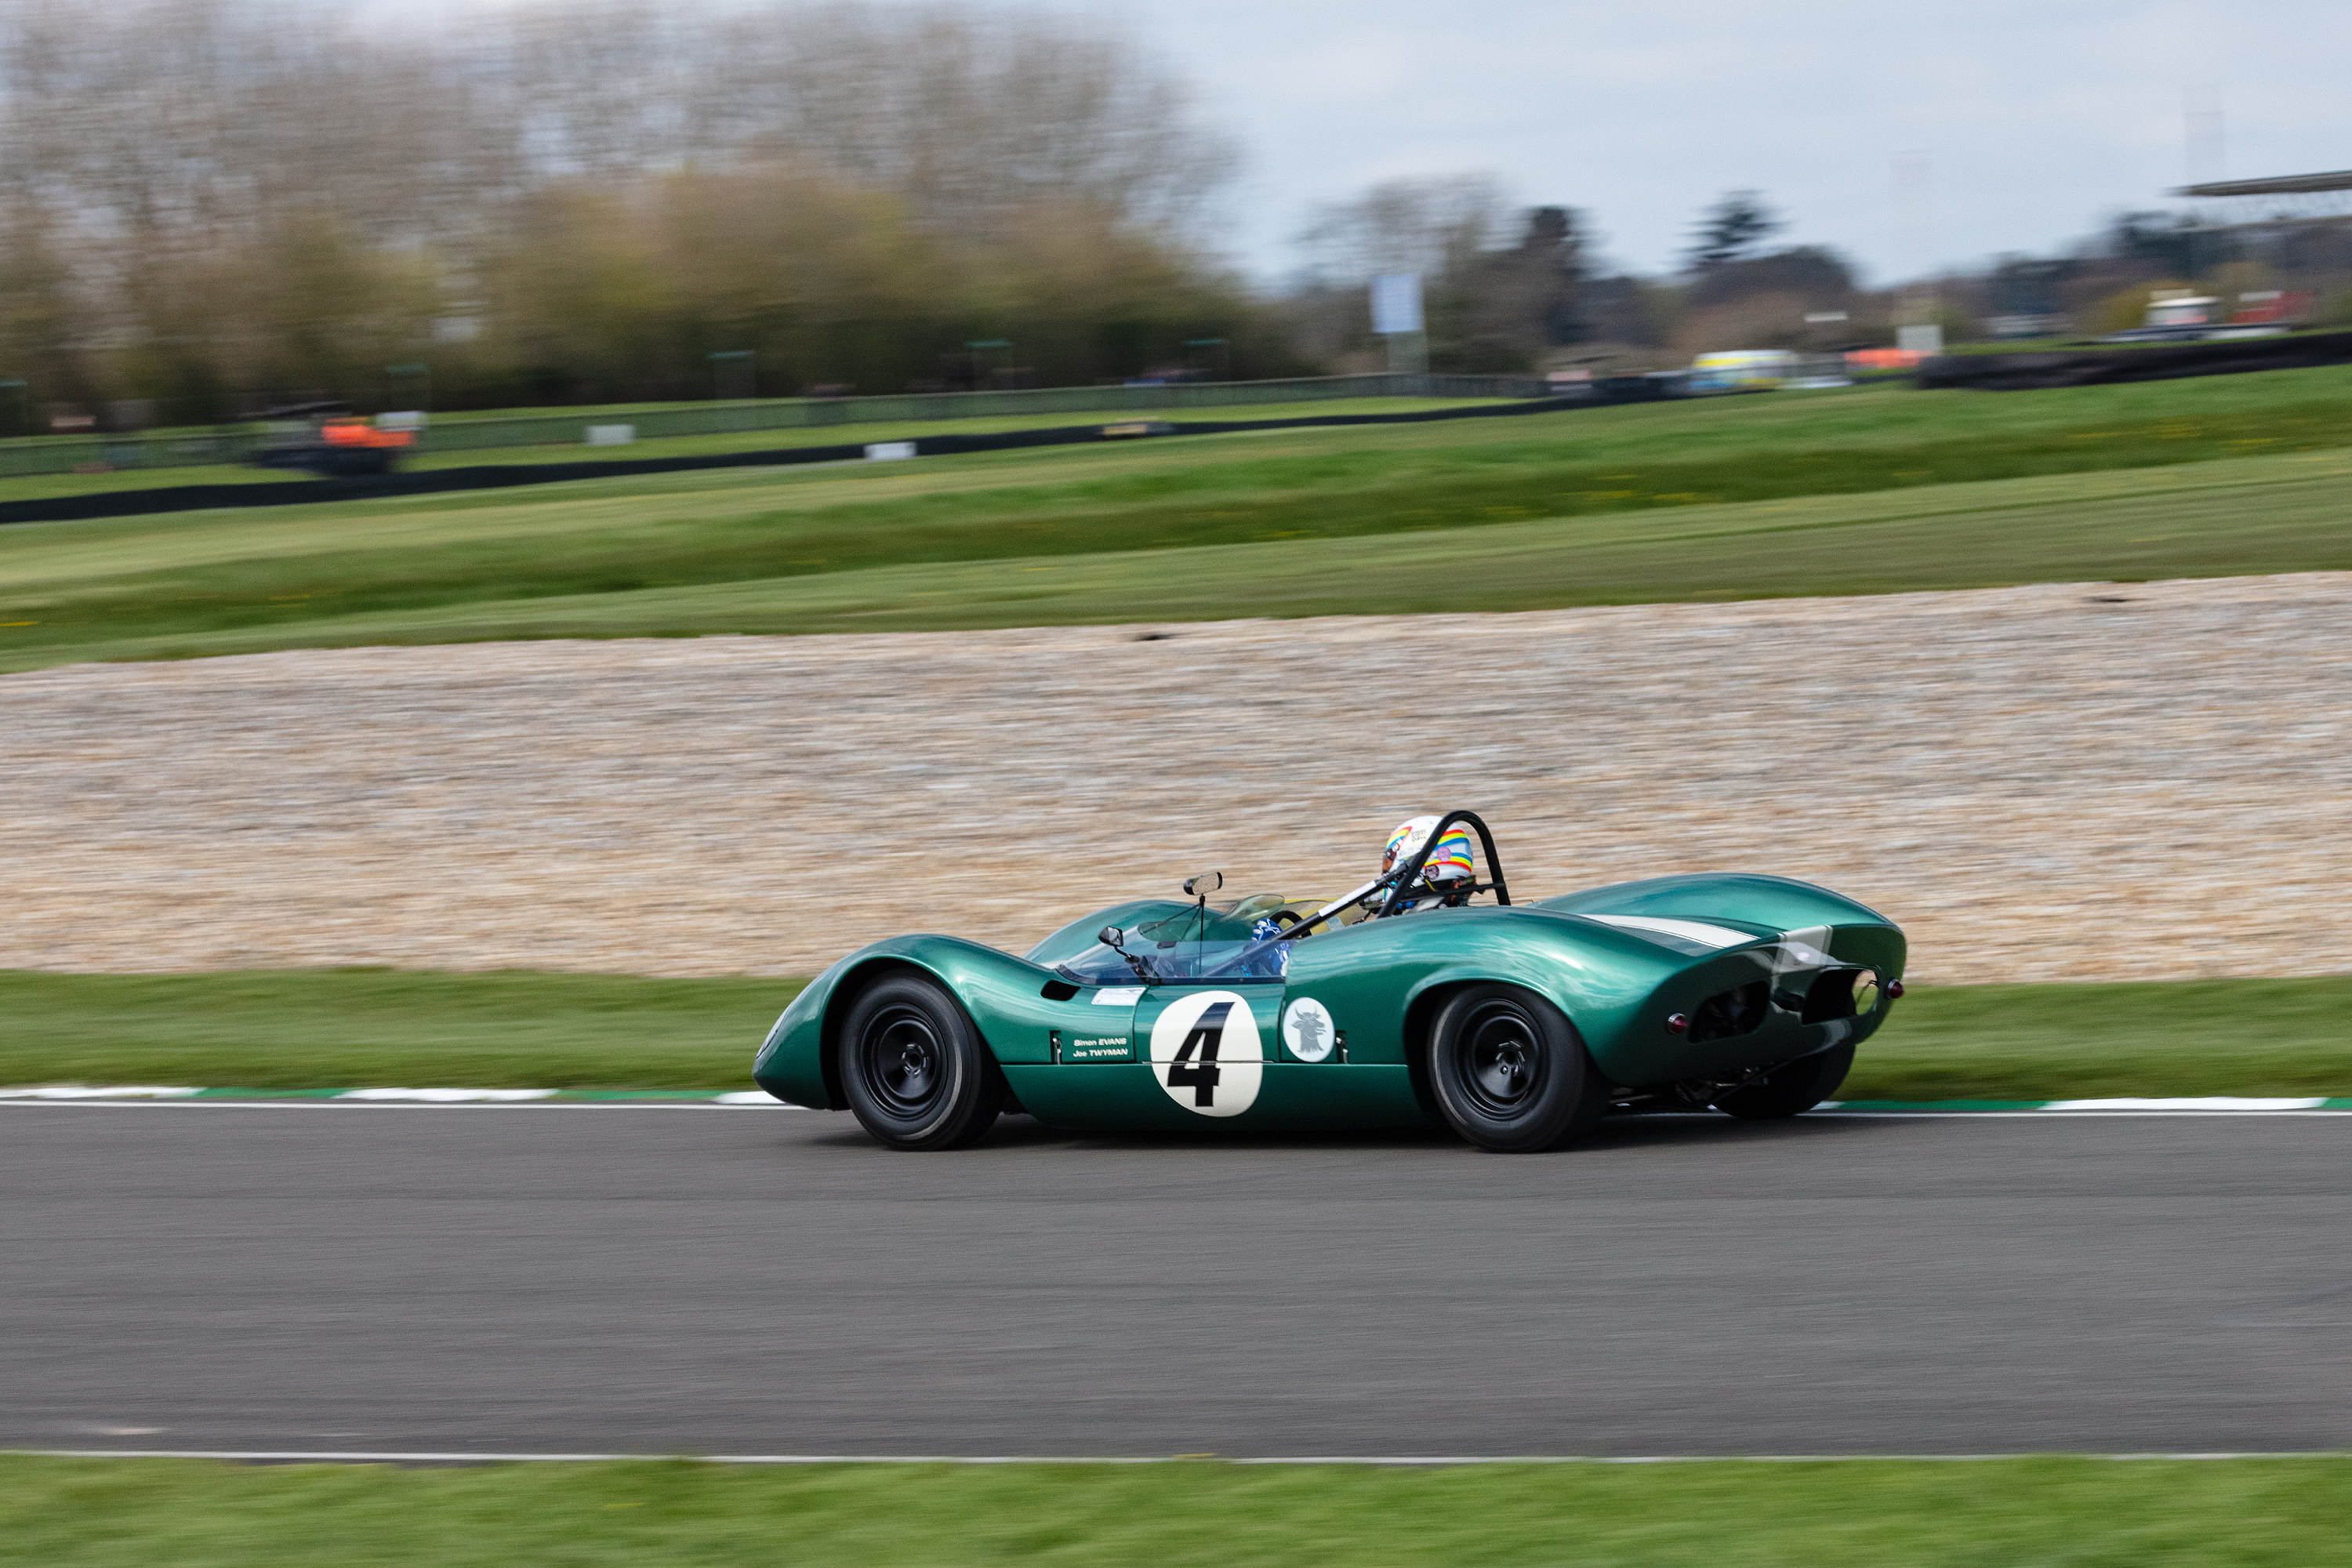
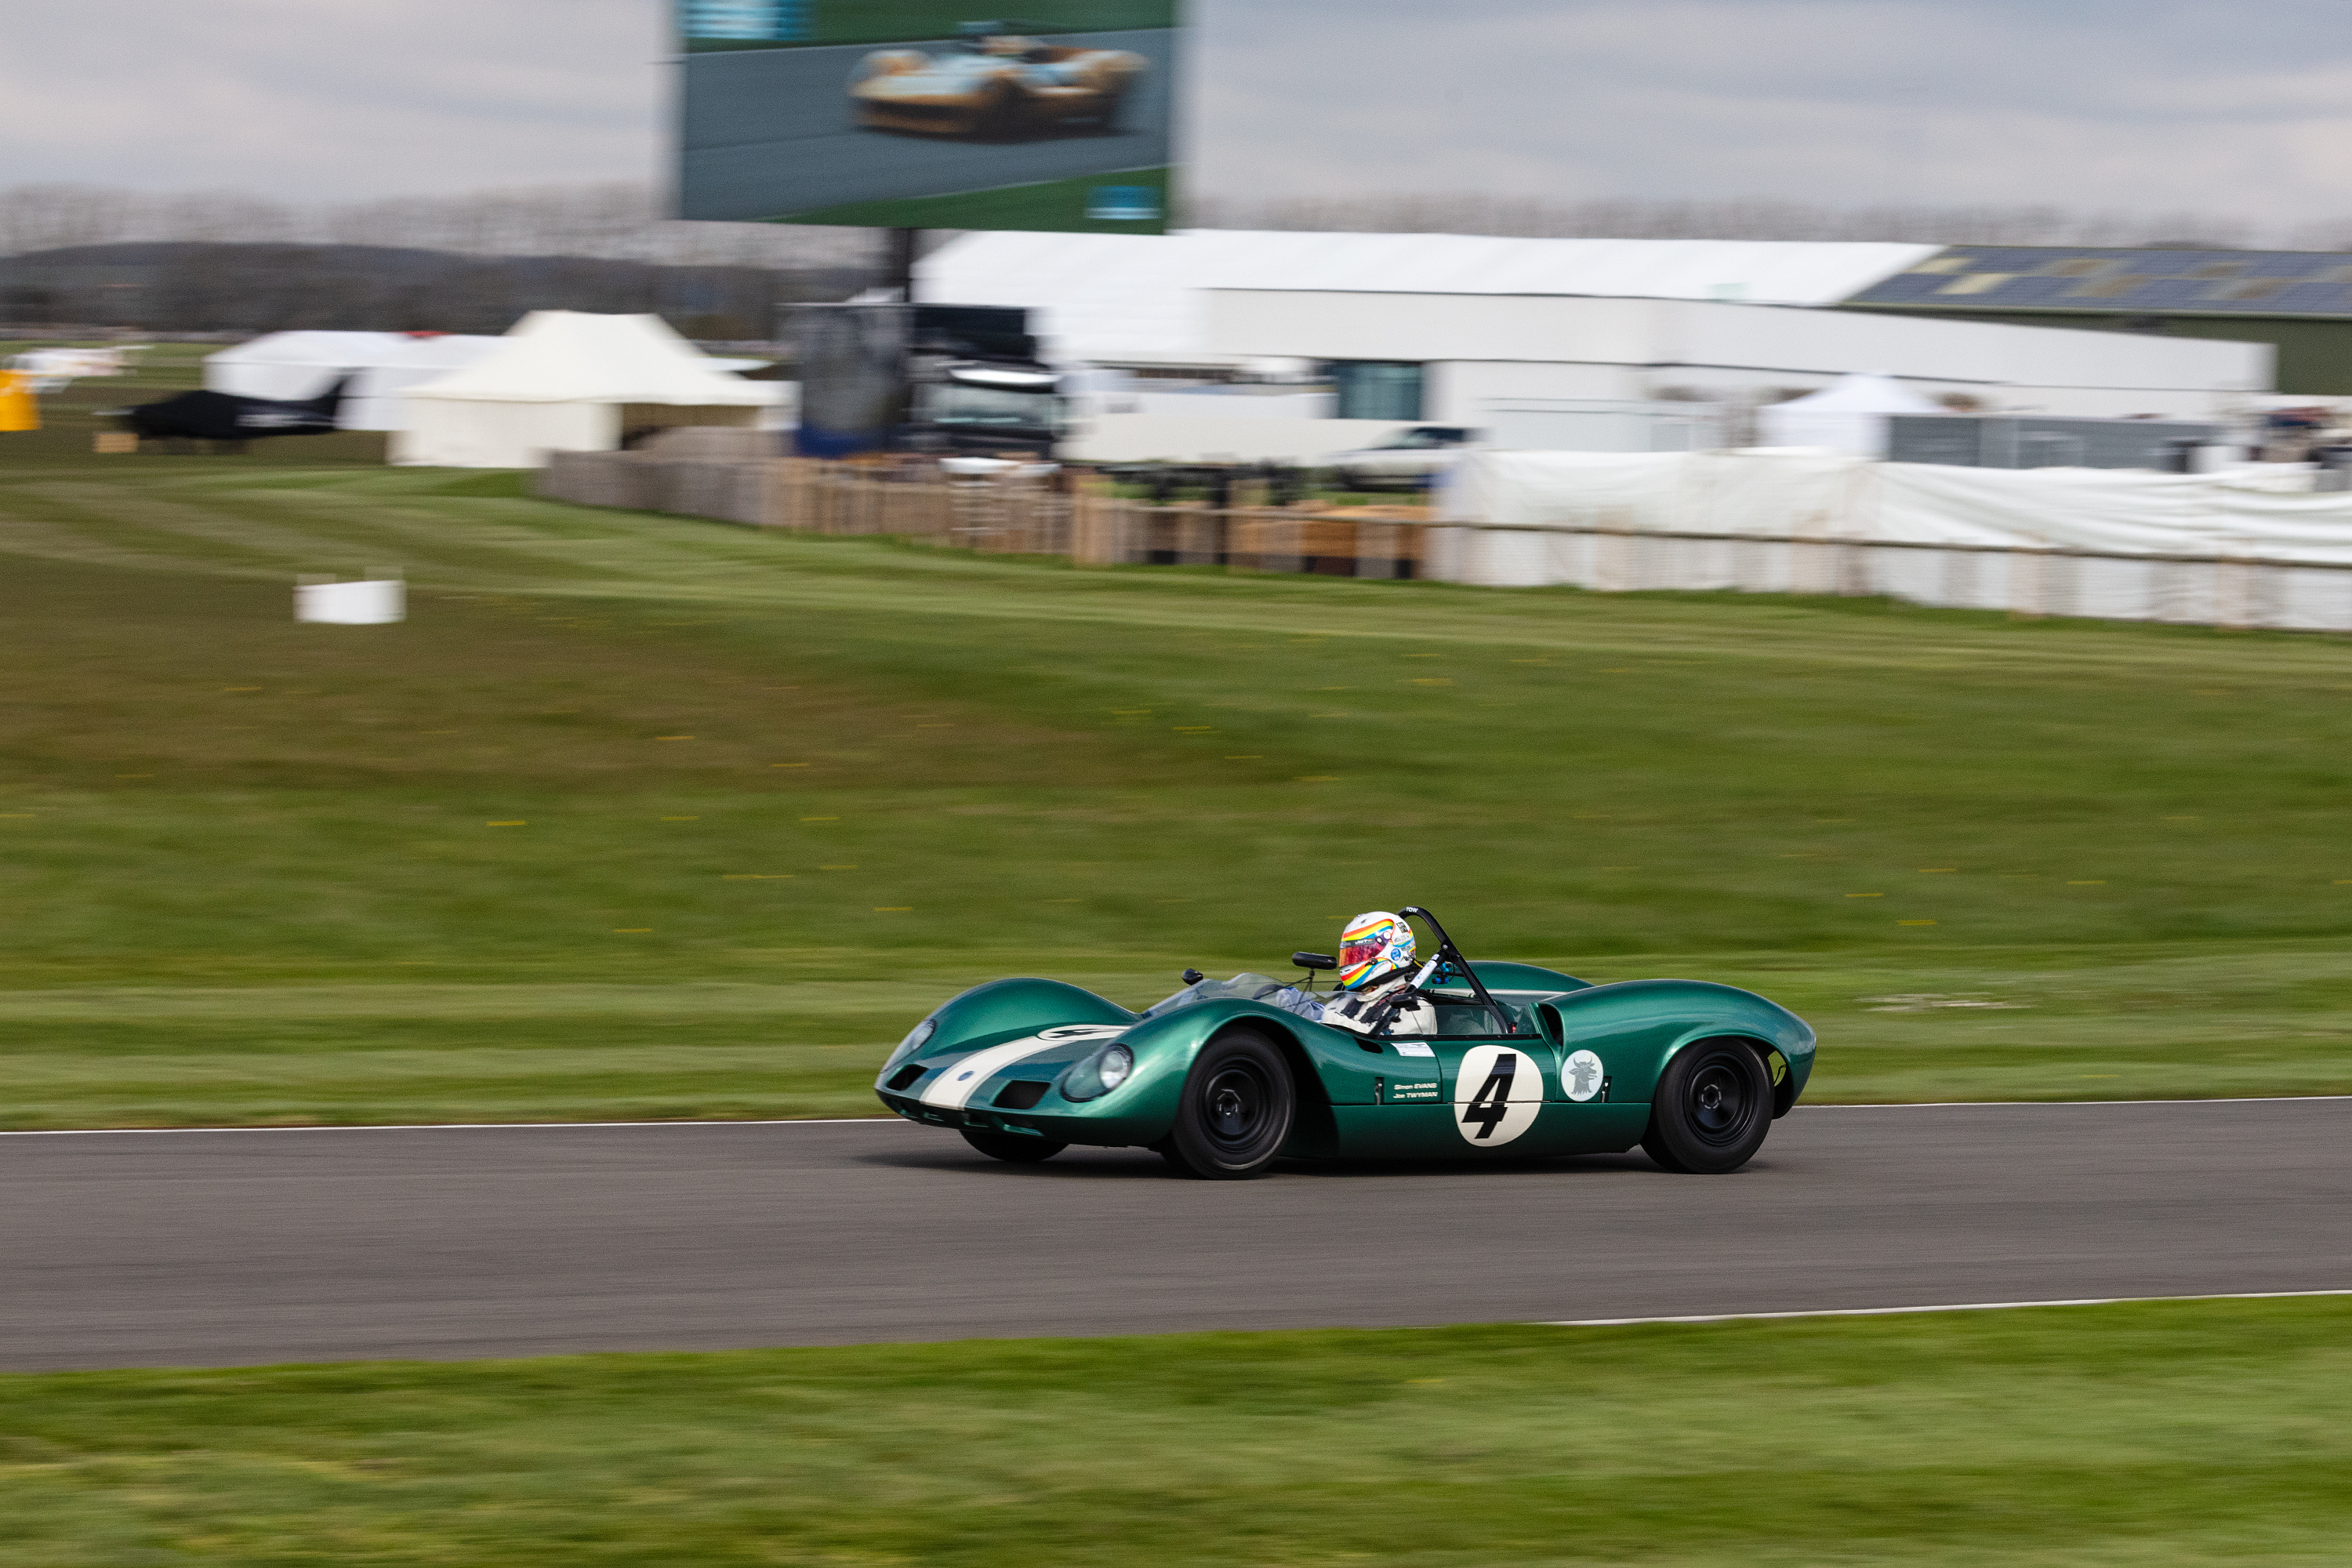
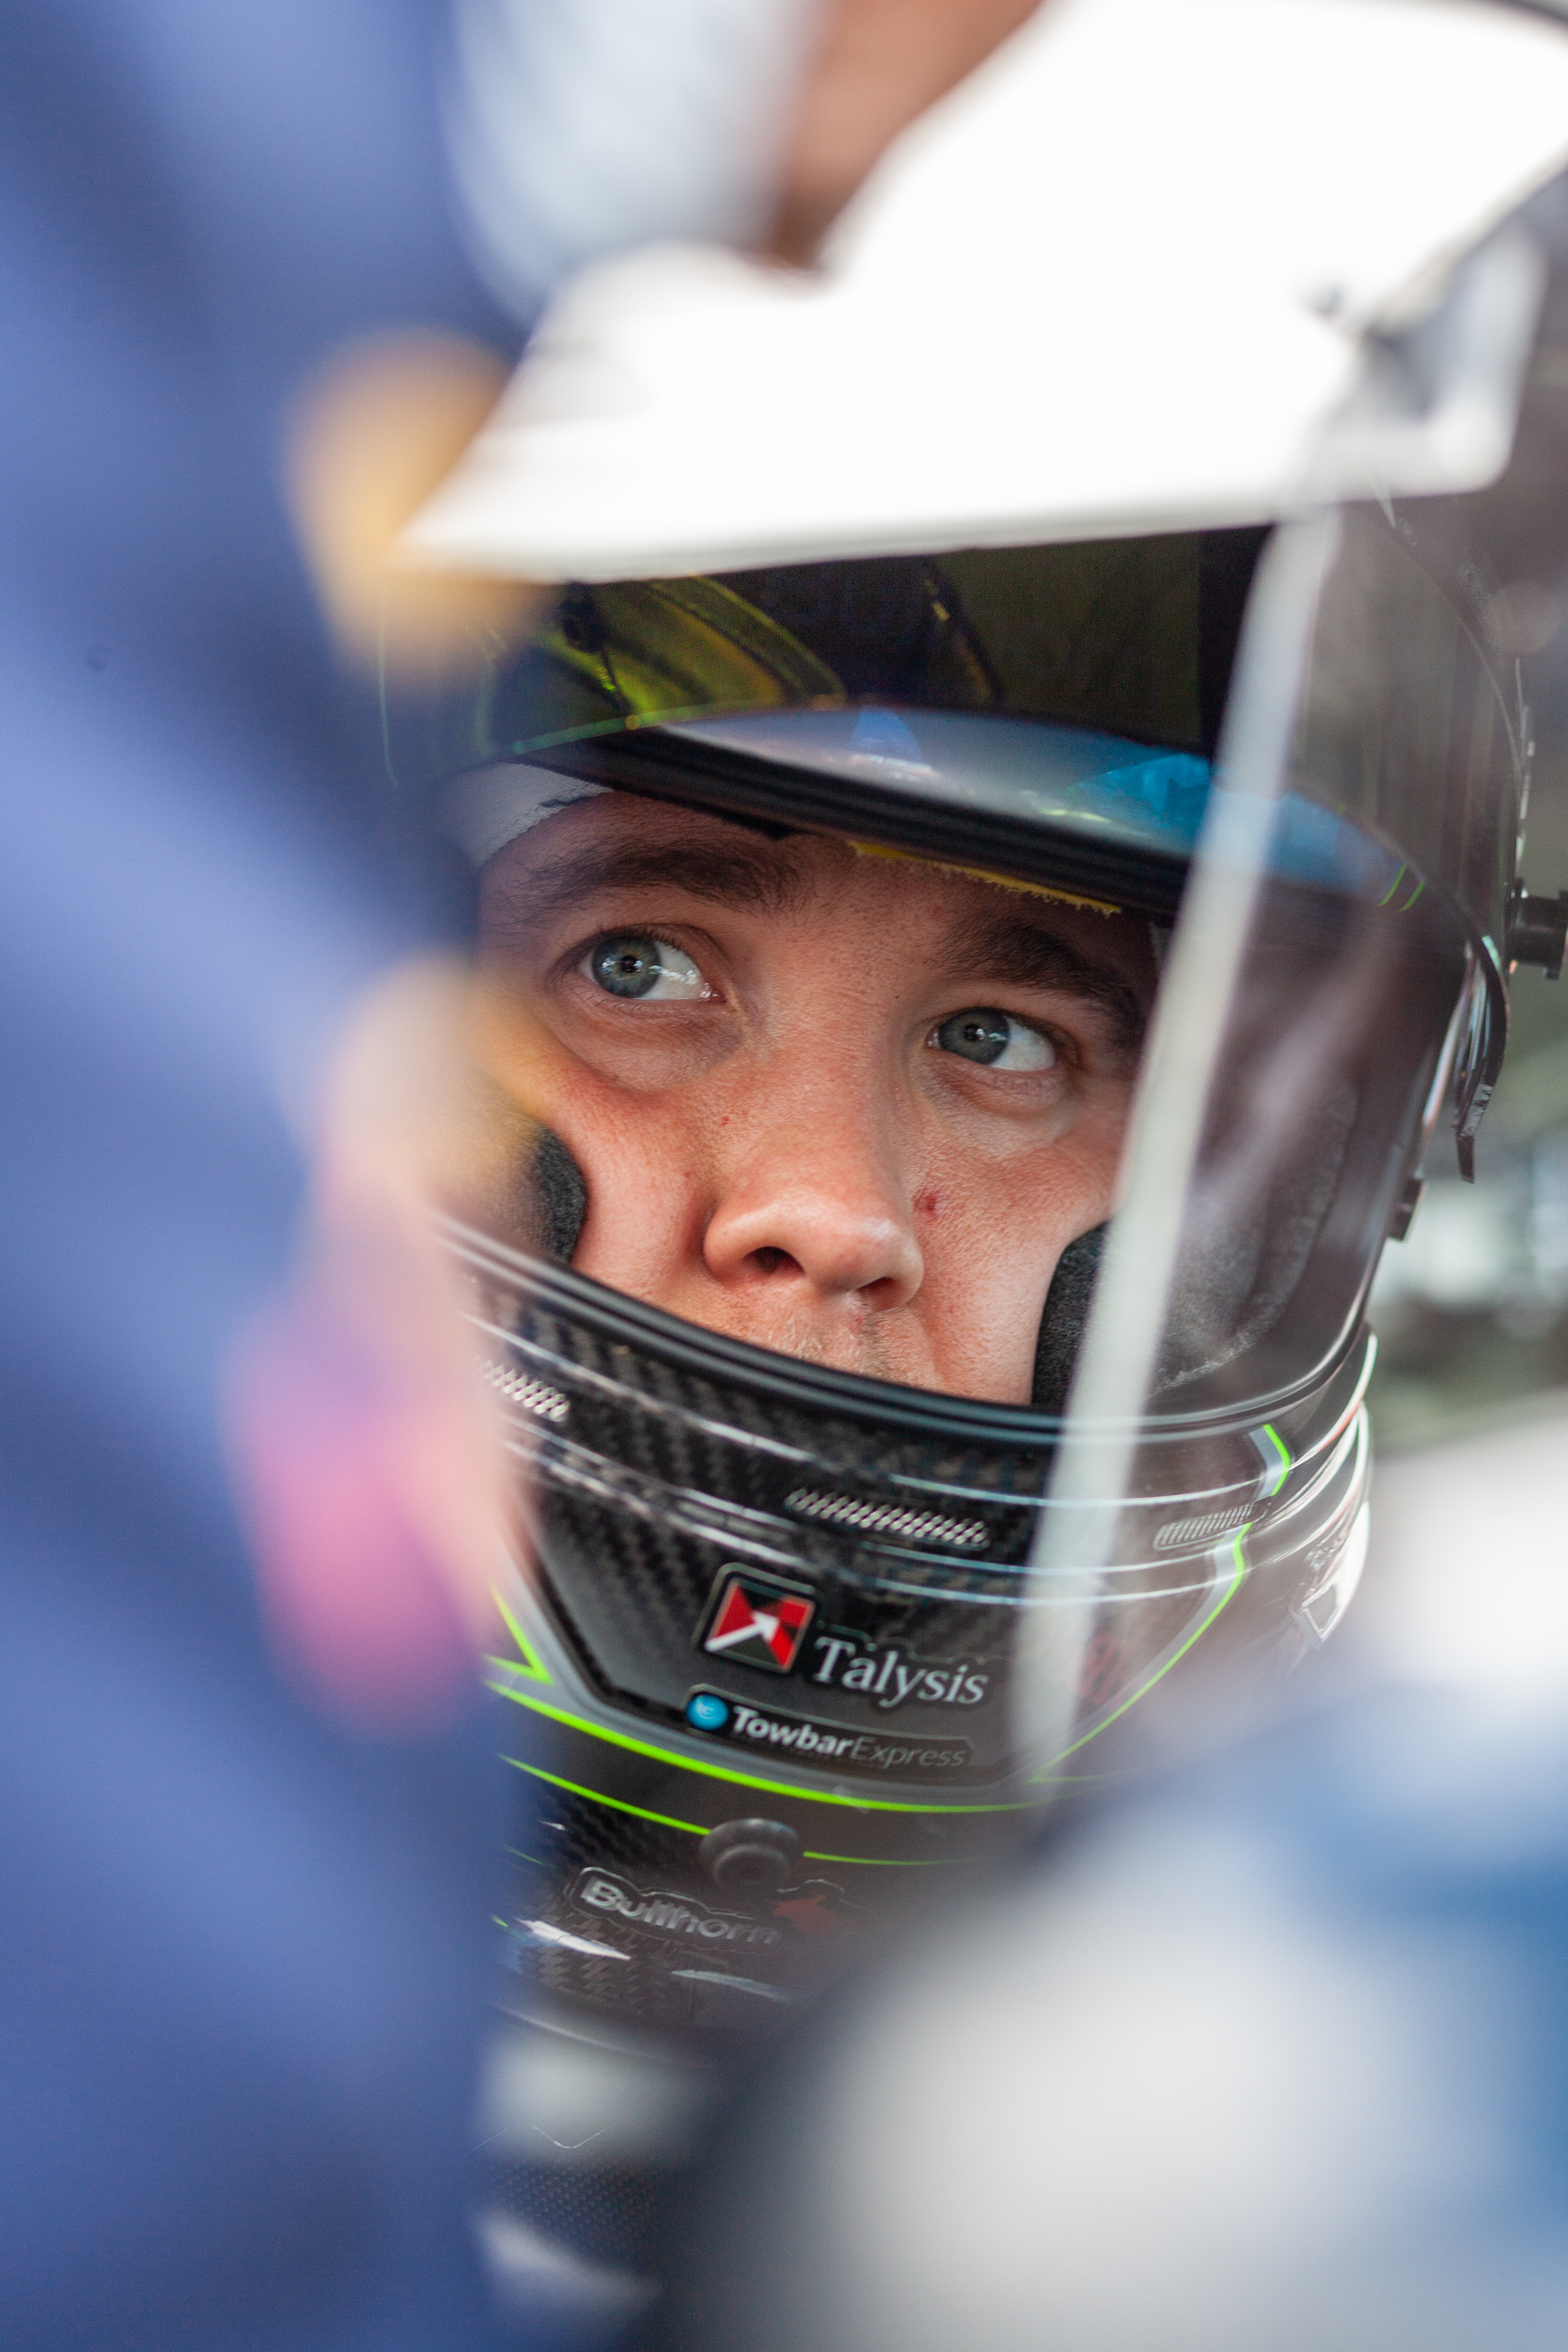
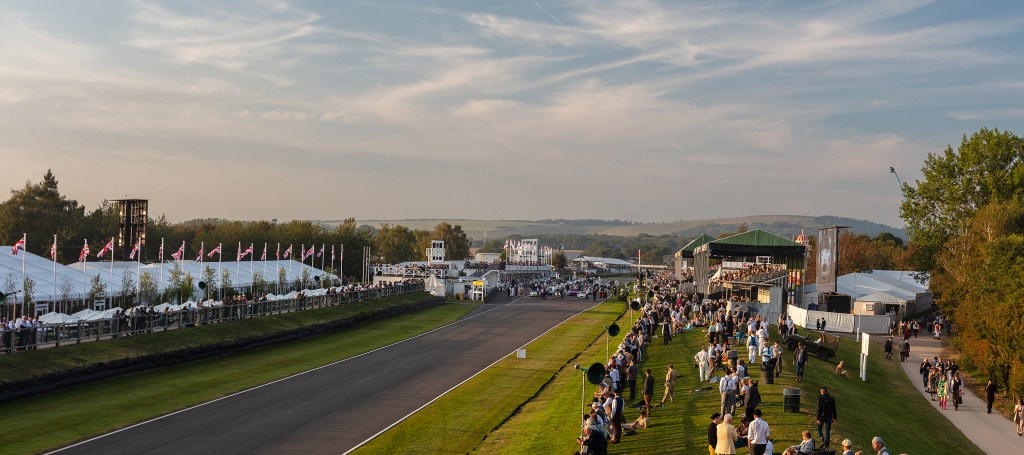
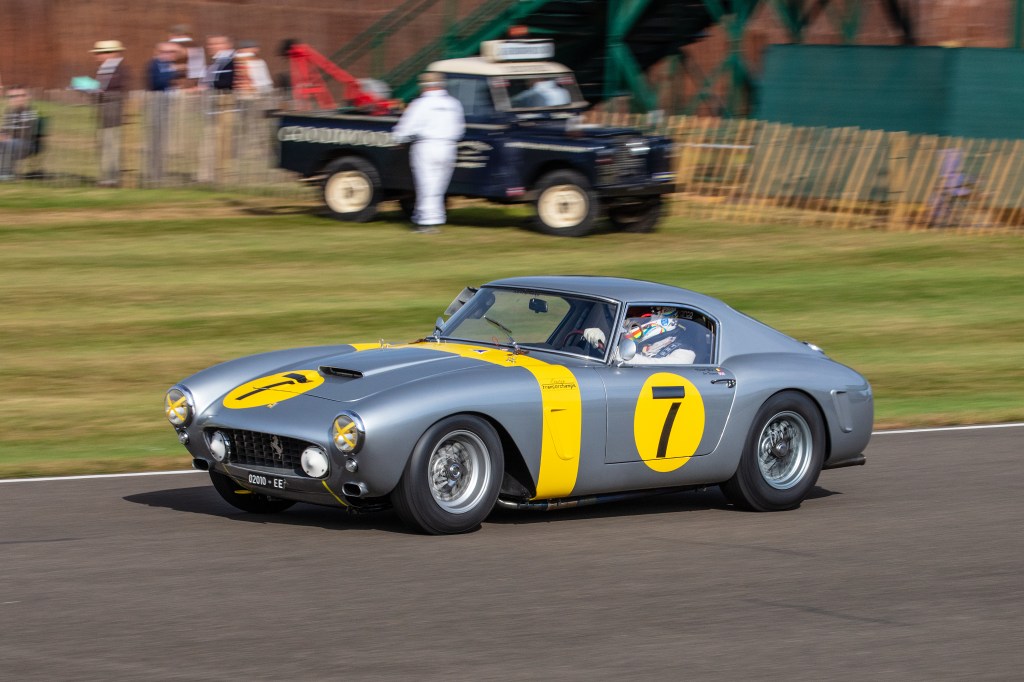
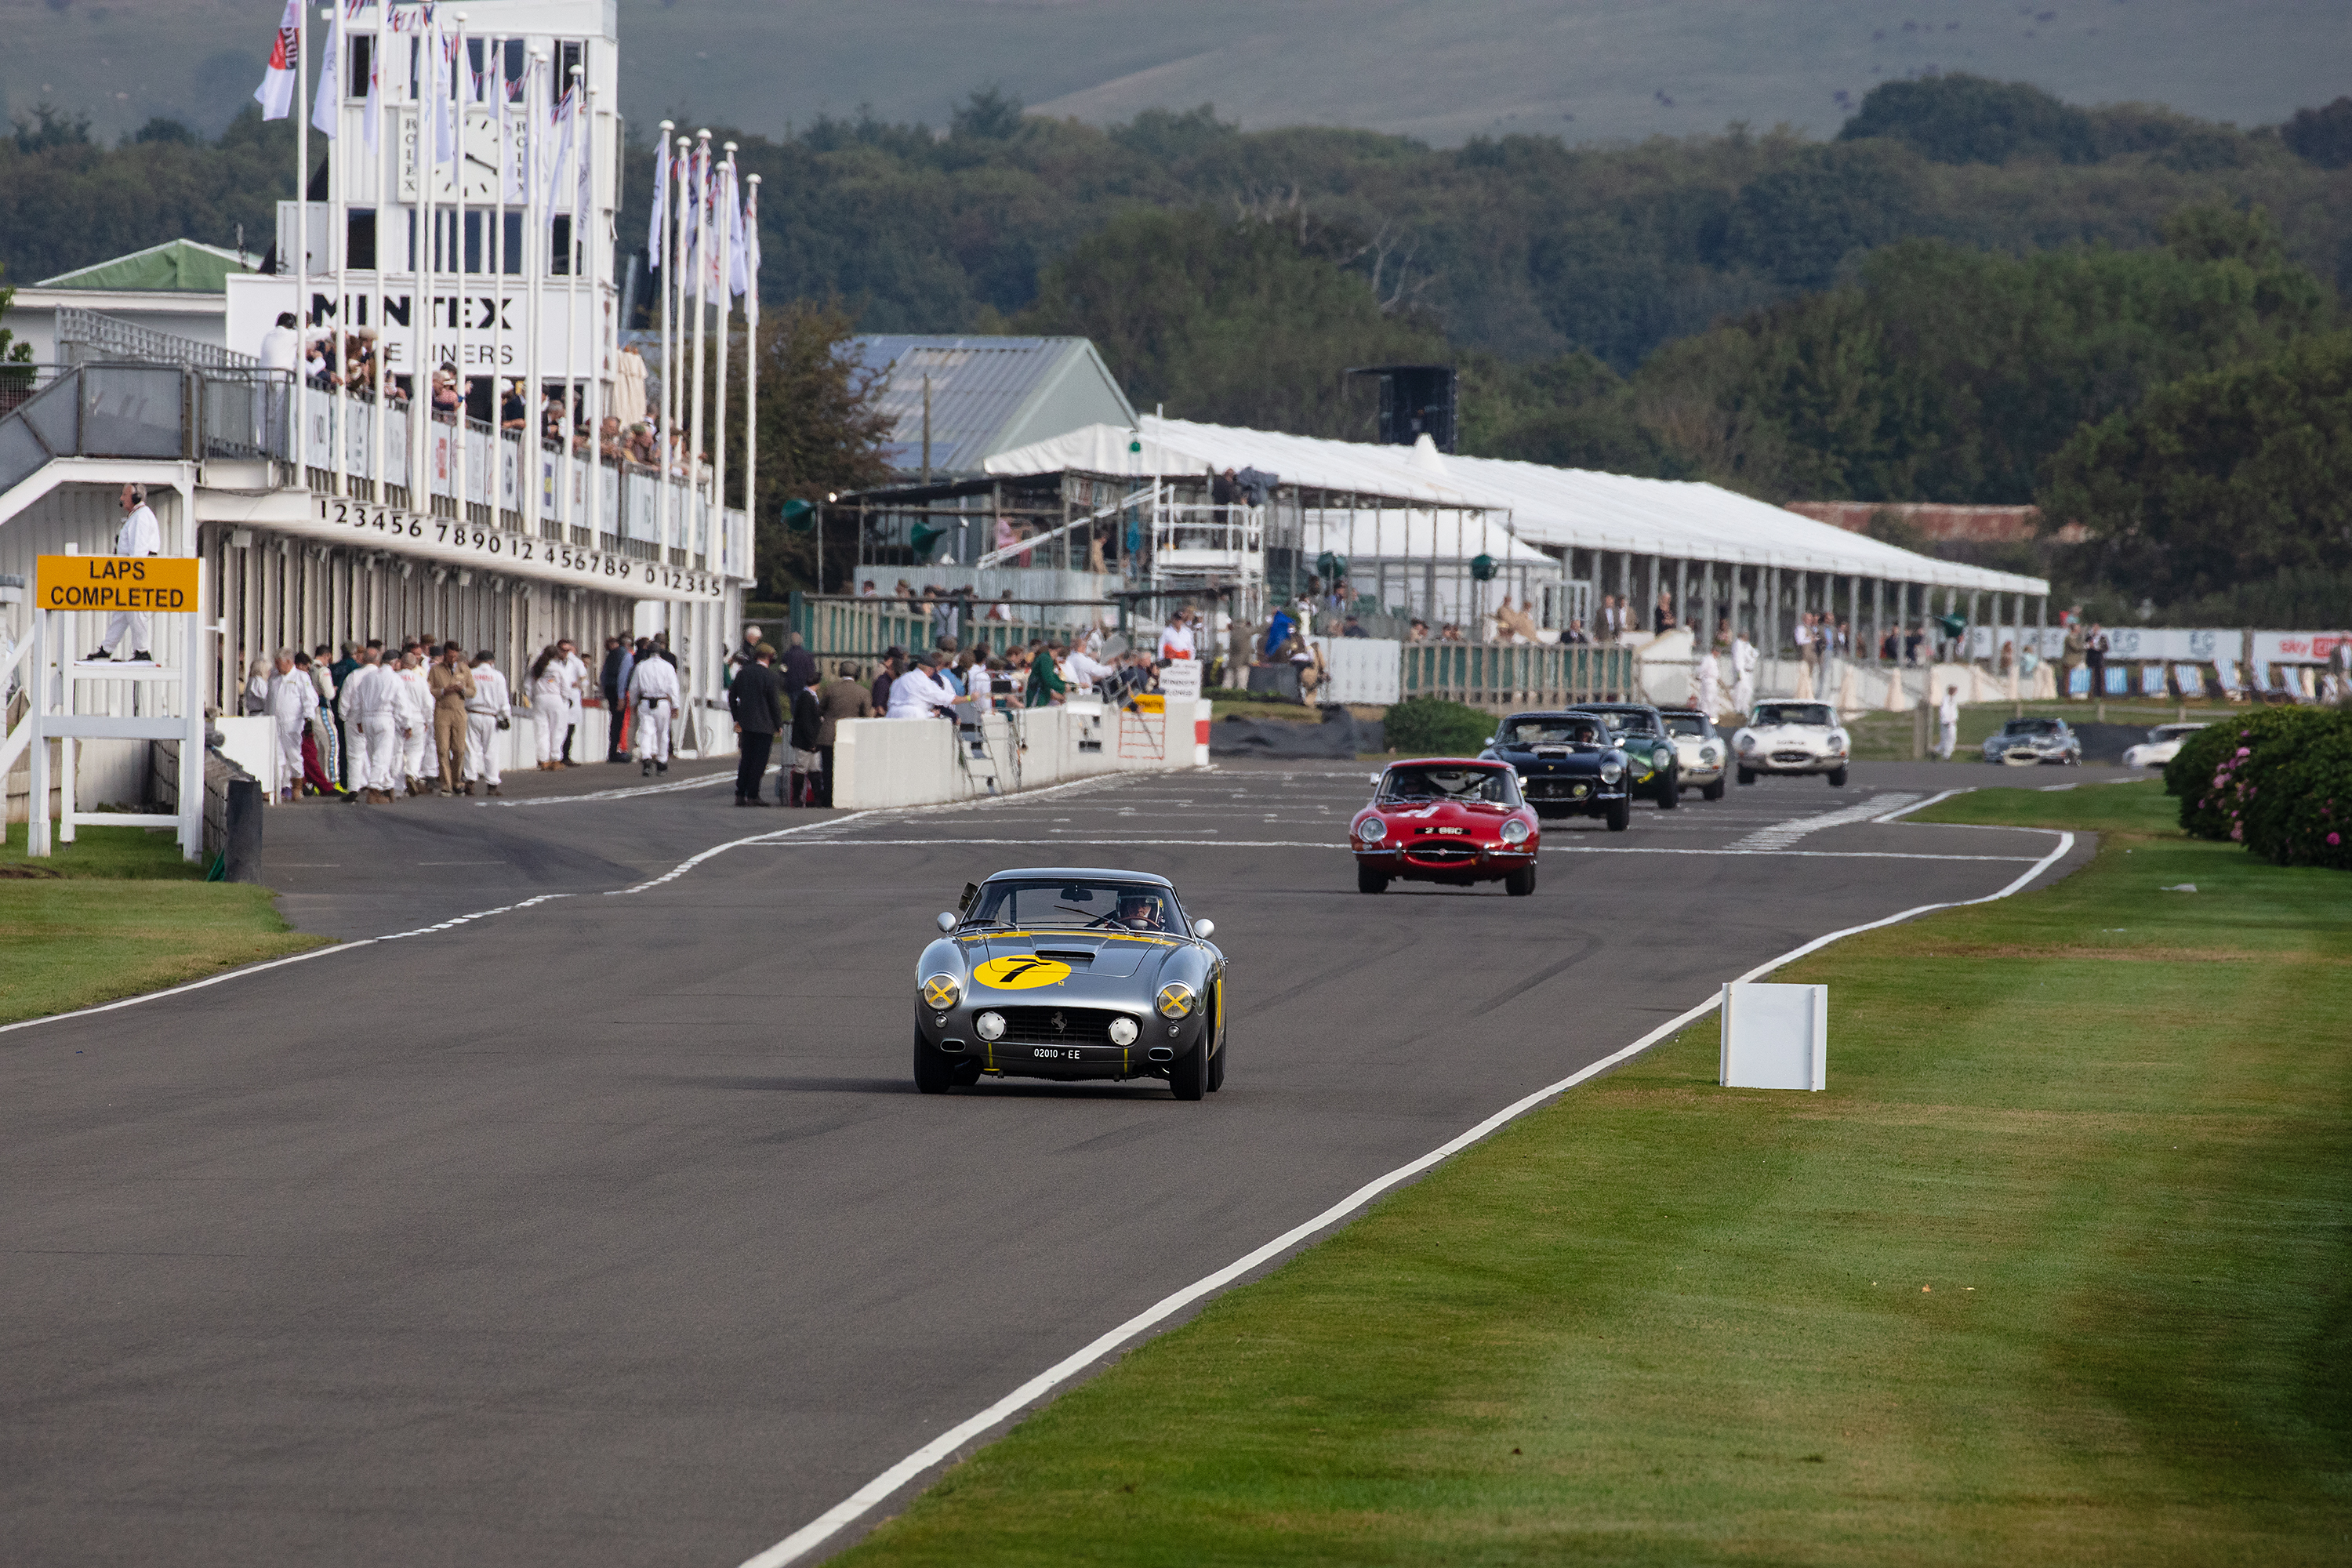
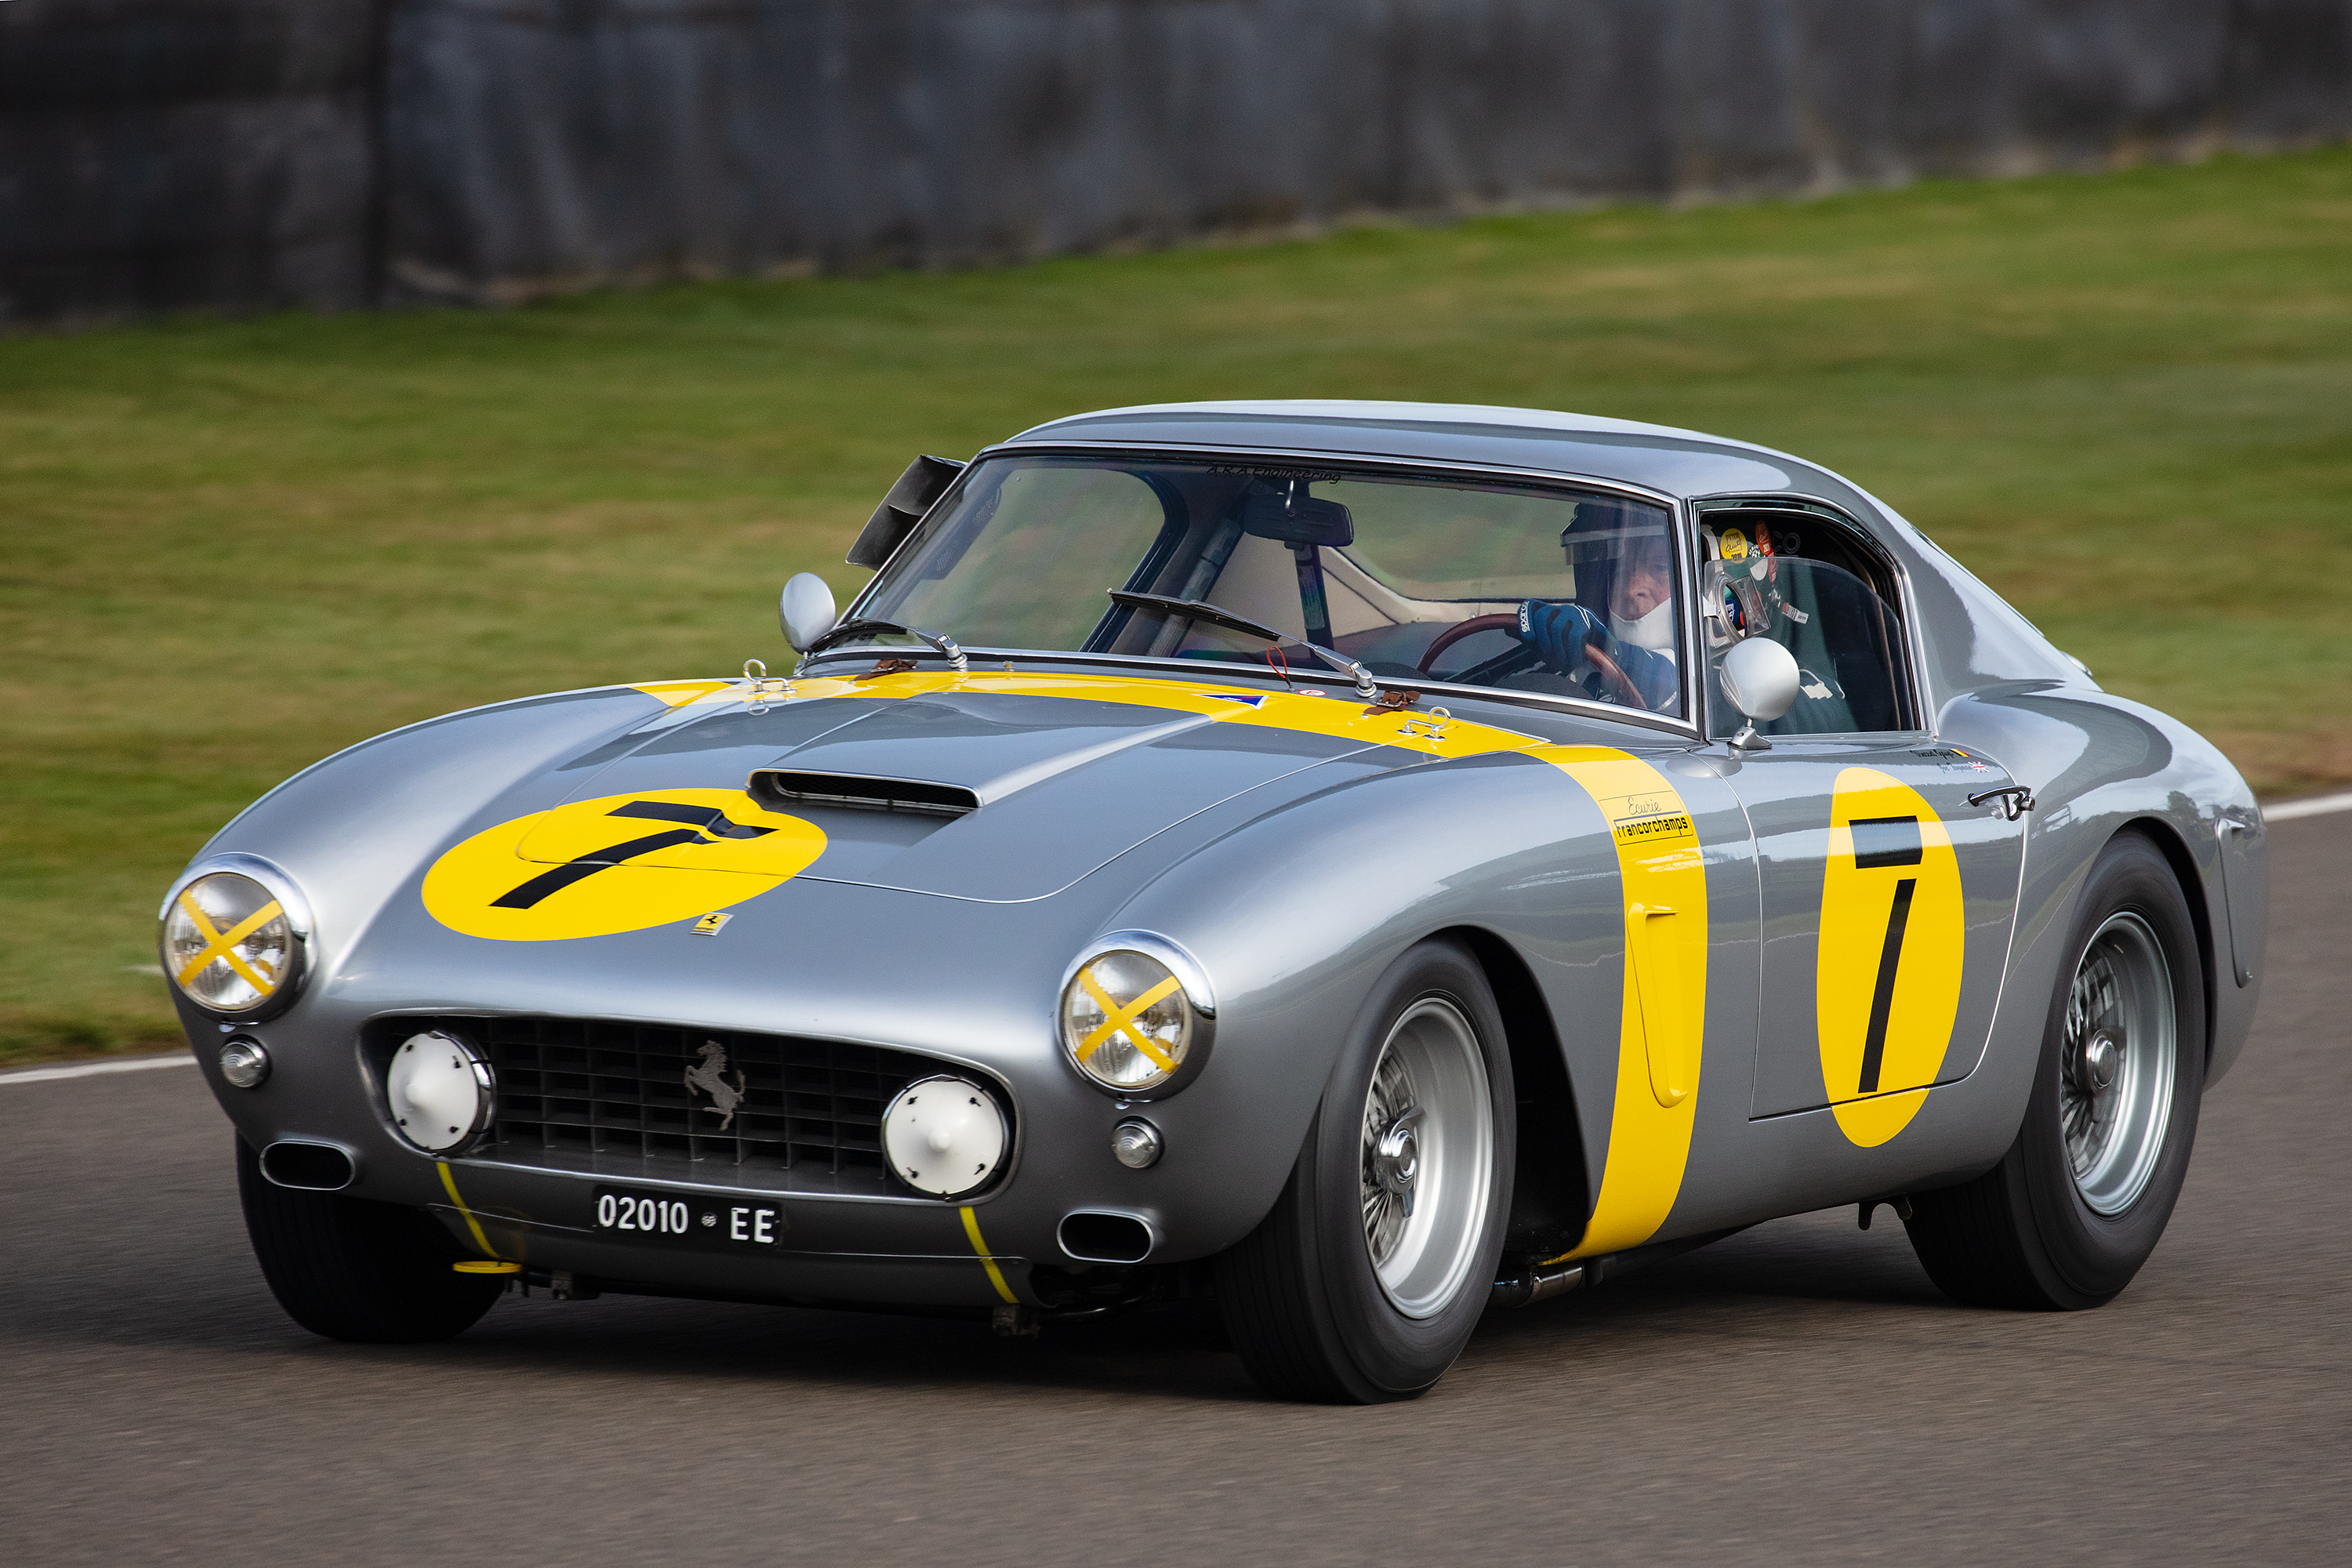
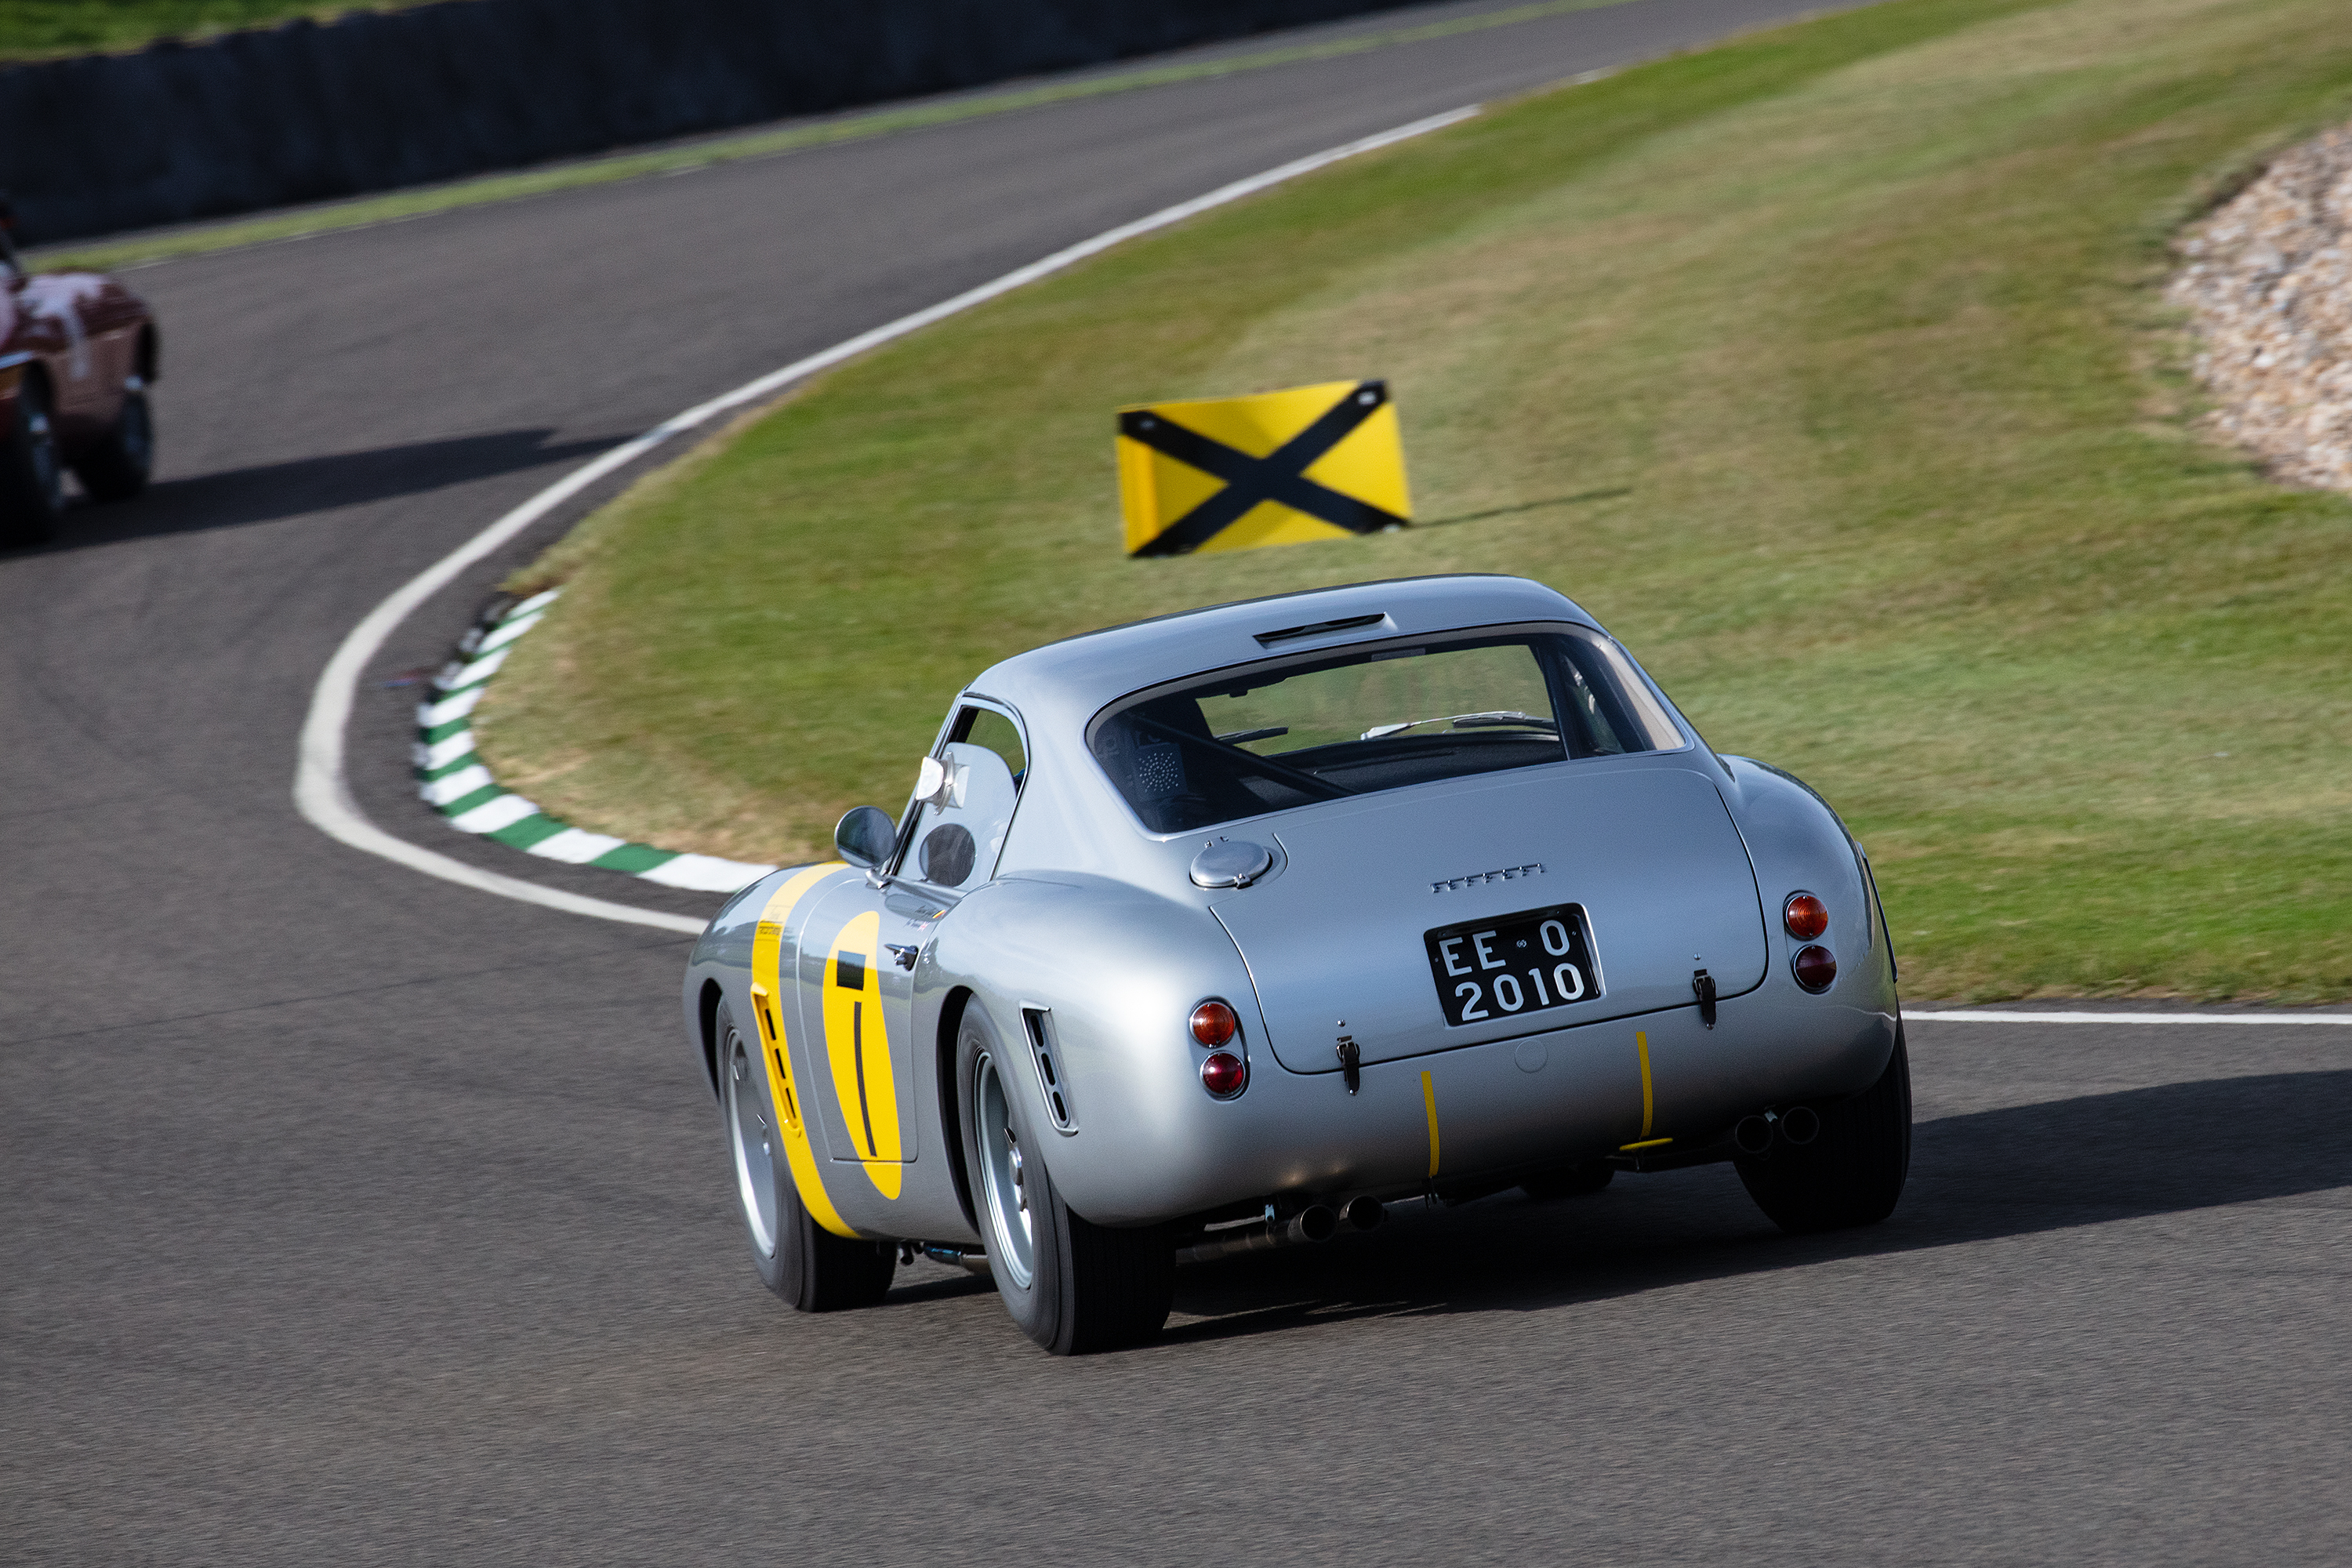
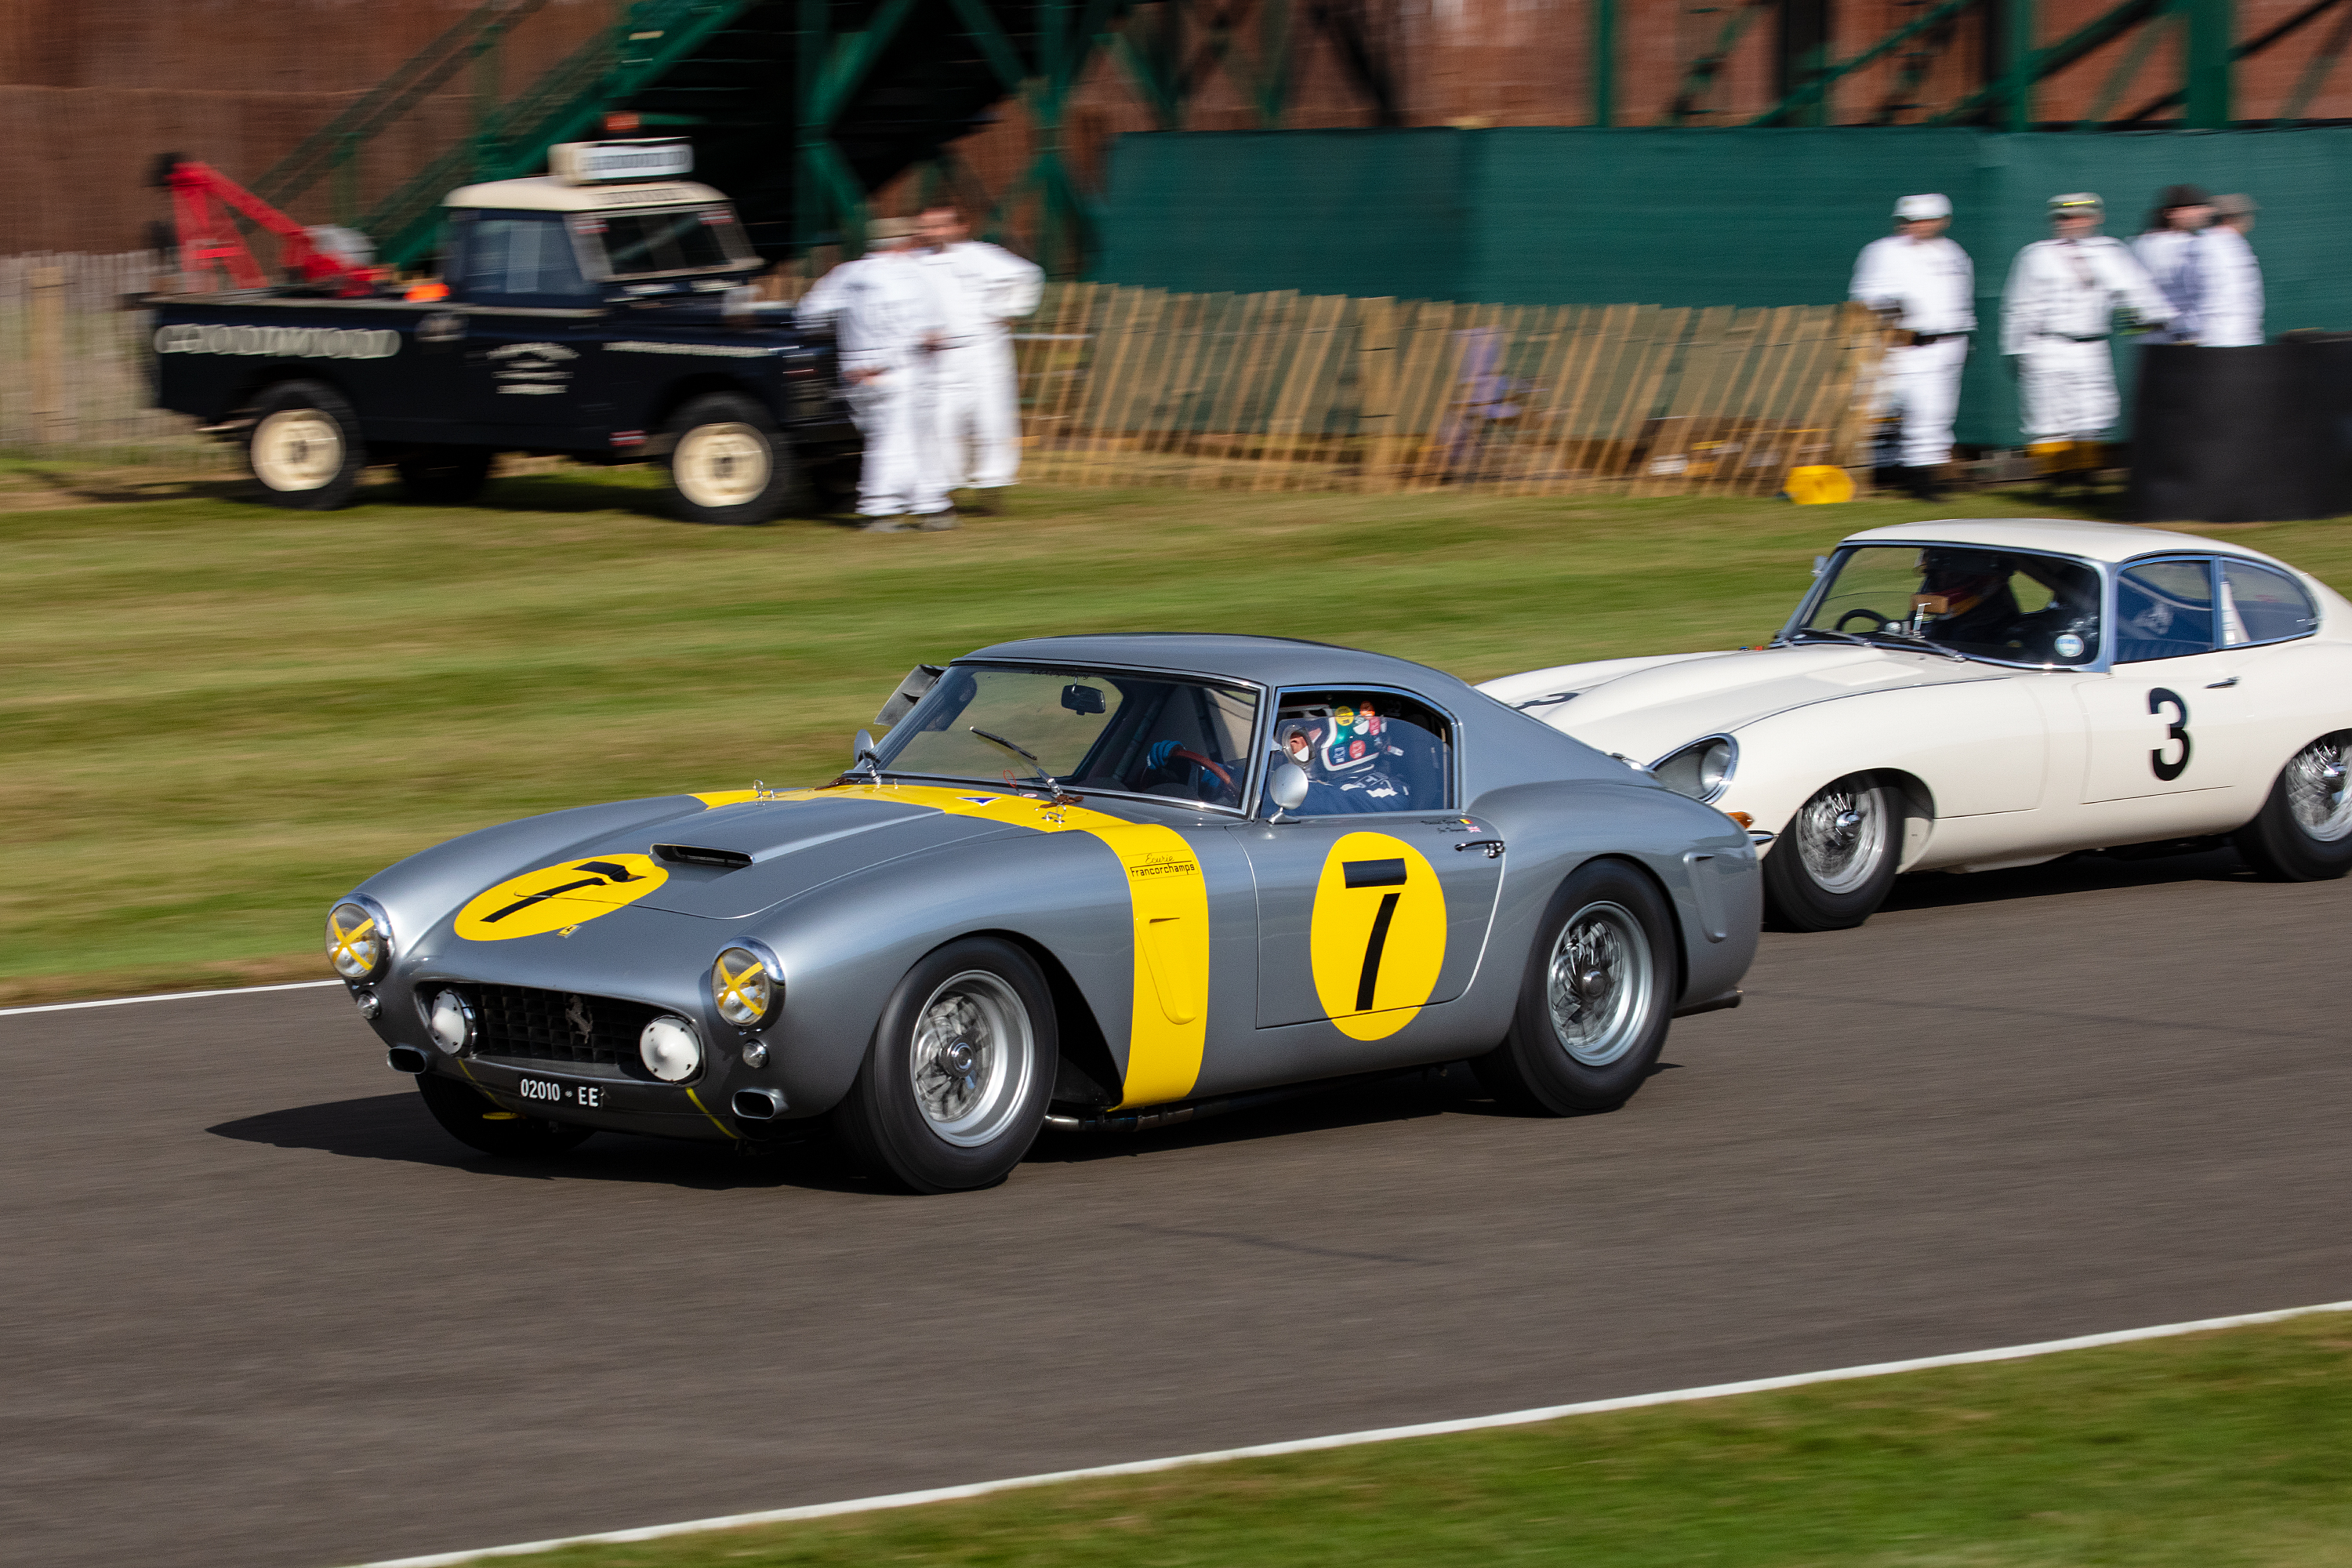
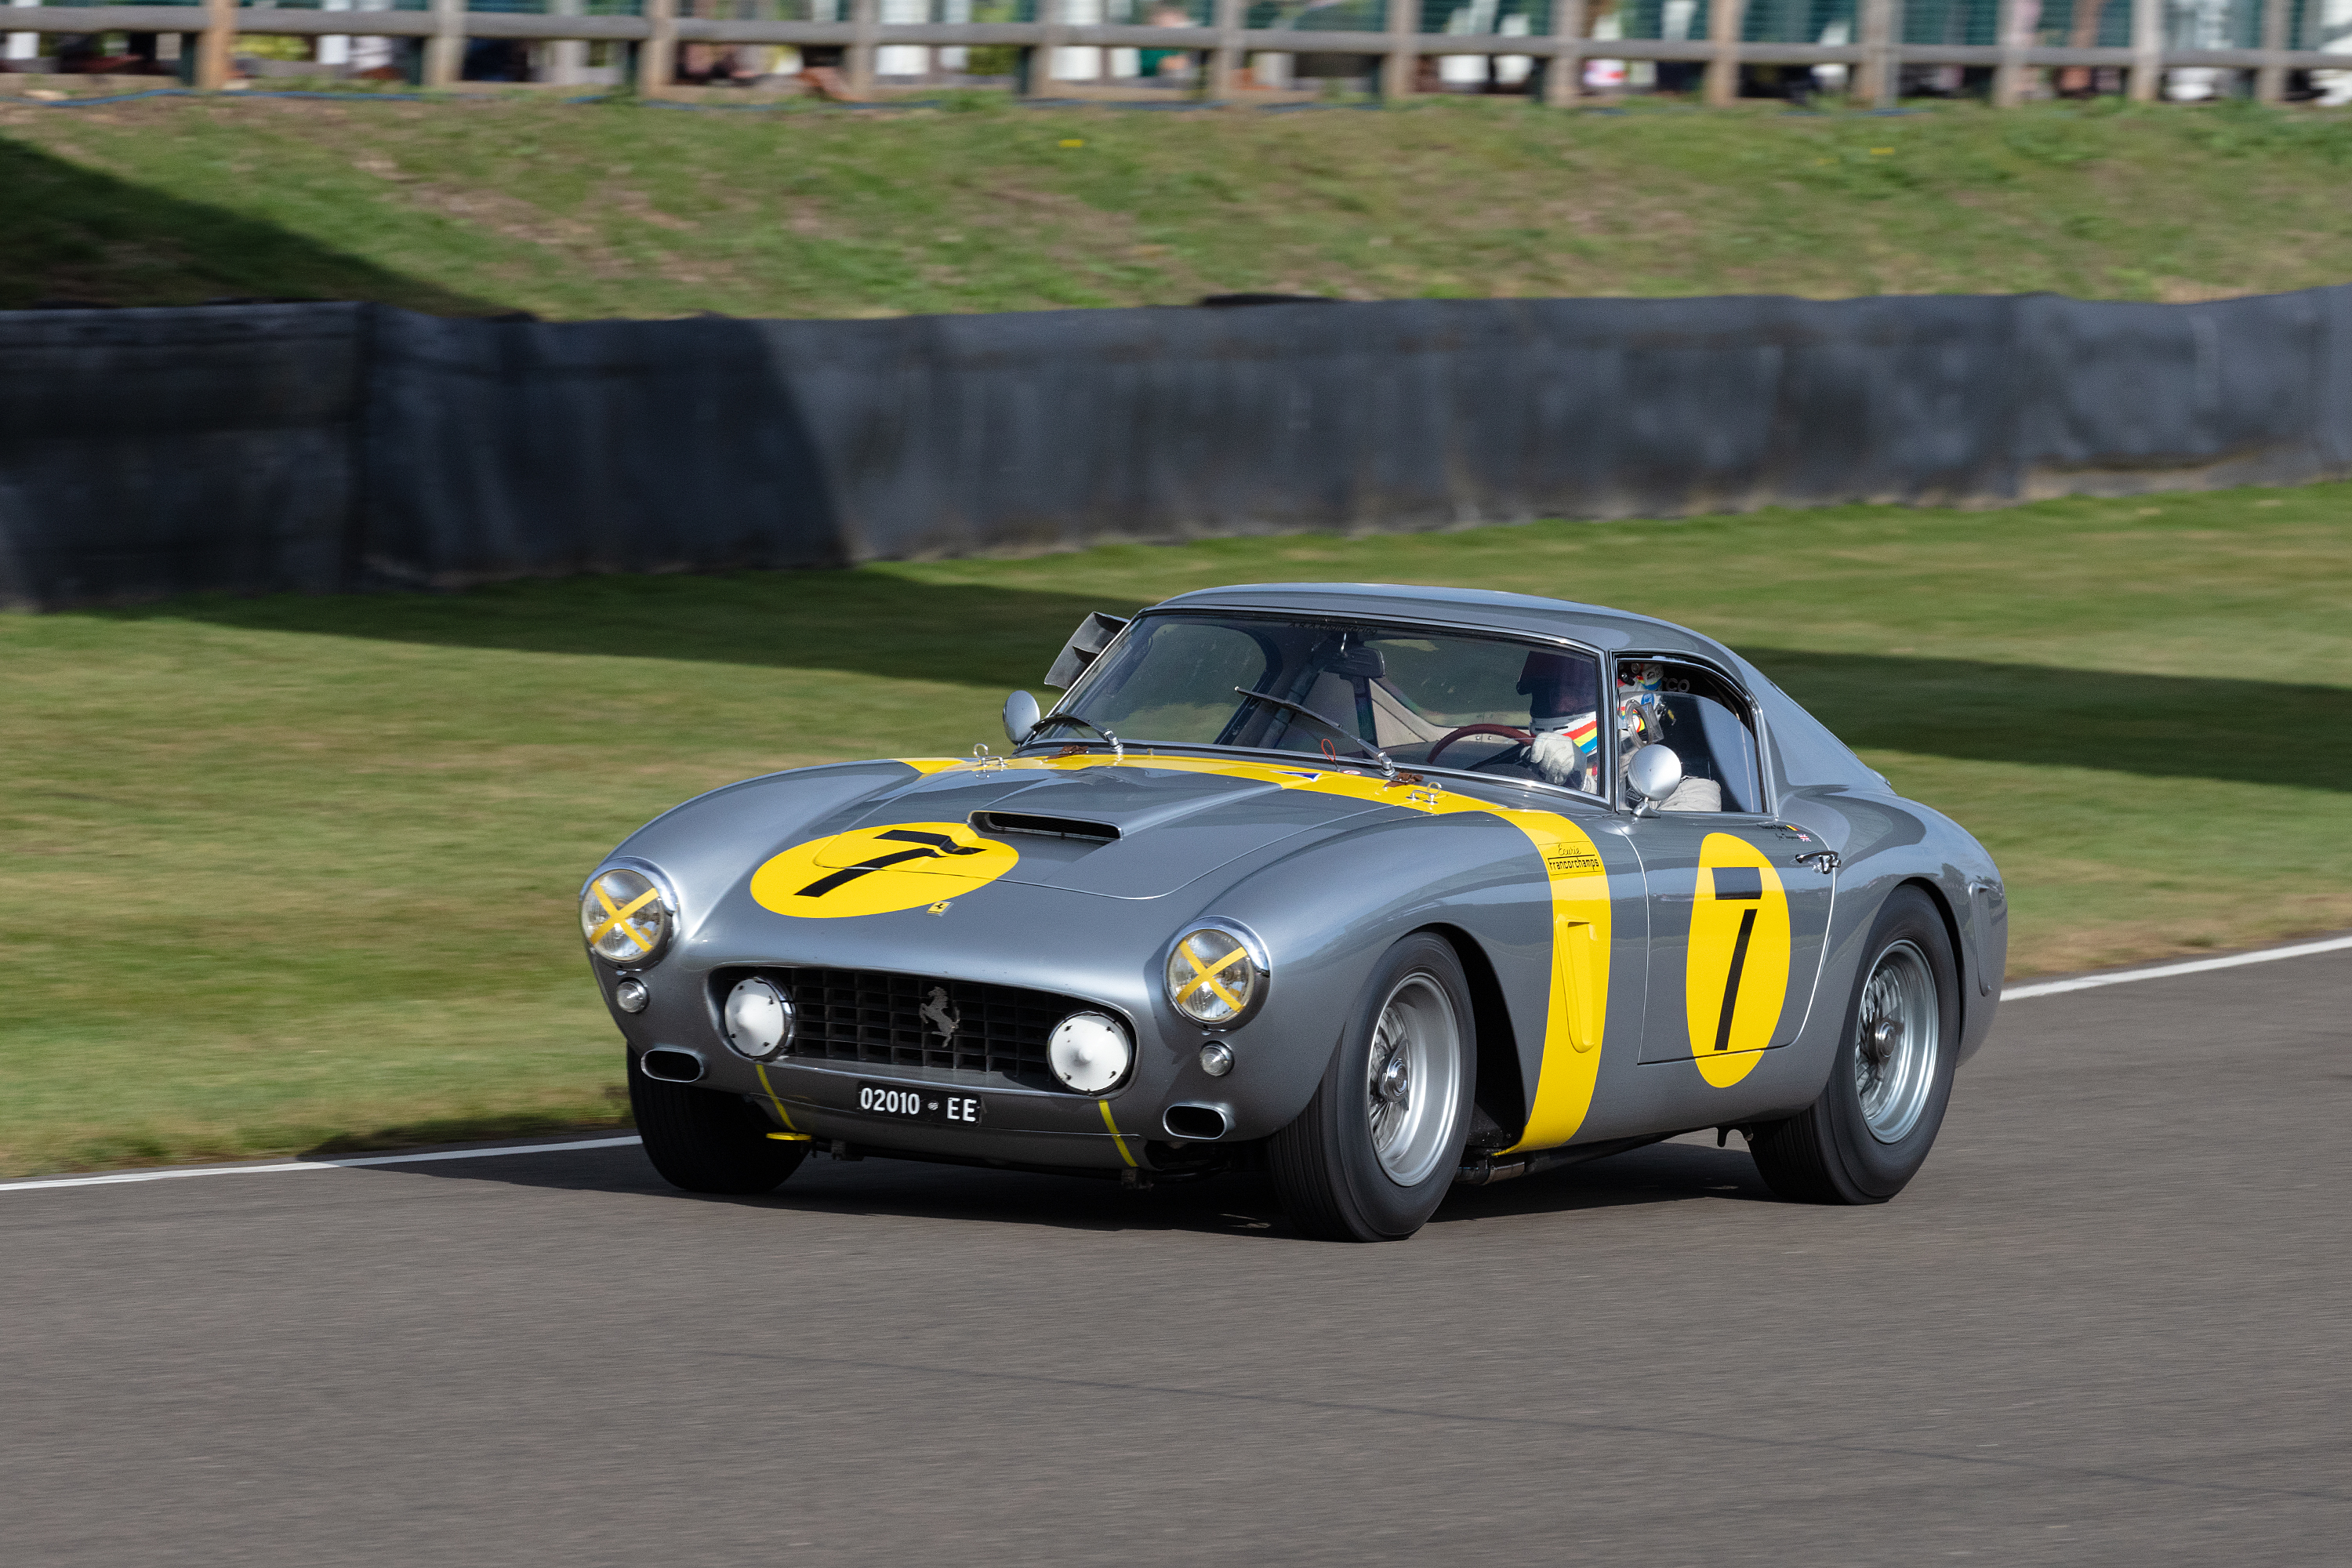
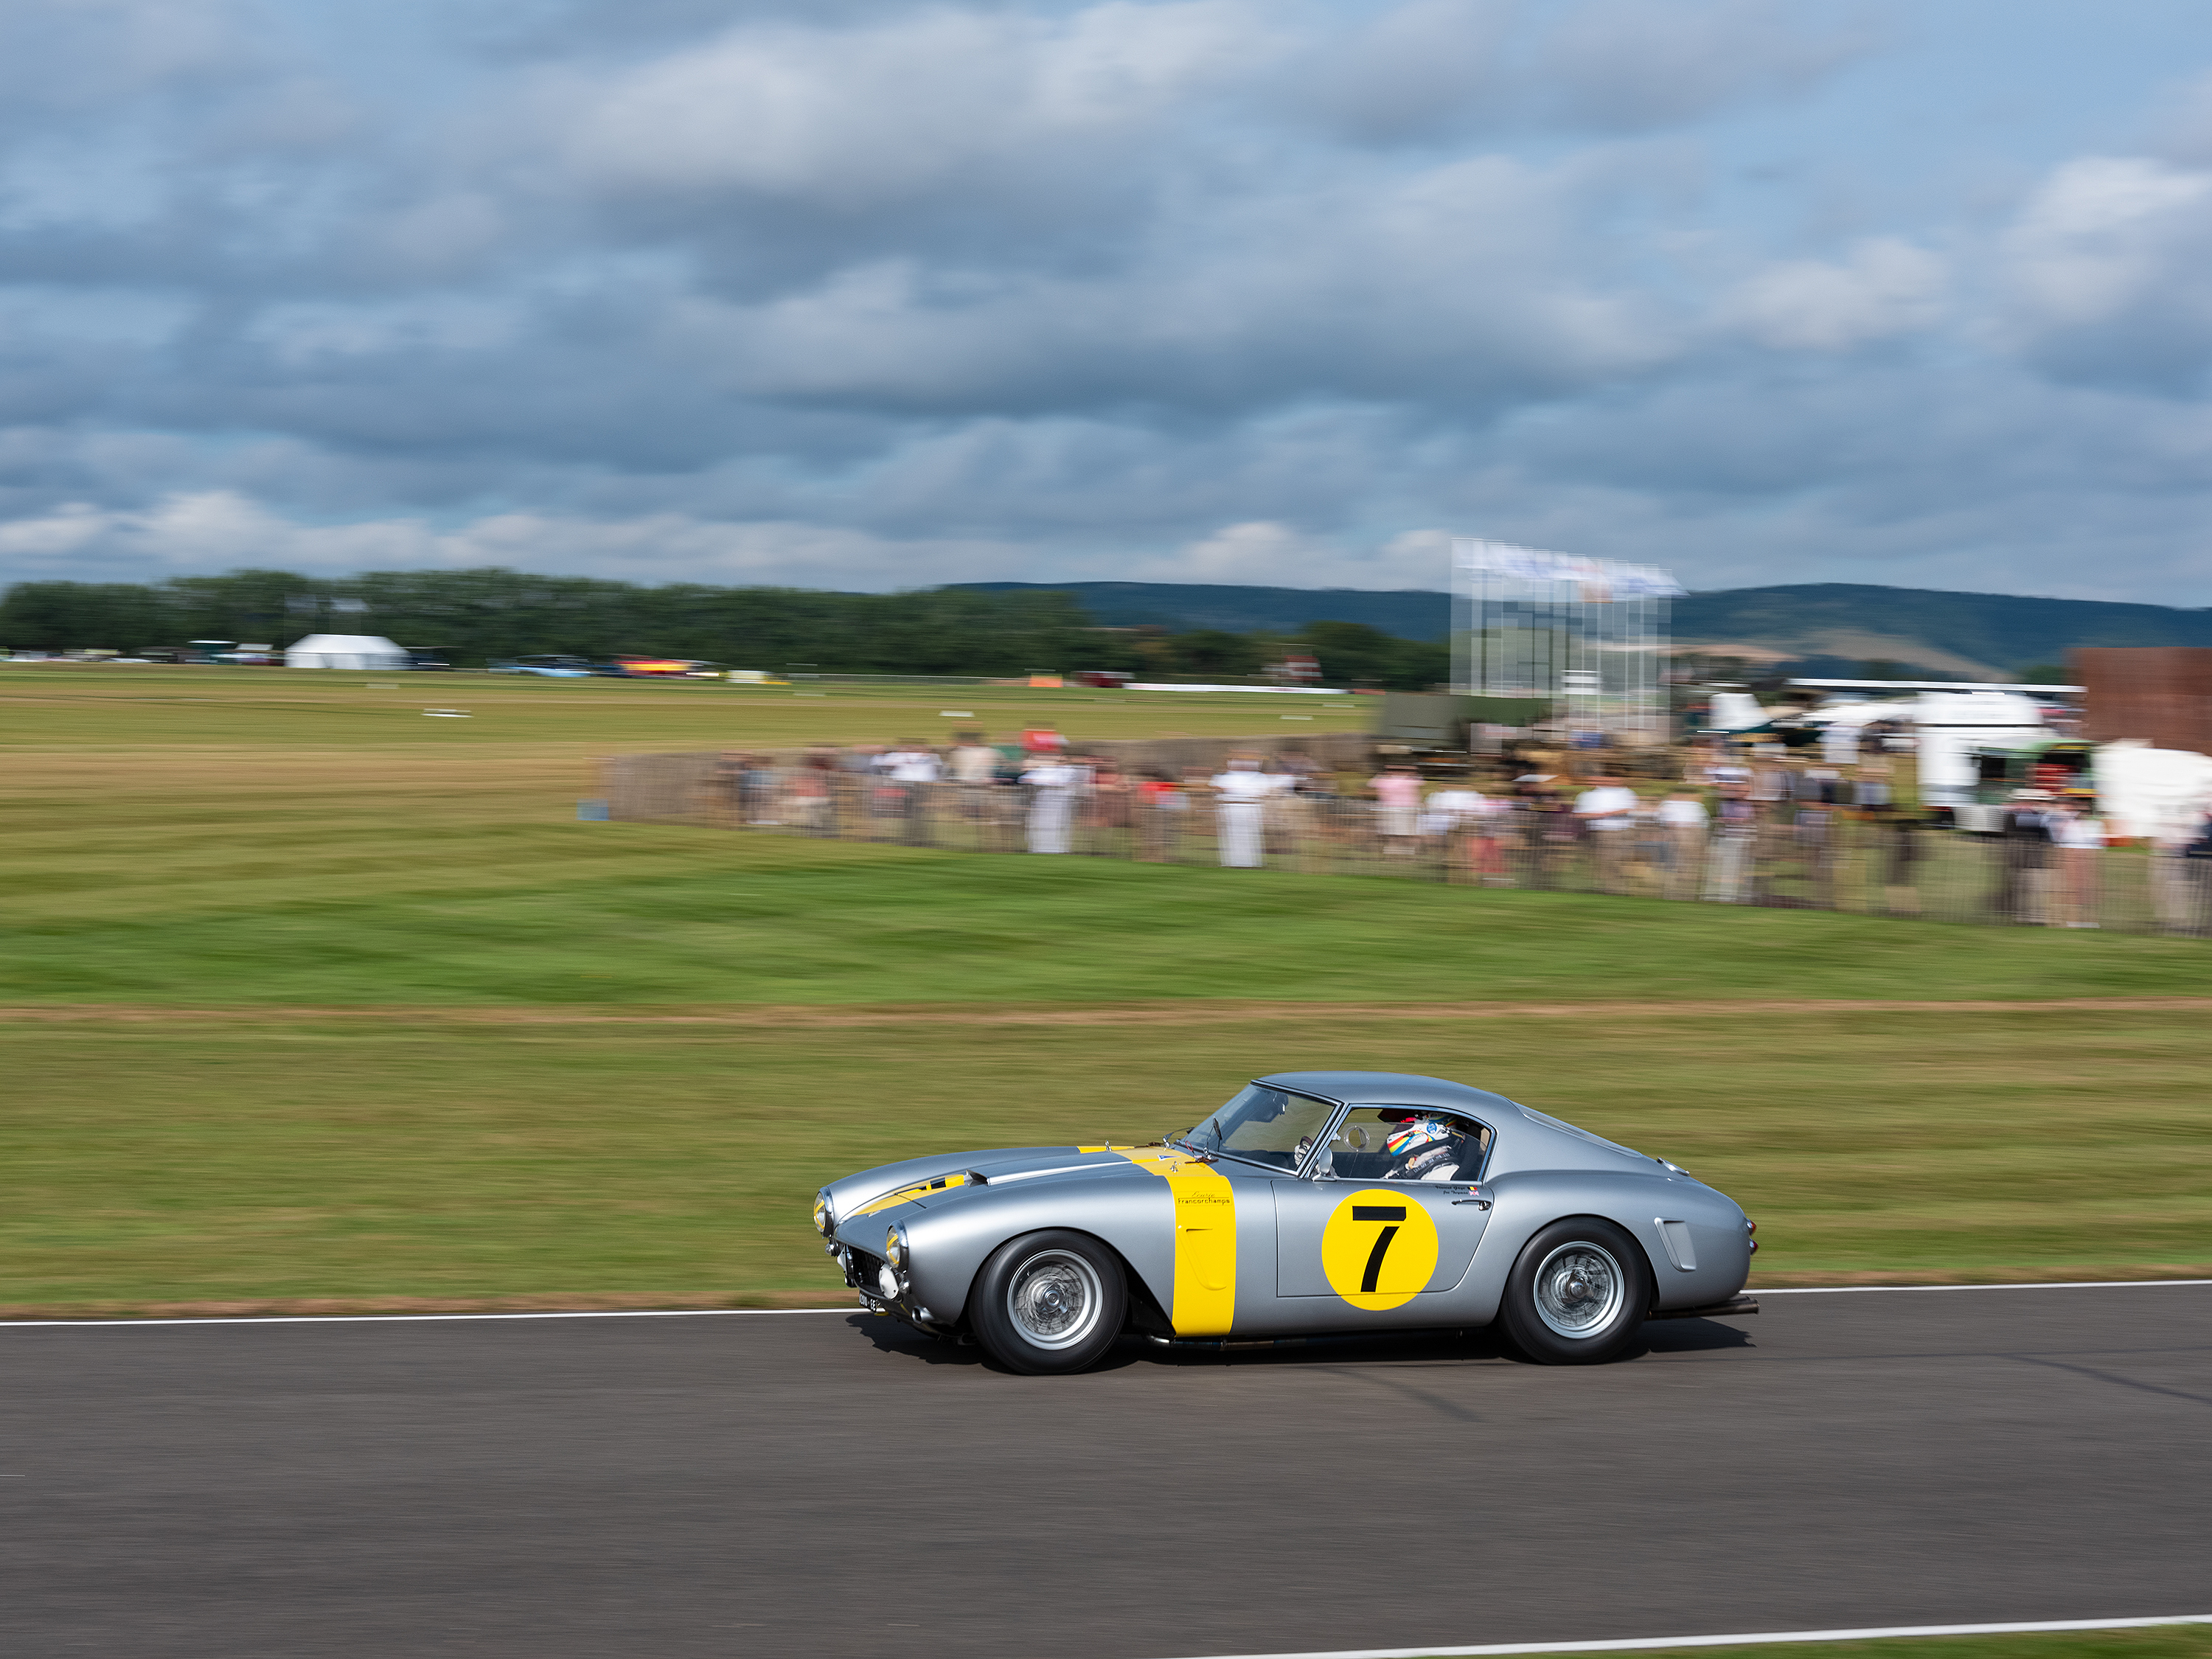
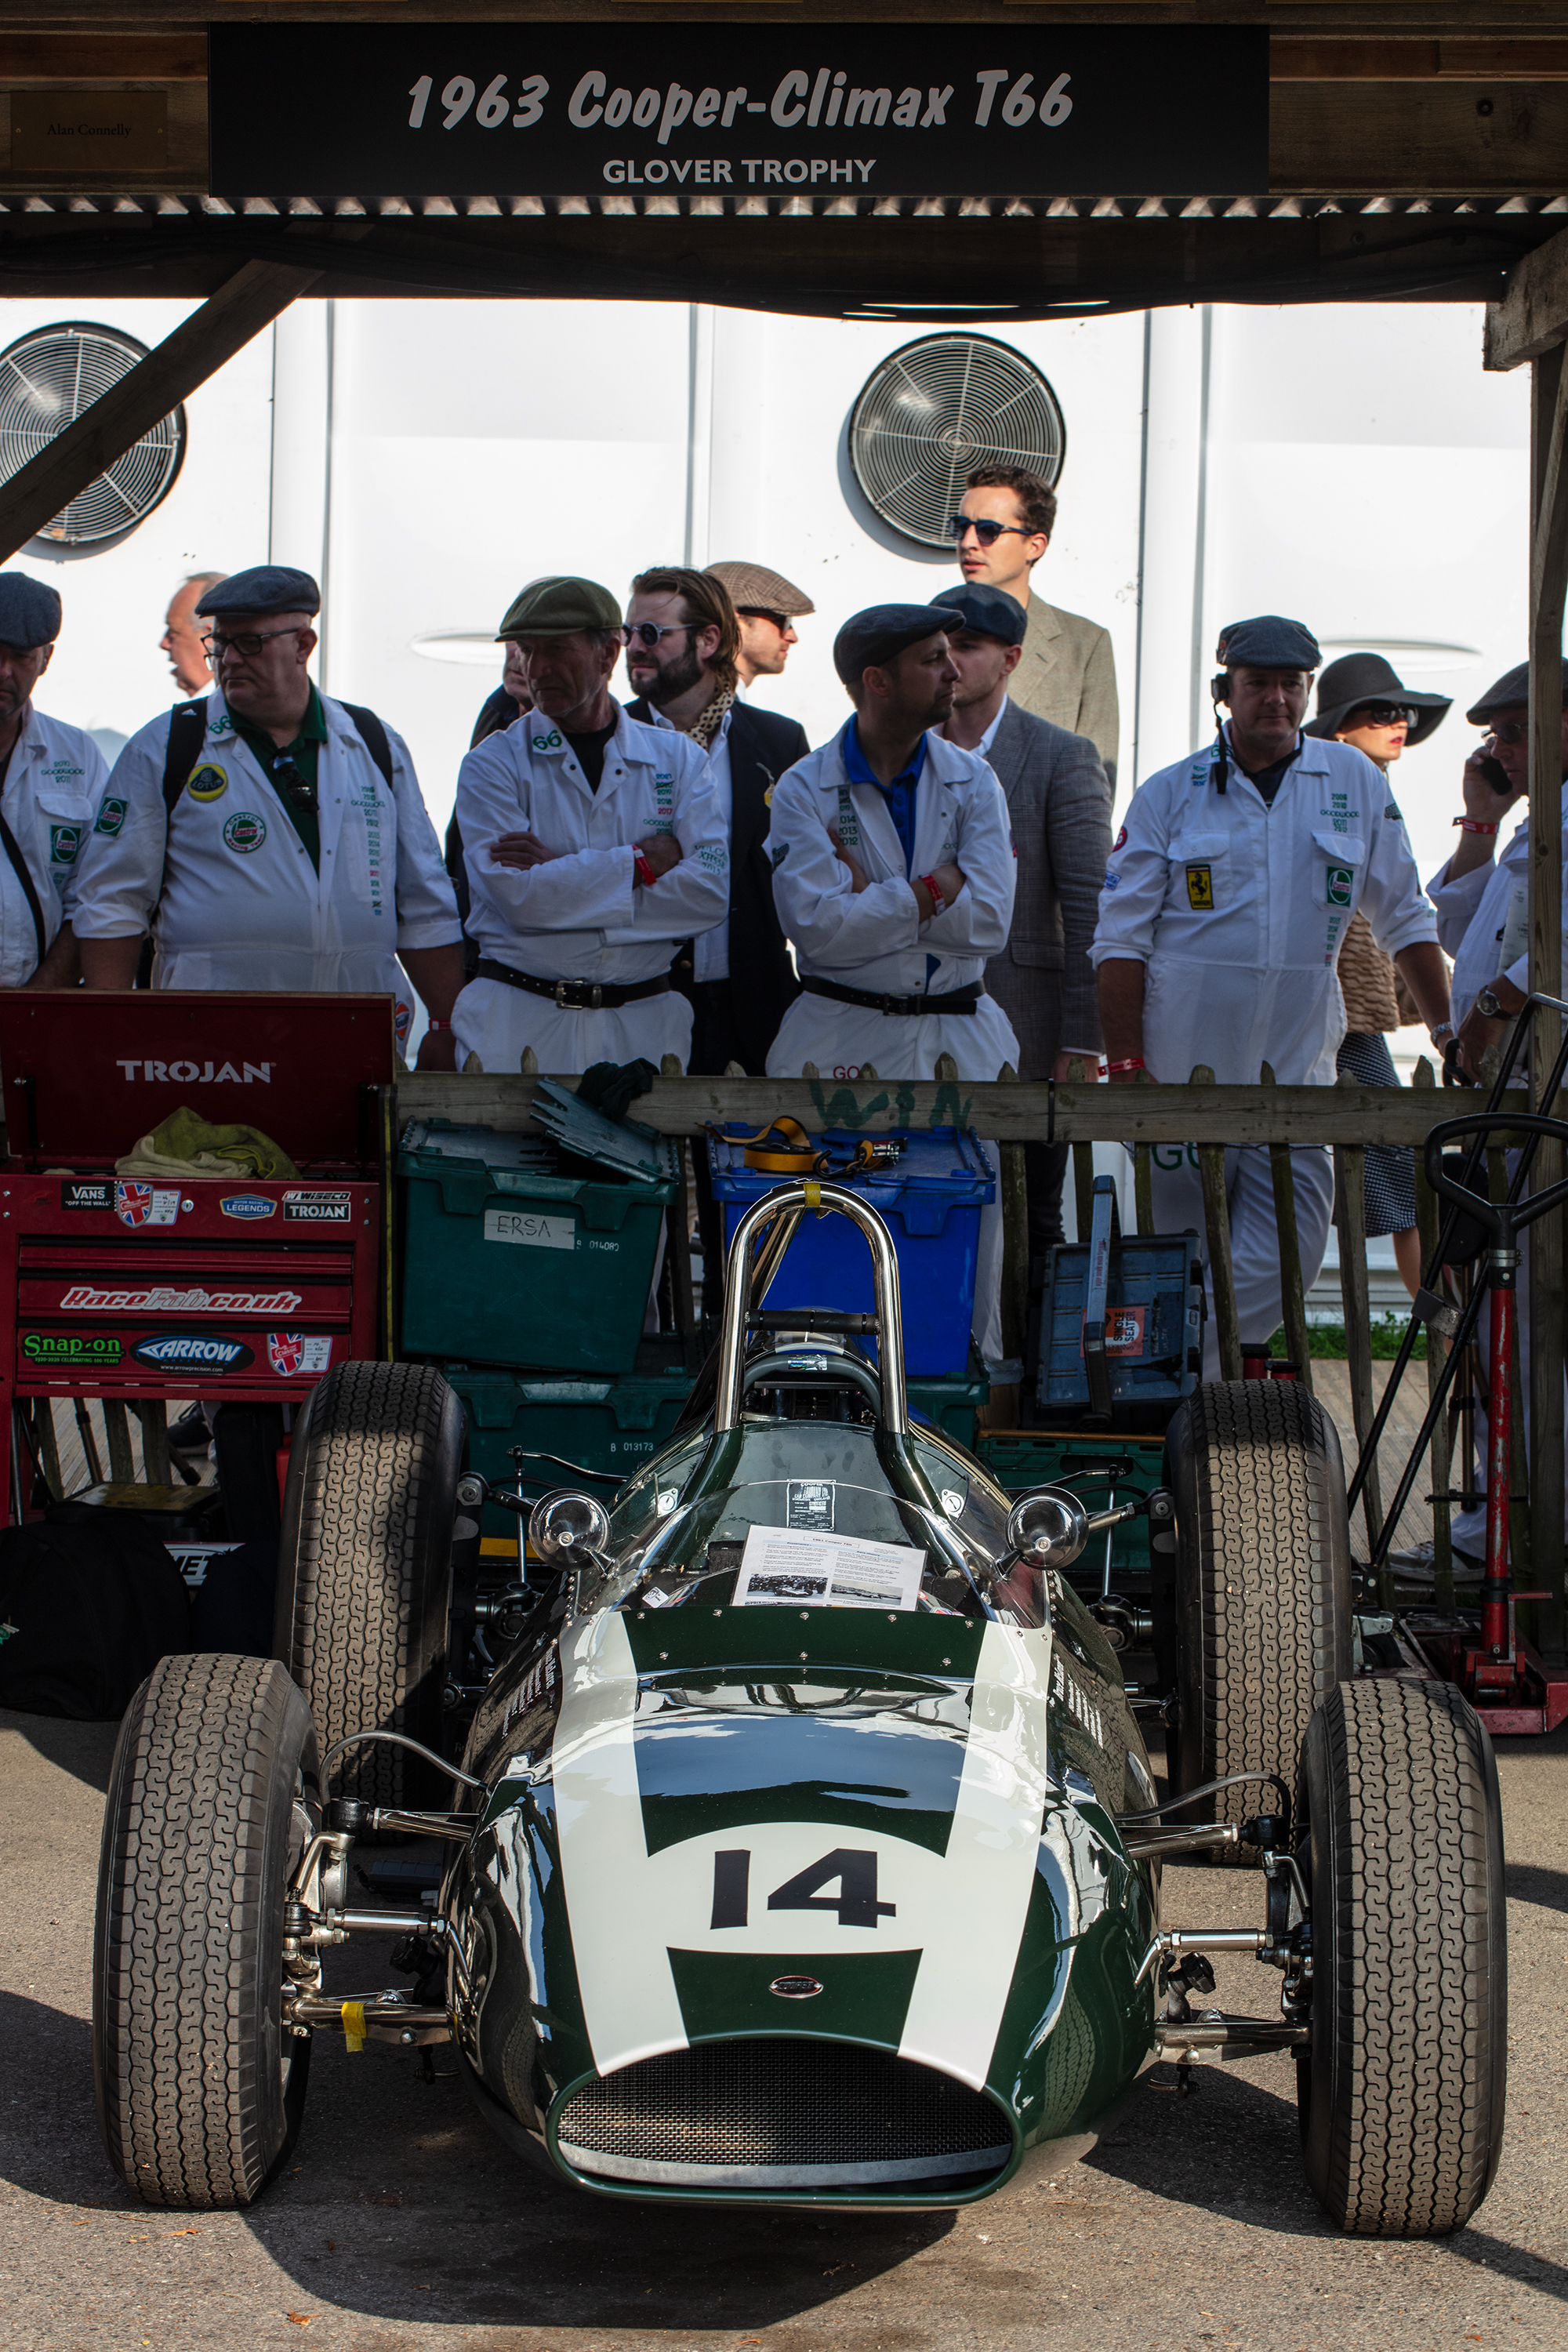
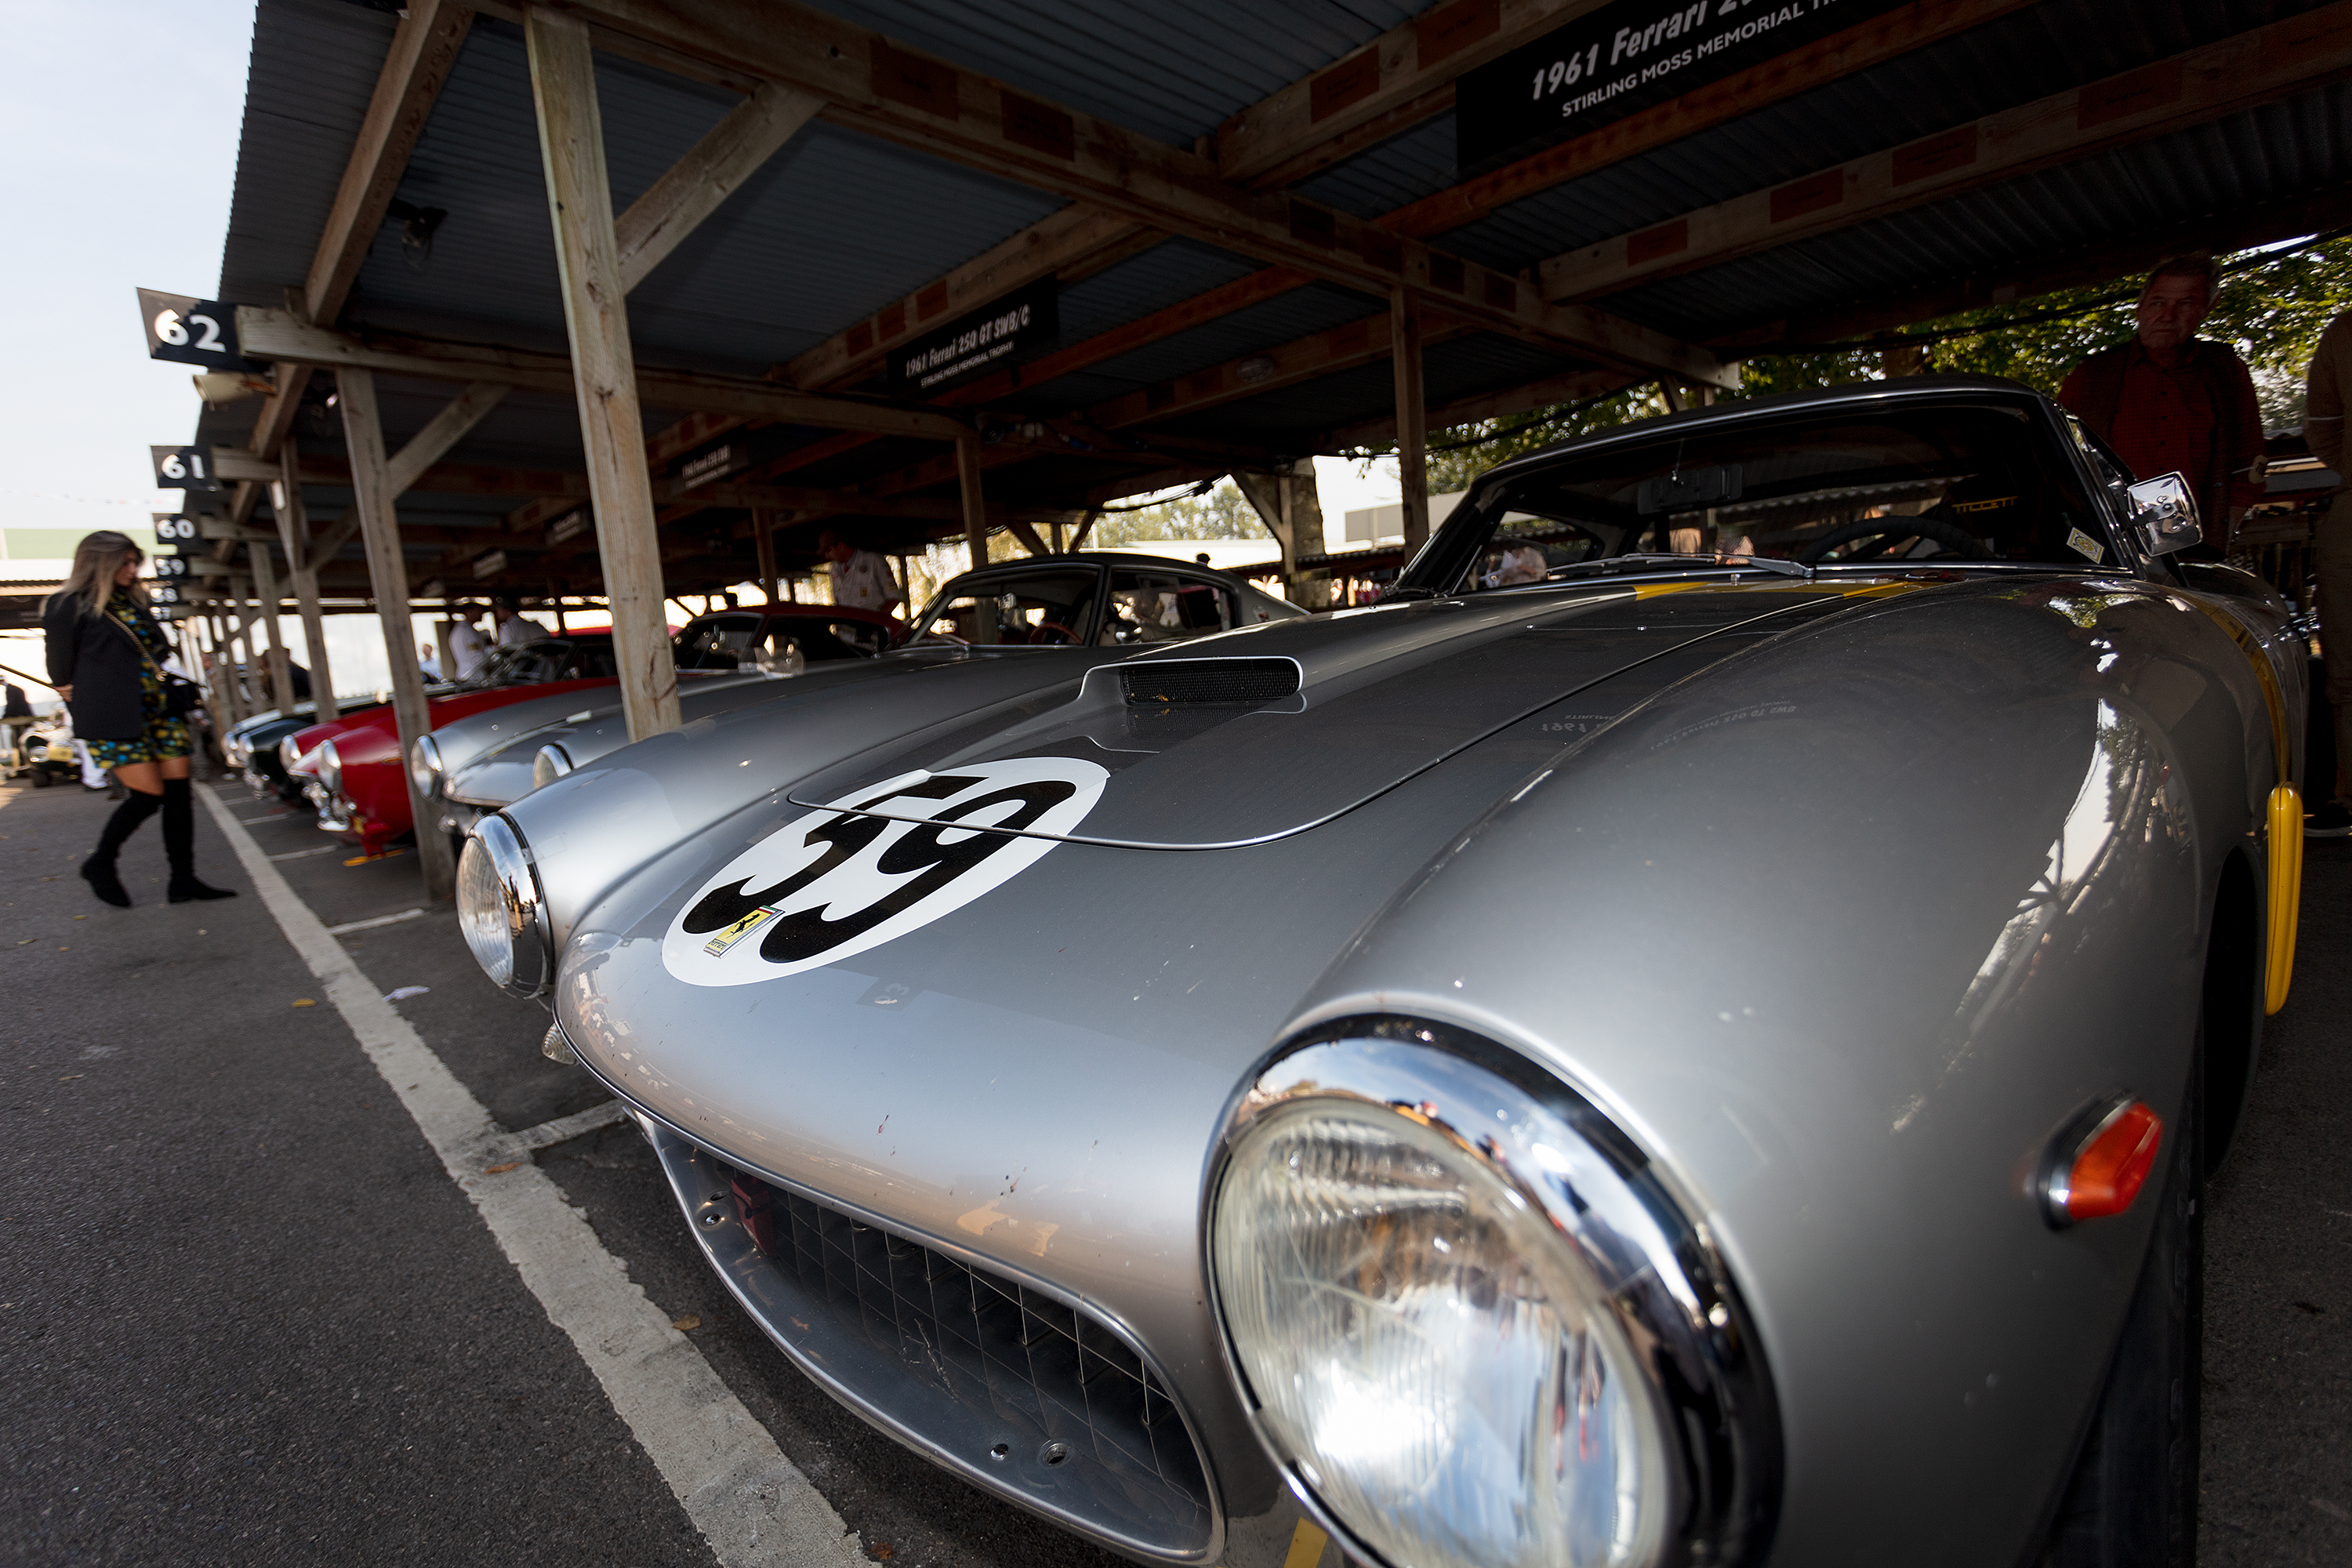
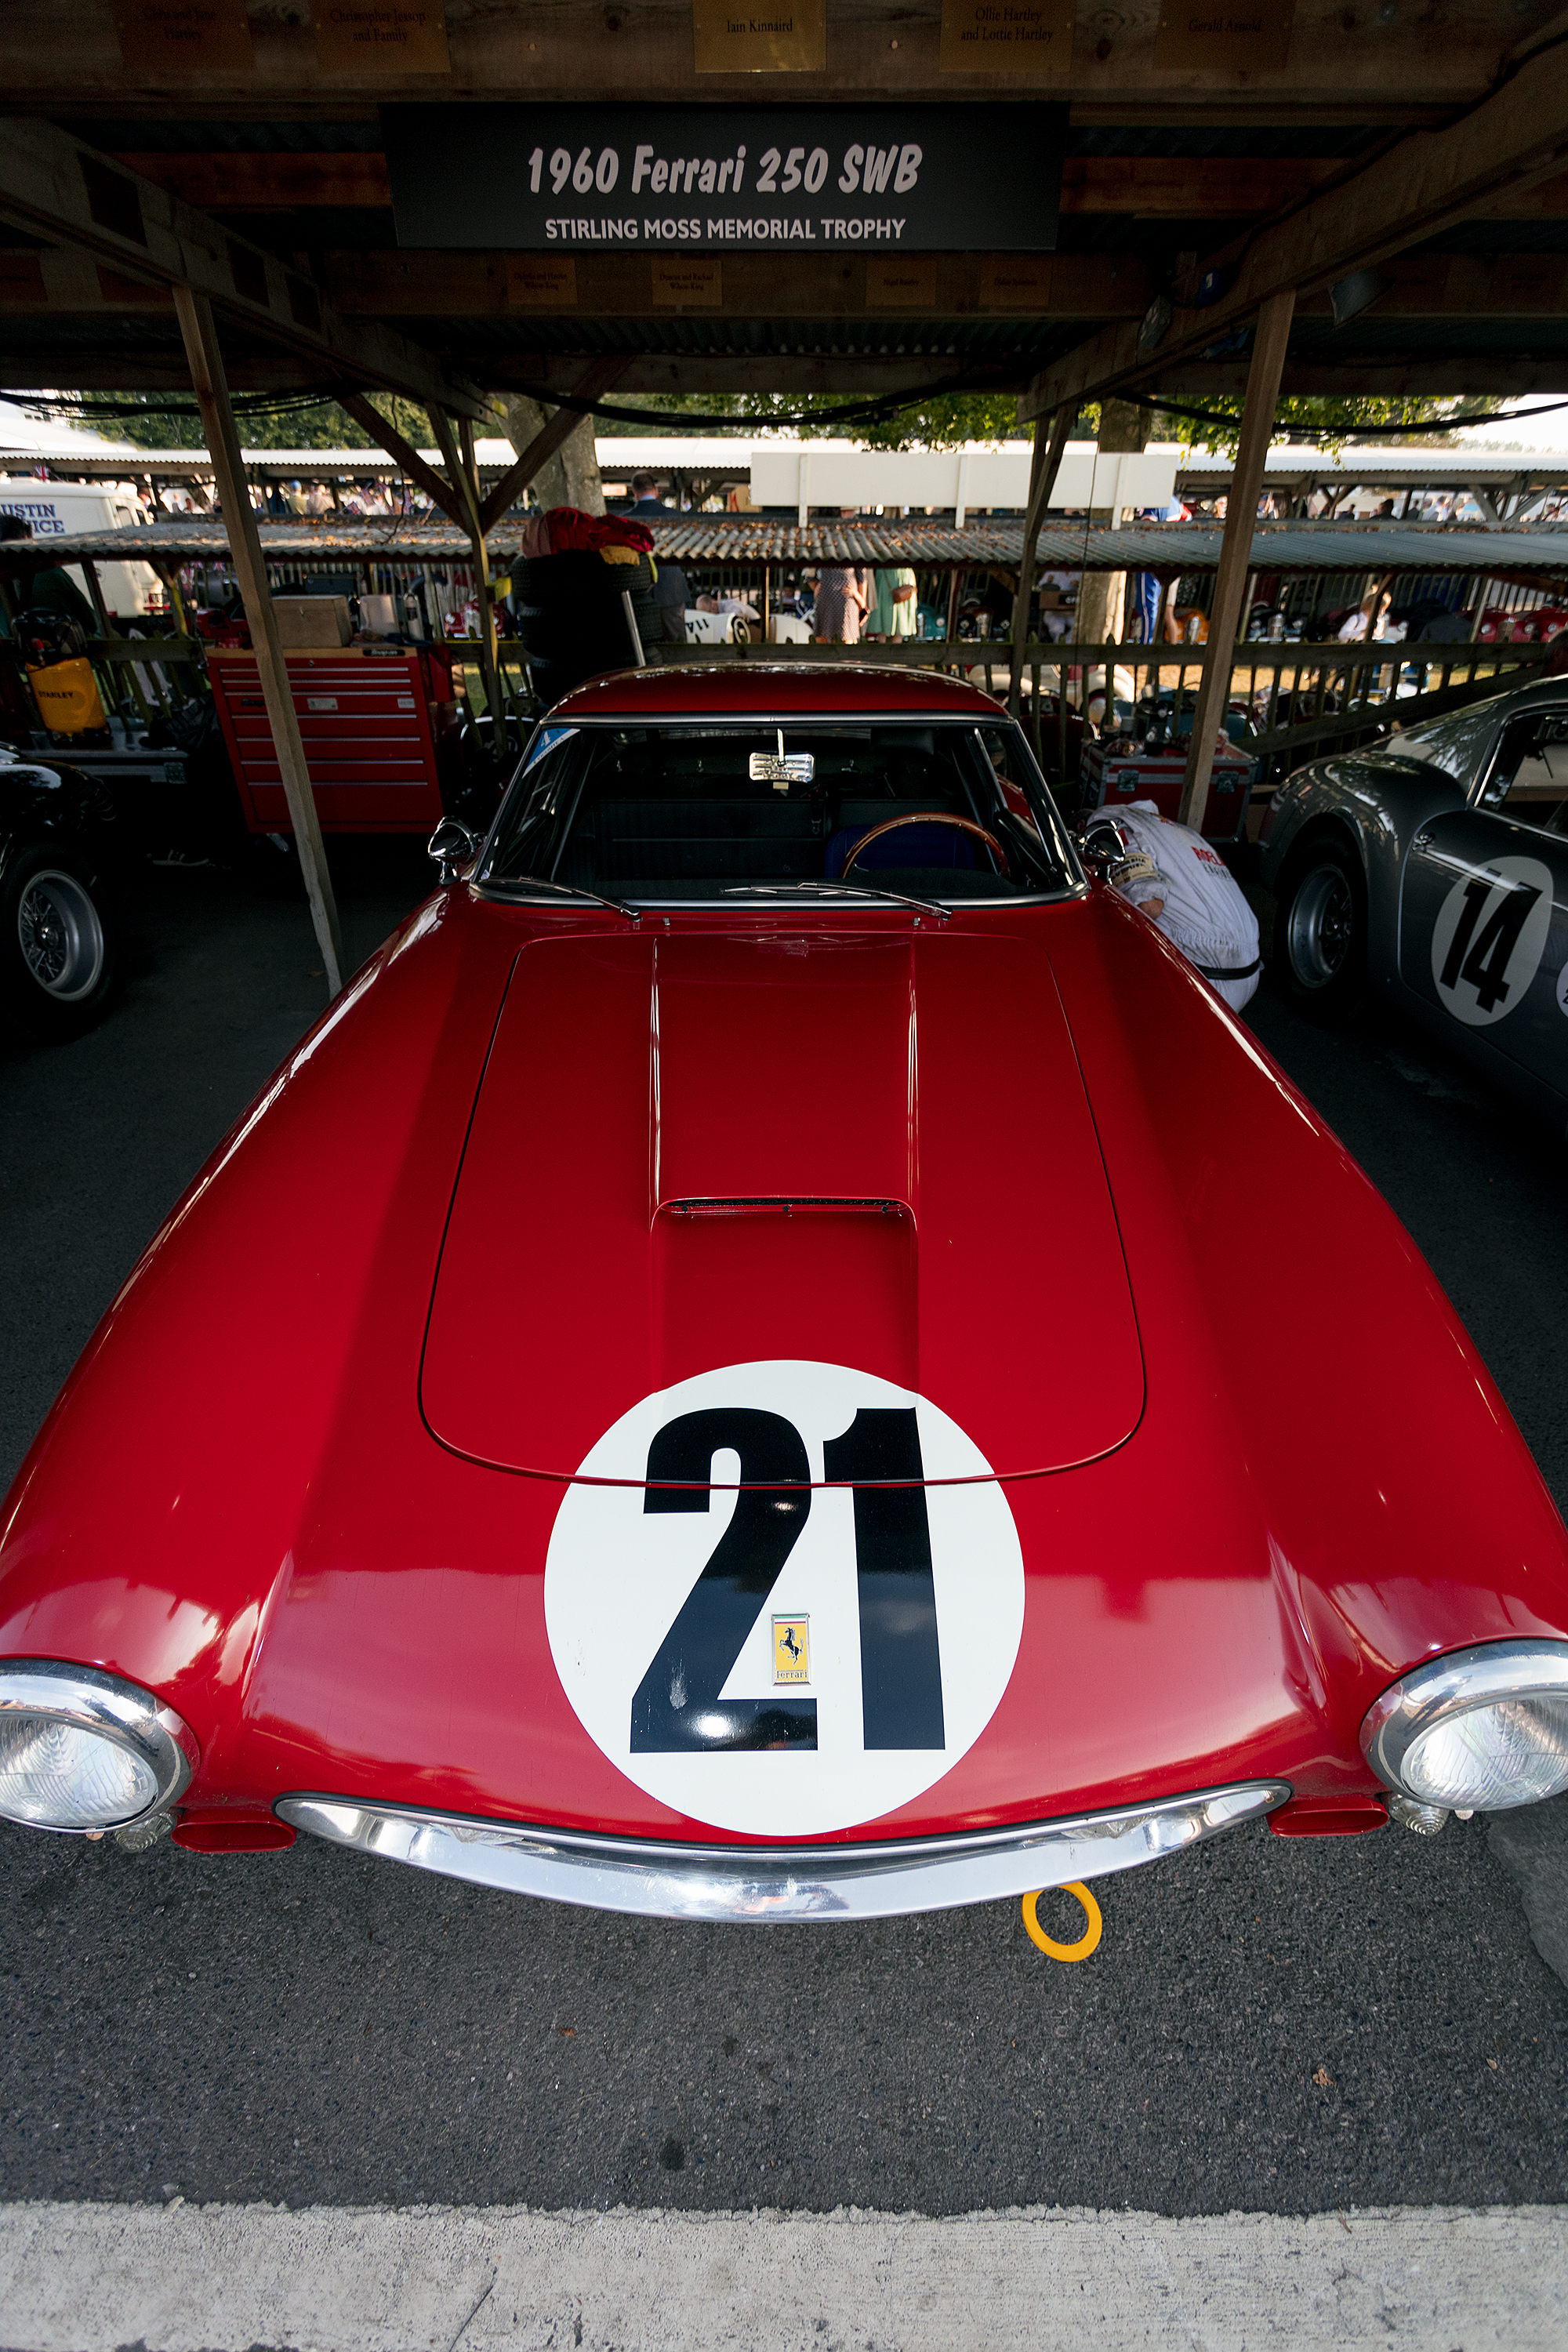
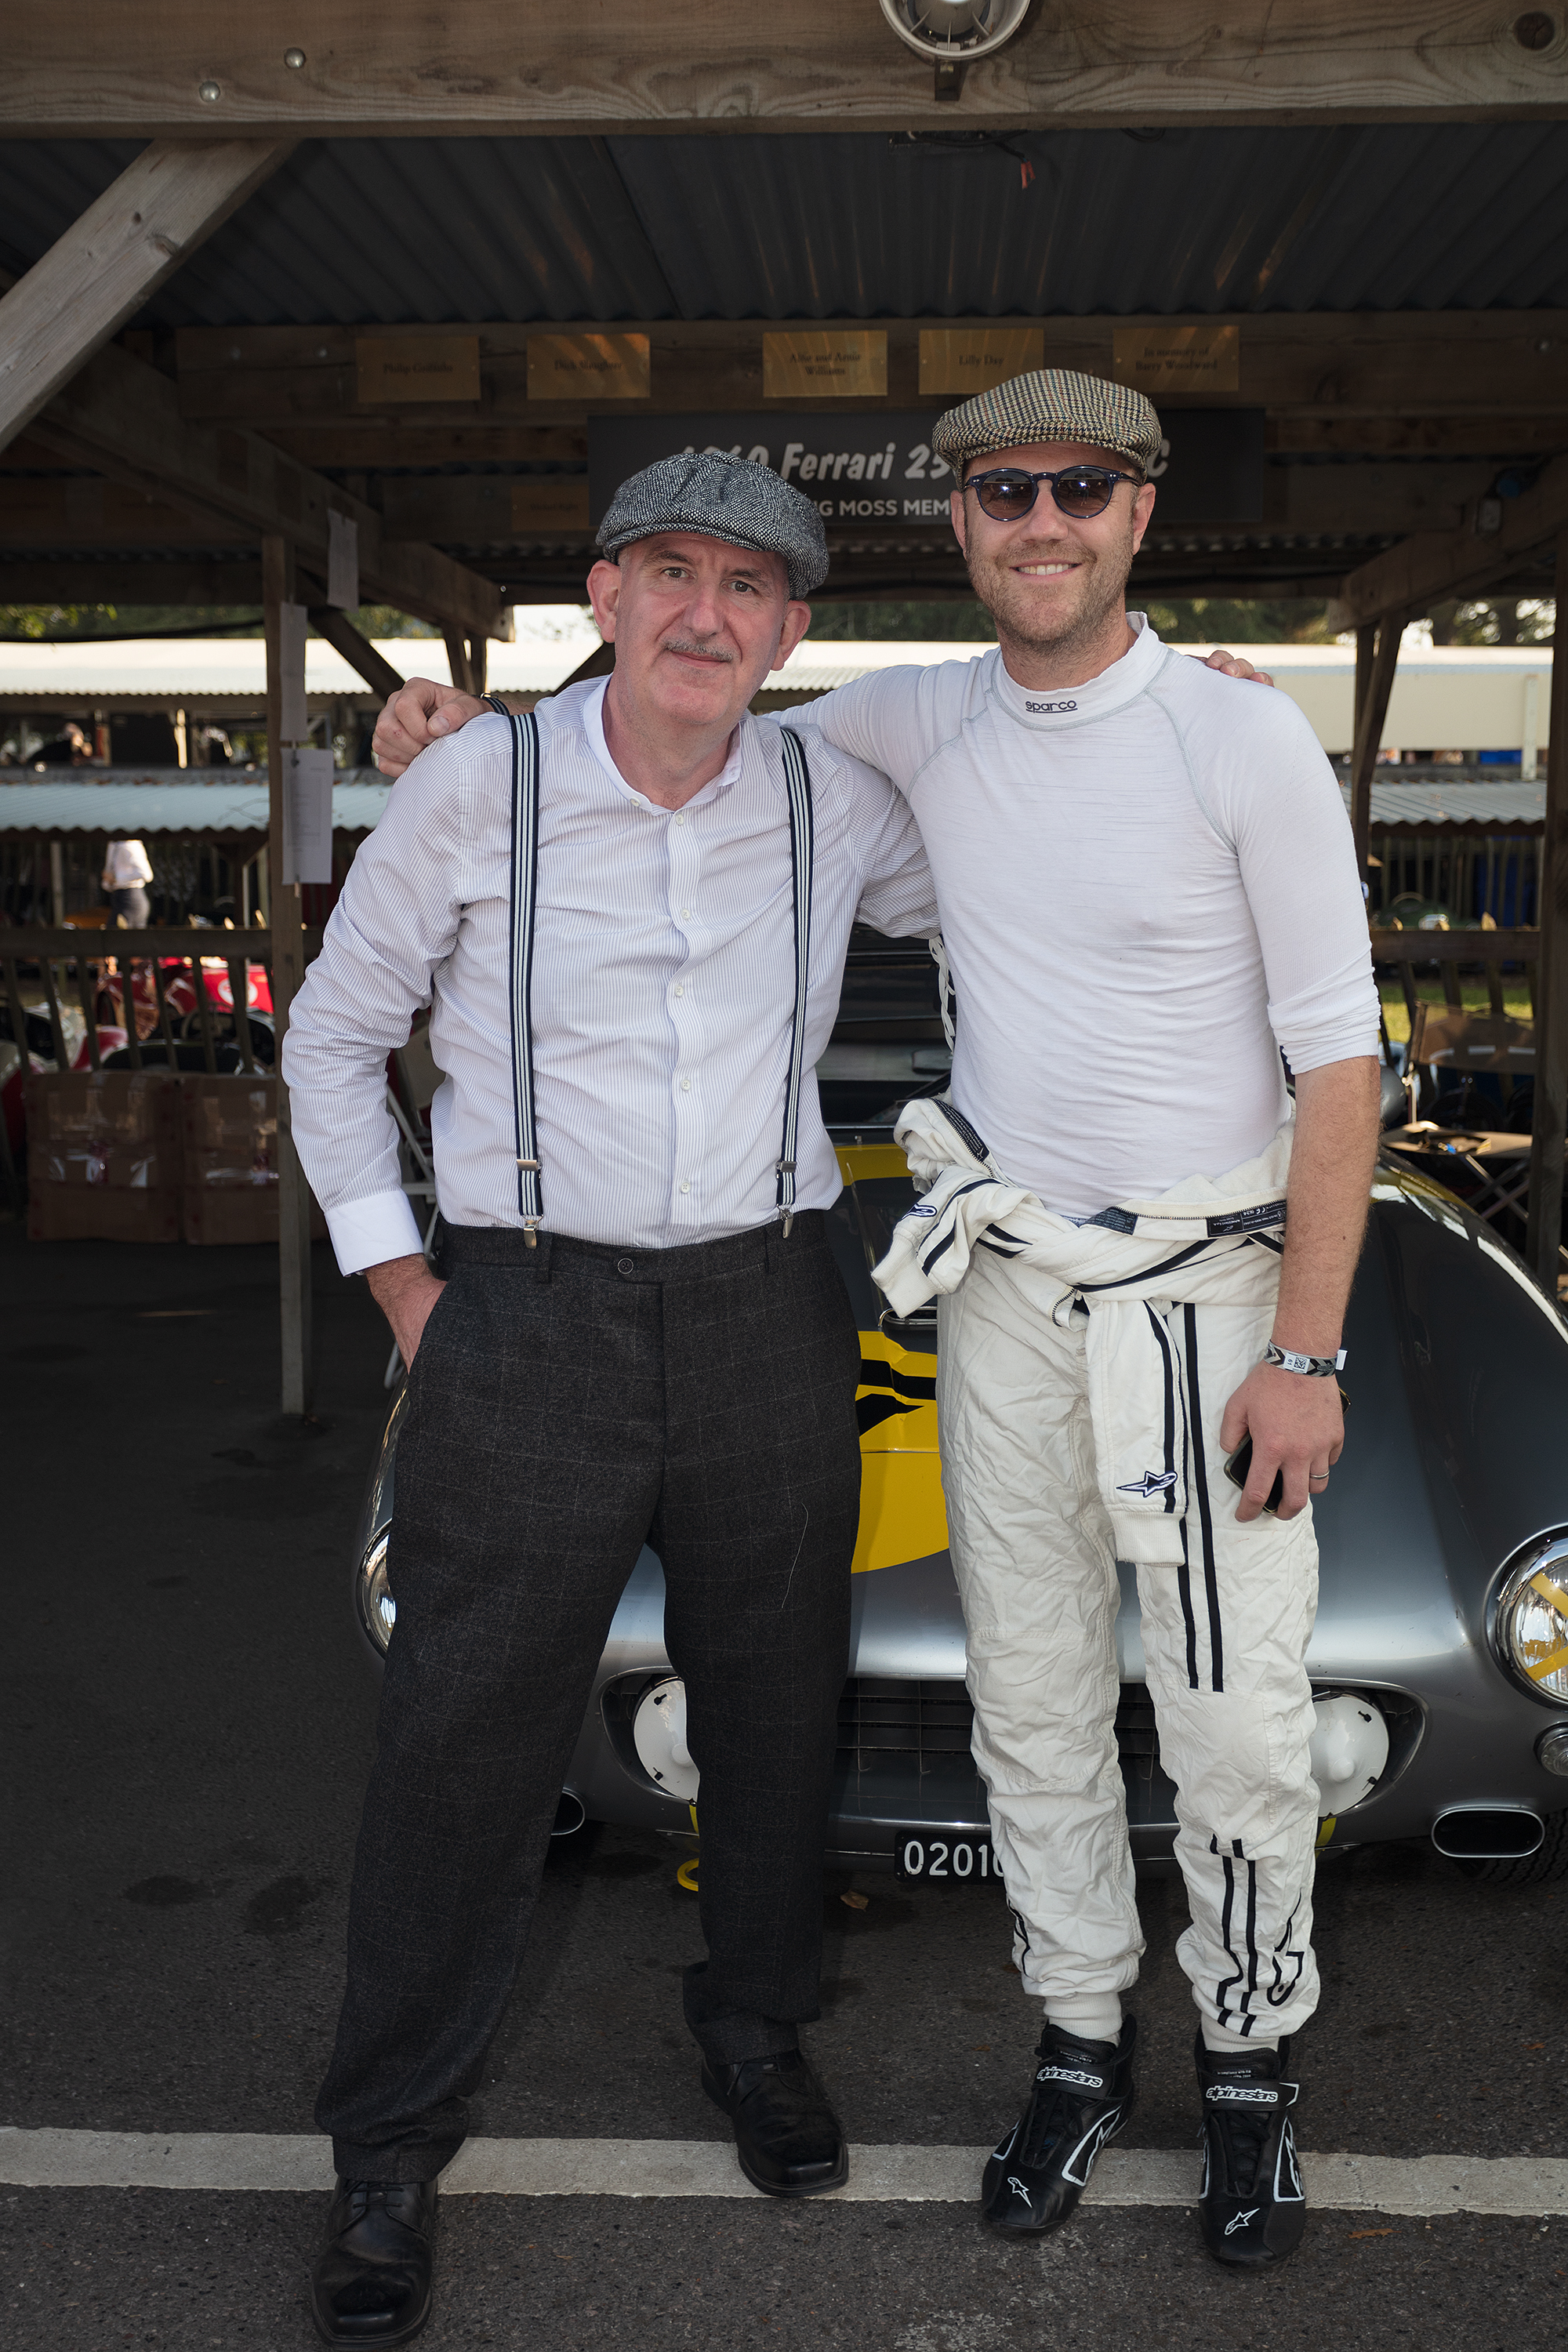
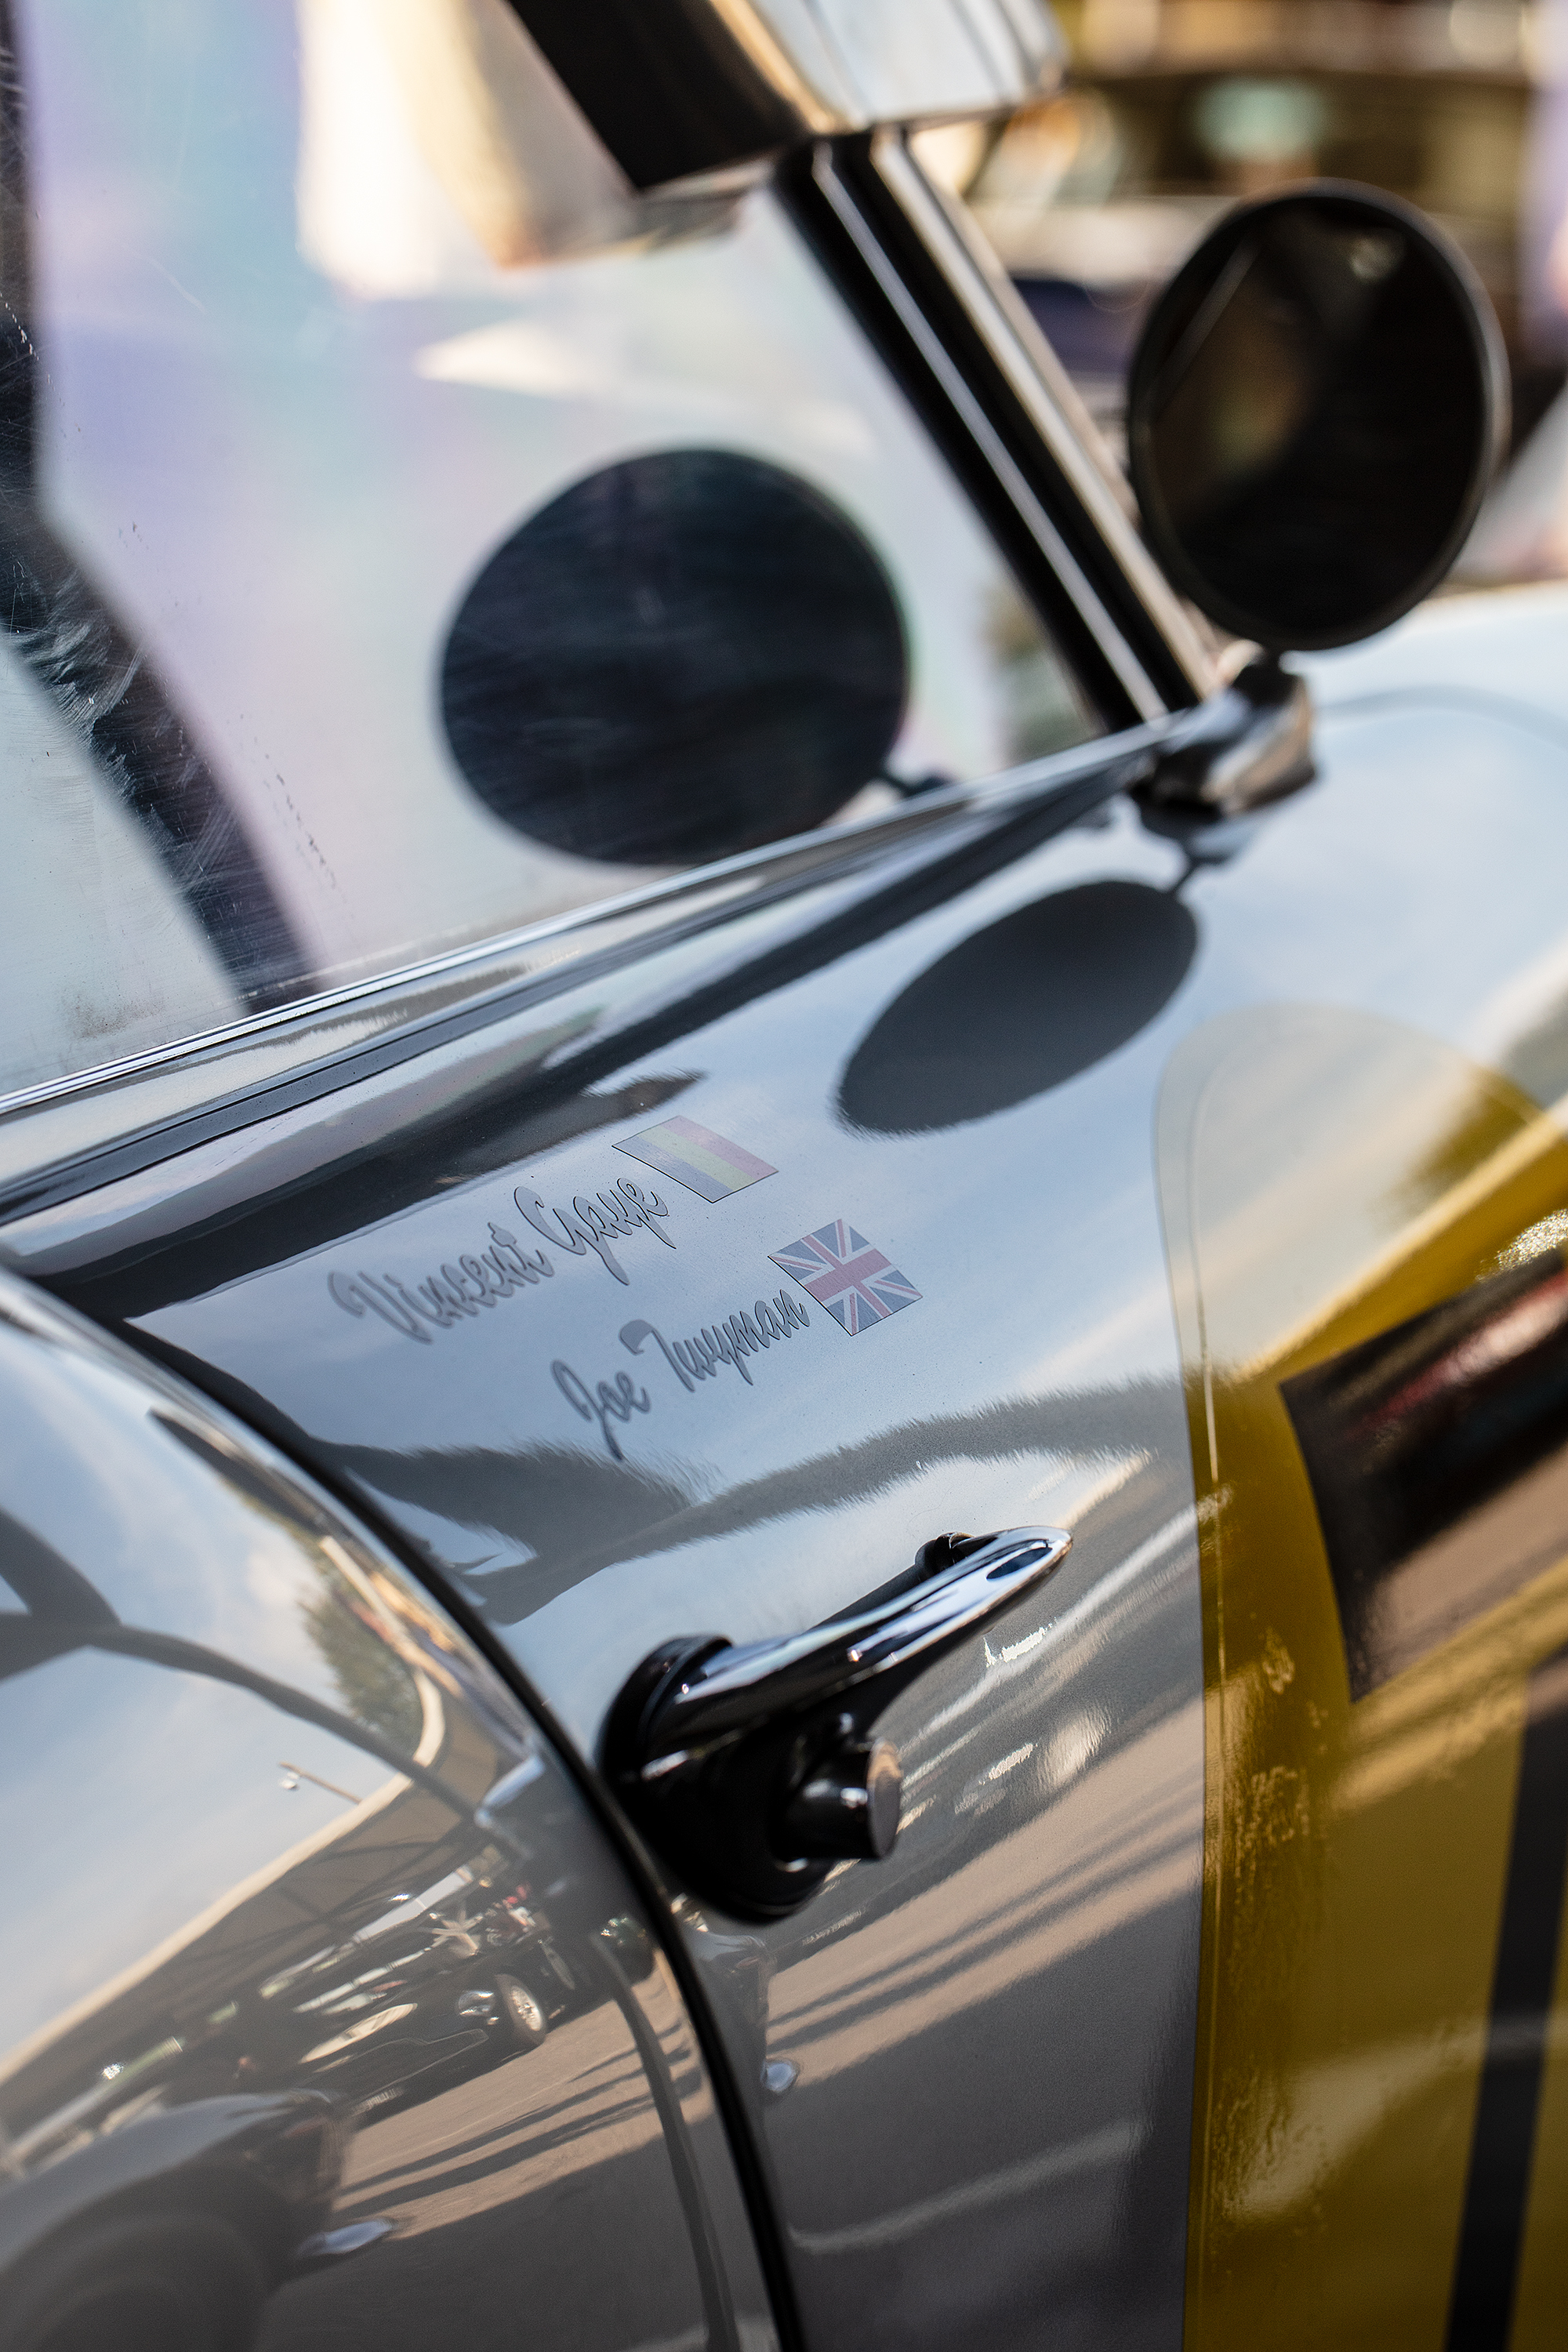
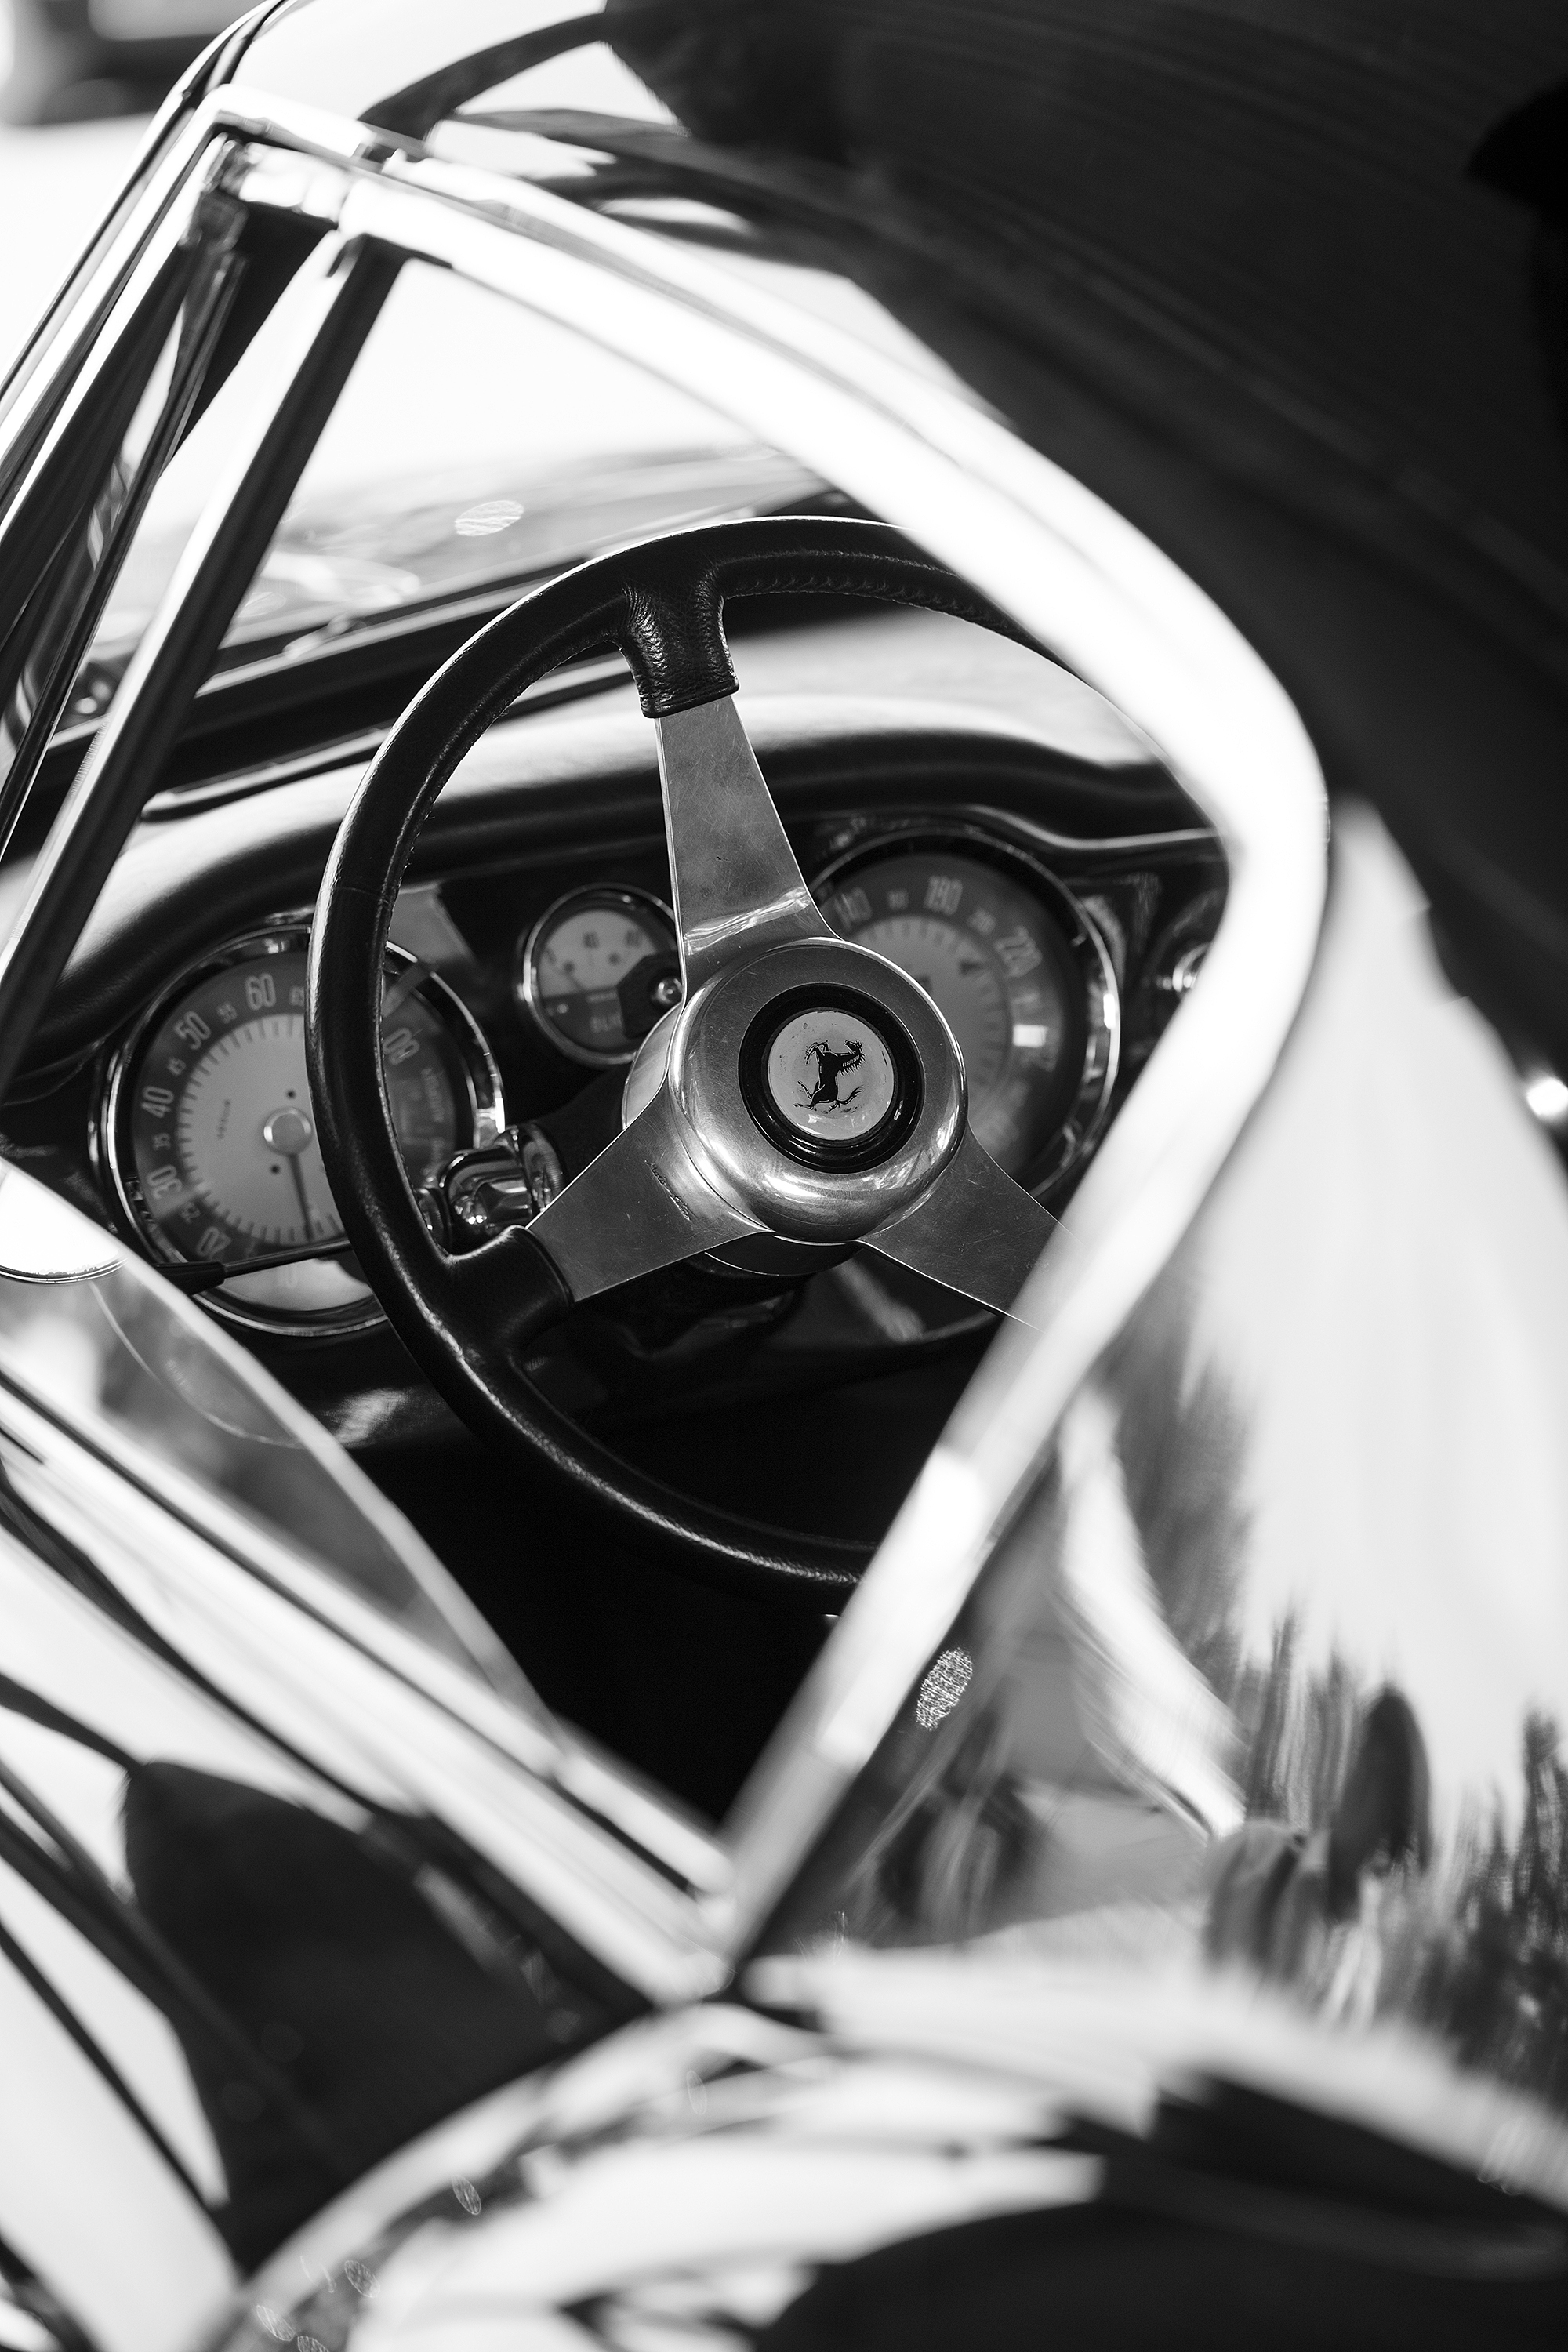
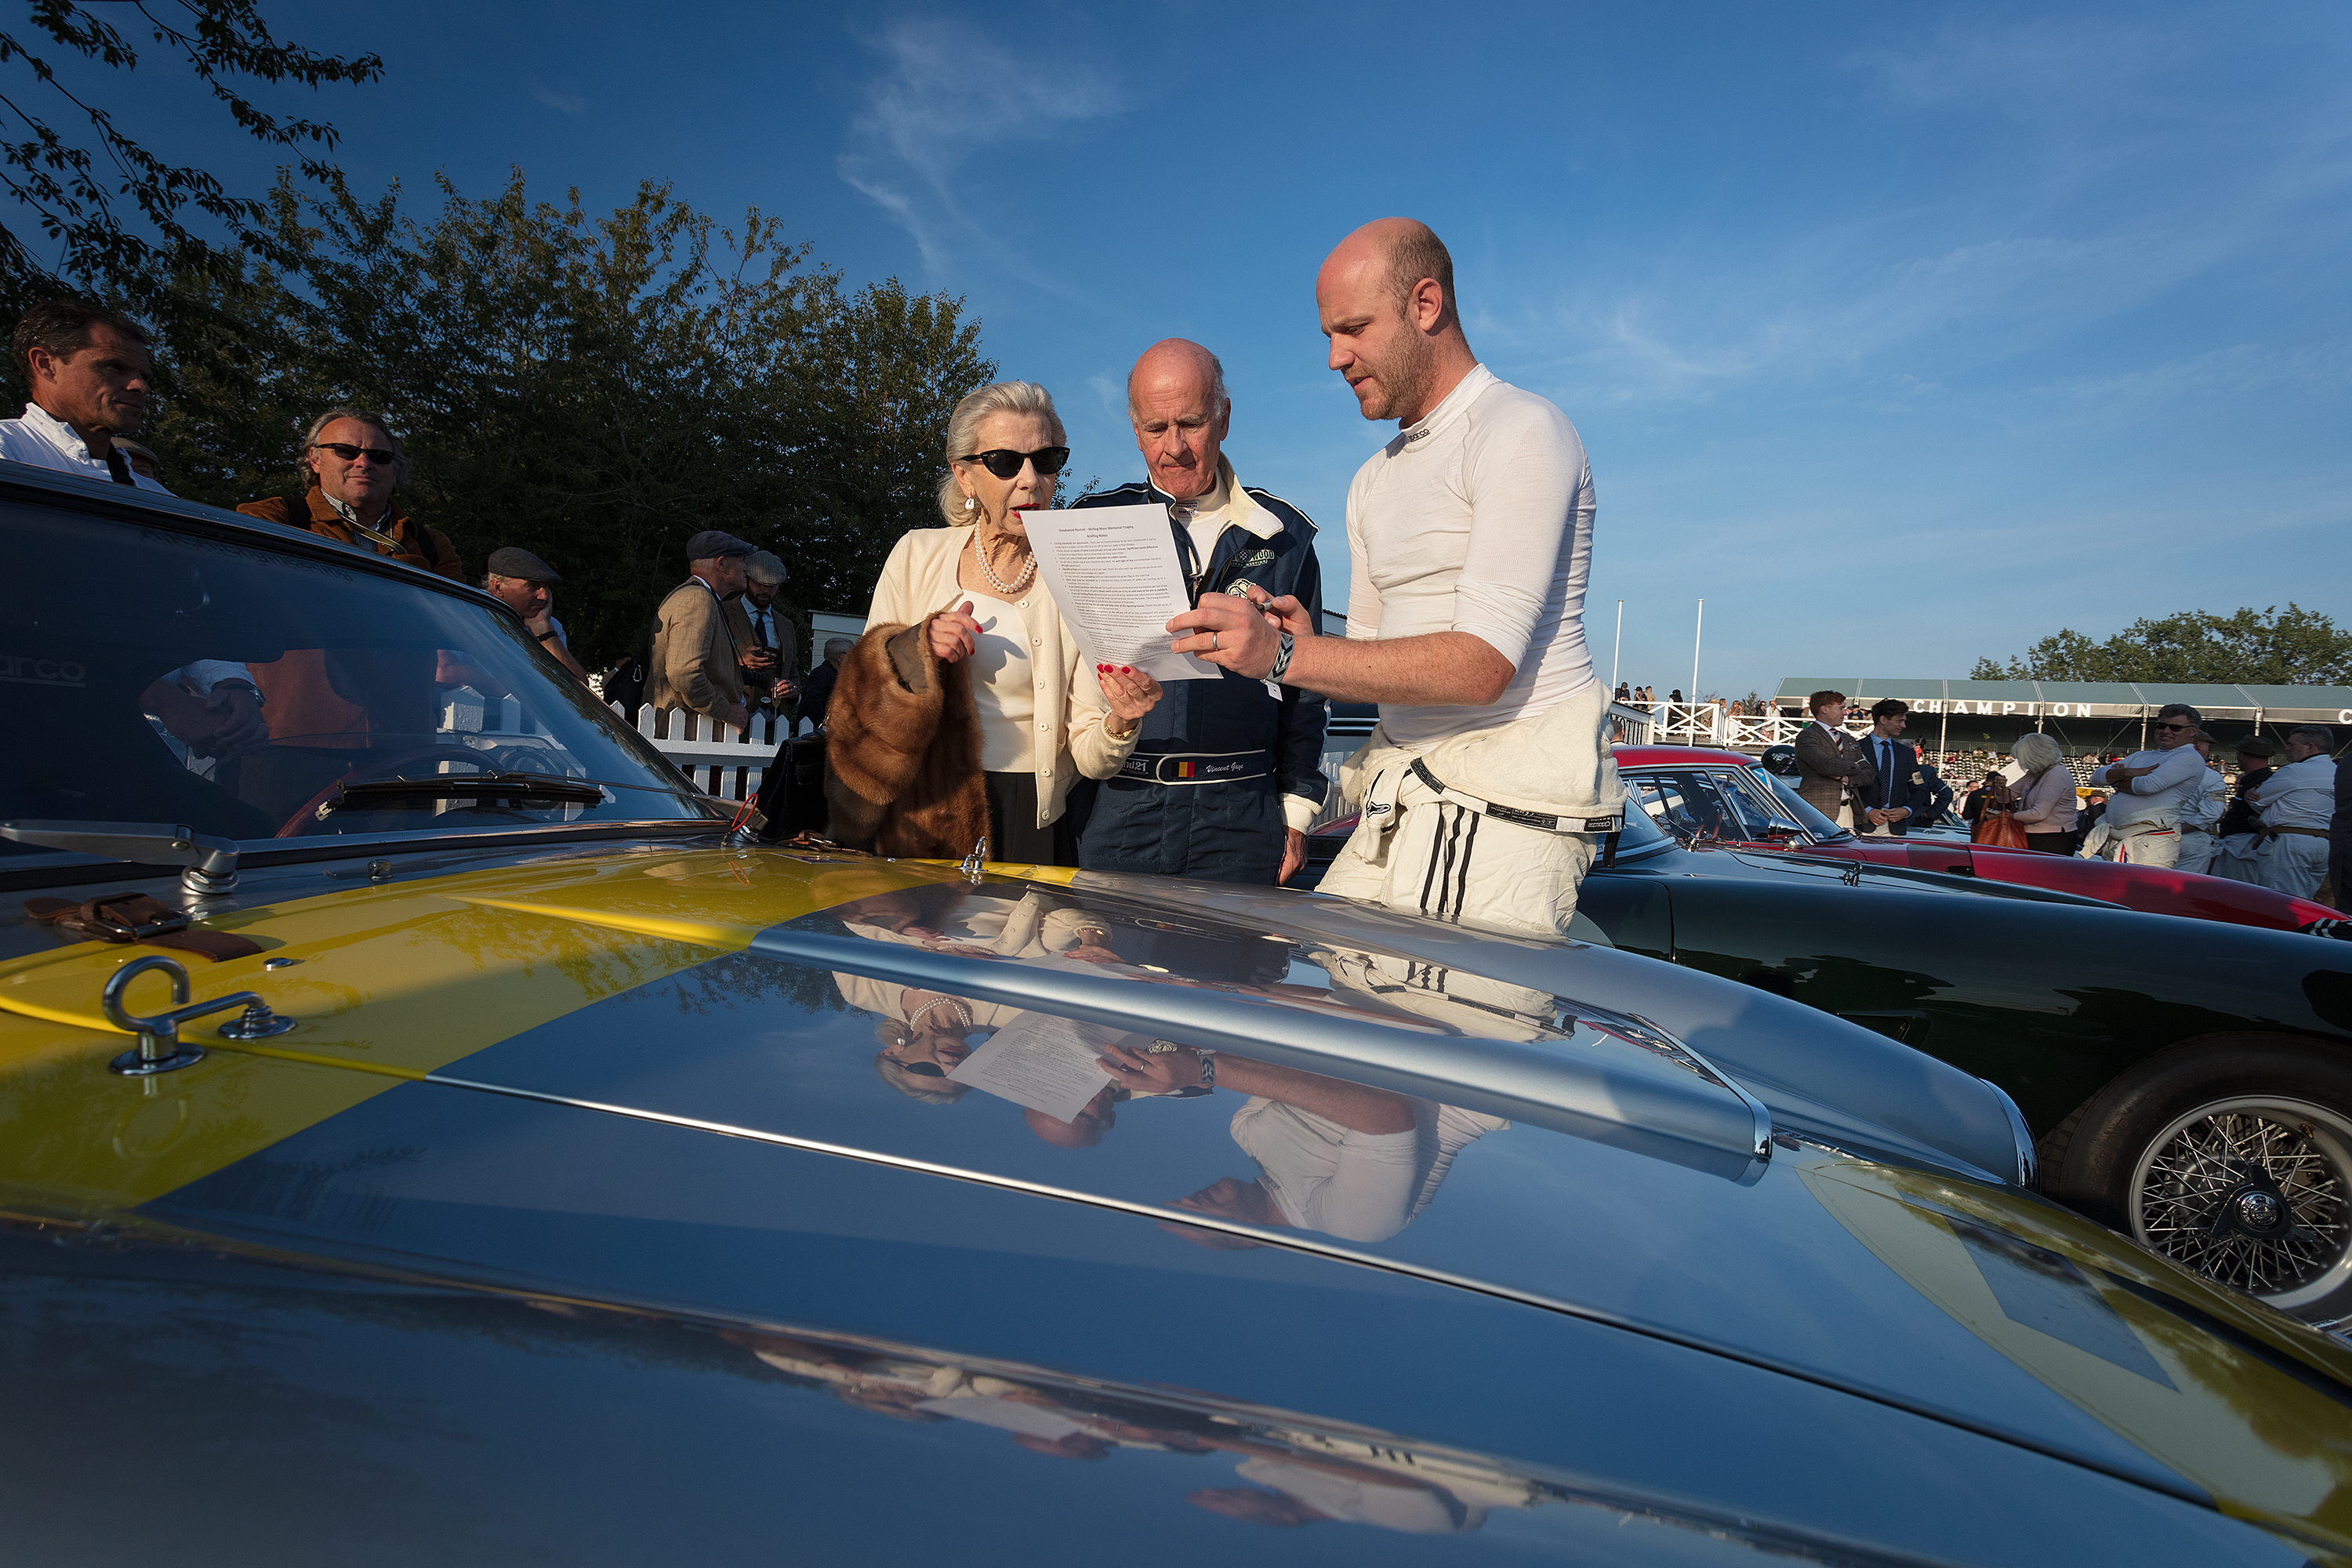
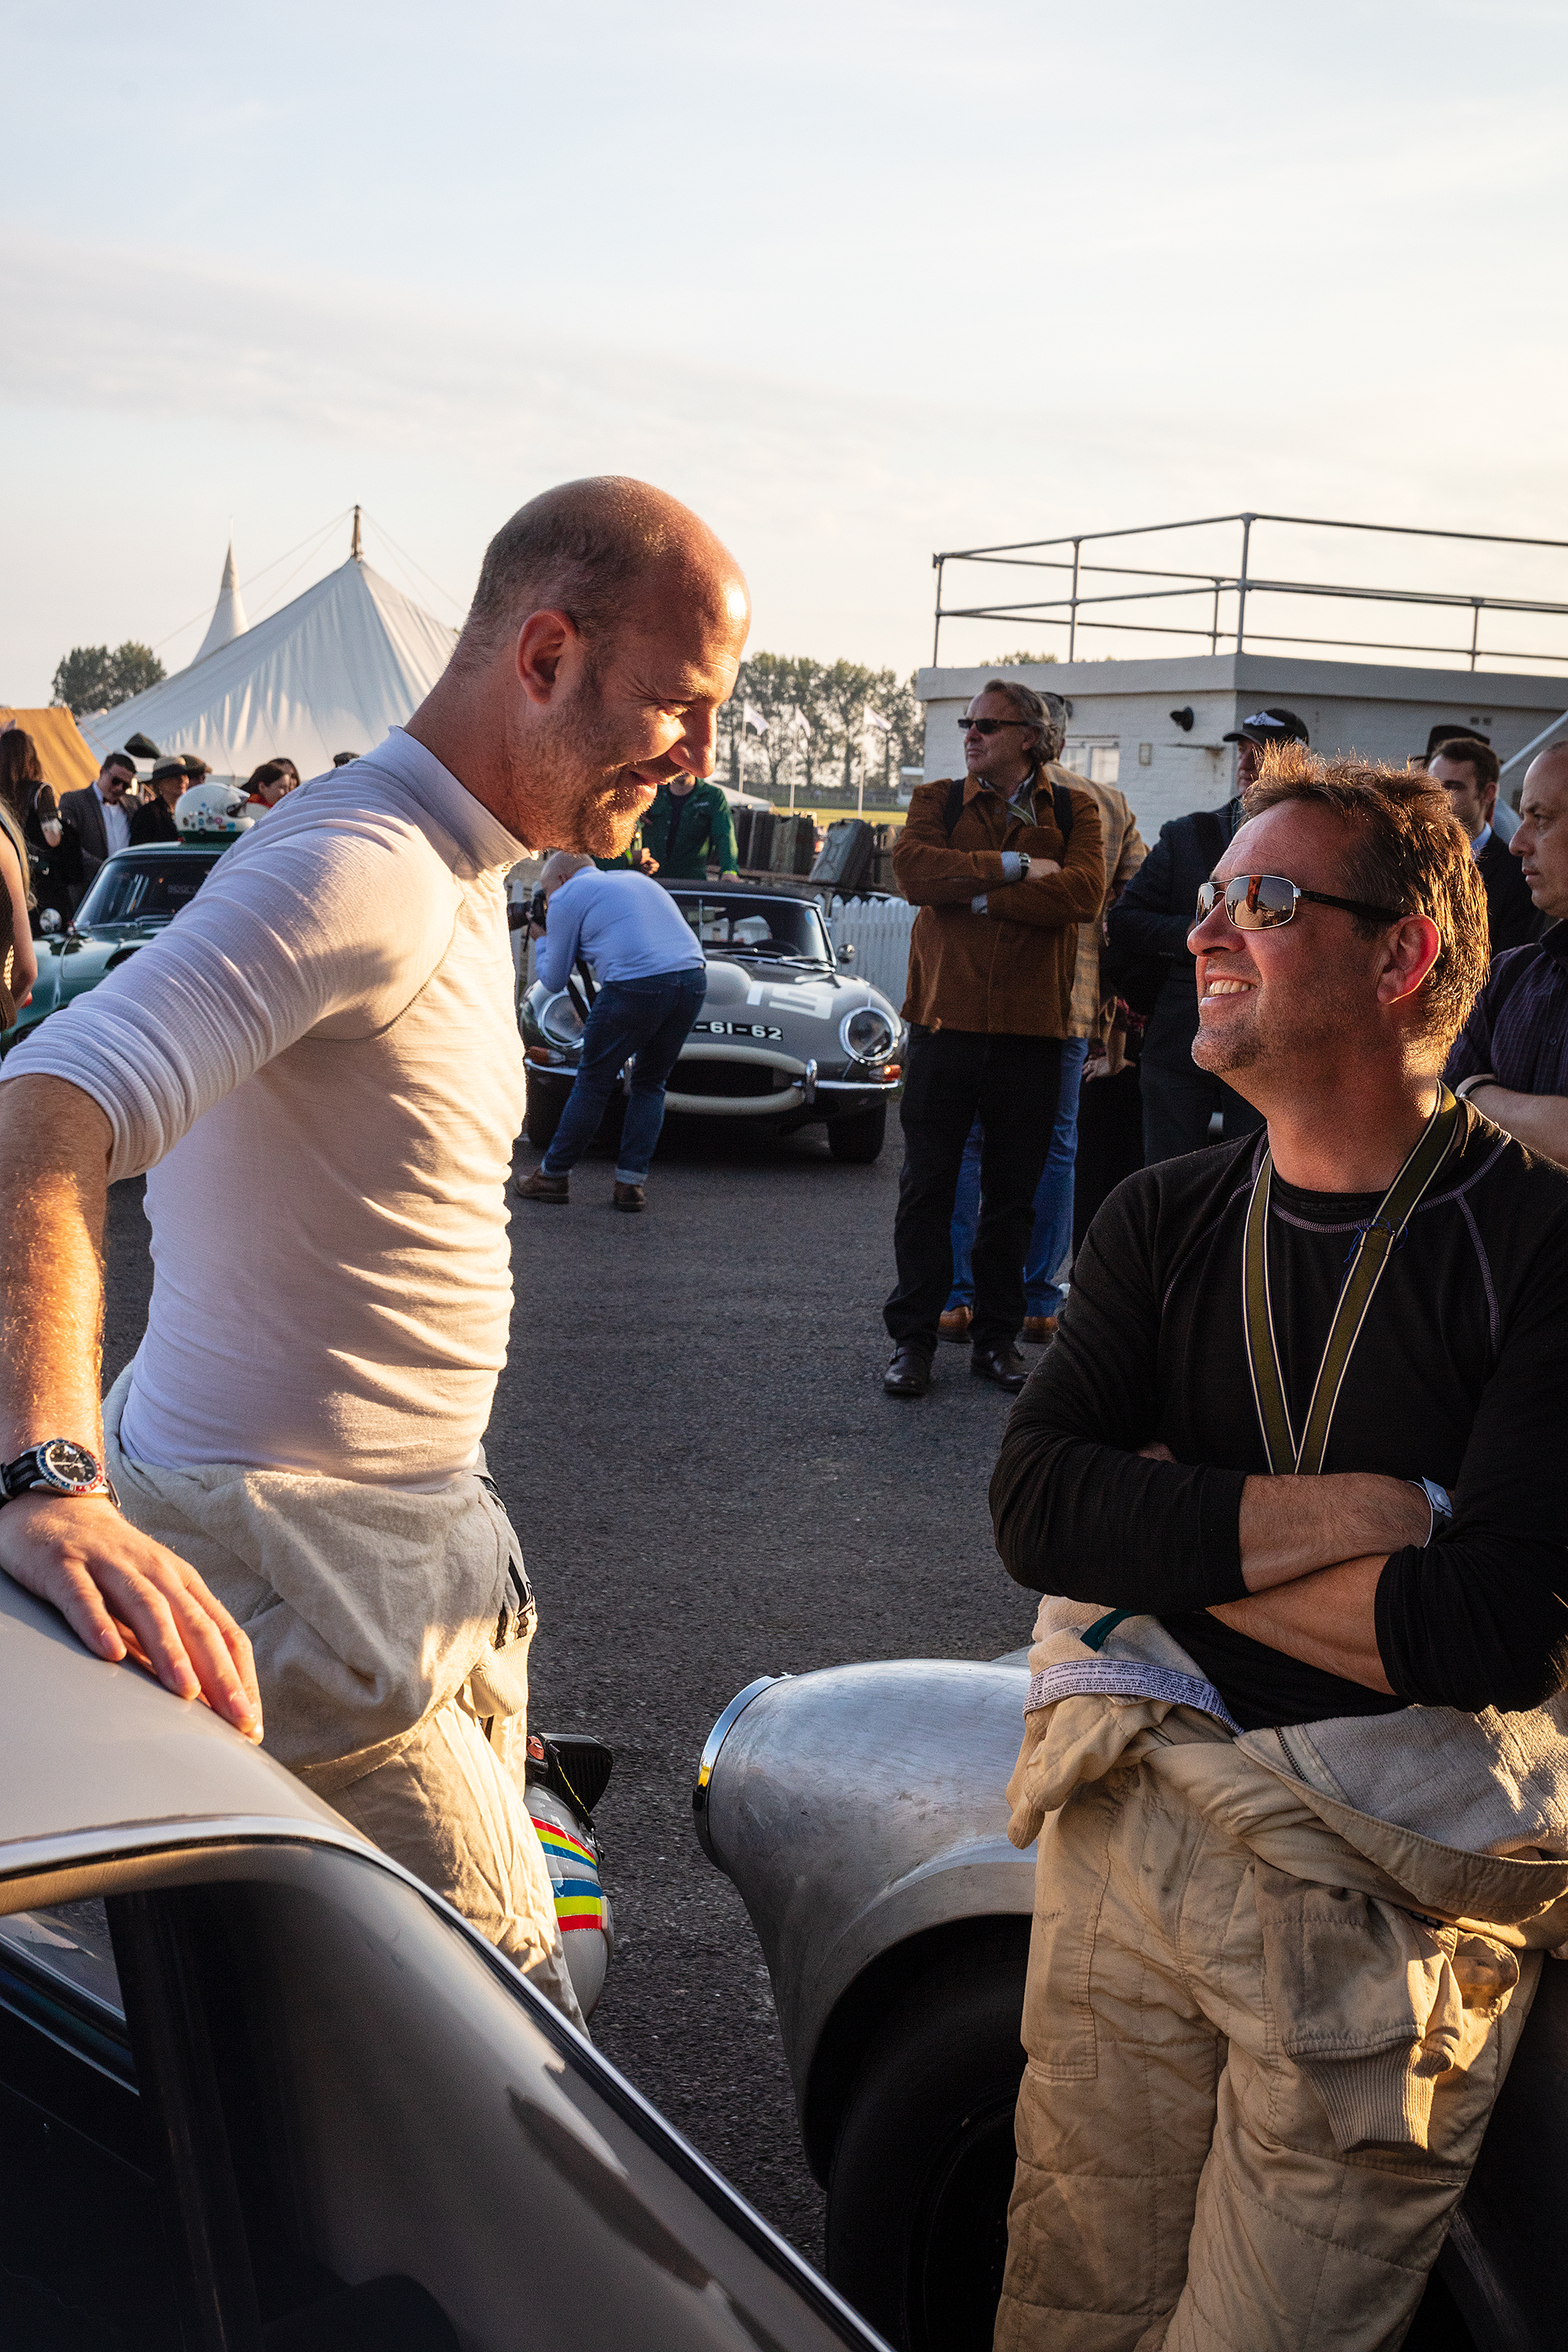
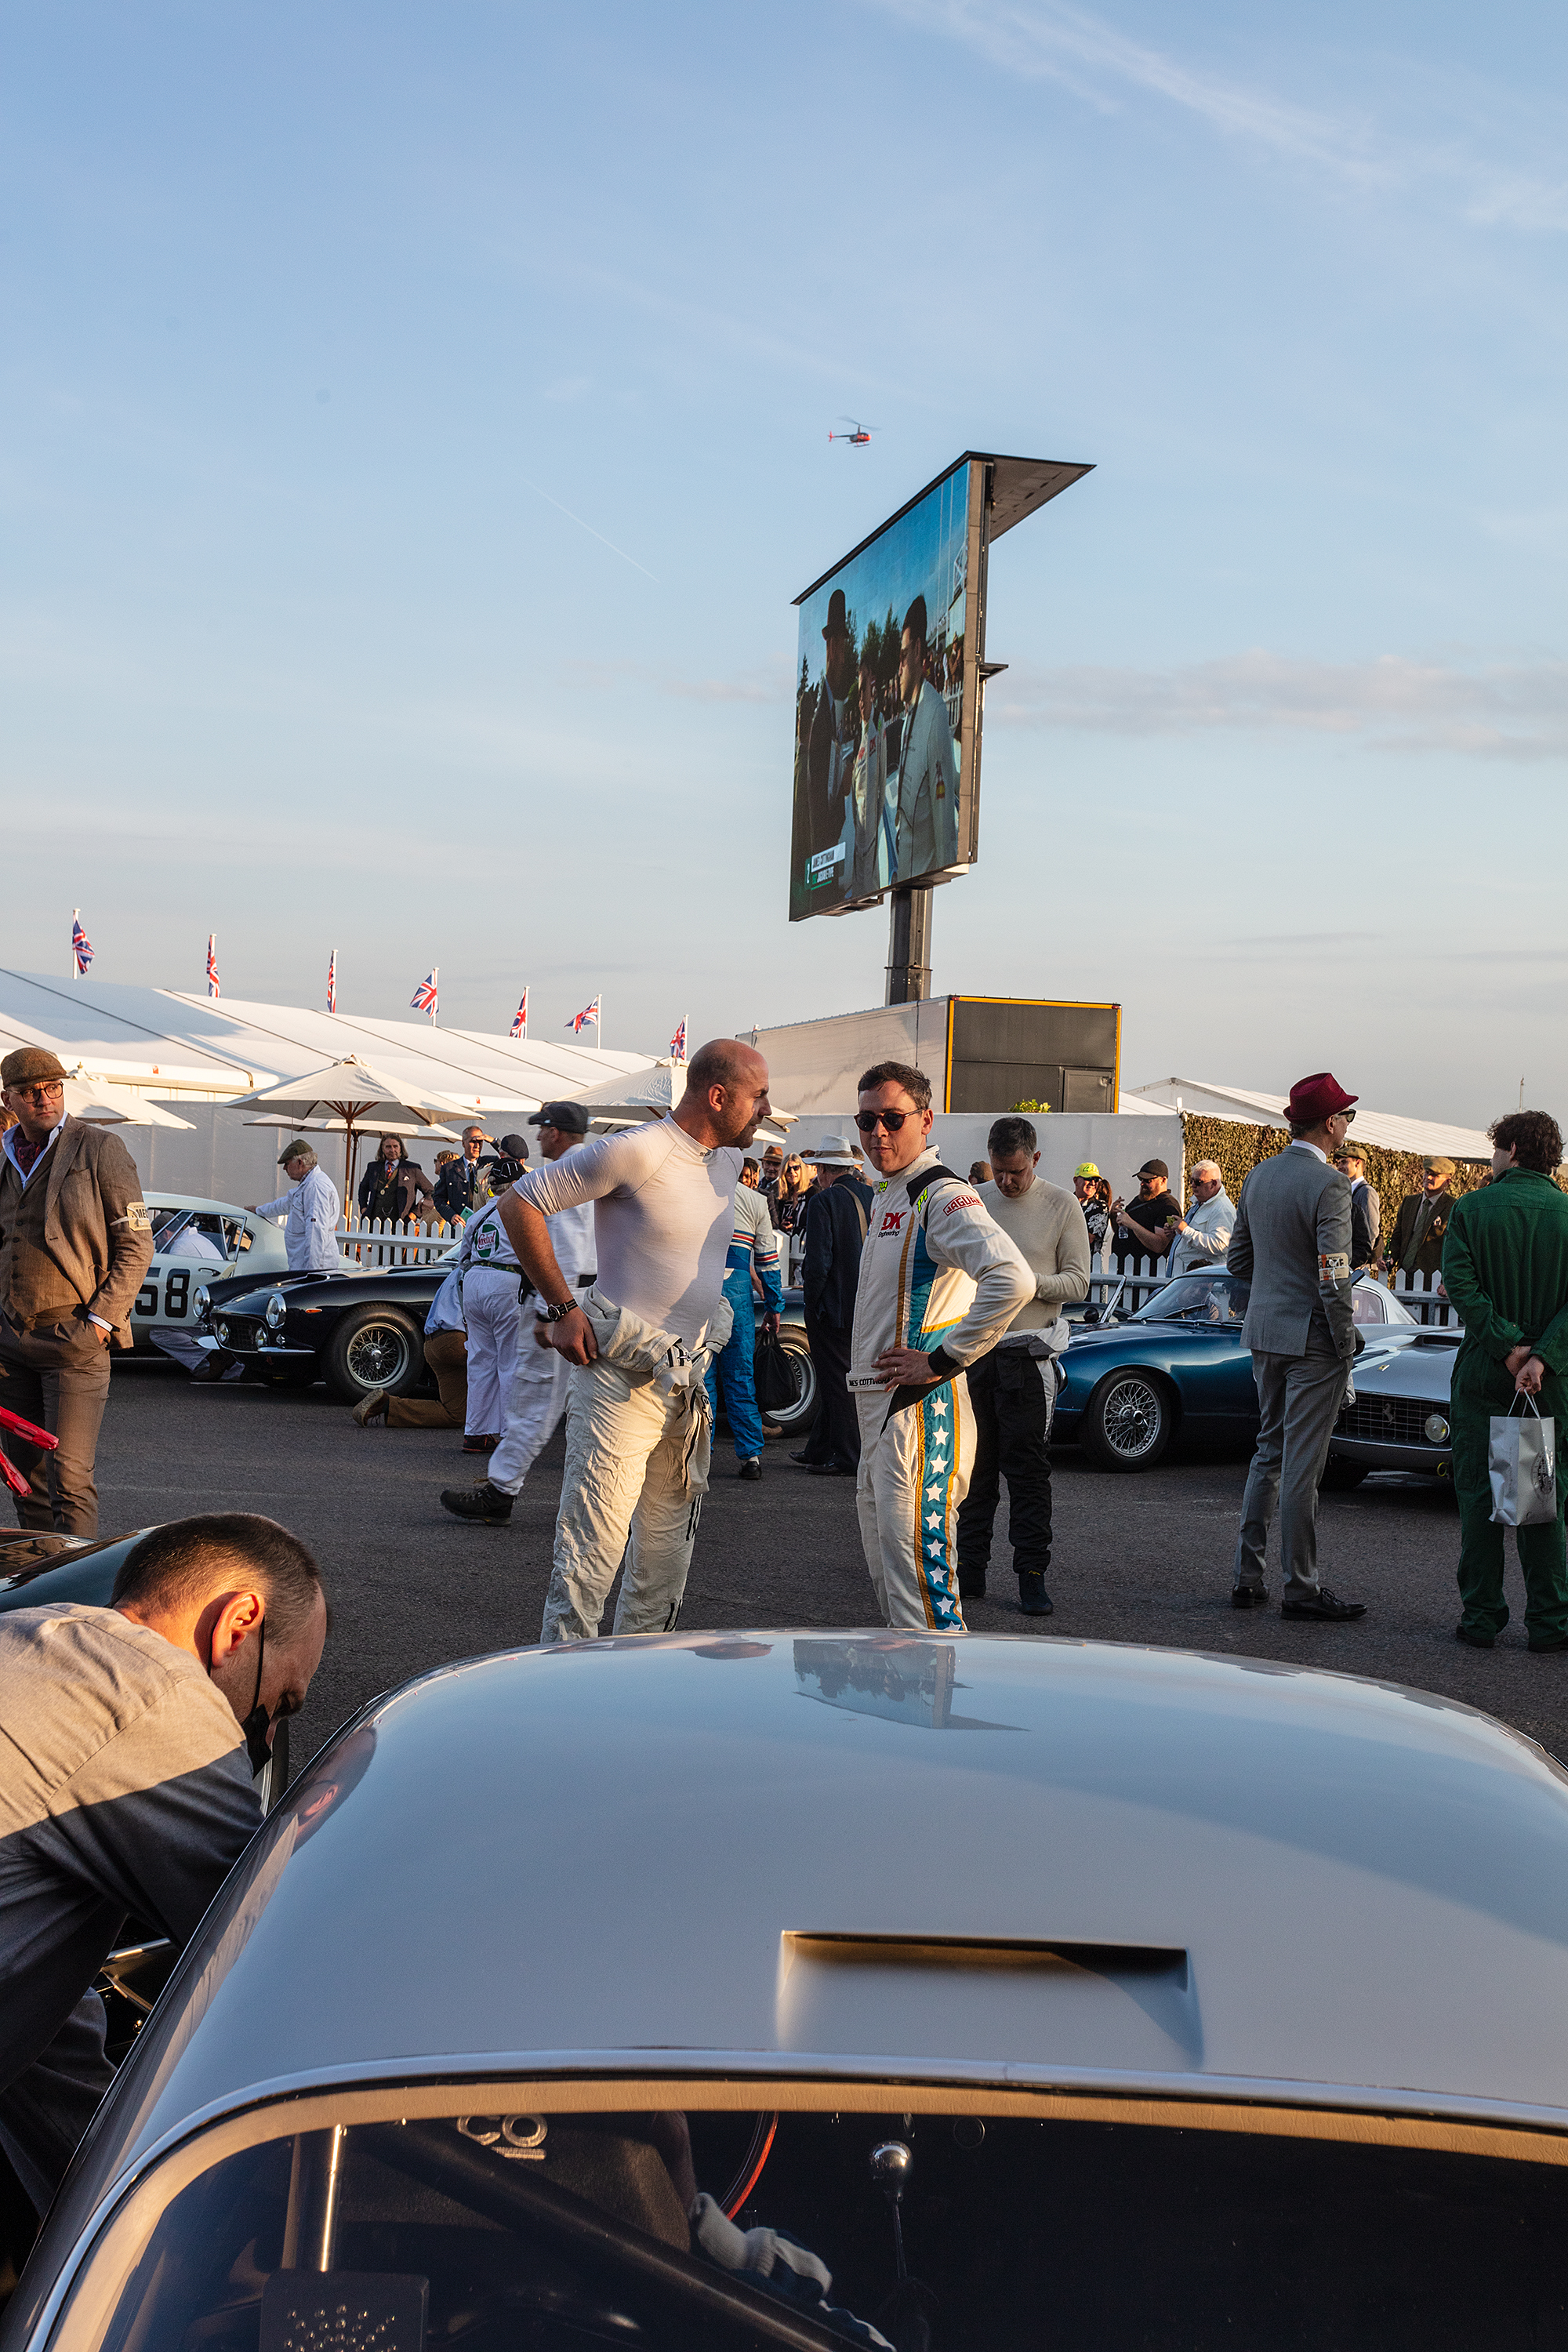
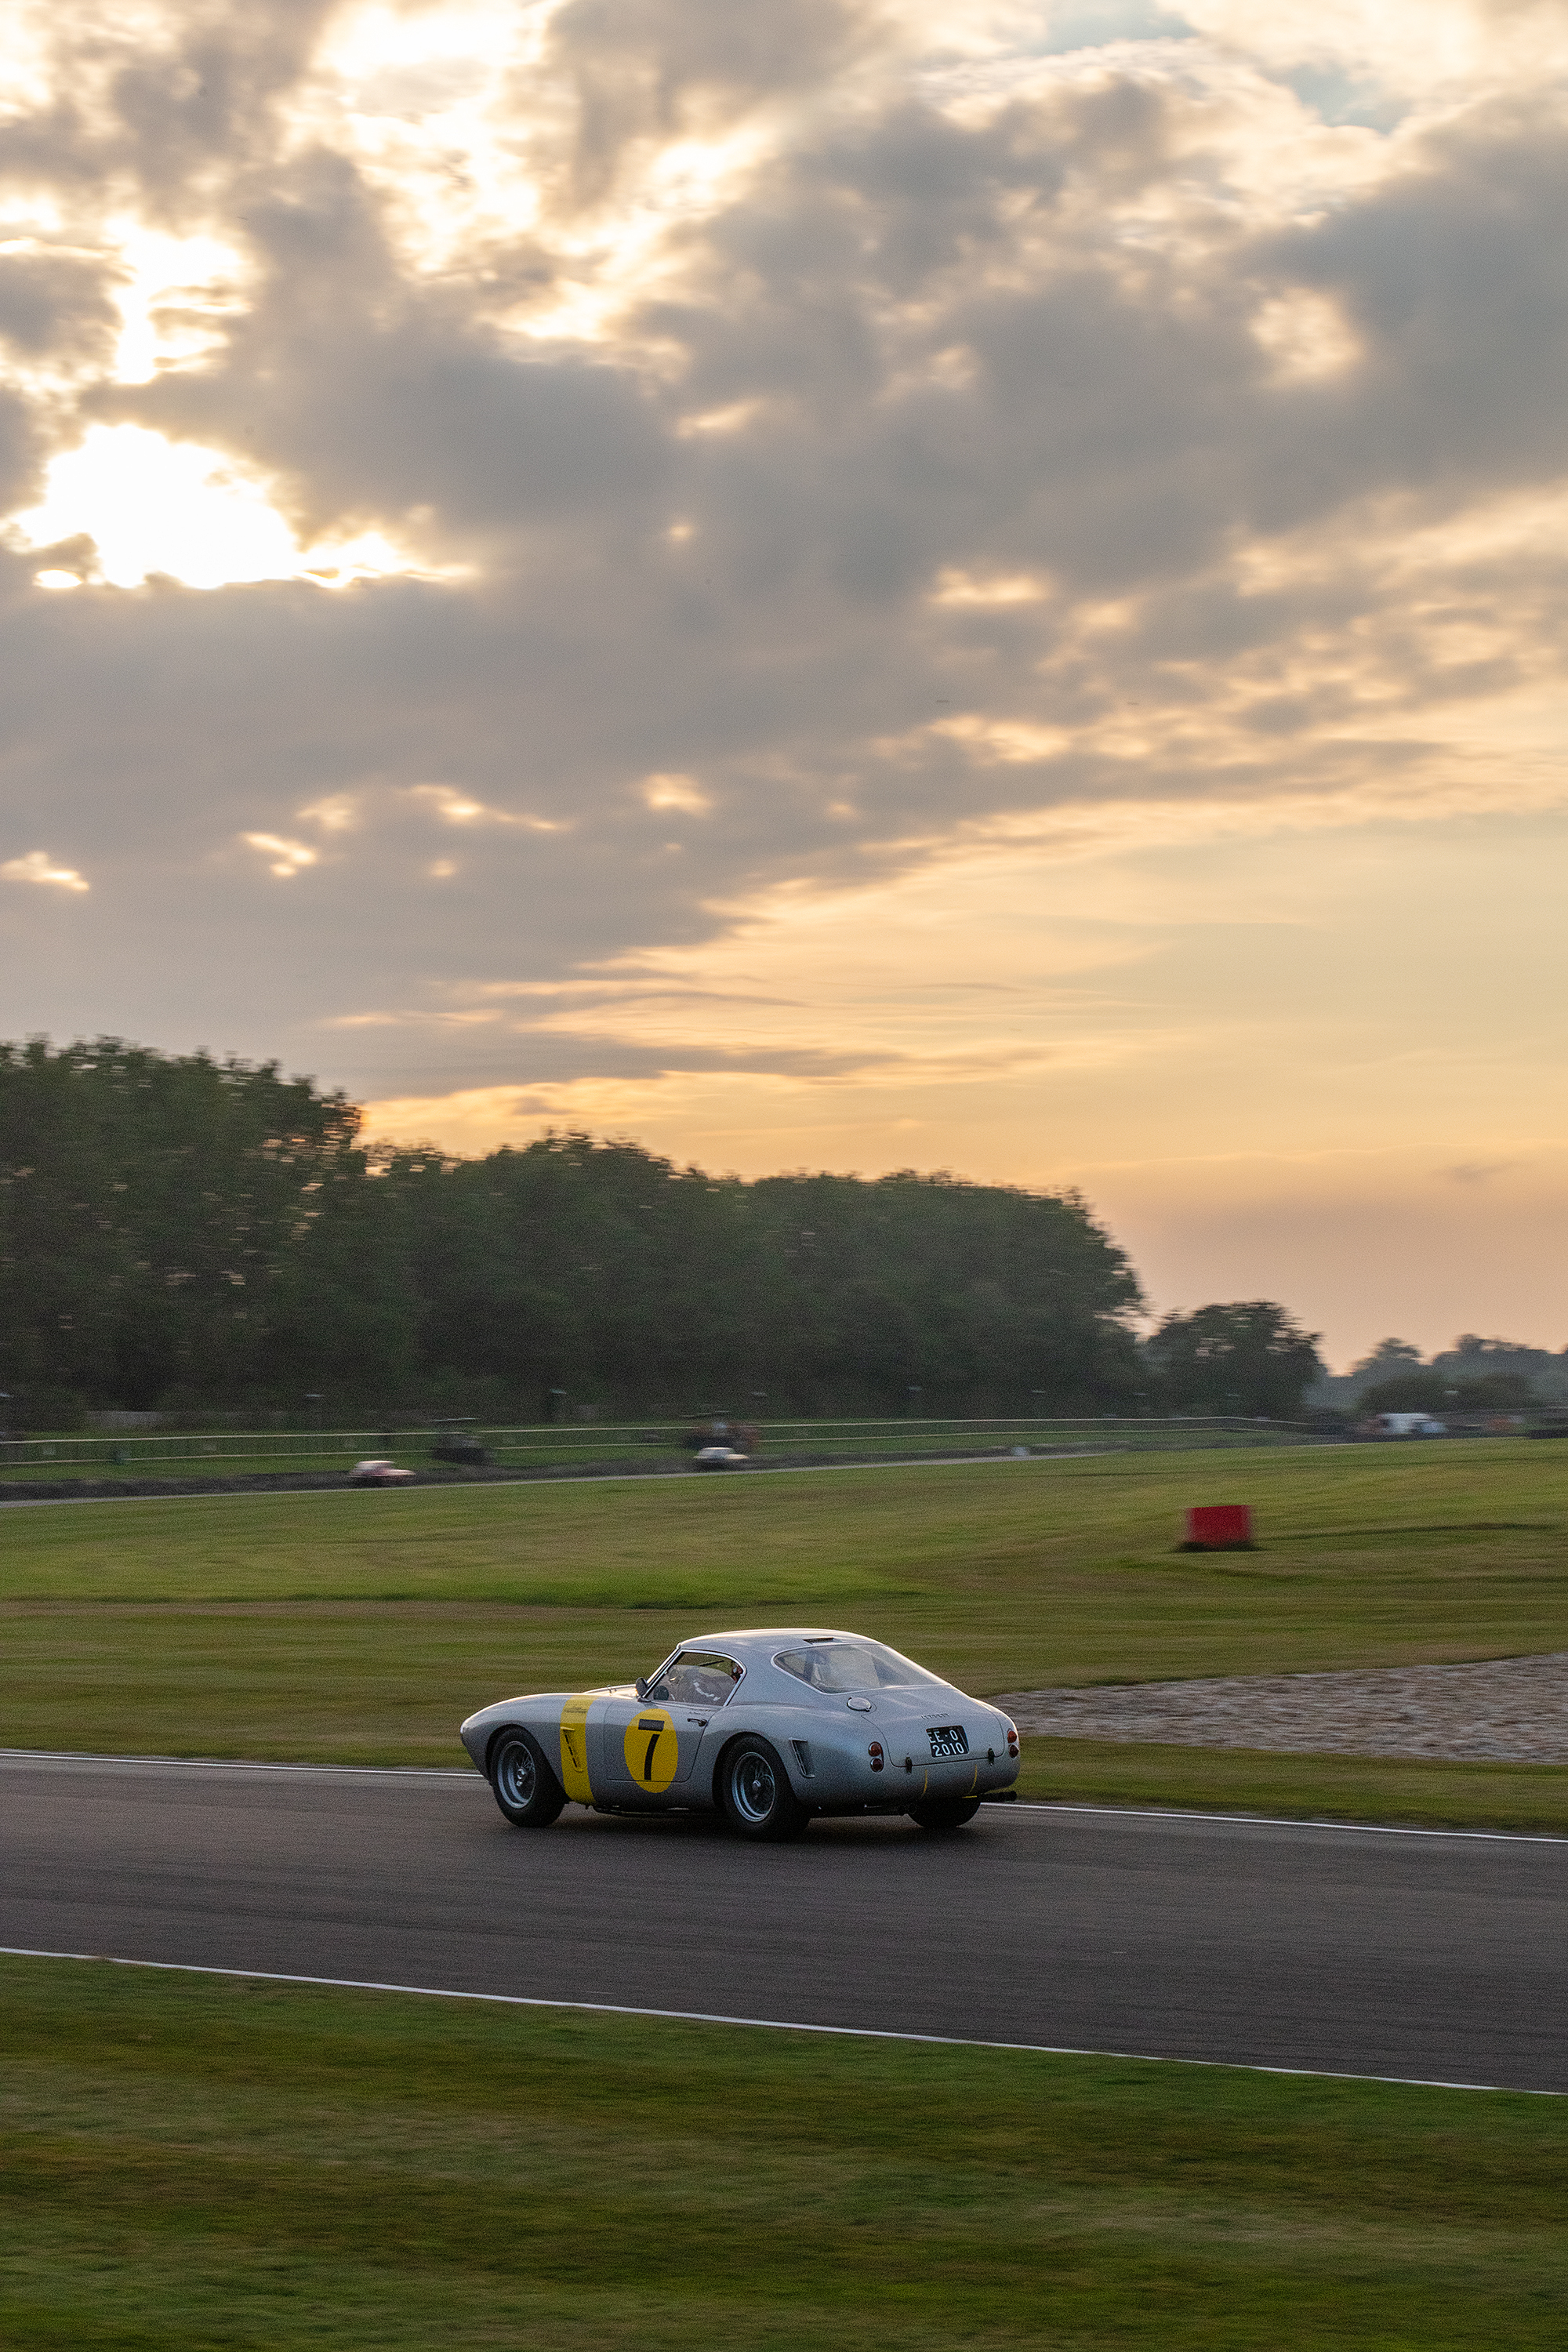
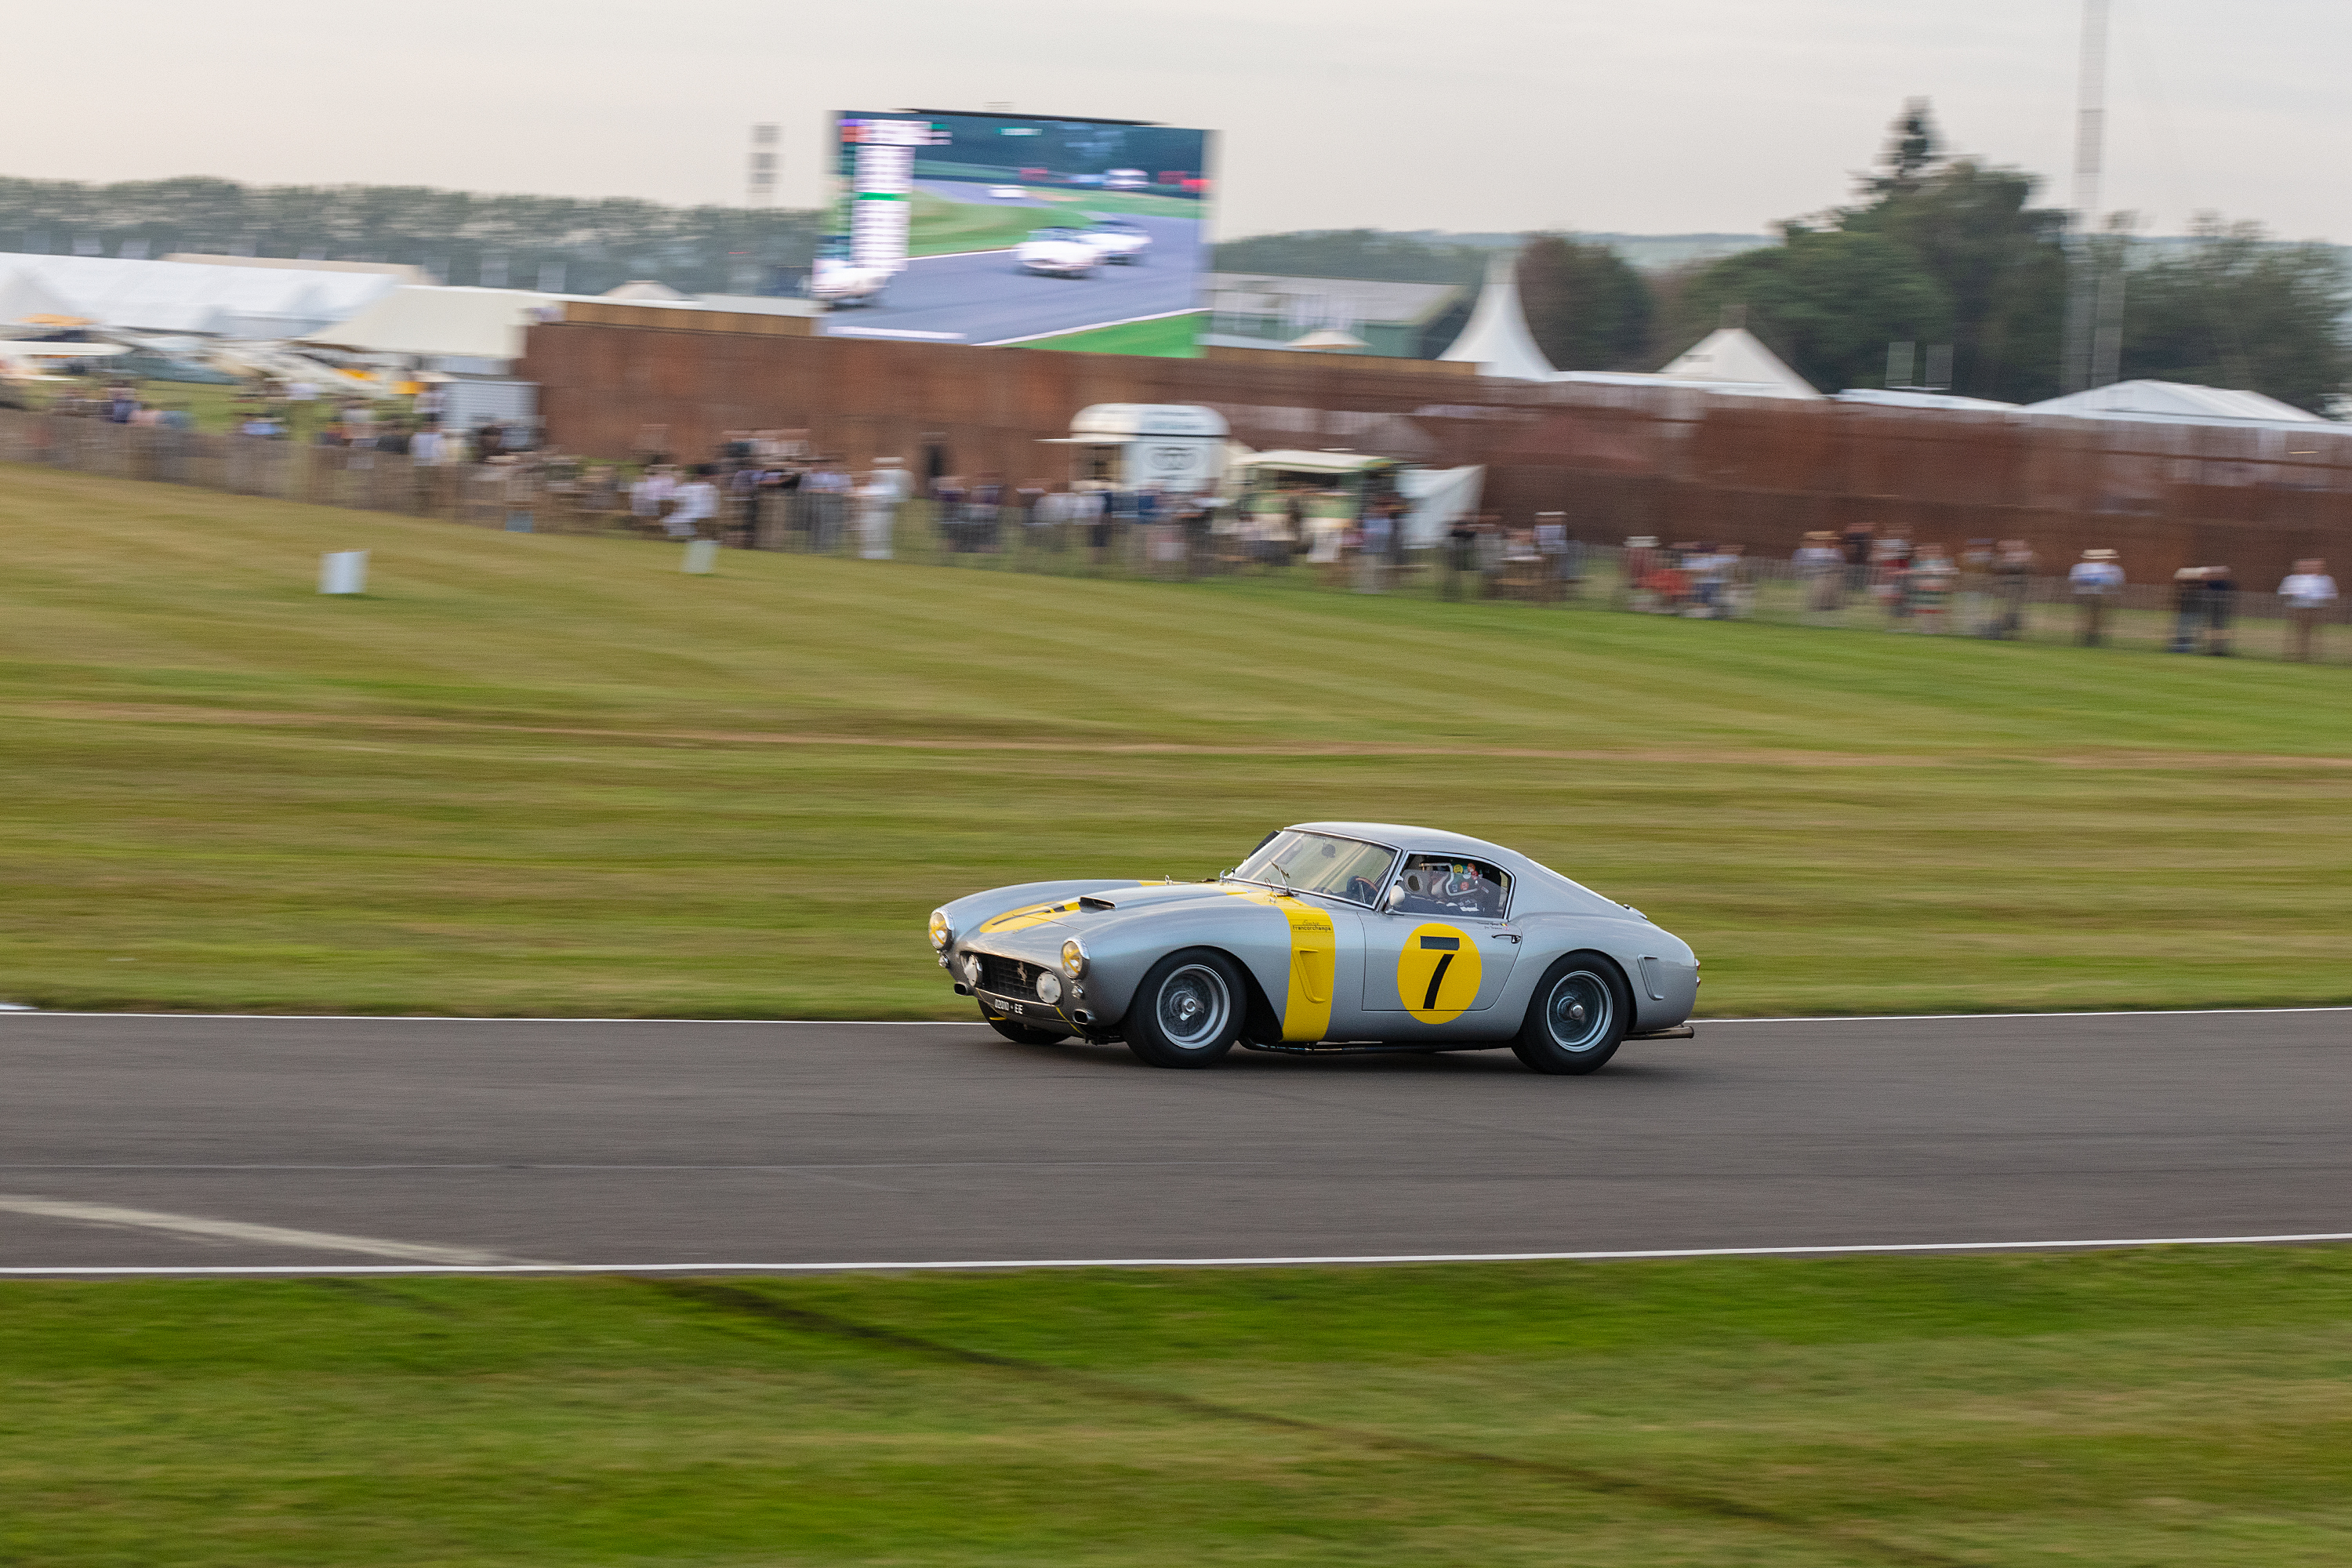
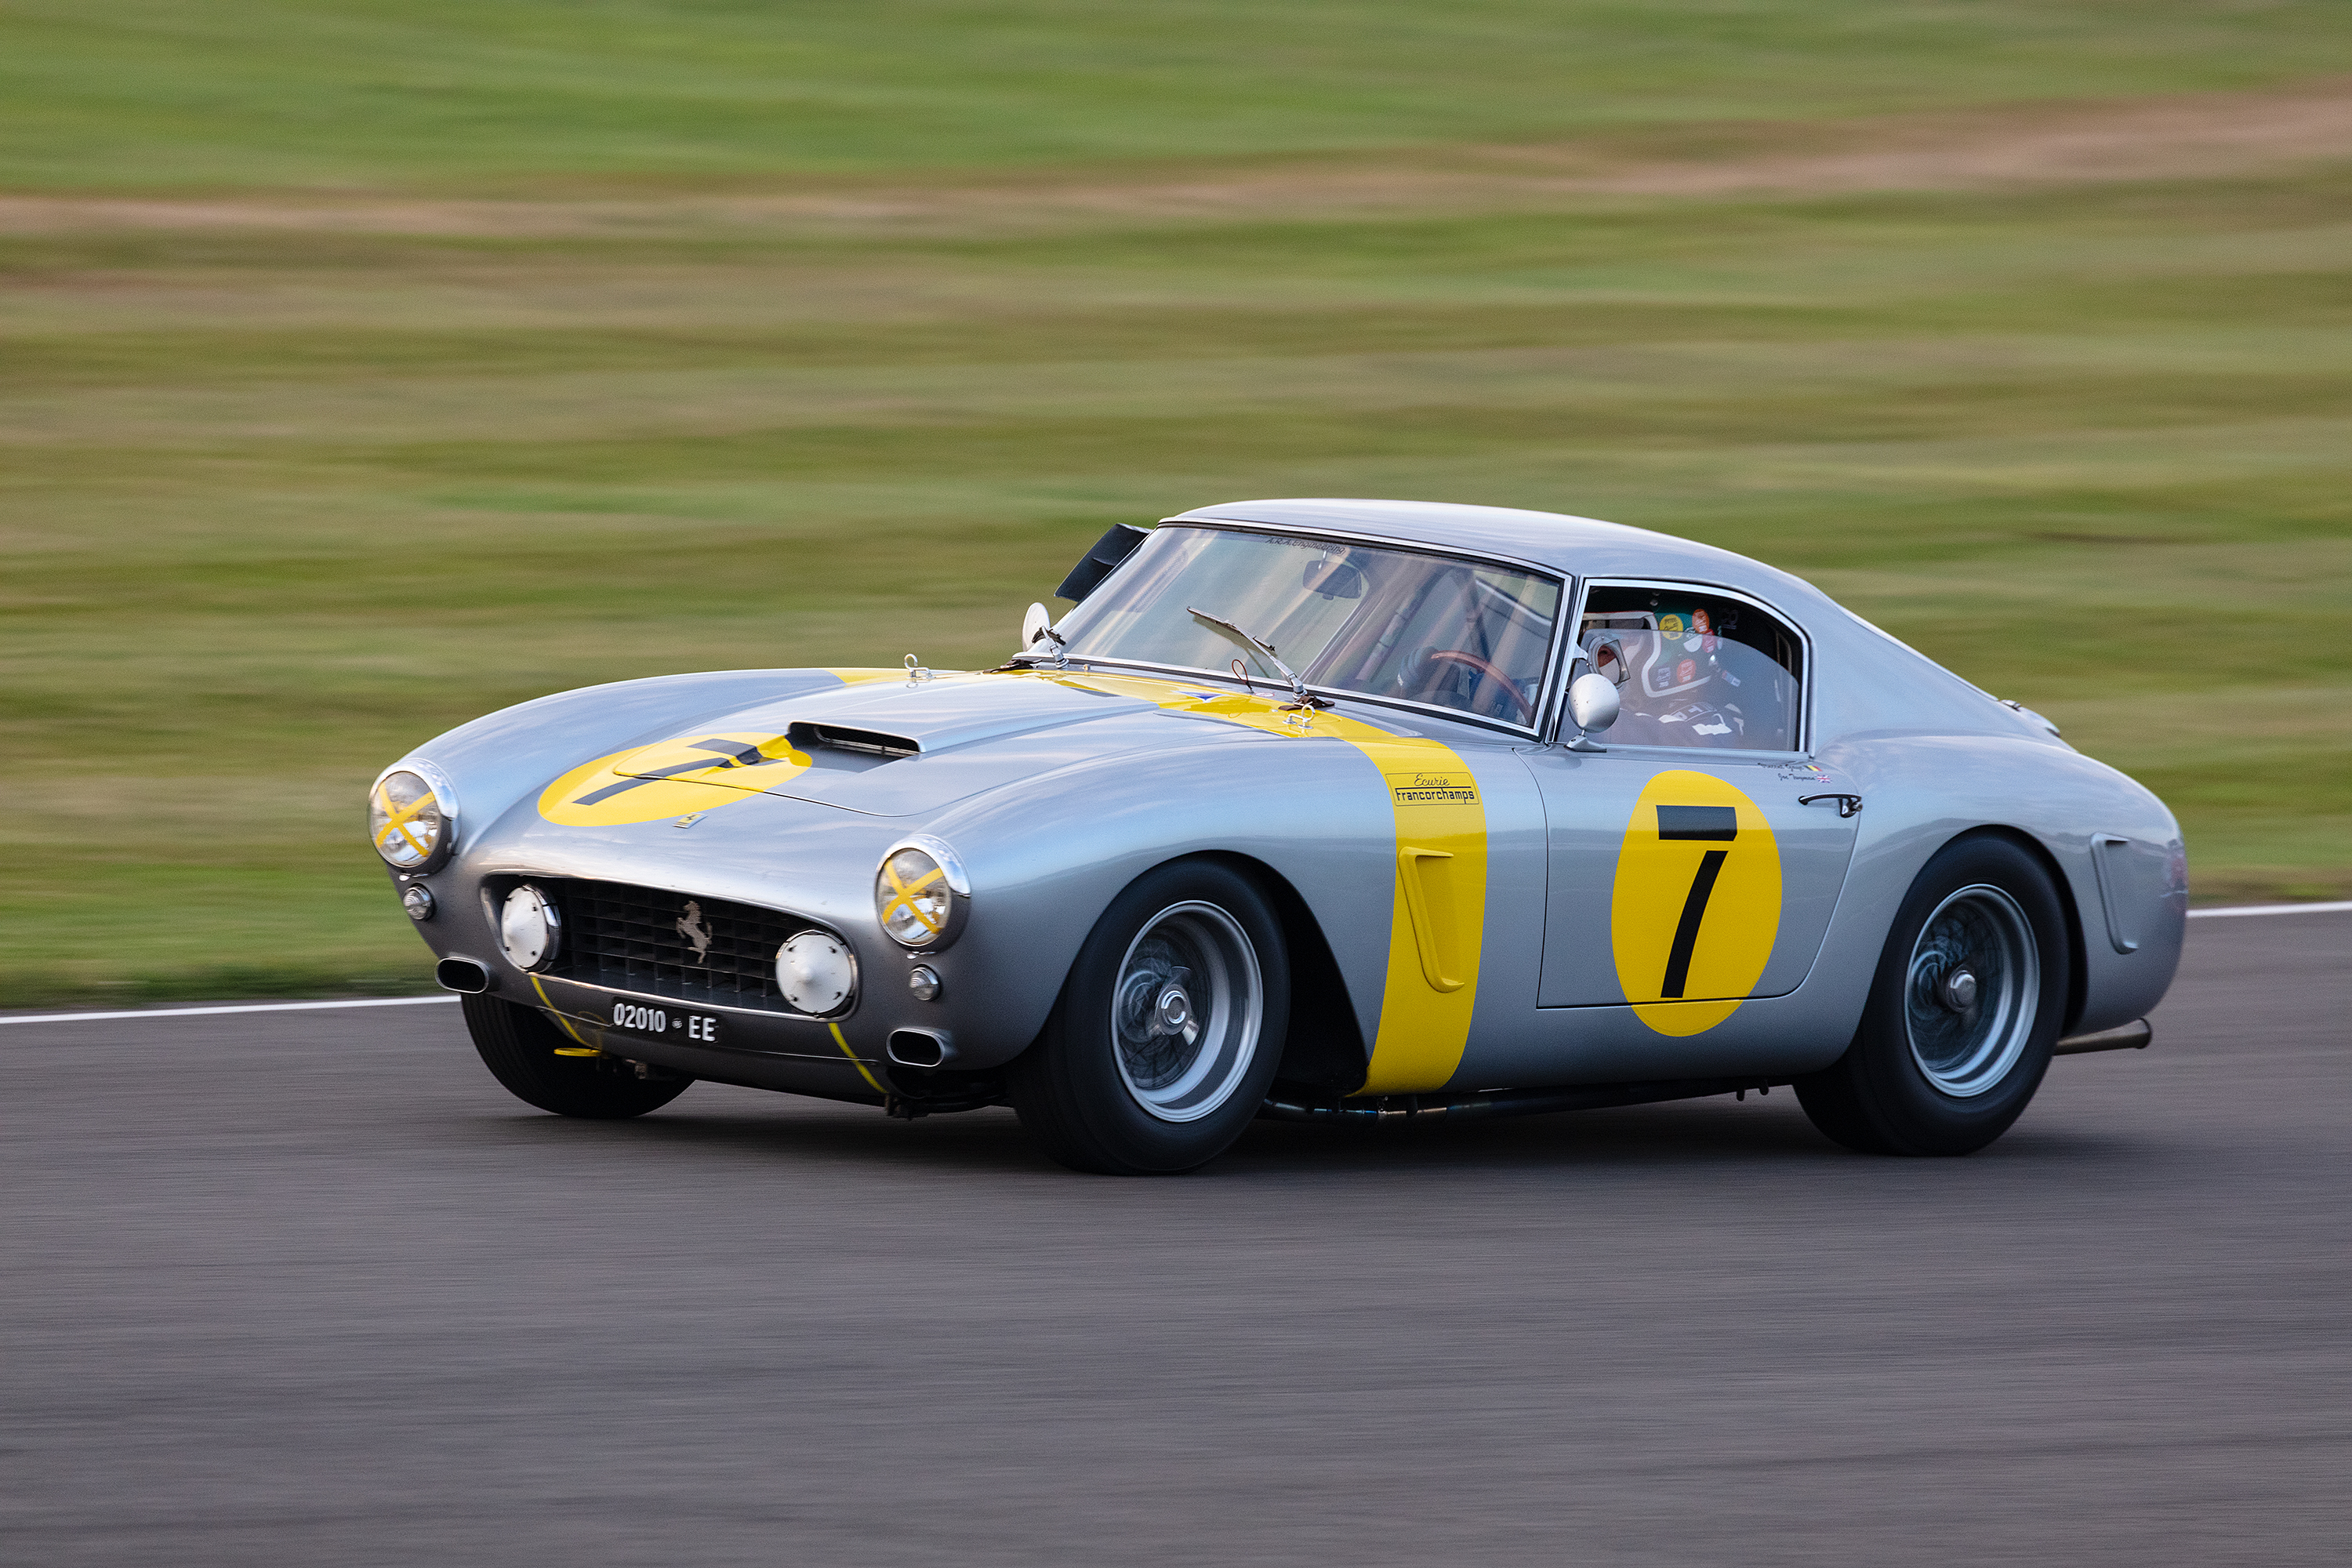
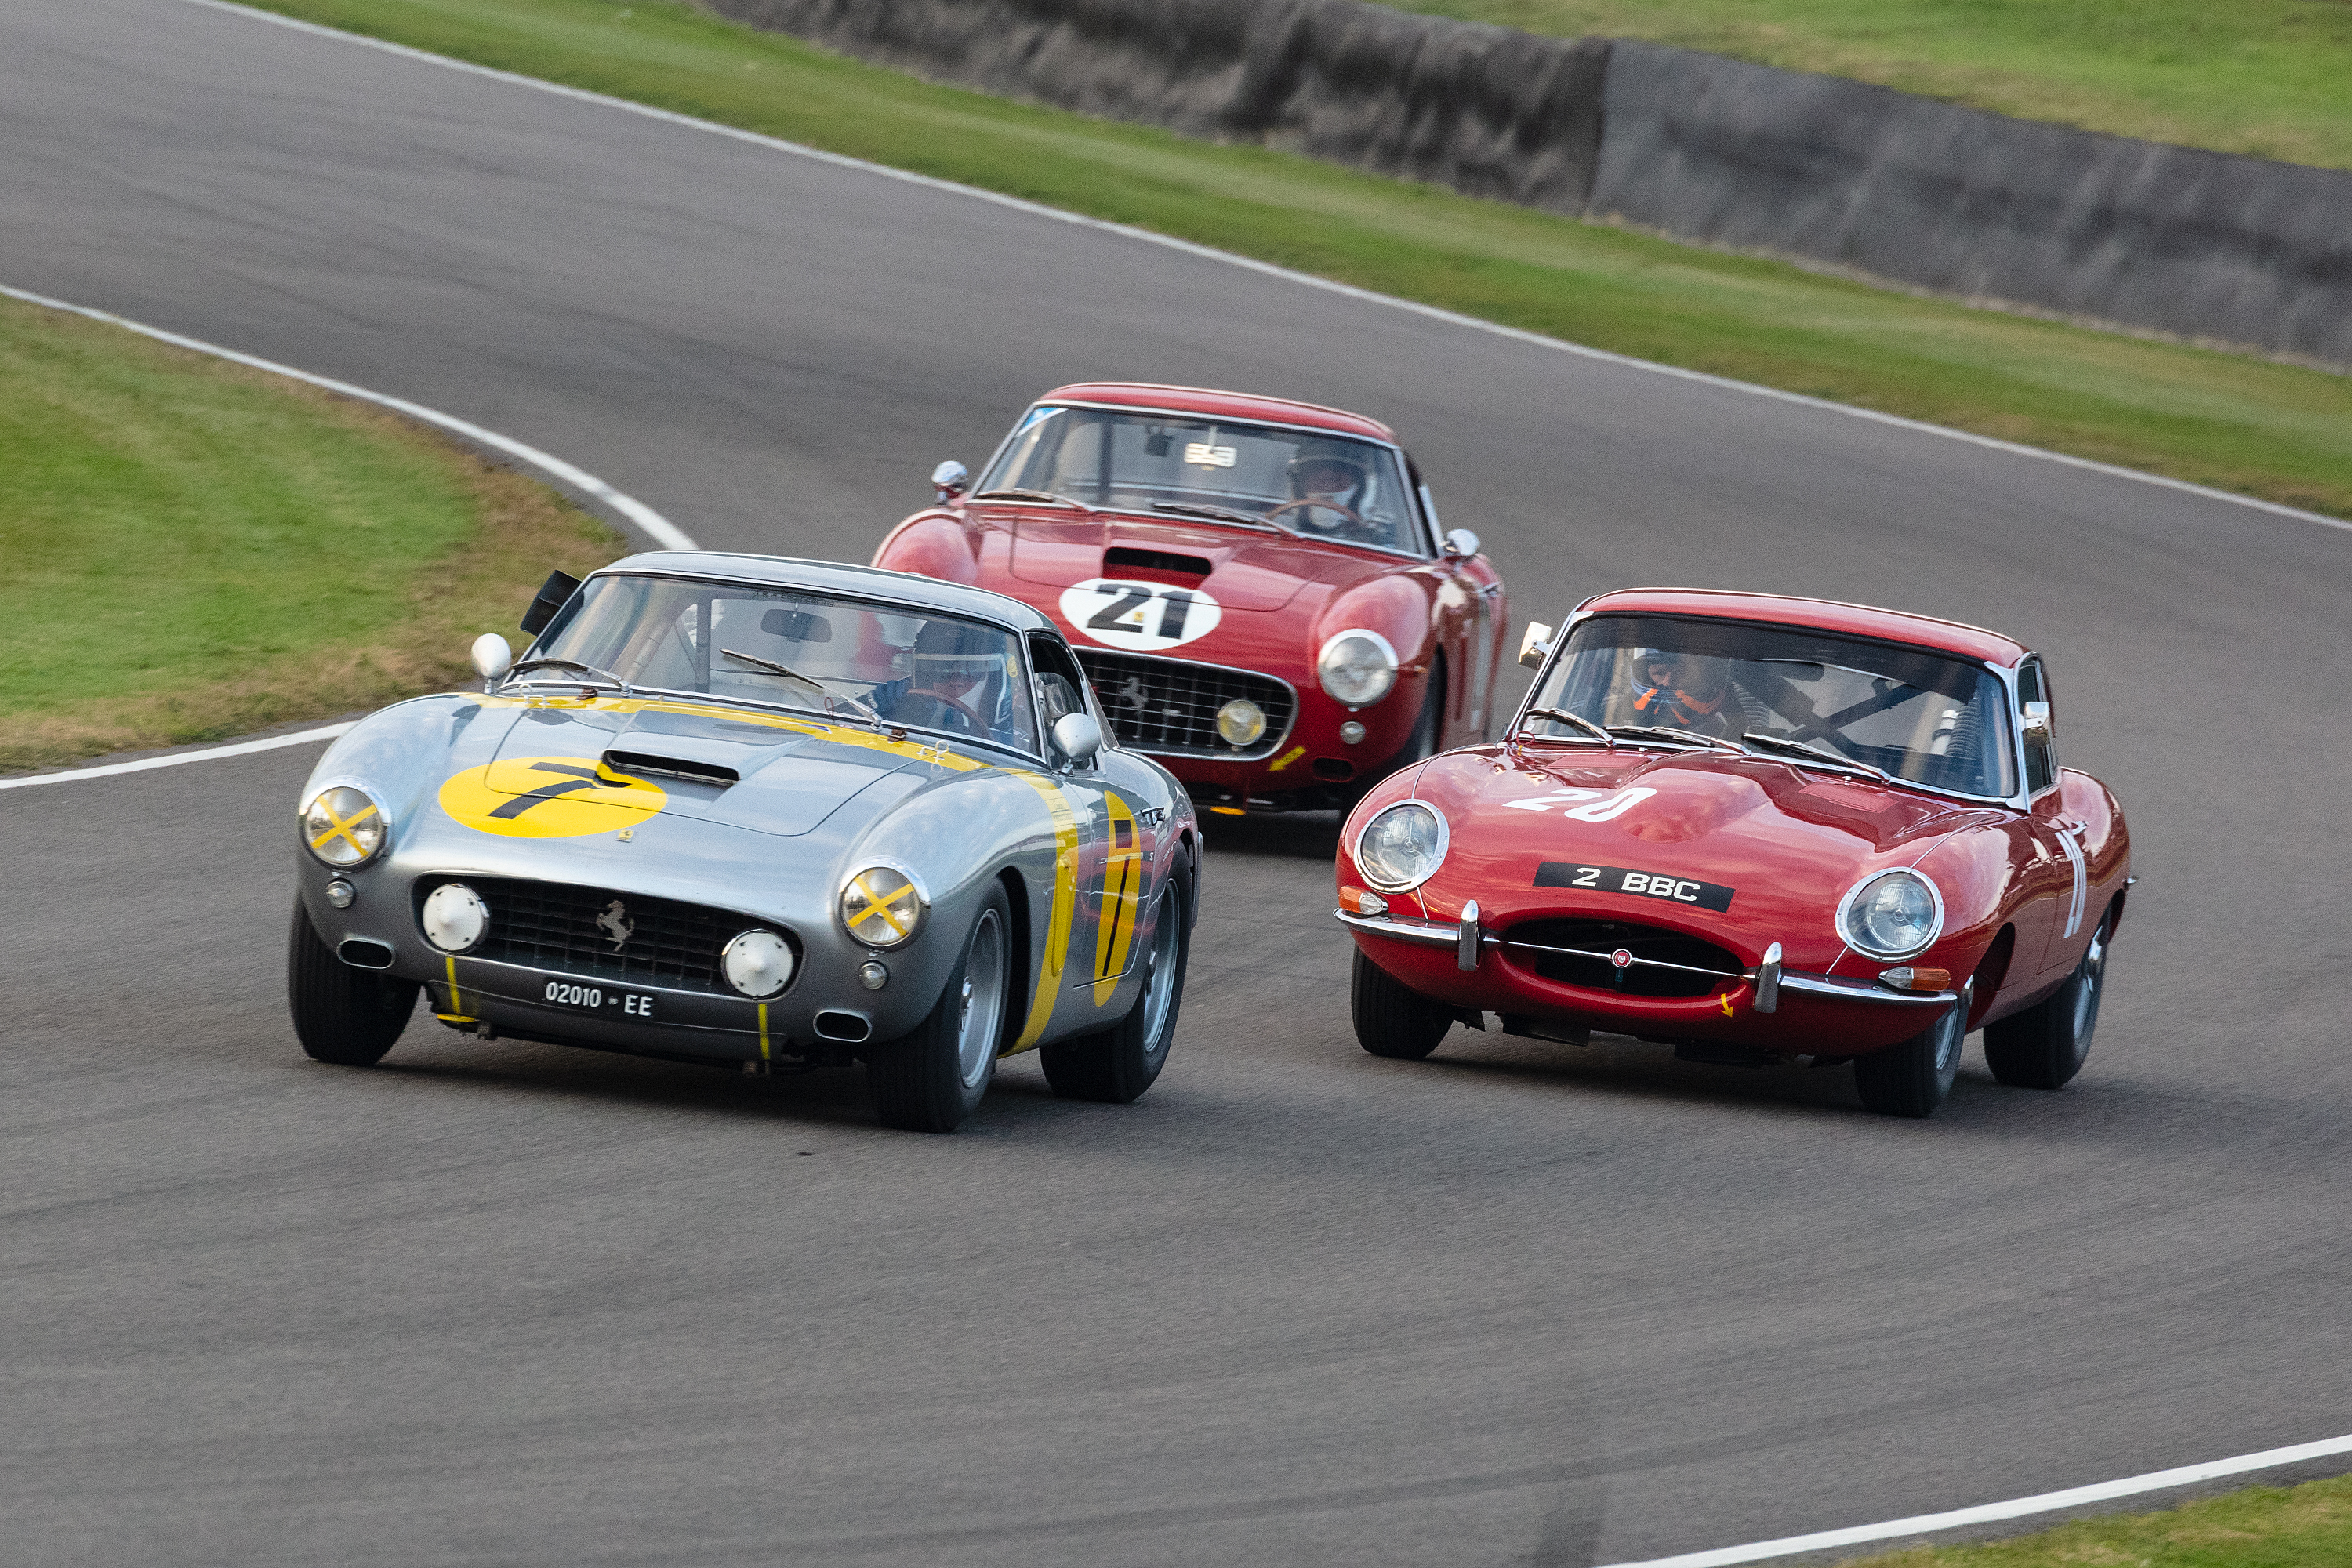
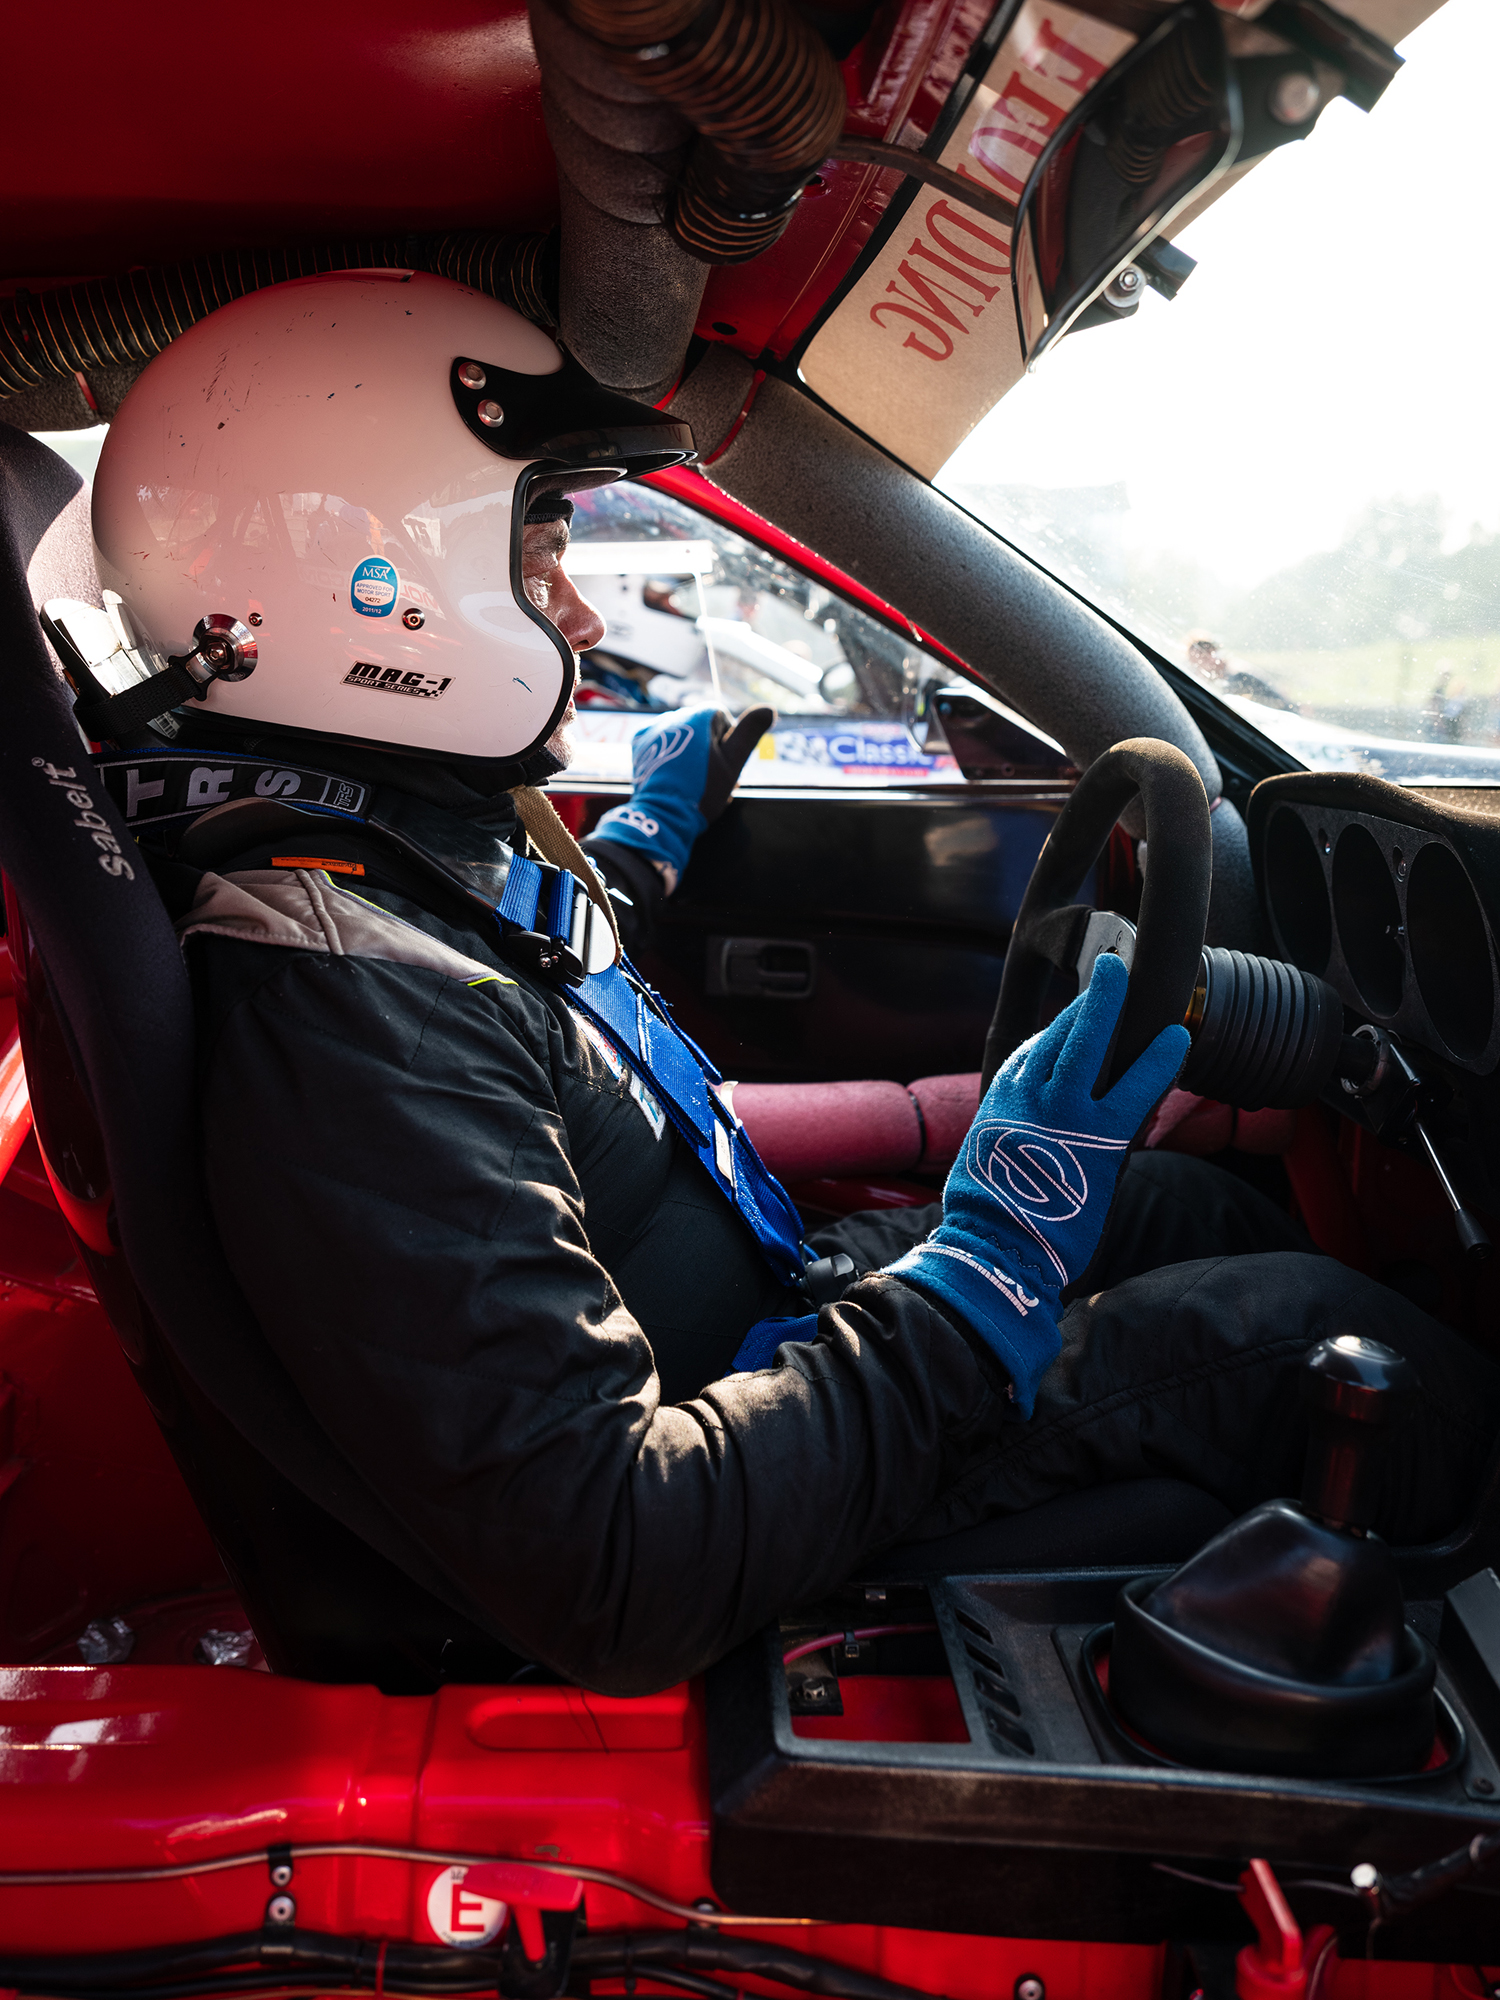
I was at Goodwood to cover the Stirling Moss Memorial Trophy for my friend Joe Twyman who was co-driving a 1960 Ferrari 250 GT SWB Competizione, one of just 46 ever manufactured, a rare and highly desirable car
The cars owner Mr Vincent Gaye was the other driver, he has the black open face helmet in the images
Joe onboard, with the classic Ecurie Francorchamps livery
The qualifying was at 9:15 am, and good weather for photography, where Vincent & Joe would find themselves a very credible 15th after the timing
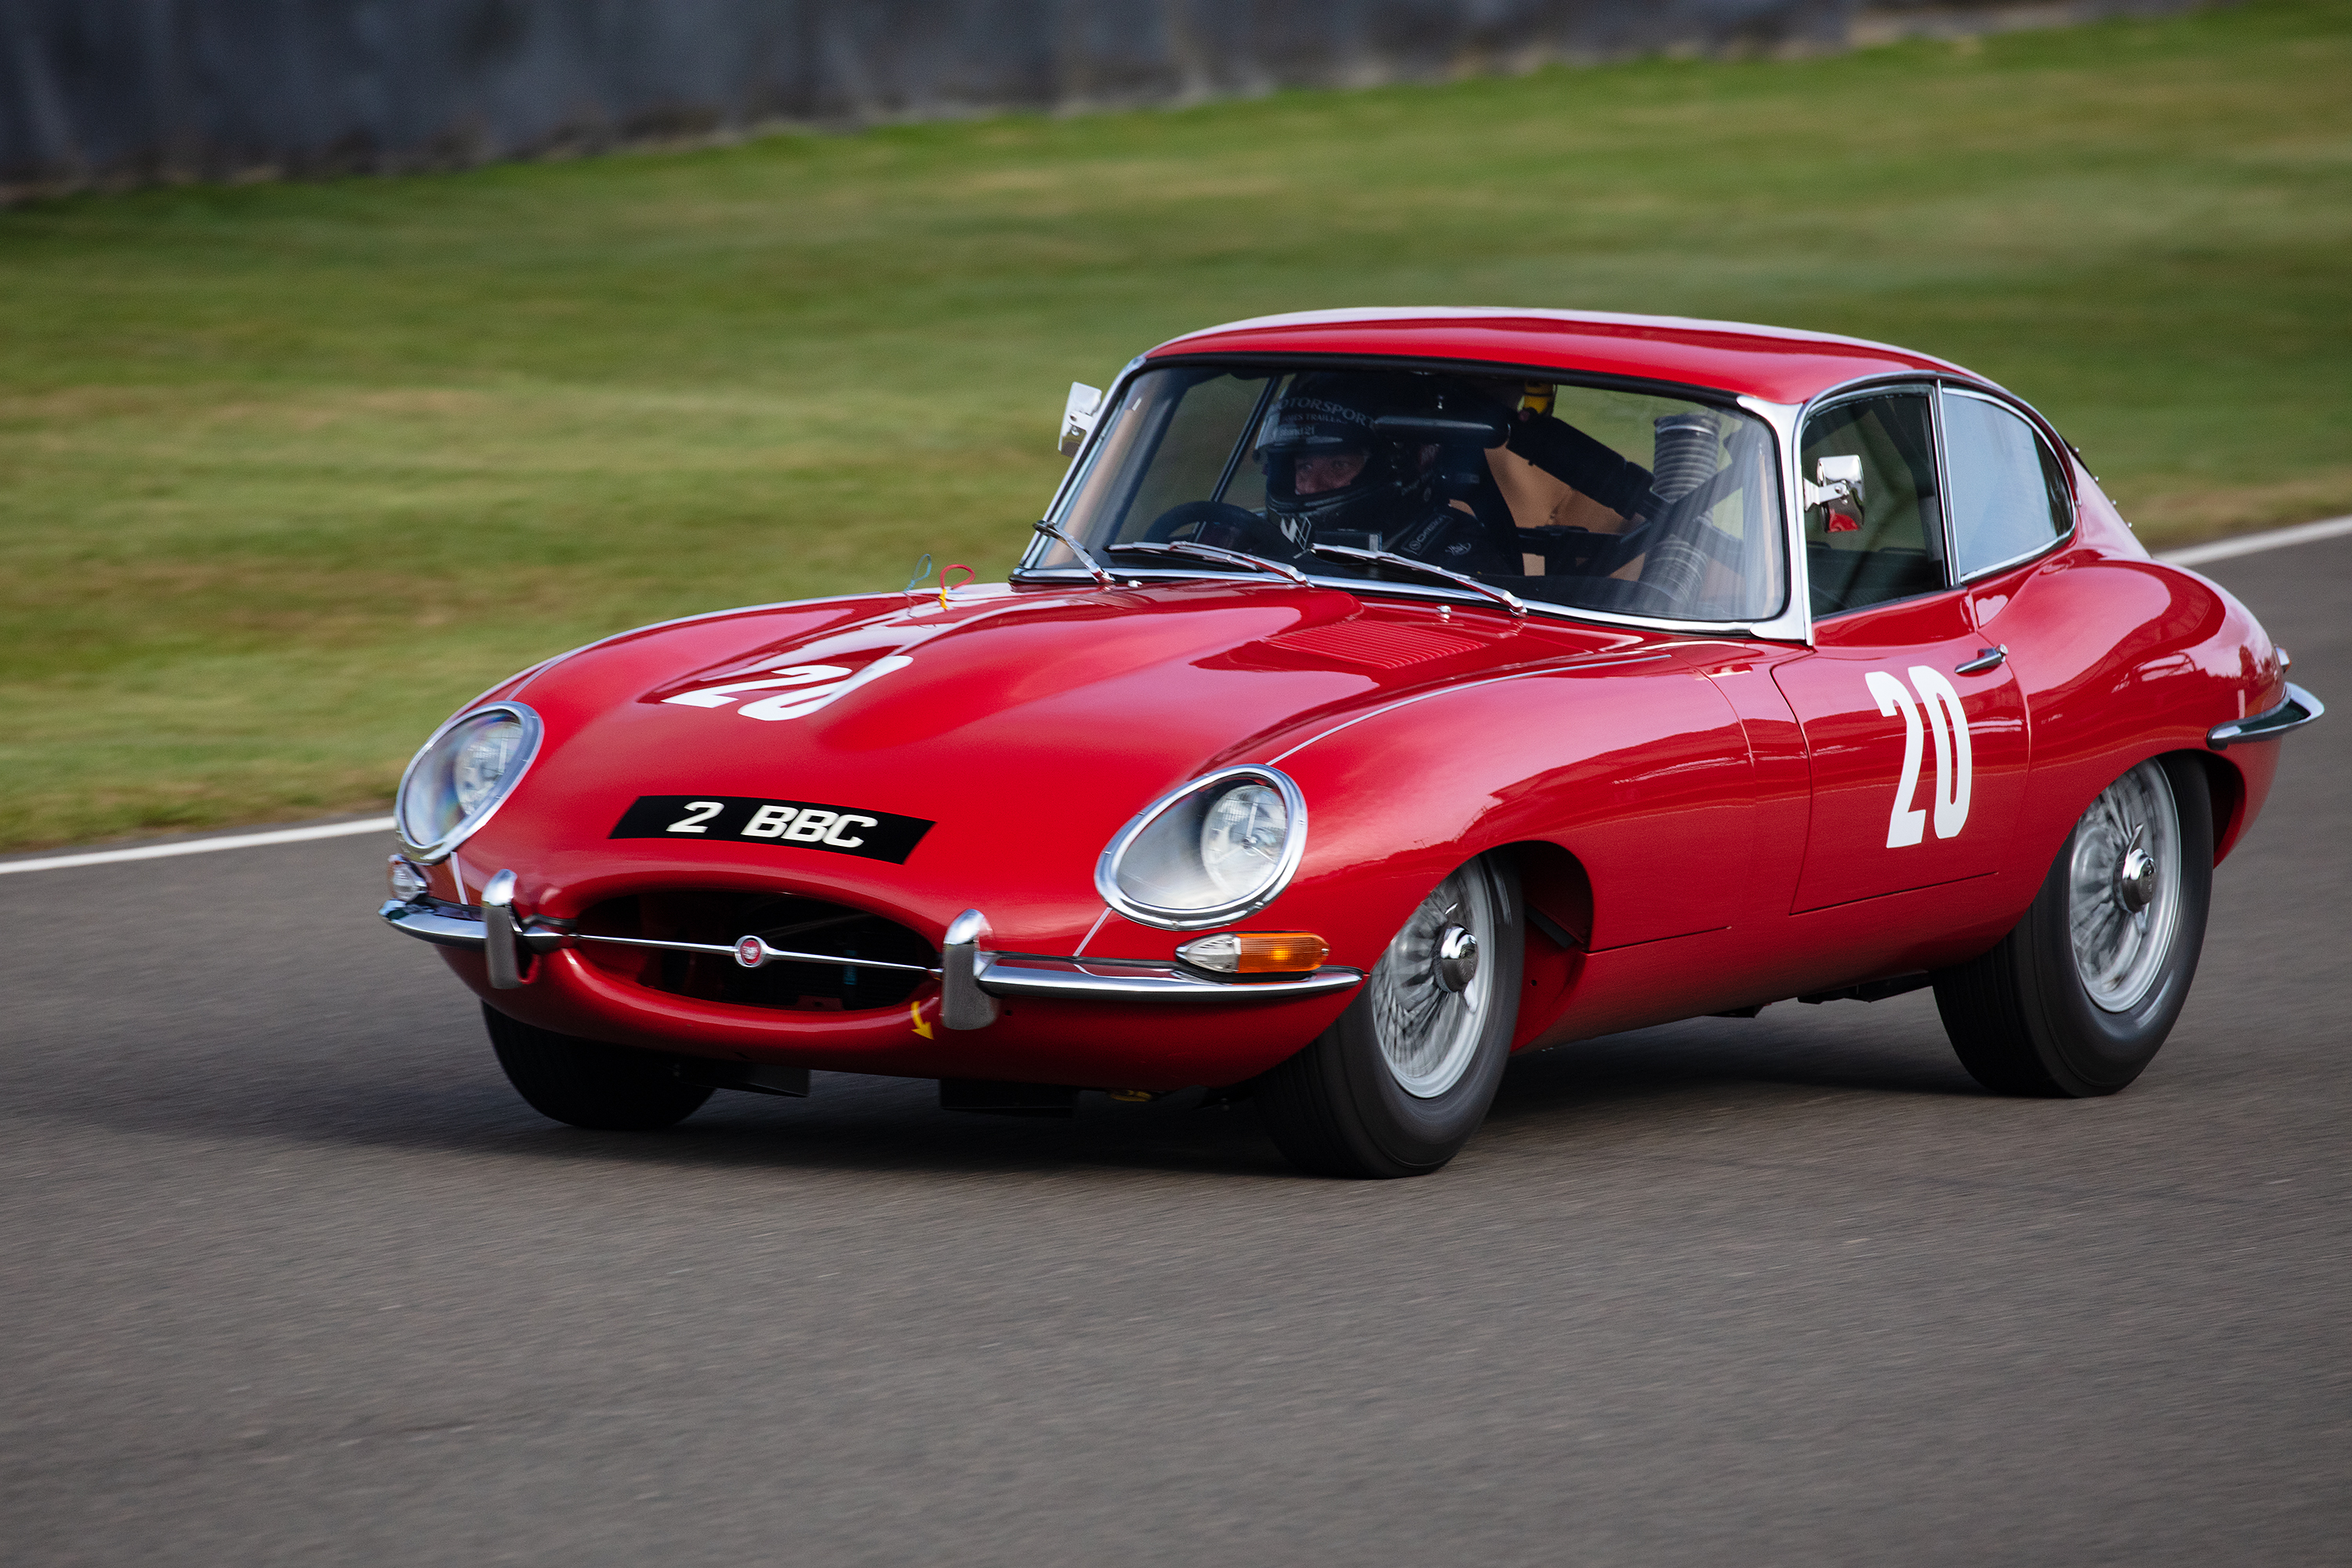
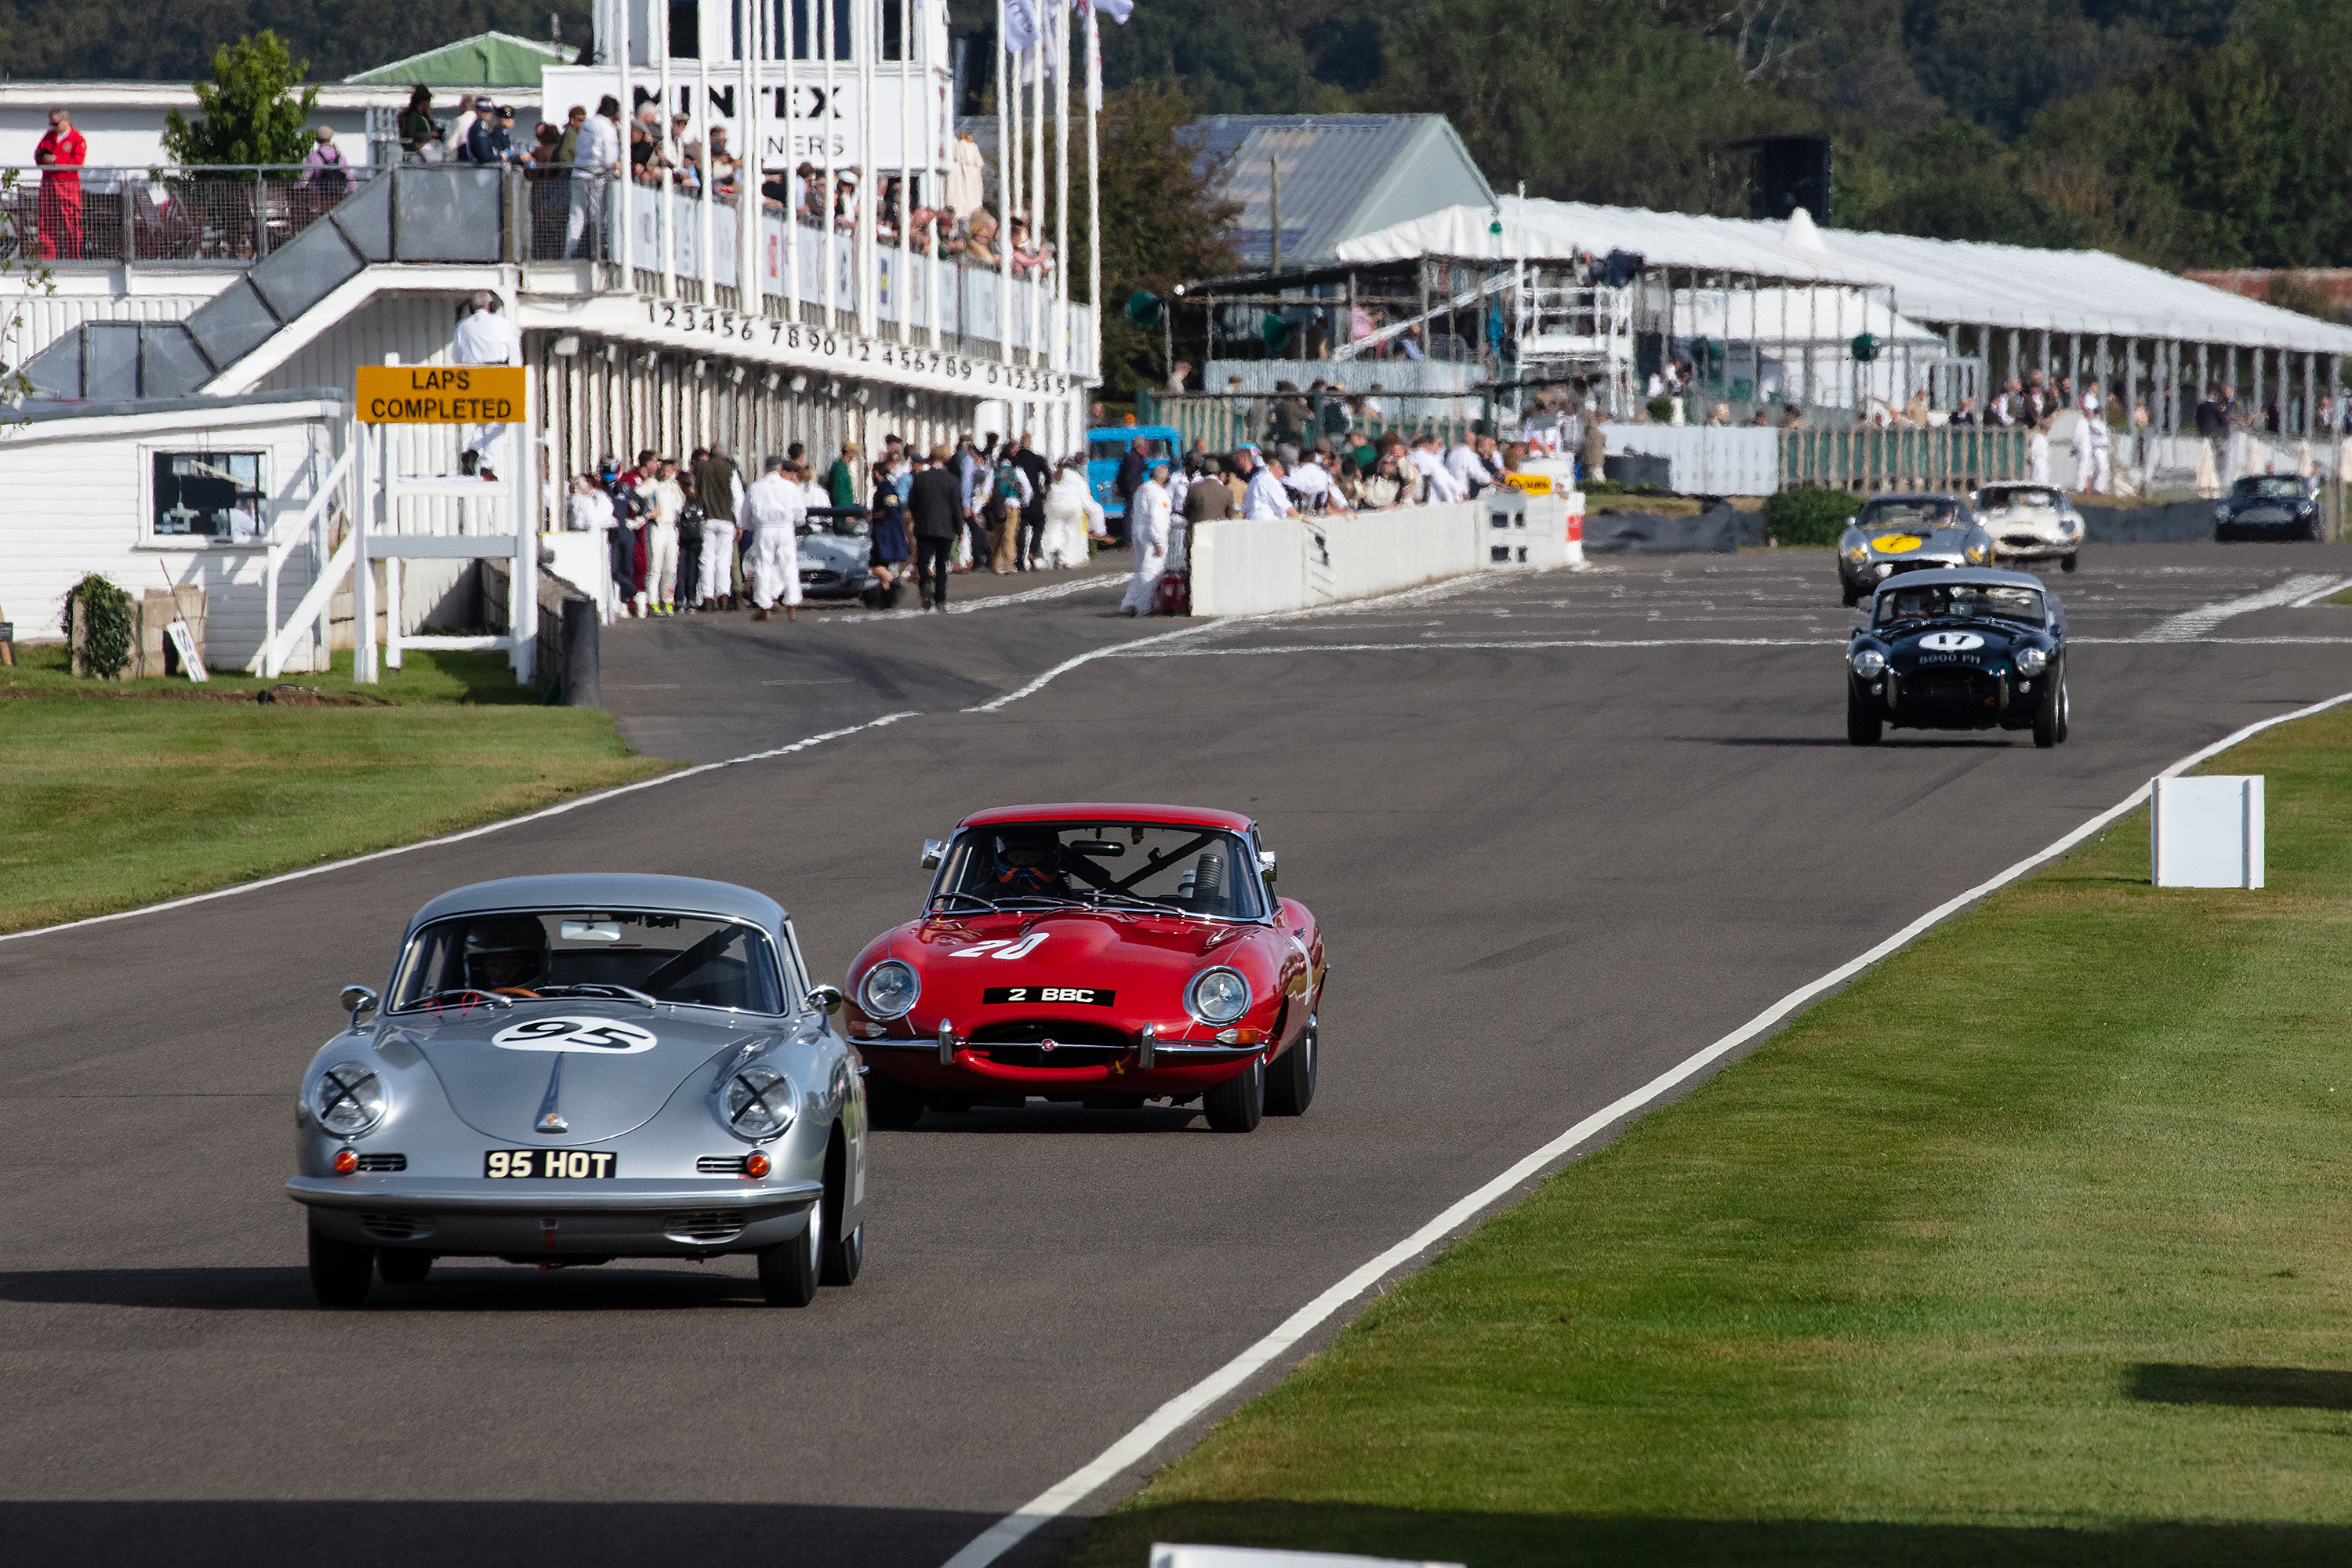
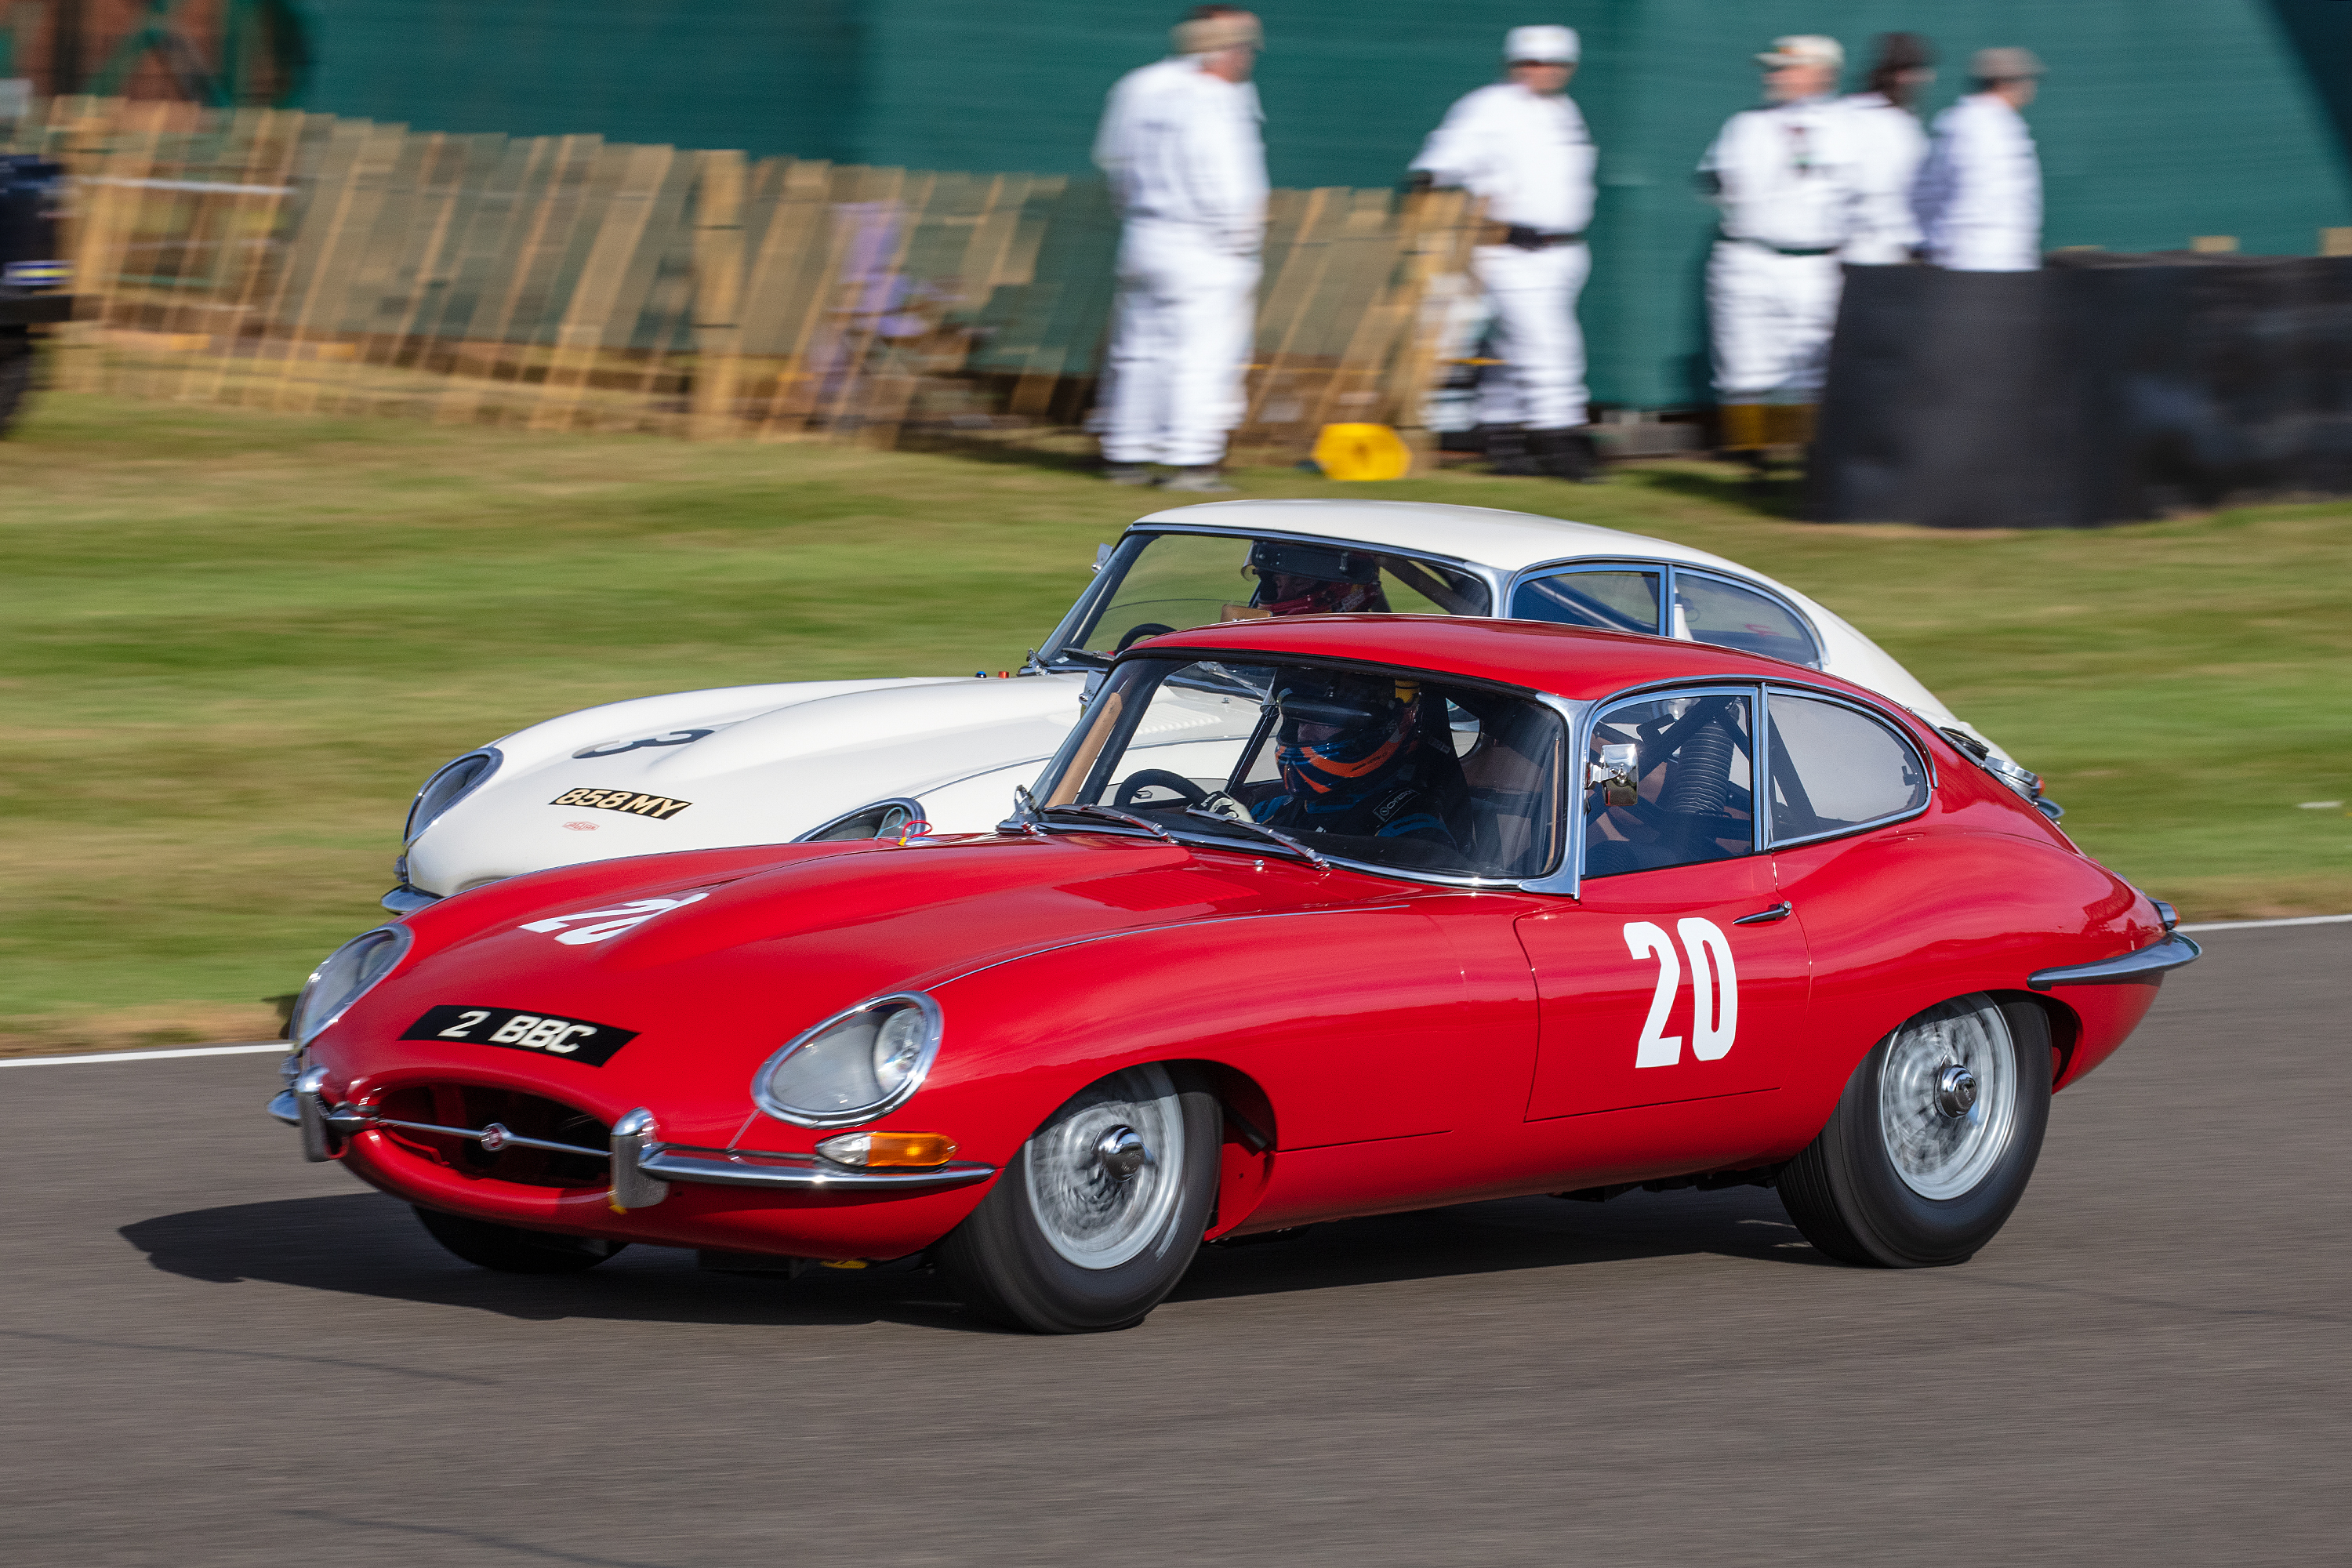
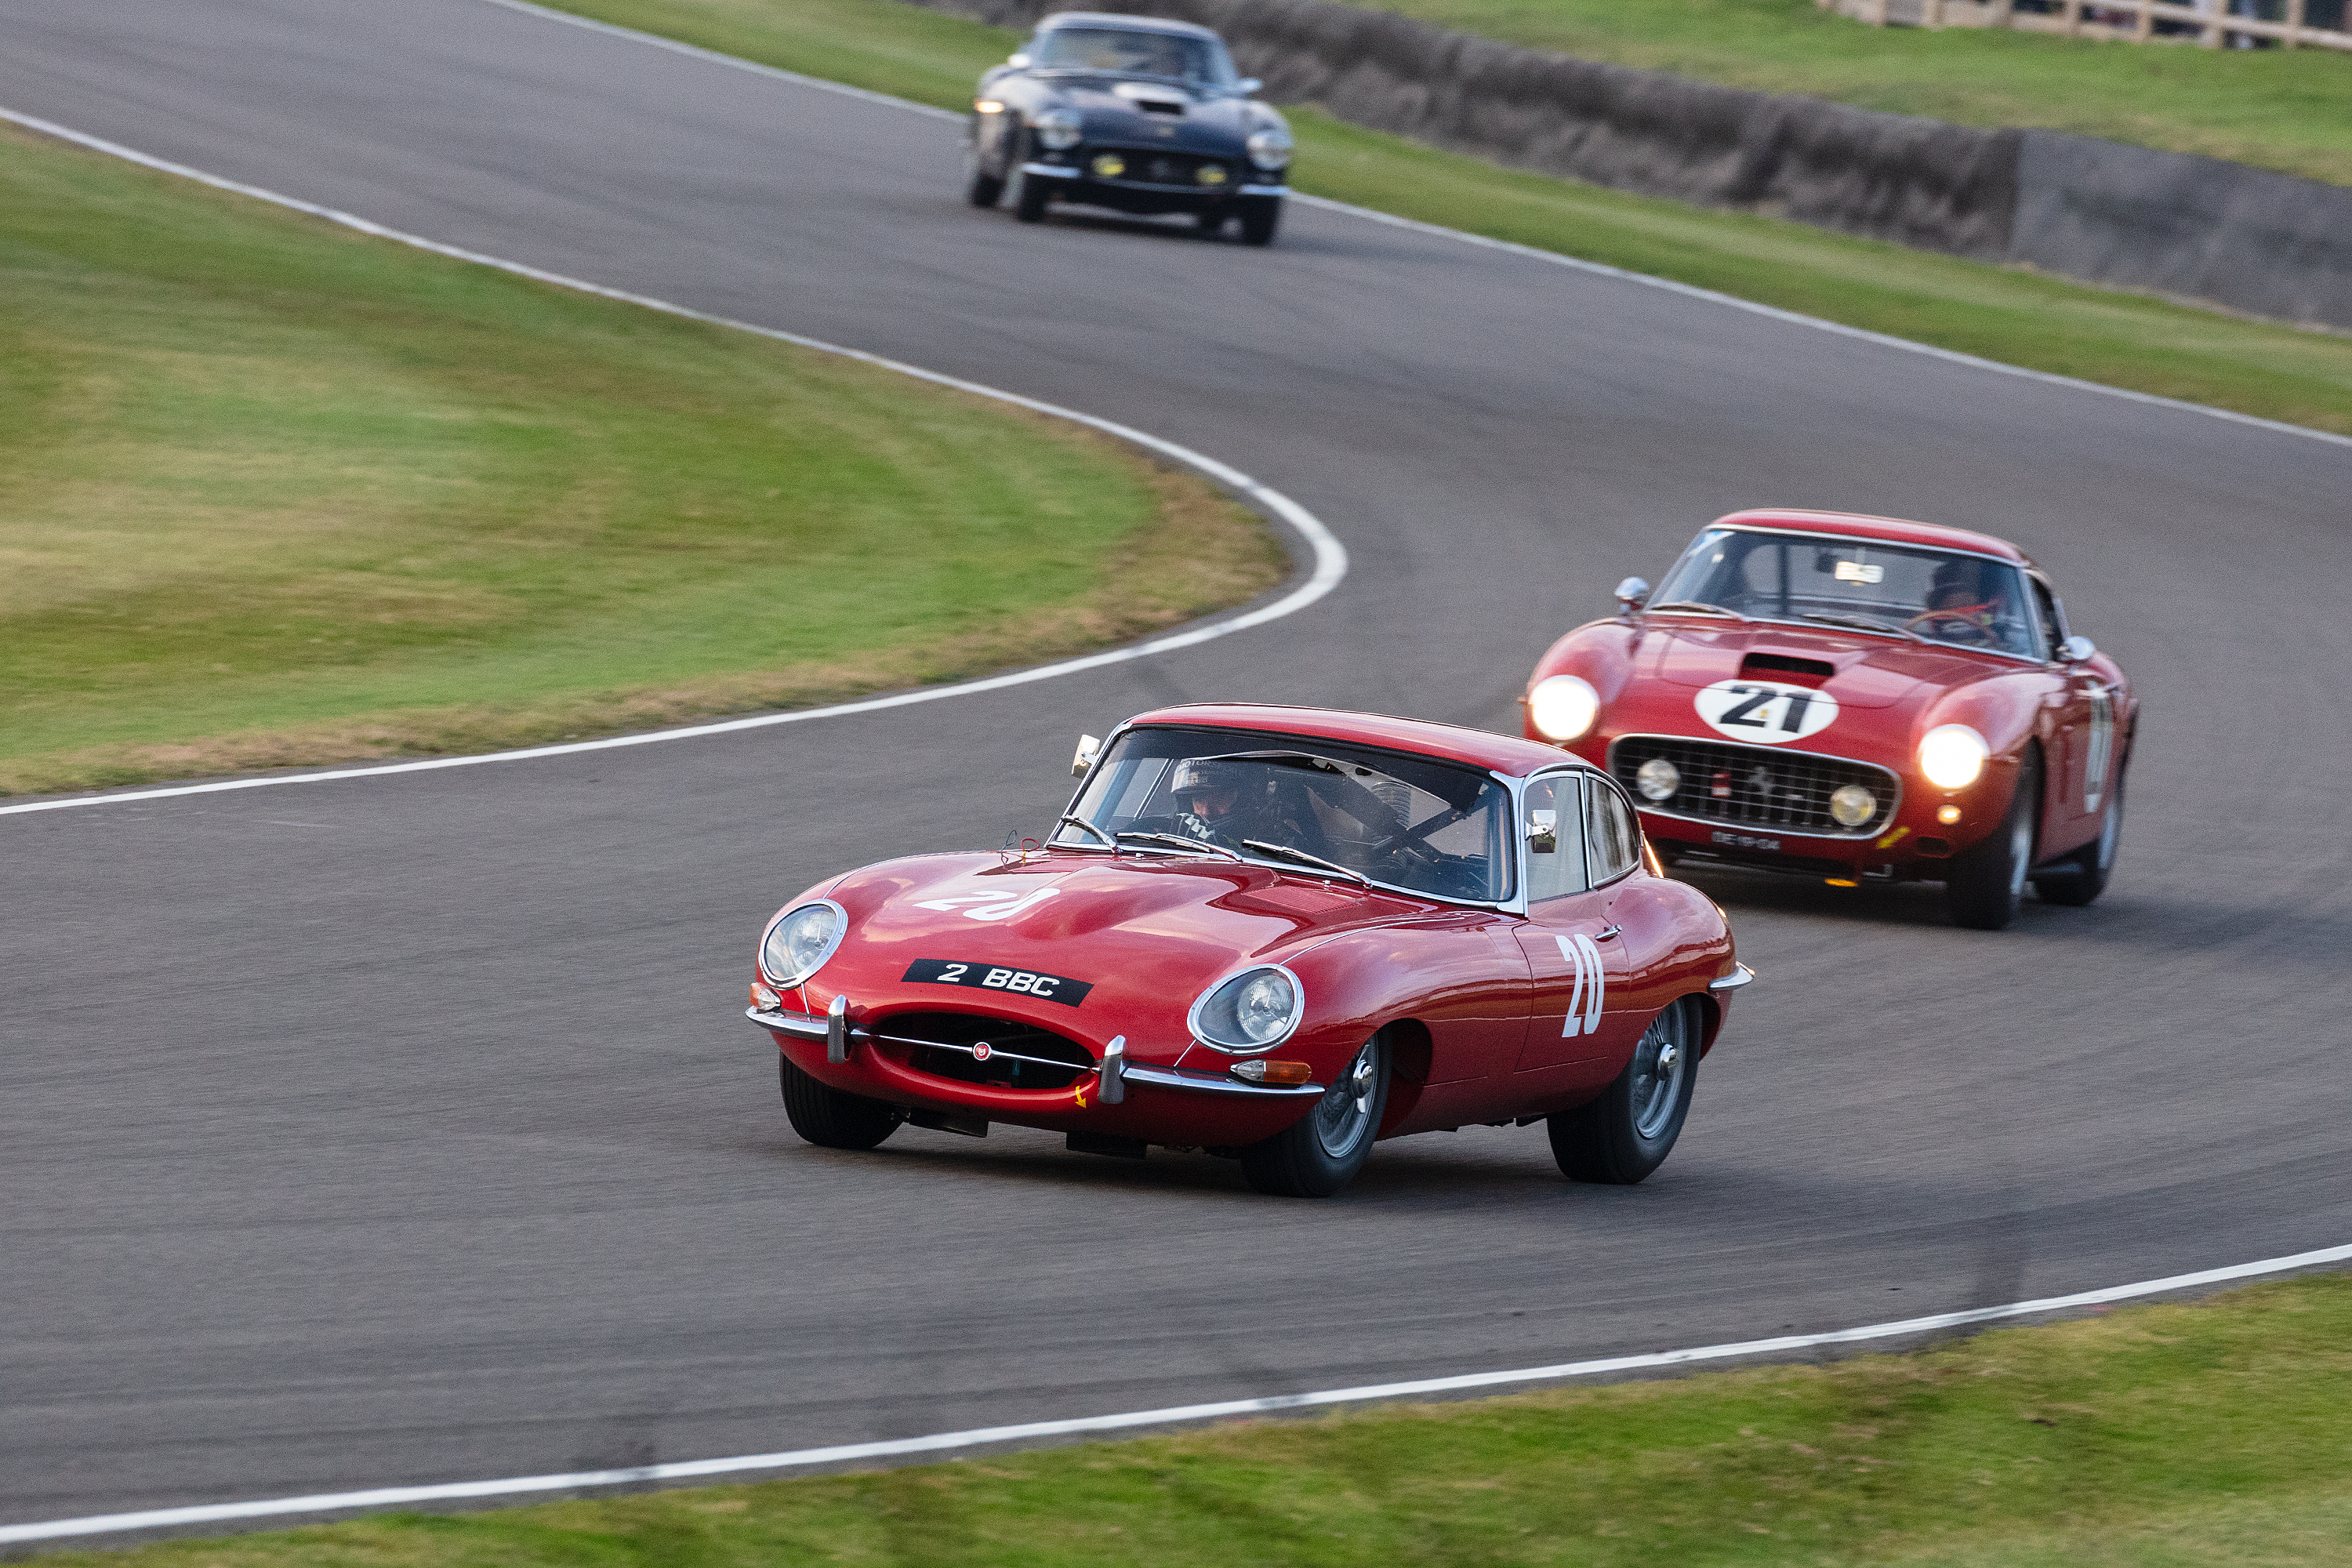
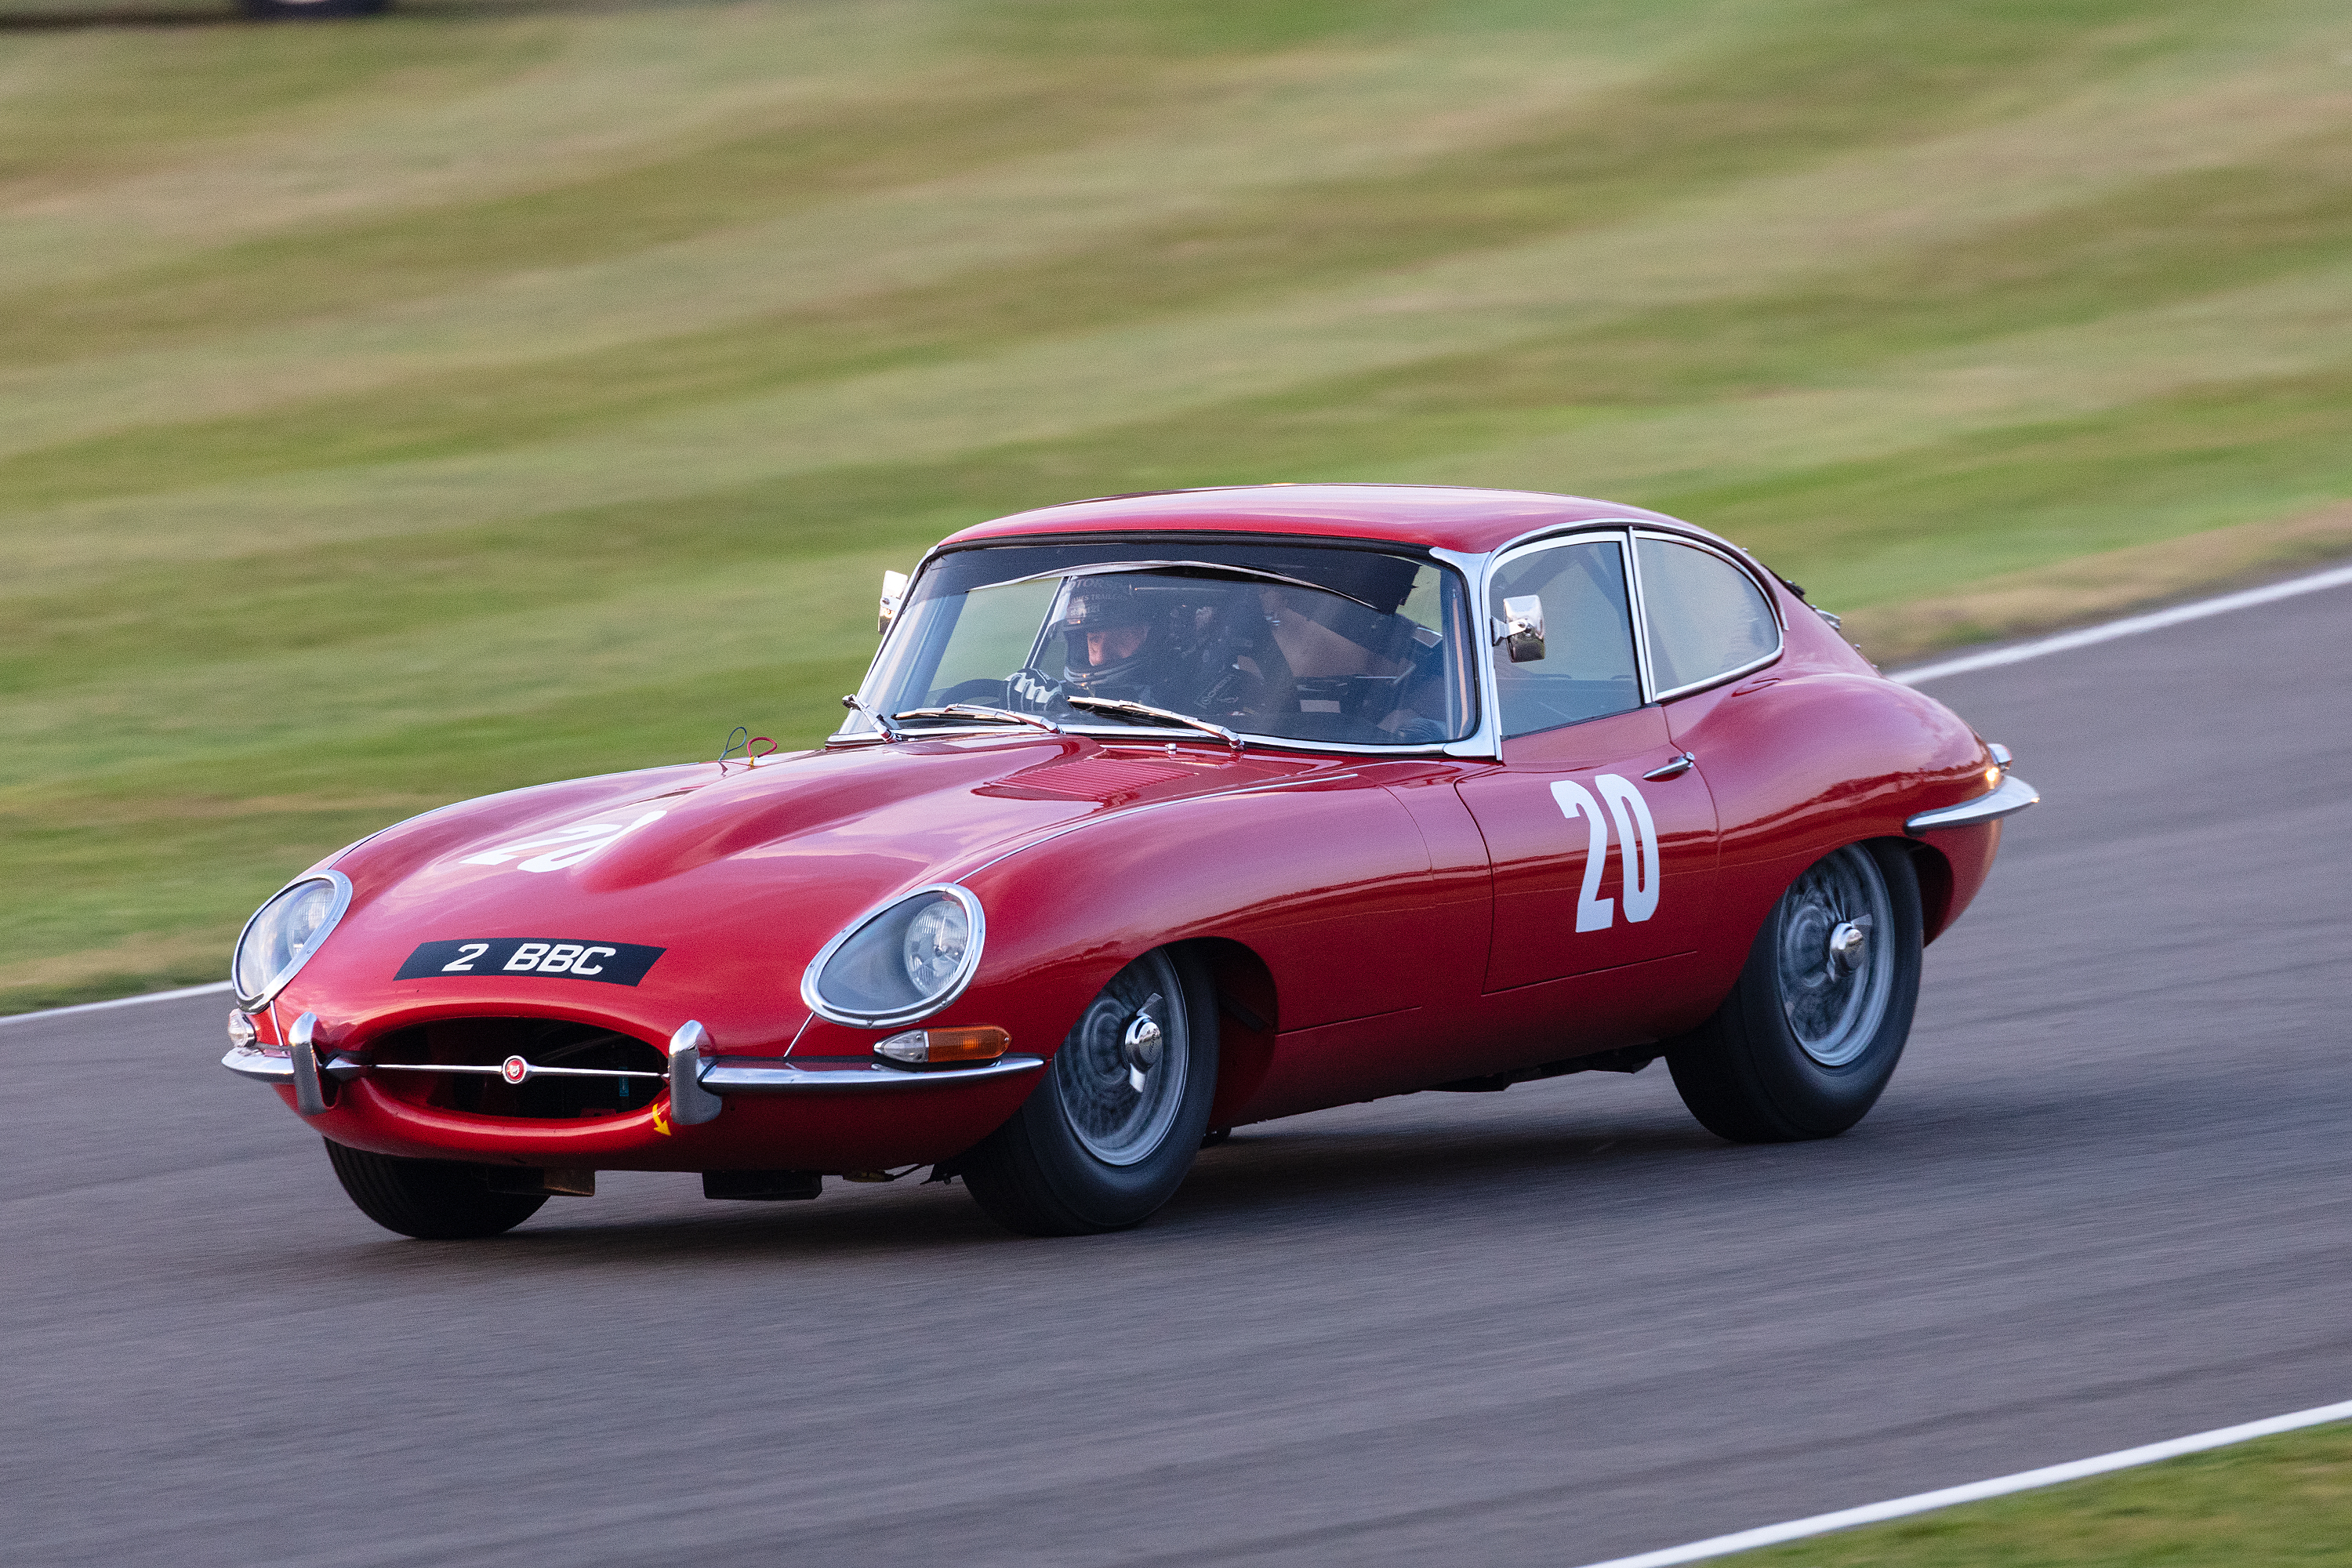
Also out was an old friend, Calum Lockie, co-driving 2BBC, a 1961 E-Type Jaguar
The Stirling Moss Memorial Trophy was the first race of the weekend, to be held at 18:15, so I had plenty of time to look around, snap cars, and to catch up and chat with people I hadn’t seen for a few years
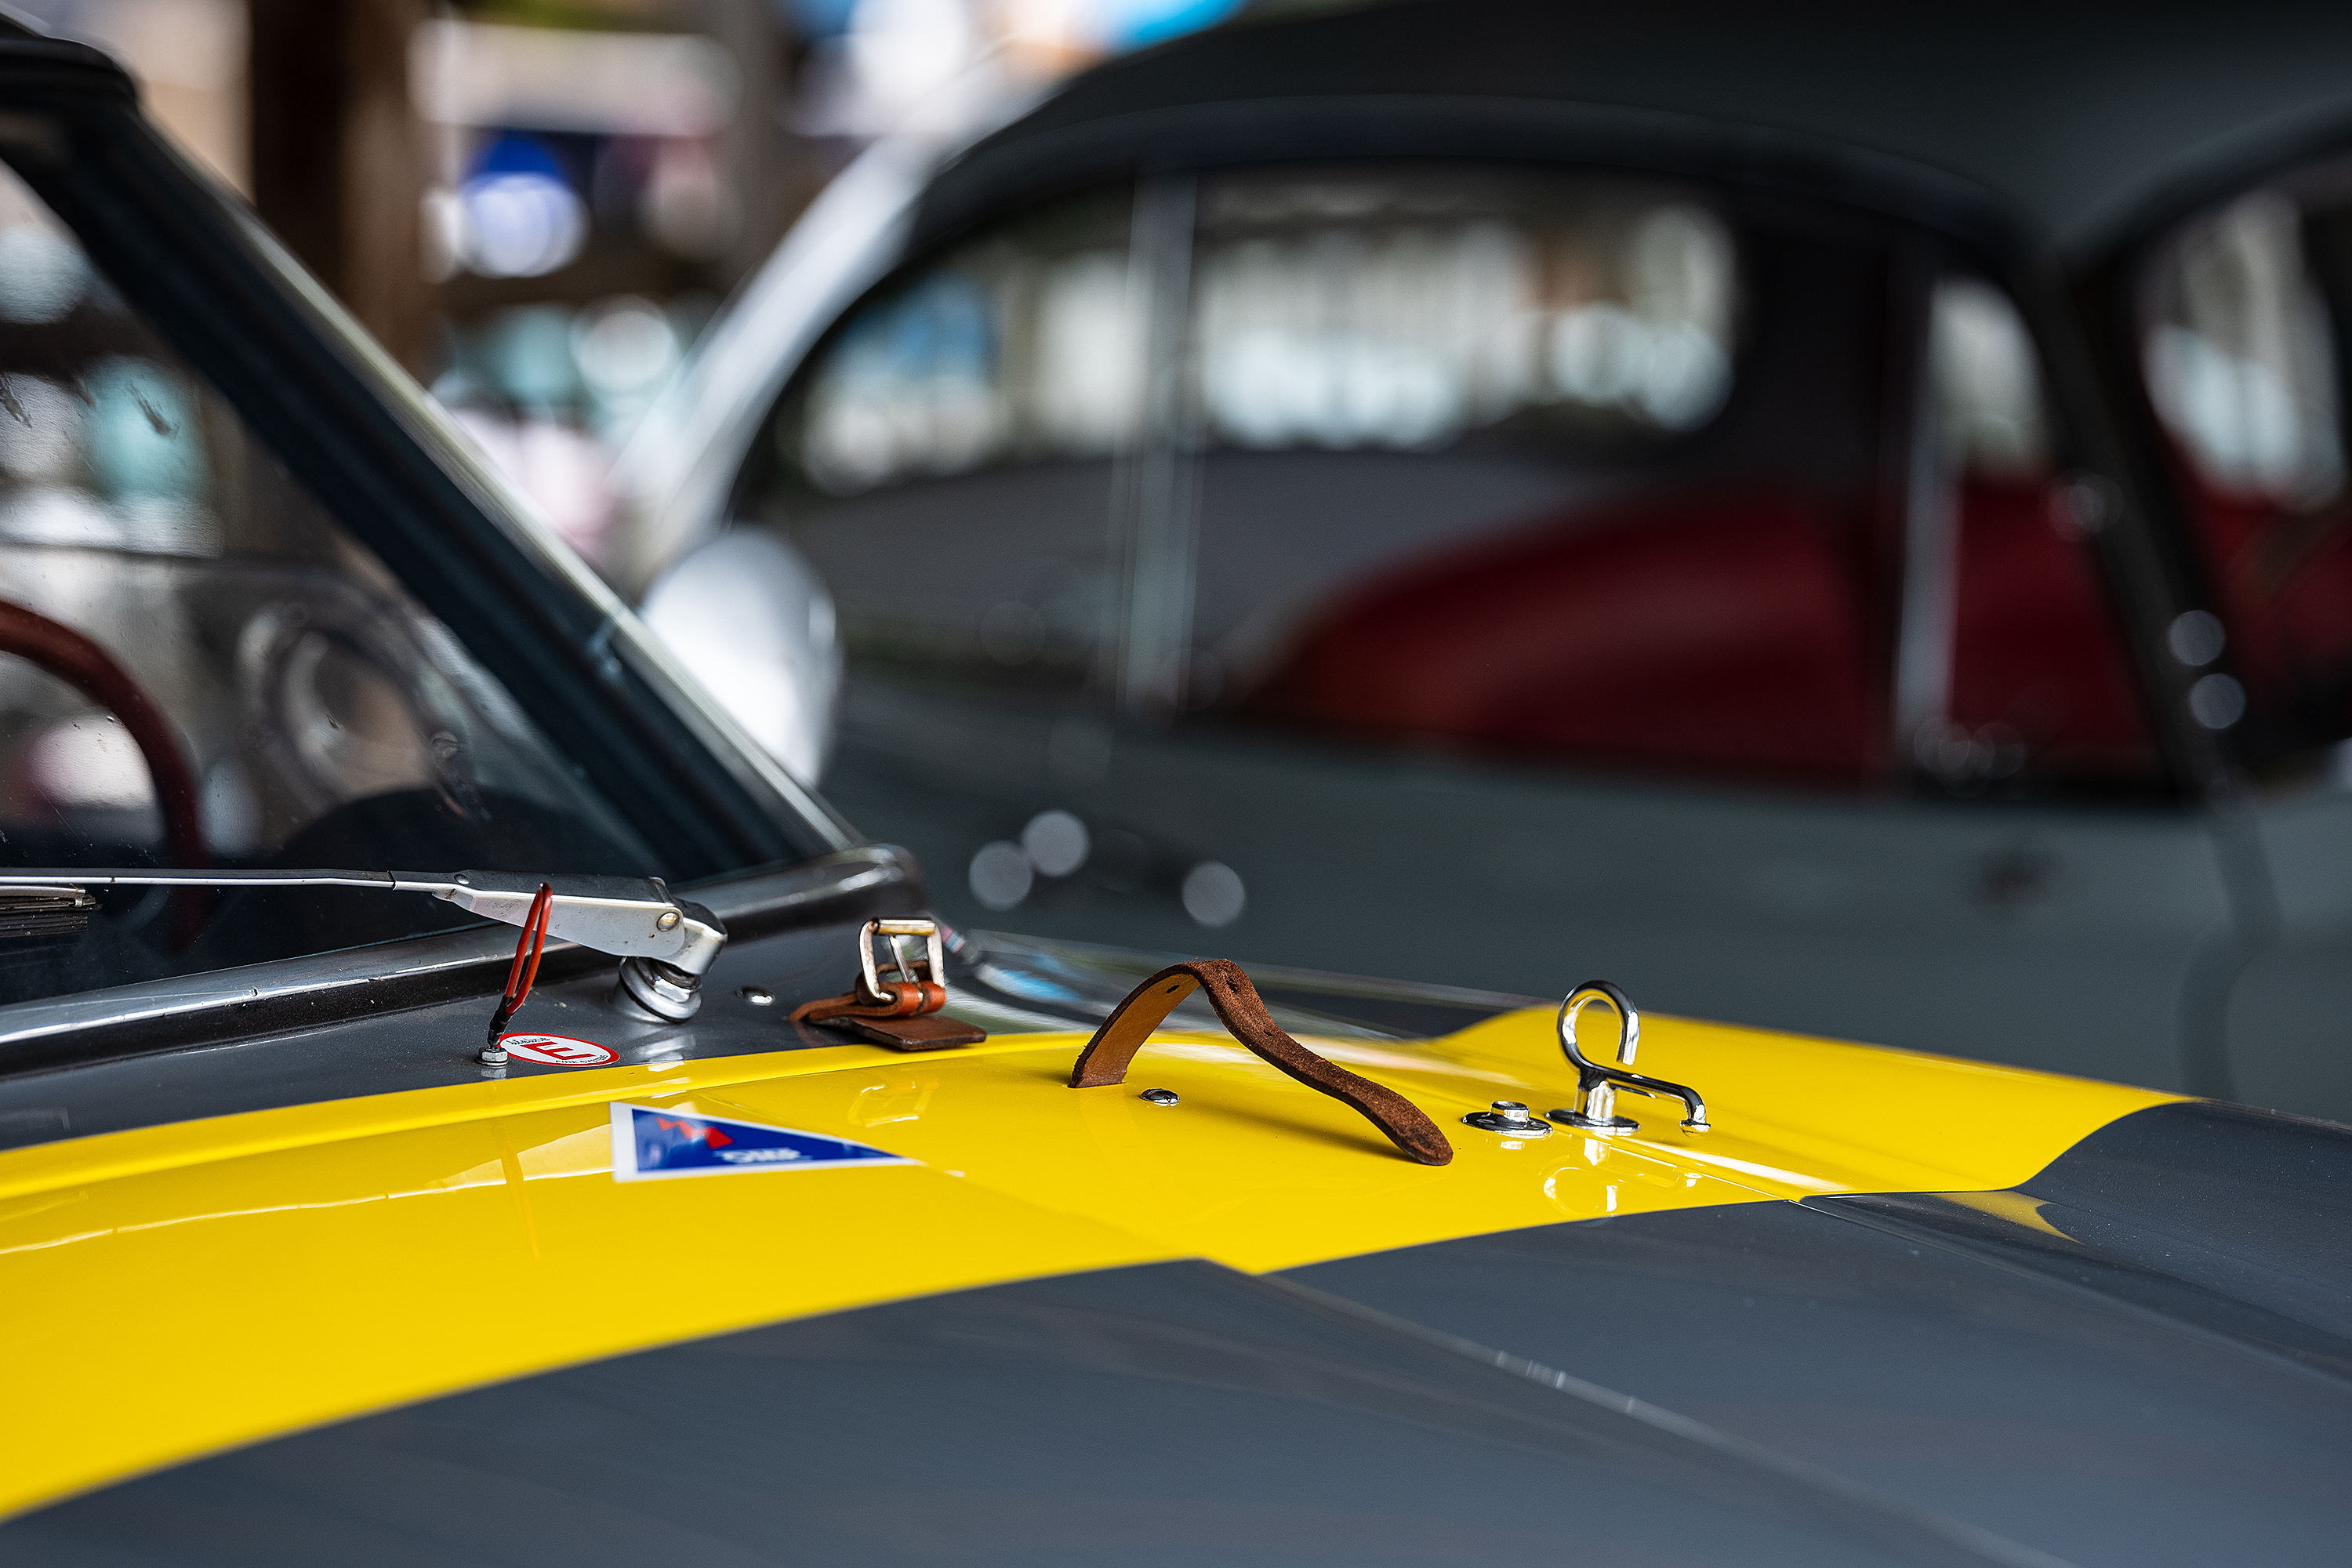
And of course, more time to look at 07 its prepping for the race
By 17:00, we were in the assembly area
The race started on time at 18:15, for me as a photographer, the light was challenging, the sun was hidden behind the clouds, great for the drivers of course, not to have a low sun directly in your eyes
I had to push the ISO, and no polarizer either
But in the end, it was all rather academic, as 11 laps in, after around eighteen minutes, Vincent had to retire his car with a mechanical issue
Calum Lockie & his co-driver would also have to retire sadly just a few laps later
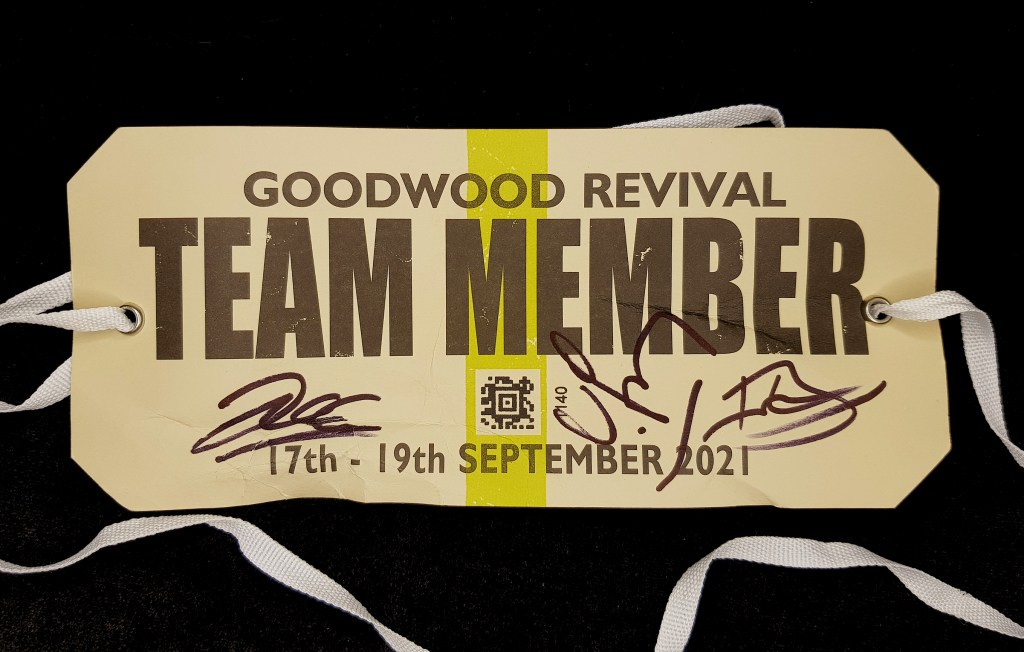
I did get my armband signed during the assembly though, by Vincent Gaye, Joe Twyman & Brendon Hartley
My paddock access
And so that was my Goodwood, next up is the Birkett Relay at Silverstone in October
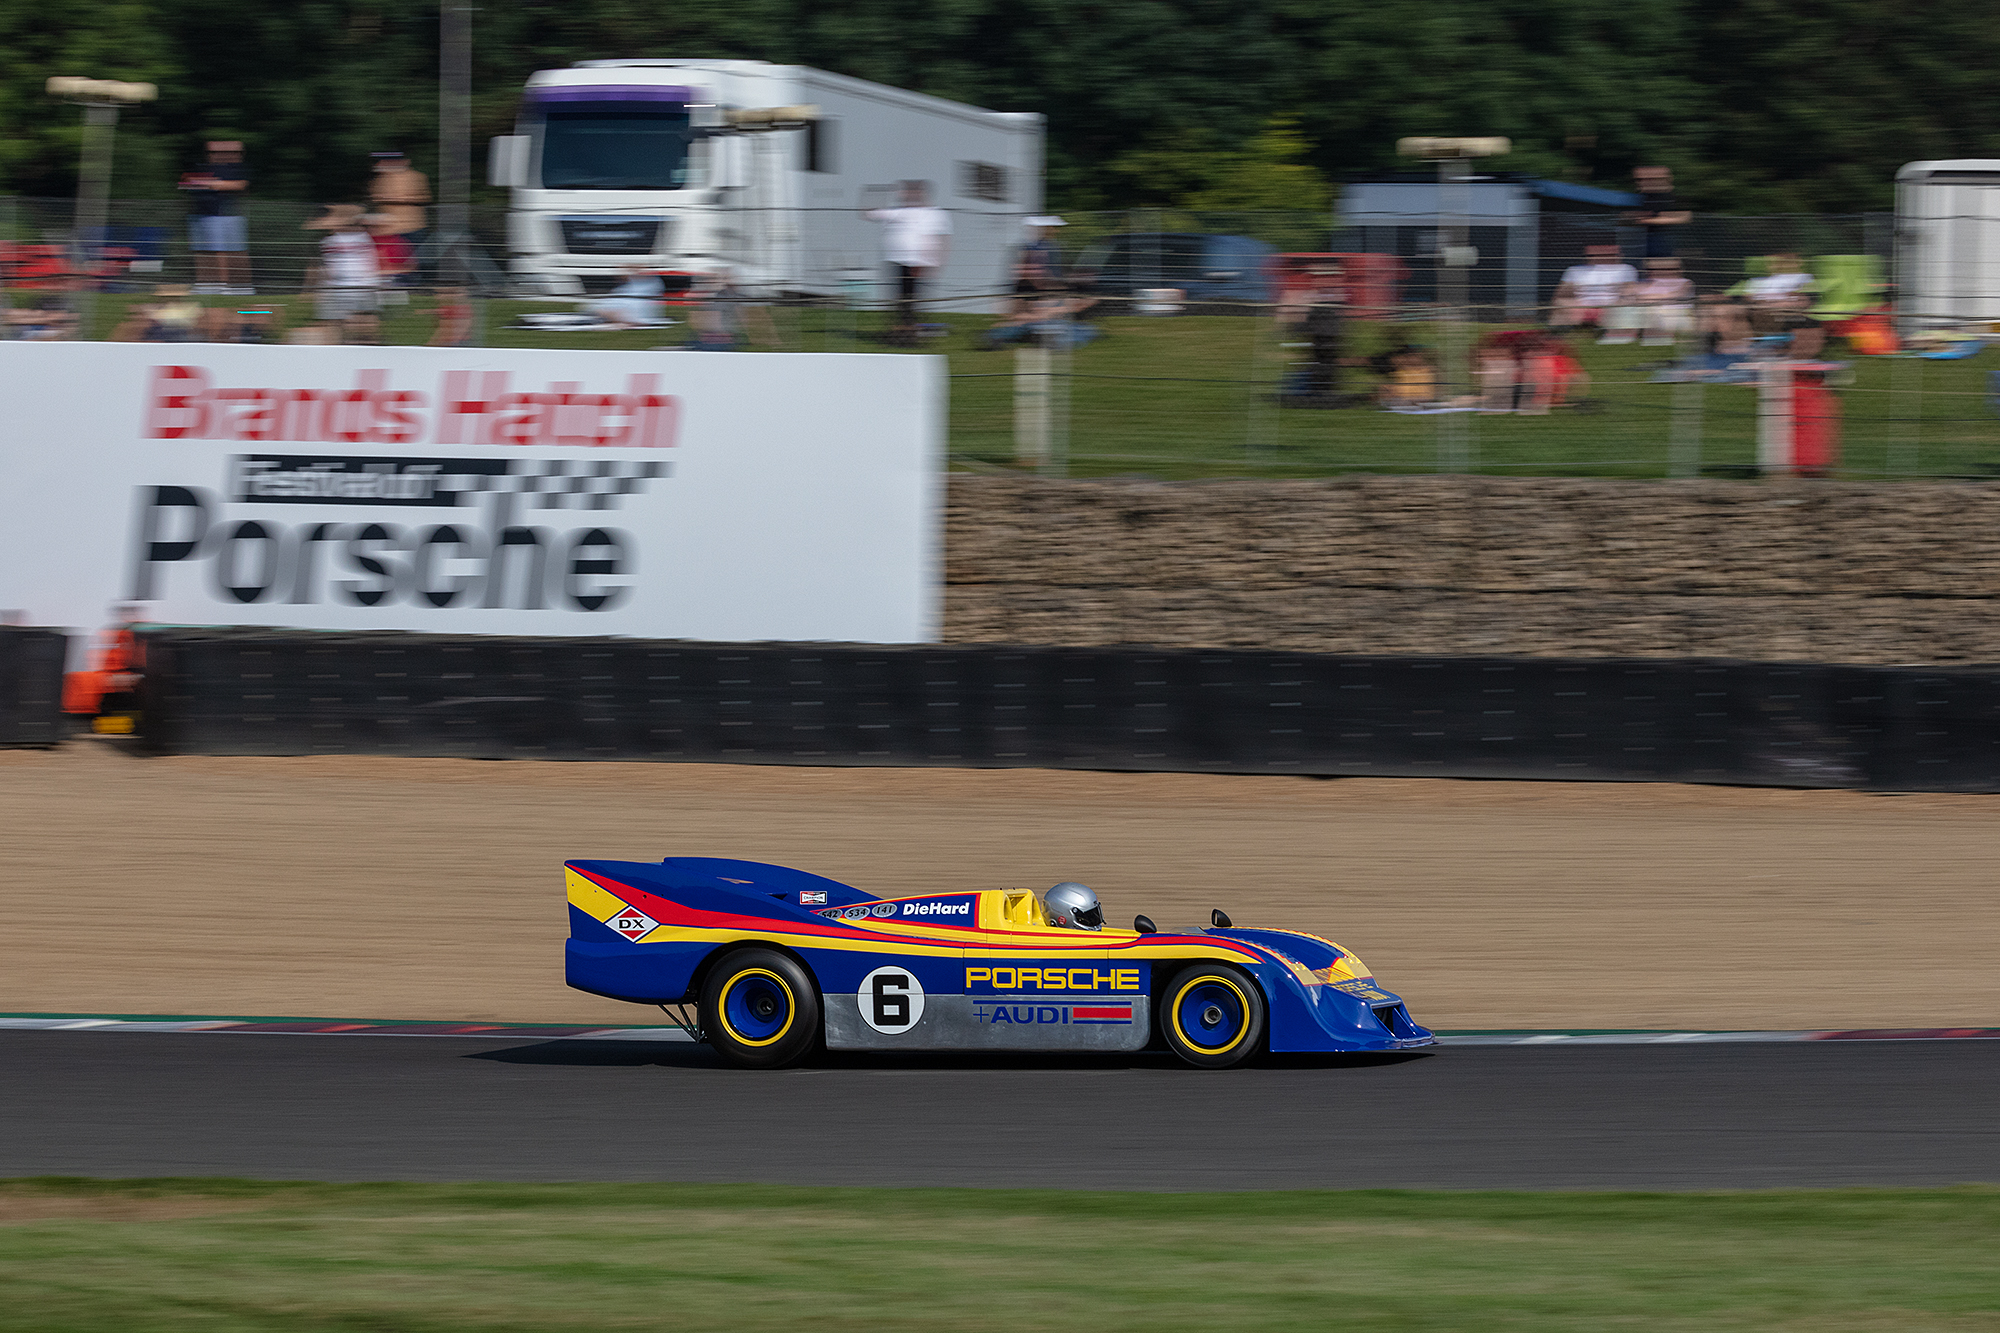
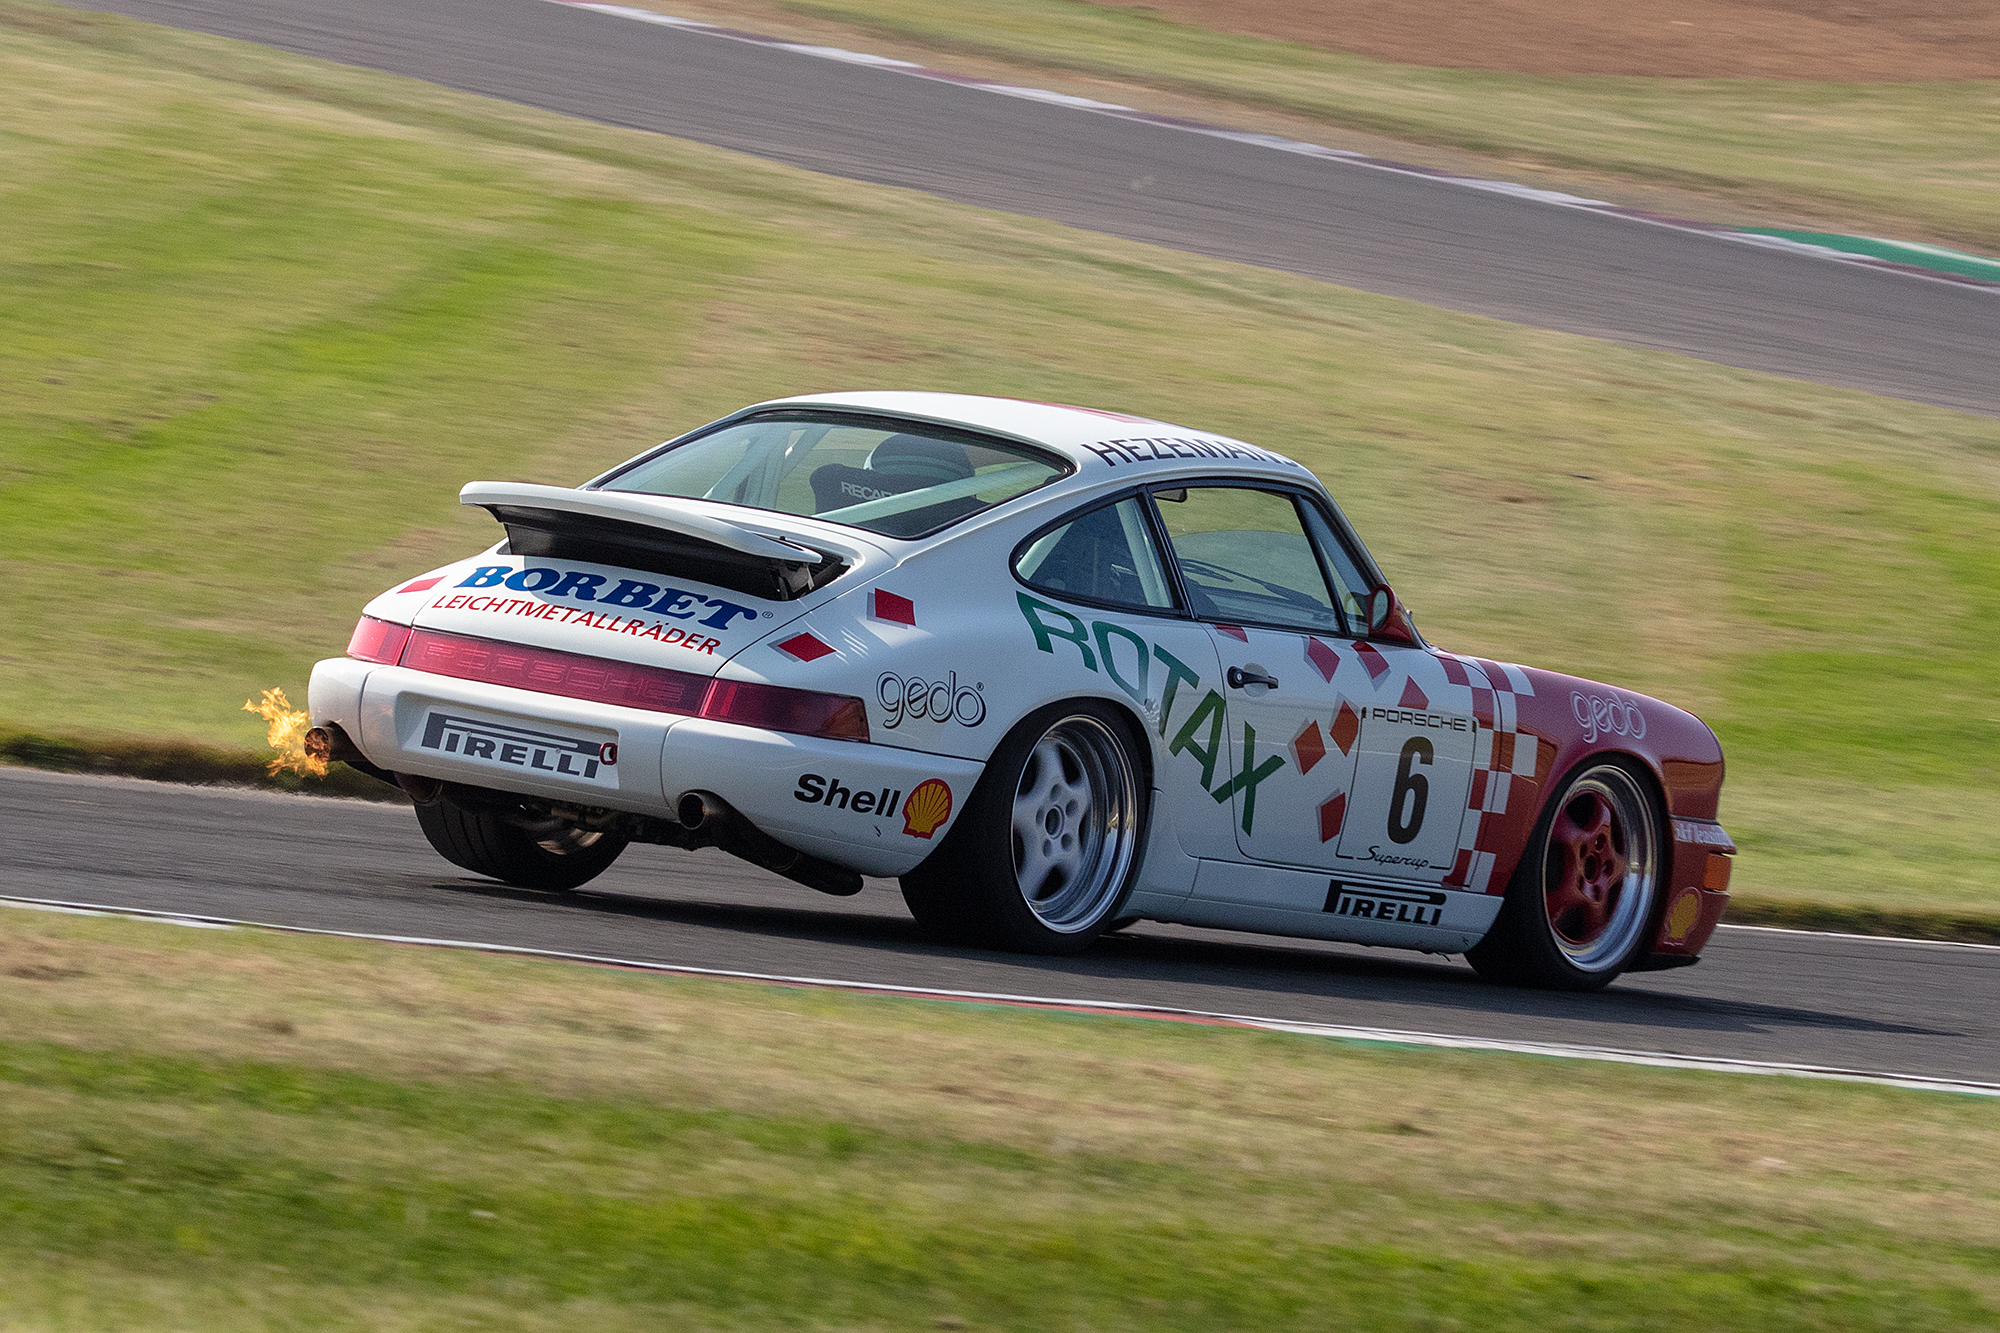
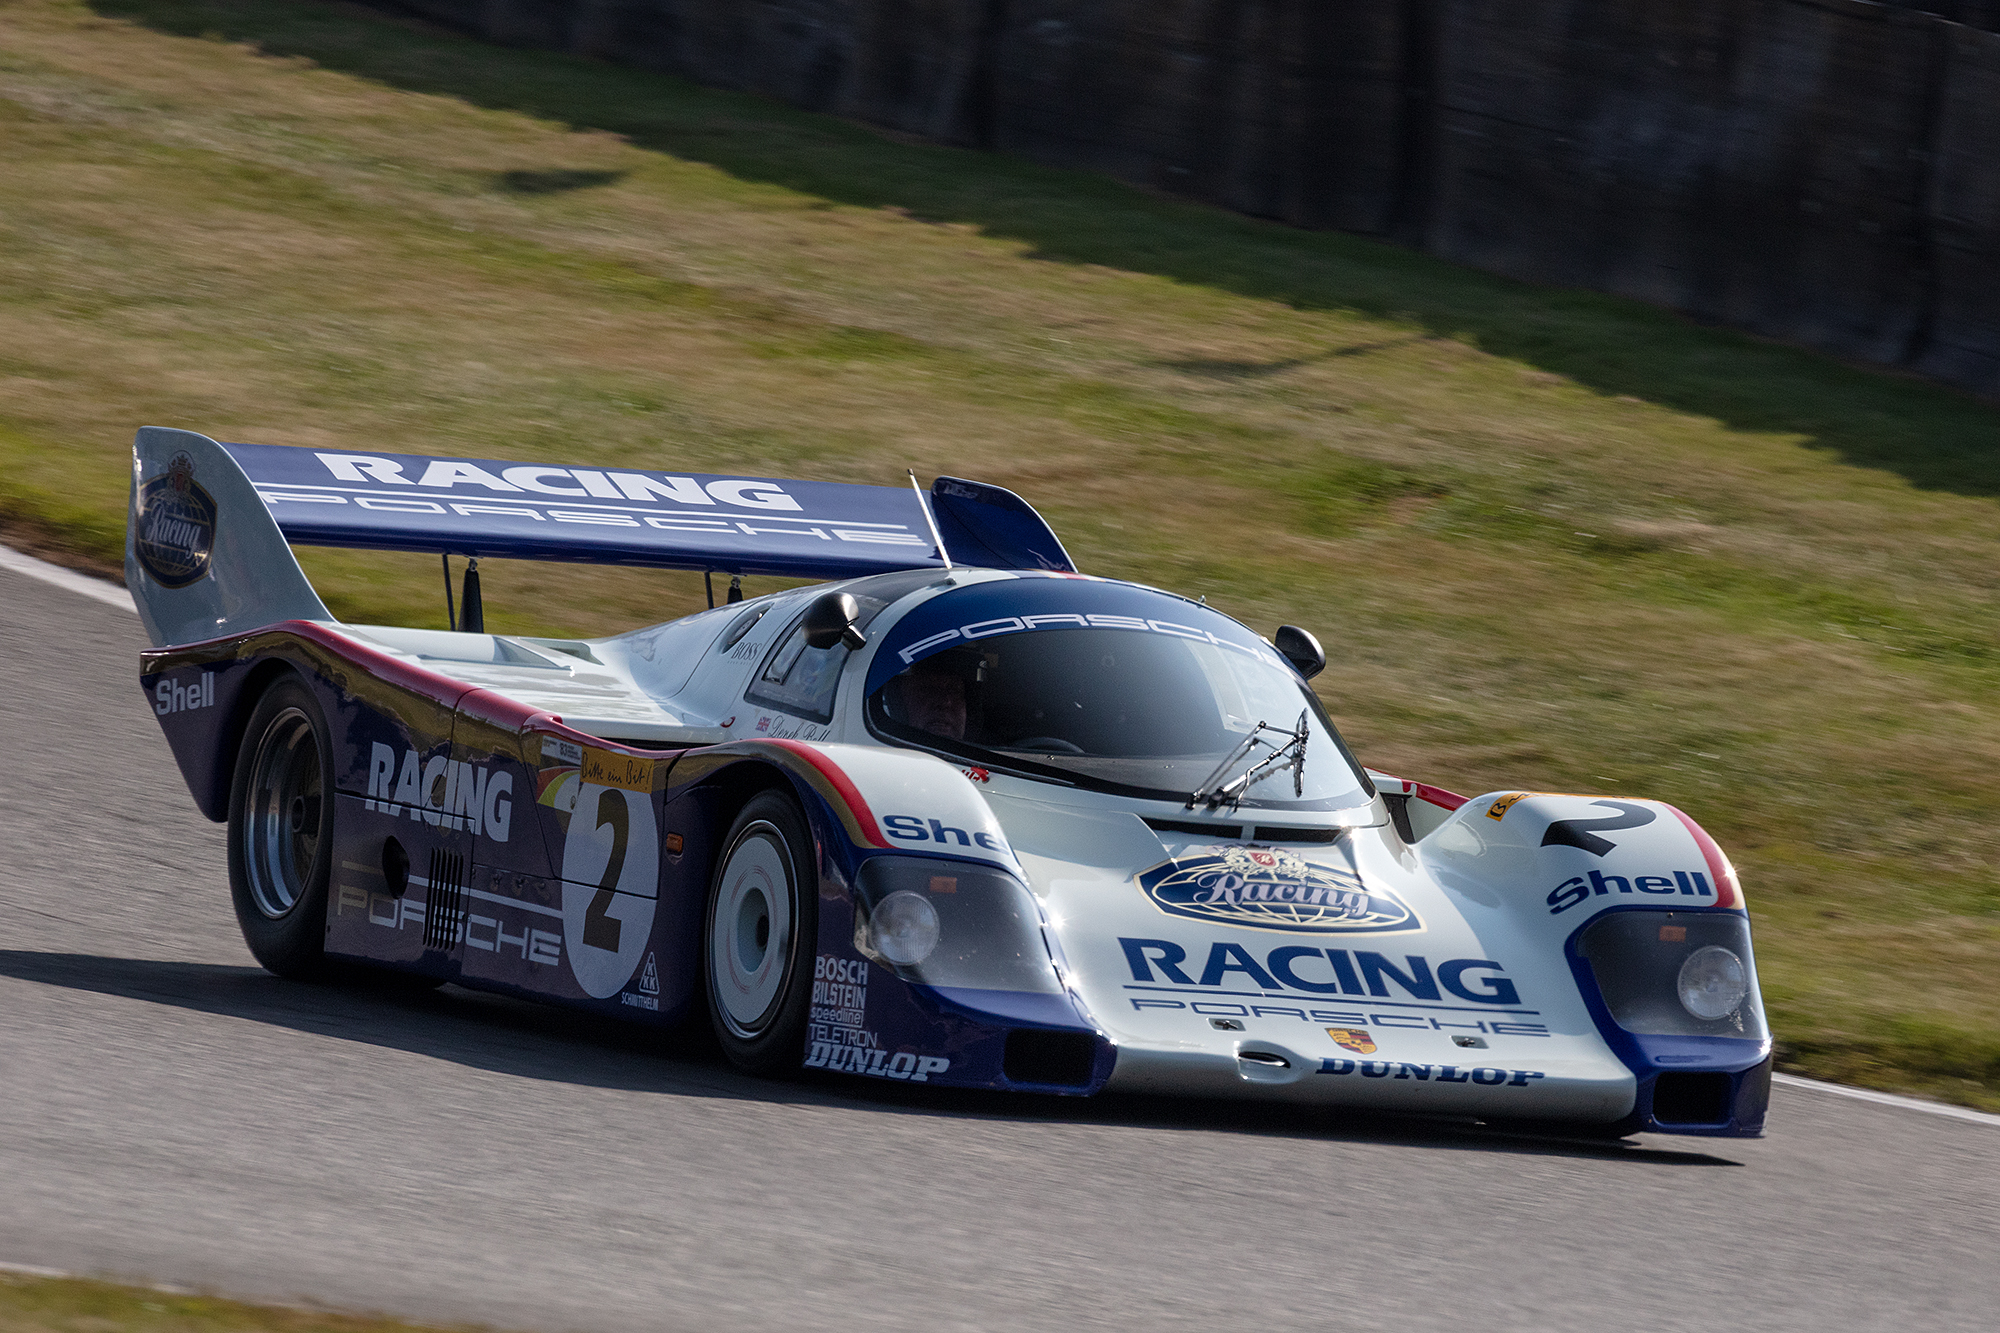
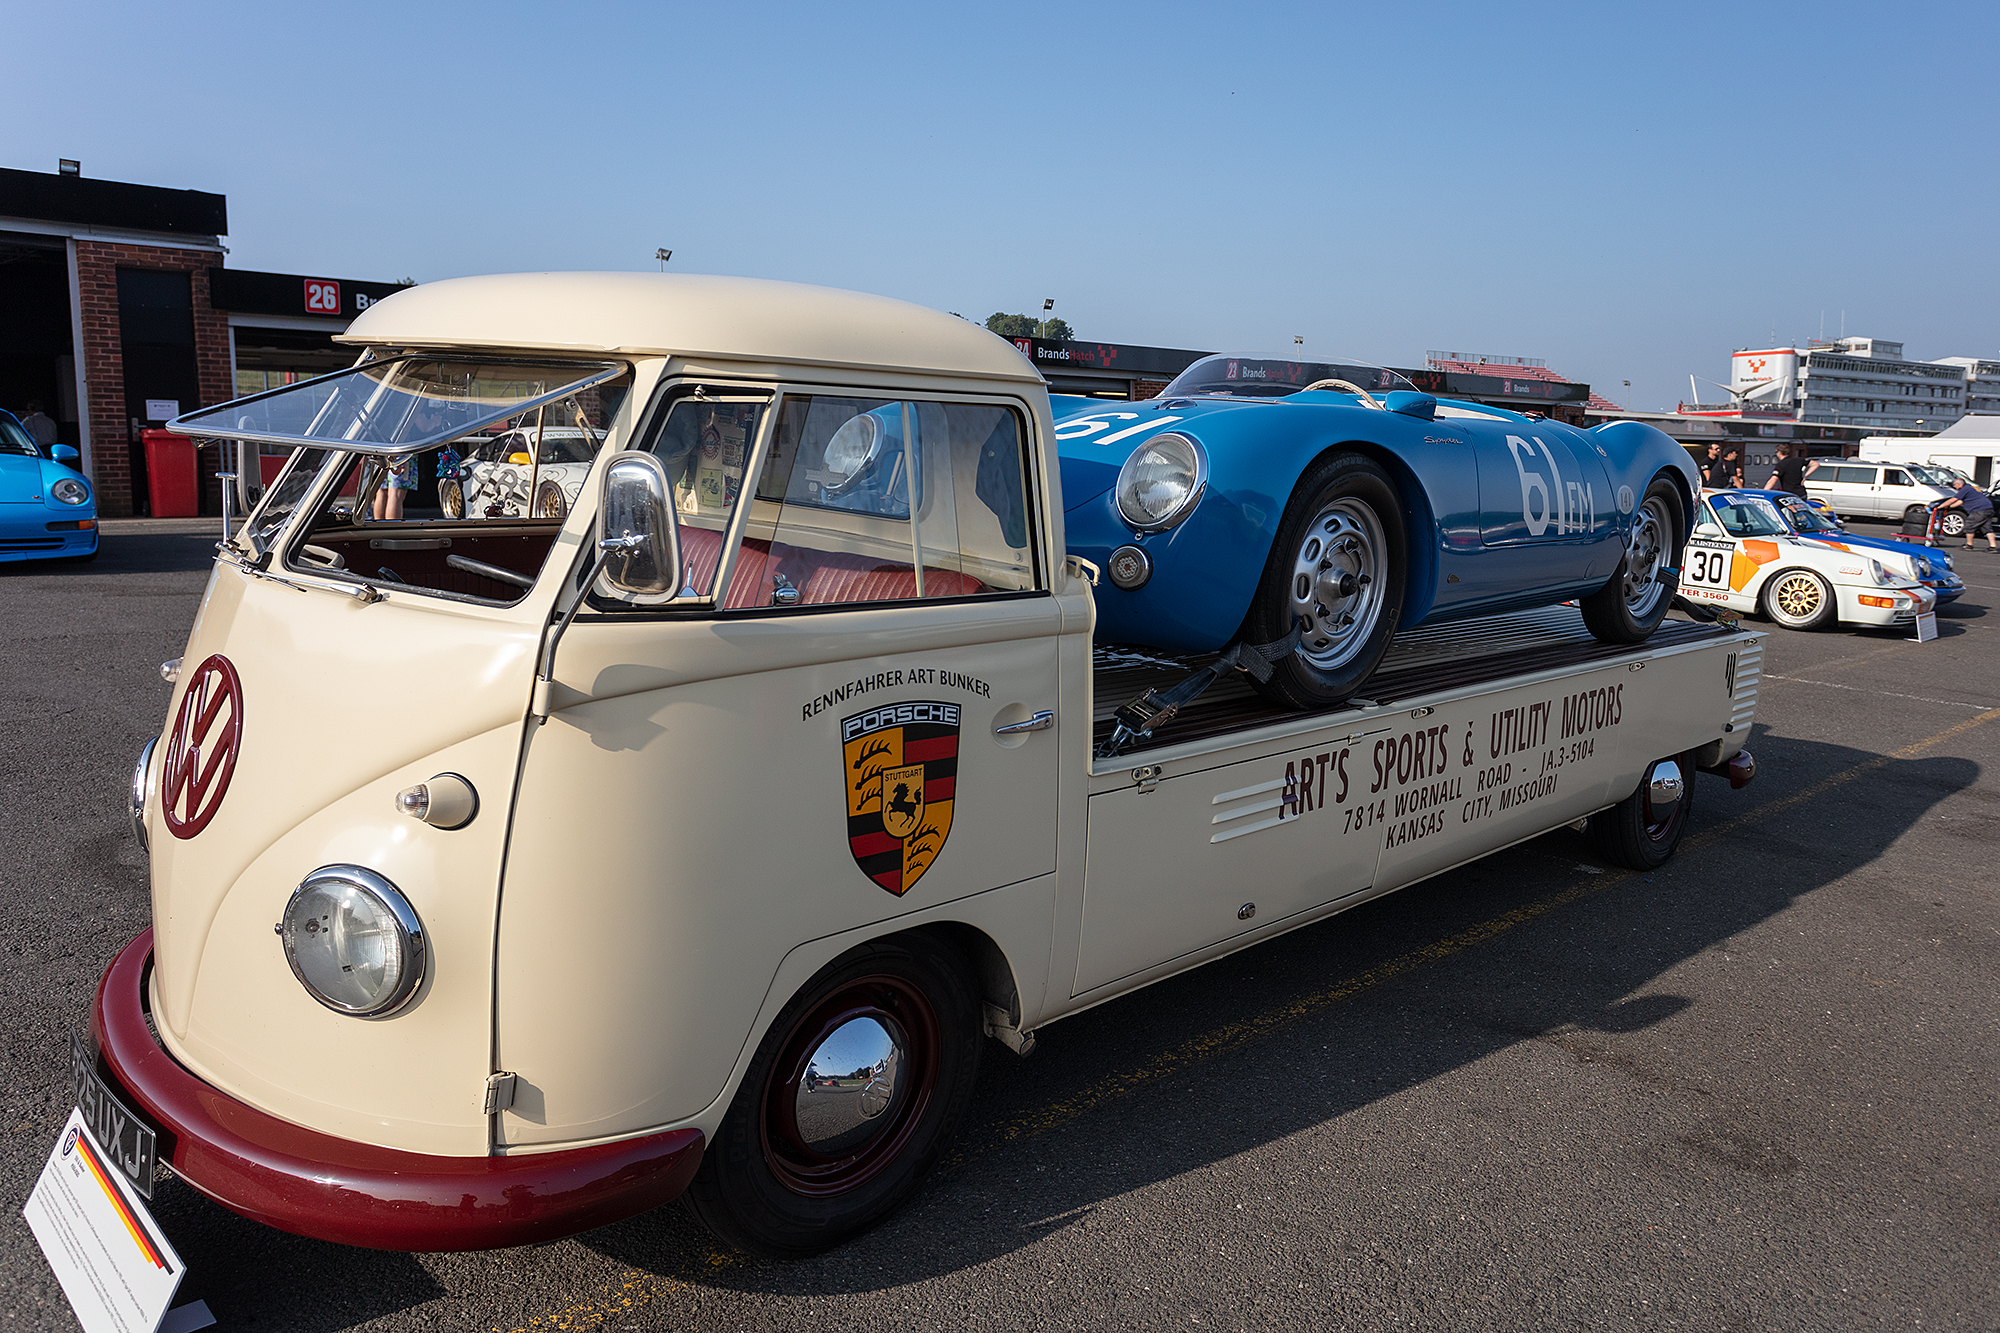
The CALM All Porsche Trophy, at the Festival of Porsche, Brands Hatch Indy, Sunday the 5th of September 2021
Quali was just before lunch, the race itself was towards the end of the day in the beautiful evening light
It was a hot a very humid day, and if you know me, you’ll know, I’m not good in the heat, I get burnt at a firewoks display!
Chris Vallentine & Phillip Waters, who were both racing, reckoned the temperature could easily have been 50c in the cars, obviously they were to busy to check it accurately for me, so I guess I got of lucky
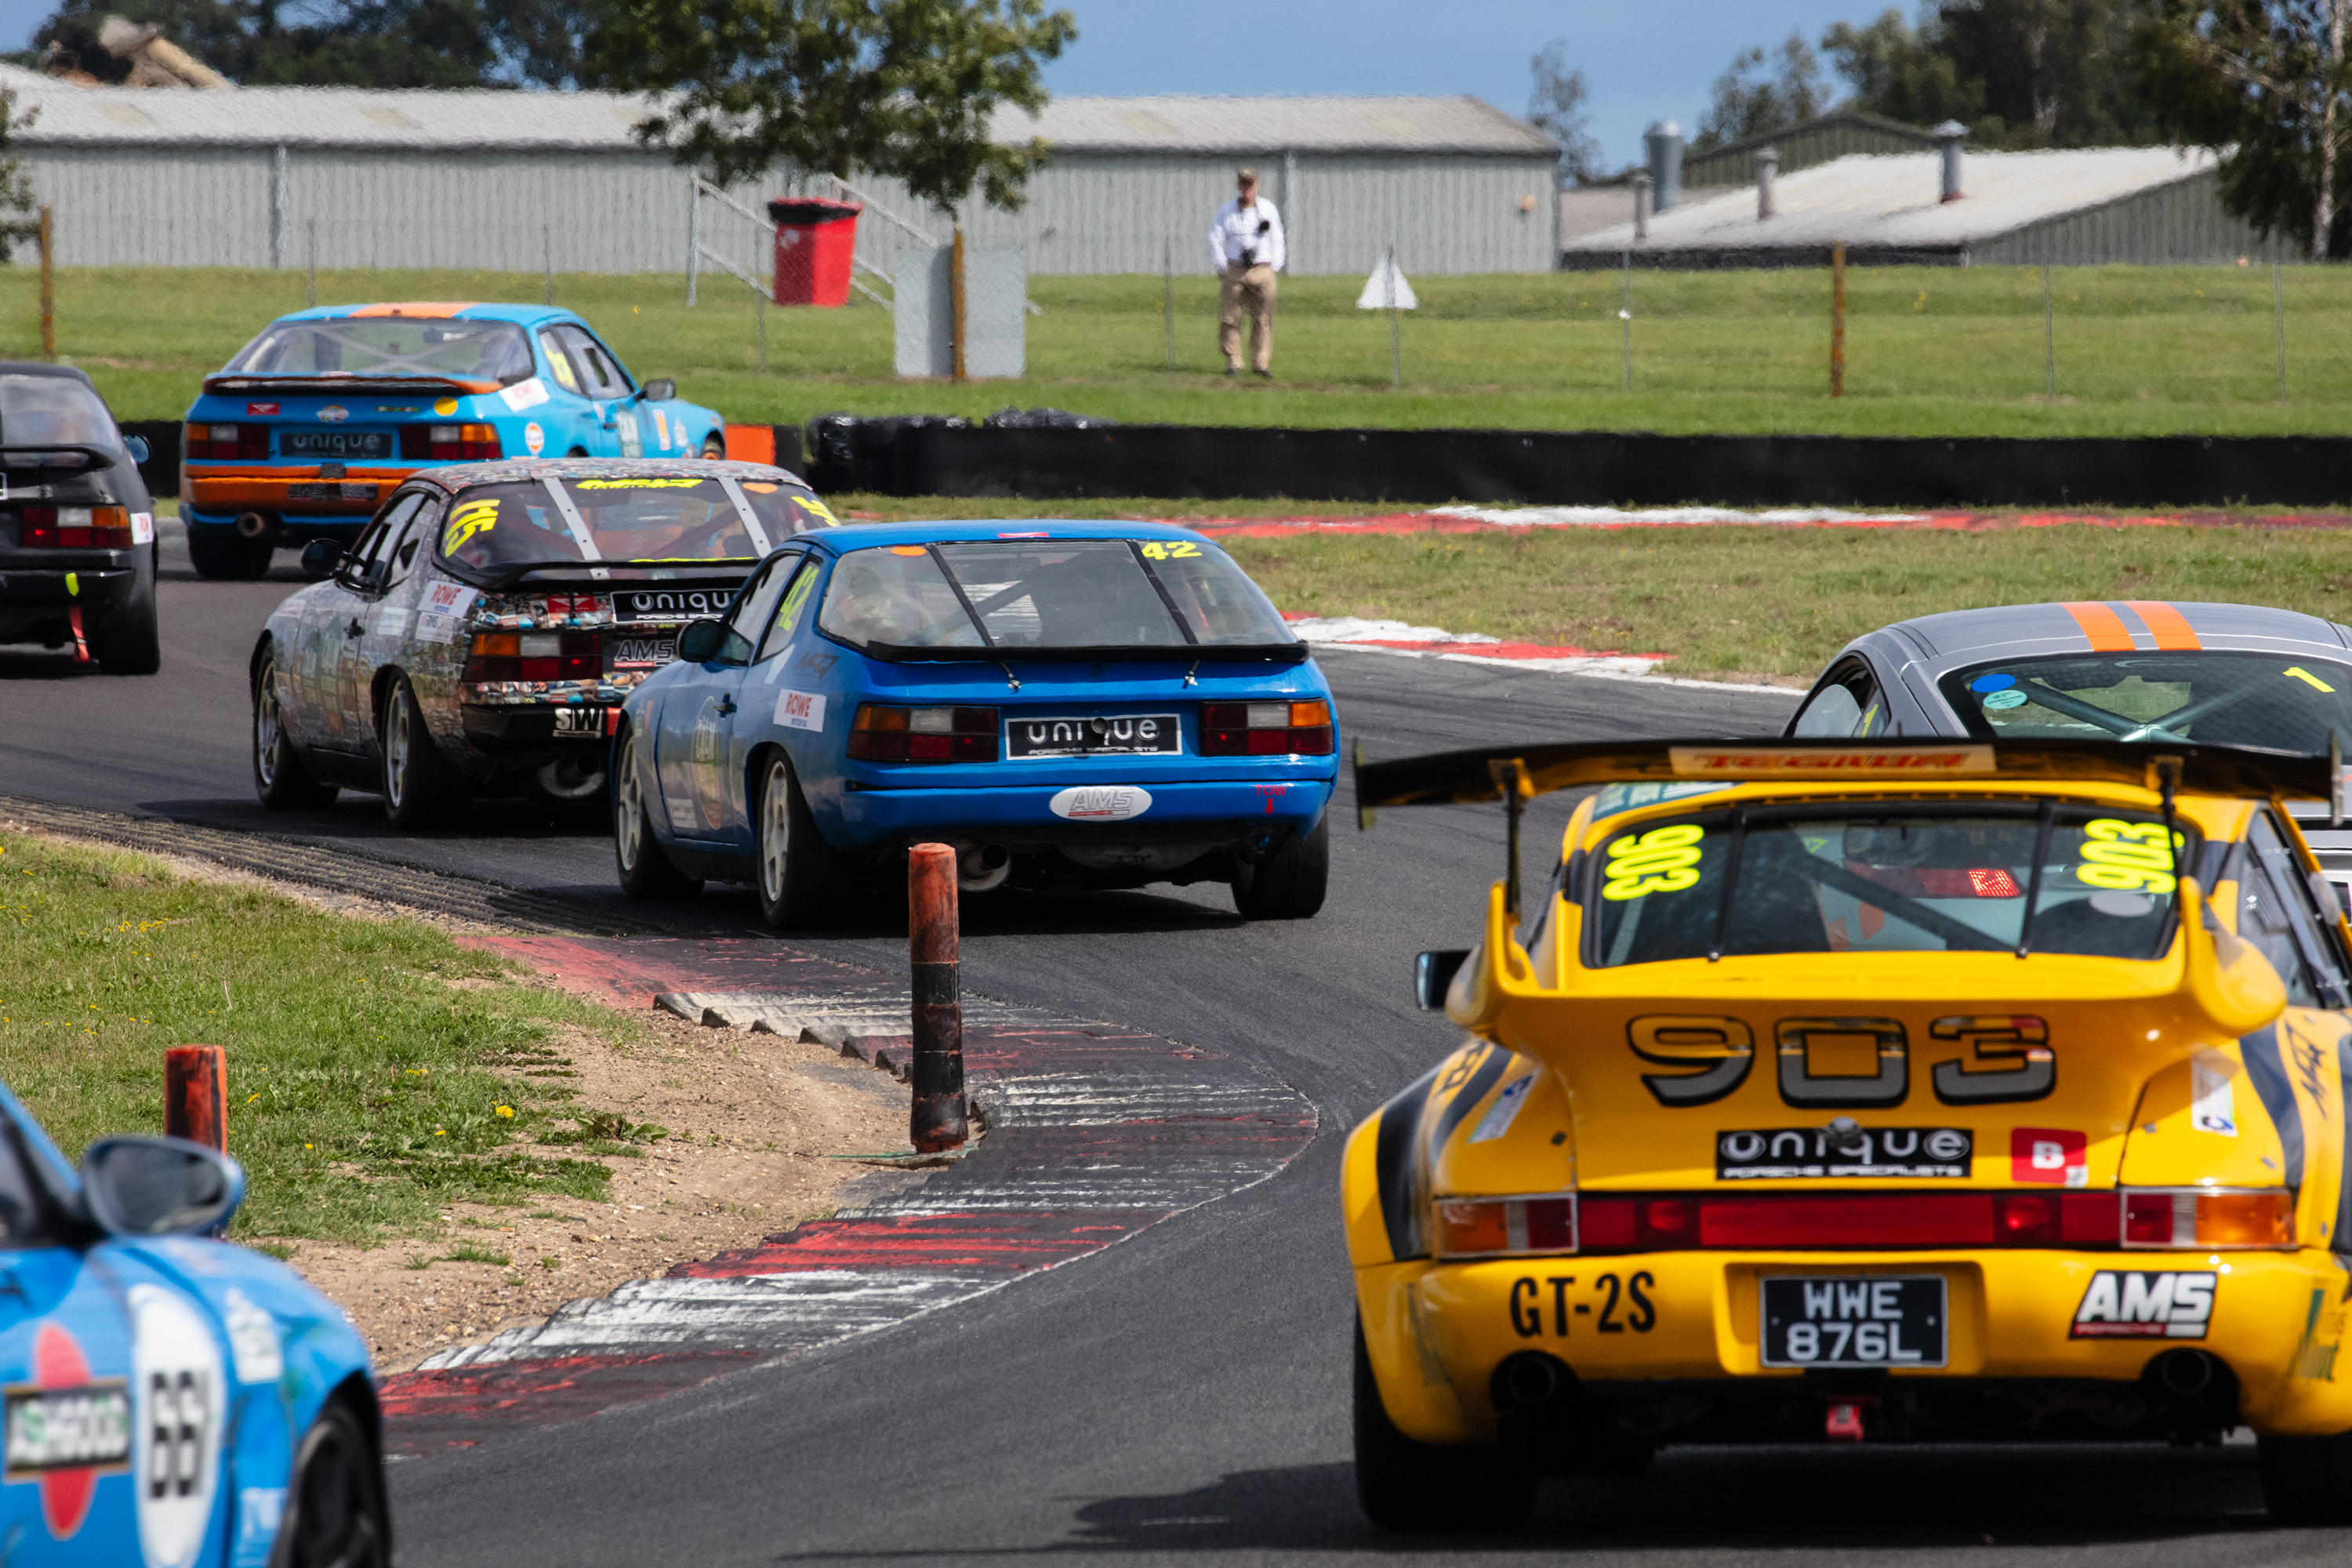
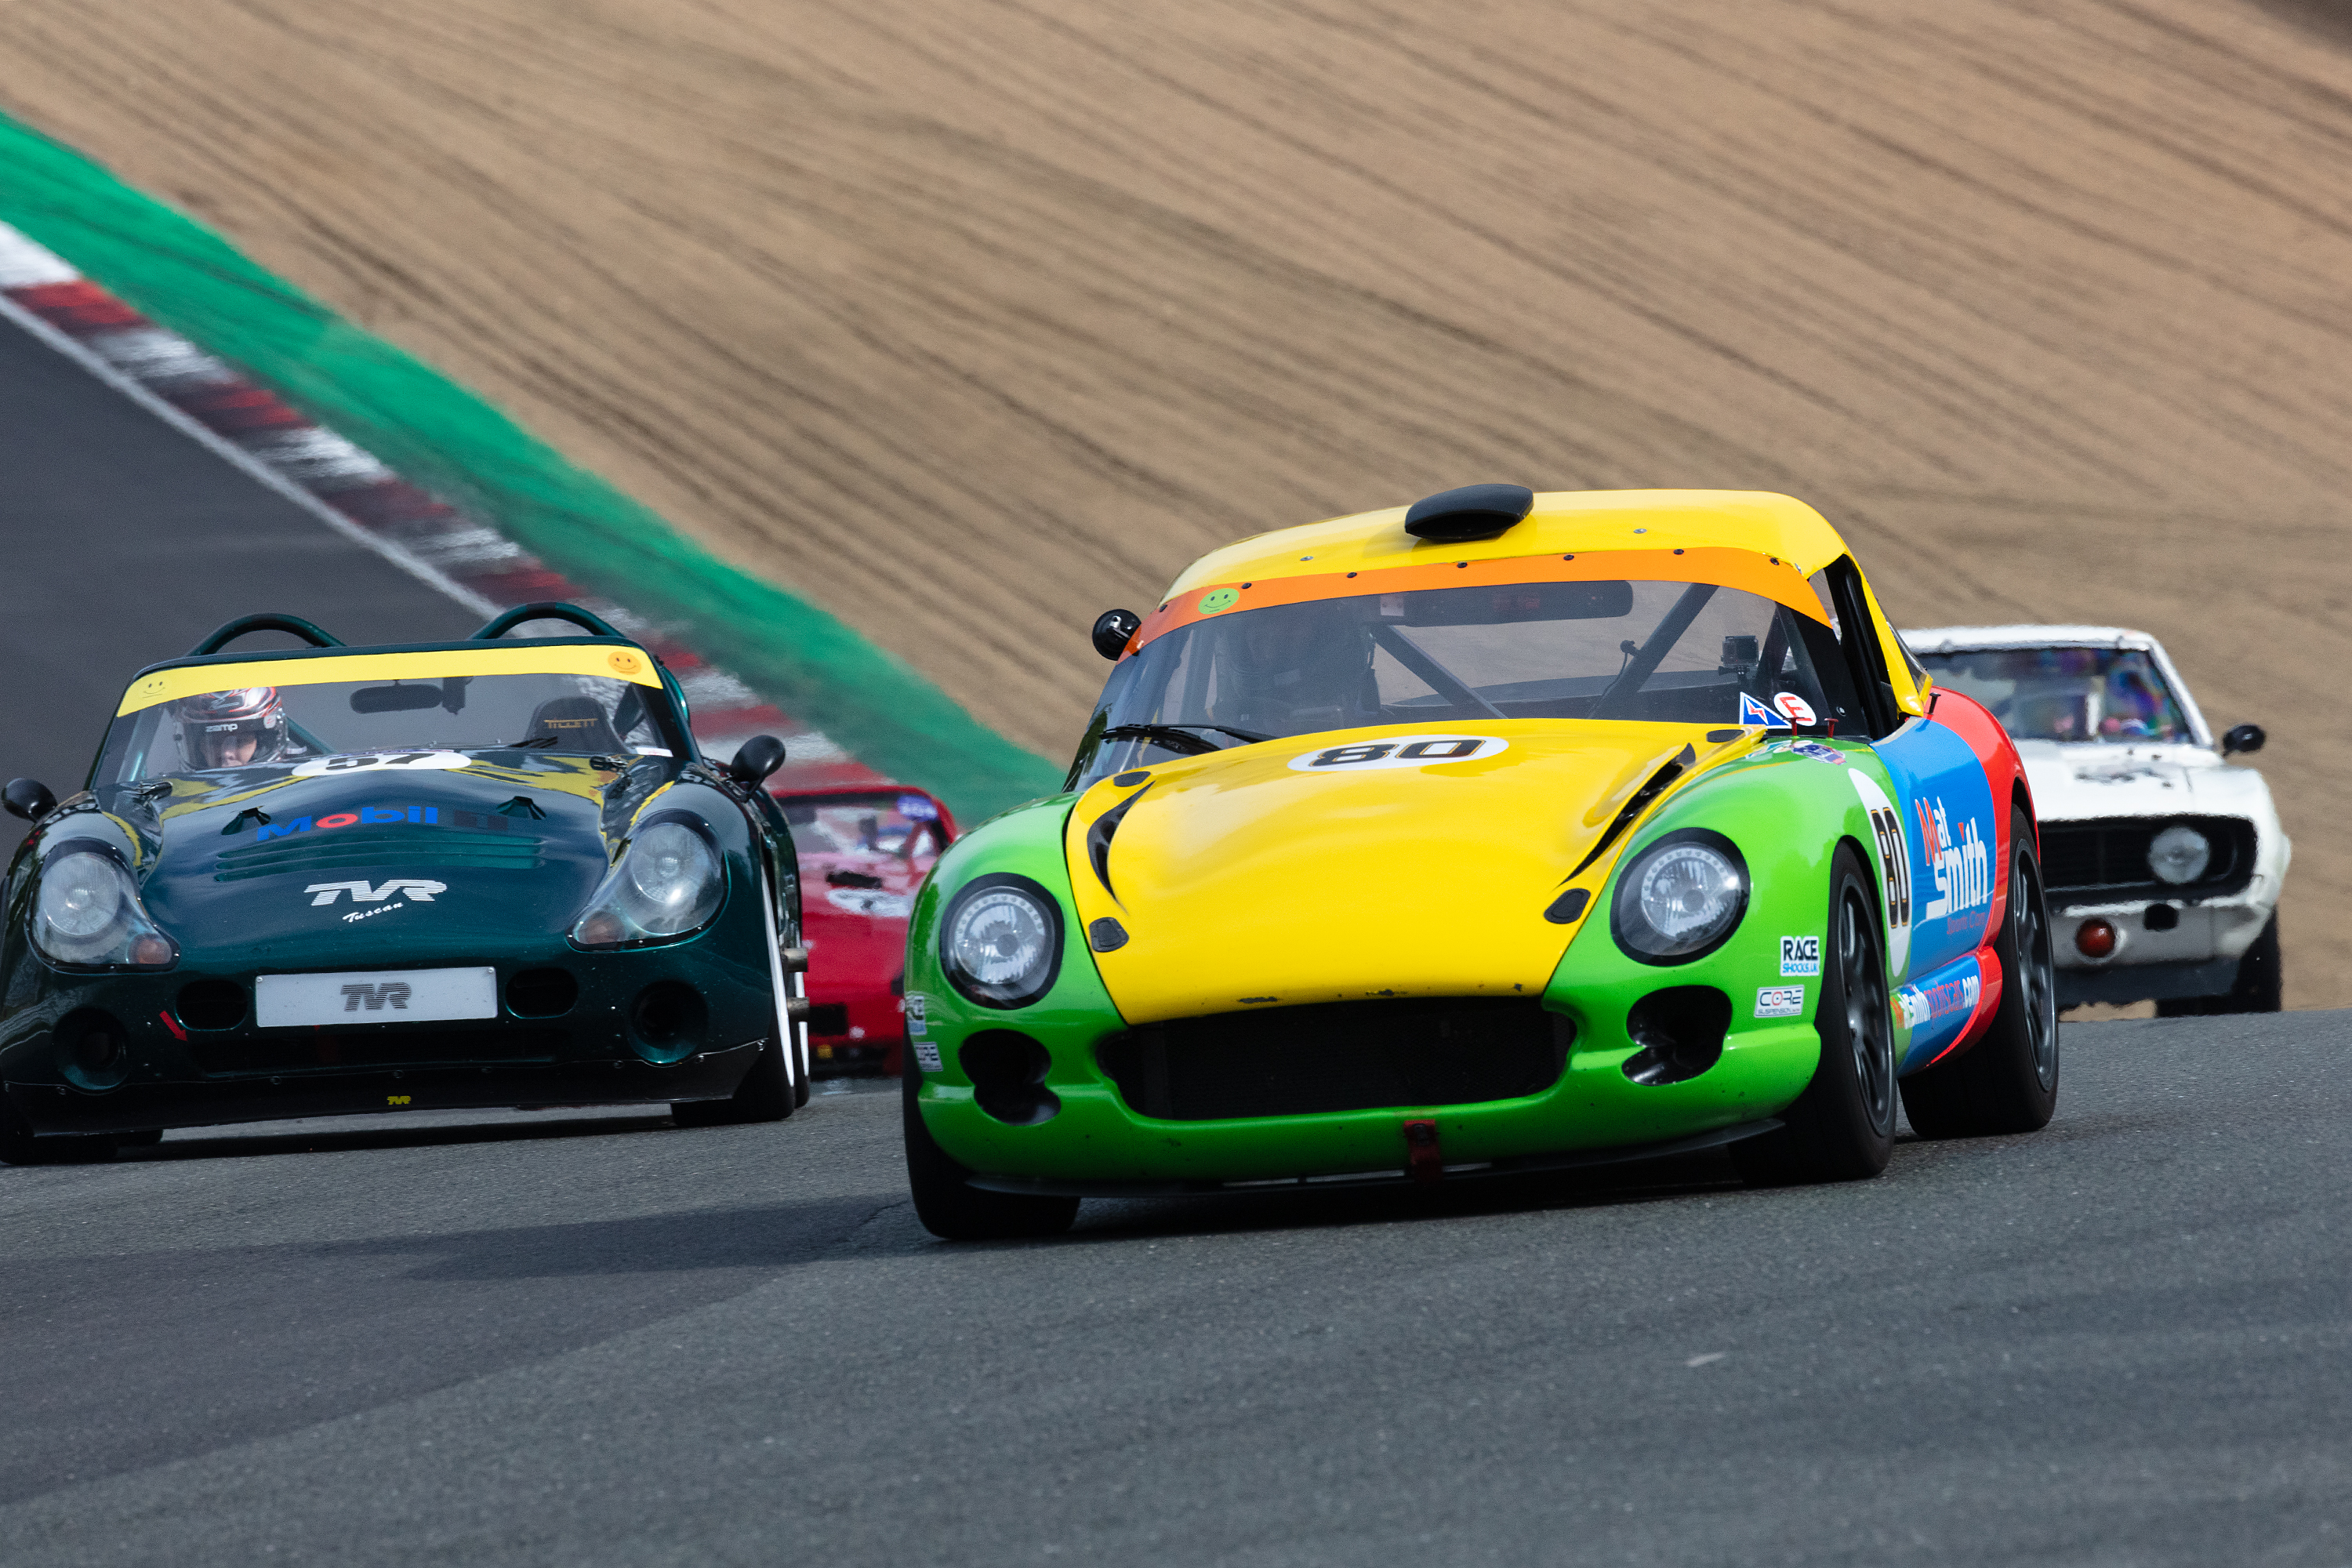
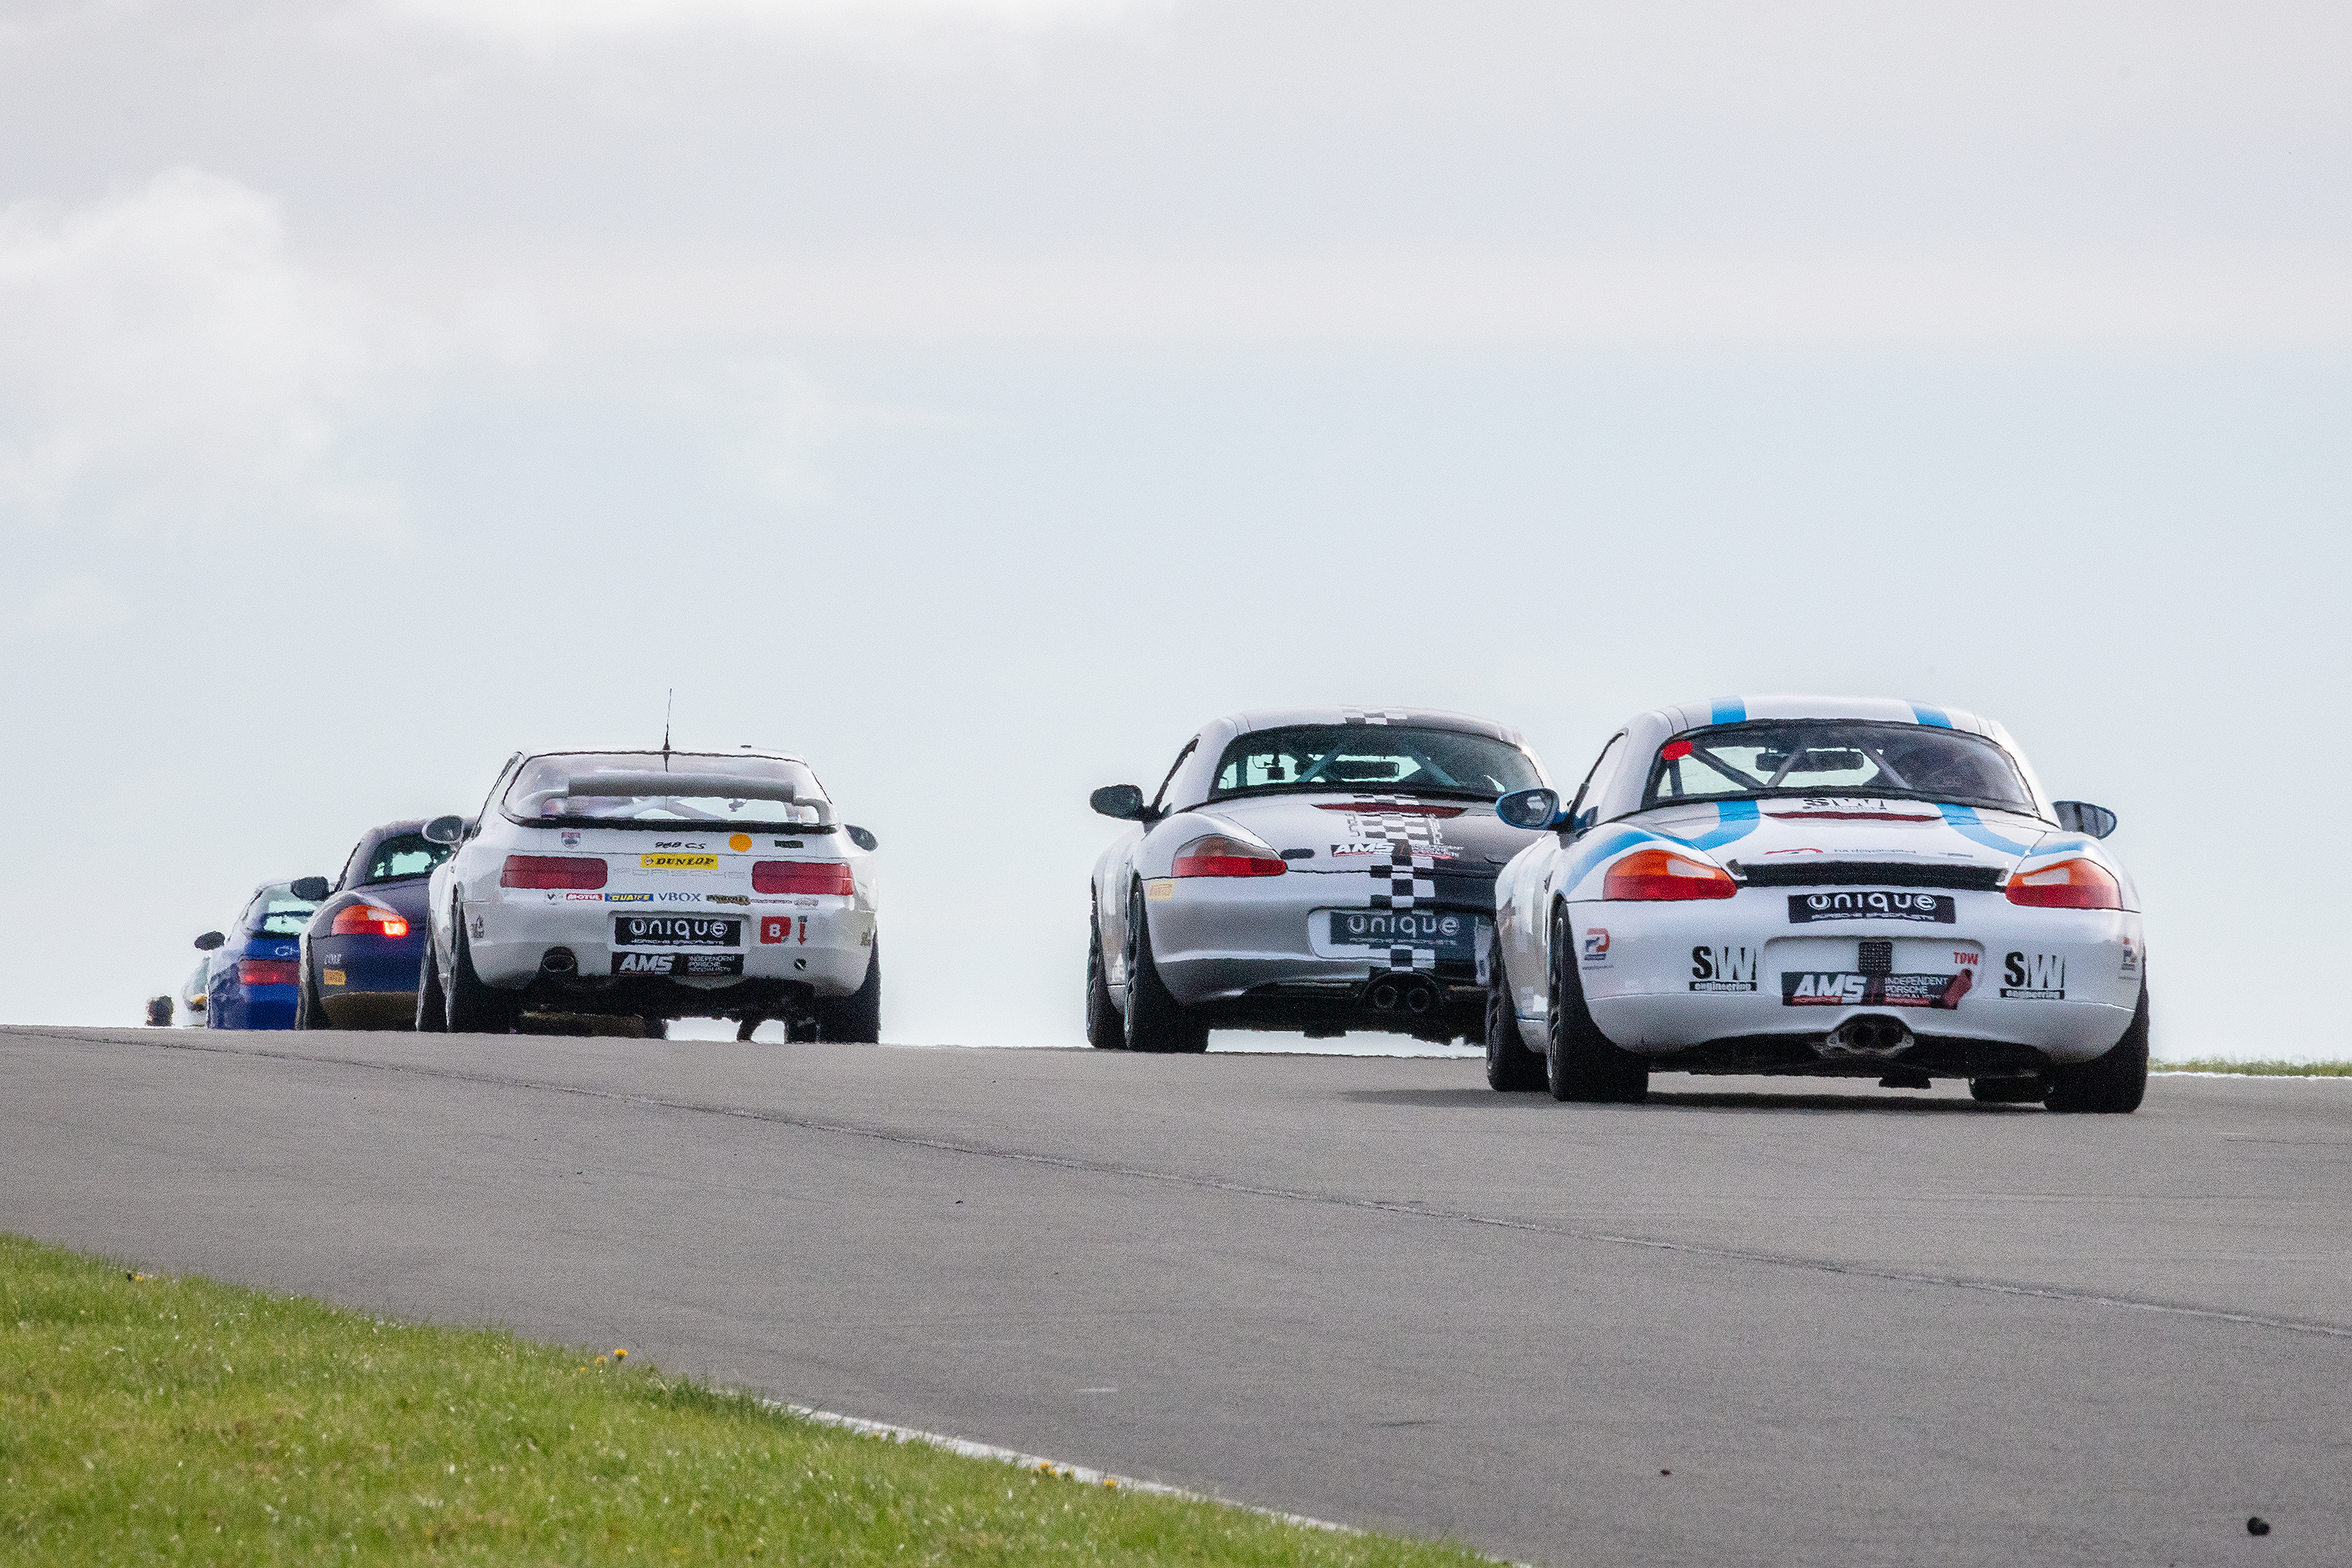
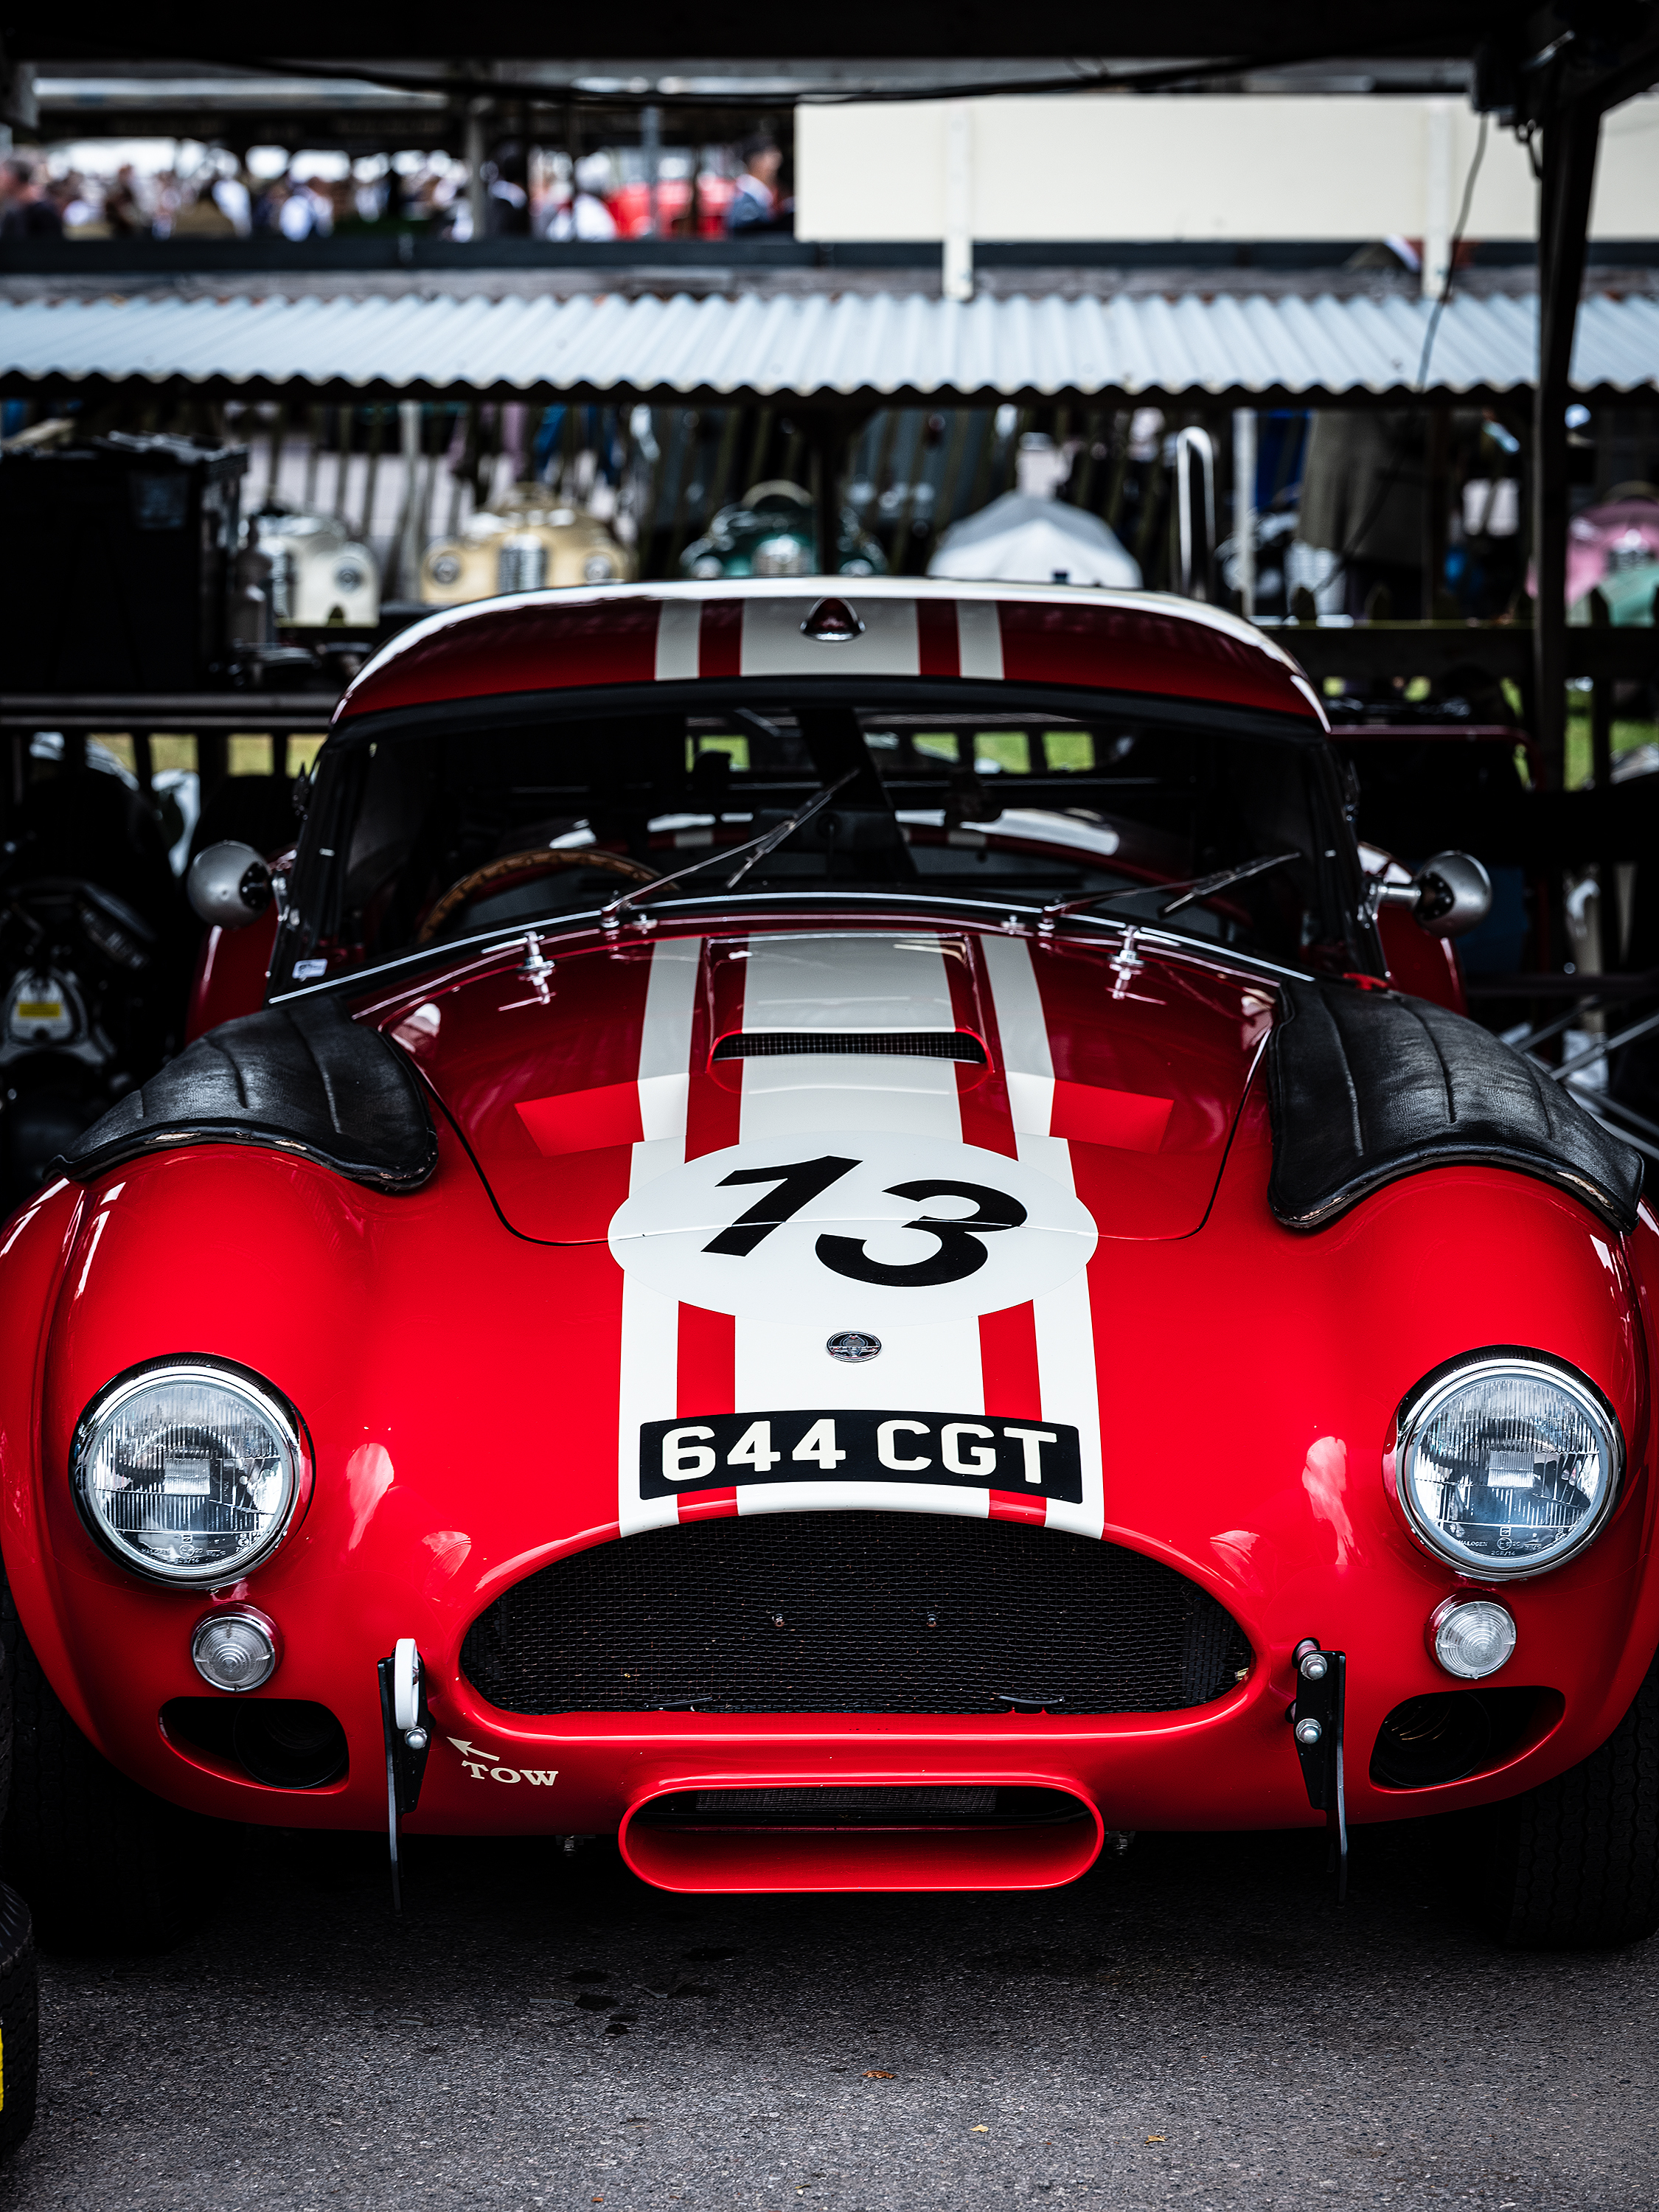
As it was the Festival of Porsche, the was plenty of other Porsches to see
The Album with all the CALM images is now up, click on the link below