Summer 2021 with the Fujifilm GFX-50r system
Fujifilm Uk have very kindly lent me a GFX-50r for a few months to compare with my Canon eos5Ds
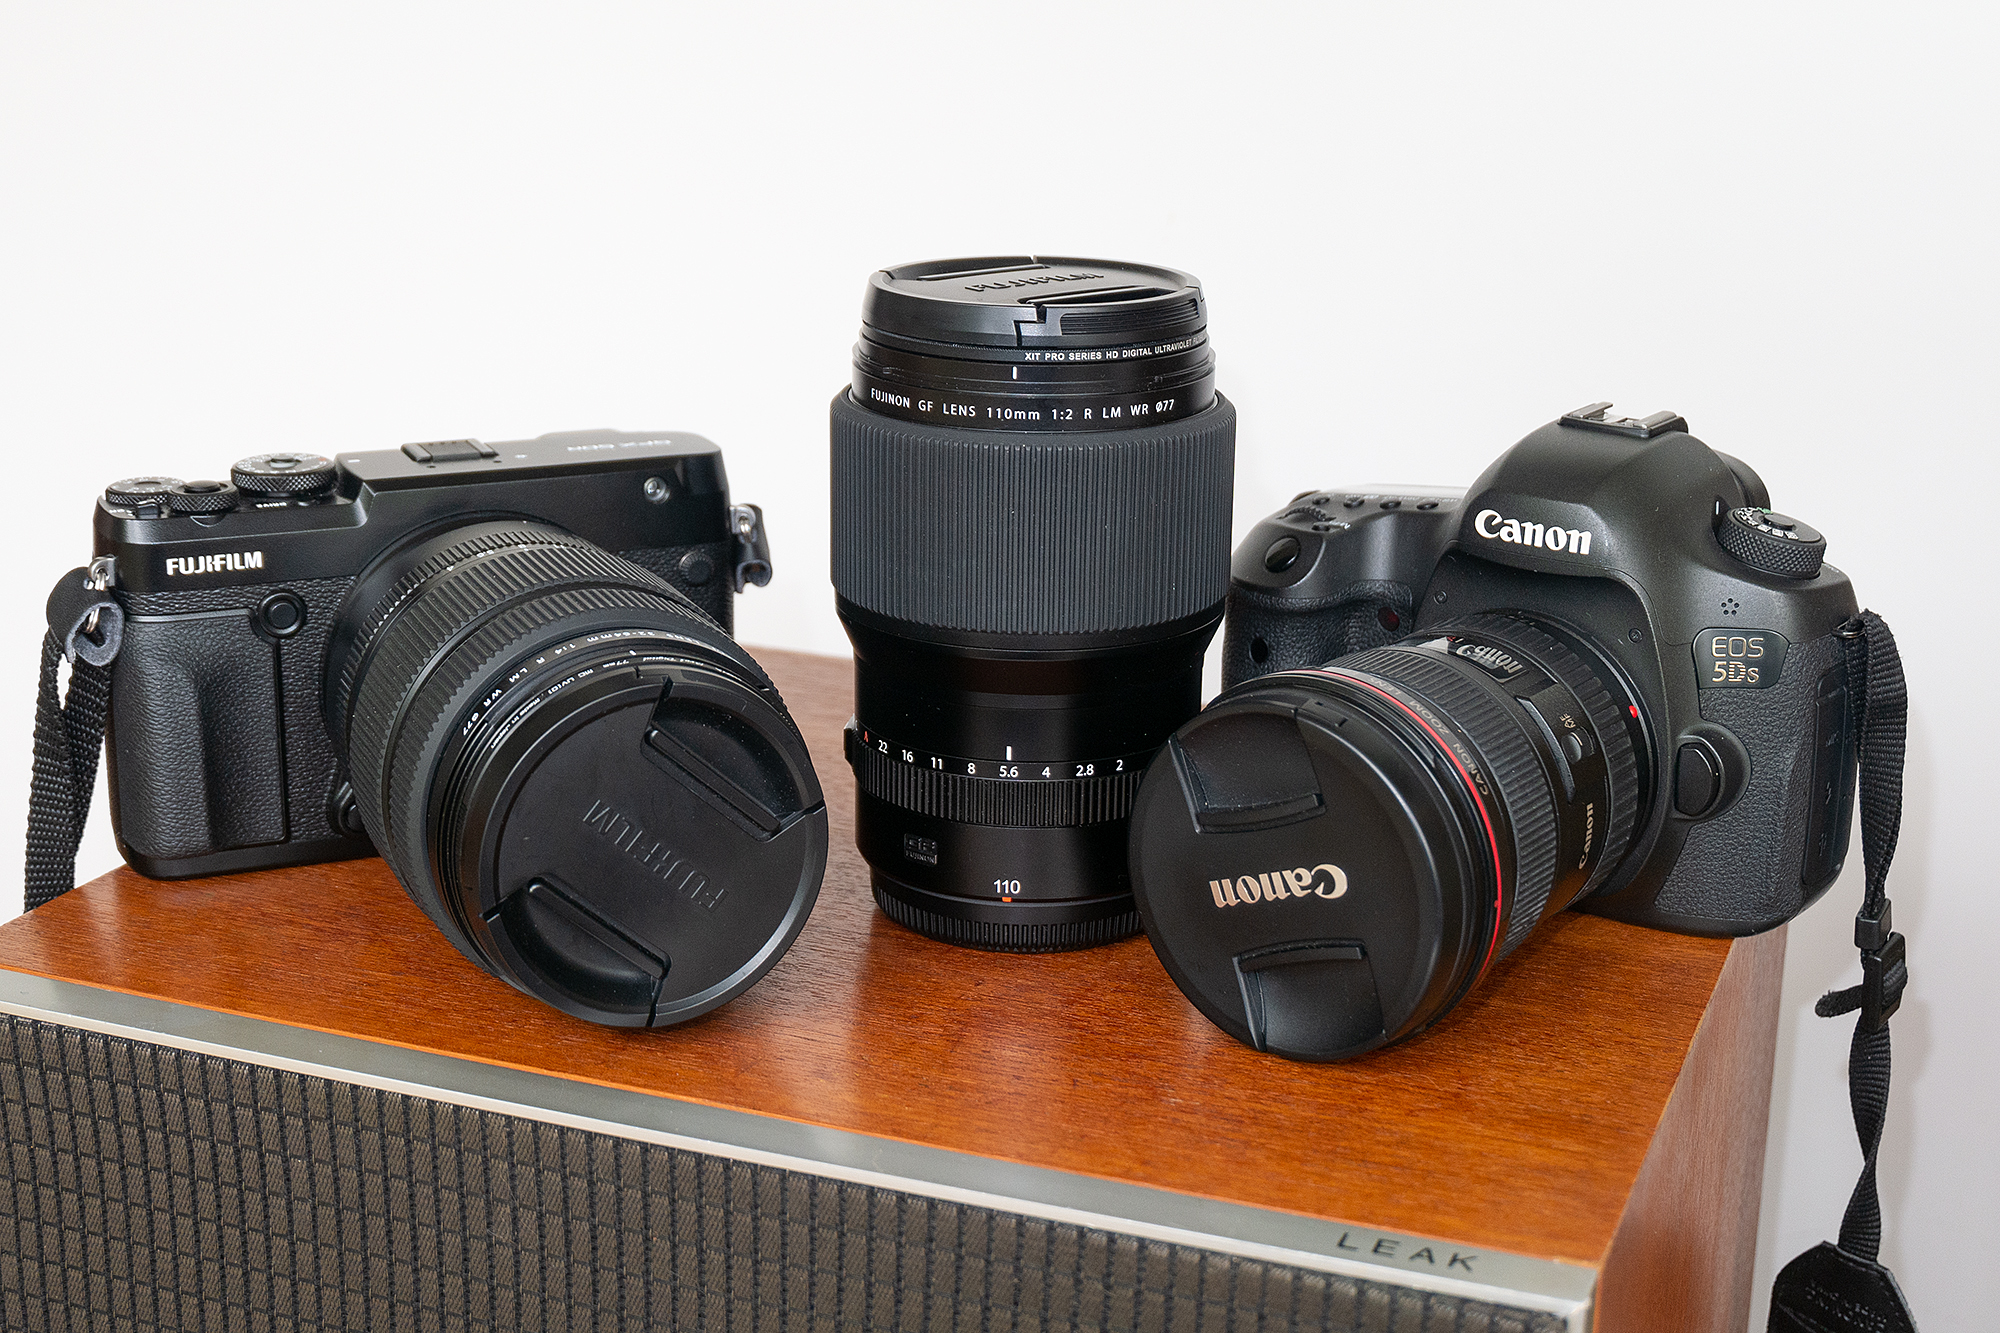

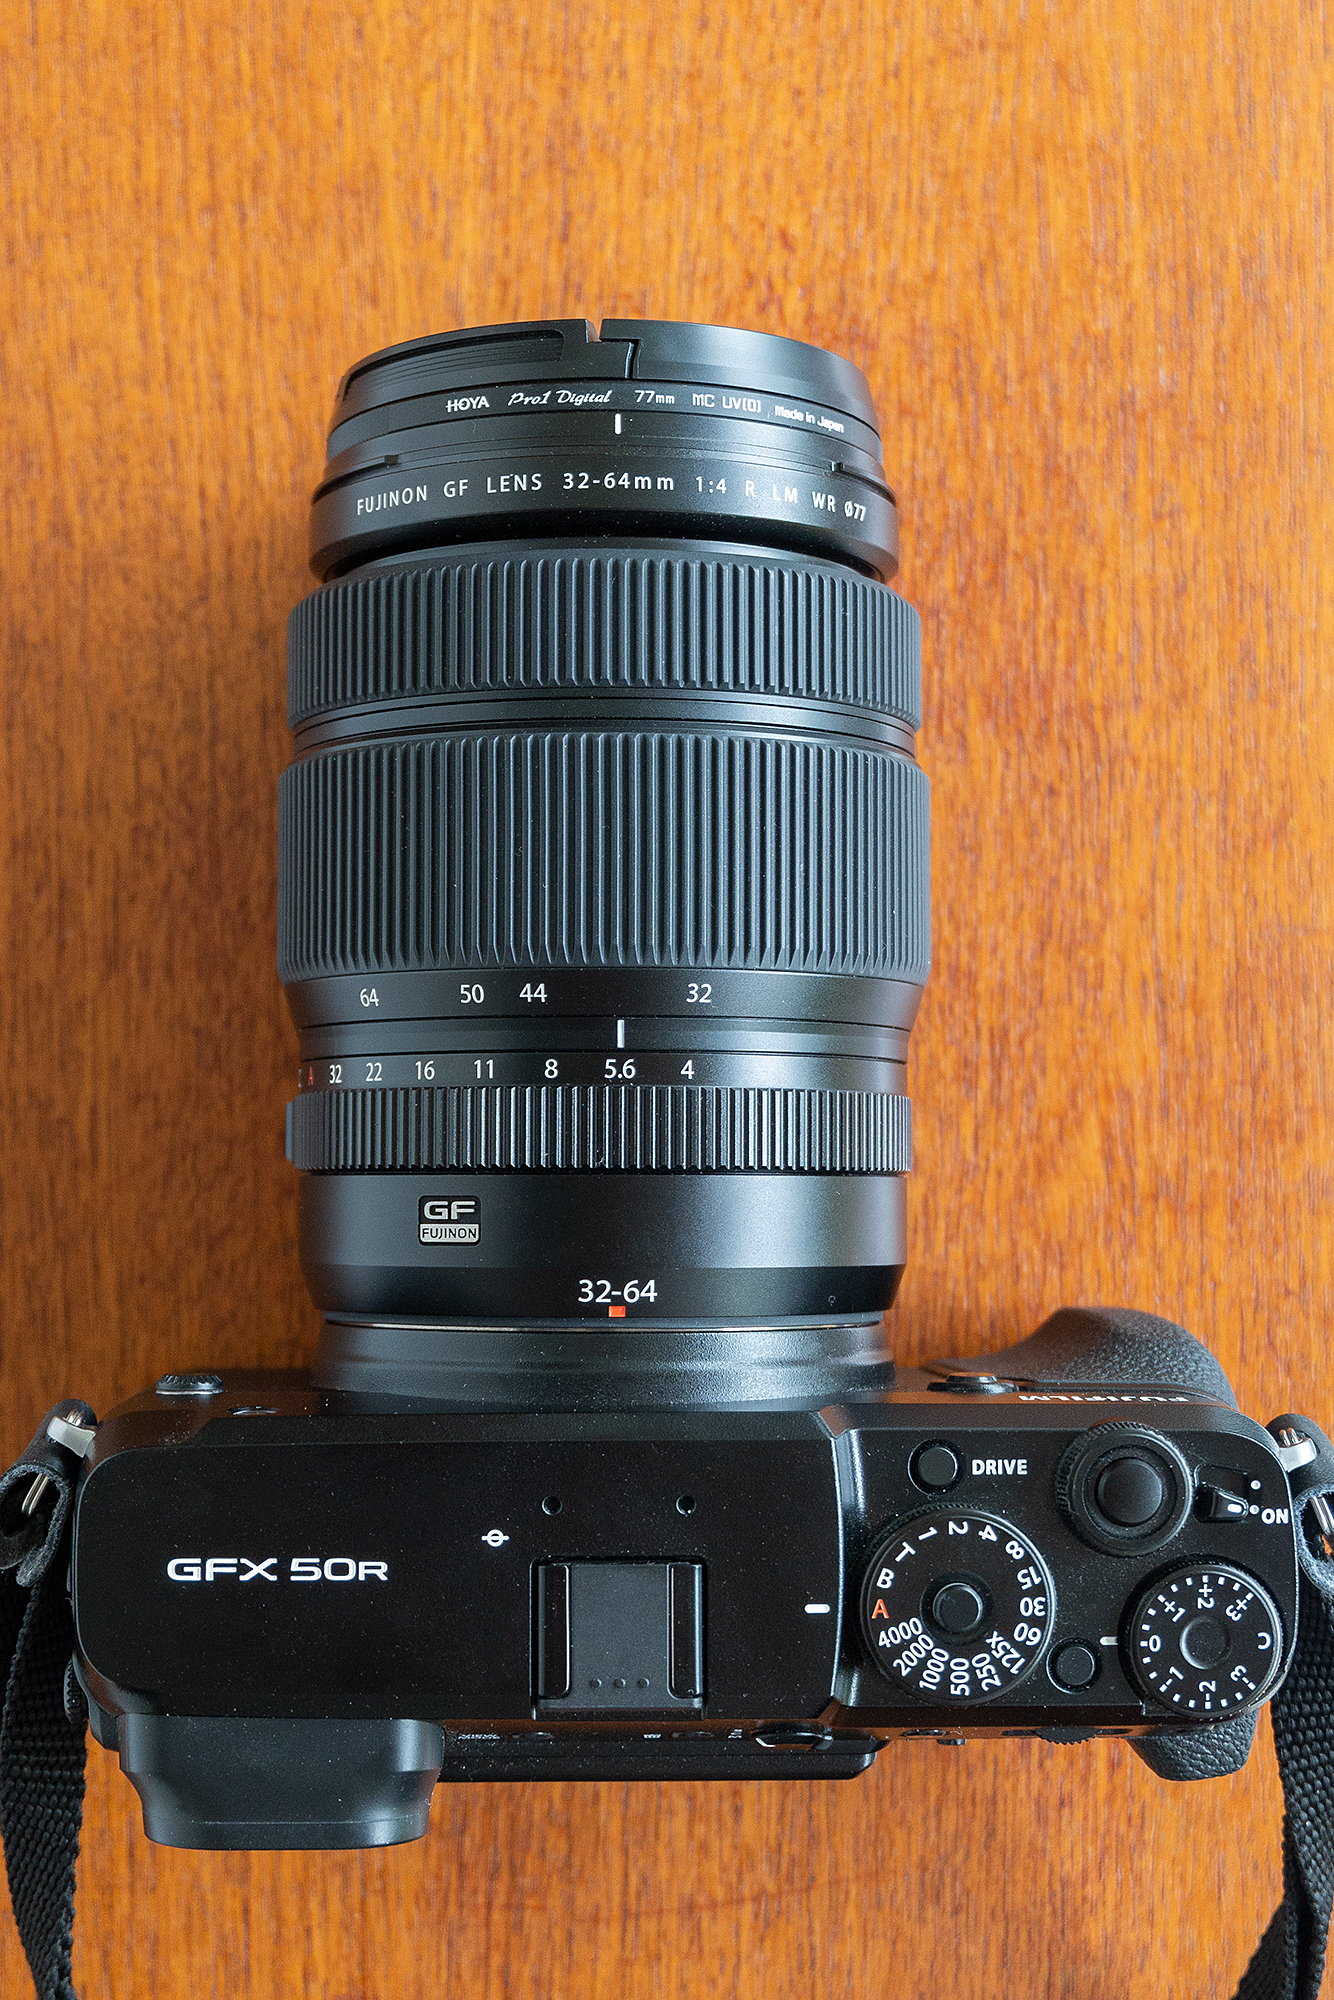
This is a medium format rangefinder in the GFX system, supplied to me with the GF32-64mmF4 R LM WR & the GF110mmF2 R LM WR lens
Its a 51 megapixel sensor with a native 8256×6192 pixel output giving you a 146.3 mg file at 8bit
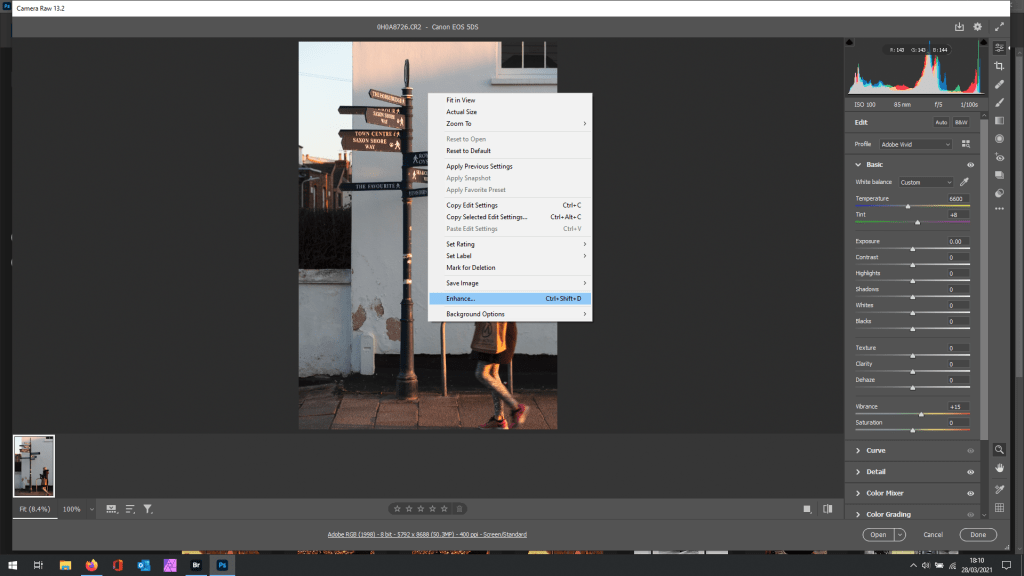
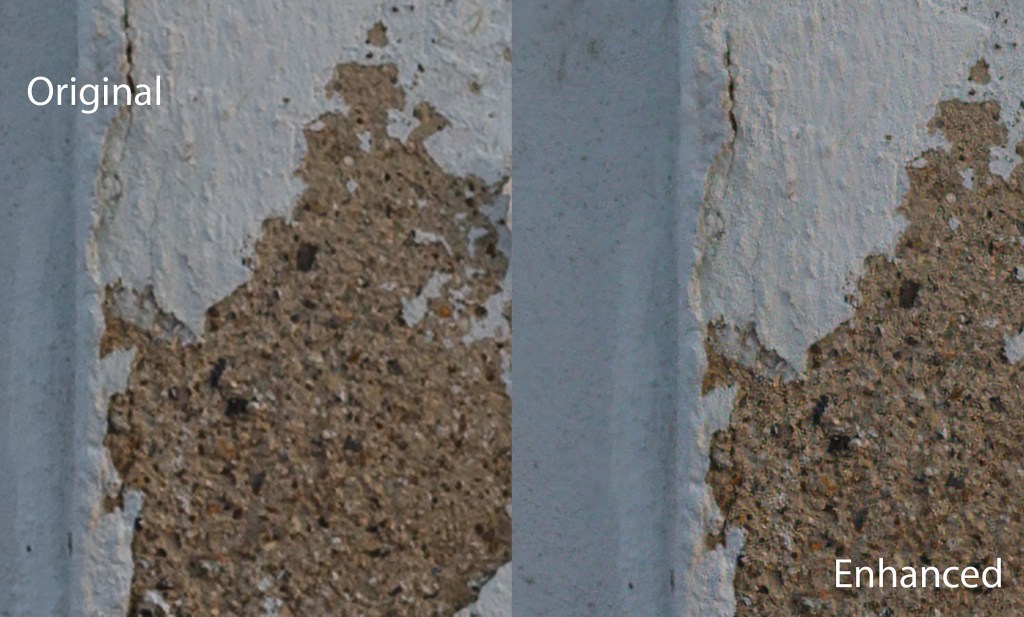
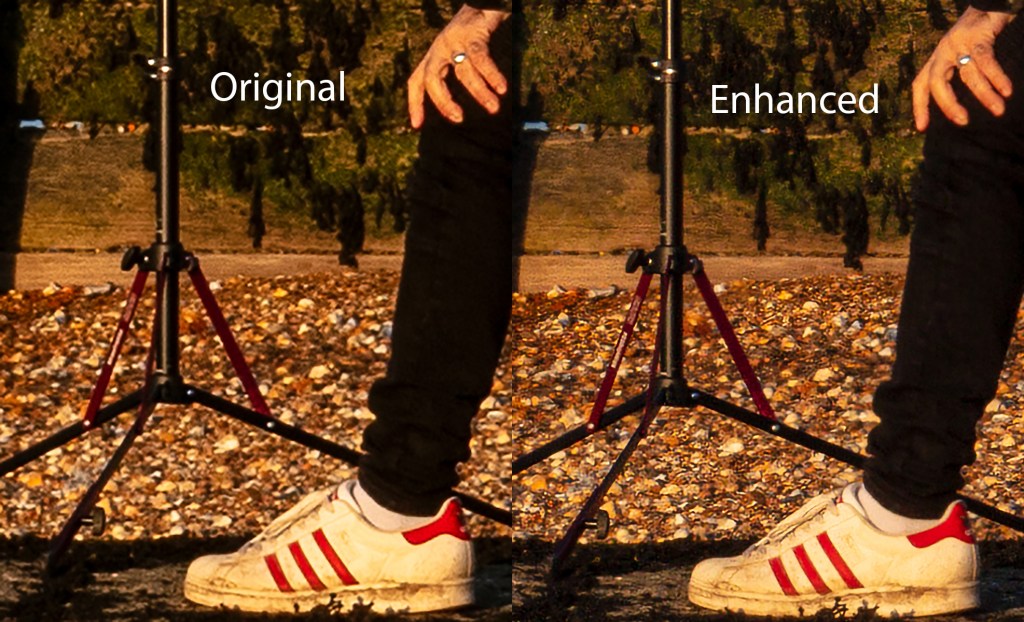
So on a Durst Lambda, you could make a print 20.6×15.4 inches at 400ppi without any interpolation, and using the enhance feature within Adobe Camera Raw you can easily quadruple the area
Compared to other medium format systems, its remarkably compact, light and affordable, as supplied the UK retail price is around £7995 inc vat
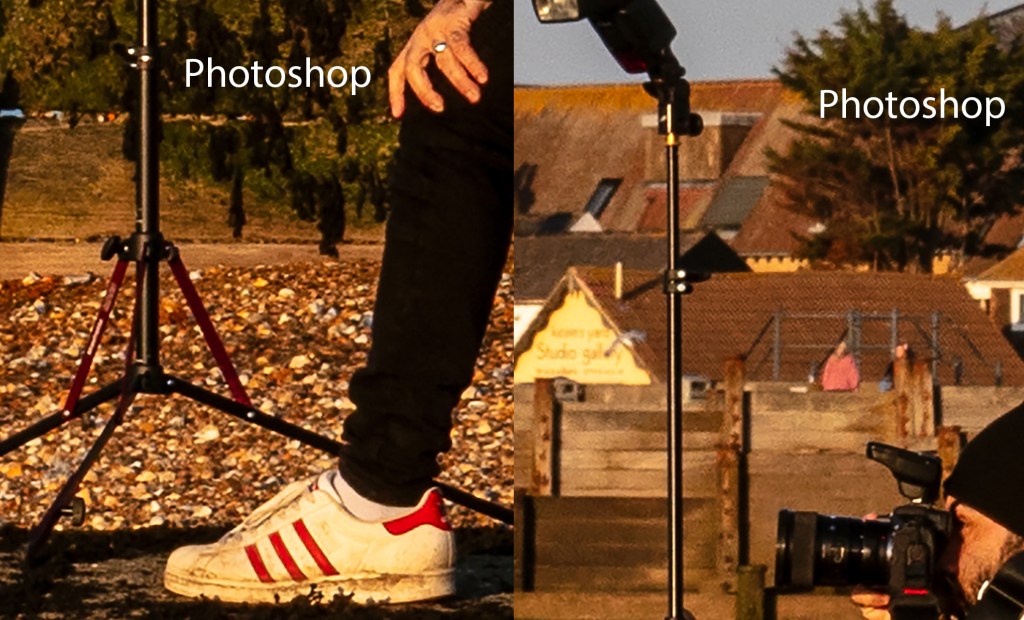
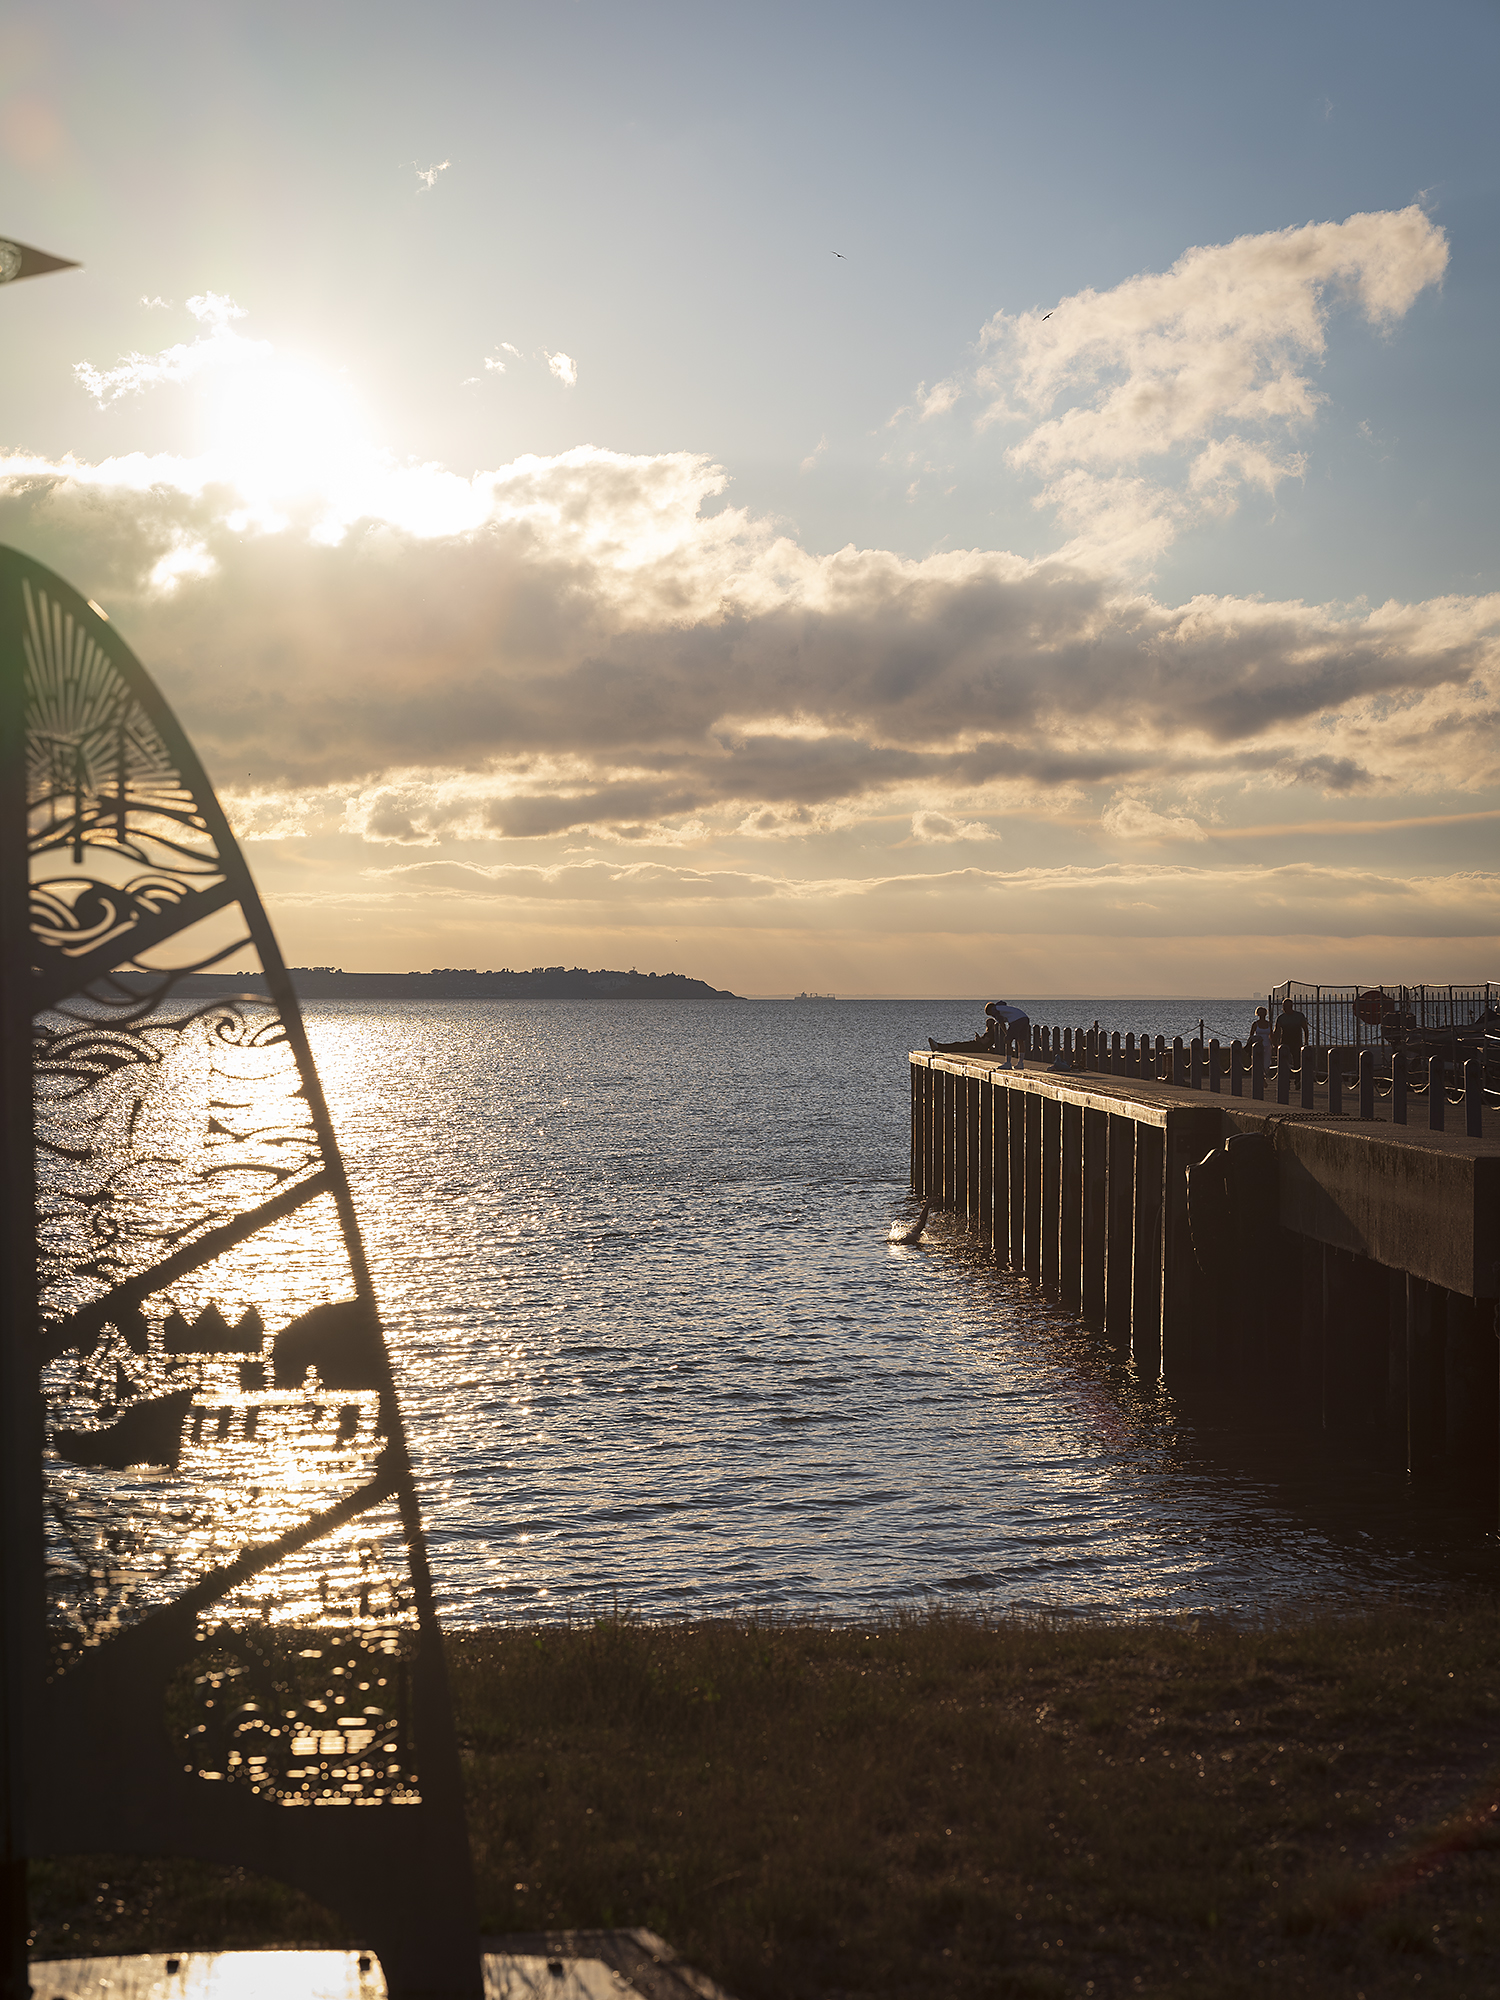
I found this system very portable, and you’re not tied to a laptop or studio, although laptop shooting is available
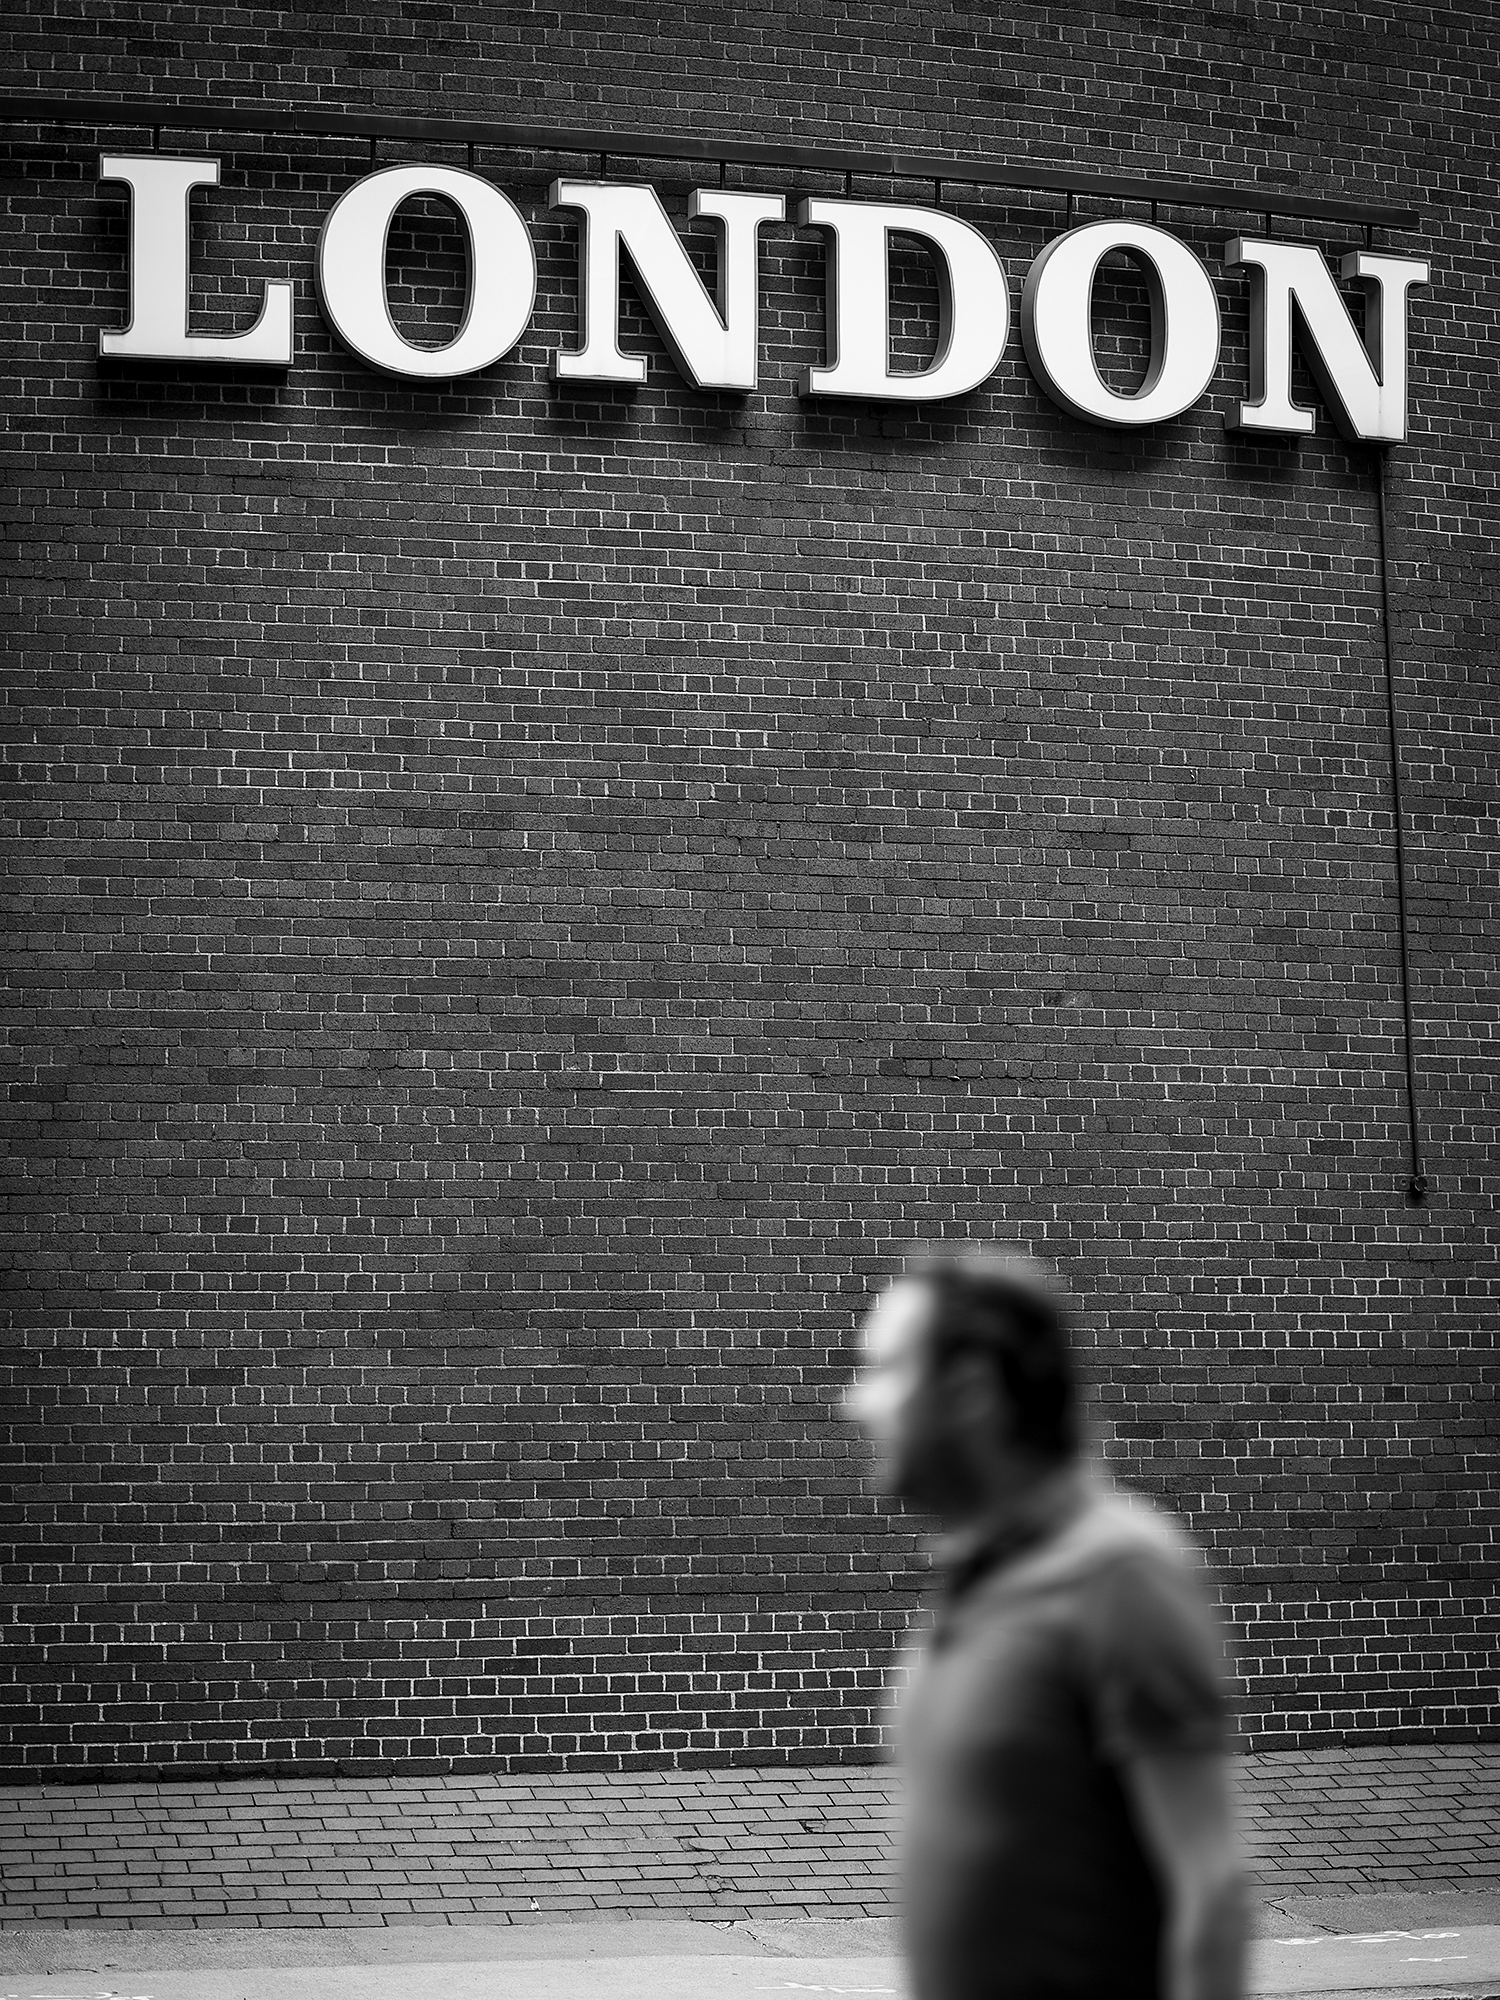

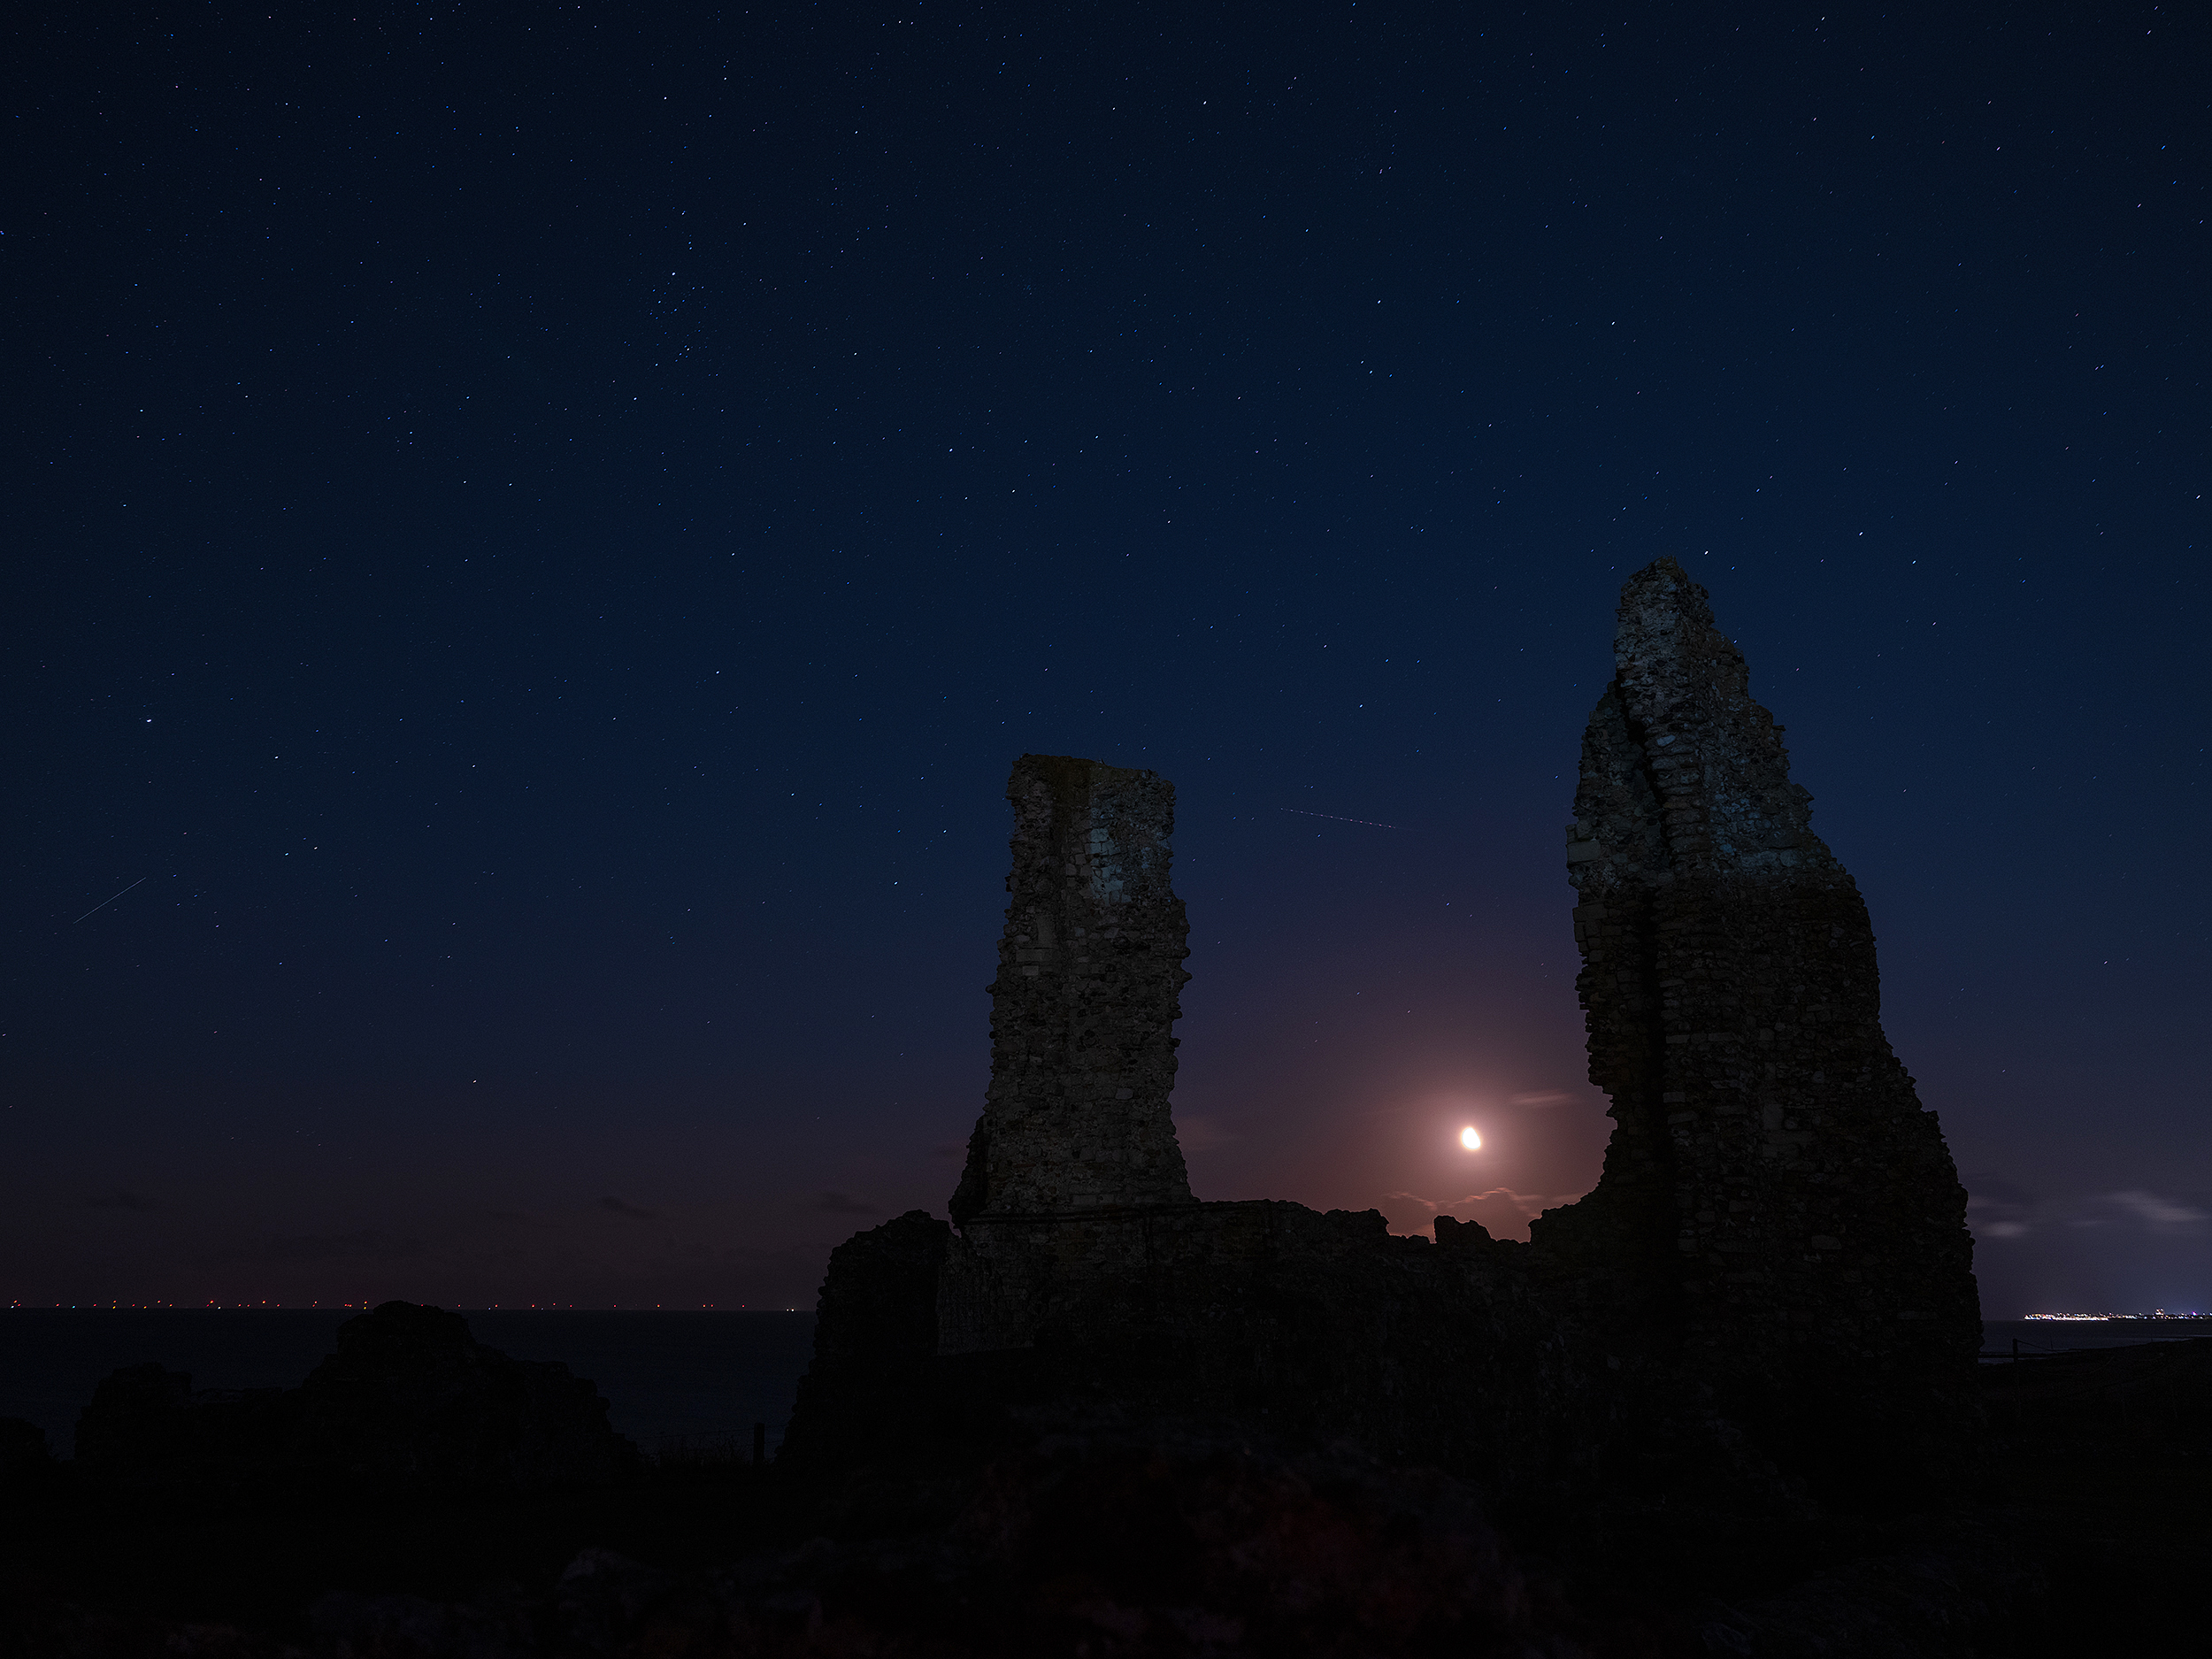
Outside work is a doddle with this system
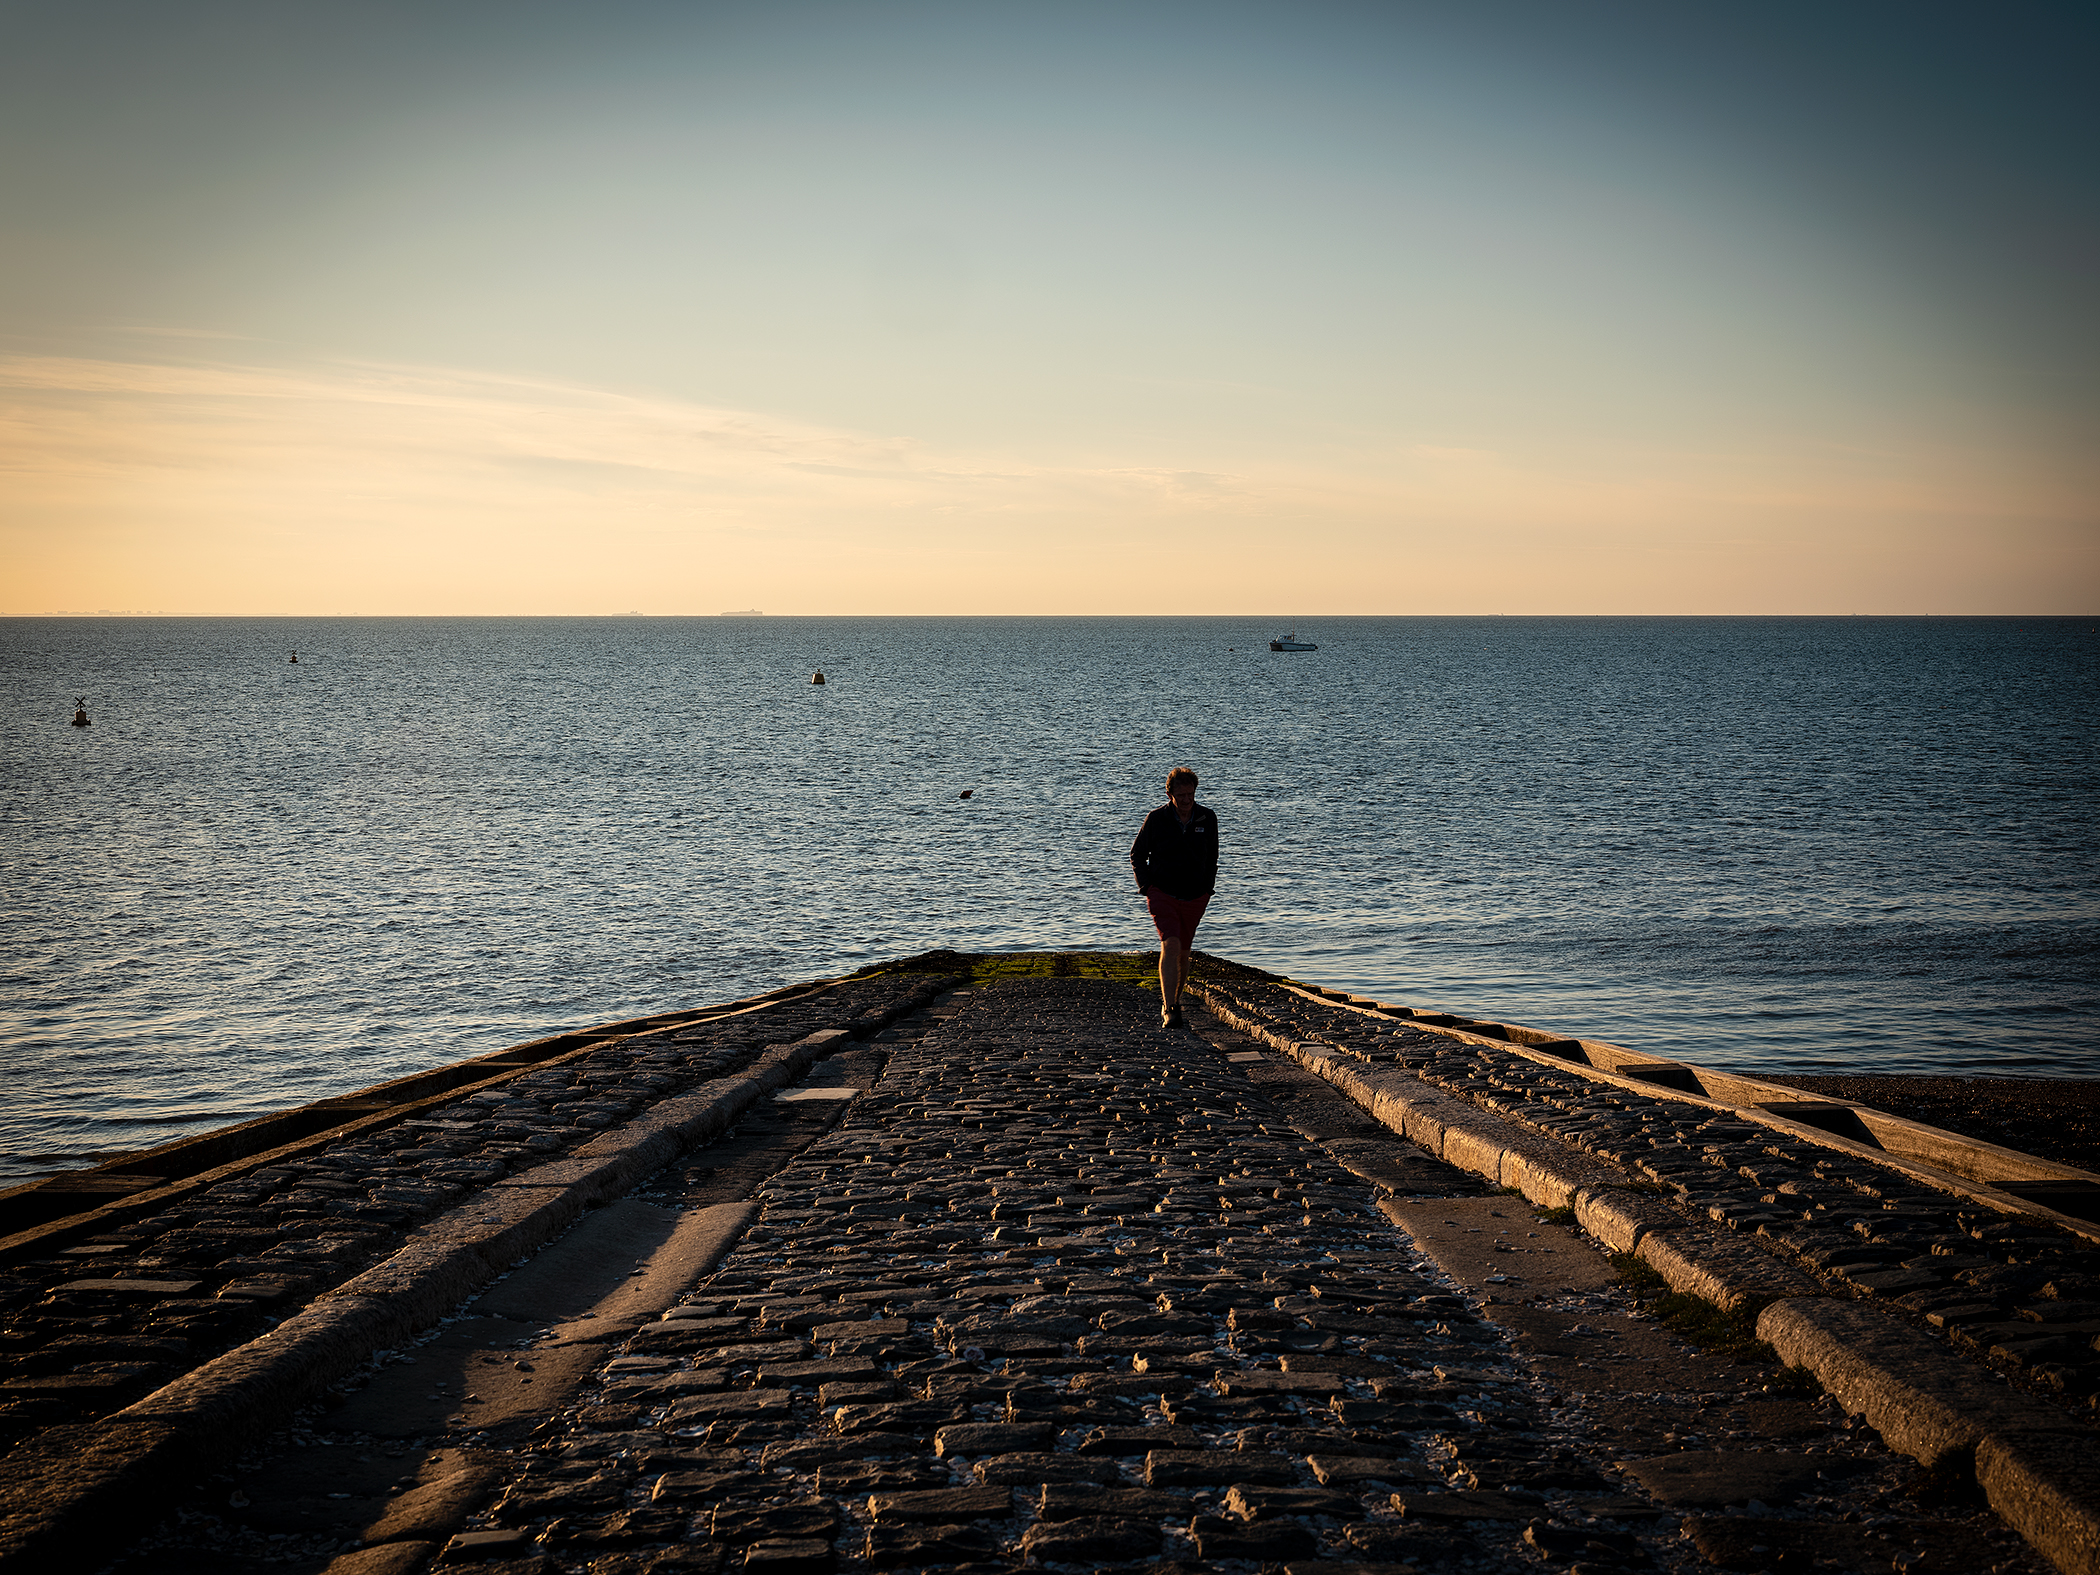

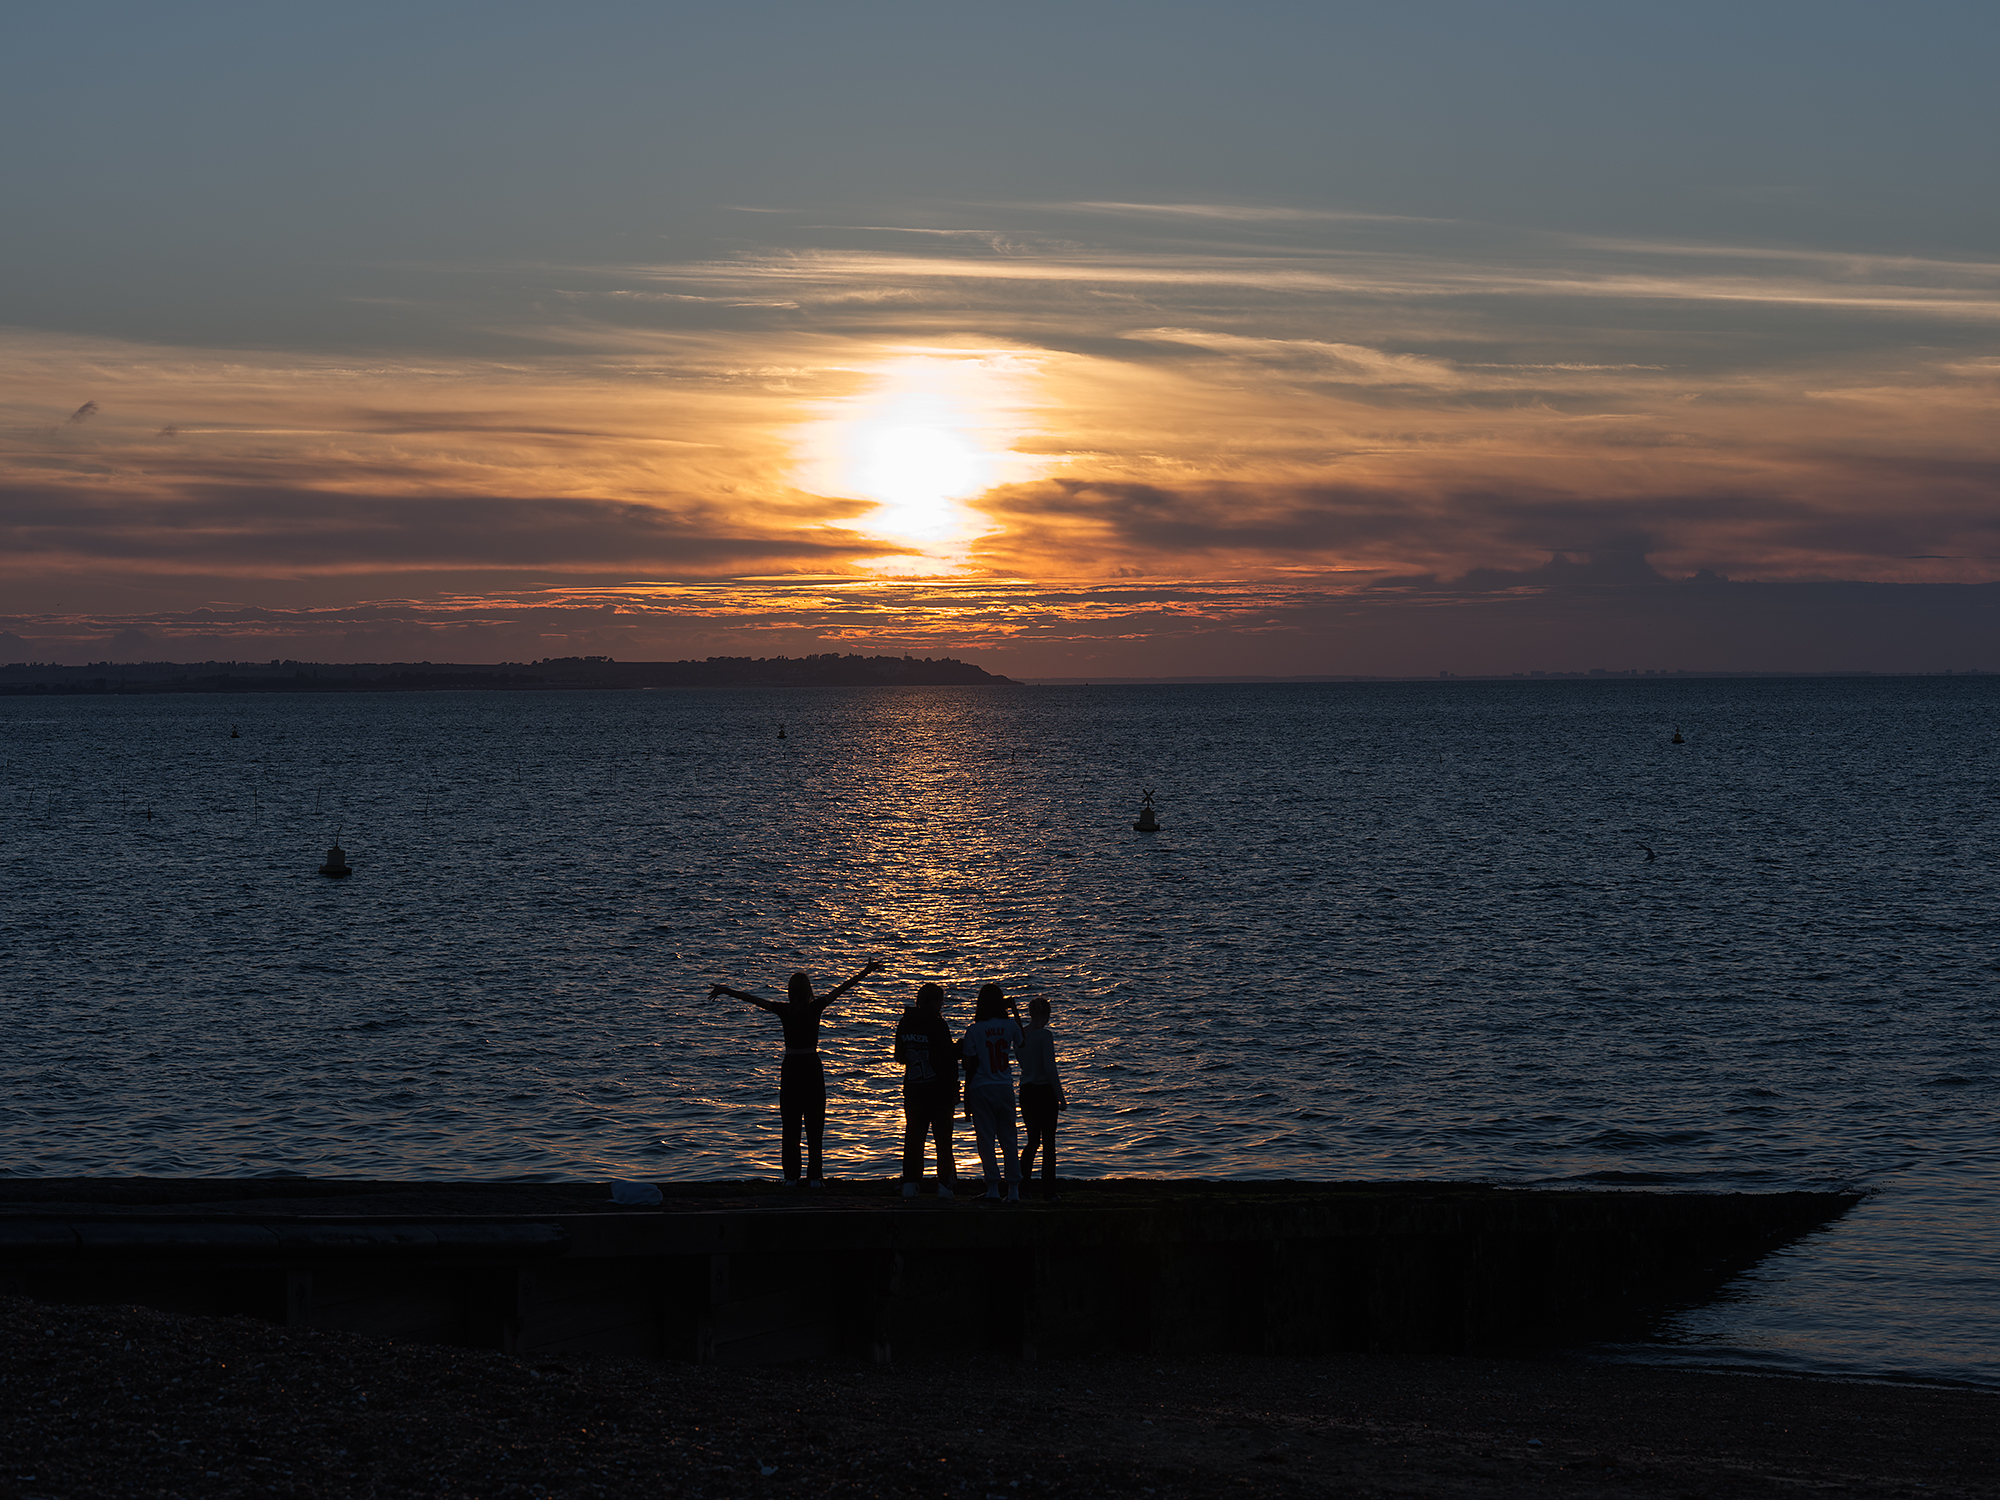

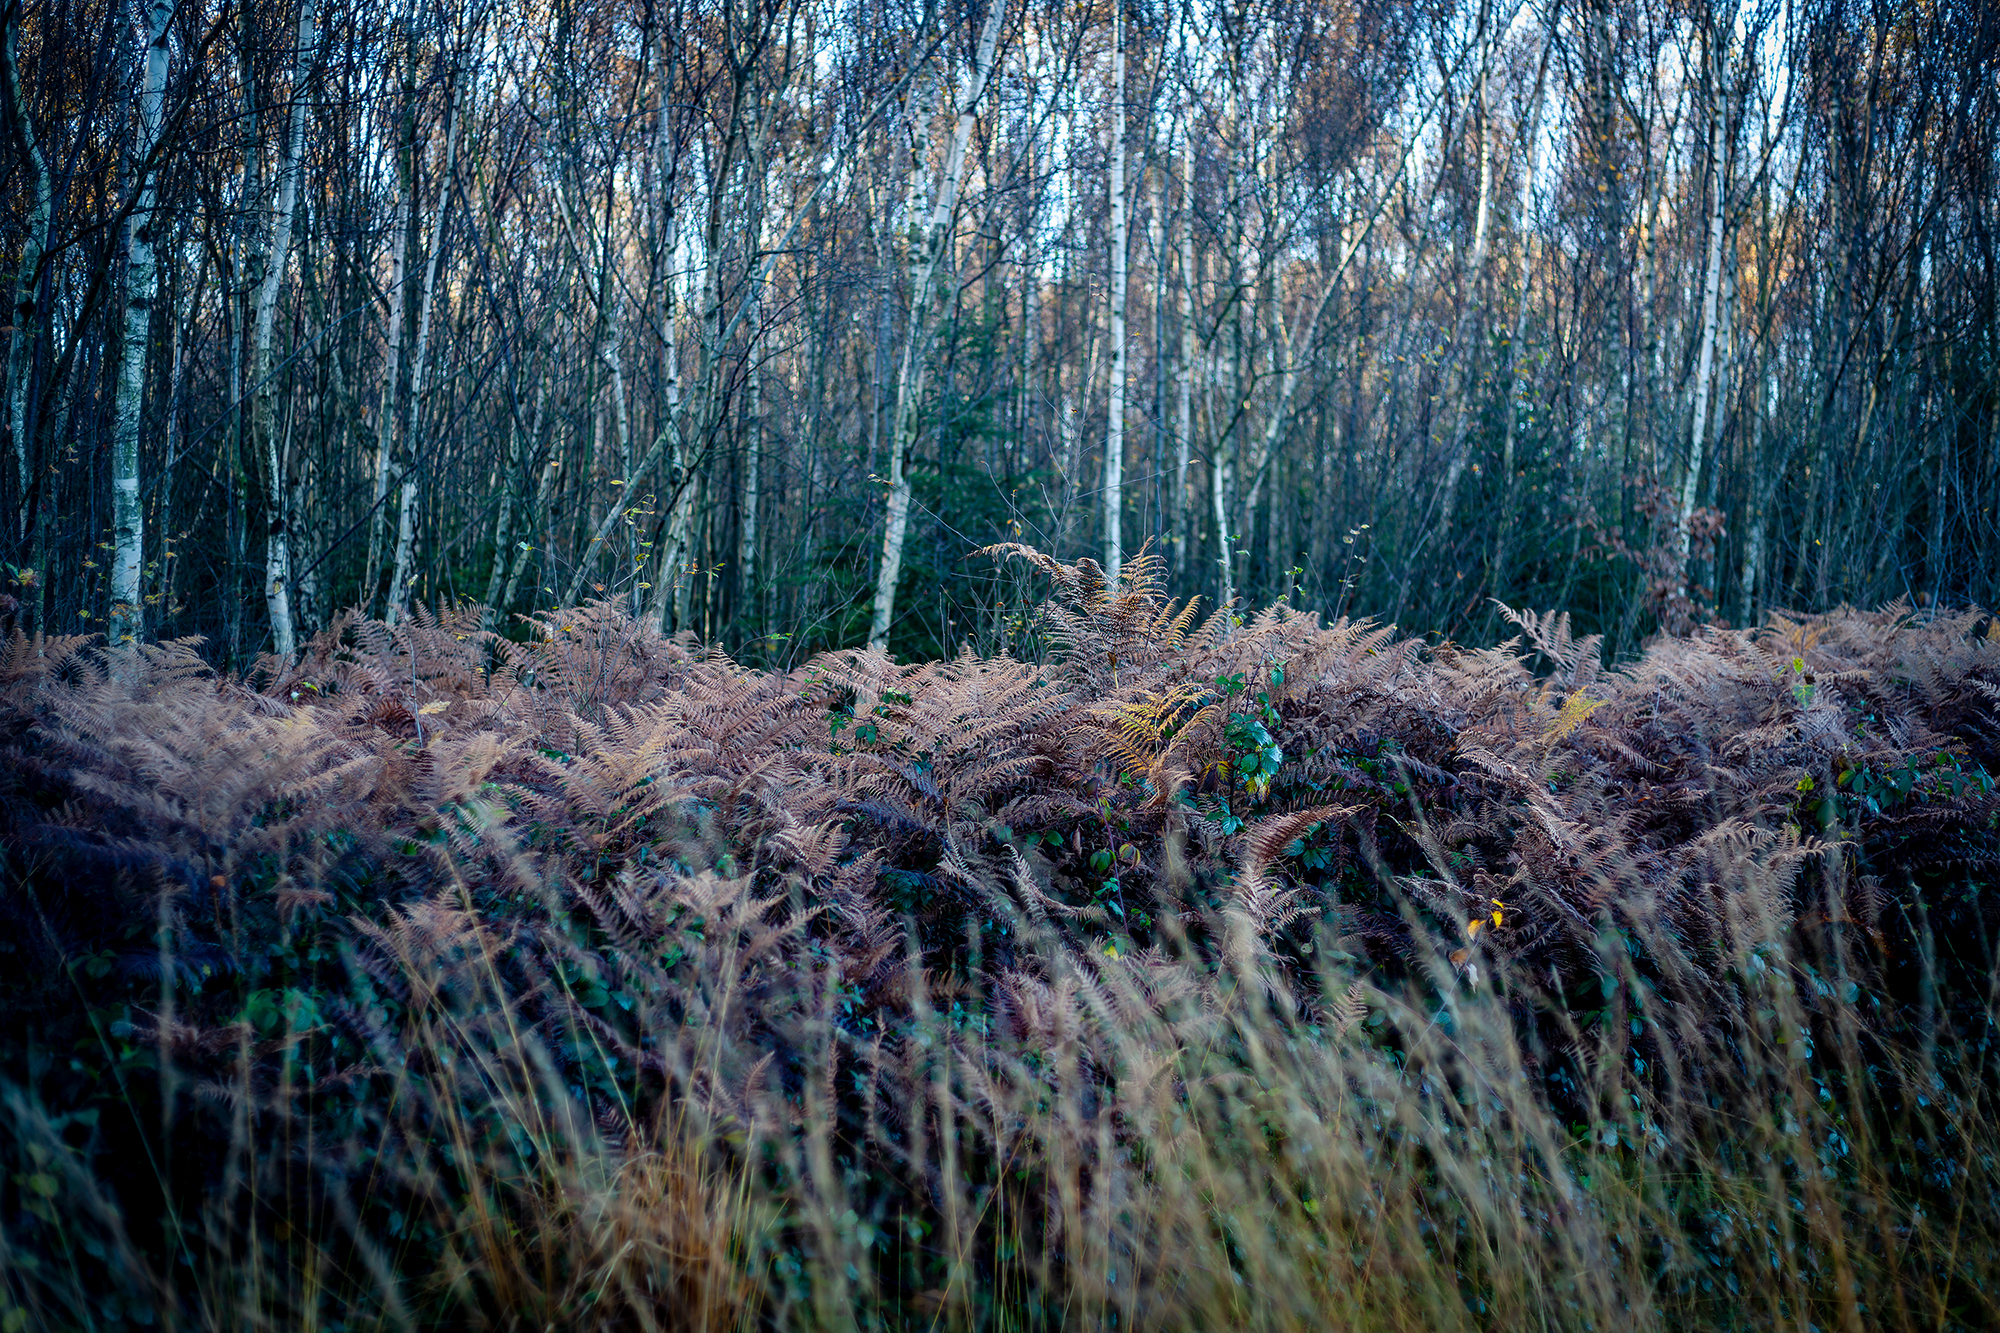
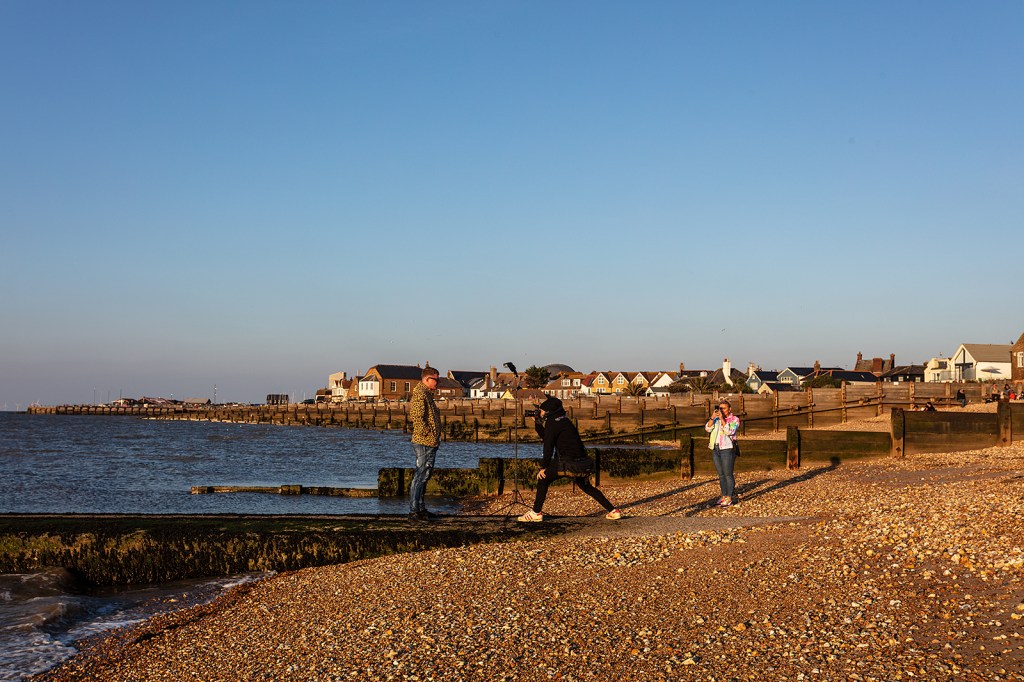
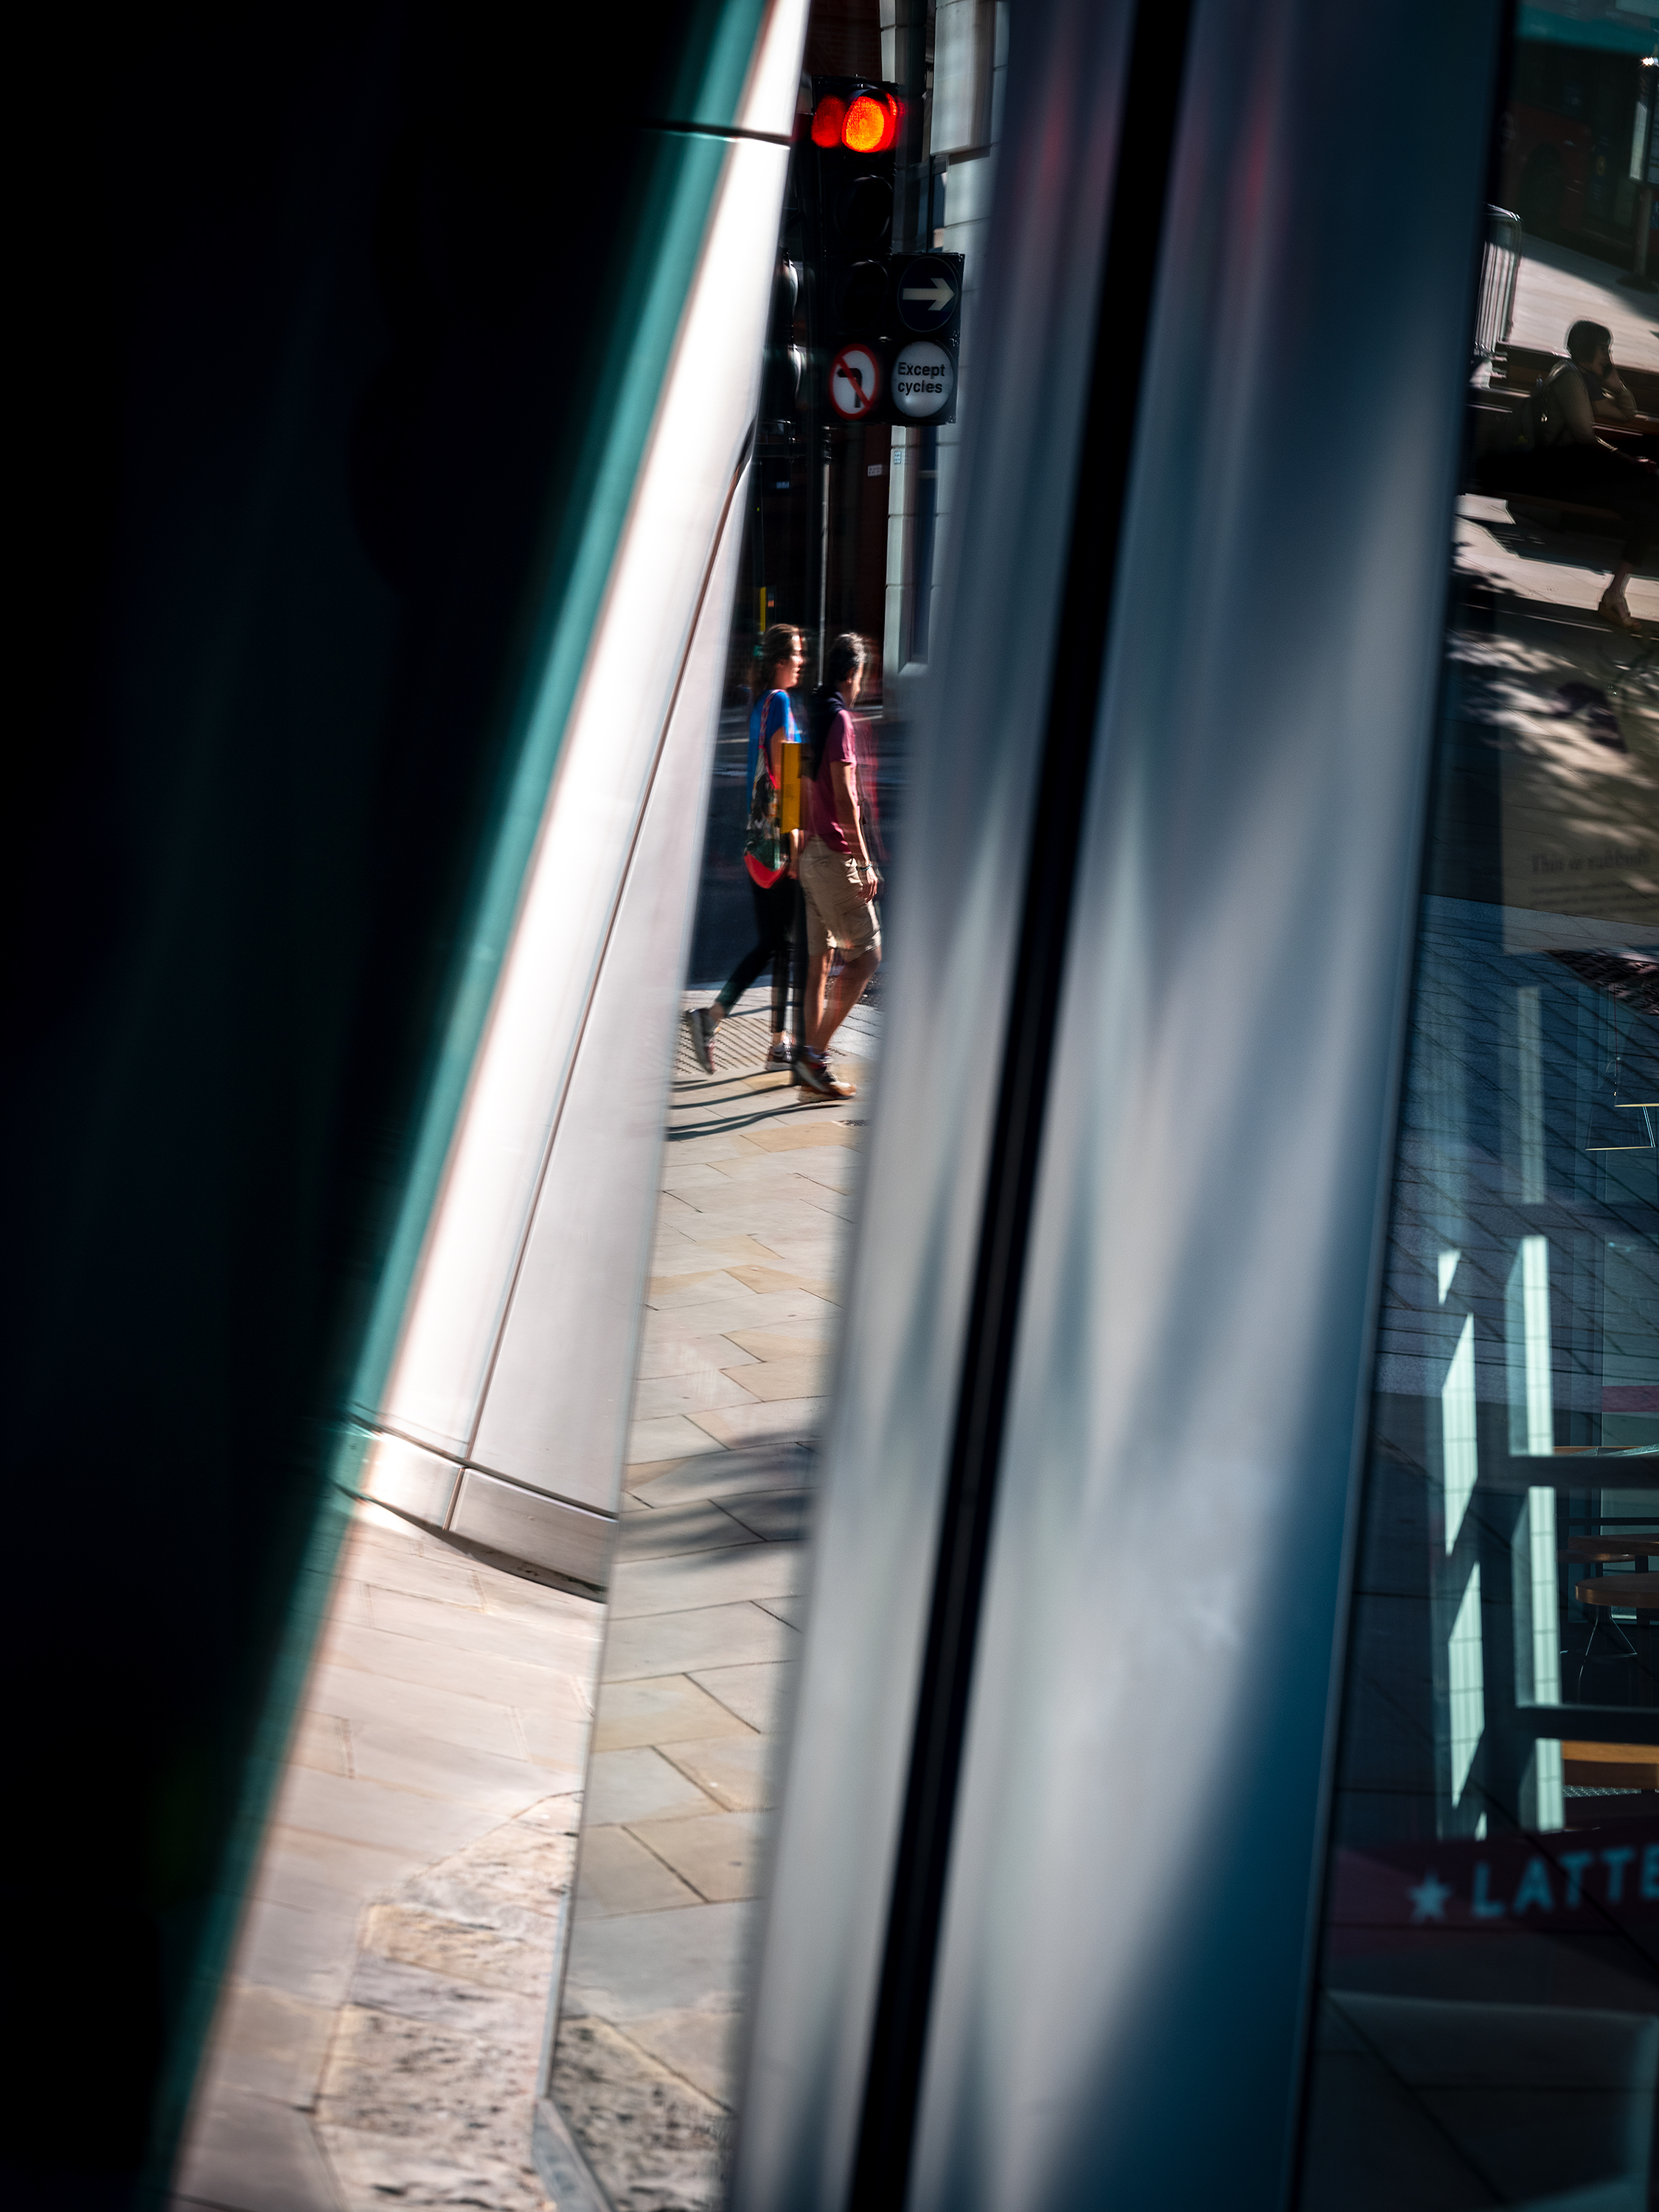
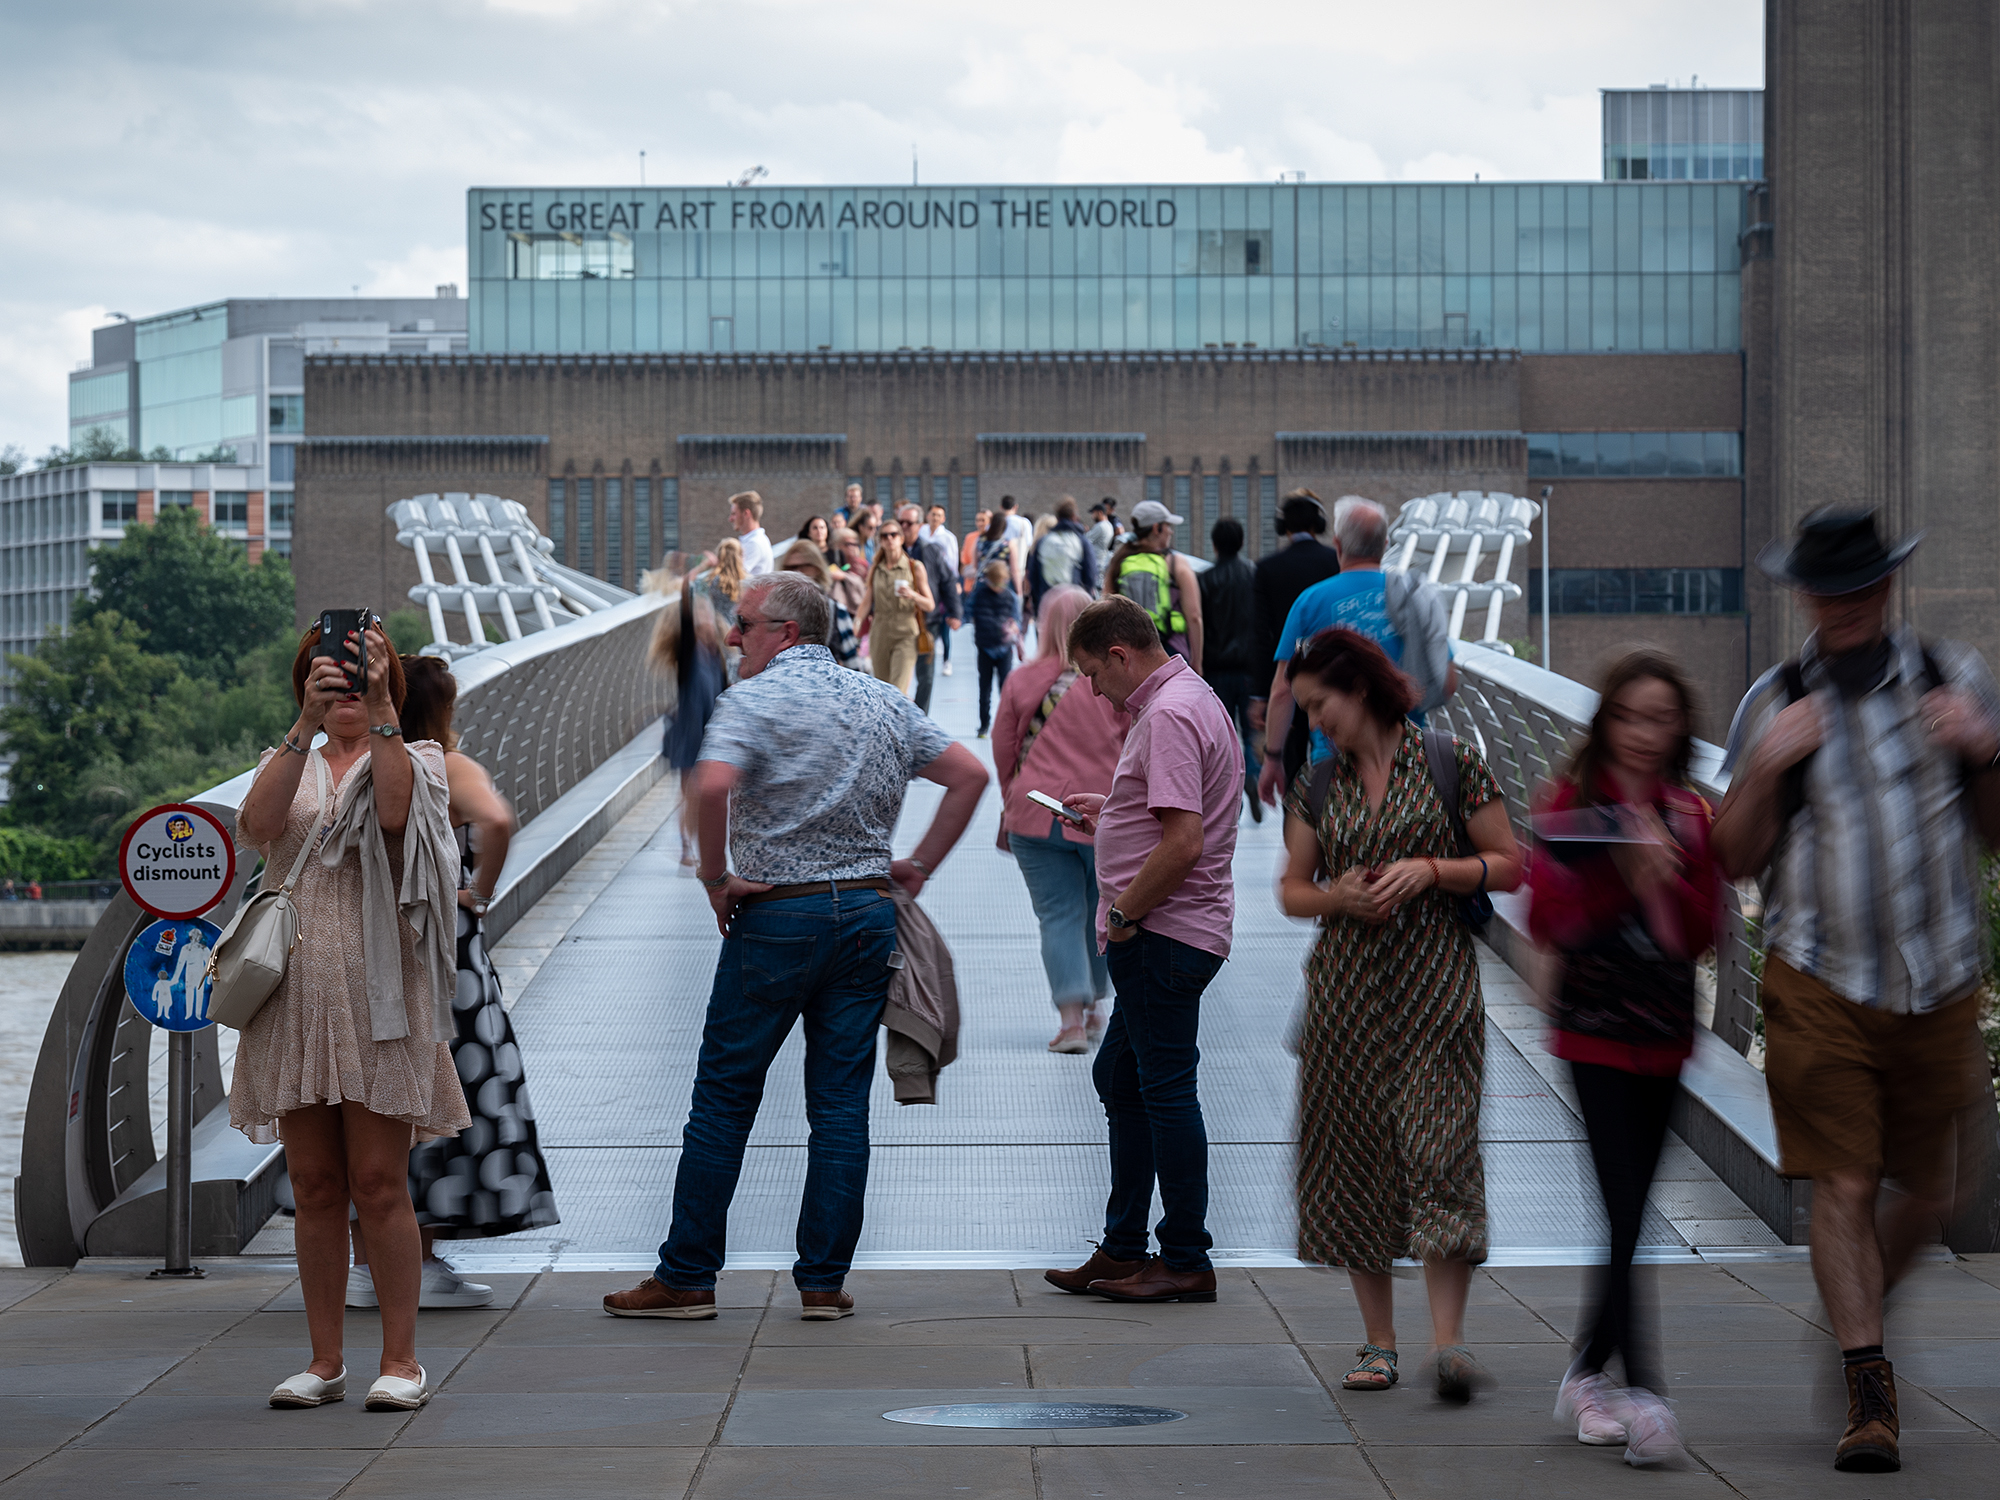
The Image below was taken with the 110mm @F9 1/450 at 125asa
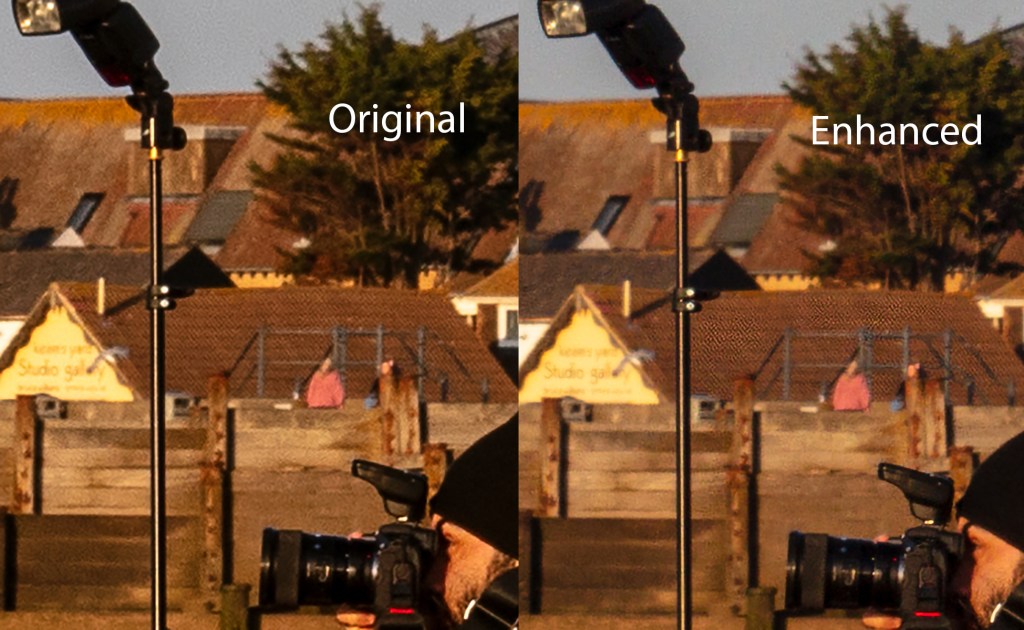
The figures on the jetty are around 150 feet away at a guess, the buildings in the far distance are about 14 miles across the Thames estuary, and trust me, they are very sharp, the visual acuity is very impressive on both of these lenses, especially around the f8/16 range
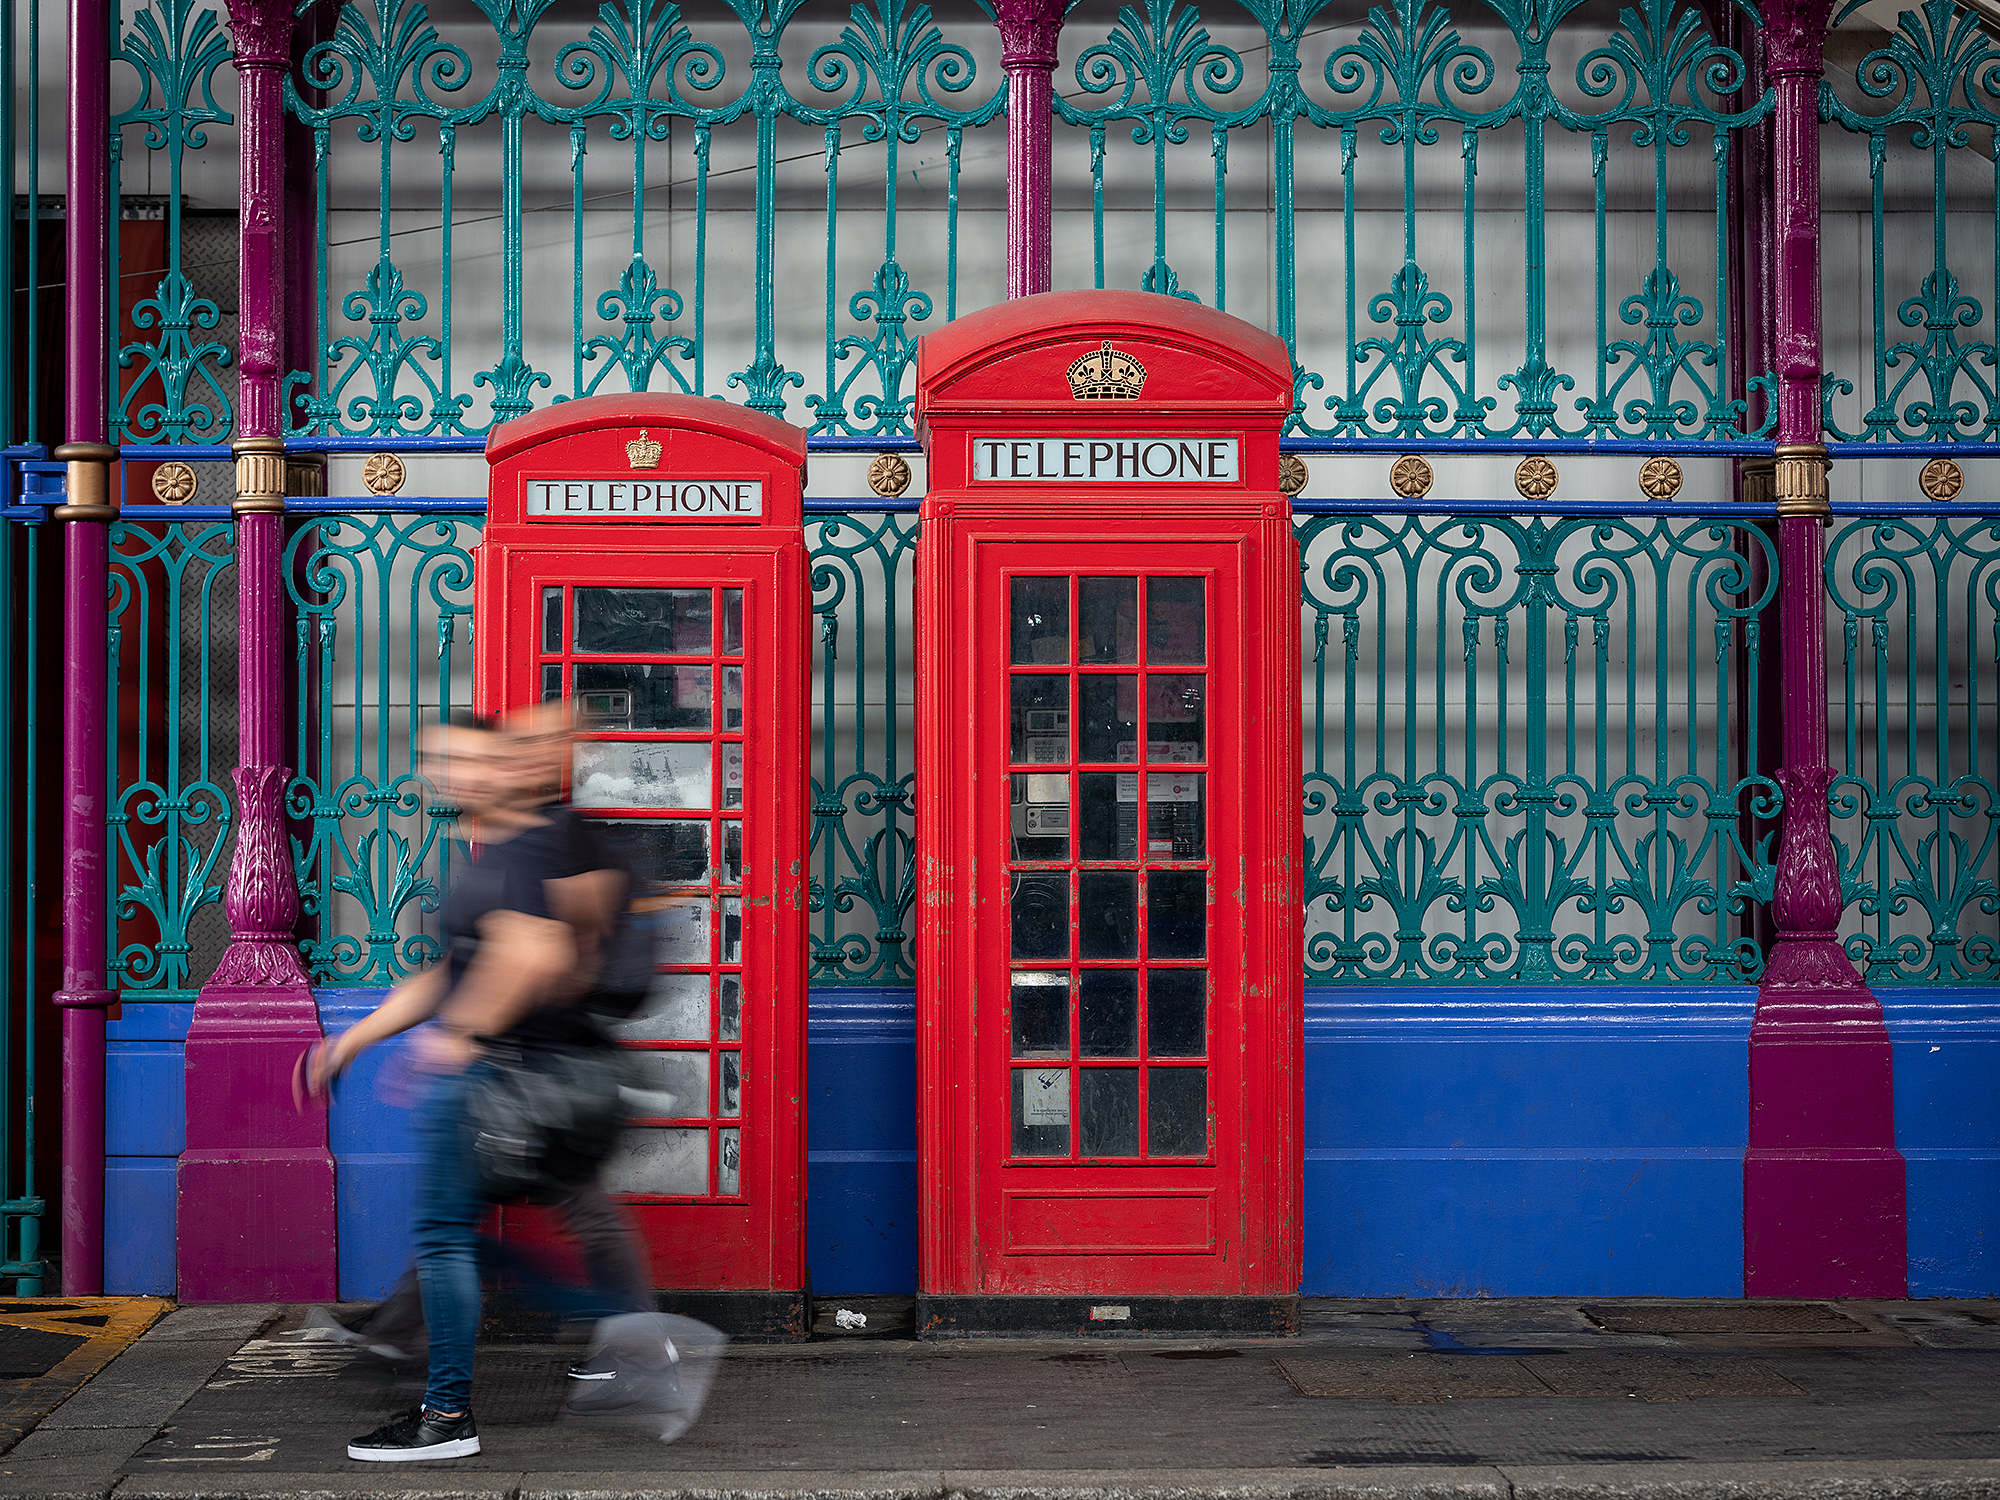
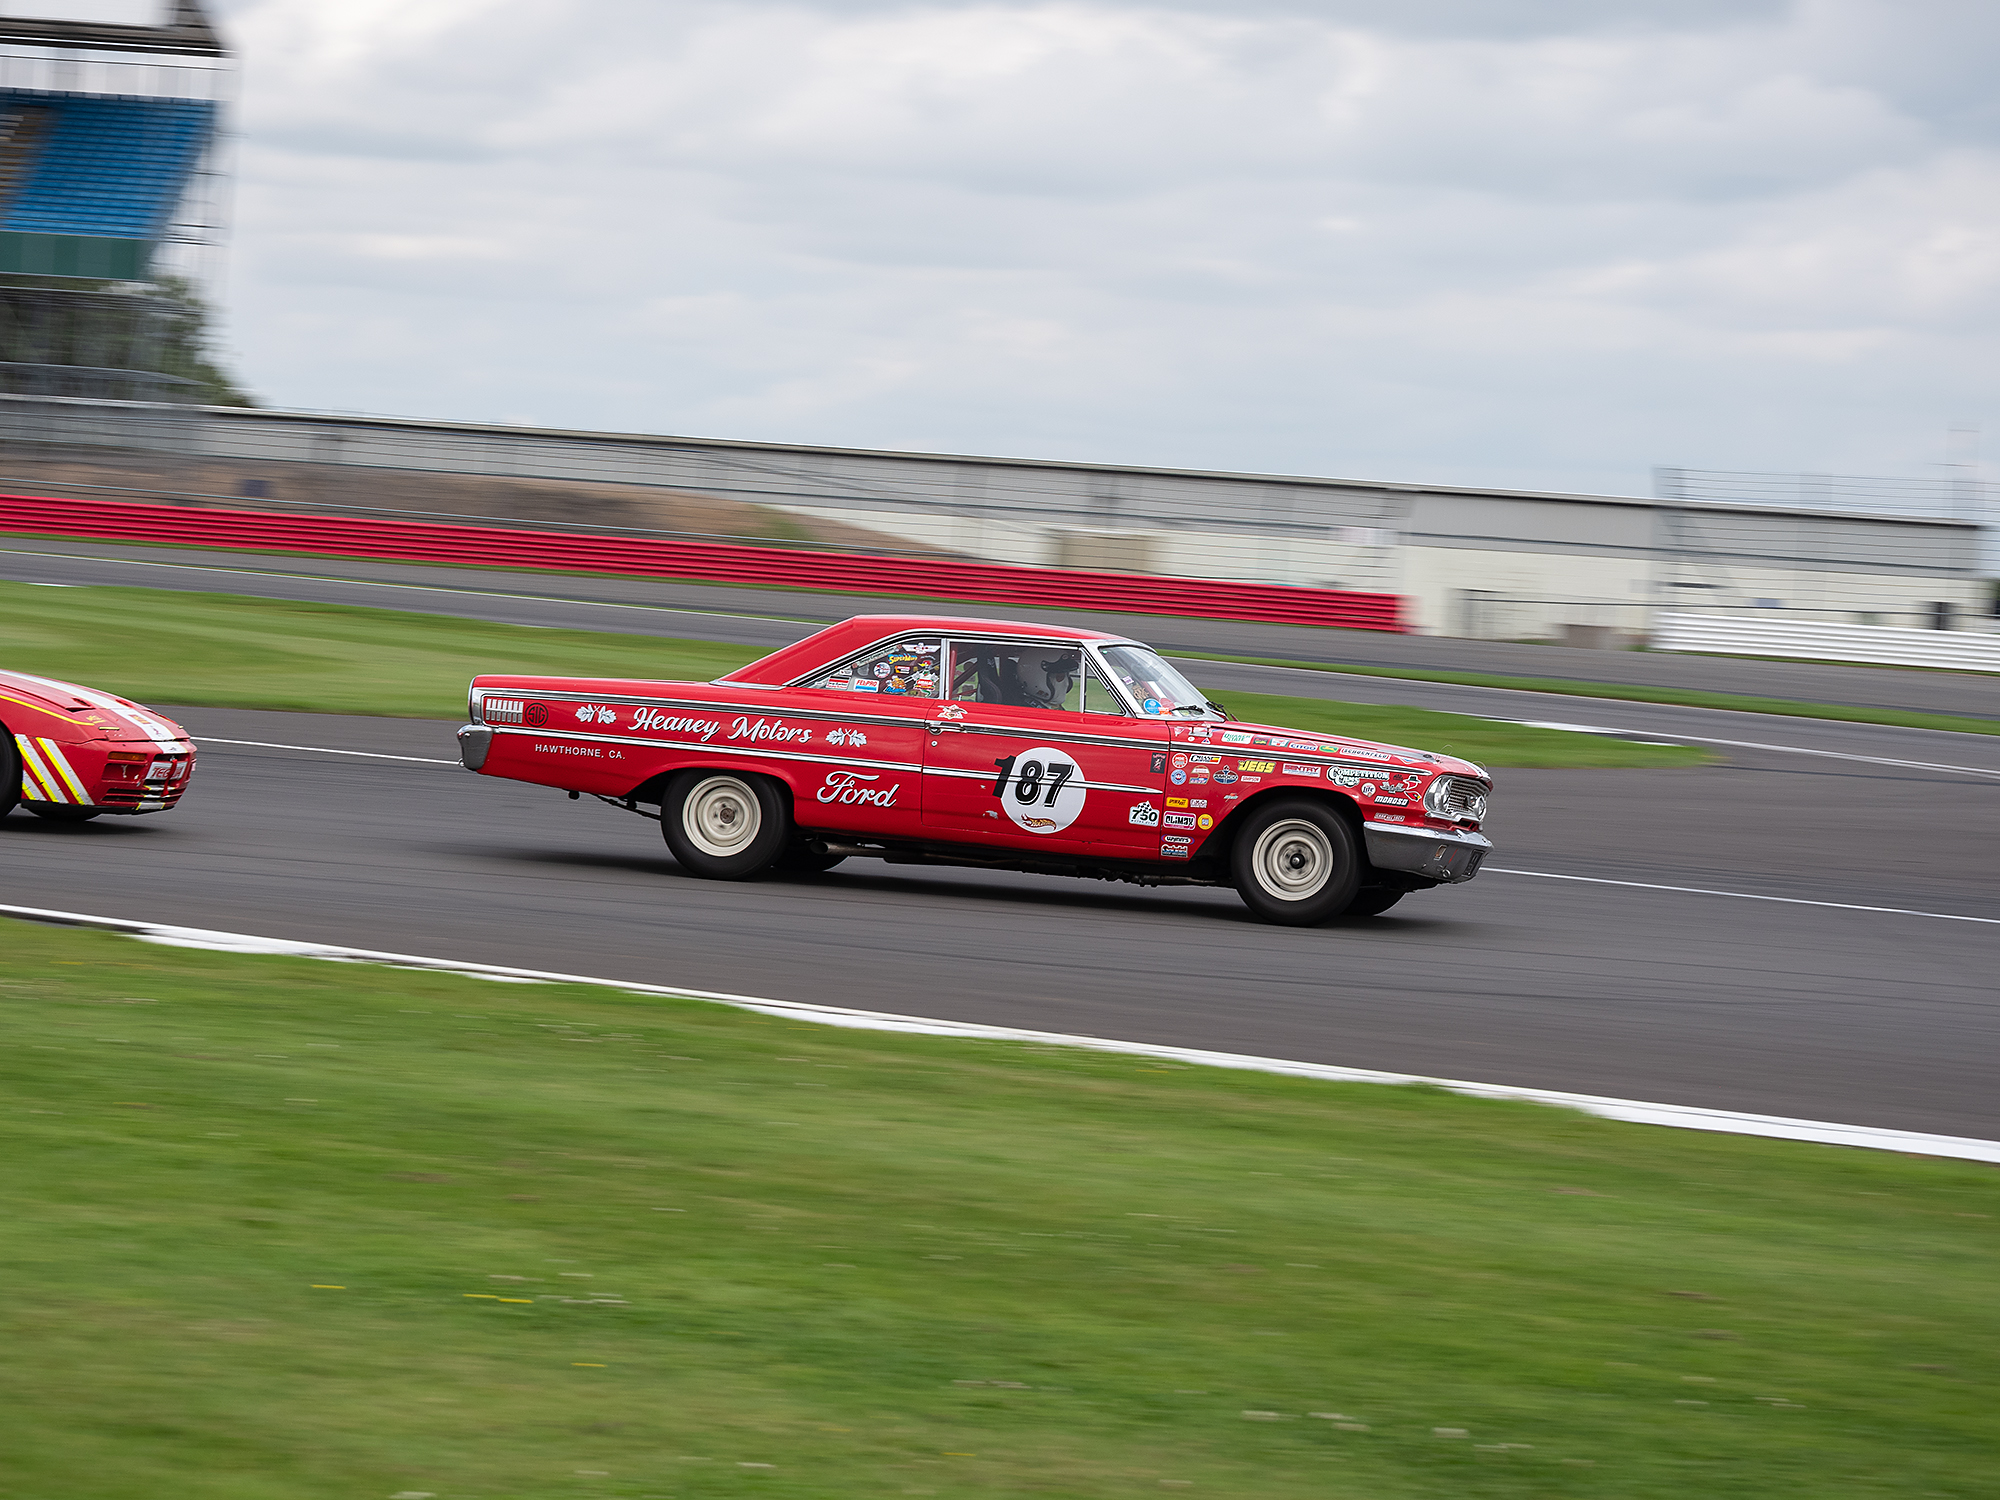
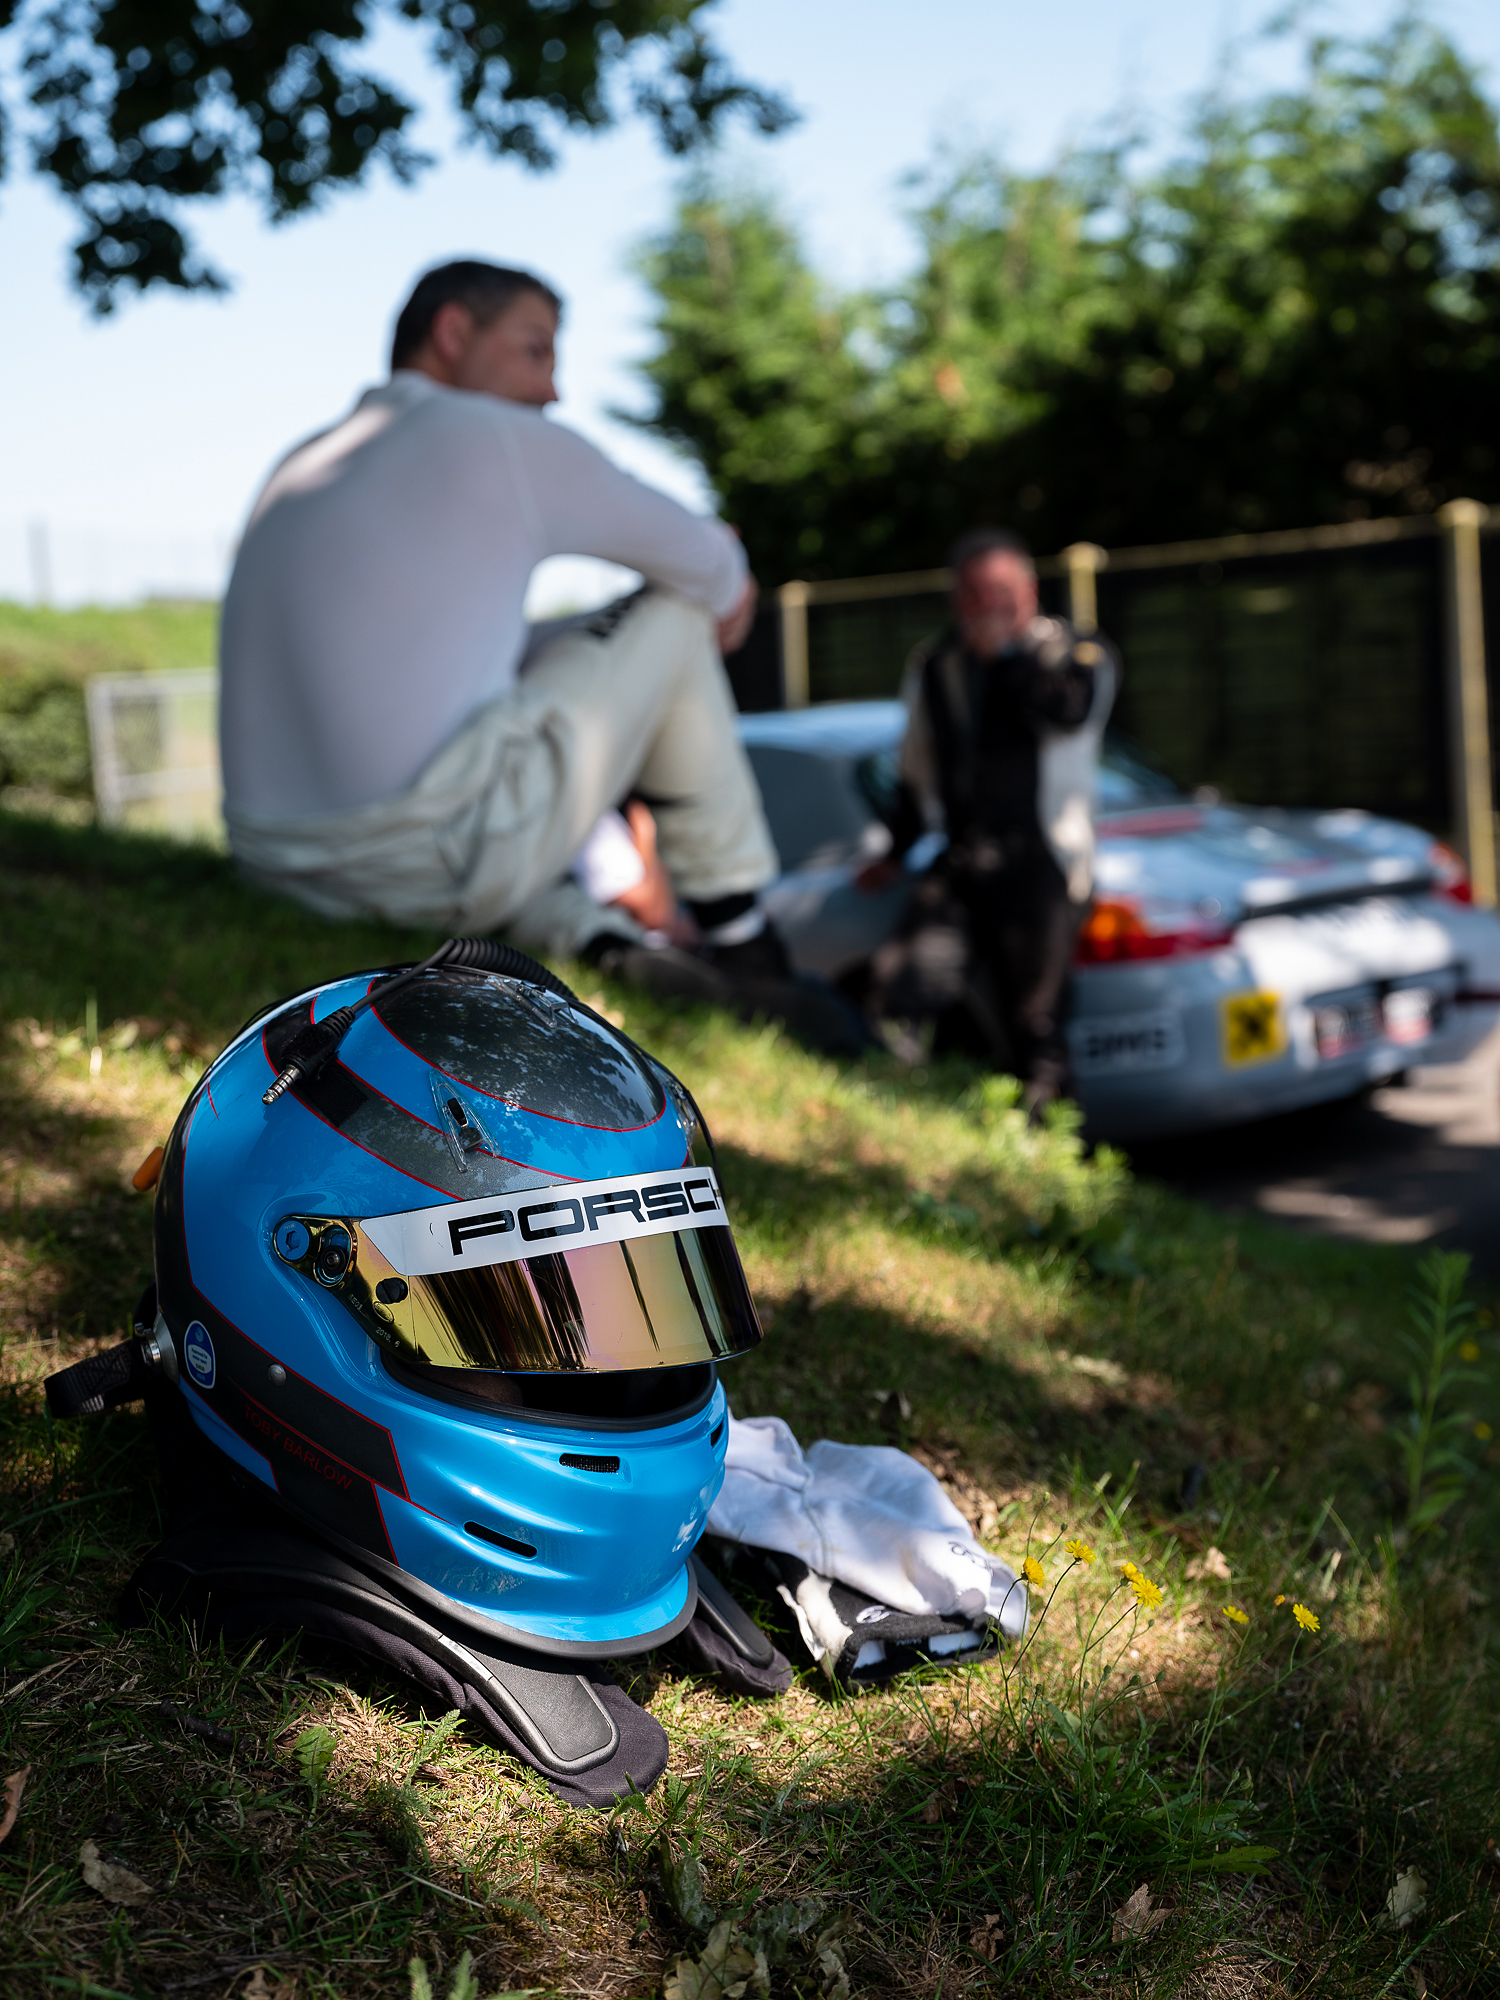
Ive been trying a variety of different subjects, even motorsports!


I have been able to proof a few of these on the Fujiflex and Fuji Matt C-Type medias, they look good and they work well with minimal proccessing if needed
I’m away next week at the University of Suffolk at Ipswich, I’ll take the Camera and do an update soon